


How to Create Film-Like Digital Photos Without Losing Quality
Feb 10, 2026
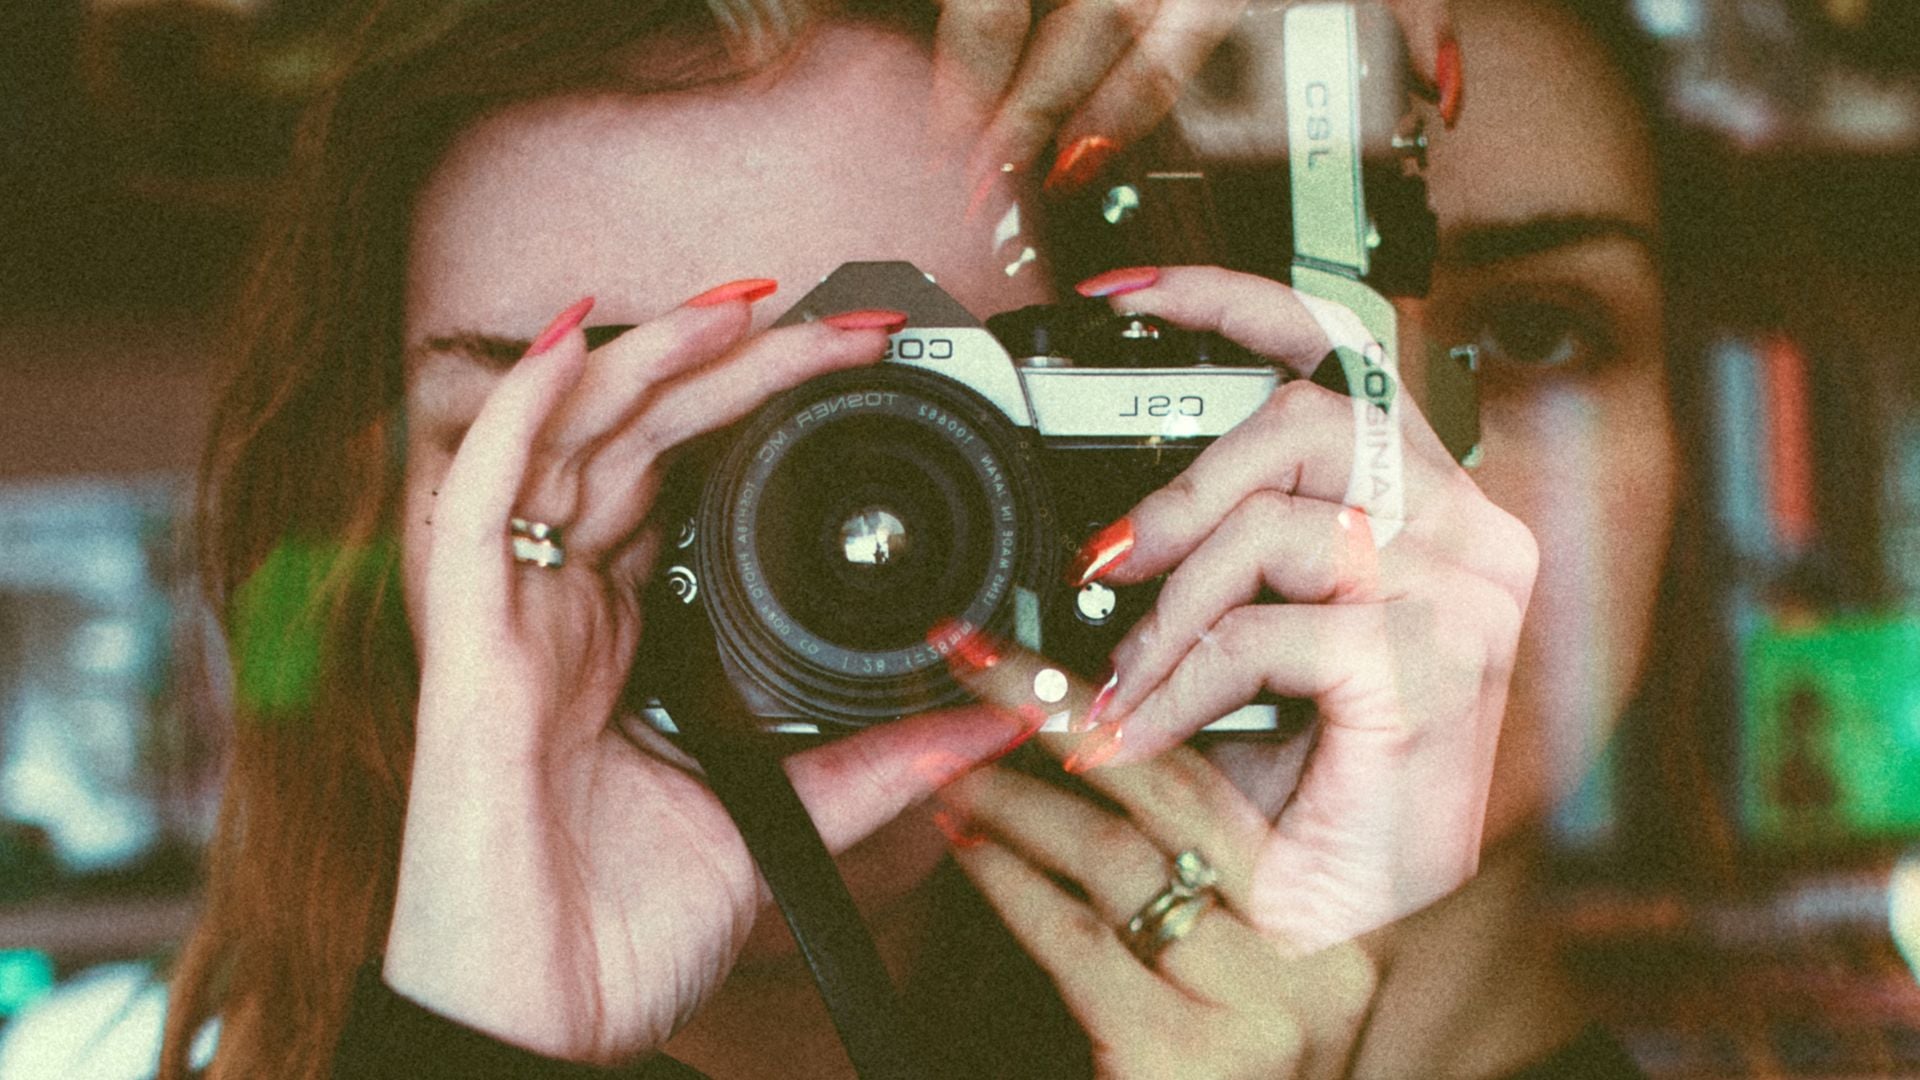
Alysa Gavilan
Alysa Gavilan has spent years exploring photography through photojournalism and street scenes. She enjoys working with both film and mirrorless cameras, and her fascination with the craft has grown over the decades. Inspired by Vivian Maier, she is drawn to capturing everyday moments that often go unnoticed.
Share:

In 2026, photographers are increasingly drawn to the nostalgic look of film while shooting digitally. But the challenge lies in achieving the soft, creamy highlights, natural tonality, and subtle color shifts of film without losing detail or creating blown-out areas.
Many photographers assume that expensive gear or complex editing is necessary, but you can achieve film-like results by understanding how highlights, shadows, and mid-tones interact in your digital files.
In a YouTube video by photographer Samuel Elkins, he emphasizes that highlights are one of the most overlooked aspects of editing, yet they are critical to making digital photos feel organic and cinematic.
Why Highlights Are The Key To Film-Like Digital Photos
Elkins points out that highlights are often neglected in favor of contrast, clarity, or shadow adjustments. However, properly shaped highlights can make a digital image feel more like a film scan.
He notes that film scans often exhibit muted, soft highlights that roll off gently rather than appearing harsh or blown out. Even in harsh lighting, film highlights retain subtle color and tonality, which contributes to a forgiving and natural look.
You can mimic this effect by prioritizing highlight adjustments early in the editing process. Digital sensors have impressive dynamic range, especially in modern cameras like the Fujifilm series or medium-format systems such as the GFX100 II.
This allows you to recover highlight detail and preserve subtle tonality that mirrors the softness of film. Elkins emphasizes that understanding your camera’s exposure capabilities is just as important as post-processing adjustments.
Expose Properly To Preserve Highlight Detail
Before you even open Lightroom or Capture One, your images should be exposed with highlights in mind. Elkins recommends slightly underexposing images in bright conditions to retain highlight detail. By controlling exposure during capture, you provide more flexibility for editing later.
You should observe how your highlights behave when shooting portraits, landscapes, or street scenes. Overexposed areas are difficult to recover and can appear unnatural if you attempt to force a film-like effect in post.
By keeping highlights soft but properly exposed, you create a foundation that allows you to shape tonality and color while retaining essential detail.
Using The Tone Curve To Mimic Film Highlights
Once your images are properly exposed, the tone curve becomes a powerful tool for achieving film-like results. Elkins uses both the point curve and parametric curve in Lightroom to manipulate mid-tones, shadows, and highlights individually.
Adjusting the highlight points gently allows you to “bloom” them, creating a soft, milky look without flattening the image or losing contrast. You can experiment with input and output values on the curve, but less is more.
Small, subtle adjustments often yield the most natural results. Linear gradients can further refine transitions in bright areas, giving skies and reflective surfaces a more gradual roll-off.
Color In Highlights Adds Film-Like Warmth
A distinctive feature of film highlights is their slight tint. Pure white highlights are rare in film; instead, they often carry subtle color, creating a warmer, more organic feel. Elkins points out that this effect helps keep skin tones soft, skies visually interesting, and bright areas from feeling harsh or artificial.
To reproduce this in digital images, you can slightly adjust white balance or apply tint in the highlights selectively. The goal is not to colorize the highlights aggressively but to replicate the gentle off-white tonality of film scans.
Combined with soft curve adjustments, this approach creates a filmic softness that preserves detail and prevents blown-out whites.

Shadows And Mid-Tones Support The Film Look
While highlights often get the most attention, shadows and mid-tones are equally important in mimicking film. Elkins adjusts shadows carefully to balance the exposure of highlights, ensuring that details in darker areas remain visible without crushing blacks. Mid-tones are manipulated to add depth and richness to the image, enhancing the perception of texture and dimension.
You can use slight lifts in shadows or subtle contrast adjustments in the mid-tones to maintain a natural look. Avoid heavy-handed global contrast adjustments, which can flatten highlights and undermine the film-like effect. The interplay between shadows, mid-tones, and highlights is what creates the depth and character that make film scans so appealing.
Practical Tips For Shooting With Film-Like Intent
Achieving film-like digital photos is not only about editing. Elkins emphasizes that how you shoot impacts the final outcome.
Directional sunlight, soft natural light, and careful observation of highlight behavior all contribute to your ability to retain detail and tonality. By considering highlight placement, exposure, and composition in-camera, you reduce the need for extreme post-processing adjustments that could degrade image quality.
You should practice observing light, noting how highlights and shadows interact with your subject. Slightly underexposing for bright areas, using reflective surfaces to soften light, and shooting in varied lighting conditions all give you the flexibility to craft a film-like aesthetic later.
Modern sensors are capable of remarkable dynamic range, but intentional shooting ensures you maintain the nuances that give digital images a more analog feel.

Combining Subtle Edits For A Natural Film Look
The final step in achieving a film-like result is combining all adjustments into a cohesive edit. These include highlight shaping, shadow balance, mid-tone control, and subtle color tweaks.
Elkins demonstrates that careful layering of these adjustments in Lightroom, without relying on excessive contrast or artificial filters, produces images that feel soft, organic, and filmic while retaining detail.
You should experiment with small incremental adjustments, continually comparing before and after results to maintain a natural appearance. Gradual, controlled editing ensures that textures, skin tones, and skies retain their richness while highlights appear gentle and nuanced.
The key is patience, precision, and intentionality, making small adjustments that preserve detail while softening the overall image. With practice, you can create digital files that feel as rich, forgiving, and expressive as analog photography, even in bright or challenging lighting conditions.

Alysa Gavilan
Alysa Gavilan has spent years exploring photography through photojournalism and street scenes. She enjoys working with both film and mirrorless cameras, and her fascination with the craft has grown over the decades. Inspired by Vivian Maier, she is drawn to capturing everyday moments that often go unnoticed.
Related Posts
 How to Resize Images on Phone on iPhone and Android Without Losing Quality
 Here’s how Sony Mirrorless cameras allow you to double your lens’ focal length without losing quality
 Google Photos “High Quality” not as high quality as originally claimed, Google “warns”
 From losing your gear to losing your life – how much would you risk for a shot?
Join the Discussion
DIYP Comment Policy
Be nice, be on-topic, no personal information or flames.