


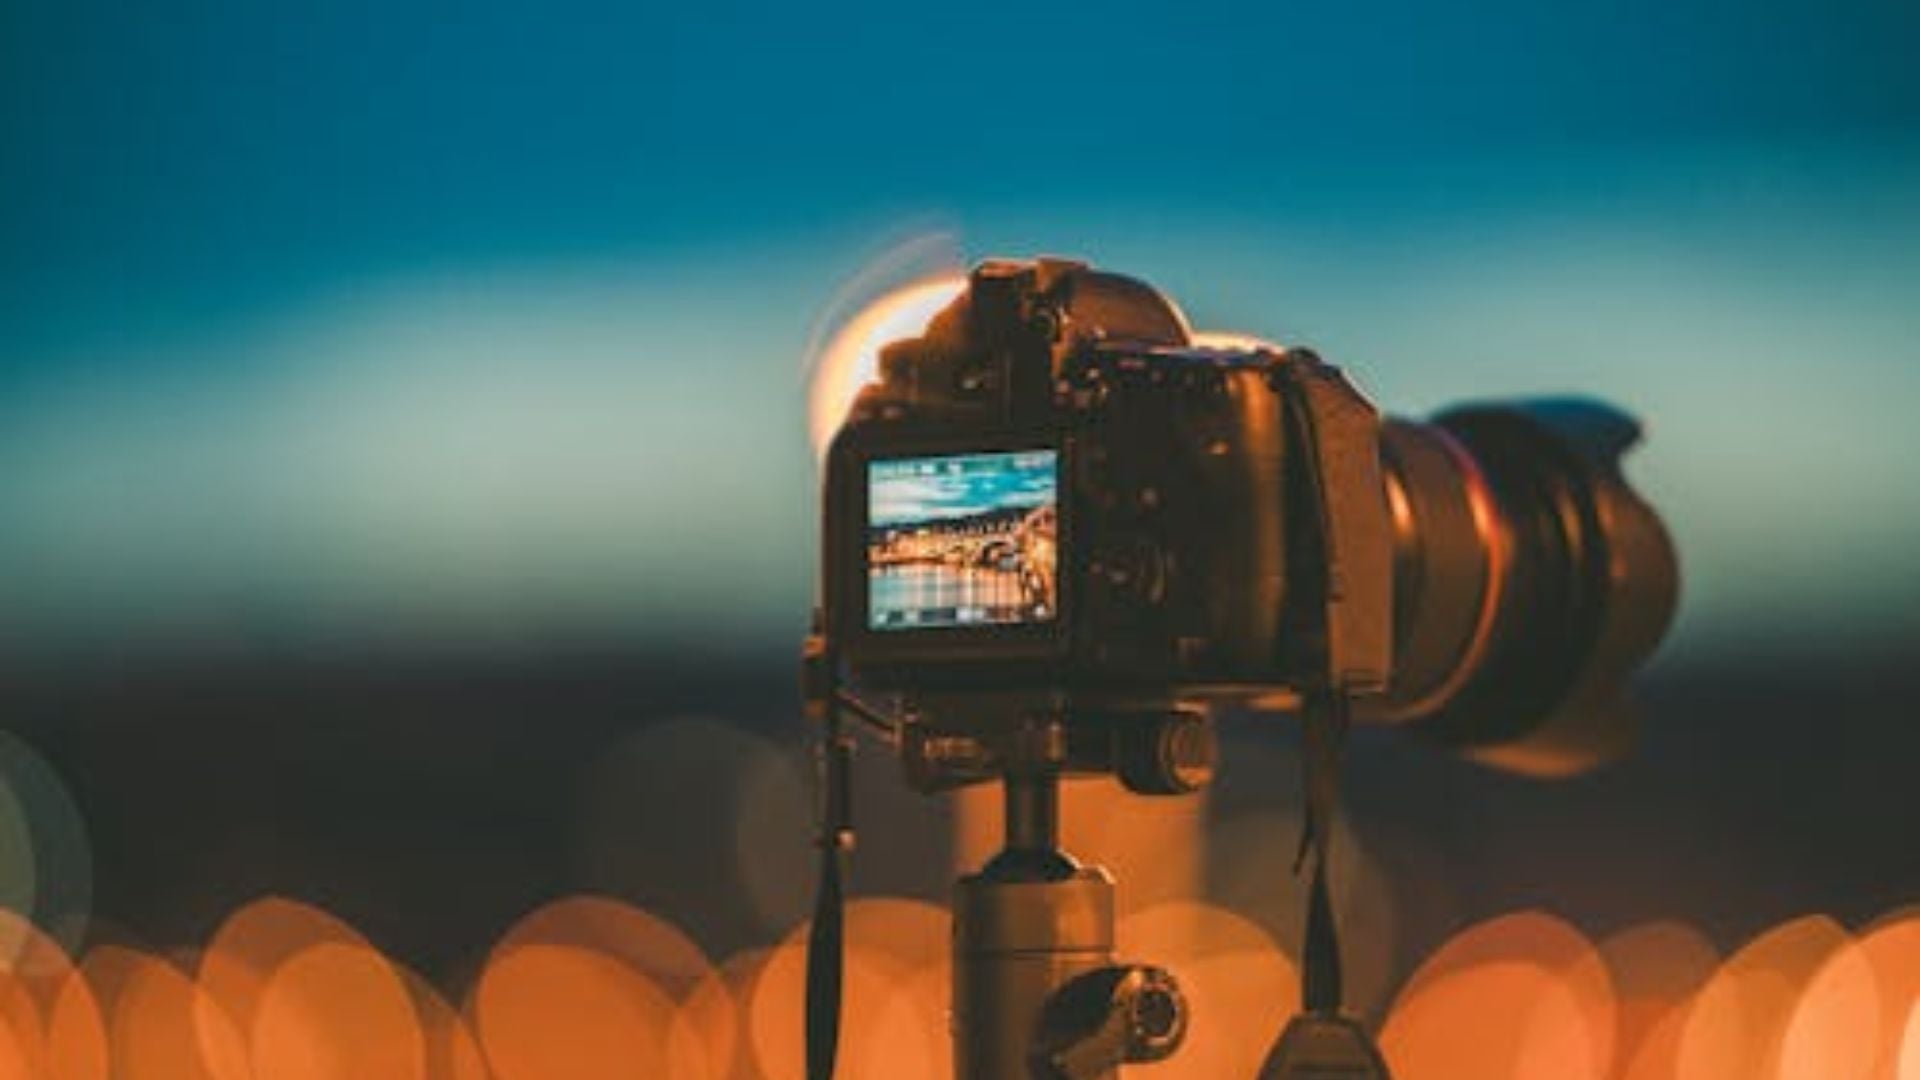
Selective Exposure Adjustment: Dodging and Burning in Lightroom Like a Pro
Oct 31, 2025
Darlene Lleno
Darlene Lleno brings a unique perspective to DIY Photography as someone who grew up surrounded by camera gear but chose words over lenses. With five years of writing experience, she specializes in photography content that’s both technically informed and genuinely passionate. Growing up with a photographer twin brother meant camera talk was everyday conversation in her household. While he mastered capturing moments, Darlene discovered she preferred being the subject and the storyteller behind the scenes. As a travel enthusiast and mother of two, she understands the importance of preserving life’s precious moments. When not exploring new destinations or writing for DIY Photography, you’ll find her reading or tending to her garden. Her approach to photography writing is refreshingly authentic, she may not be behind the camera, but she knows exactly what it takes to help others capture the shots that matter most.
Share:

Selective exposure adjustment lets you control light and shadow in specific areas of your photos. This technique separates amateur edits from professional retouching work. Dodging brightens selected areas while burning darkens them for precise control.
Most photographers apply global adjustments and call it done. They miss the power of selectively adjusting different parts of their images. Professional retouchers spend most of their time on local adjustments. These targeted changes create depth, guide the viewer’s eye, and fix problems global edits can’t touch.
Lightroom provides multiple tools for selective exposure adjustment work. Masking tools, adjustment brushes, and gradients each serve different purposes. Learning when and how to use each tool transforms flat images into dimensional photos.
Dodging and Burning Fundamentals
Dodging and burning originated in the darkroom. Photographers would block light to lighten areas or add exposure to darken them. Digital tools replicate these techniques with far more precision and flexibility.
The goal remains the same as it was in darkrooms. You want to add dimension and direct attention where it matters most. Brightening draws the eye naturally. Darkening pushes it away. This simple principle guides all selective exposure adjustment decisions.
Why Selective Adjustments Matter
Your camera captures scenes differently than your eyes see them. Dynamic range limitations create flat-looking images. Some areas come out too bright while others stay too dark. Global adjustments help but can’t fix everything alone.
Selective exposure adjustment solves these problems effectively. Brighten a subject’s face without blowing out the sky. Darken distracting background elements without crushing shadow detail. Each change helps viewers focus on what matters most.
Professional portrait retouchers spend hours on subtle dodging and burning. They lighten catchlights in eyes and highlight cheekbones carefully. They darken edges to create natural vignetting effects. These small changes add up to polished, professional results.
The Psychology of Light and Shadow
Viewers naturally look at brighter areas first in any image. Their eyes move from light to dark in predictable patterns. Understanding this lets you control exactly where people look.
Bright spots pull attention even if they’re not your main subject. A bright patch of sky or overexposed background distracts from subjects. Burning these areas down keeps focus where you want it.
Darkening can add mystery and drama to your images. Slightly underexposed areas create mood without losing detail completely. The contrast between light and shadow creates depth that flat images lack.
Lightroom’s Selective Exposure Adjustment Tools
Lightroom offers several tools for local adjustments. Each works differently and suits specific situations best. Knowing which tool to use speeds up your workflow and improves results.
The masking tools underwent a major overhaul in recent Lightroom versions. AI-powered selection makes creating masks much faster than before. You can select subjects, skies, or specific objects with one click.
Masking Tool: The Most Powerful Option
The masking tool provides the most control for selective exposure adjustment work. Click the masking icon and choose how you want to select. Subject selection, sky selection, and brush selection all create editable masks.
AI subject selection became incredibly accurate by 2025. Lightroom identifies people, animals, and objects automatically with precision. The selection follows edges precisely without tedious manual work. This saves hours compared to older selection methods.
After creating a mask, adjust exposure and other settings for just that area. Stack multiple masks to fine-tune different parts of your image. Each mask remains editable so you can refine selections anytime.
Refine your masks using add and subtract options. Add to selection if the AI missed spots you want included. Subtract to remove areas you don’t want affected. The brush respects mask edges, making precise work easier.

Adjustment Brush for Detailed Work
The adjustment brush lets you paint adjustments directly onto your image. This works well for small areas needing attention specifically. Eyes, teeth, and small bright spots all benefit from brush work.
Set your brush size, feather, and flow before starting work. Larger feather values create softer, more natural edges. Lower flow builds up adjustments gradually for subtle results. High flow makes dramatic changes quickly but can look obvious.
Use auto-mask to help the brush detect edges automatically. This prevents accidentally painting onto adjacent areas you don’t want affected. However, auto-mask works best with clear edge definition. Turn it off when working on soft transitions.
Create separate adjustment brush layers for different changes. One brush for brightening, another for darkening keeps your edits organized. You can adjust or delete individual brush strokes later without affecting others.
Linear and Radial Gradients
Linear gradients work perfectly for landscape photography editing. Darken skies or lighten foregrounds with smooth, natural transitions. The gradient creates even adjustments across the selected area.
Position your gradient, then adjust exposure and other settings easily. Rotate and resize the gradient to match your scene perfectly. Multiple gradients can overlap to create complex lighting effects naturally.
Radial gradients create circular adjustments for various effects. These work great for subtle vignettes or spotlight effects. Invert the gradient to adjust the outside instead of inside. This flexibility handles most vignetting and attention-directing needs.
Professional Dodging Techniques
Dodging brightens areas to draw attention and add dimension to images. Professional dodgers work subtly, building up effects through multiple small adjustments. Heavy-handed dodging looks fake and amateurish every time.
Start with overall exposure correction before dodging specific areas. Get your global exposure right first for a solid foundation. Then use selective adjustments to fine-tune individual elements carefully.
Dodging Faces and Skin
Faces naturally become the focal point in portrait images. Subtle brightening makes subjects pop without looking overprocessed or fake. Focus on the forehead, cheeks, and chin where light naturally hits.
Create a mask for your subject’s face to begin. Increase exposure by 0.3 to 0.5 stops maximum for natural results. Any more looks unnatural and blown out badly. Check your histogram to ensure you’re not clipping highlights.
Dodge eyes separately for maximum impact in portraits. Brighten the catchlights and iris slightly for sparkle. This makes eyes feel alive and engaging to viewers. Be careful not to overdo it or eyes look eerily bright.
Lighten teeth slightly in portraits for a natural look. Create a small brush adjustment and paint over teeth only. Increase exposure minimally, around 0.2 to 0.3 stops works well. Combine with slight desaturation for natural-looking whitening results.
Creating Depth with Selective Brightening
Add dimension by lightening areas that catch light naturally. Think about your light source direction and where it hits. Brighten surfaces facing that direction slightly for realism. This reinforces the lighting and adds believable dimension.
Dodge highlights on textured surfaces to emphasize texture. This creates separation from darker areas effectively. Product photography especially benefits from highlight dodging on reflective items.
Brighten areas along leading lines in your composition. This guides viewers’ eyes through the image following your path. Subtle brightening on a winding road or flowing river strengthens composition.
Recovering Shadow Detail
Sometimes shadows get too dark during shooting conditions. Selective dodging brings back lost detail without affecting the entire image. This works better than lifting global shadows, which flattens images badly.
Create a mask for the underexposed area only. Increase exposure and possibly lift shadows slider carefully. Watch for noise in heavily lifted shadows that appears. Add a bit of noise reduction if needed.
Balance shadow recovery with maintaining contrast in your image. Completely removing all shadows kills dimension and depth. Leave some darkness to preserve depth and mood naturally. You’re enhancing detail, not eliminating shadows entirely here.
Professional Burning Techniques
Burning darkens areas to reduce distraction and add mood effectively. Like dodging, burning works best with subtle, layered applications. Professional retouchers burn far more than they dodge in most images.
The goal isn’t to create black areas without detail. You’re subtly darkening to guide attention and add depth. Small reductions in exposure across multiple areas create sophisticated results.

Darkening Backgrounds and Edges
Bright backgrounds pull attention away from subjects constantly. Burn down distracting bright spots in backgrounds to minimize them. This keeps focus on your main subject without obvious vignetting.
Create a mask for background areas separate from your subject. Lower exposure by 0.5 to 1 stop depending on distraction level. Adjust until the background recedes visually behind your subject.
Darken image edges to create natural vignetting that directs eyes. This guides viewers toward the center where subjects typically sit. Use a radial gradient inverted to affect edges only. Keep it subtle so viewers don’t consciously notice the effect.
Edge burning works especially well in portrait photography situations. It focuses attention on faces while minimizing busy backgrounds. Even outdoor portraits benefit from subtle edge darkening techniques.
Adding Drama and Mood
Burning creates dramatic, moody images when used more aggressively. Low-key photography relies heavily on selective burning for dark atmospheres.
Identify areas that can go darker without losing important detail. Background shadows, negative space, and areas away from subjects work well. Darken these significantly to create high-contrast, dramatic images.
Use multiple burning layers with different strengths for depth. Subtle burns in some areas, stronger burns in others creates dimension. This layered approach looks more natural than one heavy adjustment.
Burn clothing in portraits to emphasize faces more effectively. Faces should be the brightest part of portrait images naturally. Darkening clothing slightly ensures faces remain the focal point.
Controlling Specular Highlights
Blown highlights distract viewers immediately when they appear. Small bright spots on reflective surfaces pull the eye uncontrollably. Burning these down improves the overall image significantly.
Select bright spots individually using point selection tools. Lower exposure to bring them closer to surrounding tones. You won’t recover completely blown highlights, but you minimize distraction.
Reflections in glasses or jewelry often need burning attention. These catch light and create bright spots that dominate images. Subtle darkening reduces their impact while maintaining realistic appearance.
Common Mistakes and How to Avoid Them
Even experienced photographers make mistakes with selective exposure adjustment sometimes. Recognizing these problems helps you avoid them in your work. Learning from common errors speeds up your improvement significantly.
The most common error is overdoing adjustments way too much. Subtle changes look professional and polished. Obvious changes scream amateur immediately. When in doubt, reduce your adjustment strength by half.

Overly Obvious Adjustments
Heavy dodging creates flat, overexposed areas with no texture remaining. Heavy burning crushes shadows into featureless black zones. Both destroy the three-dimensionality you’re trying to create.
Check your adjustments by toggling them on and off repeatedly. If you immediately notice the change, you’ve probably gone too far. Adjustments should enhance subtly, not transform dramatically.
Build up gradually using lower opacity or smaller exposure changes. Multiple subtle adjustments create better results than one heavy change. You can always add more strength later. Reducing is harder psychologically once you’ve committed to strong adjustments.
Harsh Edges and Transitions
Visible edges around dodged or burned areas look amateurish instantly. The adjustment should blend seamlessly into surrounding areas naturally. Harsh lines reveal your work immediately to viewers.
Increase feather on your brushes and gradients for softer blending. Soft edges blend naturally into surroundings. You want gradual transitions that the eye can’t pinpoint exactly.
Use flow settings below 50% for most dodging work. This builds up adjustments gradually with multiple strokes applied. The cumulative effect looks much more natural than one application.
Zoom out frequently while working to check your progress. Obvious edges might not show at 100% zoom levels. They become glaring at normal viewing distances though. Check your work at various zoom levels regularly.
Ignoring the Light Source
Dodging and burning should respect your scene’s lighting direction. Brightening areas that shouldn’t receive light looks wrong immediately. Darkening light-facing surfaces defies physics and looks unnatural.
Study your light source before making any adjustments. Which direction is light coming from in your scene? Which surfaces face that light directly? Dodge surfaces receiving light naturally. Burn surfaces in shadow areas.
Match your adjustments to light quality in the image. Hard light creates defined shadows with clear edges. Soft light produces gradual transitions between areas. Your dodging and burning should reflect this naturally. Mimic your existing light rather than fighting against it.

Mastering Selective Exposure Adjustment Takes Practice
Selective exposure adjustment separates good editors from great ones consistently. The techniques seem simple but require practice to execute well. Professional results come from thousands of hours refining these skills.
Start by analyzing professional images you admire for technique. Look for signs of dodging and burning in their work. Where did the retoucher brighten or darken specific areas? Understanding what works helps you replicate it successfully.
Practice on a variety of image types for rounded skills. Wedding photography demands different selective adjustments than product shots completely. Each genre teaches different lessons about light, shadow, and attention.
Review your work critically after some time passes between sessions. Fresh eyes spot mistakes you missed during initial editing. Learn from these observations and apply them forward. Each image improves your selective exposure adjustment skills for the next one.

Darlene Lleno
Darlene Lleno brings a unique perspective to DIY Photography as someone who grew up surrounded by camera gear but chose words over lenses. With five years of writing experience, she specializes in photography content that’s both technically informed and genuinely passionate. Growing up with a photographer twin brother meant camera talk was everyday conversation in her household. While he mastered capturing moments, Darlene discovered she preferred being the subject and the storyteller behind the scenes. As a travel enthusiast and mother of two, she understands the importance of preserving life’s precious moments. When not exploring new destinations or writing for DIY Photography, you’ll find her reading or tending to her garden. Her approach to photography writing is refreshingly authentic, she may not be behind the camera, but she knows exactly what it takes to help others capture the shots that matter most.


Join the Discussion
DIYP Comment Policy
Be nice, be on-topic, no personal information or flames.