


editing
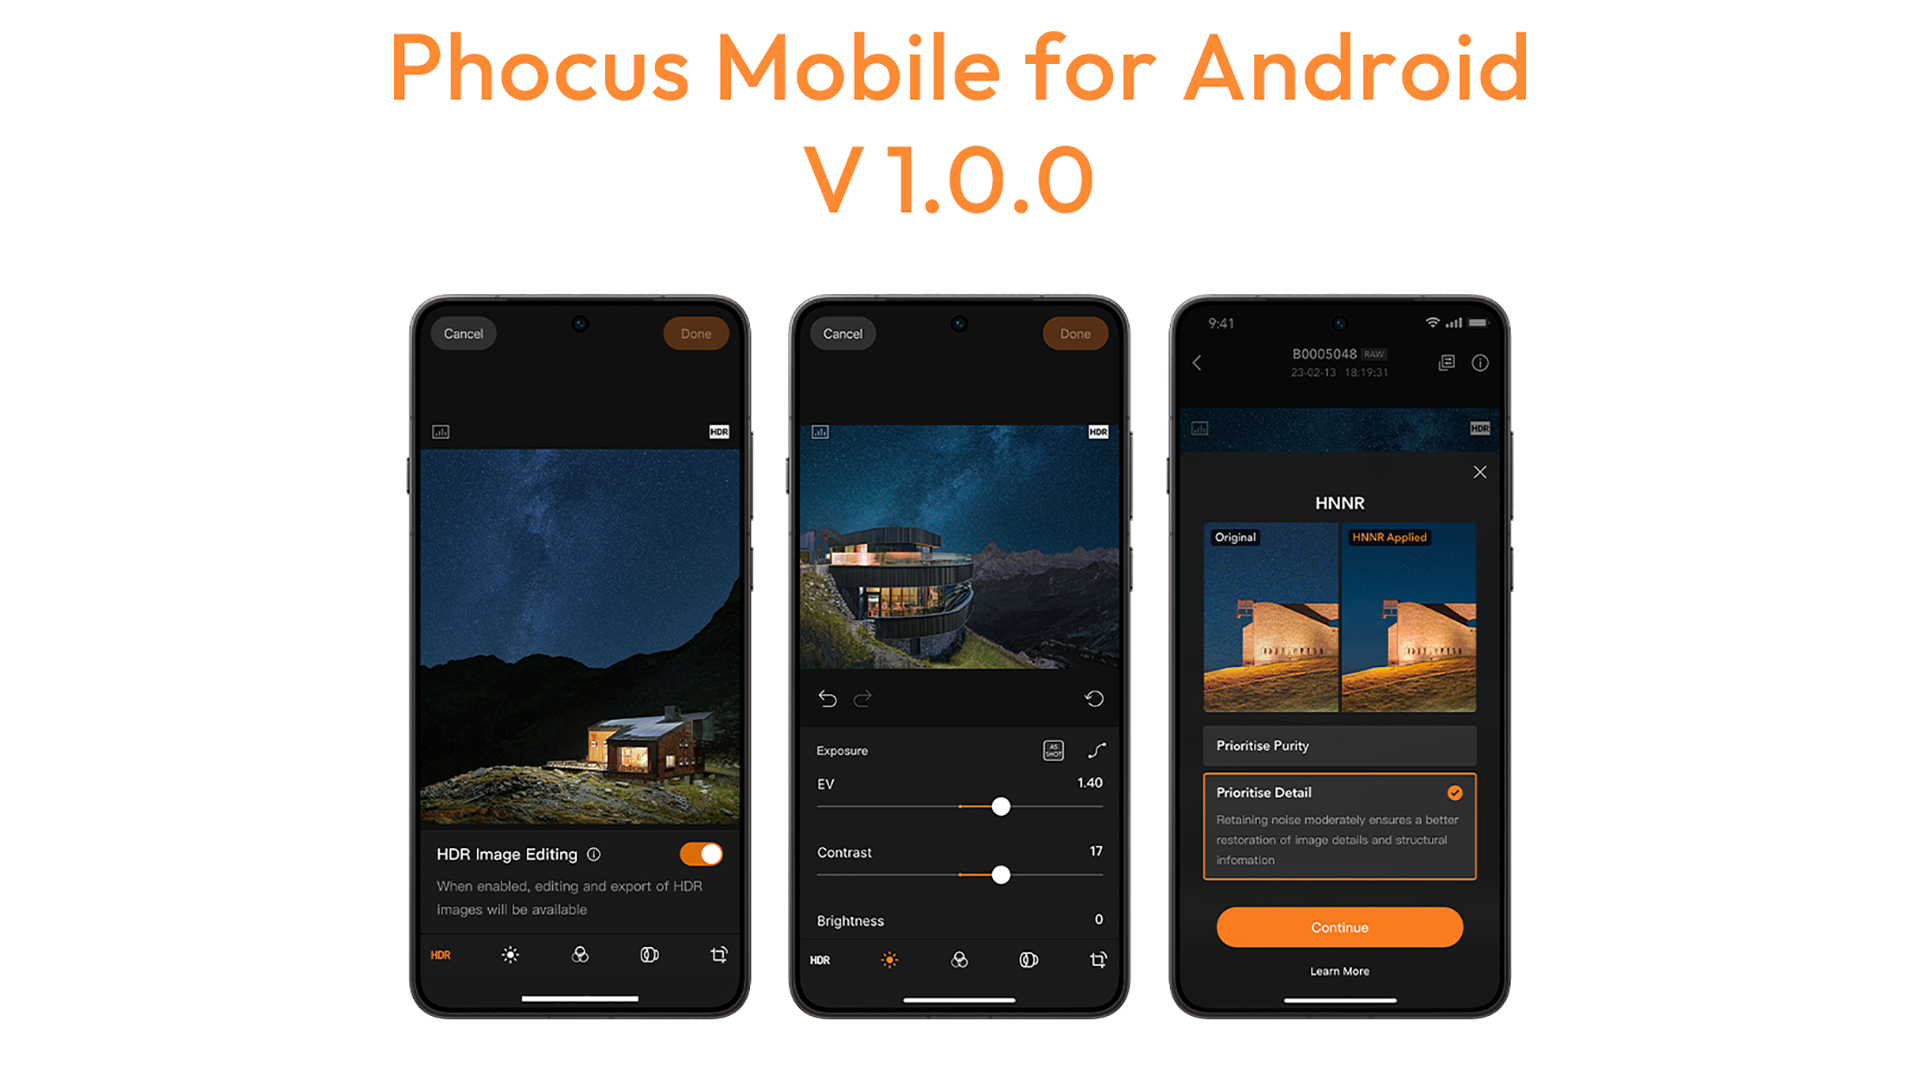
Hasselblad’s Phocus Mobile App Finally Comes to Android
Jul 16, 2026
Dunja Đuđić Kalinin
Hasselblad has released Phocus Mobile 1.0.0 for Android, bringing its Hasselblad mobile app to Android users for the first time. It’s available now for the…

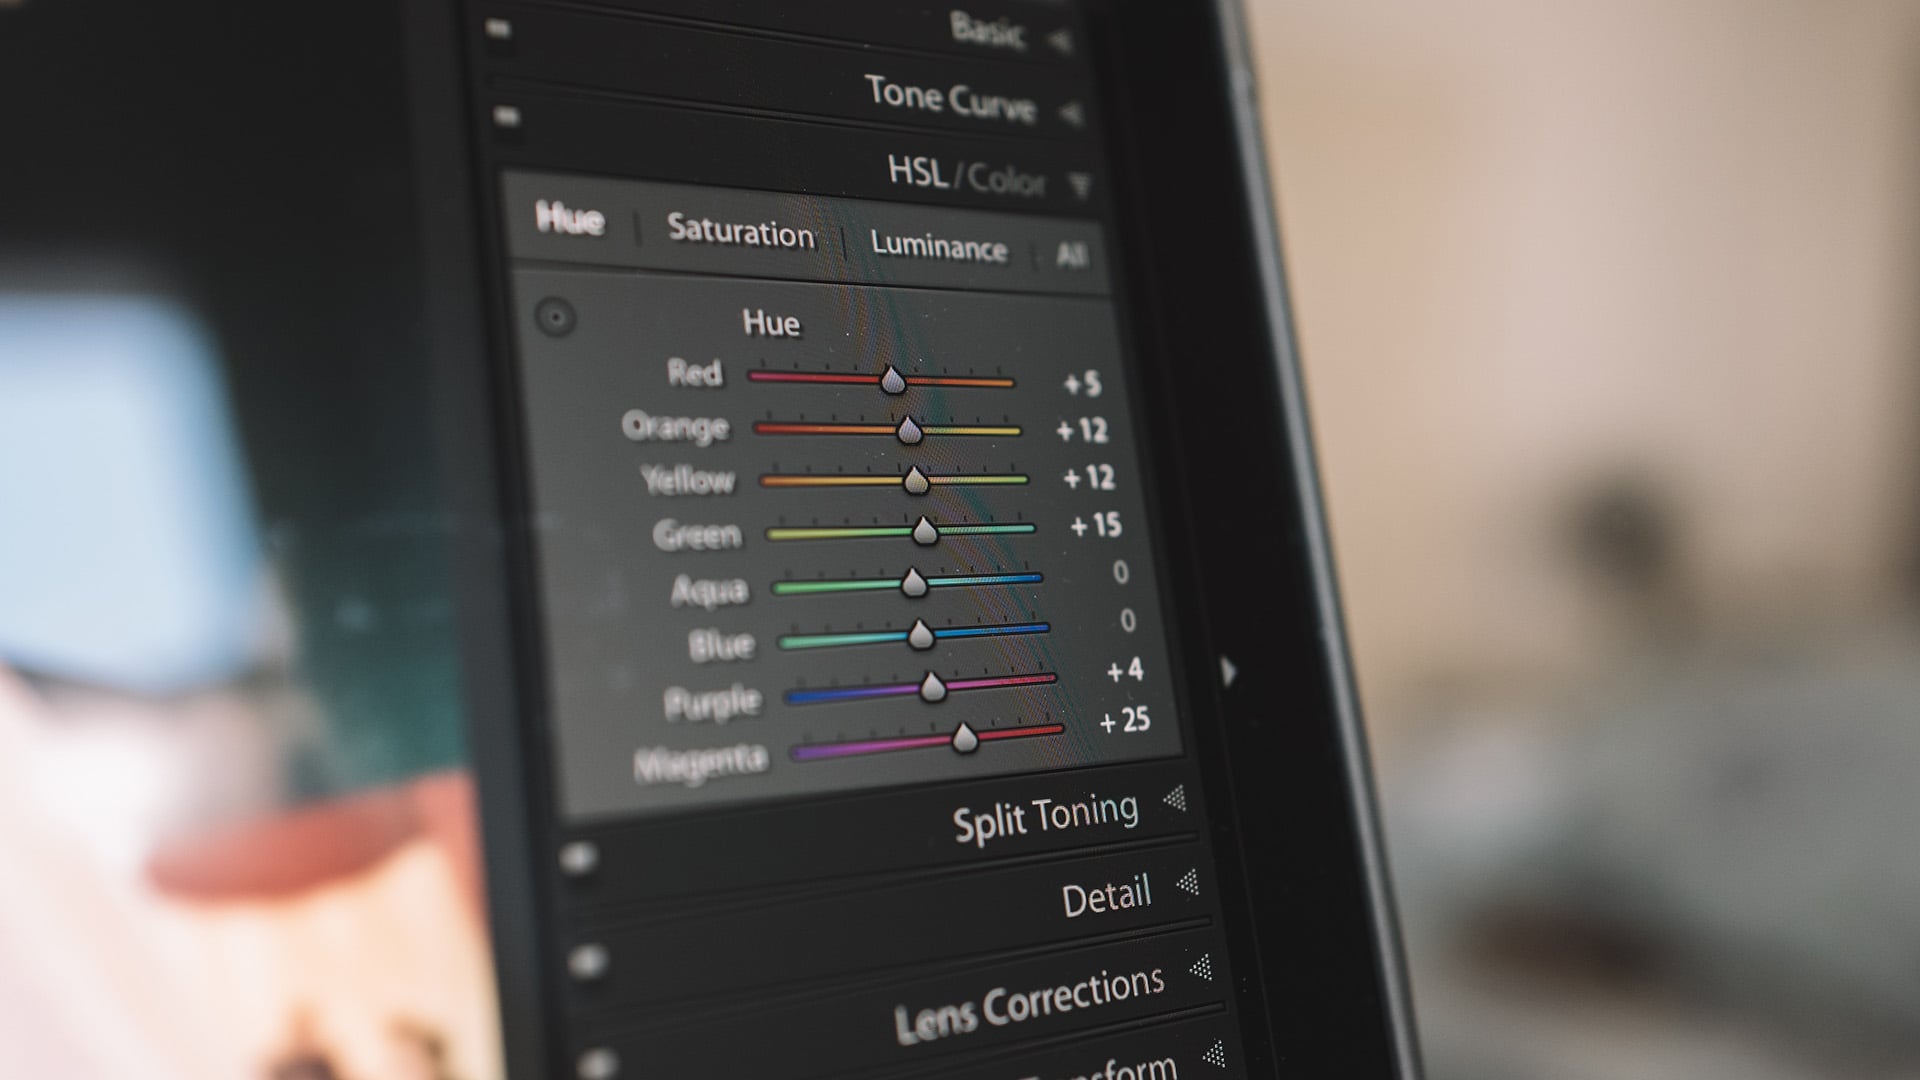
Lightroom or Photoshop: Do You Need to Use Both?
Jun 25, 2026
Dunja Đuđić Kalinin
Confused about the difference between Lightroom vs Photoshop? Here’s where they differ and look alike, what each does best, and whether you need both.
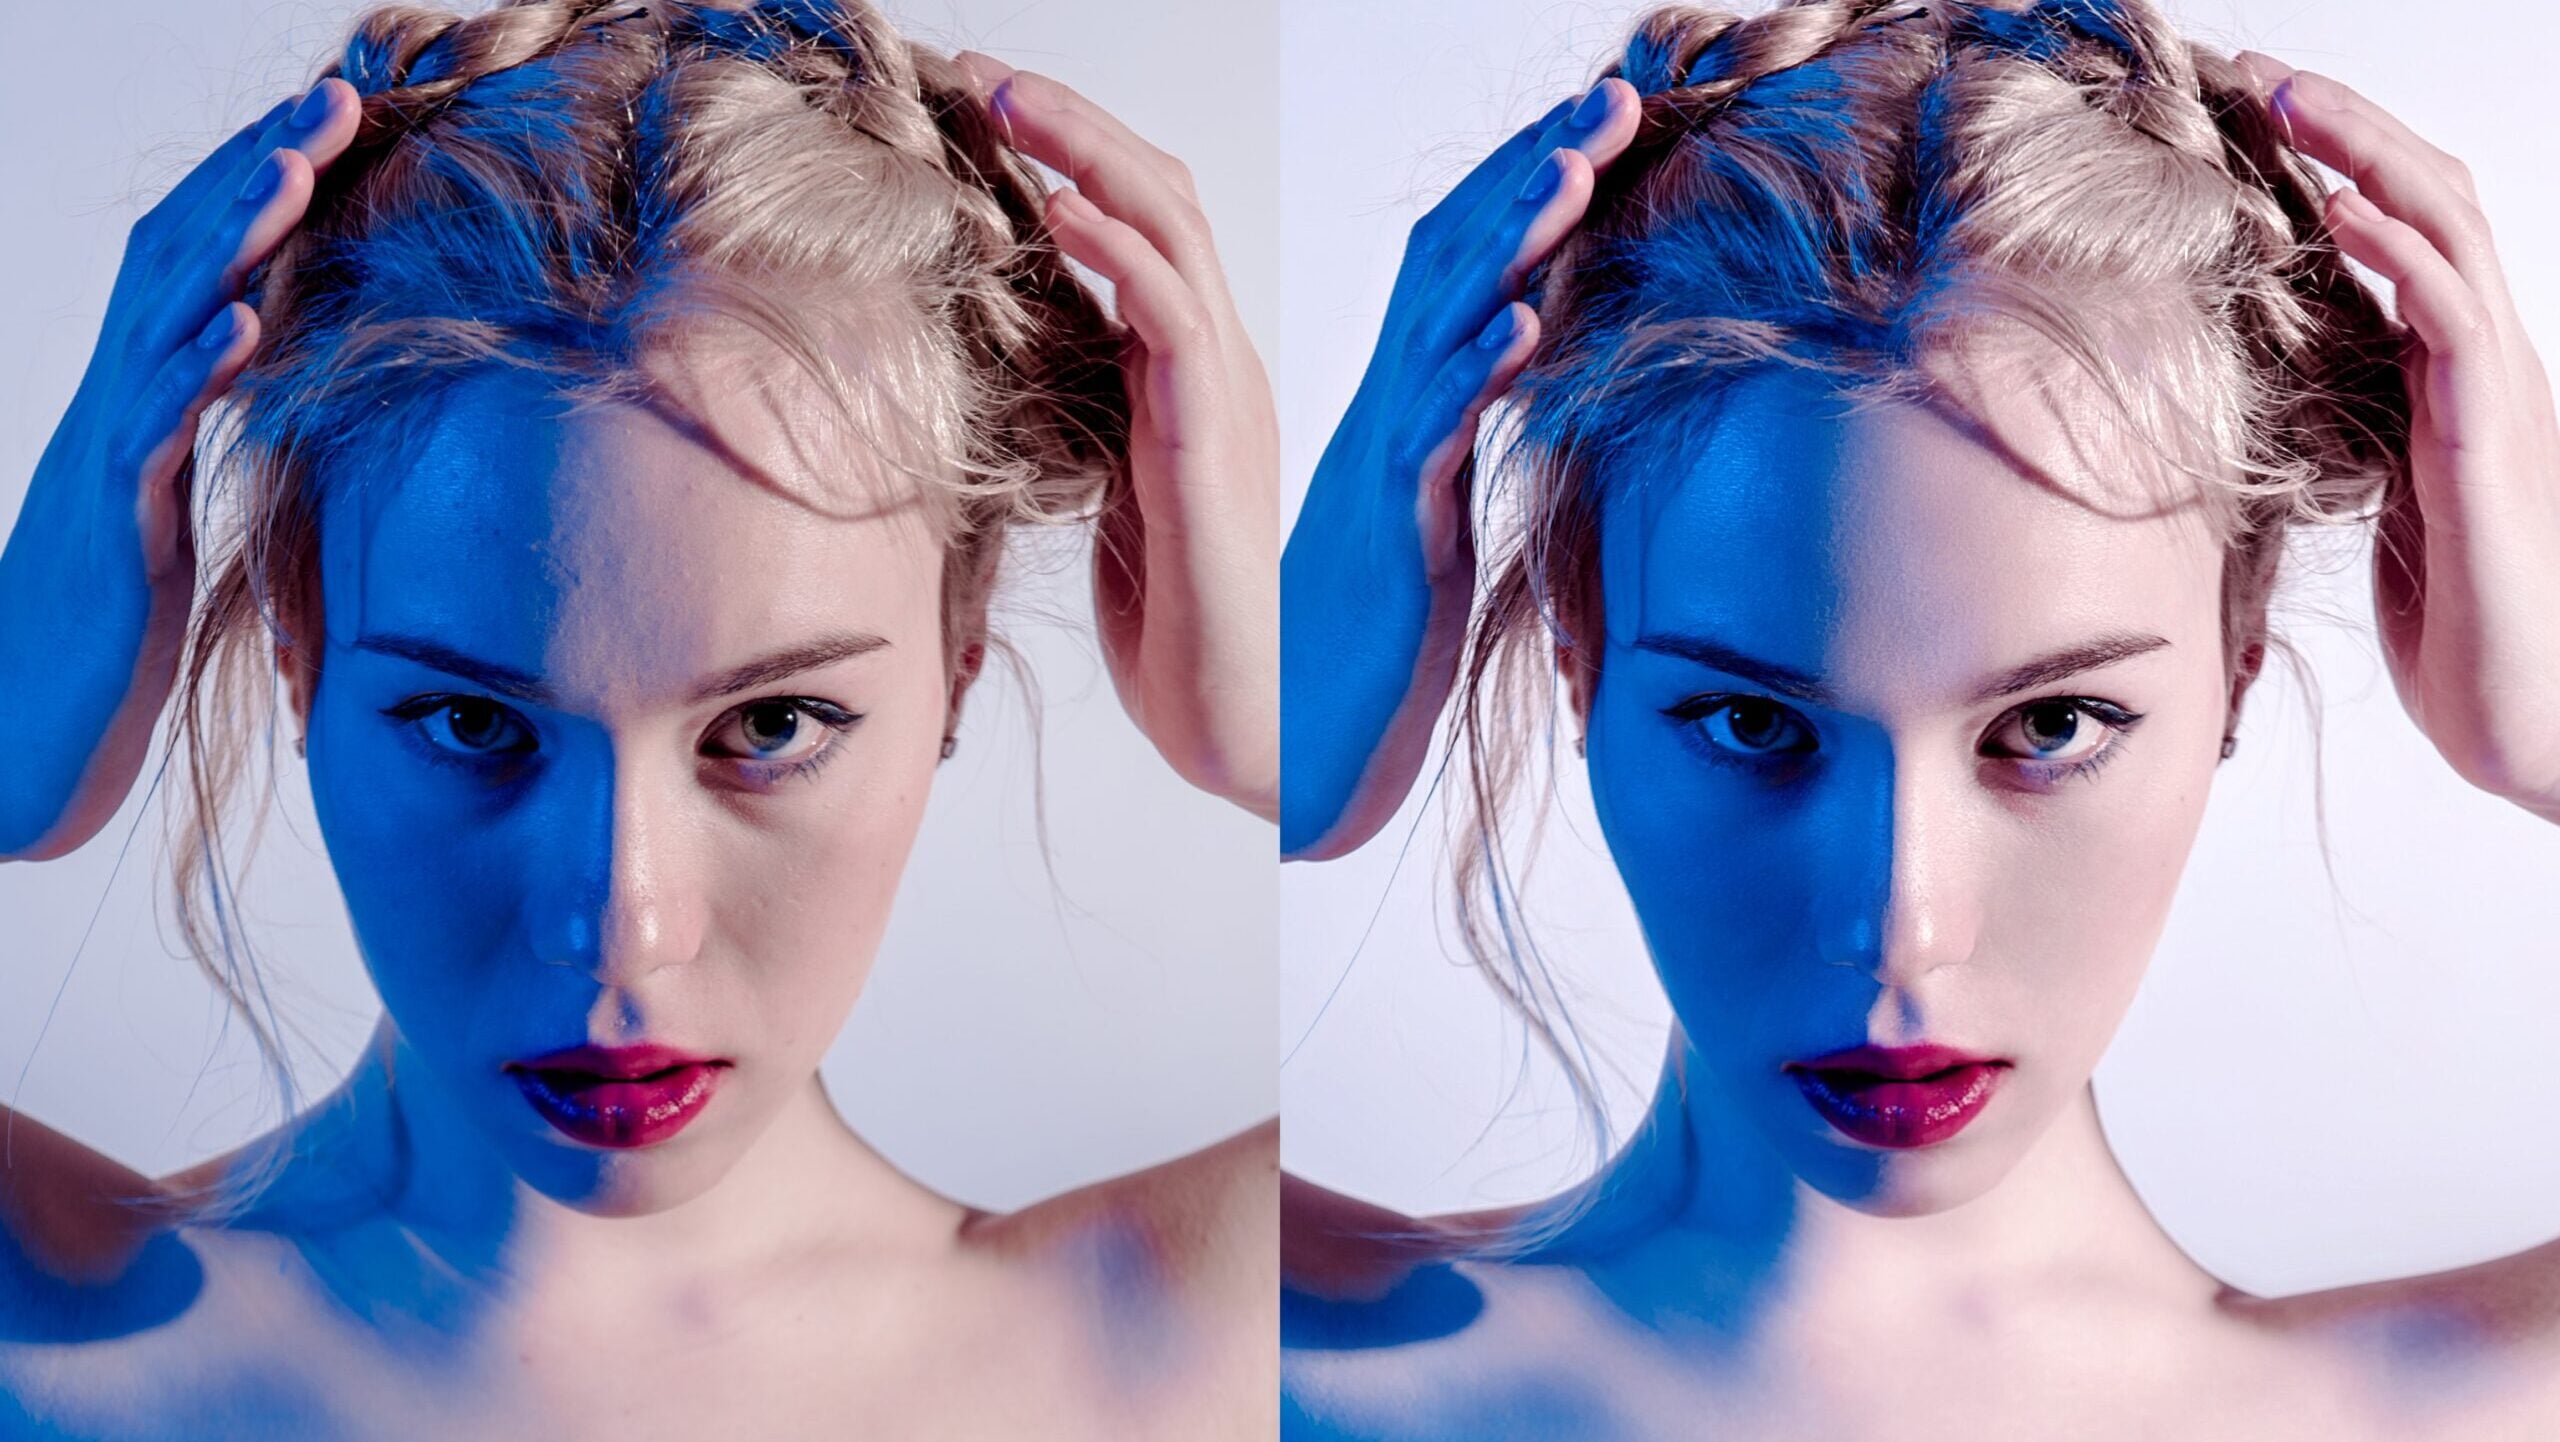
This Retouching Method Beats Any AI Editing Tool
Jun 1, 2026
Dunja Đuđić Kalinin
If you’re new to photography and retouching, perhaps you’re wondering: why bother learning to retouch by hand when AI can do it in seconds? It’s…

Apple Catches Up in AI Photo Editing With New Photos App Features in iOS 27
Apr 30, 2026
Alysa Gavilan
Apple expands its Photos app with AI editing tools in iOS 27, including Extend, Enhance, Reframe, and Clean Up under Apple Intelligence features.

Luminar 1.27 Update Makes Your (Self)Portraits Look Like You Slept Just Fine
Apr 16, 2026
Dunja Đuđić Kalinin
Skylum has released Luminar 1.27, an update squarely aimed at portrait photographers. The biggest additions are to Skin AI and Face AI, and they should…
Make Lightroom Editing Faster and More Efficient With These Five Tweaks
Mar 14, 2026
Dunja Đuđić Kalinin
Lightroom has almost endless possibilities for optimizing your editing workflow. In his latest video, Jeff Ascough of Walk Like Alice shares five simple things he…

DxO PureRAW 6 Released: AI Noise Reduction and Sensor Dust Cleanup for RAW Files
Mar 3, 2026
Alysa Gavilan
DxO releases PureRAW 6 with DeepPRIME XD3 for Bayer sensors, AI-powered sensor dust removal, and high-fidelity DNG compression, streamlining RAW photo workflows.

Snapseed’s New iOS Update Brings Built-In Camera for Real-Time Editing
Feb 24, 2026
Alysa Gavilan
Snapseed’s iOS update adds an in-app camera with manual controls, live film emulation, and non-destructive editing, turning your iPhone into a full mobile photography studio.

How to Create Film-Like Digital Photos Without Losing Quality
Feb 10, 2026
Alysa Gavilan
Learn how to make your digital photos look like film with soft highlights, natural tones, and rich colors.

VSCO’s New Prompt Feature Lets You Describe Edits in Words
Feb 2, 2026
Alysa Gavilan
VSCO’s Prompt lets photographers edit images using natural language commands, combining creative vision with AI-powered automation for faster, precise edits.