


Make Lightroom Editing Faster and More Efficient With These Five Tweaks
Mar 14, 2026
Dunja Đuđić Kalinin
Dunja Djudjic is a multi-talented artist based in Novi Sad, Serbia. With 15 years of experience as a photographer, she specializes in capturing the beauty of nature, travel, concerts, and fine art. In addition to her photography, Dunja also expresses her creativity through writing, embroidery, and jewelry making.
Share:
Lightroom has almost endless possibilities for optimizing your editing workflow. In his latest video, Jeff Ascough of Walk Like Alice shares five simple things he does in Lightroom that make editing faster and less stressful. None of these tips involves complicated techniques or hidden tools. Instead, Jeff focuses on small workflow improvements that help keep Lightroom organized and efficient, and make editing more enjoyable.
1. Organize Your Catalog
Jeff says photographers often debate whether it’s better to use one large catalog or several smaller ones. Recently, he switched to a single catalog because it makes it easier to search for photos taken across multiple years.
With modern versions of Lightroom, large catalogs don’t really affect performance anymore. What matters more is where the catalog is stored. Jeff warns that placing it on a slow mechanical drive can seriously slow Lightroom down. Instead, he recommends using a fast SSD, ideally an NVMe drive. Keeping the catalog on a fast drive ensures Lightroom runs smoothly, especially when working with large image libraries.
When Jeff combined his older catalogs into one, things initially became messy. To fix that, he organized everything using collection sets. He created a set for each year and added a smart collection that automatically gathers images taken during that year. From there, he breaks those groups down further into regular collections based on locations or shoots. This structure keeps the catalog organized while still making it easy to find images.
2. Simplify The Workspace
Jeff believes Lightroom works best when the interface is as simple as possible, and I couldn’t agree more. The idea is to remove anything you don’t use so the tools you need are easy to access.
He cleaned up the module bar at the top of Lightroom. By right-clicking it, you can hide everything you don’t regularly use, and for Jeff it was everything except Library and Develop. Inside the Library module, he also hides panels he doesn’t need and enables Solo Mode. This automatically collapses other panels when you open one, which keeps the interface tidy. I did this a few years ago as well, and I do it in every software that allows it as I’m easily distracted.
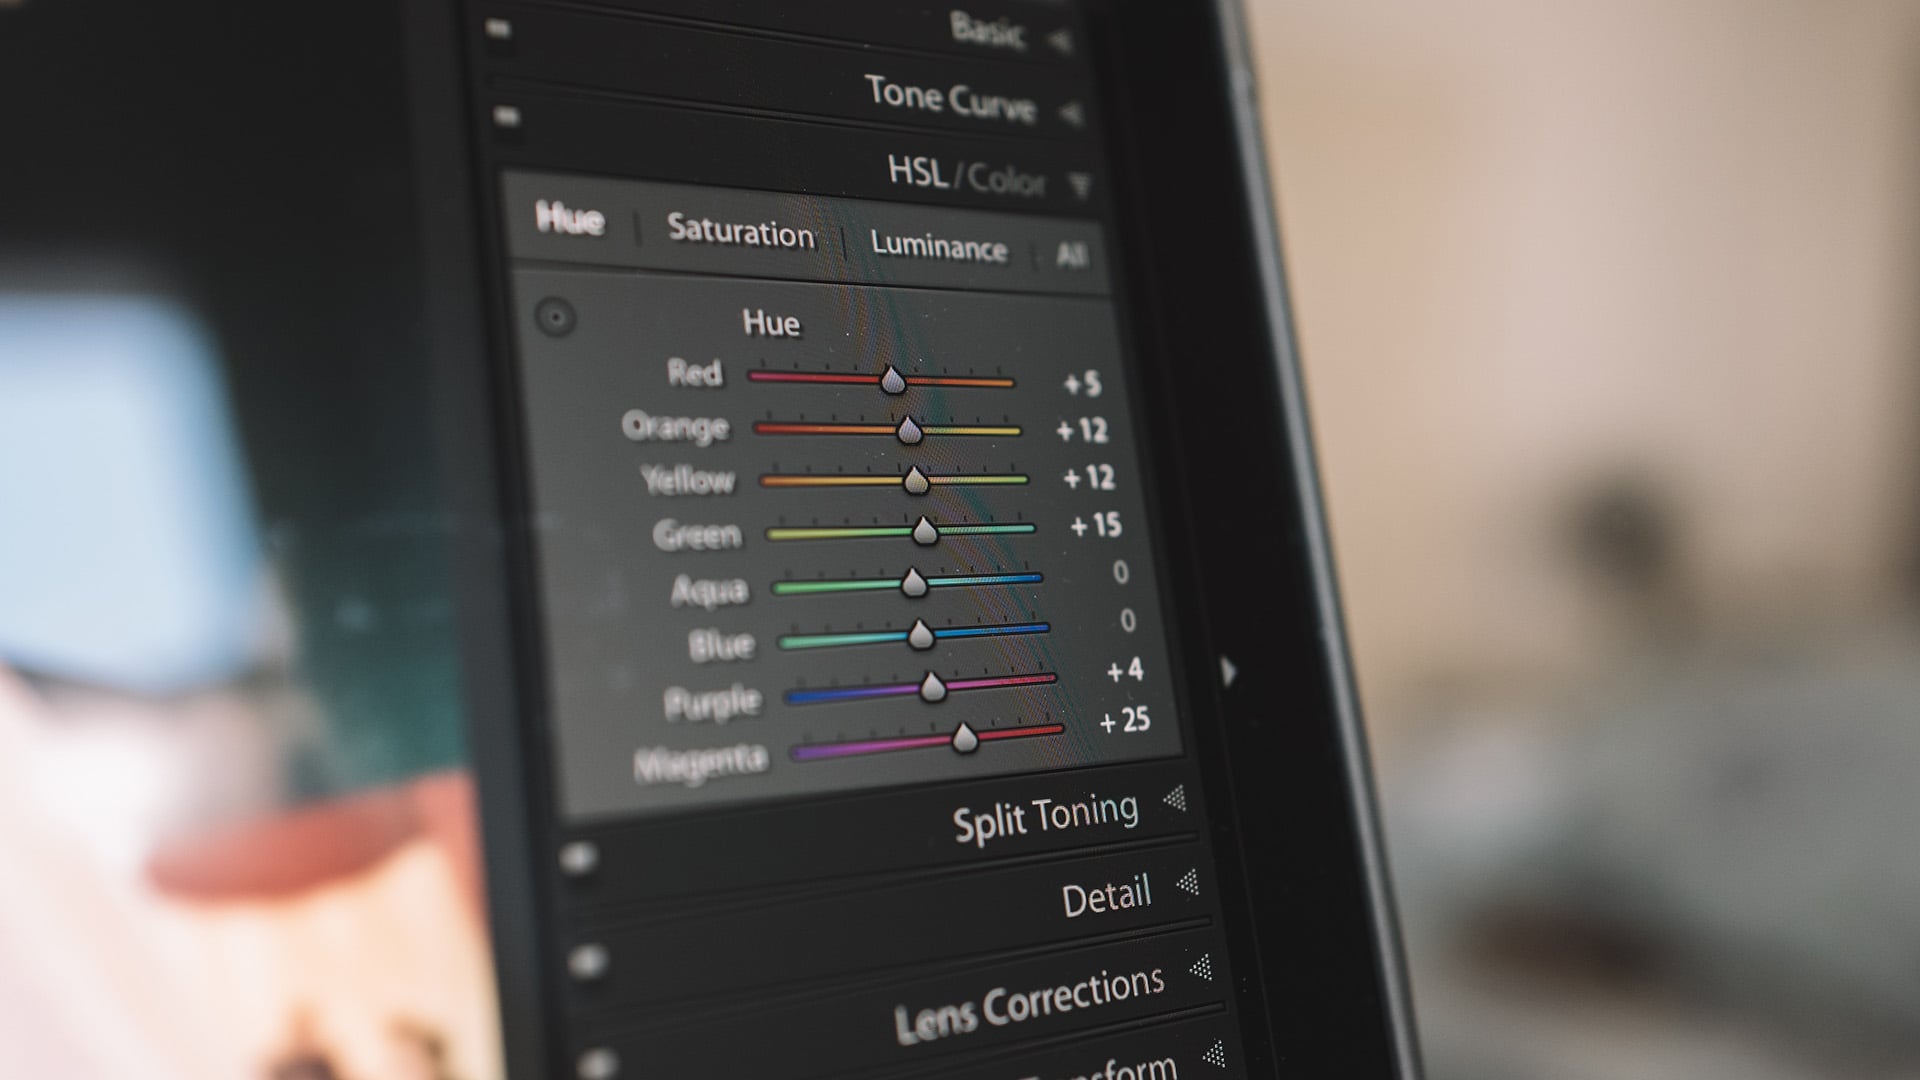
You can customize the Develop module as well. Lightroom allows you to hide editing panels you rarely use and move important ones higher in the panel. Jeff removes tools he doesn’t rely on so the adjustments he uses most are always easy to reach.
He also changes the background color of the workspace depending on the project. If a photo will appear on a dark layout, he edits it against a black background. If the final layout is white, he switches Lightroom to white as well. This helps him judge the final look of the image more accurately.
3. Customize Your Mouse
Jeff also speeds up editing by mapping Lightroom commands to his mouse buttons. He uses a Logitech MX Master 3S and assigns frequently used tools through Logitech’s Options Plus software. This reduces the need to constantly reach for the keyboard. I’ve never thought of this, but it sounds pretty clever!
For example, pressing the middle mouse button activates the brush tool, while the scroll wheel adjusts the brush size. A thumb button acts as the Shift key, allowing Jeff to adjust brush feathering with the wheel. Jeff also uses the mouse’s thumb wheel to quickly switch between before-and-after views. These are some of his examples, and if this sounds appealing to you, you can figure out your own mouse button layout.
4. Set White Balance
Getting white balance right is one of the crucial editing steps, even for those who mainly work in black and white. Many photographers rely on auto white balance, but this can create inconsistencies. If a strong color appears in the frame, the camera may compensate differently, which can lead to slight color shifts between images taken in the same lighting.
This is why Jeff prefers setting white balance manually. This ensures that color is determined by the light source rather than the colors inside the frame, resulting in more consistent images.
In his workflow, all cameras are set to daylight white balance. If he uses a different camera body, he sets both cameras to around 5500 Kelvin so the colors match as closely as possible.
Consistent white balance also saves time during editing, especially when working with large batches of images.
5. Evaluate Before Editing
Lightroom offers many editing tools, which can make it tempting to start adjusting everything right away. Jeff recommends taking a moment to evaluate the image first.
He shares his process in the video. It starts with him looking at the histogram and identifying which areas actually need correction. If the histogram already looks balanced, the image may only need small adjustments.
One easy way to keep edits under control is to regularly check the before-and-after view. It’s another thing I regularly do, and it helps me avoid over-editing. Also, by evaluating the photo first, you can avoid unnecessary edits and keep your workflow much simpler and faster.
Together, these five tips focus on efficiency and are pretty simple to incorporate. And remember, they’re only a few of many possible solutions you can apply to Lightroom to make editing faster and more enjoyable. Have you already applied any of these tweaks? Or if you have your own go-to tips to offer – I’m listening!
[5 Things I Do to Make Editing Easier in Lightroom via FStoppers]

Dunja Đuđić Kalinin
Dunja Djudjic is a multi-talented artist based in Novi Sad, Serbia. With 15 years of experience as a photographer, she specializes in capturing the beauty of nature, travel, concerts, and fine art. In addition to her photography, Dunja also expresses her creativity through writing, embroidery, and jewelry making.


Join the Discussion
DIYP Comment Policy
Be nice, be on-topic, no personal information or flames.