


Adobe Lightroom

Lightroom or Photoshop: Do You Need to Use Both?
Jun 25, 2026
Dunja Đuđić Kalinin
Confused about the difference between Lightroom vs Photoshop? Here’s where they differ and look alike, what each does best, and whether you need both.
Make Lightroom Editing Faster and More Efficient With These Five Tweaks
Mar 14, 2026
Dunja Đuđić Kalinin
Lightroom has almost endless possibilities for optimizing your editing workflow. In his latest video, Jeff Ascough of Walk Like Alice shares five simple things he…

VSCO Film 02 Lightroom Presets Are Back — Price, Features, and, Subscription Details
Feb 16, 2026
Anzalna Siddiqui
I remember when Instagram was in its prime. Back before it turned into a space for vertical videos and shopping ads, we loved making our…

Struggling with Lightroom’s Subject Mask? Try This Instead
Jan 1, 2026
Dunja Đuđić Kalinin
If you struggle selecting your subject using Lightroom’s Subject Mask, Christian Möhrle, aka The Phlog Photography, shares a better way: Lightroom’s Object Selection Mask. It will…

Lightroom’s New Point Color Variance Tool Fixes Uneven Landscape Colors
Dec 19, 2025
Anzalna Siddiqui
As photographers, we often focus on the significant aspects: composition, ideal lighting, and achieving sharp focus. You may feel confident that you’ve captured the perfect…

Cut Through Your Photo Library Faster with Excire’s Updated AI Tools
Nov 24, 2025
Alex Baker
If you’ve ever spent hours managing a large photo library, you know how tedious it can be. Excire’s new releases, Excire Search 2026 for Lightroom…

Lightroom Color Grading: Split Toning and Color Wheels for Mood
Nov 10, 2025
Darlene Lleno
Lightroom color grading uses split toning and color wheels to add mood and atmosphere to your photos through precise control over highlights, midtones, and shadows. This guide covers the color grading panel, classic split toning combinations, advanced techniques with HSL and masking, and genre-specific approaches to help you develop a consistent signature style.
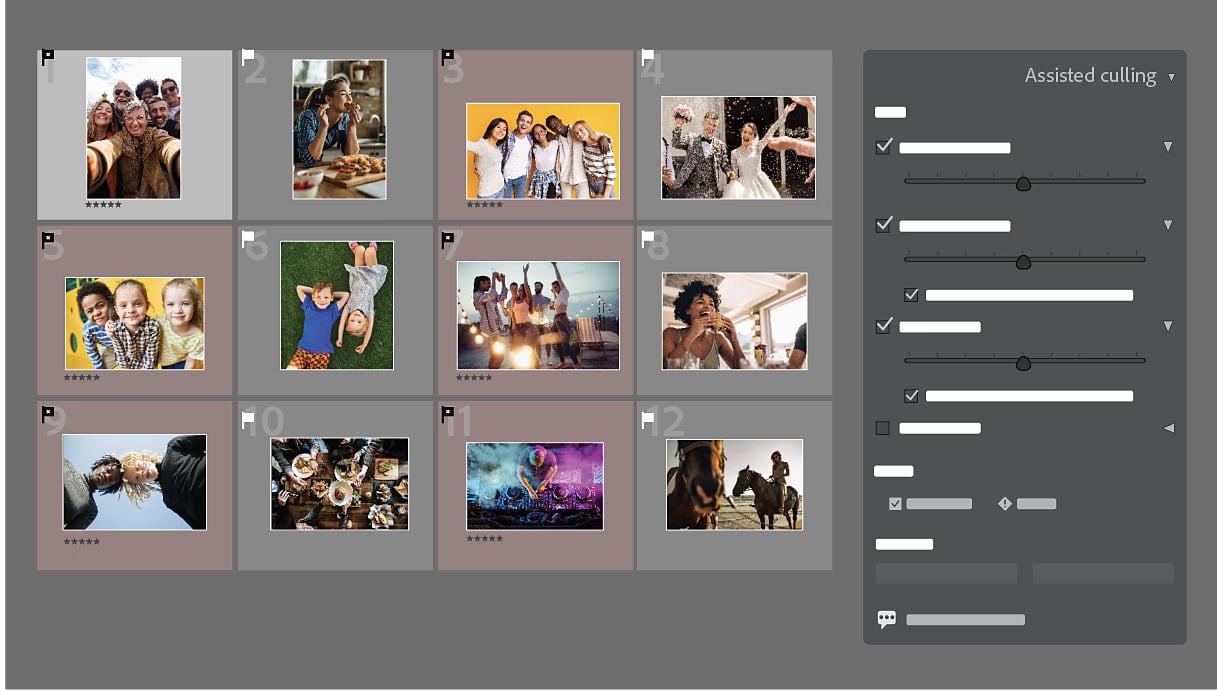
The Lightroom Update You’ve Been Waiting For: Assisted Culling, Auto Stacking & More
Nov 6, 2025
Alysa Gavilan
Lightroom Classic October 2025 update is here! Discover Assisted Culling, Auto Stacking, smarter Dust Removal, color precision tools, and performance boosts that make photo editing faster, cleaner, and more addictive.

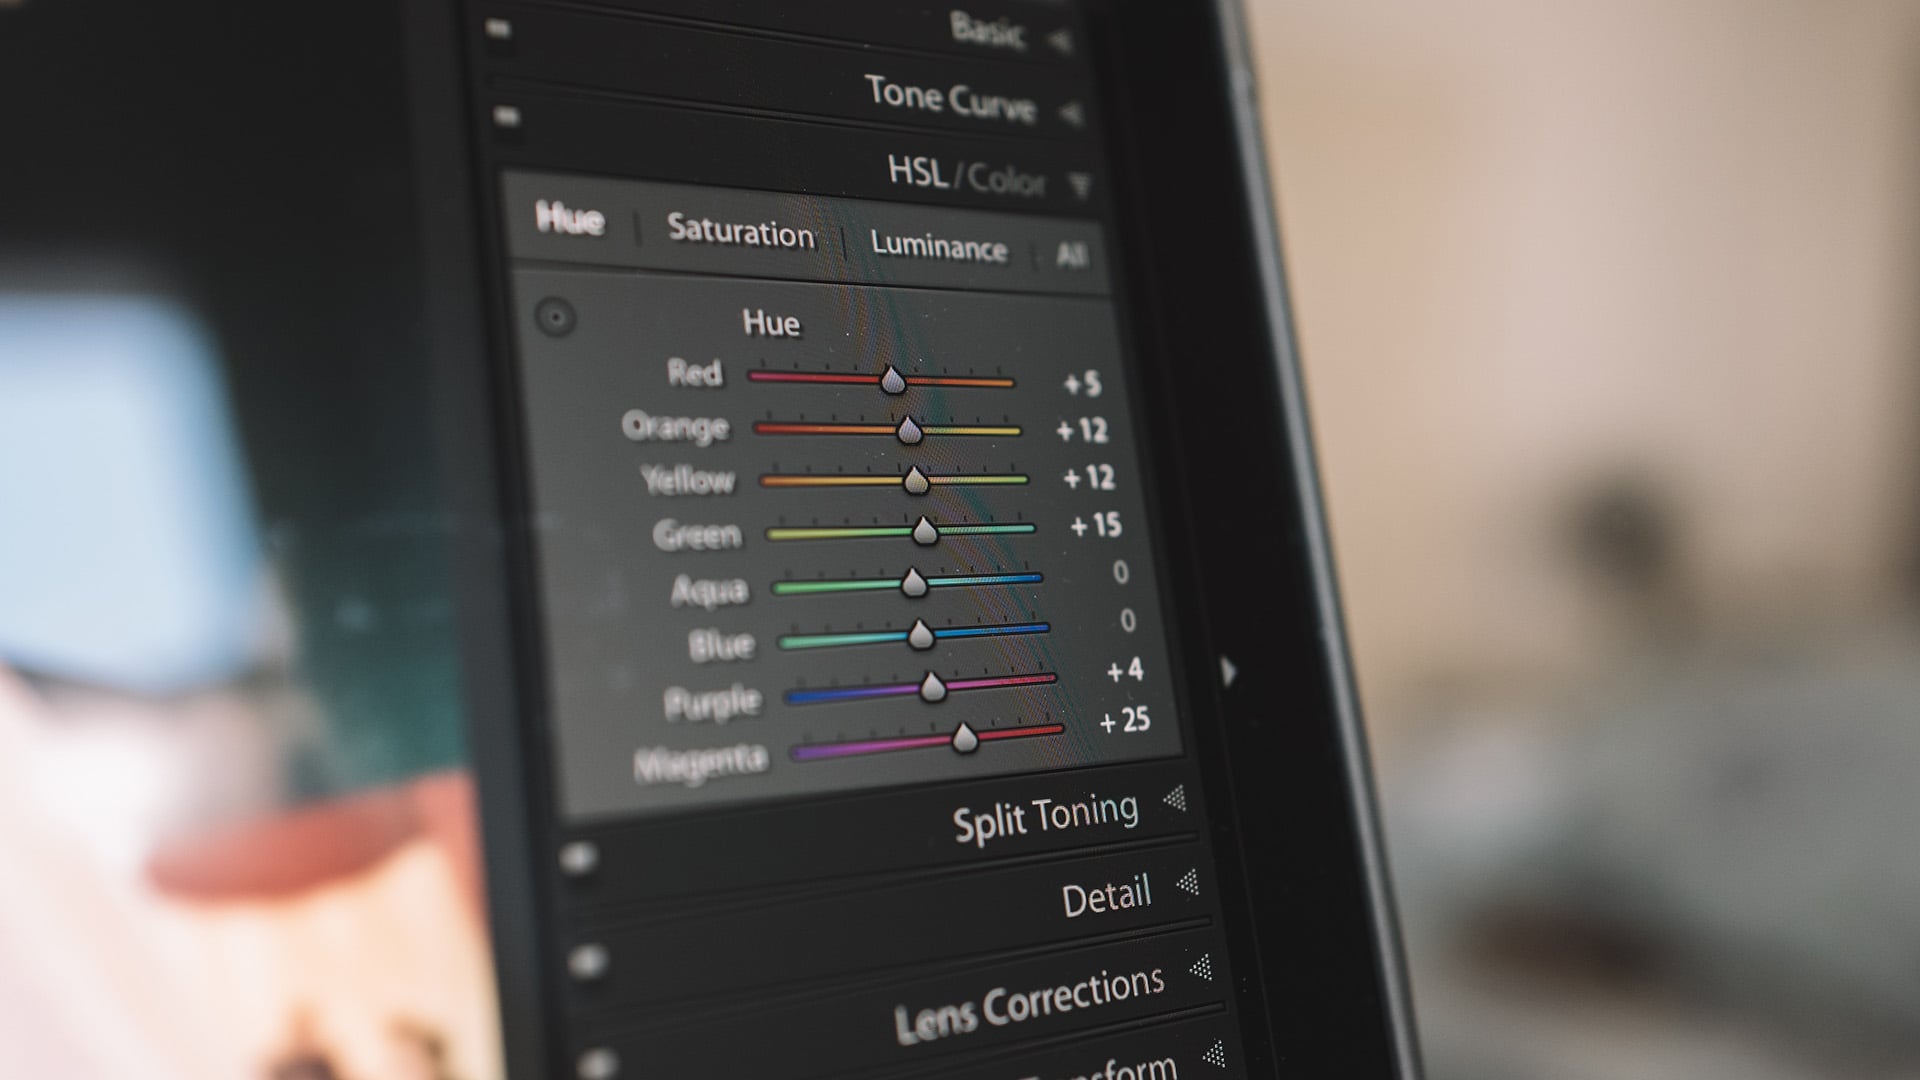
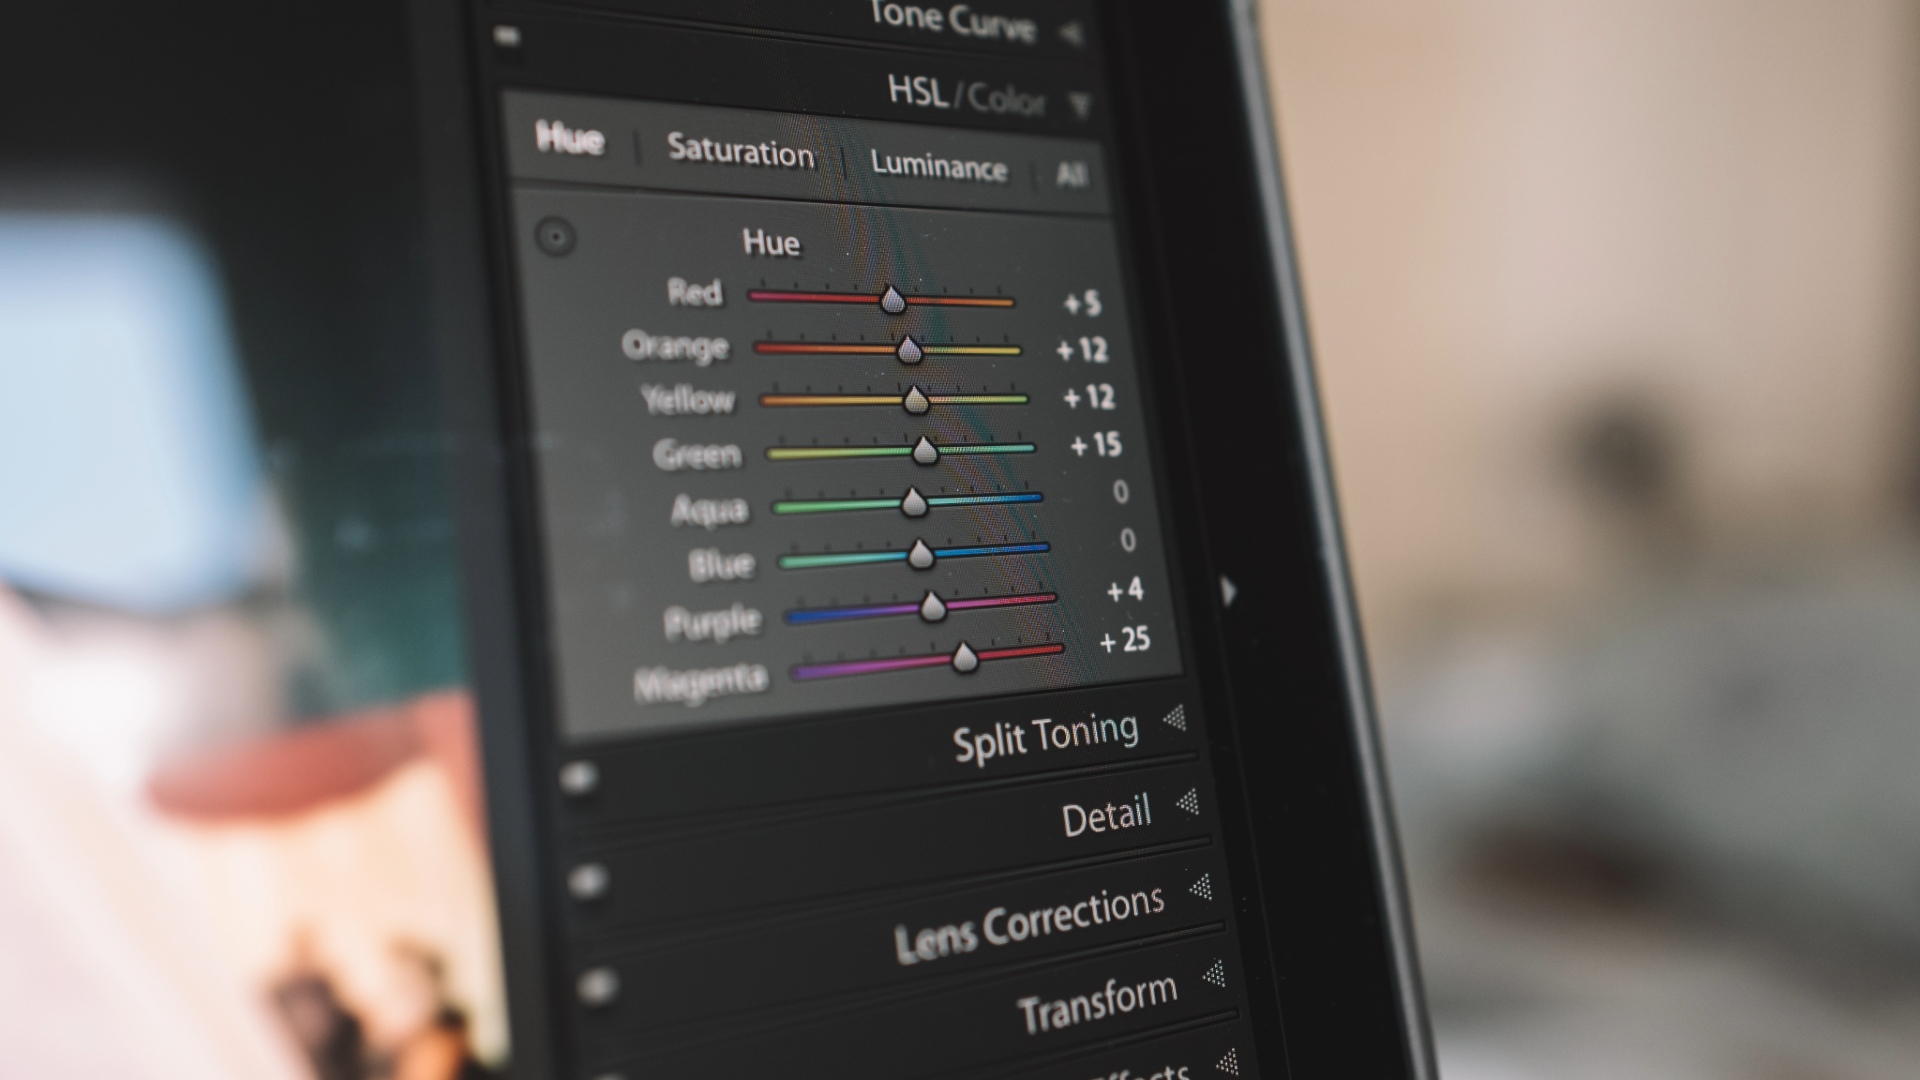
Lightroom’s New Color Variance Slider: A Game-Changer for Photo Editing
Nov 3, 2025
Anzalna Siddiqui
When Adobe reveals new features at their Max conference, as a loyal Lightroom user, you sit there hoping for something that could really enhance your…
Use This Lightroom Masking Trick to Instantly Bring Focus to Your Subject
Oct 15, 2025
Anzalna Siddiqui
The reality is that even a great photo can seem dull if you haven’t effectively set your subject apart from the background during editing. This…