


Lightroom’s New Point Color Variance Tool Fixes Uneven Landscape Colors
Dec 19, 2025
Anzalna Siddiqui
A psychology major in her third year of Bachelor’s, Anzalna Siddiqui has endless curiosity for the human mind and a deep love for storytelling – both through words and visuals. Though she hasn’t taken up photography as a profession, her Instagram is where her passion finds its home. In addition to this, she’s a travel enthusiast who never travels without her camera because every place has a story waiting to be captured.
Share:
As photographers, we often focus on the significant aspects: composition, ideal lighting, and achieving sharp focus. You may feel confident that you’ve captured the perfect moment. However, once you sit down at your computer to edit, something seems off. That stunning image you took doesn’t quite translate well on screen, appearing flat and a bit artificial.
Unbeknownst to you, you’ve been battling a subtle issue that Lightroom has quietly resolved. Mark Denney discusses this in his recent video. He points out that Lightroom’s New Point Color Variance tool addresses a significant gap in color control that many landscape editors have faced for years.
Mark suggests that this new tool offers essential control that could change how you handle color adjustments, especially in those colorful landscape shots you enjoy capturing. It seems Adobe is committed to providing photographers with the detailed control they need to enhance their images.
The Frustrating Reality of Color Variation in Landscape Photography
Mark explains that when you change colors globally, such as making all the greens more vibrant, Lightroom adjusts every green shade uniformly. This creates a problem. Landscapes are naturally complex and have many different shades, which Mark refers to as “micro variations.” Think about a grassy field: there are dark emerald greens, lighter yellowish-greens, and shadowy teal-greens.
Adjusting all these colors at once can flatten your image, causing you to lose those subtle differences and textures. This often results in a “blotchy, overcooked look” that you’ve probably tried to fix many times with local adjustments and masking. You find yourself battling against your edits, trying to even out those uneven saturation areas.
Now, there’s a new tool called Lightroom’s New Point Color Variance tool, which Mark suggests is the solution to this problem. He says it helps differentiate those subtle color variations, smooth out patchy saturation, and restore depth to flat images. Personally, I believe this kind of precision is what was lacking before. It appears that Adobe wants you to move beyond basic fixes and become more detailed with your color adjustments.
Finding the Variance Slider: A Needle in the Digital Haystack
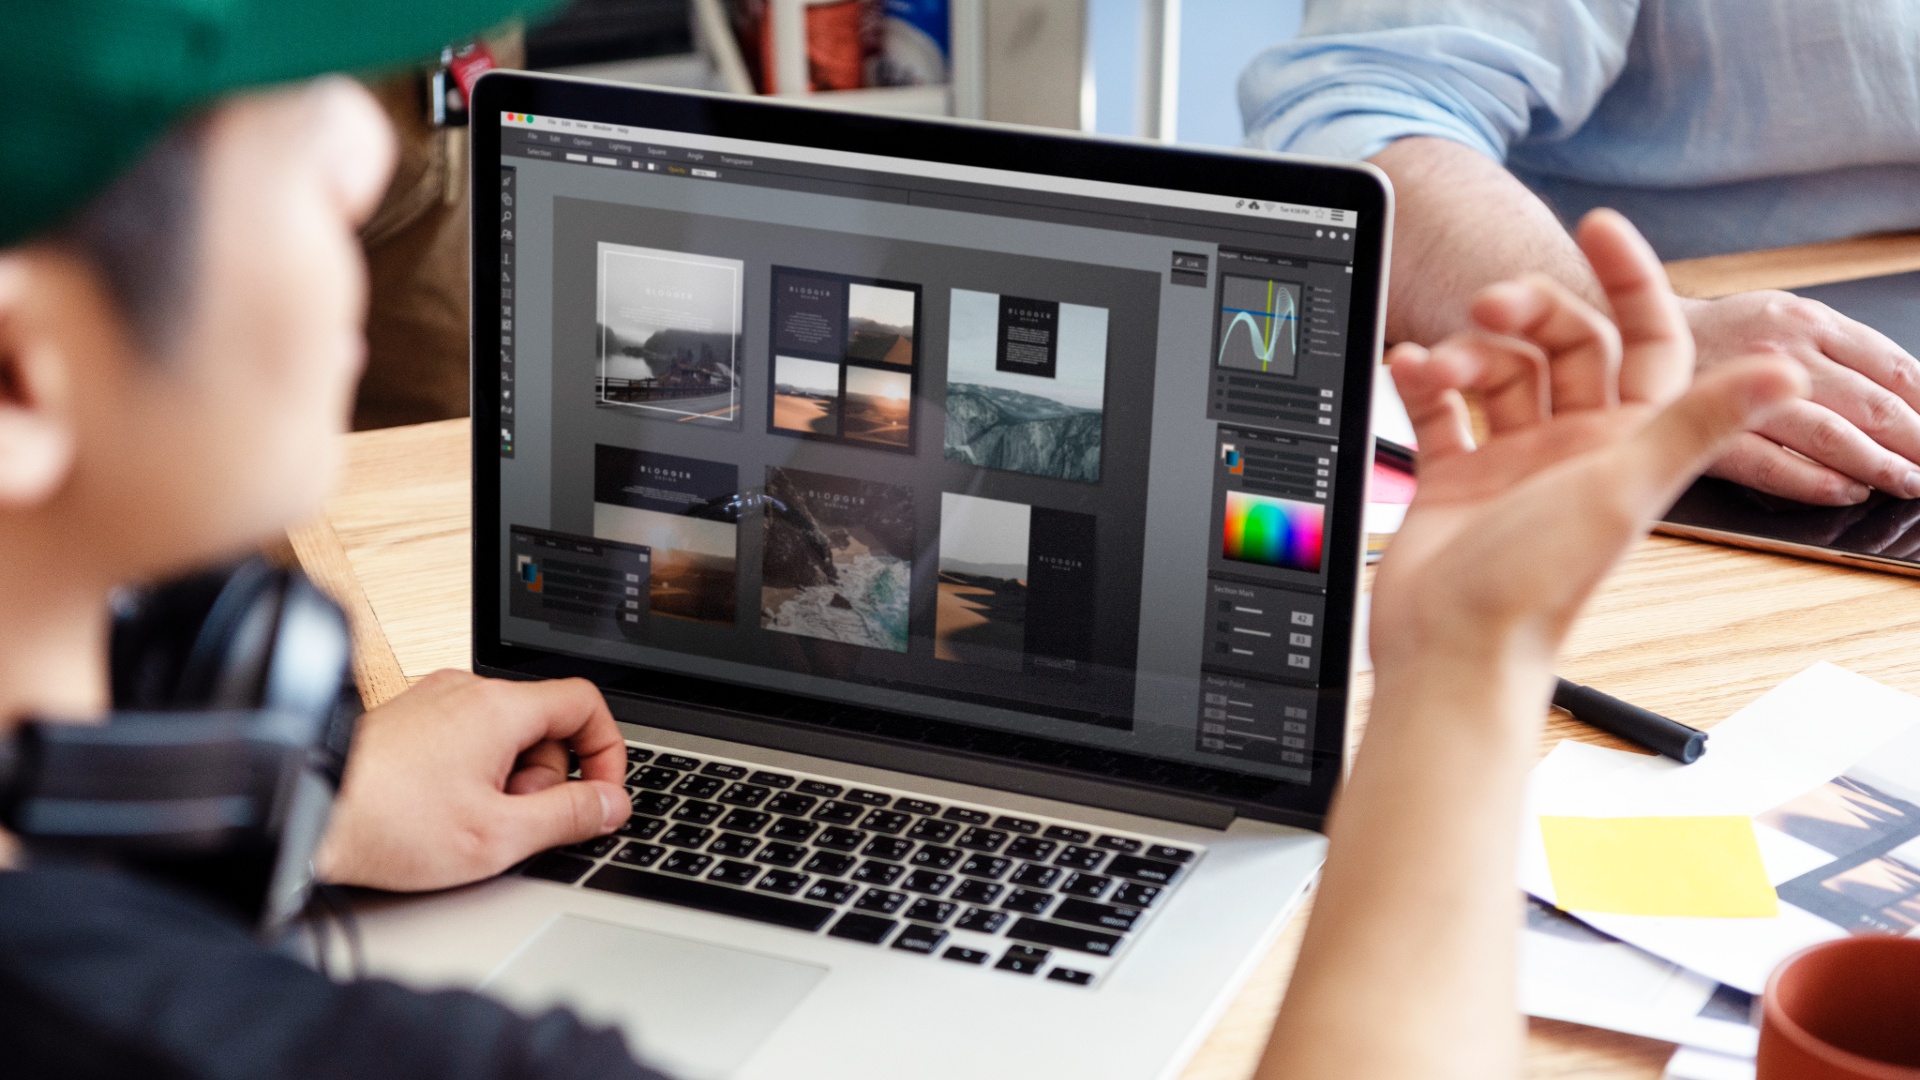
Lightroom’s New Point Color Variance Tool is hidden in the Develop module, where all the essential tools are.
Go to the Color Mixer panel. Once there, click on the Point Color tool. Mark explains that this will change the interface, revealing the familiar Hue, Saturation, and Luminance sliders for your chosen color. If you look closely, you’ll spot the new addition: the Variance slider.
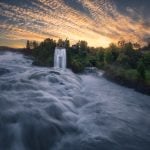
He demonstrates this tool using a stunning autumn scene from Colorado. The image is beautiful, but there’s a problem: a lot of unwanted red on the right side, which distracts from the primary focus of the photo.
With the eyedropper, you can pick an orange hue from the bright fall leaves. Now, you have all the control.
Example 1: Managing Distracting Reds and Achieving Color Consistency
This is where the new tool really excels. Mark points out that Lightroom’s New Point Color Variance Tool controls the spacing between similar colors.
Move to the Left (Negative 100): This is the key to achieving consistency. By setting the slider to a negative value, you instruct Lightroom to group similar colors together. For instance, when Mark adjusts the Variance to the left (like -100), the distracting red on the right shifts closer to the other orange shades. This instantly creates a more cohesive and uniform look across the image.
Move to the Right (Positive 100): This does the reverse. Shifting the slider to a positive value spreads out similar colors, highlighting their differences. Mark demonstrates that this can create a “busy” feeling in the image, making it look cluttered due to emphasized variations.
Mark recommends simplifying your color palette for a more uniform tone, which can make the final photo more calming and enjoyable to view. It’s clear that when a viewer’s gaze isn’t distracted by conflicting colors, you can direct their focus to the main elements of your beautiful composition, subtly downplaying any unwanted reds.
The Game-Changer of Masked Color Control
The ability to make colors consistent globally is impressive, but it becomes even more effective with masking. Mark calls this a “game-changer,” and I agree.
The second example addresses a common issue in wide-angle shots: the sky often appears uneven. You might have noticed that the color of the sky can change significantly, usually being darker at the top and lighter near the horizon. By choosing the blue sky color and adjusting the global Variance slider to the left, you can achieve a more consistent blue tone.
However, Mark highlights a drawback of this global method: the change affects both the sky and the reflection of water. This can lead to the water looking too uniform, which isn’t always desirable and can come off as unnatural.
Here’s where it gets exciting. The Lightroom’s New Point Color Variance Tool can be used with masks.
You can create a Sky Mask to focus on just that area. Inside the mask, you select the blue tone using the Point Color tool. Now, adjusting the Variance slider will only change the sky, allowing you to get a beautifully uniform blue without altering the water below. This targeted approach will enable you to enhance one part of the photo without affecting other areas. It’s a powerful tool for precisely shaping the mood of your scene.
Blending Busy Scenes and Fixing Pre-Peak Foliage
Mark shares two additional engaging examples that highlight the flexibility of this new feature.
In his third image, a vibrant Colorado landscape is featured, showcasing a mix of colors, including reds, yellows, greens, blues, and whites. You choose a yellow shade to create a more harmonious overall look. By sliding the Variance to the left, the colors blend smoothly into a unified image. If you move it to the right, the colors separate, showing how the tool allows you to decide whether to mix or distinguish colors based on your creative needs. Mark illustrates that by achieving the right balance, you can maintain lively colors without the chaotic appearance that can sometimes occur in complex images.
The fourth example features a beautiful fall scene with a waterfall, showcasing the tool’s most impressive ability: correcting timing. Hitting the peak of fall colors can be tricky. In this image, the main tree has lovely yellow leaves, but also some distracting green patches. The aim is to adjust those green areas to match the yellow hue.
Mark offers a helpful tip. When using the eyedropper for the Variance adjustment, pick a lighter or softer version of the color you want to change, rather than the brightest part. After selecting a soft yellow shade, the presenter moves the Variance to the left. The transformation is striking. The green areas in the upper part of the tree nearly vanish. This happens because those green tones are drawn closer to the chosen yellow.
The outcome is impressive. Mark demonstrates that by setting the Variance to a negative value, most of the tree’s leaves assume a smooth, yellow tone. You’ve successfully fixed a timing issue that could have spoiled the shot.
The New Gold Standard for Color Control
Mark emphasizes the importance of Lightroom’s New Point Color Variance Tool, calling it one of Lightroom’s most significant recent upgrades, on par with the major advancements in masking features. I think he has a valid point.
This one slider allows you to:
- Adjust Distracting Colors: Quickly align bold or distracting tones with the rest of your color palette.
- Enhance Uniformity: You can create consistent micro-variations, resulting in a more polished and soothing image.
- Make Precise Changes: Using the Variance slider within masks enables targeted, non-destructive color edits, a significant benefit.
- Correct Color Imbalances: You can shift tough colors (like bright greens) towards your primary color of choice (like vibrant yellows) to create a more balanced image.
Adobe appears to be promoting a new approach to color consistency. It’s not just about enhancing colors. It’s about achieving a smooth flow between them. I think this feature will save you a lot of time on tedious local adjustments that address uneven saturation. You’ll be able to make complex landscapes look refined and intentional, rather than haphazard and overly edited. So, update your Lightroom, locate that slider, and give your colors the unity they need.
[Lightroom Just Fixed a Problem We Never Knew We Had | Mark Denney; Image credits: Envato]

Anzalna Siddiqui
A psychology major in her third year of Bachelor’s, Anzalna Siddiqui has endless curiosity for the human mind and a deep love for storytelling – both through words and visuals. Though she hasn’t taken up photography as a profession, her Instagram is where her passion finds its home. In addition to this, she’s a travel enthusiast who never travels without her camera because every place has a story waiting to be captured.
Related Posts
 Lightroom’s New Color Variance Slider: A Game-Changer for Photo Editing
 The Intersect tool in Lightroom: the ‘secret’ masking tool you definitely need to start using
 We have tested lightroom’s new color grading tool – here is what we think
 8 Minute Photoshop Tutorial: Get To Know The Patch Tool For Fast Fixes
Join the Discussion
DIYP Comment Policy
Be nice, be on-topic, no personal information or flames.