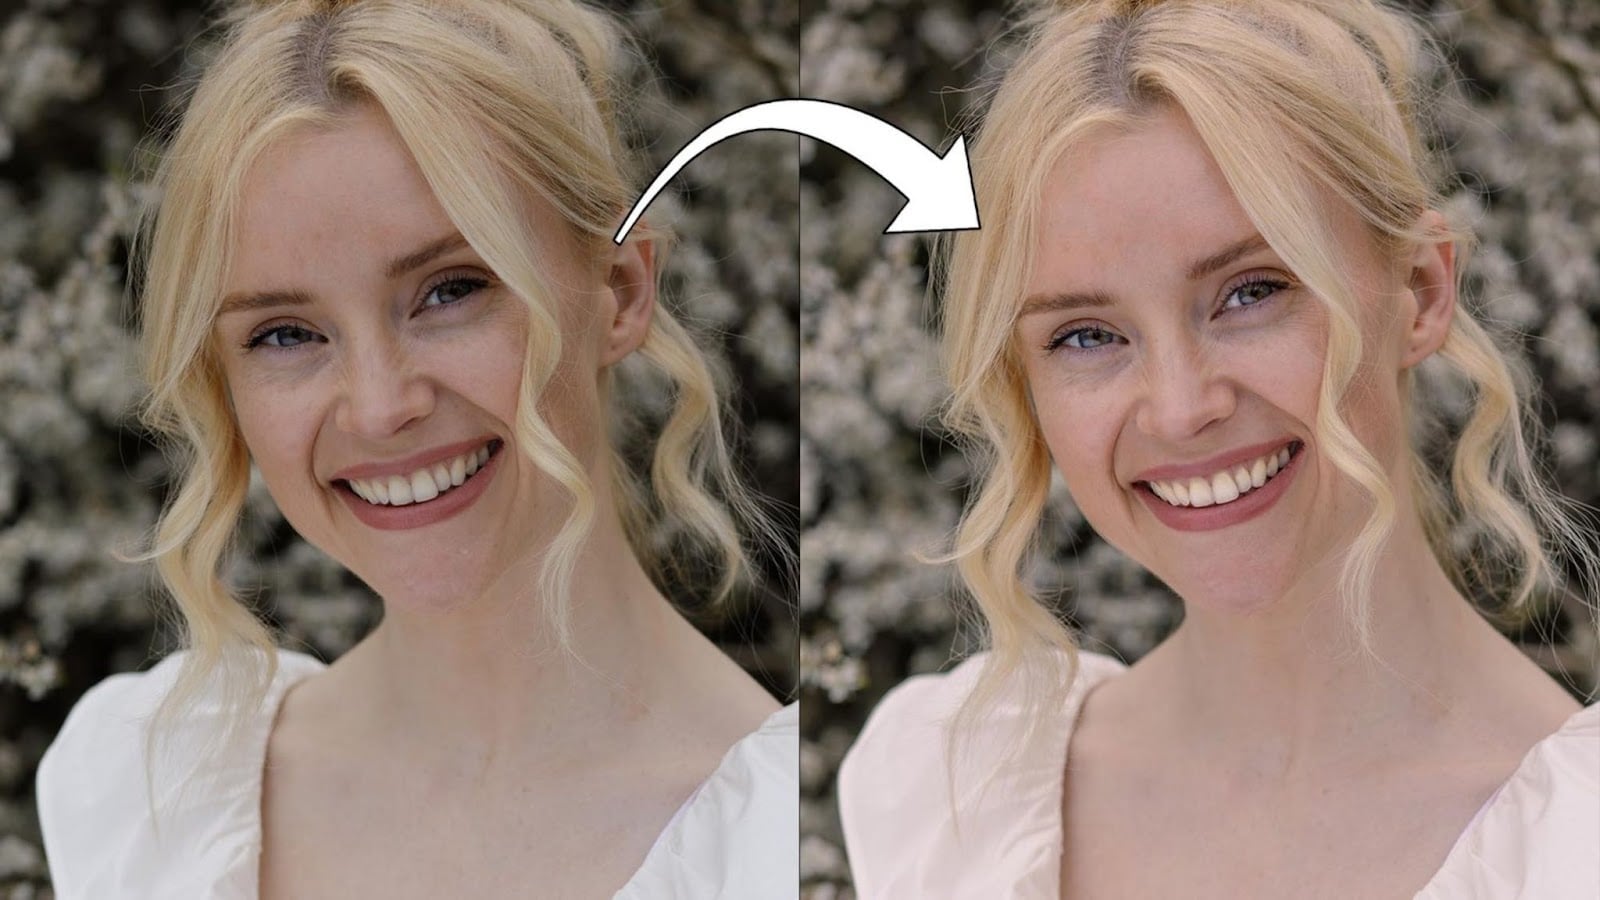
Ahead of Adobe MAX 2021, Adobe is announcing a bunch of new stuff across the CC ecosystem. One of the most interesting ones for sure is that you’ll soon be able to use Photoshop and Illustrators through your browser, too.
A simple seven-step process to create dramatic black and white images in Lightroom
For the longest time, I wasn’t a huge fan of digital black and white conversions. I stuck with film. Ilford FP4+ to be precise. It wasn’t a “purist” thing. I just felt that digital black and whites didn’t look as good as what I could get right out of the developing tank. Software, and specifically Adobe’s RAW processing engine, has come a long way since then, though.
Now, digital black and whites are quite commonplace. But how do you get the most out of your digital black and white conversions in Lightroom? Well, Pye Jirsa’s here with a seven-step process to help you get the best out of your shots for a nice dramatic result. He even gives you his raw file so you can follow along exactly.
Lightroom vs Lightroom Classic and how to use both in your workflow
The multiple versions of Lightroom have been around for a while now, but the difference between Lightroom and Lightroom Classic and which offers the best workflow still confuses some people. Both serve a different purpose and a different type of user and workflow.
In this video, Pye Jirsa walks us through his workflow using both applications so that we can see how they differ and the benefits that each offers over the other. What may as come as a surprise to some people is that the two apps are not mutually exclusive, either. It’s entirely possible (and maybe beneficial) to use both in your post-processing workflow.
Here’s how to use the calibration tool in Lightroom
What’s your preferred method for editing colors in Lightroom? Do you use the Calibration panel sitting at the bottom of the Develop module? I usually play around with HSL sliders, and I don’t think I’ve ever used Calibration. If you’re anything like me, you’ll want to watch this video. Mango Street’s Daniel Inskeep tells you about this powerful tool and gives you some examples of just how much you can achieve with it.
Moderation is key: In-depth tutorial for editing documentary photos
In his recent tutorial, photographer Mitchell Kanashkevich drew our attention to some major mistakes we make when editing documentary and travel images. Now he’s taking things to a higher level. Mitchell has just announced an in-depth tutorial for editing these kinds of images. He guides you through editing one of his photos, so you can follow along, one step at a time. Even though you can edit Mitchell’s image, it’s not about following a certain trend or replicating a certain look. The goal is to learn how to edit a documentary photo of life to be lifelike.
Follow these five editing tips so your photos don’t look terrible
As I mentioned a gazillion times before, we all make mistakes and we learn from them. But some mistakes are more common than others and they persist even though they’re “rookie mistakes.” In this video, Mitchell Kanashkevich draws your attention to them and gives you five tips that will help you to stop making them.
We have tested lightroom’s new color grading tool – here is what we think
In Lightroom’s newest iteration, Adobe has replaced the split toning tool with a brand new color grading tool. It is not only videographers who will benefit from a new and powerful color grading tool; it’s helpful for photographers. Landscape photographers have, for example, extensively use split toning to warm up highlights and add colder tones to the shadows.
I want to share a brief explanation of the various options the tool offers + reveal some hidden panels. I’ll also look at how hotkeys provide full control of the center points and knobs outside the color circles.
Sony shooters rejoice, you can now tether directly into Lightroom
Here is a screenshot I did not think I’ll see. Lightroom connected and tethered with a Sony A7III. I mean, Sony has been tethering with Capture One for ages, but Lightroom Classic? Uh uh! Mostly because Sony and Adobe never found a way to share the needed codebase.
But now comes Tether Tools, and fr a mere $69.95, give all Sony shooters the capability they always longed for.
These are six essential editing skills every landscape photographer should know
Editing is an important step in creating the final look of your image. If you’re a landscape photographer, Mark Denney has a useful video for you. In this video, he guides you through six essential skills and tools that you need to know to step up your editing game.
Do these six things to speed up Lightroom
Are you seeing Adobe Lightroom slowing down on your system? Do you want to improve the Speed of the Adobe Lightroom? Do you want to speed up your Adobe Lightroom process flow?
Well, then you are in the right place. Because in this article, I am going to share with you 6 tips to improve the Adobe Lightroom Performance. Tips discussed in this article will help you to Speed up the Adobe Lightroom on your system.
- « Previous Page
- 1
- 2
- 3
- 4
- …
- 9
- Next Page »
FIND THIS INTERESTING? SHARE IT WITH YOUR FRIENDS!