


Posts By Guest Authors
We love it when our readers get in touch with us to share their stories. These articles were contributed to DIYP by members of our community. If you would like to contribute an article, please contact us here.

Why Is Lighting Important in Photography? How Light Shapes Every Image
Leonard Skapp
Ask ten professional photographers what the most important part of a great photograph is, and many of them will give the same answer: light. Photography...

What Is a Daguerreotype? The Photography Process That Changed History
Leonard Skapp
Long before digital cameras, memory cards, and even photographic film, there was the daguerreotype. Introduced in the 19th century, it was the first commercially successful...
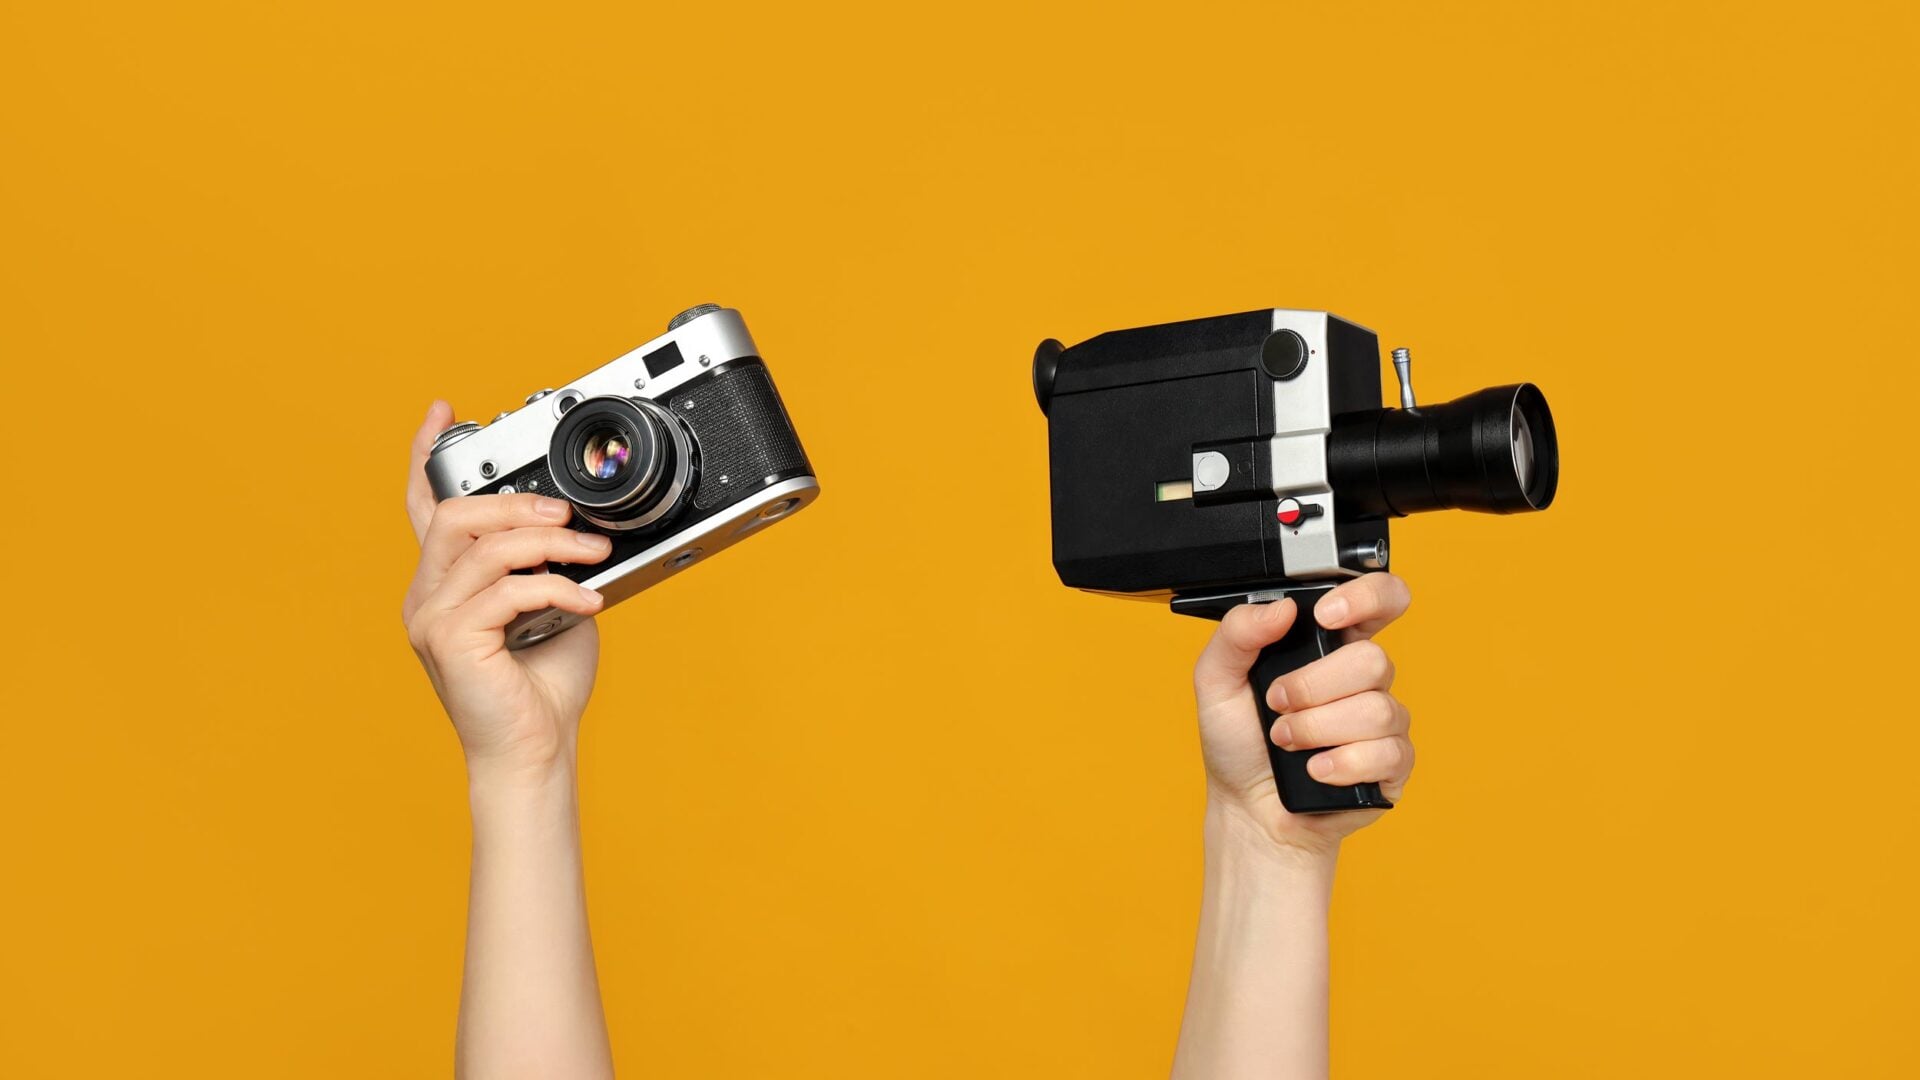
Photography vs Videography: What’s the Difference?
Leonard Skapp
Photography and videography have more in common than ever before. Most modern cameras can capture both high-resolution still images and professional-quality video, and many photographers...

Does Kodak Still Exist? The Story of Photography’s Most Famous Company
Leonard Skapp
For more than a century, Kodak was almost synonymous with photography. The company’s famous slogan, “You press the button, we do the rest,” helped make...

How to Learn Photography: Which Method Is Right for You?
Lydia Marlowe
There's no single right way to learn photography. Some people teach themselves entirely for free, some take structured courses, some learn by assisting a working pro, and most end up using a mix. What they all have in common is the part nobody can skip: picking up a camera and shooting a lot. The best method is whichever one keeps you doing that.
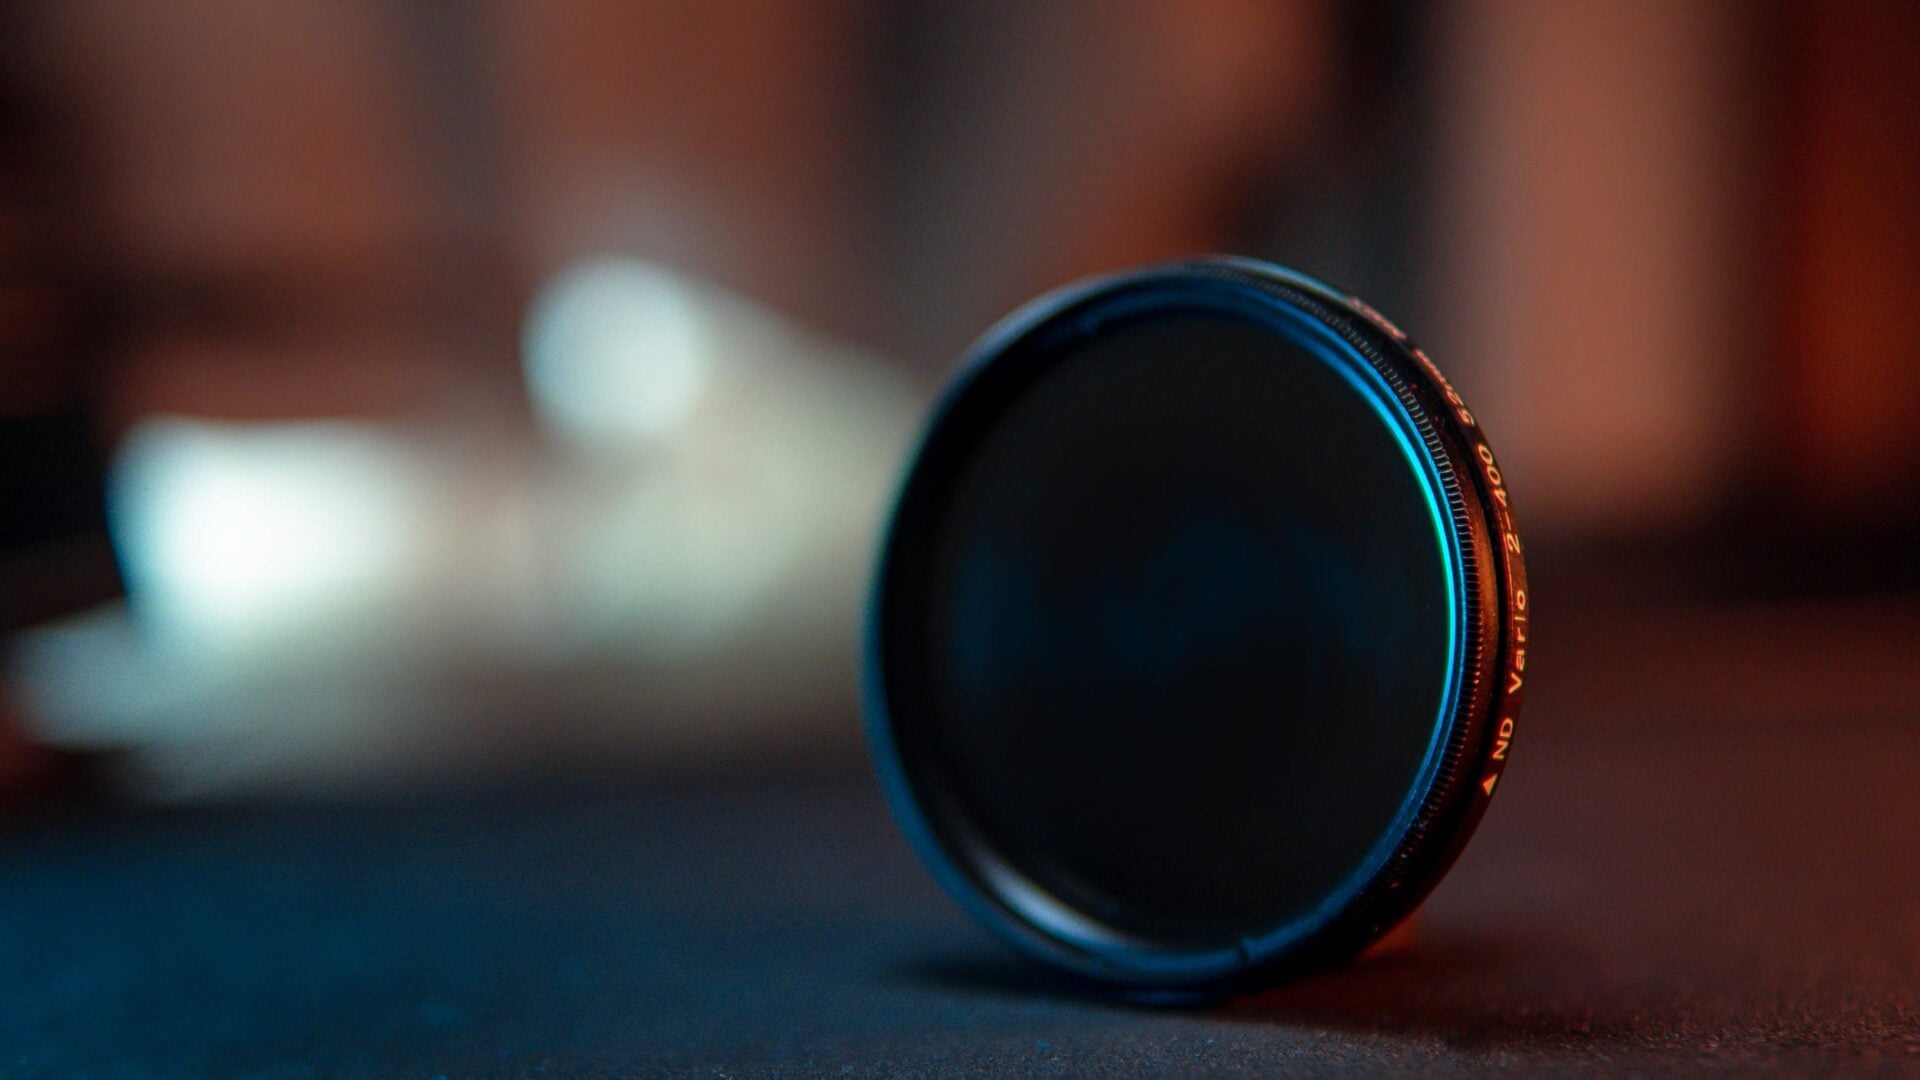
When Should You Use an ND Filter? Everything Photographers Need to Know
Leonard Skapp
If you’ve started exploring landscape or long-exposure photography, you’ve probably come across neutral density (ND) filters. They’re often recommended for creating silky waterfalls, smoothing waves,...

Do I Need an LLC for My Photography Business? Here’s What to Consider
Leonard Skapp
Starting a photography business involves more than buying a camera and finding your first clients. At some point, many photographers begin asking the same question:...
The Most Popular Photography Websites in 2026
Lydia Marlowe
The most popular photography websites are split into a few groups depending on what you want from them. You can use some for building a...
What Is Composition in Photography? A Complete Guide
Lydia Marlowe
Composition in photography is the way you arrange the elements within your frame: where you place your subject, how you use lines and shapes, what you include and leave out. Along with light and exposure, it's one of the three pillars of a good photograph. Strong composition is what draws a viewer's eye into an image, guides them through it, and holds their attention, turning a snapshot into a photograph worth looking at.
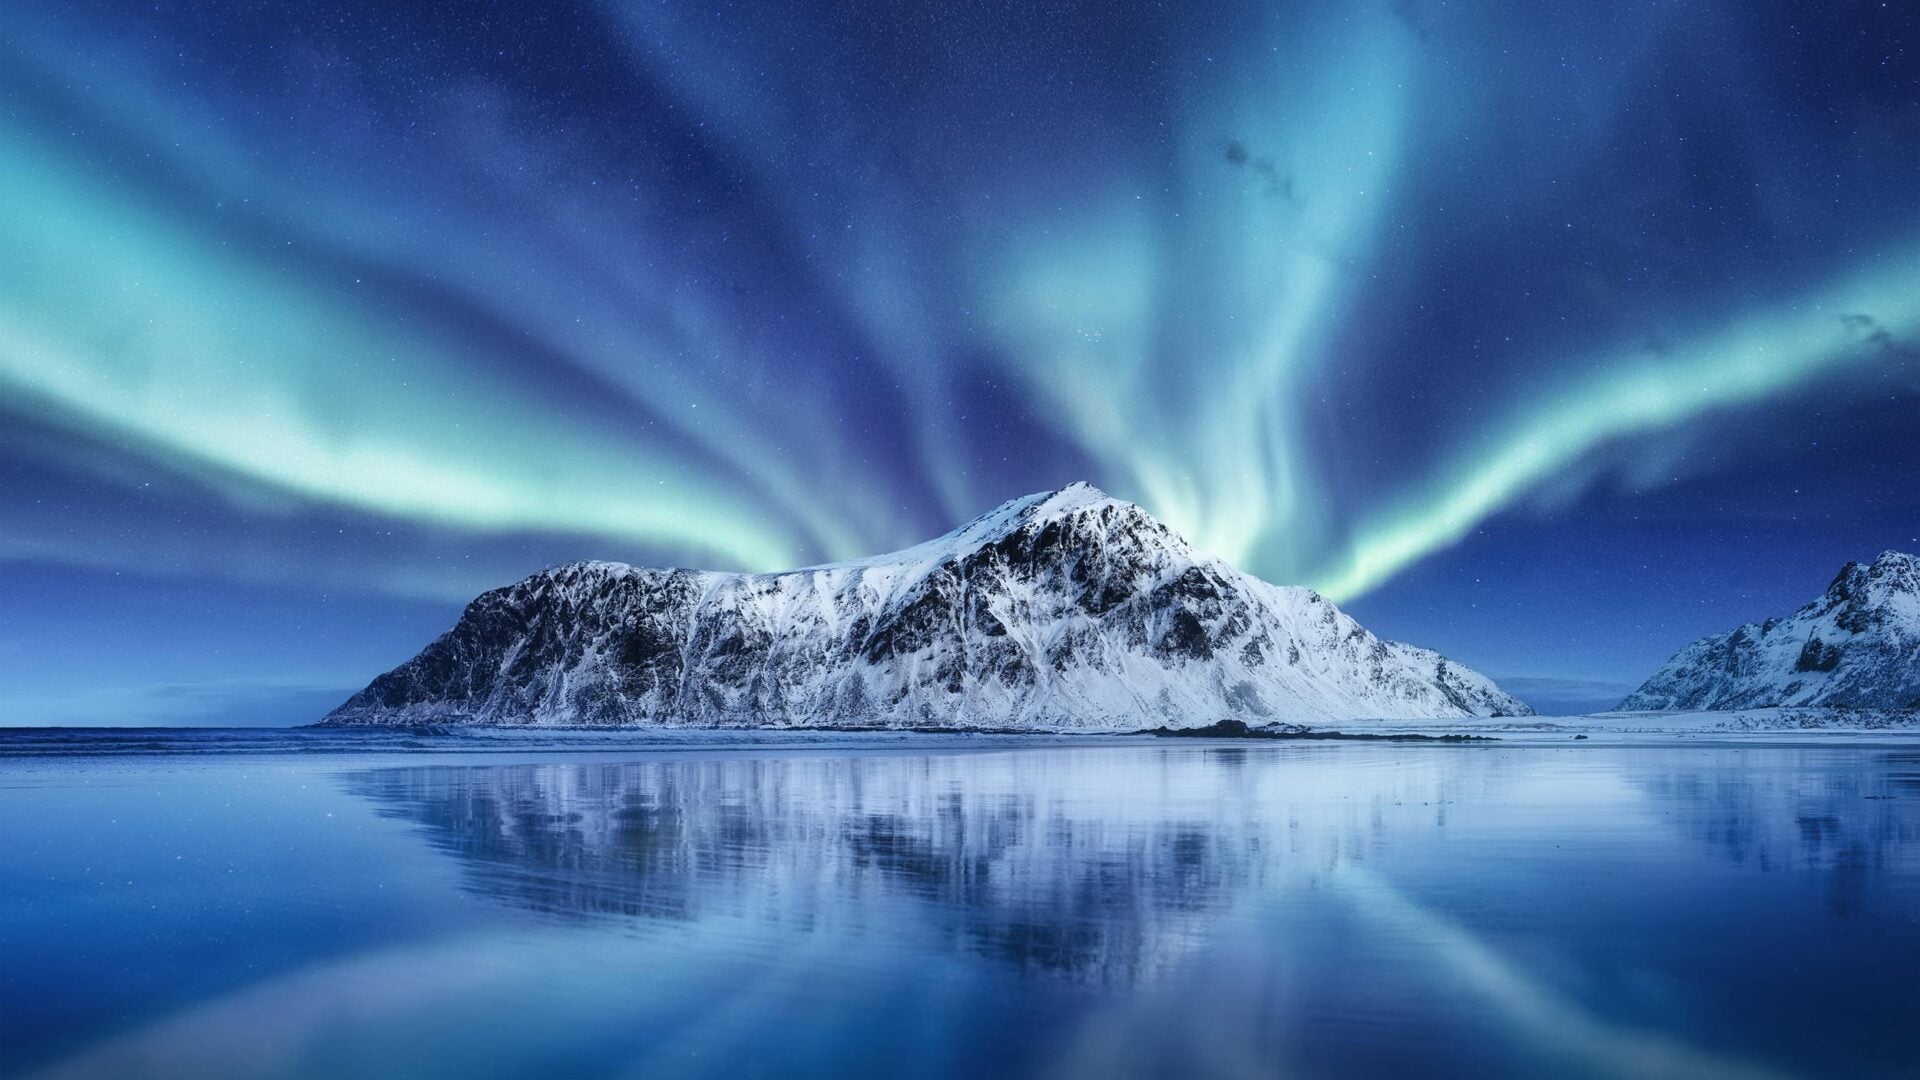
How to Photograph the Northern Lights: Camera Settings and Tips for Beginners
Leonard Skapp
Seeing the Northern Lights is unforgettable, photographing them, however, is next level. Watching ribbons of green, purple, and pink dance across the night sky feels...