
















How to Photograph the Northern Lights: Camera Settings and Tips for Beginners
Jul 3, 2026
Leonard Skapp
Alex Baker is a portrait and lifestyle driven photographer based in Valencia, Spain. She works on a range of projects from commercial to fine art and has had work featured in publications such as The Daily Mail, Conde Nast Traveller and El Mundo, and has exhibited work across Europe
Share:
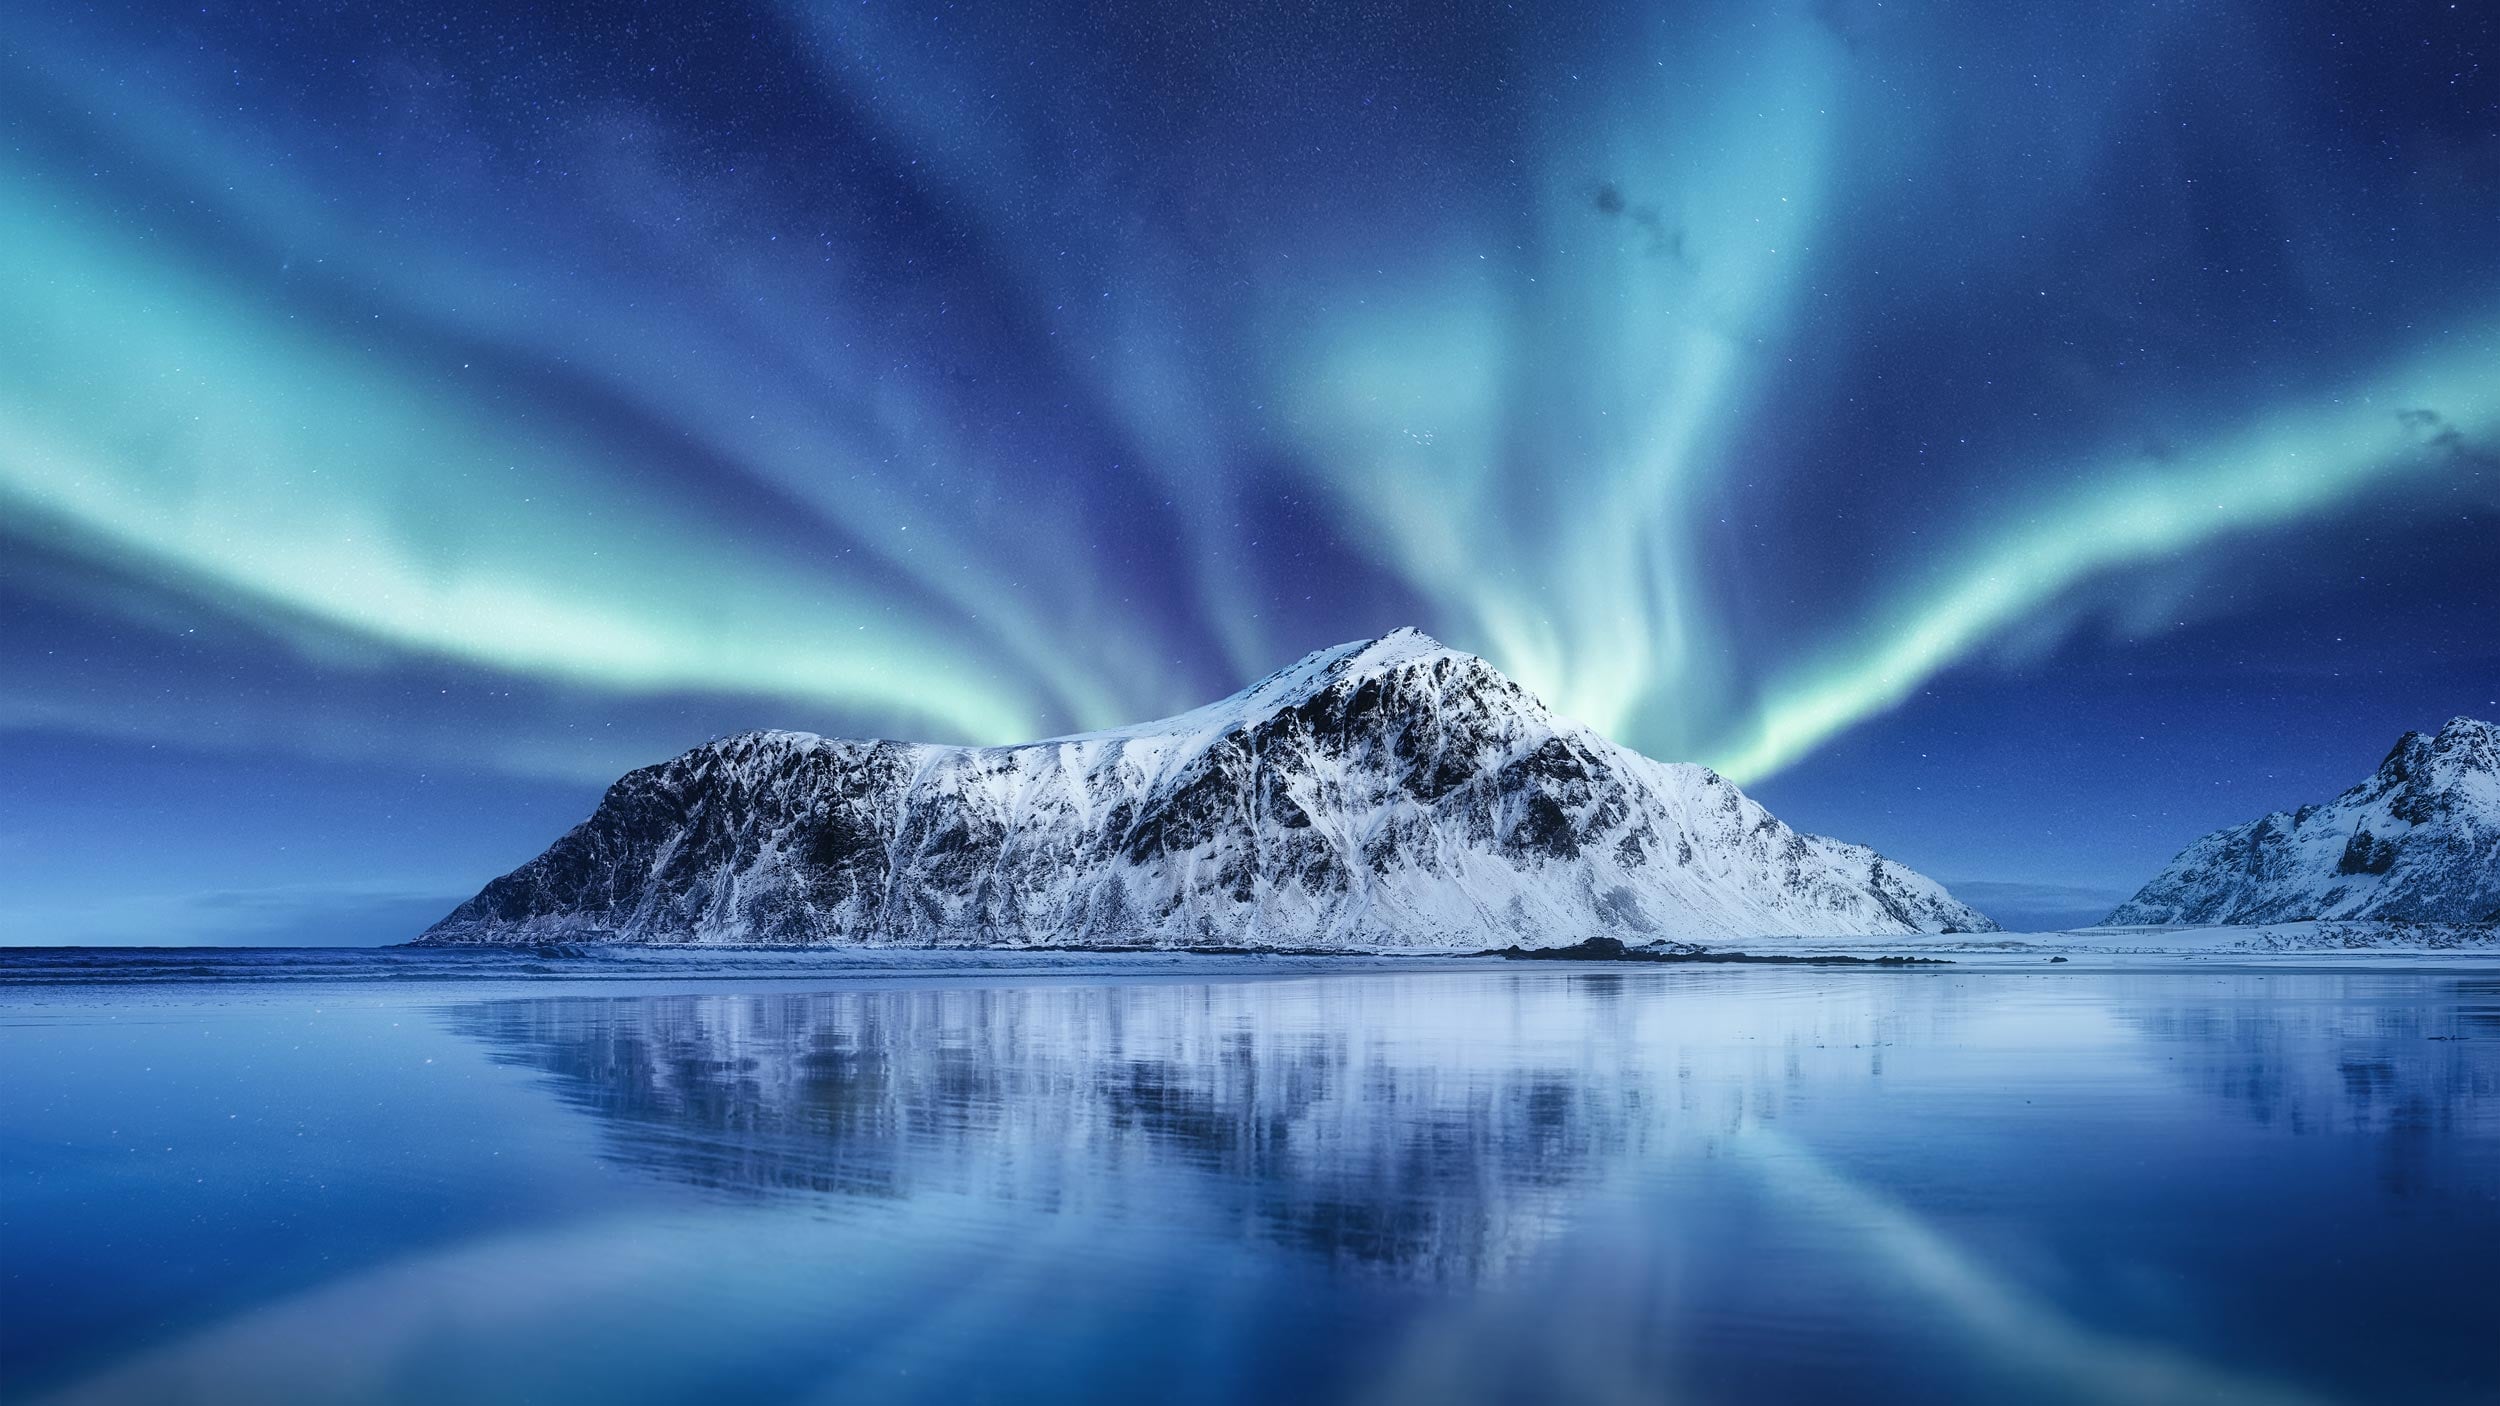
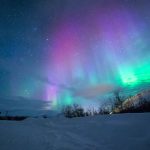
Seeing the Northern Lights is unforgettable, photographing them, however, is next level. Watching ribbons of green, purple, and pink dance across the night sky feels almost surreal, and it’s no surprise that many photographers dream of capturing the aurora for themselves.
The challenge is that photographing the Northern Lights isn’t quite as simple as pointing your camera at the sky. The aurora can change brightness and move surprisingly quickly, meaning you’ll need the right camera settings, a little preparation, and plenty of patience. The good news is that you don’t need professional equipment to get started.
Find dark skies and clear weather
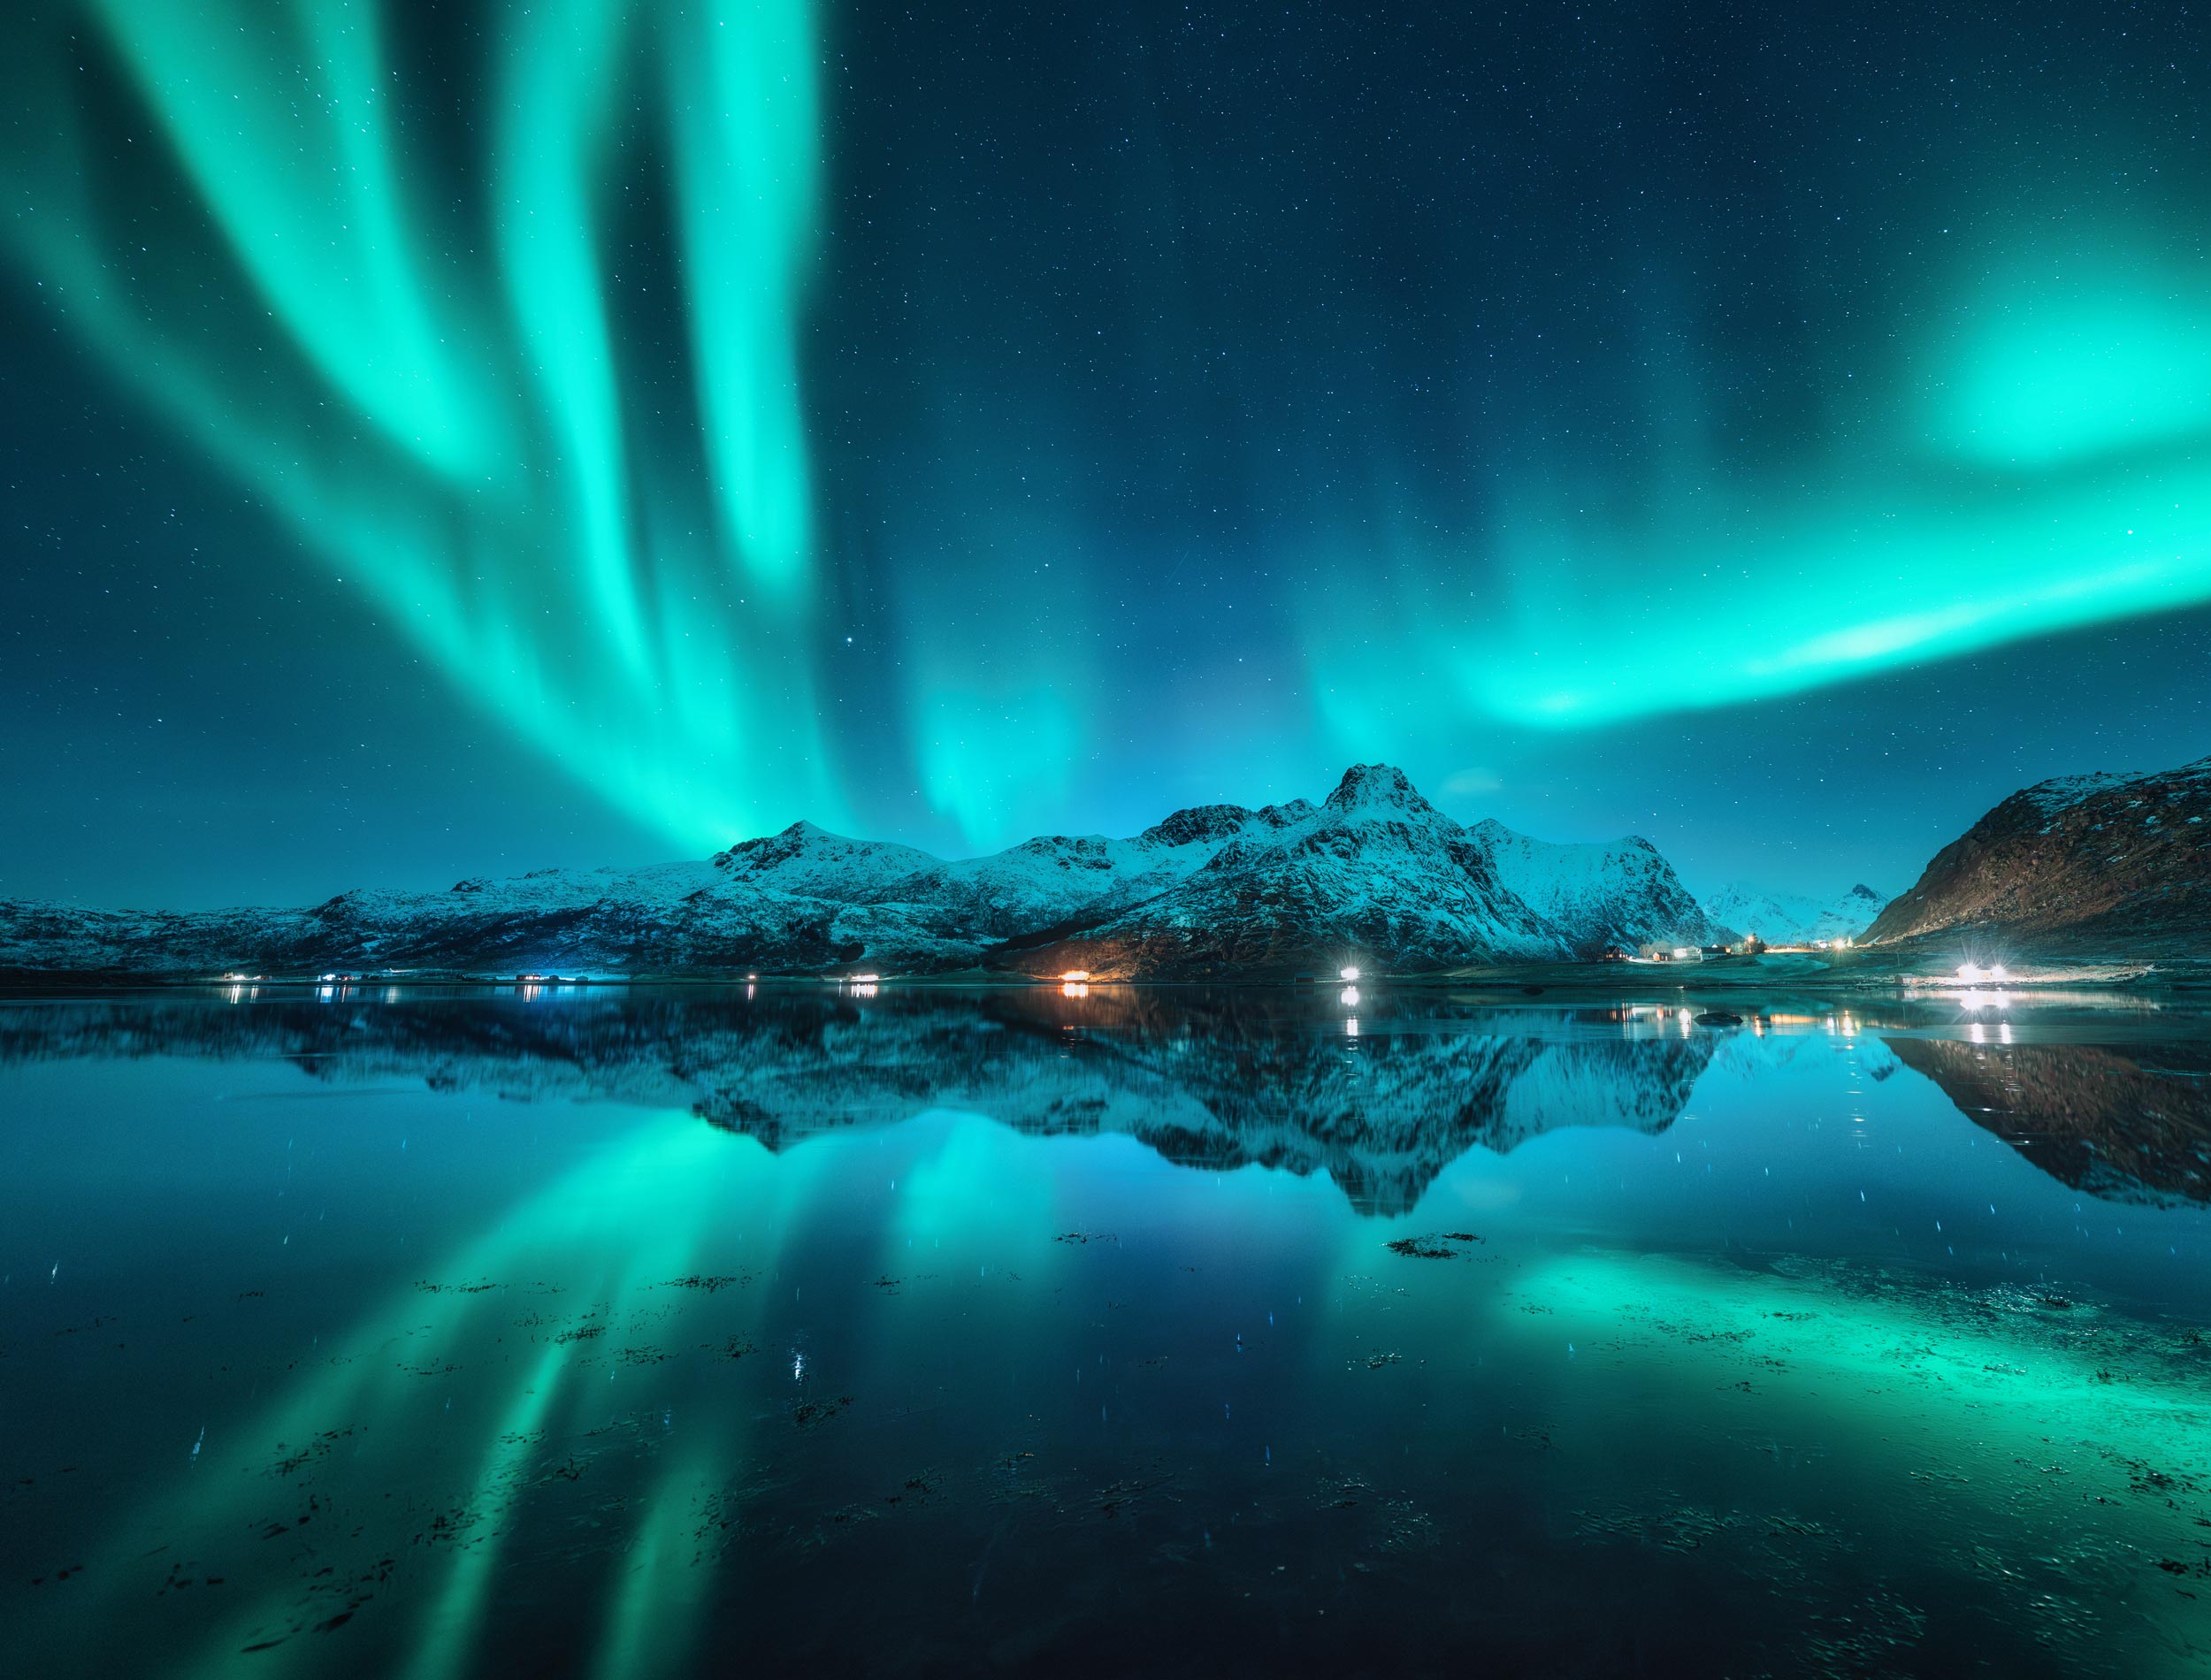
The first step has nothing to do with your camera. Like Milky Way photography, the Northern (or Southern) Lights are easiest to photograph under dark skies away from artificial light. Light pollution can wash out the fainter colours of the aurora, so heading into the countryside or visiting a recognised Dark Sky location will give you the best chance of success.
Clear skies are just as important, as I found out during a rainy and cloudy week in Iceland. Even a spectacular aurora won’t be visible through thick cloud, so it’s worth checking both the weather forecast and an aurora forecast before heading out.
The best places to photograph the Northern Lights include countries such as Norway, Iceland, Finland, Sweden, Canada, and Alaska, where auroral activity is more frequent.
Use a tripod and a wide-angle lens
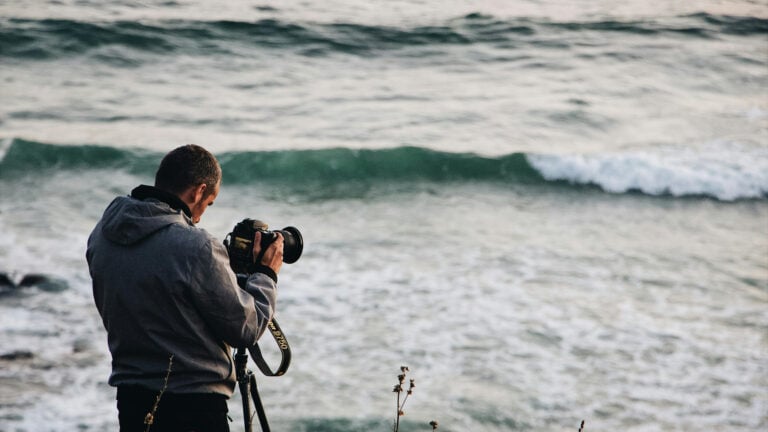
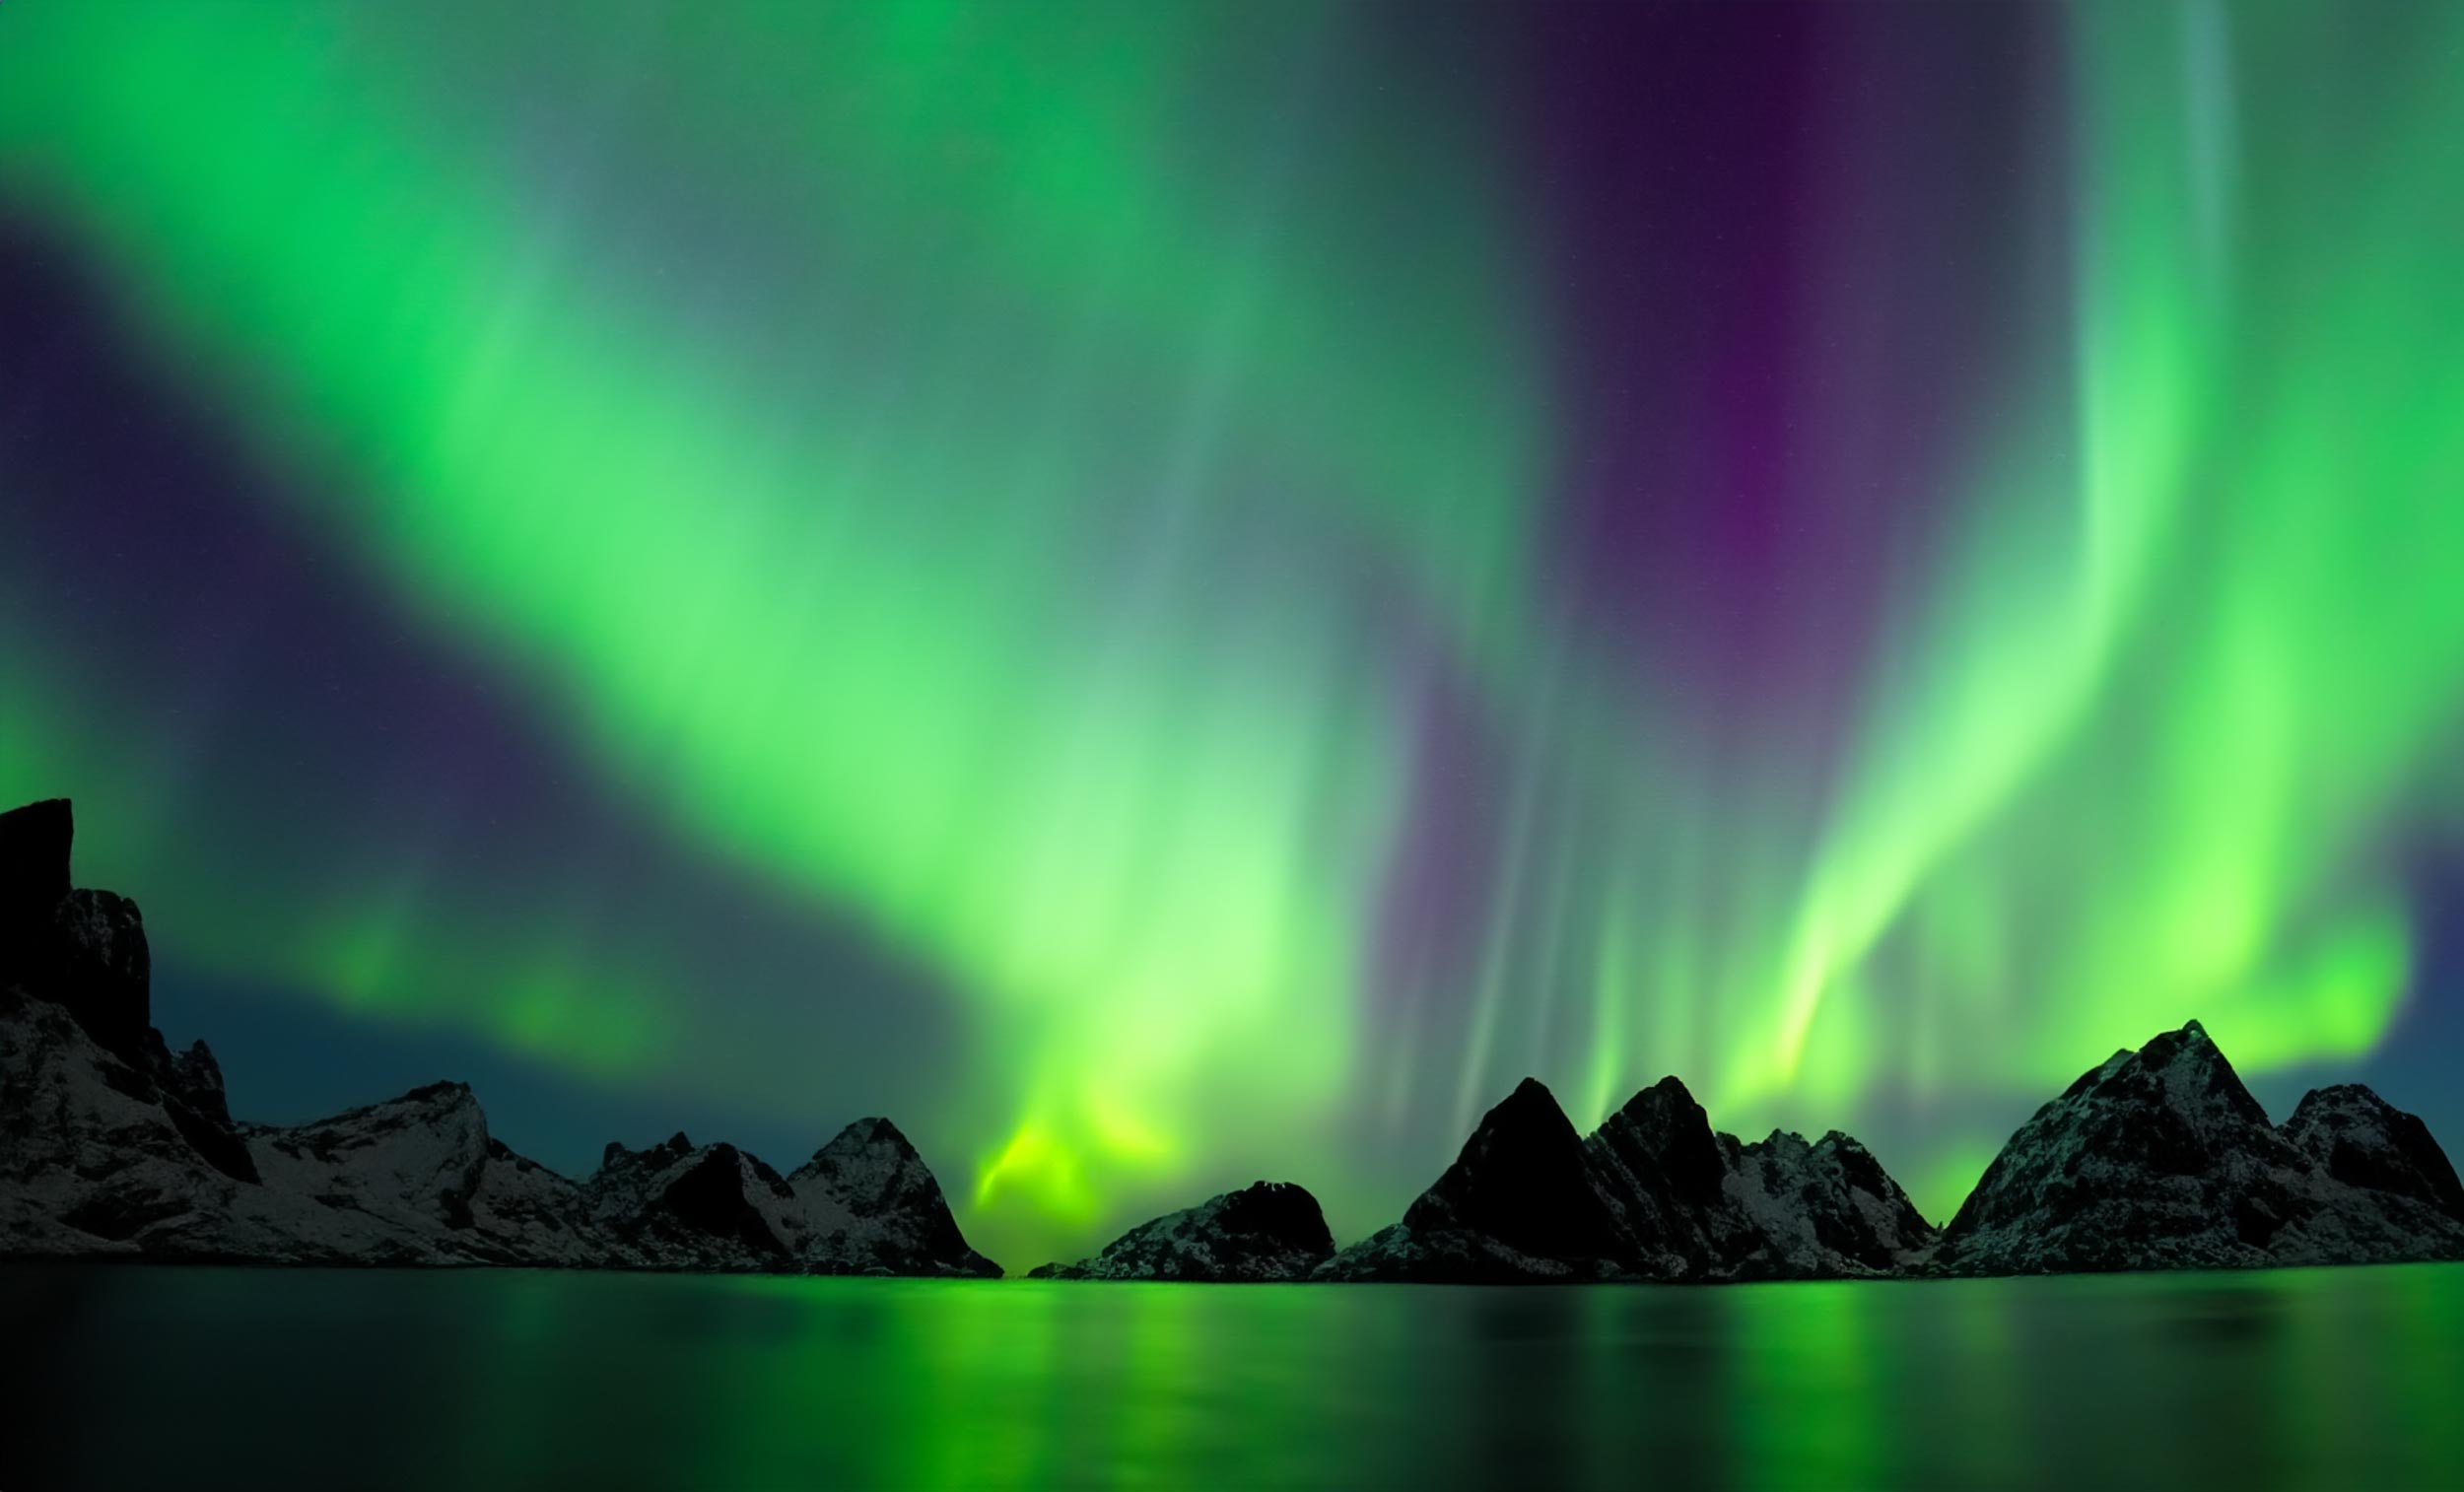
Northern Lights photography relies on long exposures, so a sturdy tripod is essential. A wide-angle lens allows you to capture more of the sky while also including an interesting foreground. If your lens has a wide maximum aperture such as f/2.8, f/1.8 or even wider, it will collect more light and make photographing the aurora much easier.
The good news is that almost any modern DSLR or mirrorless camera with manual controls is capable of producing excellent results. Even many top-range smartphones can handle it these days.
Start with these camera settings
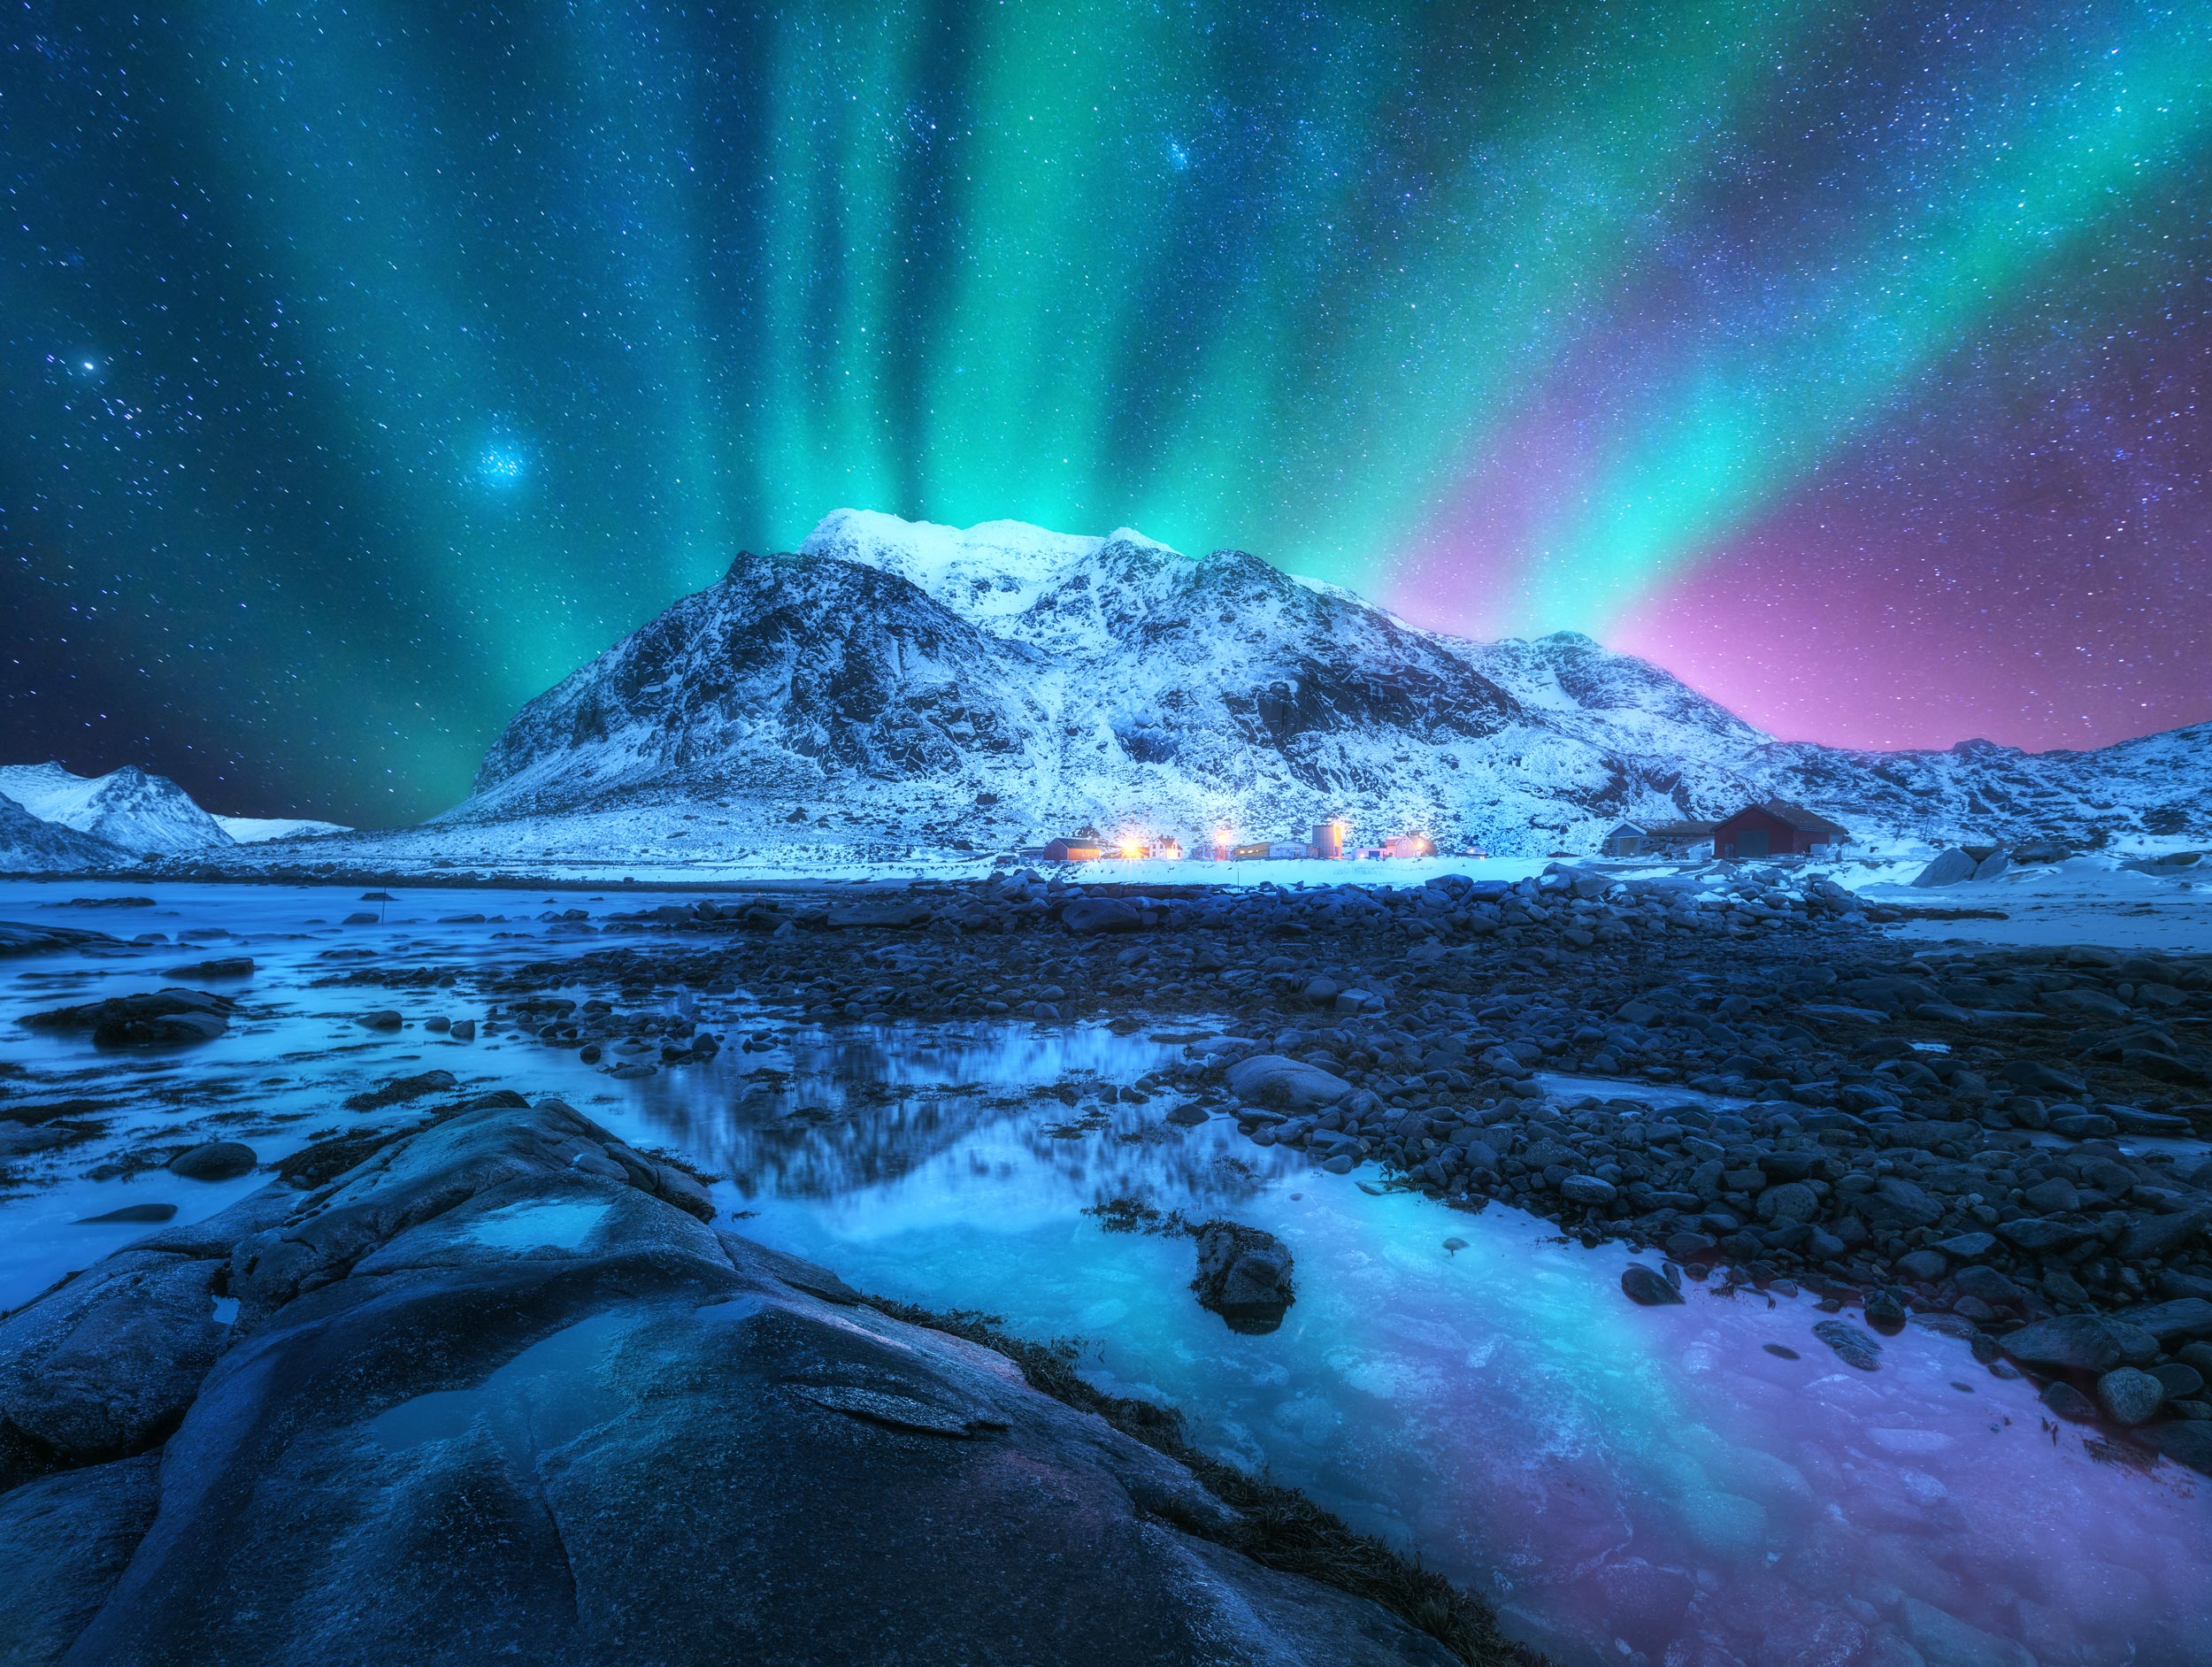
There’s no single exposure that works for every aurora display because the brightness and movement of the lights constantly change. As a starting point, try using your lens wide open, an ISO between 800 and 3200, and a shutter speed somewhere between 5 and 15 seconds.
If the aurora is moving quickly, shorter exposures will help preserve detail and prevent the lights from becoming blurred. During weaker displays, you may need slightly longer shutter speeds to collect enough light. As always, don’t be afraid to review your images and adjust your settings as conditions change.
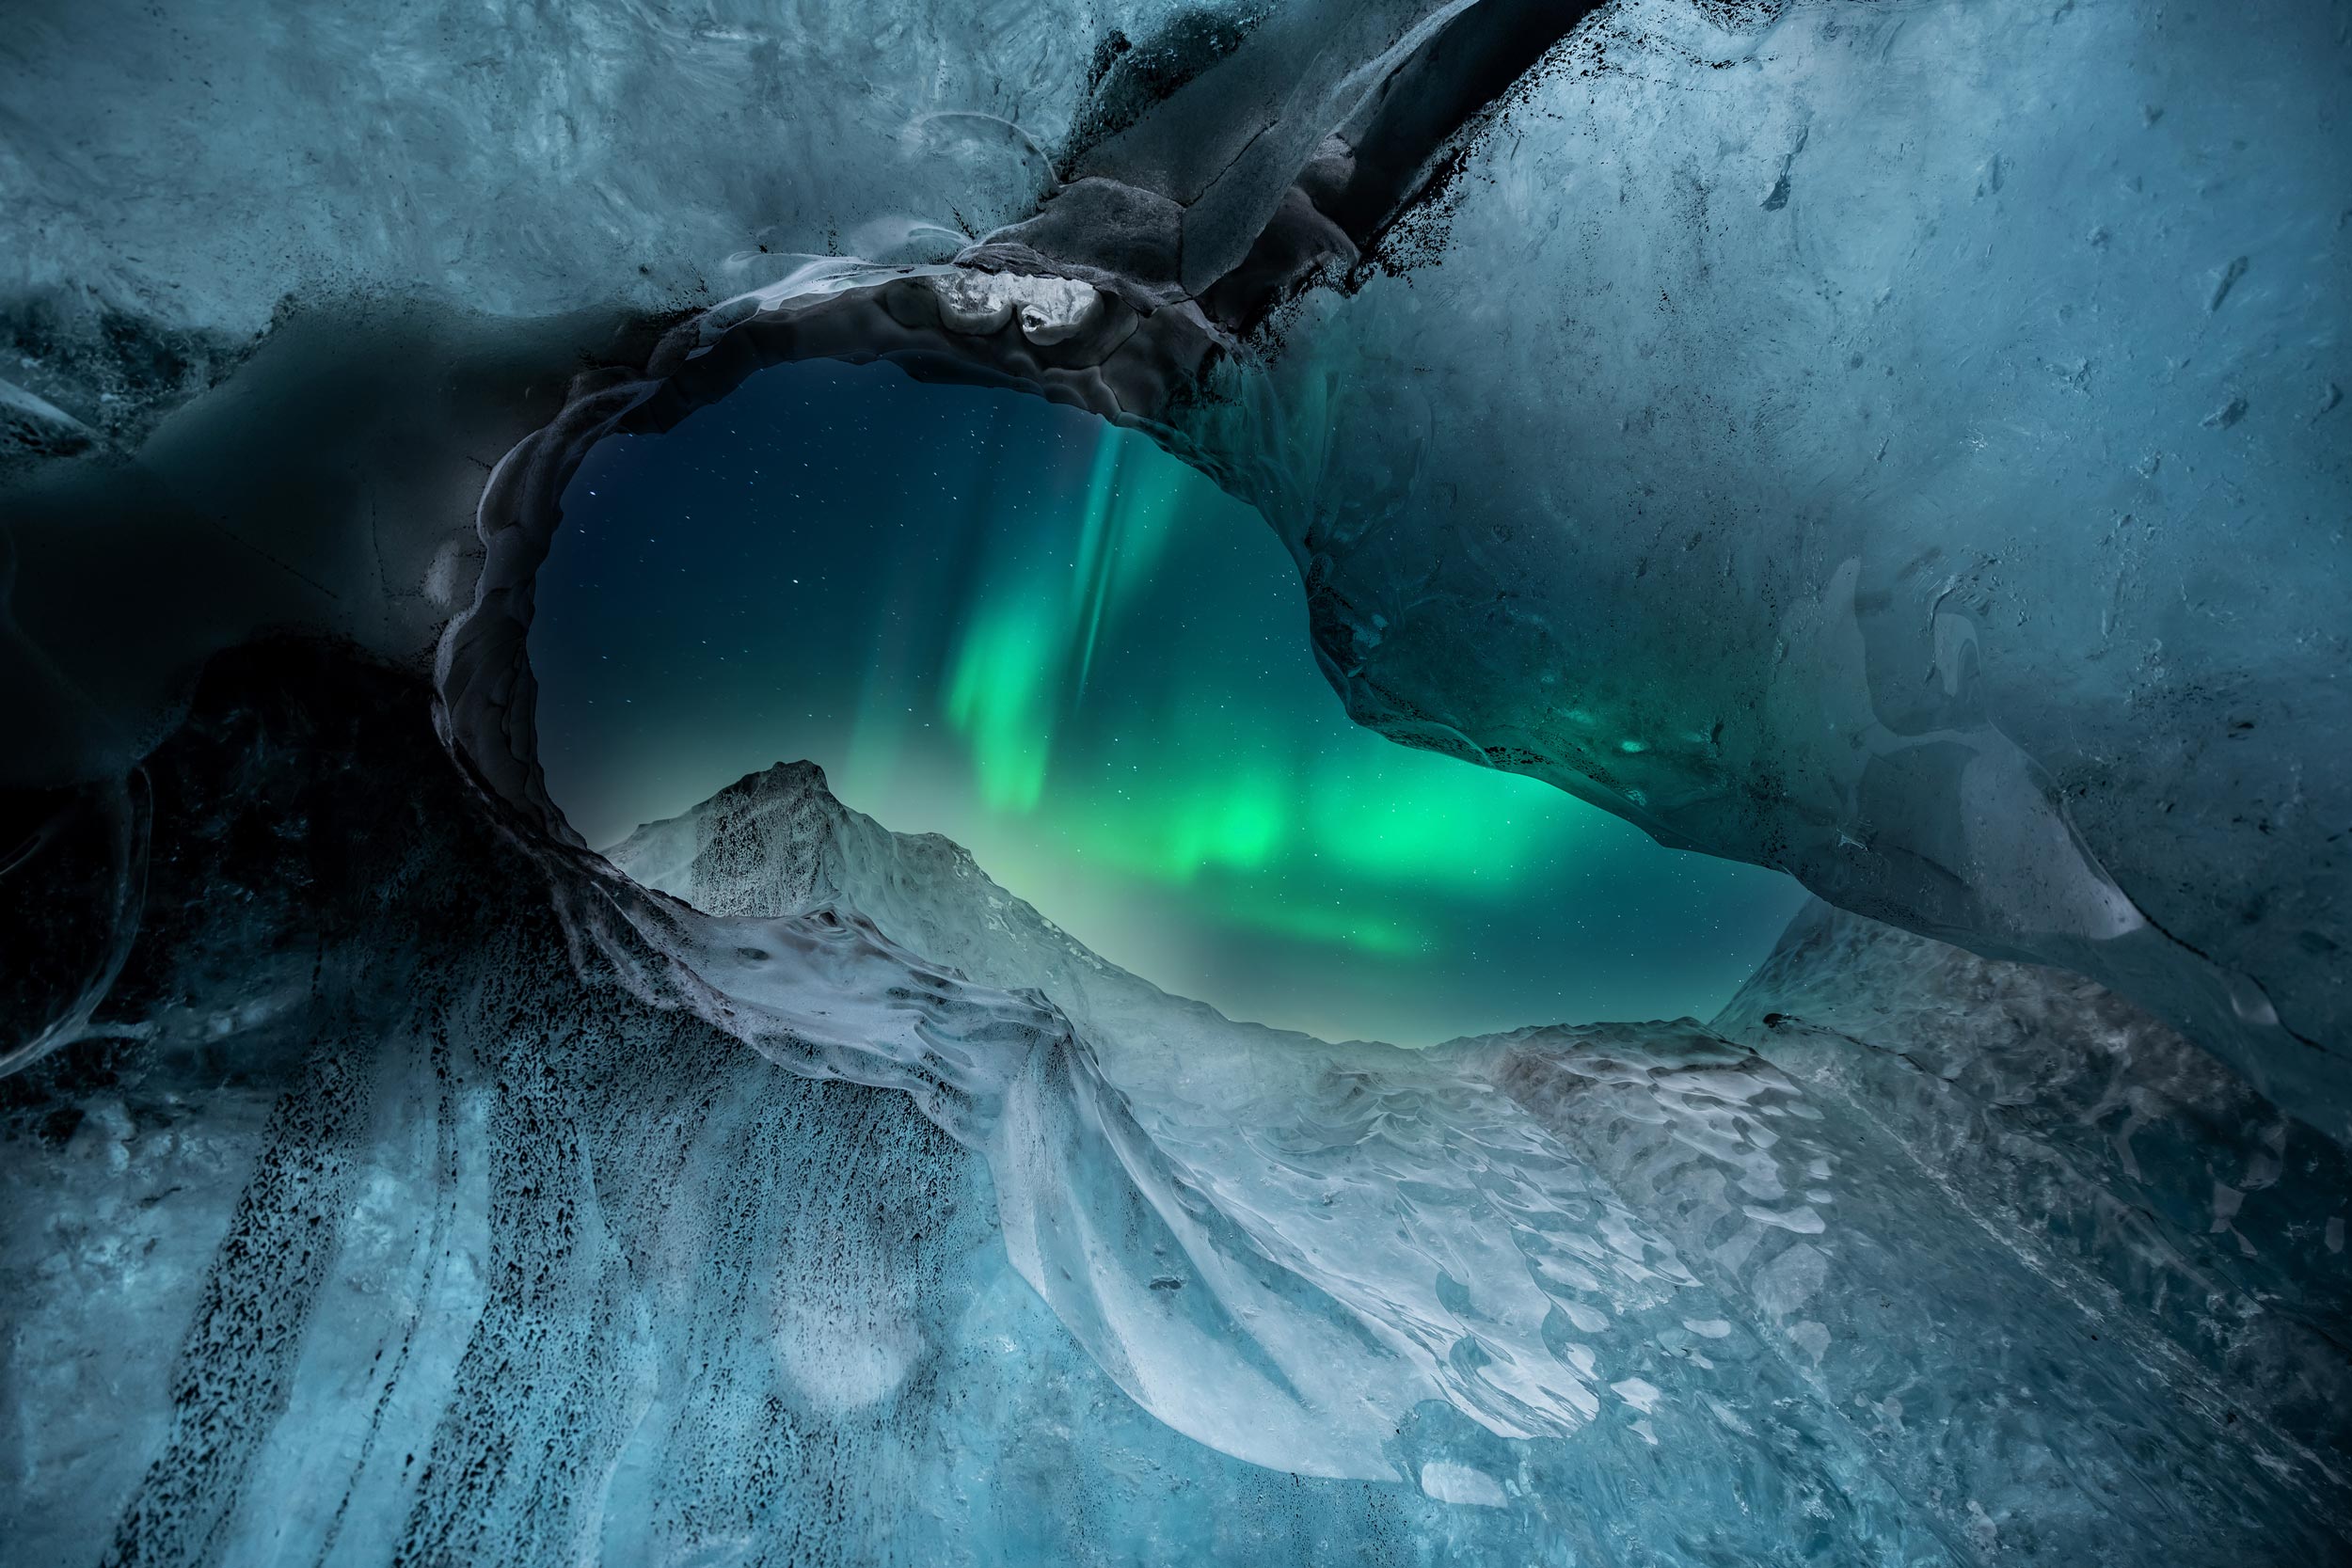
Focus before it gets dark
Autofocus systems can struggle in near darkness, so it’s often easier to switch to manual focus. If possible, focus on a distant object before night falls, or use live view to focus carefully on a bright star or distant light. Once you’ve achieved sharp focus, avoid touching the focus ring for the rest of the session.
Getting the focus right can make the difference between a breathtaking image and one that’s impossible to rescue later.
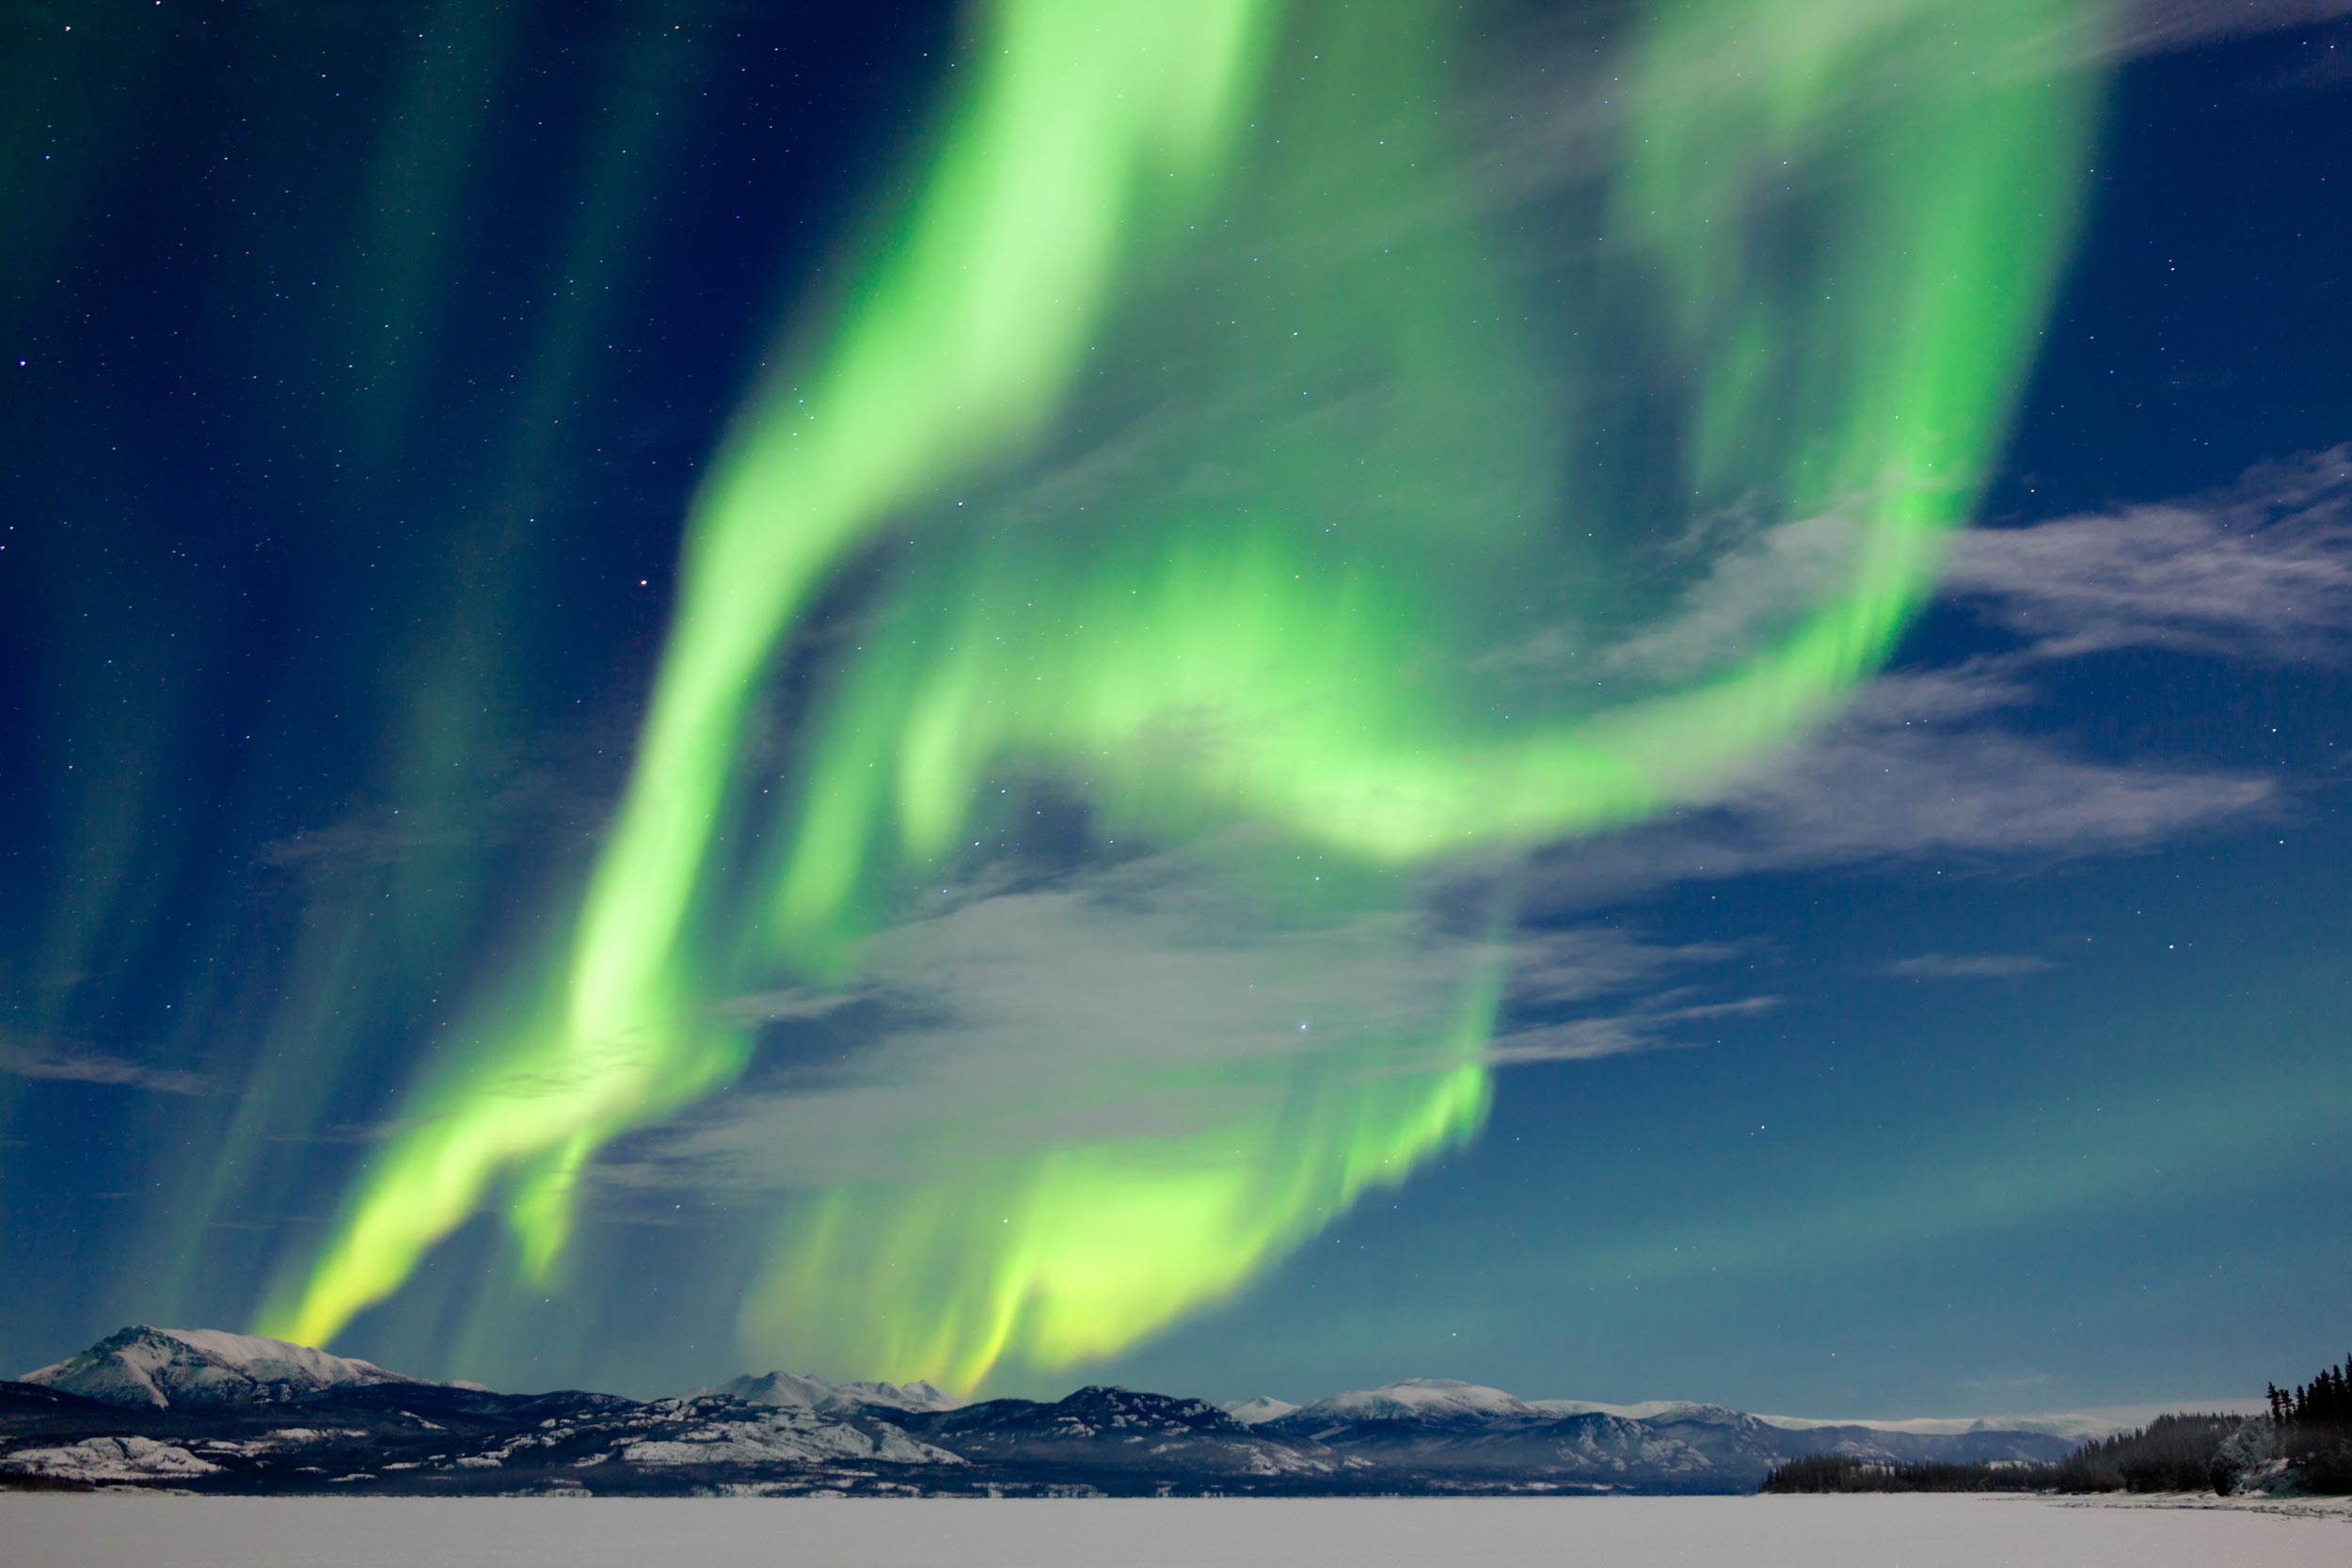
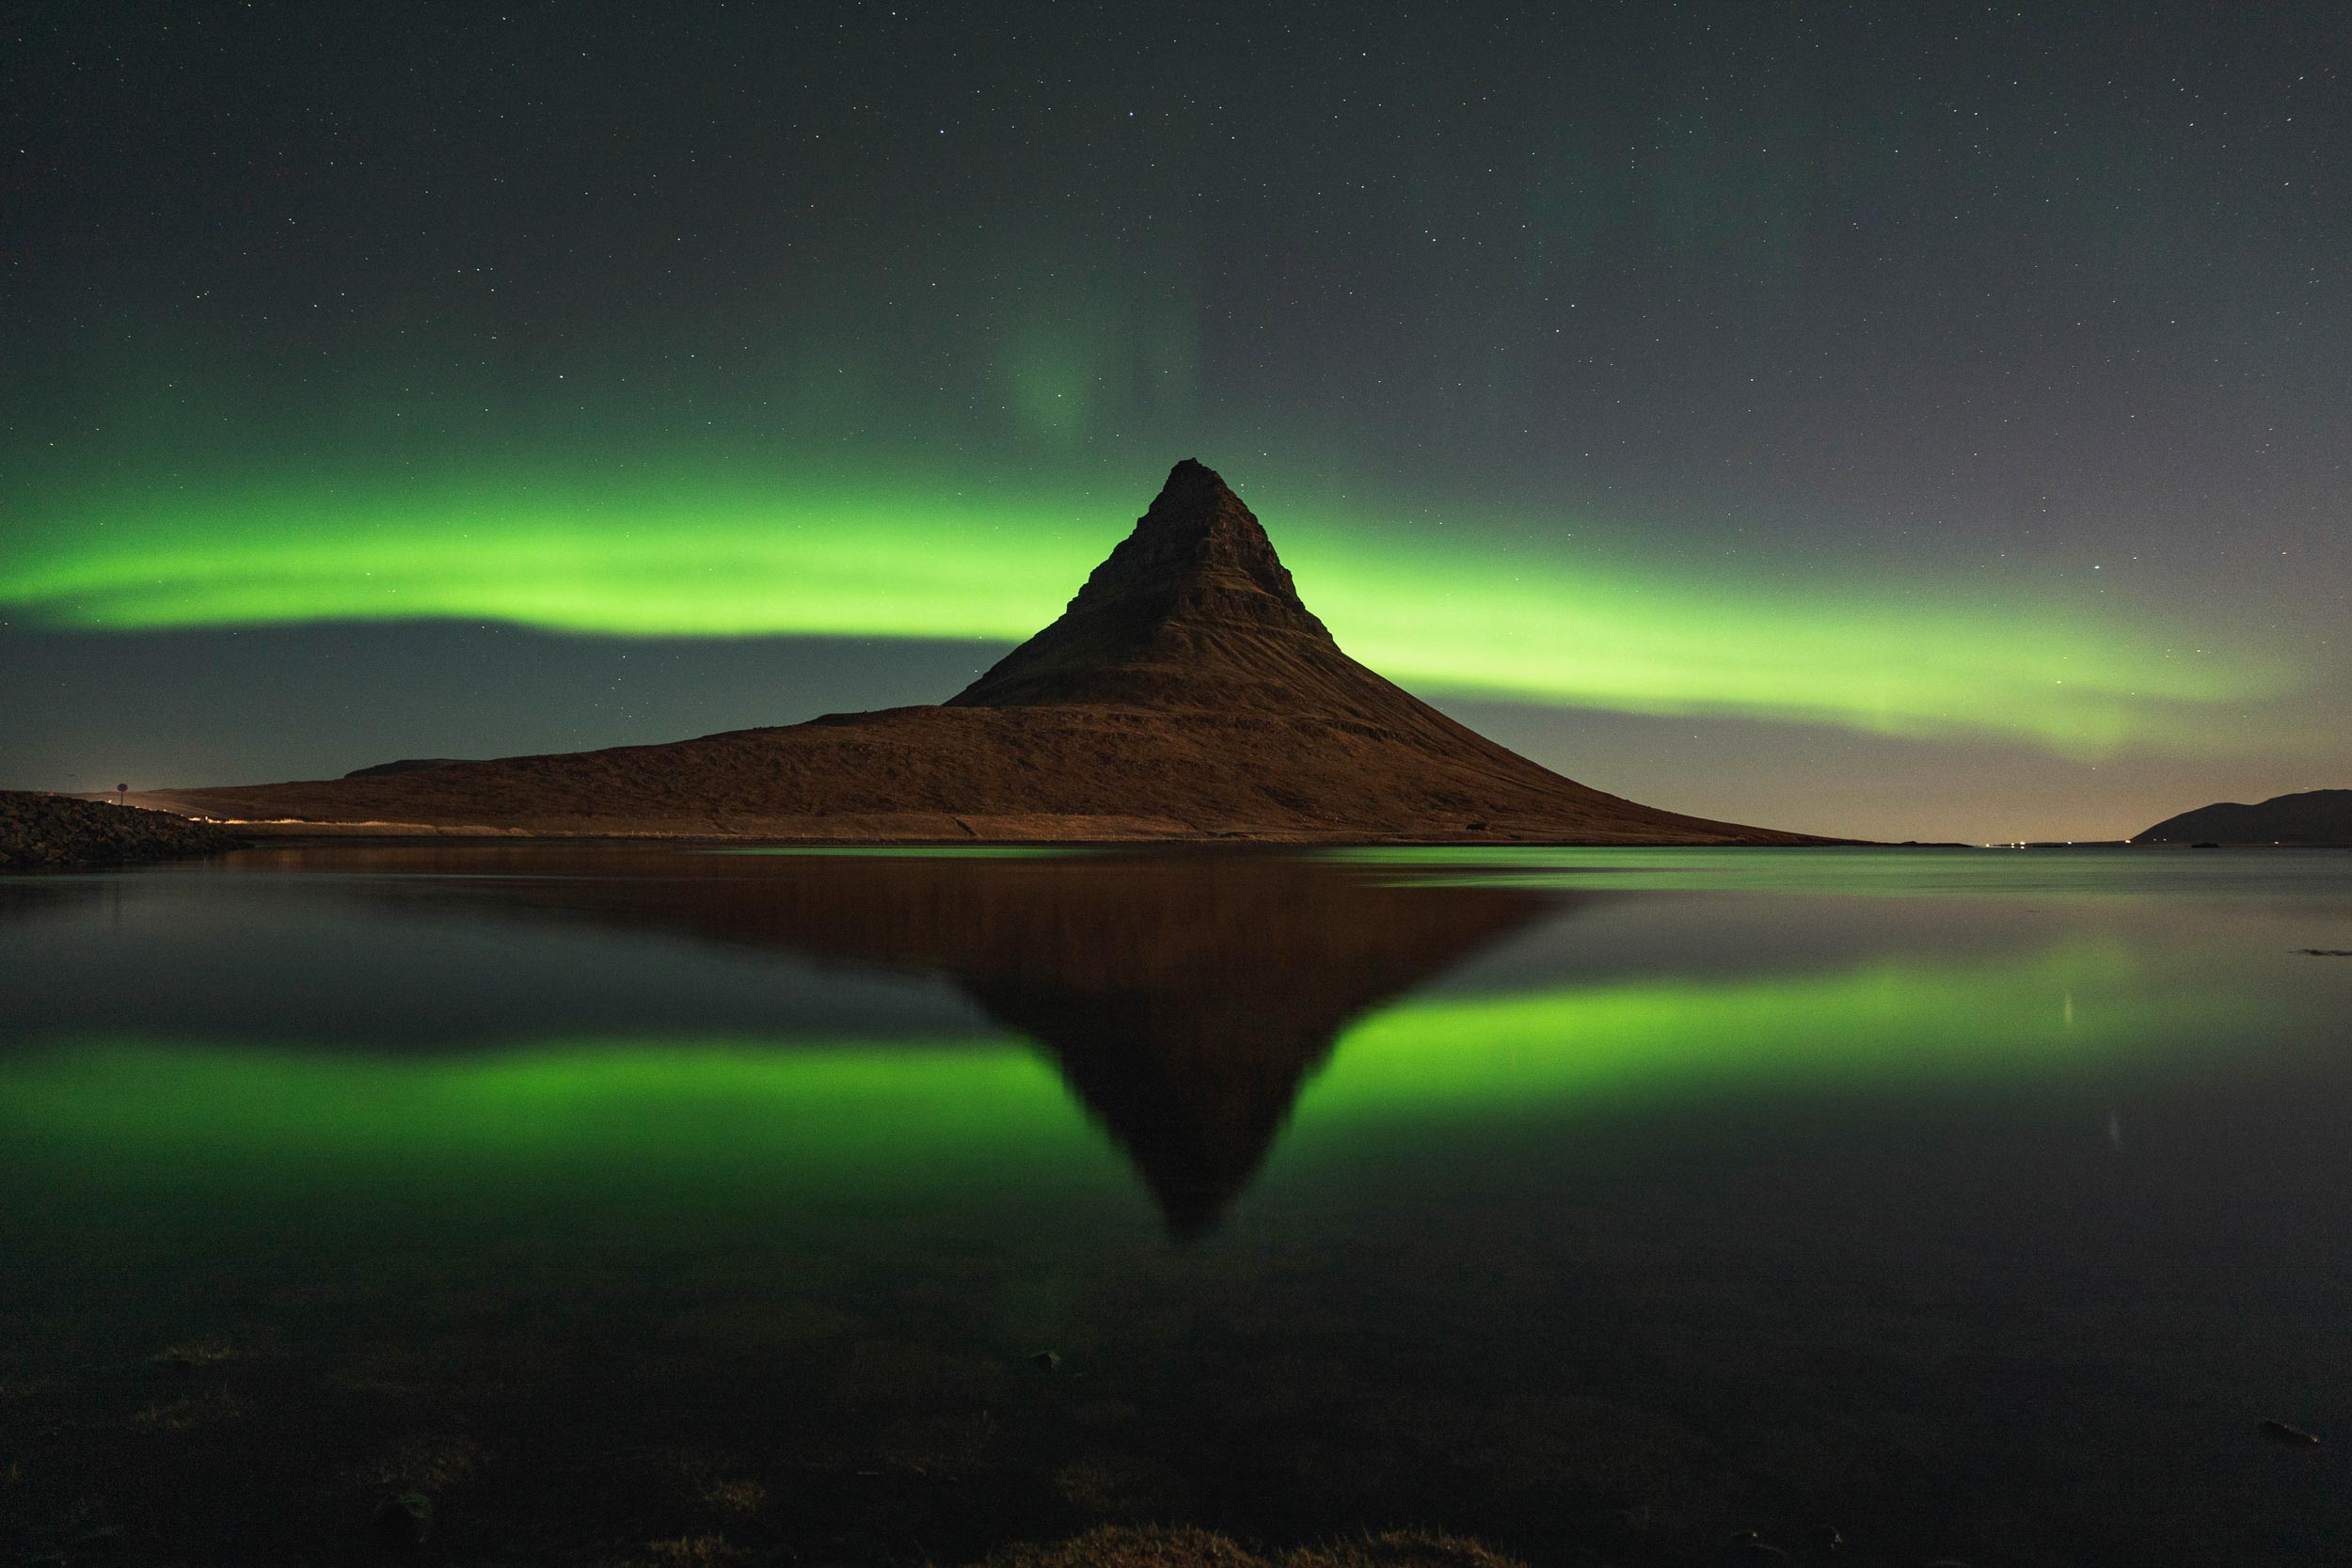
Include a foreground
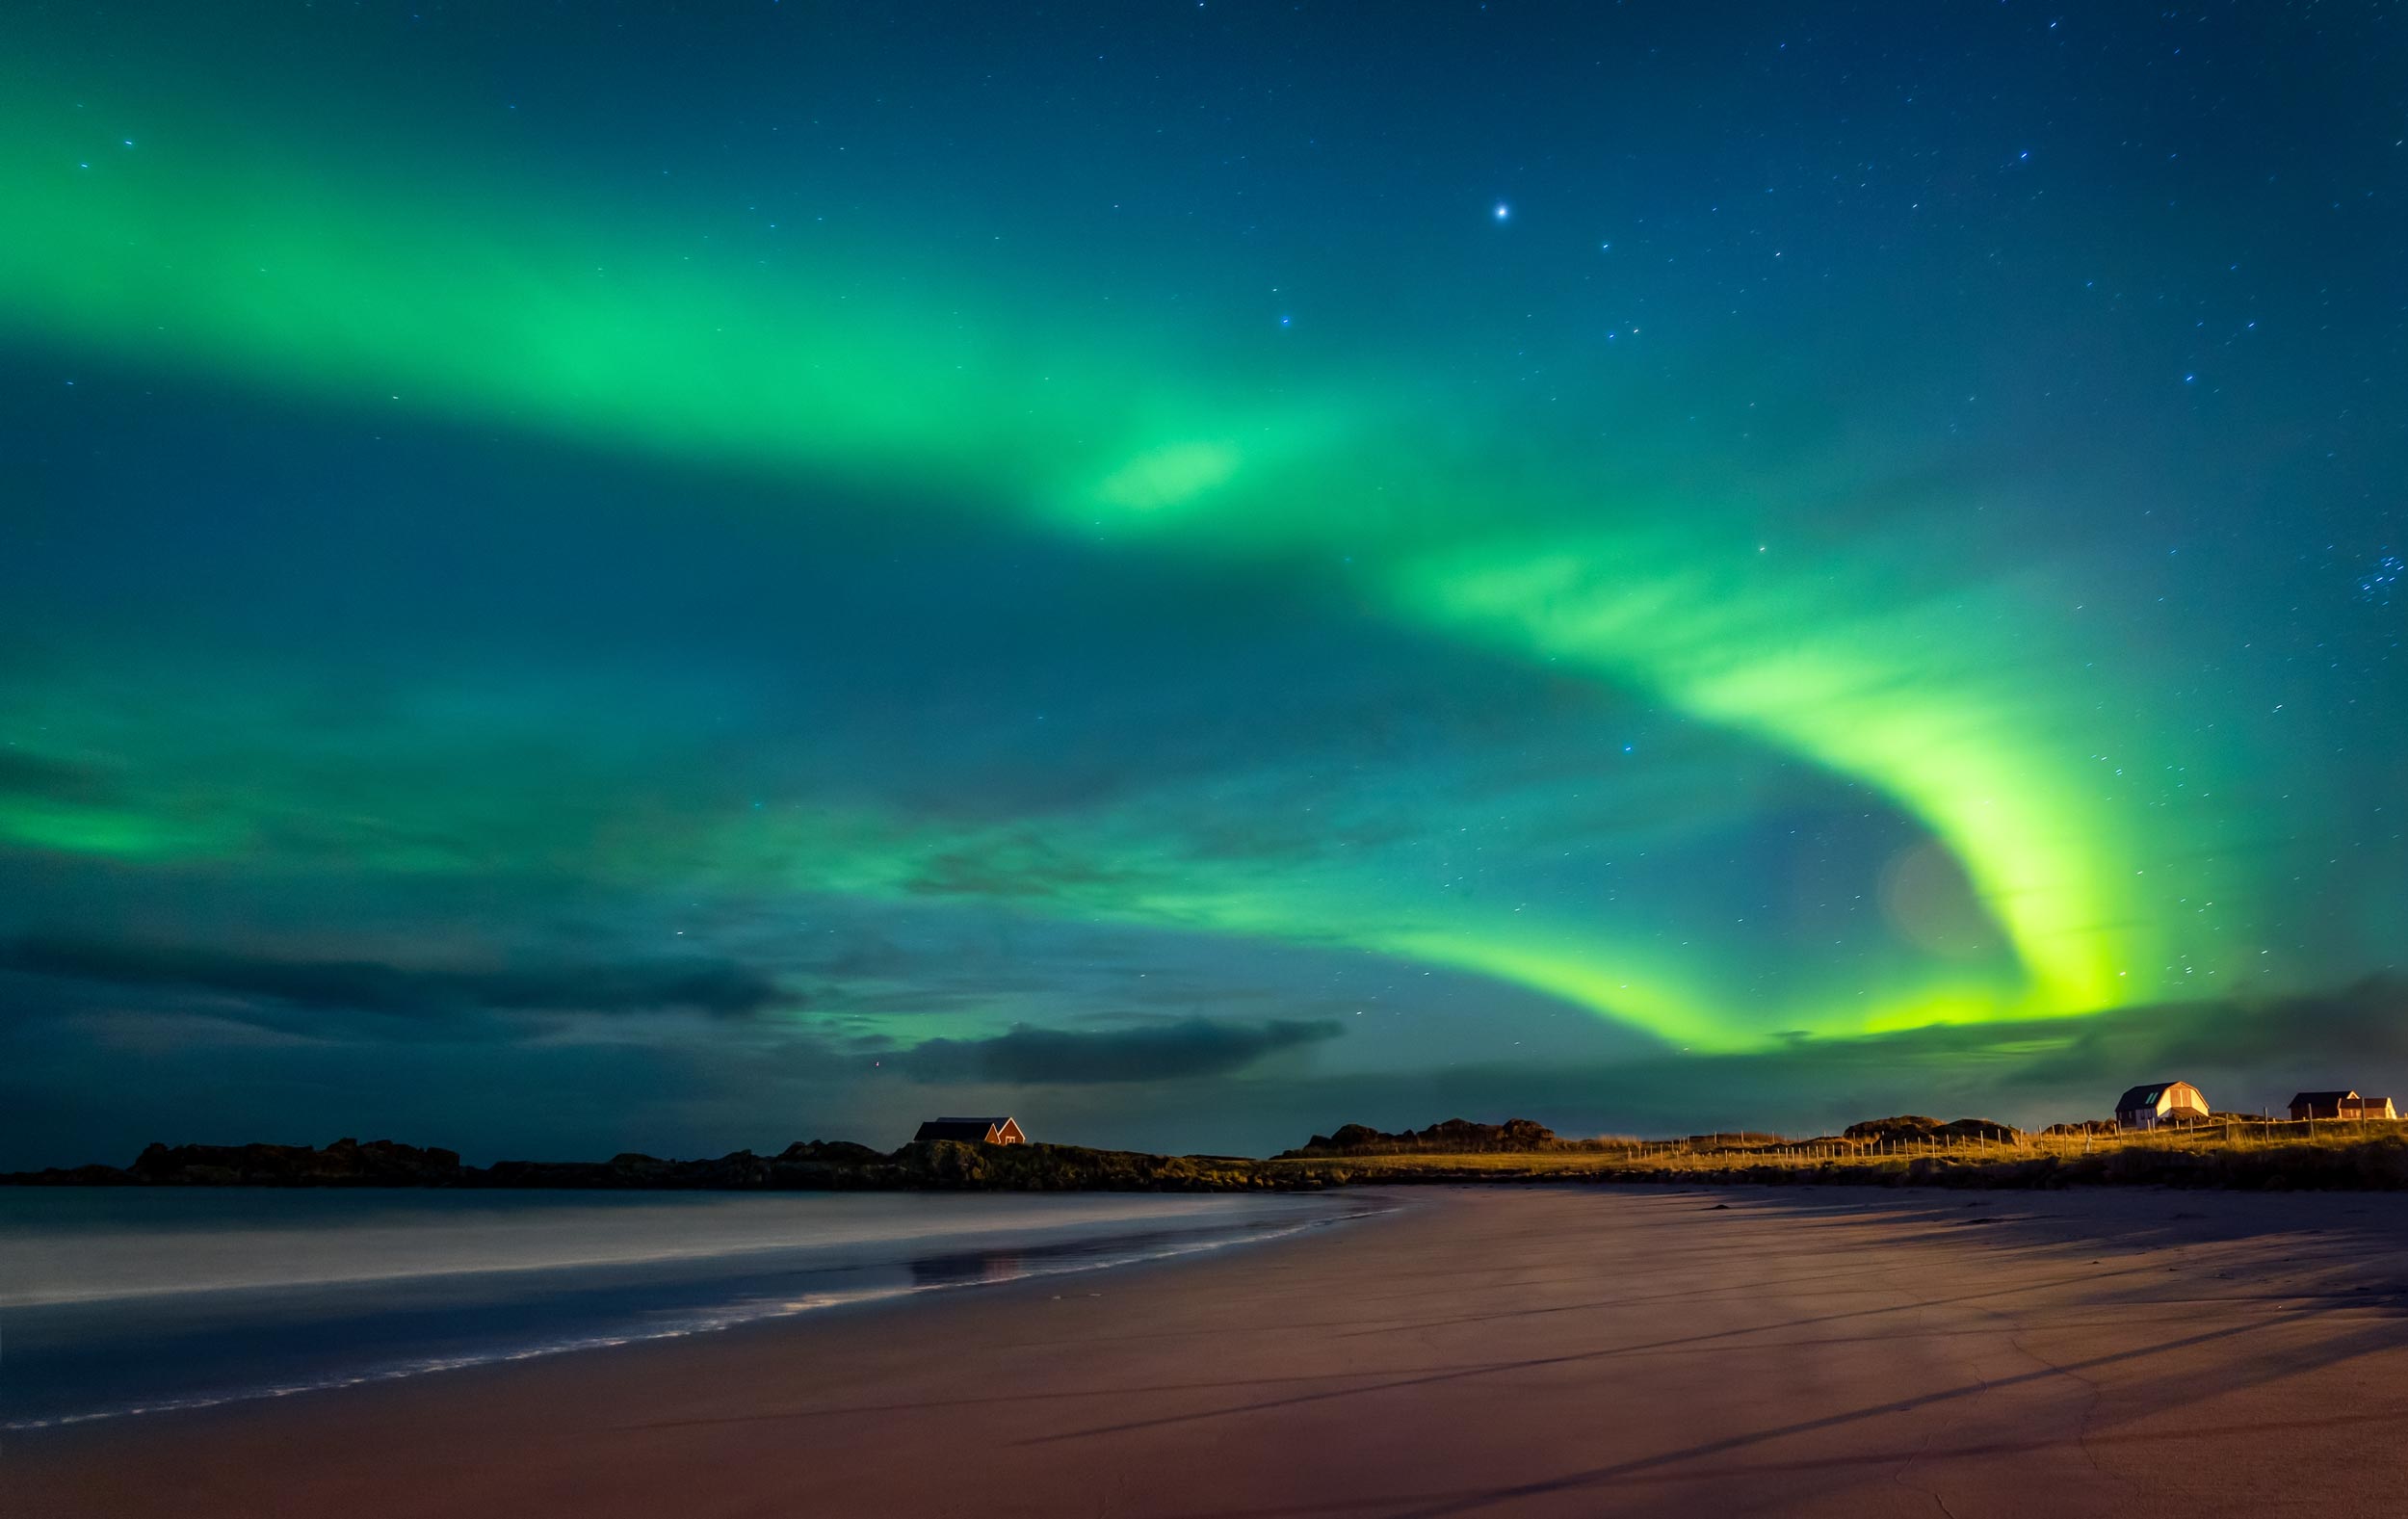
The Northern Lights are beautiful on their own, but your photographs become much stronger when they tell a story. Including mountains, lakes, forests, cabins, or even a lone person looking up at the sky helps create scale and gives the viewer a sense of place.
Reflections in still water can also produce particularly striking compositions, doubling the impact of the aurora. Remember that you’re photographing a landscape as much as you’re photographing the sky.
Shoot in RAW
The colours of the aurora can be subtle, and night photography often involves high contrast and difficult lighting conditions.
Shooting in RAW gives you much more flexibility when editing your images. You’ll be able to recover shadow detail, fine-tune white balance, reduce noise, and bring out the colours of the aurora without degrading image quality as quickly as you would with a JPEG. Most astrophotographers consider RAW essential for this reason.
Dress for the conditions
One thing many first-time aurora photographers underestimate is how long they’ll be standing outside. The best displays often happen late at night and during the coldest months of the year. Warm clothing, waterproof boots, gloves, and spare camera batteries are just as important as your camera gear.
Cold temperatures drain batteries surprisingly quickly, so carrying spares in an inside pocket can help keep them warm until you need them. Being comfortable means you’re more likely to stay out long enough to witness the best part of the display. In Iceland in winter, I wore 6 different layers and was toasty warm, even outside at 3 am!
Photographing the Northern Lights is part planning, part patience, and part luck. Even with perfect preparation, nature doesn’t always cooperate. But when everything comes together, you’ll be rewarded with one of the most spectacular photography experiences on Earth.
Start with the basics: find dark skies, use a tripod, shoot in RAW, and learn how your camera behaves in low light. As your confidence grows, you’ll spend less time worrying about camera settings and more time enjoying the incredible spectacle unfolding above you.
After all, some photographs are about more than just the final image; they’re about the experience of being there when the sky comes alive.
See more from DIYPhotography.net on Google
Add DIYPhotography.net as a trusted source. This makes
our stories more likely to appear in your Google Search results.
 Add as a preferred source on Google

About Leonard Skapp
Leonard “Len” Skapp is a photographer with a particular interest in cameras, lenses, accessories, camera bags, lens filters, tripods, camera straps, and, on rare occasions, photography itself. Equal parts reviewer and enthusiast, he enjoys digging into the technical details behind the latest gear and translating them into plain English for fellow photographers. He maintains that every purchase is a carefully considered investment, although his bank account and overflowing camera cupboard continue to dispute this claim.
We love it when our readers get in touch with us to share their stories. This article was contributed to DIYP by a member of our community. If you would like to contribute an article, please contact us here.


Join the Discussion
DIYP Comment Policy
Be nice, be on-topic, no personal information or flames.