


Light pollution is ruining your photos, follow these three tips to minimize it
Apr 11, 2022
Dunja Đuđić
Dunja Djudjic is a multi-talented artist based in Novi Sad, Serbia. With 15 years of experience as a photographer, she specializes in capturing the beauty of nature, travel, concerts, and fine art. In addition to her photography, Dunja also expresses her creativity through writing, embroidery, and jewelry making.
Share:

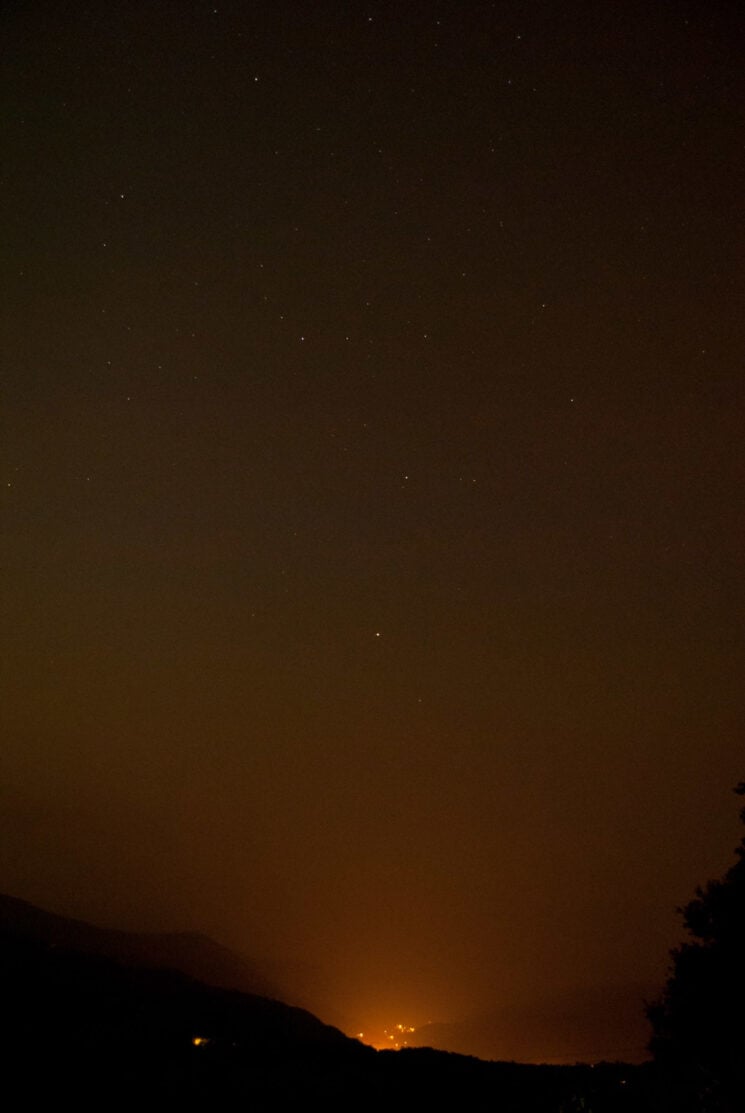
If you live in a city, photographing night skies is a challenge, to say the least. Light pollution affects our photos and makes the sky suck, coming from the ground and even from the sky. Even though we can’t lower light pollution on a global level, at least we can do something to minimize its impact in our photos. In this video from B&H, astrophotographer Jess Santos will tell you how.
Jess helps you get past light pollution and raise your night sky photos to a higher level. But she also shares some important facts about light pollution that affect more than just our photos.
Light pollution facts
What I like about this video is that Jess talks about light pollution and its broader impact. She starts off with the Bortle Scale, which is a nine-level scale used to measure the night sky’s brightness. In big cities, this brightness is around 8 or 9, which certainly sucks for both astrophotography, and for many other things too.

First of all, light pollution can affect our natural body rhythm and disrupt our sleep patterns. The release of melatonin (the “sleep hormone”) is inhibited when it’s light. So, the overly bright night skies can cause its inhibition, leading to sleep deprivation, which further leads to a range of physical and mental health issues.
But light pollution doesn’t only affect humans – it affects all living creatures. The so-called “skyglow” affects migration patterns of wildlife, birds, insects, and even marine life like sea turtles. Many animals and insects use moonlight to navigate. The skyglow confuses them, so they get lost and frequently die on their journey.
Finally, Jess points out that more light doesn’t mean more safety. The street lamps’ light and their reflection limit our view only to the lightened area since our eyes adjust to the light. This way, the light is obscuring our view of anything beyond it that remains in the dark.
Light pollution and astrophotography – the tips
1. Find dark skies
Okay, now we get to the tips. The first and the most obvious one is: find dark skies. Bortle 0 is the ideal, so go for the skies as close to it as you can find. Depending on where you live, it may be more or less difficult to do it, but it sure will require some travel if you live in the city.
For example, my hometown is in the “red zone,” being as light polluted as it gets. But traveling only 30-ish kilometers away from the center gets me to the “green zone,” which is somewhere around 4-5 Bortle. However, I would have to travel nearly 500km to get to the “grey zone,” which is about as dark as gets.
There’s a website I used to find these destinations, and Jess mentions it in her video. It’s called Dark Site Finder. You can also use an app called Light Pollution Map (iOS|Android).

2. Use light pollution filters
Light pollution filters work by cutting specific wavelengths of light commonly emitted by sodium and mercury vapor street lamps. They reduce the orange tones emitted by these lamps, and they’re helpful if you can’t travel somewhere where you have dark skies. You can choose between classic lens filters or those that clip onto your camera sensor, although the very thought of the latter gives me a panic attack.
3. Use natural light sources
If you still need some light for your foreground, Jess suggests using natural light sources. It can be the sun, which will still give you some light during the magnificent blue hour. Or, it can be the moon, which is a beautiful light source for your foregrounds at night.
Jess warns to think of the moon as the sun: you don’t want it to be directly overhead as it will give you unflattering light, with high contrast and harsh features. When the moon is close to its rising, you can get enough light for your foreground, yet still have the sky dark enough to see the stars. So, if you’re aiming for a shot with lit foreground and the Milky Way, this is the best time to do it! Apps like PhotoPills and Nightshift will help you plan your shot.
I hope that these tips have helped you plan your next shoot, but I also hope that you learned something new about light pollution. I know I did, and I’ll be happy to hear your insights, tips, and tricks for night sky photography, too!
[3 Night Sky Photography Tips for Light Pollution | B&H]

Dunja Đuđić
Dunja Djudjic is a multi-talented artist based in Novi Sad, Serbia. With 15 years of experience as a photographer, she specializes in capturing the beauty of nature, travel, concerts, and fine art. In addition to her photography, Dunja also expresses her creativity through writing, embroidery, and jewelry making.
Related Posts
 Follow these three tips to create dramatic portrait lighting with a single light
 Follow these three tips to nail location scouting for family photos
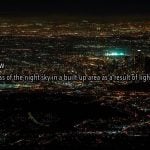 Filmmakers shot more than 3 million photos over 150,000 miles to raise awareness for light pollution
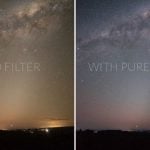 PureNight Premium filter helps astrophotographers beat light pollution
Join the Discussion
DIYP Comment Policy
Be nice, be on-topic, no personal information or flames.