




















How to Use Exposure Compensation: Master Your Camera Control
Oct 9, 2025
Darlene Lleno
Darlene Lleno brings a unique perspective to DIY Photography as someone who grew up surrounded by camera gear but chose words over lenses. With five years of writing experience, she specializes in photography content that’s both technically informed and genuinely passionate. Growing up with a photographer twin brother meant camera talk was everyday conversation in her household. While he mastered capturing moments, Darlene discovered she preferred being the subject and the storyteller behind the scenes. As a travel enthusiast and mother of two, she understands the importance of preserving life’s precious moments. When not exploring new destinations or writing for DIY Photography, you’ll find her reading or tending to her garden. Her approach to photography writing is refreshingly authentic, she may not be behind the camera, but she knows exactly what it takes to help others capture the shots that matter most.
Share:
Learning how to use exposure compensation transforms your photography from acceptable shots to professionally controlled images. This camera feature gives you creative power over your final exposure without switching to full manual mode. Most photographers discover exposure compensation after struggling with scenes that confuse their camera’s light meter.
Your camera’s built-in meter works well for average lighting conditions. However, it fails when faced with predominantly bright or dark scenes. Snow-covered landscapes fool the meter into underexposing. Dark concert venues trick it into overexposing. Exposure compensation fixes these problems instantly.
Read more: How to Use Exposure Compensation: Master Your Camera ControlCamera Metering Systems
Modern cameras use smart metering systems to calculate the ideal exposure for any scene. These systems look at light patterns across your frame and suggest camera settings. The technology works by assuming every scene averages out to middle gray. This represents 18% reflectance.
This assumption works perfectly for scenes with balanced light and dark areas. Problems arise when your subject doesn’t match this middle gray expectation. Beach photography presents classic examples of metering confusion. Bright sand and water overwhelm the sensor. This causes the camera to reduce exposure dramatically. Your beautiful sunny beach turns into a dull, underexposed image.
Similar issues occur in low-light photography where dark tones dominate the frame. The camera compensates by increasing exposure. This washes out the moody atmosphere you wanted to capture. Portrait photographers encounter this frequently when shooting against dark backgrounds.
Matrix Metering Behavior
Most cameras default to matrix or evaluative metering. This divides your frame into multiple zones. Each zone gets analyzed for brightness levels before the camera calculates an average exposure. This system performs well in mixed lighting but struggles with extreme contrasts.
Center-weighted metering focuses primarily on the middle portion of your frame. This mode works better for portrait photography where your subject occupies the center area. Spot metering measures light from a tiny area. This usually links to your active focus point.
How to Use Exposure Compensation Effectively
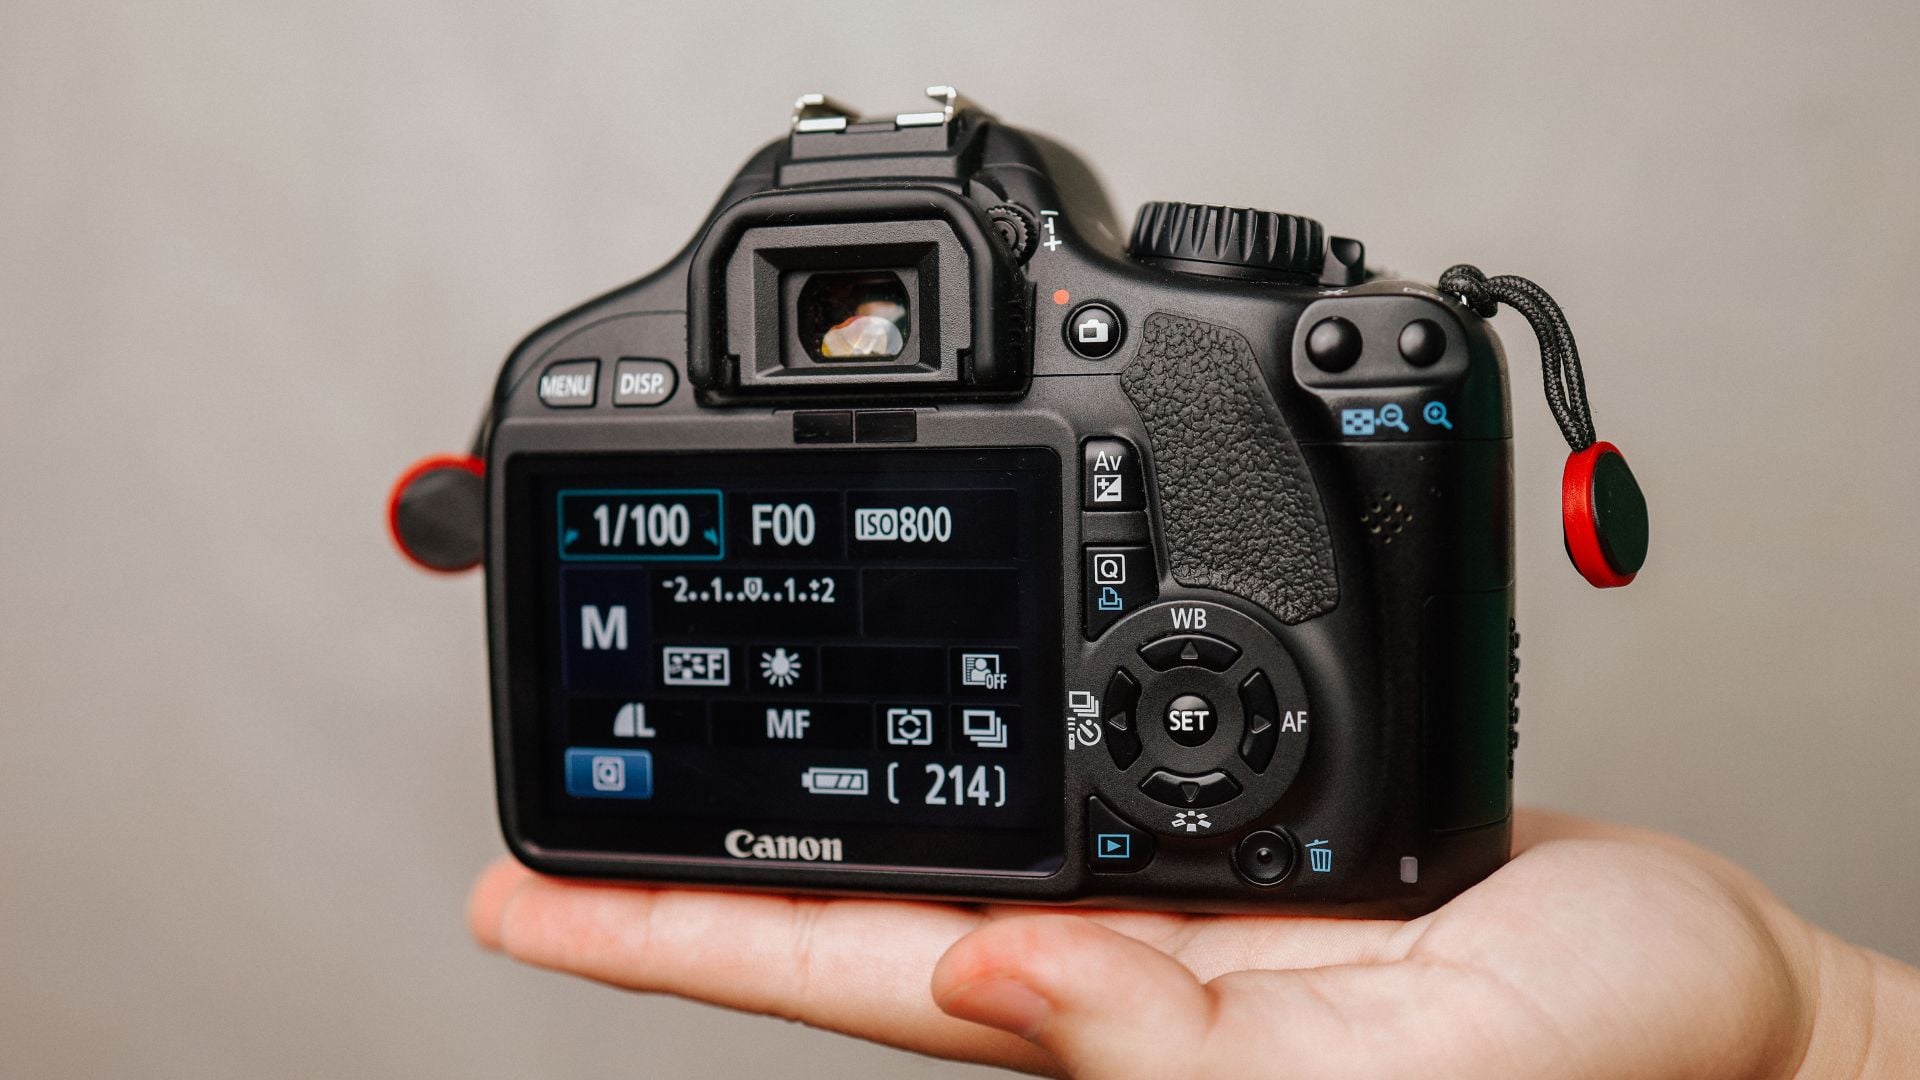
Exposure compensation adjusts your camera’s suggested exposure up or down while maintaining your chosen shooting mode. The feature works in aperture priority, shutter priority, and program modes. Manual mode doesn’t use exposure compensation since you control all settings directly.
The compensation scale typically runs from -3 to +3 stops. Most cameras offer third-stop increments. Positive values brighten your image while negative values darken it. One stop of compensation doubles or halves the light reaching your sensor.
Accessing Exposure Compensation Controls
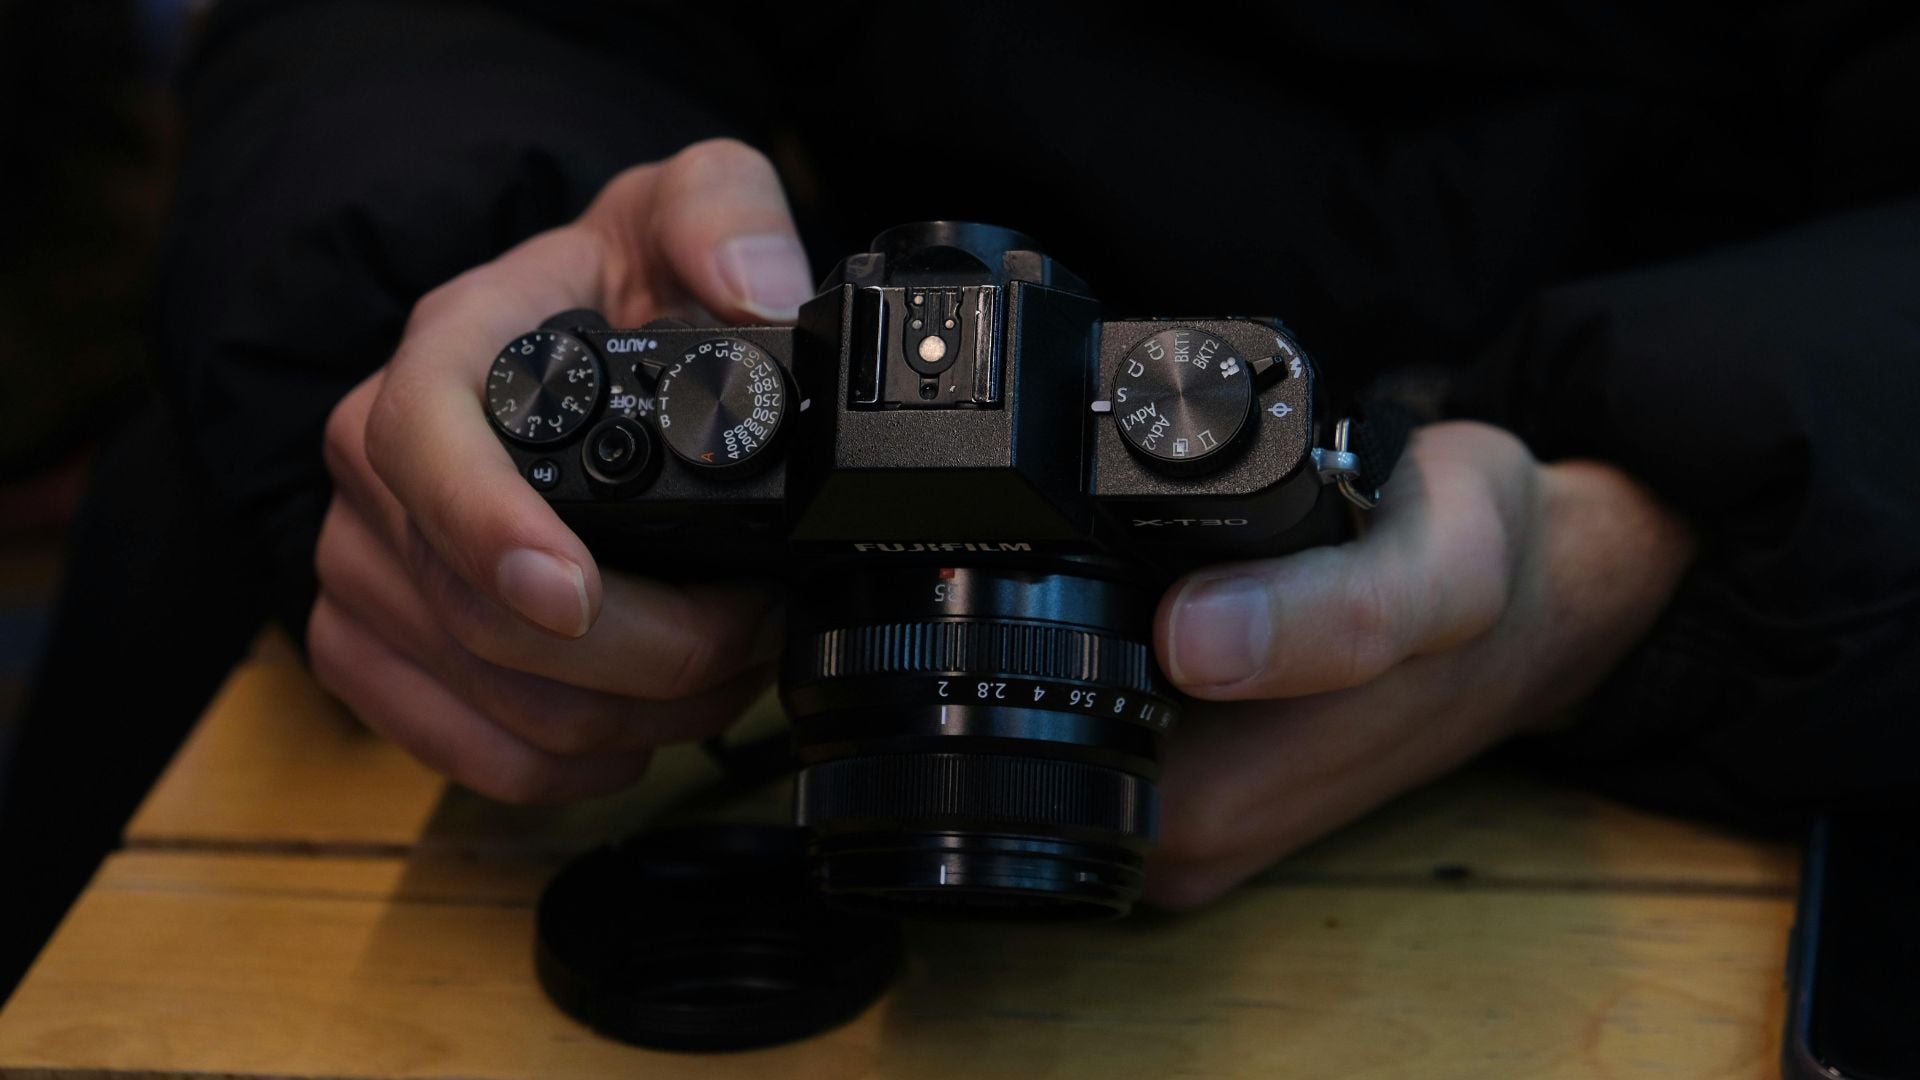
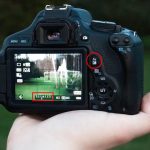
Most cameras place exposure compensation controls in easily accessible locations. DSLRs often feature dedicated buttons near the shutter release. Mirrorless cameras frequently integrate compensation into command dials or touchscreen menus.
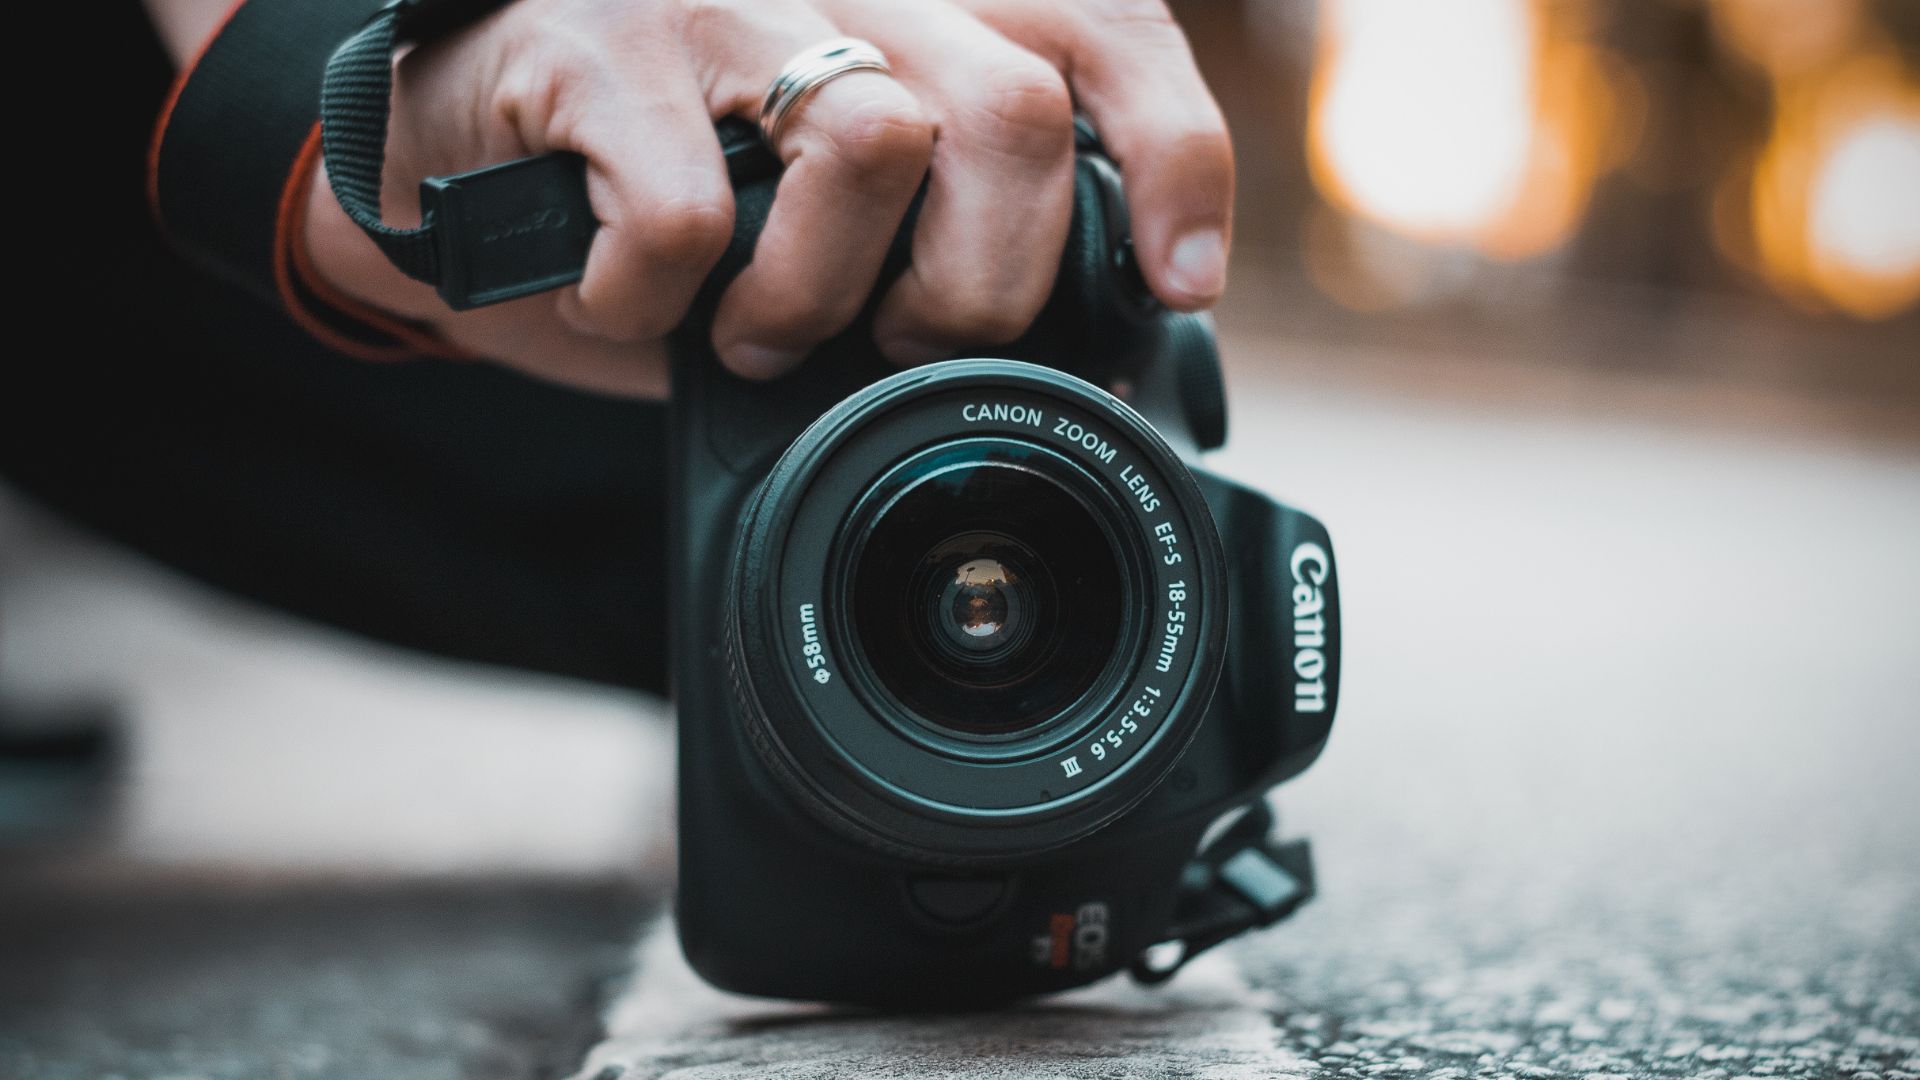
Look for the +/- symbol on your camera body. This marking indicates the exposure compensation control. Some cameras require holding the button while rotating a command dial. Others use dedicated wheels or touch controls for quick adjustments.
Digital displays show your current compensation setting as a scale with markers. Zero represents the camera’s suggested exposure. Moving the marker left darkens the image. Moving right brightens it.
Practical Applications for Exposure Compensation
Snow and sand scenes require positive exposure compensation to maintain their bright appearance. Without compensation, these subjects appear gray and lifeless in your final images. Start with +1 stop of compensation for snow photography. Adjust based on your results.
Sunset photography often benefits from slight negative compensation. This preserves rich colors and dramatic contrast. The bright sky can fool your meter into overexposing. This washes out the vibrant oranges and purples you see with your eyes.
White Subject Photography
Photographing white subjects like wedding dresses requires careful exposure management. White flowers and light-colored pets present similar challenges. Your camera’s meter sees all that white and automatically reduces exposure. This brings it back to middle gray. The result shows dingy, gray-looking whites instead of pure, bright tones.
Apply +1 to +2 stops of positive exposure compensation when white subjects dominate your frame. Check your histogram to ensure you’re not clipping highlights while maintaining clean, bright whites. Professional wedding photographers rely heavily on this technique.
Dark Subject Challenges
Black subjects present the opposite challenge. Your camera’s meter sees the darkness and increases exposure to brighten everything up. This destroys the moody atmosphere and can blow out any bright areas in your composition.
Negative exposure compensation preserves the dark, dramatic feeling of low-key subjects. Start with -1 stop and adjust until your blacks remain rich and detailed. Avoid making them muddy shadows.
Advanced Exposure Compensation Techniques
Experienced photographers use exposure compensation creatively beyond simple correction scenarios. High-key photography deliberately overexposes scenes for bright, airy aesthetics. Fashion and beauty photographers often use +1 to +2 stops of compensation. They combine this with careful lighting control.
Low-key photography embraces shadows and darkness for dramatic effect. Concert photography benefits from this approach. Dramatic portraits and artistic still life work also use negative compensation. This preserves mood and atmosphere.
Exposure Compensation in Different Lighting
Backlighting situations challenge every camera’s metering system. Strong light behind your subject creates extreme contrast that confuses the meter. Your camera typically chooses an exposure that renders the background correctly. This turns your subject into a silhouette.
Positive exposure compensation brightens your subject but may overexpose the background. This trade-off often produces better results than completely dark subjects. Use fill flash combined with exposure compensation for optimal backlit portraits.
Blue hour photography rarely needs exposure compensation. The warm, even light matches your camera’s metering assumptions. However, scenes with large bright skies may benefit from slight negative compensation. This preserves sunset colors and cloud detail.
Camera Modes and Exposure Compensation Integration
Aperture priority mode pairs perfectly with how to use exposure compensation for most photography situations. You select the aperture for depth of field control while the camera adjusts shutter speed. Exposure compensation modifies the camera’s suggested exposure without changing your chosen aperture.
Shutter priority mode works similarly but maintains your selected shutter speed while adjusting aperture. This combination proves valuable for action photography where motion blur control matters more than depth of field.
Program Mode Flexibility
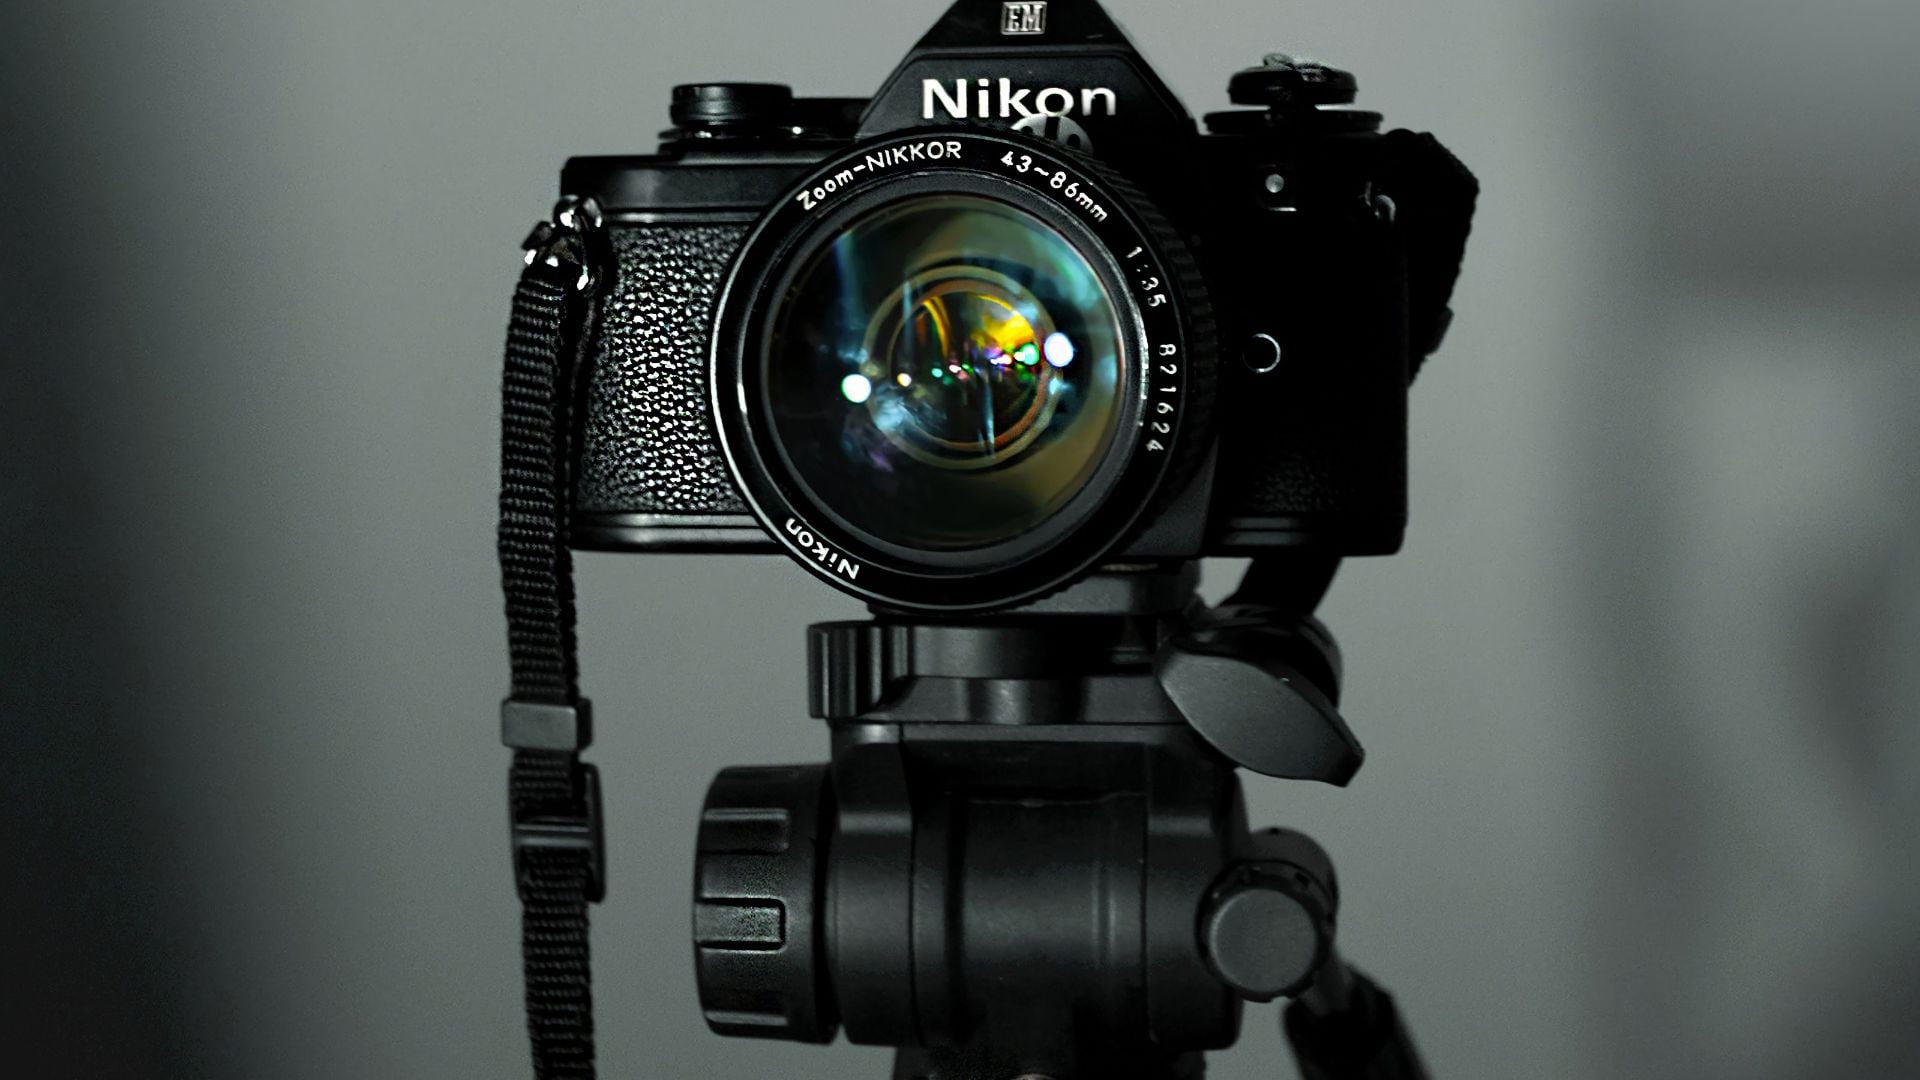
Program mode automatically selects both aperture and shutter speed combinations. How to use exposure compensation shifts the entire exposure while maintaining the camera’s chosen relationship. This mode works well for casual photography. You get creative exposure control without technical complexity.
Auto ISO settings interact with exposure compensation by adjusting sensor sensitivity. This happens when aperture and shutter speed reach their limits. This feature prevents underexposed images in challenging lighting while maintaining your compensation adjustments.
Reading Your Camera’s Light Meter
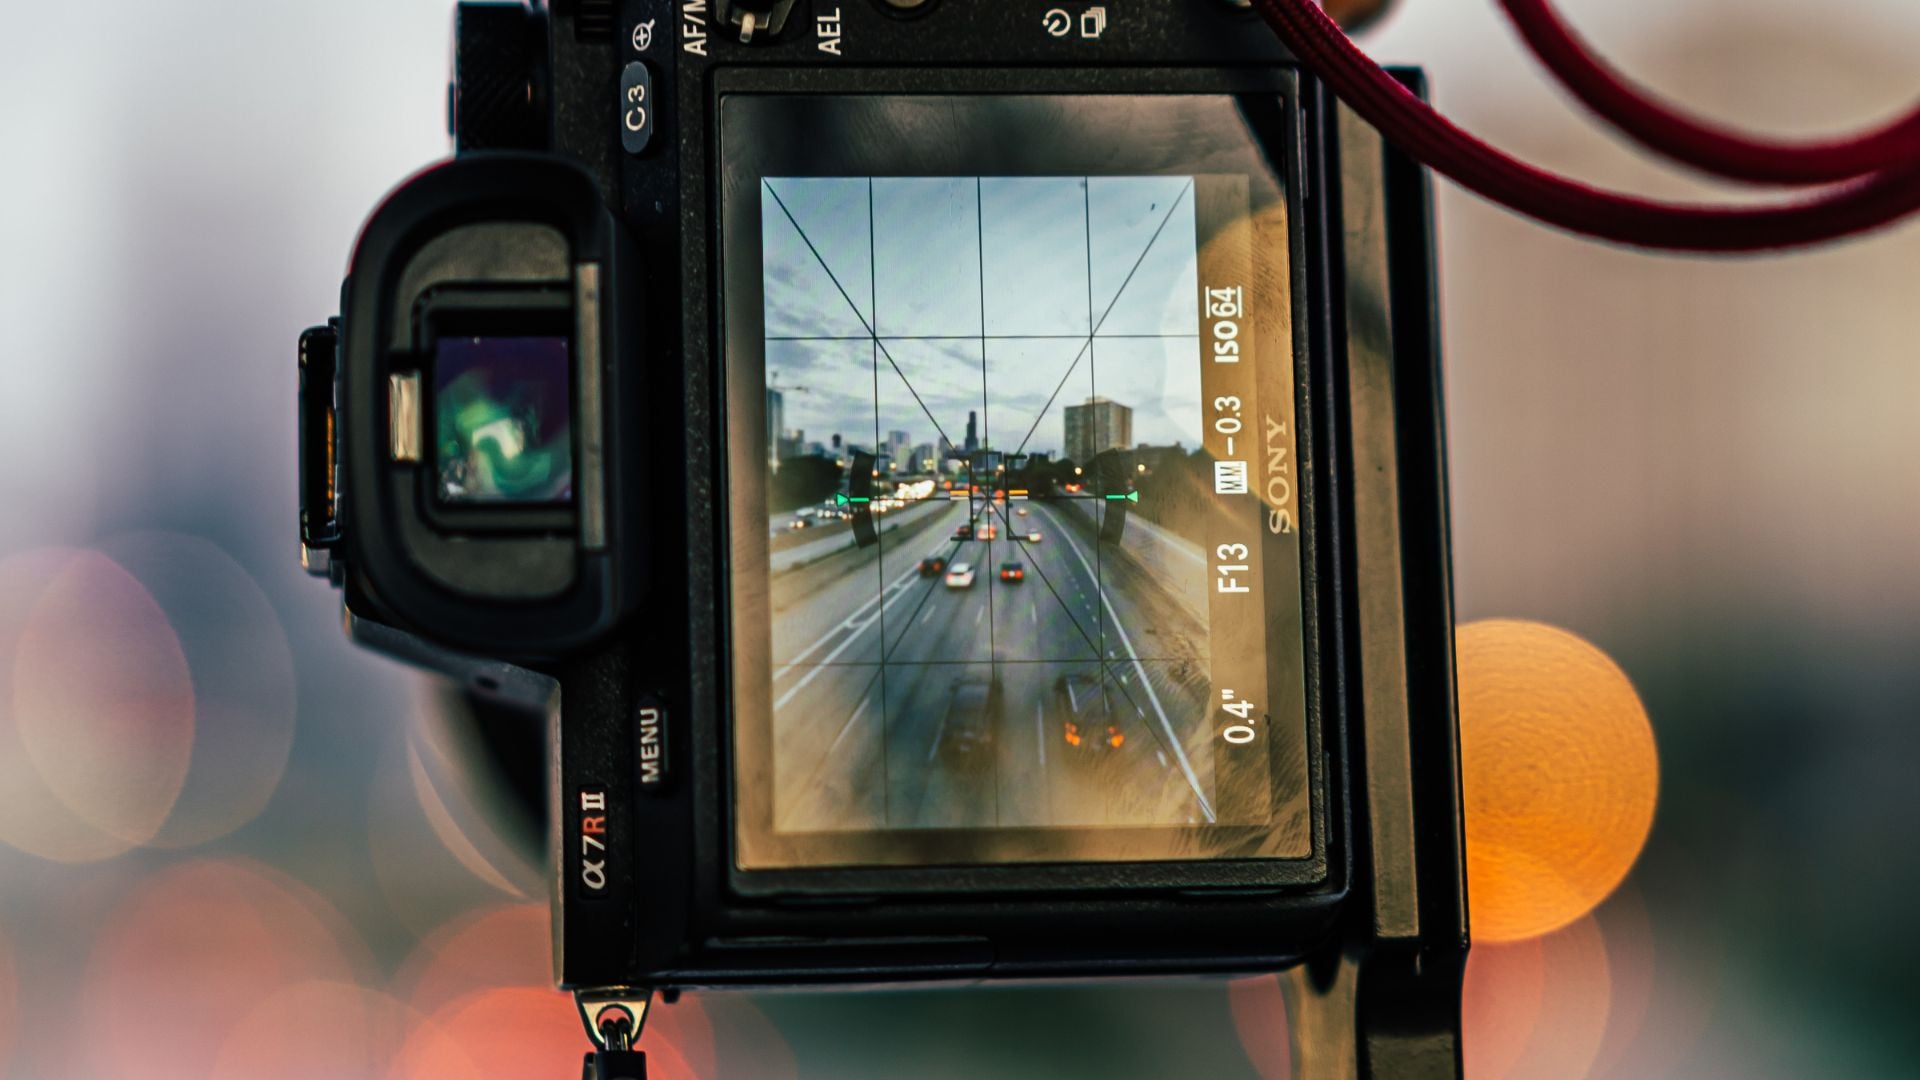
Understanding your camera’s light meter display helps you make informed exposure compensation decisions. The meter appears as a scale in your viewfinder or on the LCD screen. The center mark represents the camera’s suggested correct exposure.
When you apply exposure compensation, the meter needle moves away from center to show your adjustment. This visual feedback helps you understand how far you’re deviating from the camera’s automatic suggestion. Learning to read camera meters improves your exposure control significantly.
Histogram Analysis
Your camera’s histogram provides more accurate exposure information than the LCD preview screen. The histogram shows the distribution of tones in your image. This ranges from pure black on the left to pure white on the right. Proper exposure typically shows a bell-shaped curve without clipping at either end.
Exposure compensation adjustments shift the entire histogram left or right. Negative compensation moves the curve toward the shadows. Positive compensation shifts it toward the highlights. This visual feedback helps you avoid overexposure or underexposure mistakes.
Common Exposure Compensation Mistakes
Many photographers apply too much exposure compensation without checking their results. Start with small adjustments and evaluate the outcome before making larger changes. Extreme compensation settings often create unnatural-looking images.
Forgetting to reset exposure compensation after specific shooting situations causes ongoing exposure problems. That +2 stops you used for snow photography will overexpose every subsequent image. This continues until you return the setting to zero. Develop a habit of checking your compensation setting regularly.
Overcompensating for LCD Brightness
Outdoor LCD screens appear darker than indoor viewing. This leads photographers to apply unnecessary positive compensation. Your camera’s LCD brightness setting affects how images appear on the back screen. Adjust LCD brightness rather than exposure compensation to solve viewing problems.
Reviewing every shot excessively instead of trusting your settings wastes valuable shooting time. Learn to use the histogram and meter readings to confirm proper exposure. Don’t constantly review every shot.
Professional Exposure Compensation Workflows
Professional photographers develop systematic approaches to how to use exposure compensation based on shooting conditions. Wedding photographers often use slight positive compensation for flattering skin tones in harsh lighting. Event photographers may apply negative compensation to preserve ambient mood lighting.
Sports photographers use exposure compensation to maintain fast shutter speeds while accommodating changing light conditions throughout events. The ability to quickly adjust exposure without changing shooting modes keeps them ready for action.
Building Compensation Habits
Successful photographers build muscle memory for common exposure compensation scenarios. Snow always gets positive compensation. Dark venues get negative adjustments. Backlit subjects need brightness increases. These automatic responses speed up shooting and improve consistency.
Practice exposure compensation in controlled situations before relying on it during important shoots. Photograph white and black objects under different lighting conditions. Study how your camera’s meter responds and learn the compensation amounts needed for consistent results.
Here are key compensation scenarios to practice:
- Snow scenes: +1 to +2 stops
- Beach photography: +1 stop
- Dark concerts: -1 to -2 stops
- White wedding dresses: +1.5 stops
- Backlit portraits: +1 stop
Exposure Compensation vs Manual Mode
Manual mode gives you complete control over all exposure settings but requires constant adjustments as lighting changes. How to use exposure compensation provides creative control while letting the camera handle technical calculations. This hybrid approach works well for dynamic shooting situations.
Street photographers often prefer exposure compensation because lighting conditions change rapidly. They move through different environments constantly. Manual mode would require constant setting adjustments that could cause missed shots.
Professional studio work typically uses manual mode since lighting remains consistent throughout the shoot. However, even studio photographers use exposure compensation when working with natural light. This light changes throughout the day.
Take Control of Your Camera’s Exposure
Understanding how to use exposure compensation fundamentals transforms your camera from a simple point-and-shoot device into a precision creative tool. This feature bridges the gap between automatic modes and full manual control. You get artistic freedom without technical complexity.
Start practicing exposure compensation in familiar environments where you can experiment safely. Master the basic concepts with stationary subjects before applying these techniques to fast-paced photography situations. Consistent practice builds the intuitive understanding needed for confident exposure control in any shooting scenario.
See more from DIYPhotography.net on Google
Add DIYPhotography.net as a trusted source. This makes
our stories more likely to appear in your Google Search results.
 Add as a preferred source on Google

Darlene Lleno
Darlene Lleno brings a unique perspective to DIY Photography as someone who grew up surrounded by camera gear but chose words over lenses. With five years of writing experience, she specializes in photography content that’s both technically informed and genuinely passionate. Growing up with a photographer twin brother meant camera talk was everyday conversation in her household. While he mastered capturing moments, Darlene discovered she preferred being the subject and the storyteller behind the scenes. As a travel enthusiast and mother of two, she understands the importance of preserving life’s precious moments. When not exploring new destinations or writing for DIY Photography, you’ll find her reading or tending to her garden. Her approach to photography writing is refreshingly authentic, she may not be behind the camera, but she knows exactly what it takes to help others capture the shots that matter most.


Join the Discussion
DIYP Comment Policy
Be nice, be on-topic, no personal information or flames.