


FPV Drone Photography: First Person View Techniques
Nov 14, 2025
Darlene Lleno
Darlene Lleno brings a unique perspective to DIY Photography as someone who grew up surrounded by camera gear but chose words over lenses. With five years of writing experience, she specializes in photography content that’s both technically informed and genuinely passionate. Growing up with a photographer twin brother meant camera talk was everyday conversation in her household. While he mastered capturing moments, Darlene discovered she preferred being the subject and the storyteller behind the scenes. As a travel enthusiast and mother of two, she understands the importance of preserving life’s precious moments. When not exploring new destinations or writing for DIY Photography, you’ll find her reading or tending to her garden. Her approach to photography writing is refreshingly authentic, she may not be behind the camera, but she knows exactly what it takes to help others capture the shots that matter most.
Share:

FPV drone photography puts you right in the pilot’s seat through special goggles. This hands-on approach changes how you capture aerial shots. You get precise control and angles that regular drones just can’t pull off.
First-person view flying started as a racing hobby. Now it’s serious photography gear. Photographers use FPV systems to nail dynamic shots through tight spaces. The tech combines real-time video with super agile flight. Modern FPV setups deliver quality footage while staying incredibly maneuverable.
What Sets FPV Drone Photography Apart
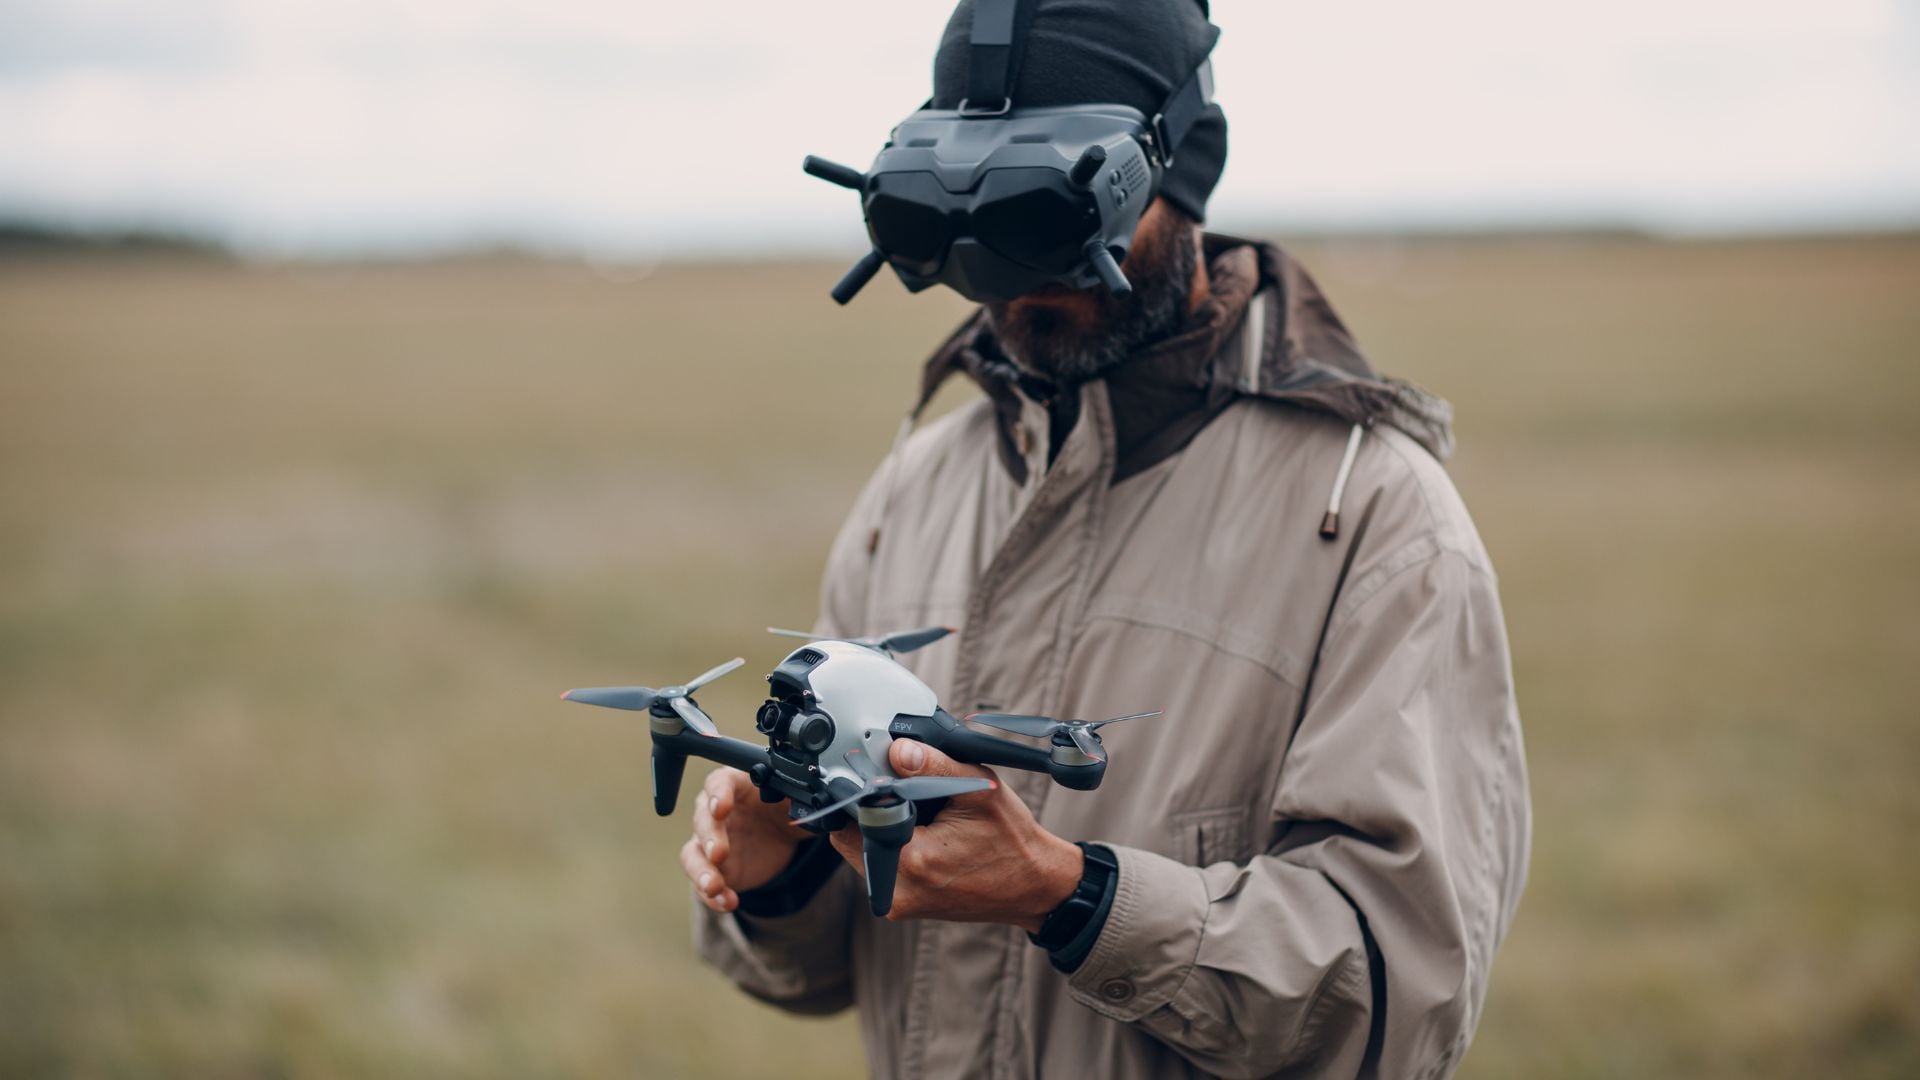
Regular drones work from a third-person view using phone or tablet screens. FPV systems beam live footage straight to goggles you wear. It feels closer to actually flying than remote controlling.
This immersive setup changes how you frame shots. You see exactly what the camera sees right now. The direct connection helps you fly through tight corridors and tricky spots. Racing drones use FPV for speed contests. Photography models focus on camera quality and stable footage over pure speed.
FPV drones shine at close-up filming. Standard camera drones keep safe distances because of size and safety features. FPV pilots can fly inches from objects and people with propeller guards. You can track shots through forests or around building details. Traditional drones can’t touch this.
Must-Have FPV Photography Gear
Building an FPV photo setup needs several parts working together. Each piece handles a specific job in the system. Here’s what you need to get started.
The Drone Body
Your drone needs enough power to carry camera gear while staying stable. The DJI Avata 2 shoots 4K at 100fps with decent sensor size. It has built-in stabilization and prop guards for safer indoor flying. The unit weighs 410 grams and hits 60 mph when you need speed.
FPV Goggles
Goggles create that immersive flying feel. DJI Goggles 3 give you 1080p 60fps live feeds from 20 kilometers away. The display sits close to your eyes and blocks distractions. Better goggles add head tracking that controls gimbal movement.
Controllers and Cameras
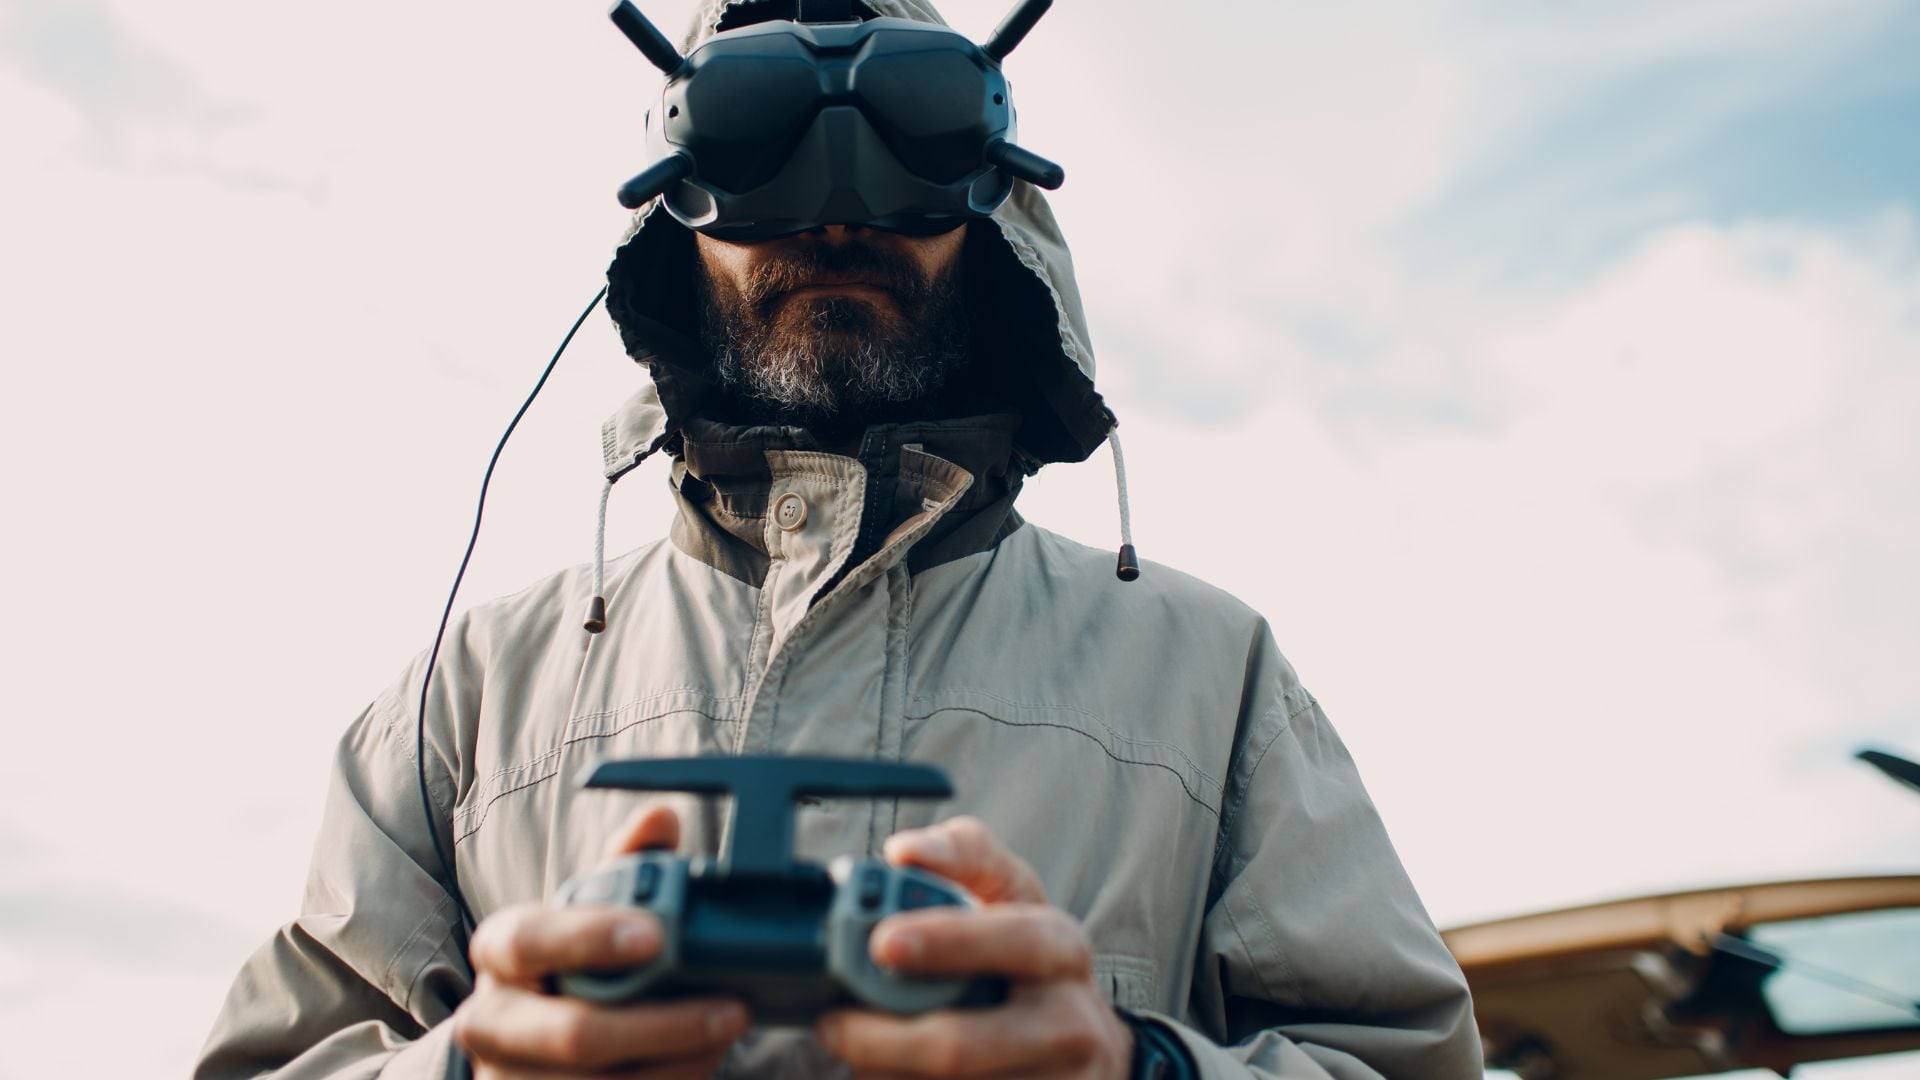
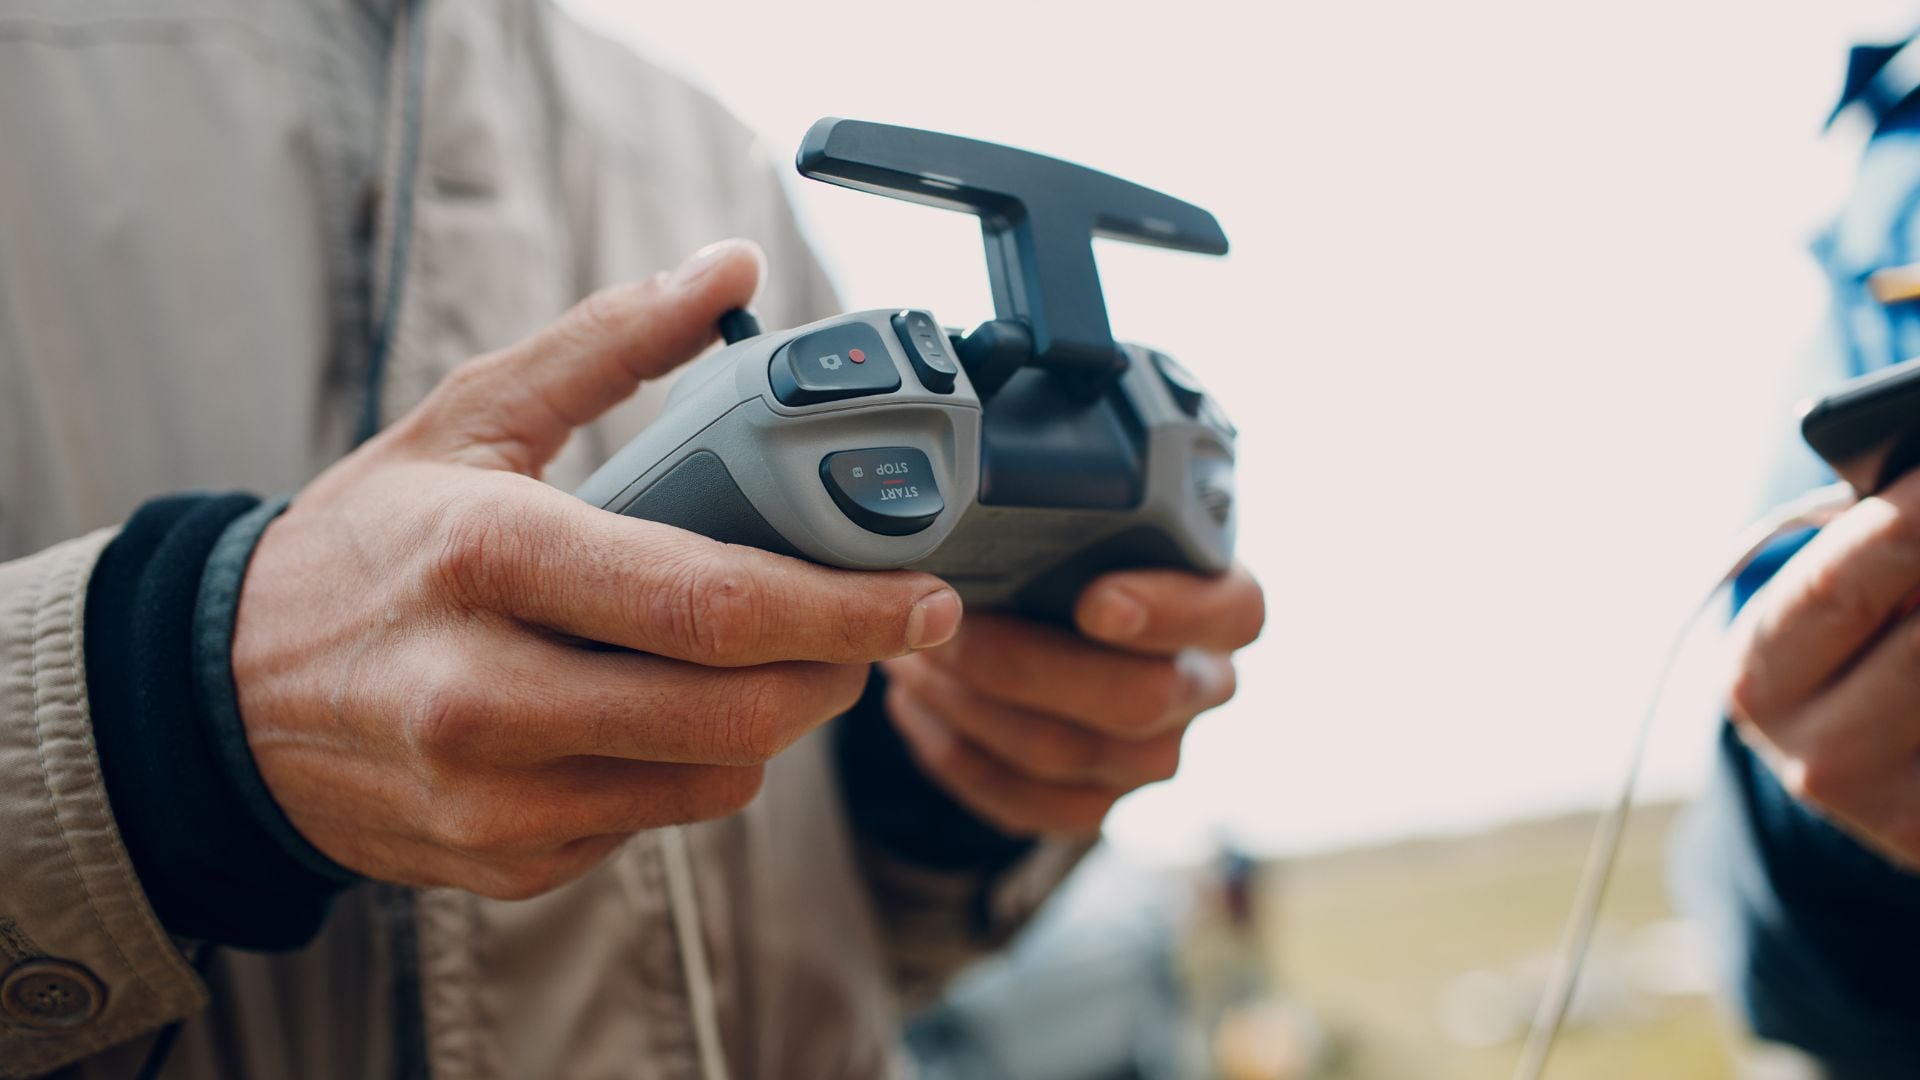
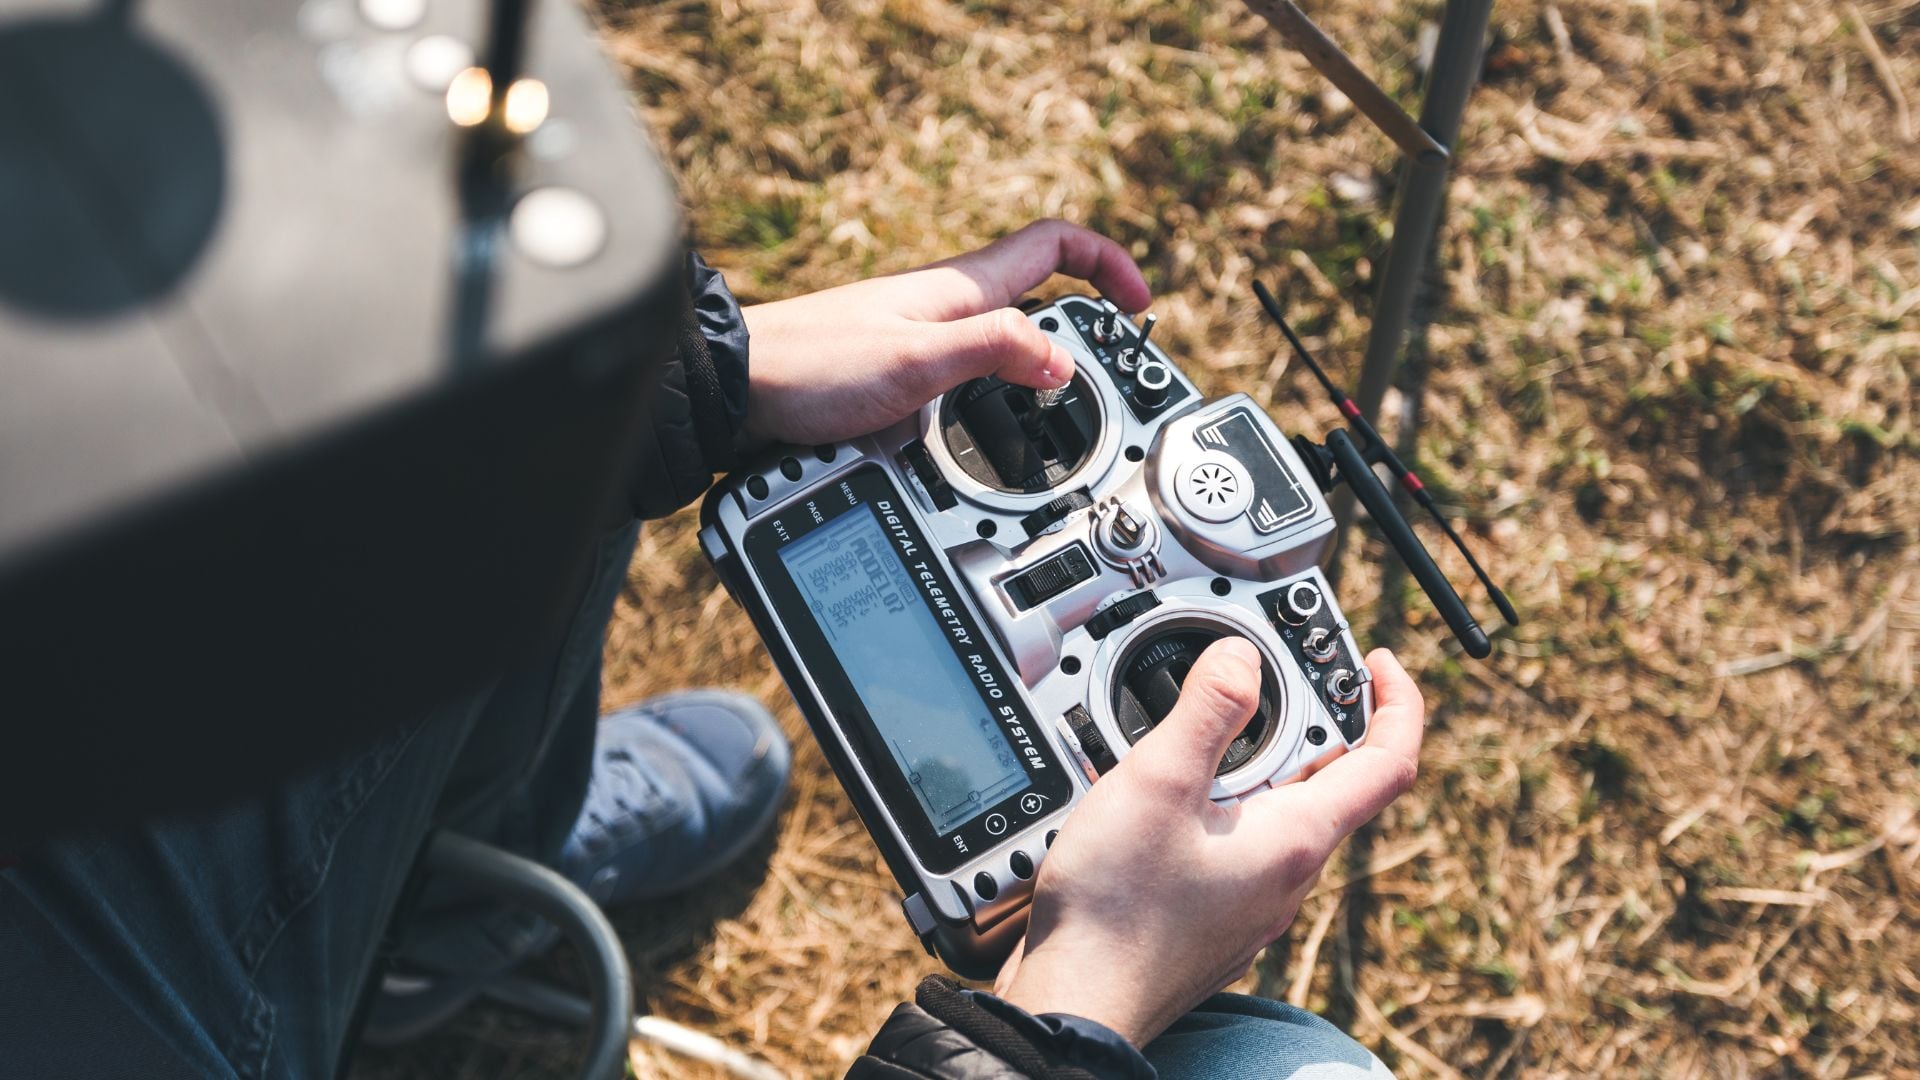
FPV controllers differ from standard drone remotes. The DJI RC Motion 3 uses hand movements for flight control. Regular stick controllers work too. Pick based on your shooting style and comfort.
Cameras make the biggest difference in your final shots. Entry FPV drones have fixed cameras with limited adjustments. Pro setups mount GoPro Hero cameras or similar action cams. The GoPro Hero 10 Black Bones drops extra housing to cut weight.
Batteries and Power
Batteries control flight time and performance. Most FPV photo drones fly 20-23 minutes per charge. Real work needs multiple battery packs. Quick-change systems help you max out shooting time.

Dialing In Camera Settings for FPV Work
Getting exposure right in FPV needs different tactics than ground shooting. Constant motion and changing light demand specific settings. Let me break down what works.
Frame rate depends on your final video. Shooting at 60fps lets you slow down to 24fps smoothly. This works great for tracking shots through cool spots. Higher rates like 100fps or 120fps capture ultra-smooth motion. Standard 24fps feels cinematic but shows less motion detail.
Shutter speed follows the 180-degree rule for video. Your shutter should roughly double your frame rate. At 60fps, use 1/120 second. This creates natural motion blur that looks good. Faster shutters make choppy movement. Slower ones blur too much.
Filters and White Balance
ND filters become necessary in bright spots. They work like sunglasses for your camera. An ND16 filter handles sunny outdoor flying. ND32 or ND64 helps in super bright places. Filters let you keep proper shutter speeds without overexposing.
White balance needs manual control during FPV flights. Auto white balance shifts colors as you move through different light. Set a specific Kelvin value before takeoff. Daylight sits around 5500K. Indoor tungsten lighting runs warmer at 3200K.
ISO should stay as low as possible for clean footage. Modern FPV cameras handle ISO 800 reasonably well. Low-light situations might push to ISO 1600 or higher. The constant movement makes noise less obvious than still shots. Lower ISO still wins when light allows.
Camera Angle Settings for Different Shots
Your camera angle on the FPV drone affects flight feel and footage quality. Adjusting tilt changes what you see and how the drone responds.
Beginners should start with 10-20 degree angles. This mild tilt gives forward visibility while keeping control stable. The drone feels predictable and responds gently. New pilots learn basics without fighting extreme angles.
Cinematic work benefits from 15-30 degree angles. This range balances smooth visuals with good maneuverability. You can do gentle movements and flowing transitions. Many commercial FPV work uses angles here.
Racing needs 30-45 degree tilts. Steep angles boost speed perception and agility through tight courses. Pilots see more sky and less ground ahead. Photography rarely needs such extreme angles unless shooting fast action.
Adjusting your camera angle takes physical changes to mounting hardware. Some frames include adjustable mounts with preset angles. Others need manual adjustment of mounting screws. Always secure the camera firmly after changes. Loose mounts create shaky footage and risk damage.
Flying Moves That Create Stunning Shots
Mastering FPV flight takes practice but opens wild creative options. Specific moves create pro-looking shots that stand out. Here are the key techniques to learn.
Basic Flight Techniques
Smooth turns and dolly movements copy traditional camera gear. Fly in gentle arcs rather than sharp corners. The curved path creates cinematic transitions between subjects. Practice keeping consistent speed through turns. Jerky movements distract viewers and look amateur.
Low-altitude passes add drama to footage. Flying close to ground surfaces shows speed and scale. Grass, water, or textured ground works beautifully for these shots. Keep steady altitude throughout the pass. Rising or falling breaks the effect.
Advanced Maneuvers
Proximity flying through gaps creates memorable sequences. Threading between trees, under bridges, or around obstacles shows FPV capabilities. Start with wide gaps and work toward tighter spaces. Propeller guards protect gear during learning.
Tracking subjects needs coordination between throttle and camera control. Follow moving people, vehicles, or animals while keeping consistent framing. The subject should stay in roughly the same screen spot. This demands adjusting speed, direction, and altitude at once.
Reveal shots work particularly well with FPV systems. Start close to an object blocking the view. Fly up and over or around to reveal a wider scene. The switch from detail to overview creates visual interest.
Making Your FPV Footage Shine in Post
Raw FPV footage needs editing to reach full potential. Several key tweaks improve final results. Most editing happens in standard video software you already know.
Stabilization tools smooth out minor flight wobbles. Most editing software has built-in stabilization. Apply gentle smoothing without removing intentional movement. Too much stabilization looks artificial and floaty. Test different strength settings to find balance.
Color grading brings FPV footage to life. Many pilots shoot in flat profiles that preserve maximum dynamic range. These profiles look washed out straight from camera. Apply color correction first to fix exposure and white balance. Then add creative grades for mood.
Cropping can improve composition after shooting. FPV pilots focus on flying rather than perfect framing. Slight crops adjust final composition without obvious quality loss. Modern 4K footage allows modest cropping while keeping 1080p output.
Speed ramping adds energy to sequences. Slow down dramatic moments and speed through transitions. This guides viewer attention and creates rhythm. Most editing programs offer simple speed controls with smooth curves.
Sound design completes the FPV experience. Raw audio from FPV drones sounds harsh and mechanical. Replace with fitting music or sound effects. The right audio transforms footage from impressive to professional.
Safety First With FPV Flying
Responsible FPV photography needs attention to safety practices. Several key points protect people, property, and your gear. Don’t skip these basics.
Maintain visual line of sight whenever you can. FPV goggles provide immersive views but limit peripheral awareness. Use a spotter who watches the drone and surroundings with naked eyes. This person can warn of approaching aircraft, people, or hazards.
Check local regulations before flying. Different areas have varying rules about drone operation. Some spots ban FPV flight entirely. Others require specific certifications or permits. Research restrictions for your shooting location way ahead. Follow all applicable rules to avoid fines or equipment seizure.
Avoid flying near airports or restricted airspace. Most countries mandate staying below 400 feet altitude. Give manned aircraft right of way always. Download airspace apps that show no-fly zones and temporary restrictions.
Never fly over crowds or active roadways. Equipment failures happen even with careful maintenance. A falling drone could cause serious injury or property damage. Keep flights over areas where potential impacts wouldn’t harm people.
Check equipment before every flight session. Inspect propellers for cracks or damage. Test all controls and verify proper response. Make sure batteries are fully charged and properly secured. Five minutes for preflight checks prevents many accidents.
Learning FPV Skills Fast
Developing FPV skills takes time and dedication. Several approaches help photographers build skills faster. Here’s how to speed up your learning curve.
Simulator software provides safe practice environments. Programs like Velocidrone or Liftoff copy FPV physics accurately. Practice basic moves and complex tricks without risking expensive gear. Simulators work with actual FPV controllers for realistic training.
Start with beginner drones before advancing to custom builds. Models like the DJI Avata 2 include safety features and automated modes. These help new pilots develop basic skills while still getting usable footage. Move to advanced systems as skills grow.
Join local FPV communities or online forums. Experienced pilots share tips and fix common problems. Many areas have regular meetups or practice sessions for photographers. Flying with others speeds learning and gives immediate feedback.
Study professional FPV work to understand what makes shots effective. Watch camera movements, transitions, and composition choices. Try recreating techniques you admire to build your skill set. Understanding why something works helps you apply similar ideas.
Mistakes FPV Photographers Make
New FPV photographers often make similar errors. Recognizing these issues helps avoid wasting time and equipment. Learn from others’ mistakes.
Flying too fast for camera capability causes motion blur and choppy footage. Match your speed to your shutter settings and stabilization system. Smooth controlled movements always look better than crazy high-speed passes. Speed has its place but shouldn’t dominate every shot.
Ignoring lighting conditions leads to poor exposure in your shots. FPV photography still follows basic photo principles. Harsh midday sun creates difficult contrast. Early morning and evening golden hours give beautiful light. Plan flights around good lighting when possible.
Overlooking audio quality hurts final results. Poor sound choices distract from impressive visuals. Invest time finding appropriate music or sound effects. The audio track should complement footage without overwhelming it.
Skipping regular maintenance causes preventable failures. FPV drones take significant abuse during normal use. Clean motors and check connections regularly. Replace worn propellers before they fail. Preventive maintenance costs less than replacing crashed equipment.
Attempting advanced moves too soon risks crashes and frustration. Build skills step by step through deliberate practice. Master basic flight before trying complex tricks.

Practice Drills That Actually Work
Deliberate practice routines speed up FPV skill development. Try these exercises during training sessions. Each one targets specific skills you need.
Figure-eight patterns build smooth turning ability. Set two markers about 50 feet apart. Fly continuous figure eights around them while keeping consistent altitude. This develops coordinated stick control for both directions. Work on making transitions smoother.
Hover challenges improve throttle control and stability. Pick a fixed point and hold position for 30 seconds. Start at a comfortable altitude and go lower over time. Add wind by flying on breezy days. Solid hovering translates to better control during all flight scenarios.
Gap threading tests precision flying. Create a series of smaller openings using poles or natural features. Fly straight through each gap at consistent height. This builds spatial awareness and control confidence. Start conservatively and advance as skills improve.
Tracking exercises prepare you for the subject following. Have a friend walk, run, or bike while you keep consistent framing. Keep them centered in your view while adjusting all flight controls. This coordination becomes crucial for professional aerial photography work.
Altitude transitions practice vertical control. Fly level at low altitude then climb smoothly to high altitude. Descend back down keeping the same smooth rate. Uneven vertical speed looks amateur in final footage. Consistent climb and descent rates appear professional.
What’s Next for FPV Technology
FPV systems keep evolving rapidly. Several trends point toward exciting capabilities ahead. The tech gets better every year.
Better camera sensors deliver improved low-light performance and higher resolution. Manufacturers pack larger sensors into smaller lighter packages. This helps FPV photographers match traditional camera quality while keeping agility advantages.
Advanced AI stabilization systems compensate for more aggressive flight moves. Software analyzes footage in real time and applies corrections. This lets pilots fly more dynamically while keeping smooth output. The tech bridges the gap between racing performance and cinema quality.
Longer flight times expand shooting possibilities. Battery tech improvements and more efficient motors extend sessions. Current 20-minute flights may grow to 30-40 minutes soon. Extended endurance reduces battery swaps and increases productive shooting time.
Better transmission systems ensure reliable video feeds at greater distances. Current systems reach 20 kilometers in ideal conditions. Future versions may double or triple this range. The technology continues pushing boundaries for aerial photography capabilities.

Darlene Lleno
Darlene Lleno brings a unique perspective to DIY Photography as someone who grew up surrounded by camera gear but chose words over lenses. With five years of writing experience, she specializes in photography content that’s both technically informed and genuinely passionate. Growing up with a photographer twin brother meant camera talk was everyday conversation in her household. While he mastered capturing moments, Darlene discovered she preferred being the subject and the storyteller behind the scenes. As a travel enthusiast and mother of two, she understands the importance of preserving life’s precious moments. When not exploring new destinations or writing for DIY Photography, you’ll find her reading or tending to her garden. Her approach to photography writing is refreshingly authentic, she may not be behind the camera, but she knows exactly what it takes to help others capture the shots that matter most.


Join the Discussion
DIYP Comment Policy
Be nice, be on-topic, no personal information or flames.