


What are solar and lunar halos and how to photograph them
Sep 25, 2024
Soumyadeep Mukherjee
Soumyadeep Mukherjee is an award-winning astrophotographer from India. He has a doctorate degree in Linguistics. His work extends to the sub-genres of nightscape, deep sky, solar, lunar and optical phenomenon photography. He is also a photography educator and has conducted numerous workshops. His works have appeared in over 40 books & magazines including Astronomy, BBC Sky at Night, Sky & Telescope among others, and in various websites including National Geographic, NASA, Forbes. He was the first Indian to win “Astronomy Photographer of the Year” award in a major category.
Share:

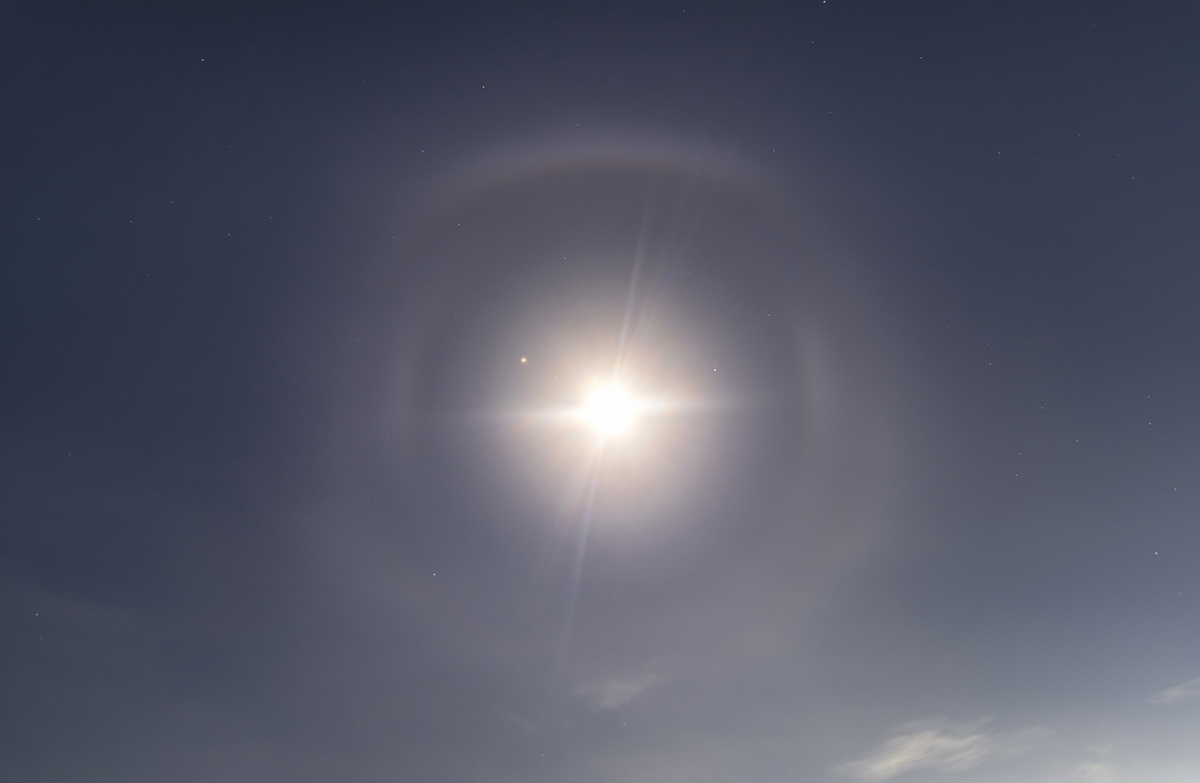
Have you ever looked up and come across a circular rainbow-like structure around the sun or the moon? These are referred to as “solar halo” or “lunar halo”. Let us take a look at what they are, how they form, and what you can do to photograph them.
Table of contents
What are halos?
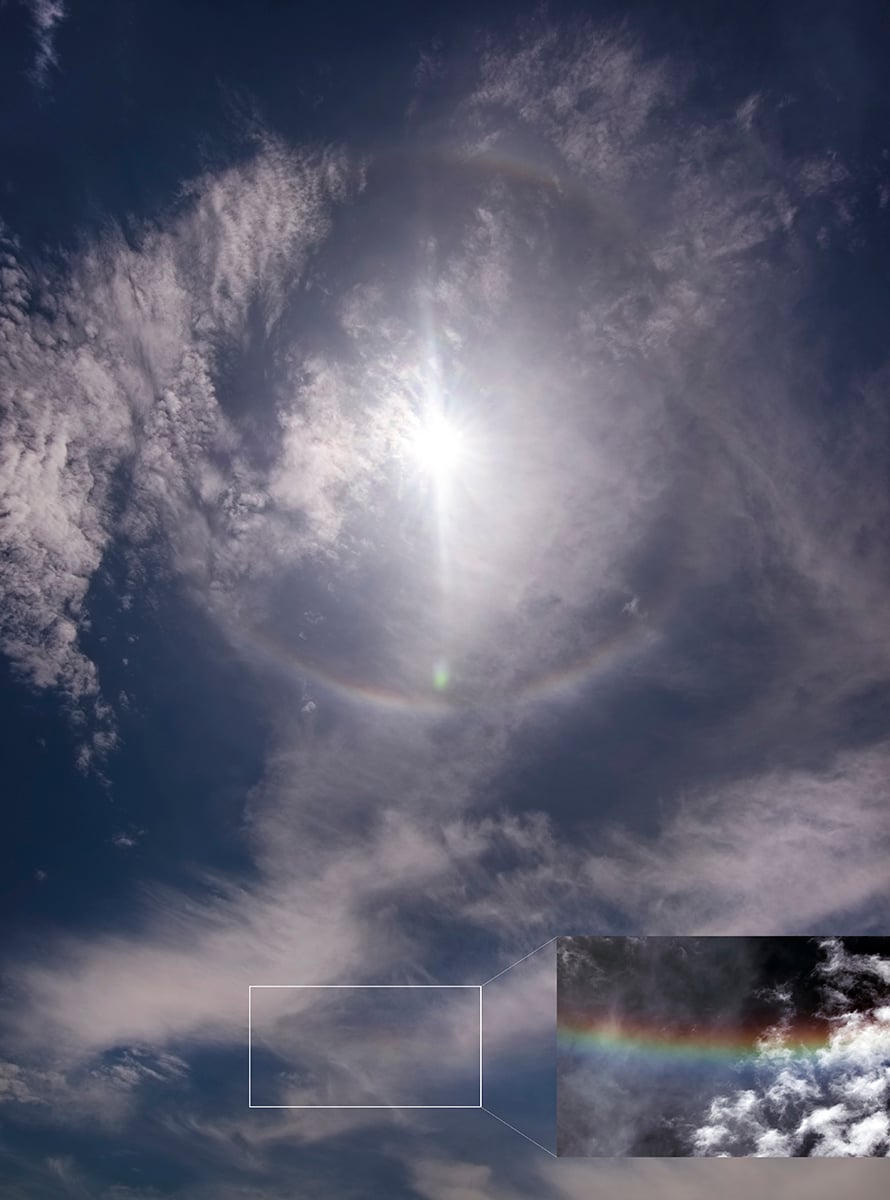
When light interacts with ice crystals in the atmosphere, it refracts and reflects, creating halos. The distinct geometric characteristics of these ice crystals are essential in determining how halos form. Light is bent and deflected as it moves through these crystals, creating a variety of visual phenomena.

Halos indicate the presence of thin cirrus clouds, either visible to the naked eye or too thin and distant to be visible. There are millions of small ice crystals in these clouds. Both refraction (the splitting of light) and reflection (the glinting of light) from these ice crystals are responsible for the halos you observe.
Different types of halos
The most common form of halo observed is the 22-degree halo. This means that the radius of the halo circle is 22 degrees. These are formed by hexagonal-shaped ice crystals in the upper atmosphere. Other than these more common 22-degree halos, you can also see some odd-radius halos formed around the sun and the moon. The radius of these halos can be 9, 18, 20, 23, 24 and 35 degrees. These are formed by pyramidal-shaped ice crystals. These halos are almost always dimmer than the regular 22-degree halos.

Optical phenomenon expert Les Cowley lists some other types of halos observed in the sky:
- Sundogs, or brilliant spots on either side of the sun, are formed when sunlight enters ice crystals that are orientated horizontally.
- The light refraction through column-shaped ice crystals is responsible for forming upper tangent arcs, visible above the 22° halo.
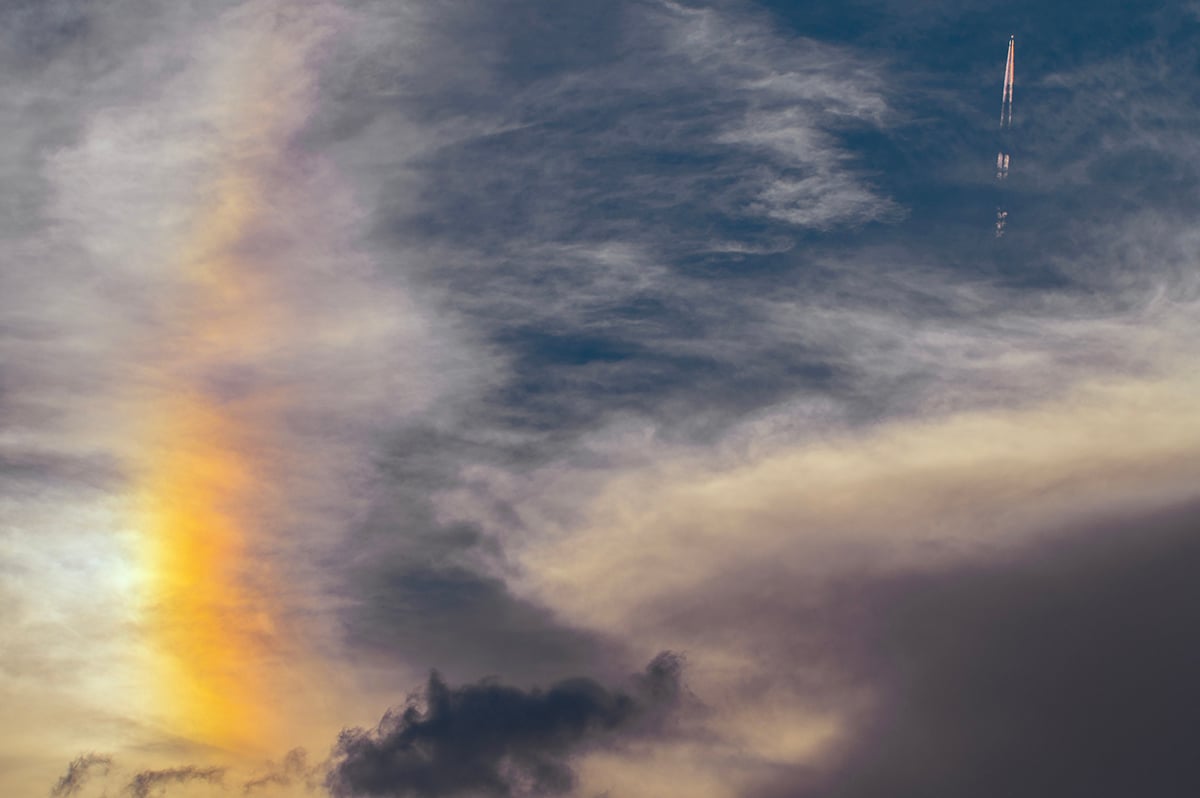
- Sun pillars, which are vertical shafts of light that stretch either above or below the sun, are created when sunlight bounces off ice-crystal surfaces.
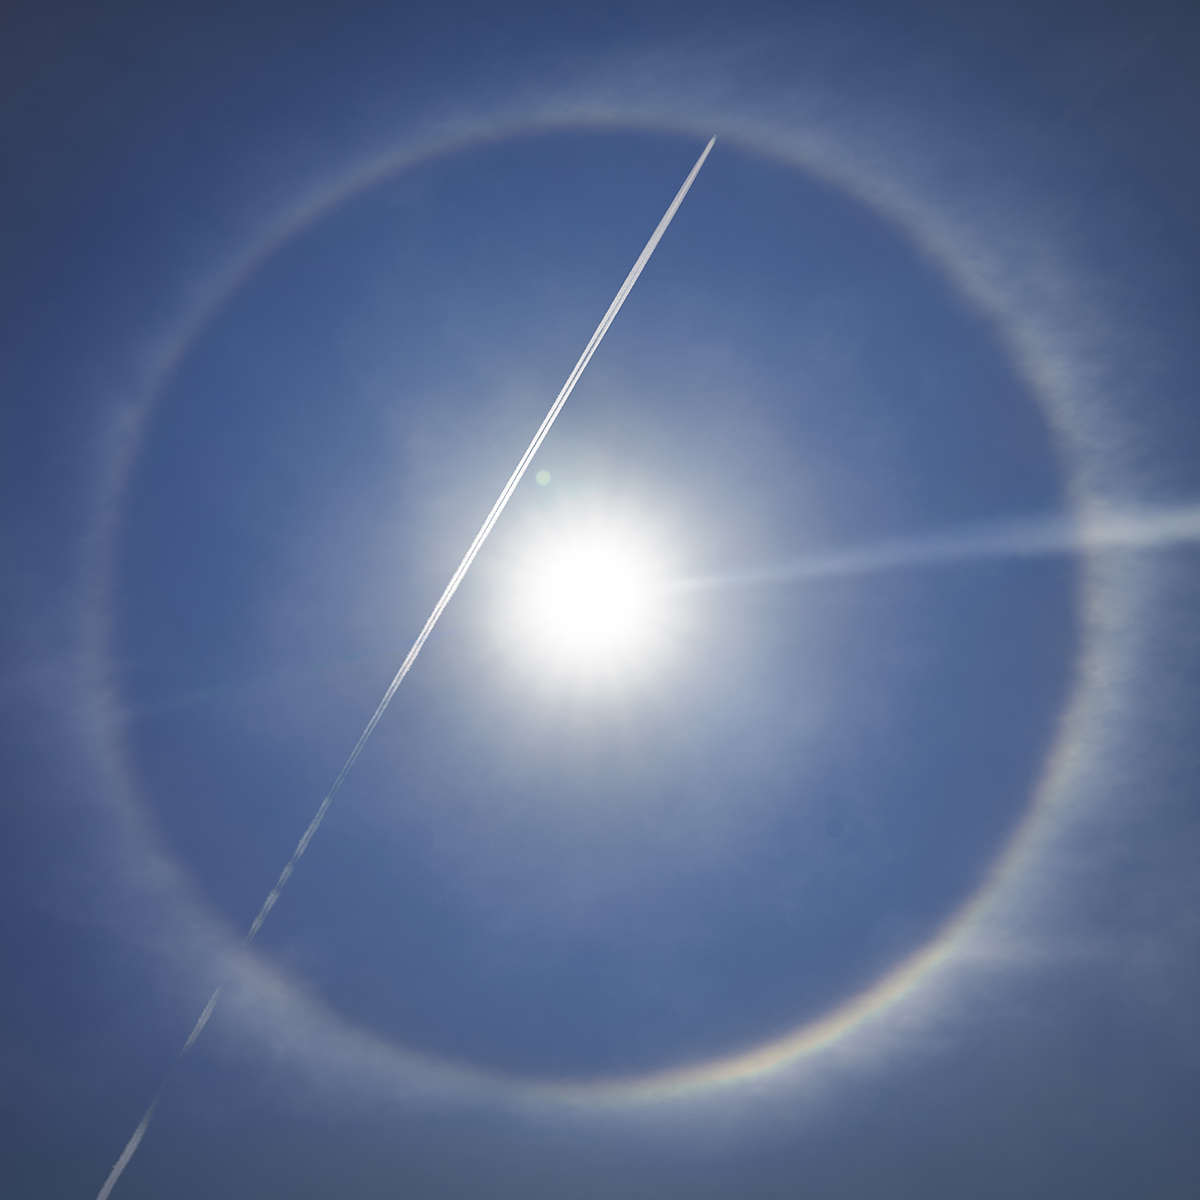
Photographing solar halos
Solar halos are bright, colourful and easily visible to the naked eye. You will require a DSLR or a mirrorless camera paired with a wide-field lens (anywhere between 15 to 24 mm) to photograph this beautiful phenomenon. A tripod is suggested but not mandatory.
Key points to remember
Here are a few things you should remember while capturing the halos:
- The sky will be extremely bright while you are pointing towards the sun. Dial down your aperture to f/11 or less to achieve a workable shutter speed.
- Auto-focus of your lens may not work while pointing directly at the sun. You can point your camera at a distant point on the ground, lock your focus and turn off autofocus and then point it towards the halo. You can do the same manually by pointing at the distant point on the ground.
- Do not keep your camera pointed towards the sun for a long time. It will irreversibly damage your camera.
- Use the live screen of your camera. If you want to keep your eyes safe, it is better not to look at the scene via the viewfinder.
- While composing your frame, a good idea would be to block the sun with an immediate foreground element (e.g. a flower, a building etc.). This will not only help you achieve a good composition but will also help get rid of the strong flares that might show up due to pointing directly at the sun.
- If you are using a tripod, you can experiment by taking multiple shots of the scene in burst mode and then stacking them. This will allow you to extract better colours of the halo. However, this may not always work.
- You can also experiment with imaging the solar halo with a polarizing filter to achieve better contrast of the sky.
- You can experiment with a longer focal length lens to capture a close-up of a portion of the halo.
- While post-processing the halo image, you can use the sponge tool to selectively increase the colours of the halo, rather than using global adjustments.
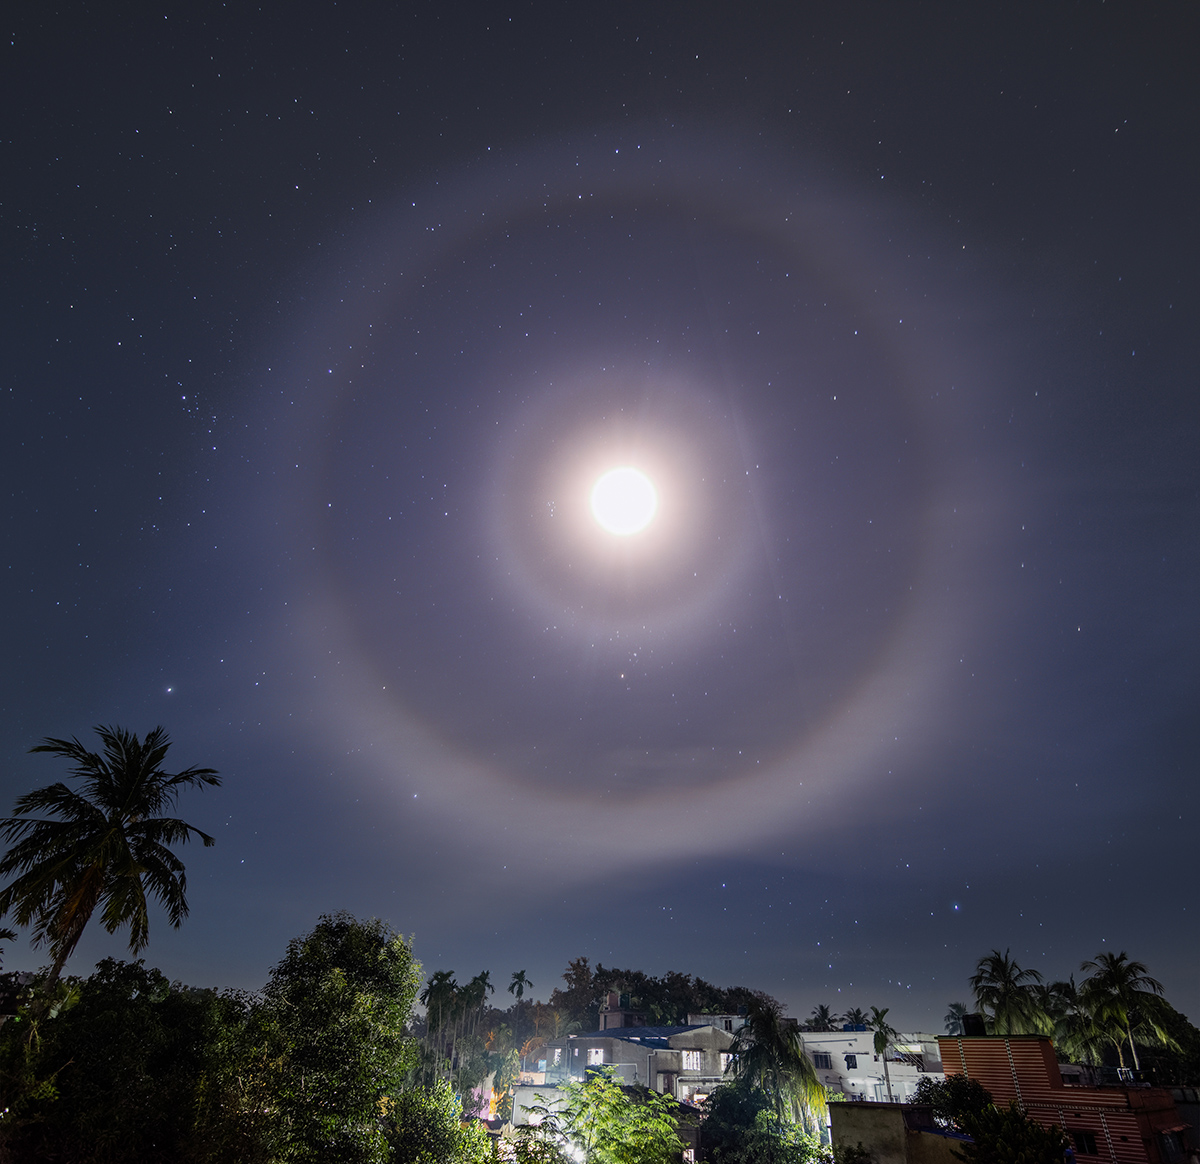
Photographing lunar halos
As opposed to the bright solar halos, halos seen around the moon are dimmer and less colorful. And of course, this has to do with the brightness of the moon compared to that of the sun. The equipment requirement to photograph lunar halos remains the same. The only change is you will mandatorily need a tripod for this.
Key points to remember
Here are a few points you should remember while photographing lunar halos:
- Since lunar halos are dimmer and set against the backdrop of a relatively dark sky, a long exposure is required to capture them.
- To set the highest shutter speed, follow the Rule of 300. This means the maximum shutter speed would be 300/effective focal length of the lens used. The term “effective” is used here to remind you to multiply the crop factor of your camera if you are using an aps-c sensor.
- Lunar halos normally form near the full moon nights. Be on the lookout a night or two before and after the full moon for such halos.
- It is always a good idea to stack multiple images for lunar halos. This will not only produce a cleaner image but also help you extract more details of the halo.
- While taking multiple images, do not worry about the moving moon or the stars. During processing, you can stack them via stacking software like Sequator or manually align and stack them in Photoshop.
- In case you are in a very dark location, you can shoot the foreground separately, if required. The decision depends on the fact if you are getting enough foreground details from your original images. If you are looking at a very dark foreground (although a bright moon should lighten up your foreground just fine), take longer exposures for the foreground. You can blend the sky part and foreground during processing.
- Odd-radius lunar halos are dimmer than the regular 22-degree lunar halos and they might be hard to identify with the naked eye. Always check your long-exposure images to see if you can spot such halos.
Whether you enjoy the halos with naked eyes or love to photograph them, do not forget to look up. Clear skies!
P.S. There are more sky-related phenomena worth capturing; check them here.

Soumyadeep Mukherjee
Soumyadeep Mukherjee is an award-winning astrophotographer from India. He has a doctorate degree in Linguistics. His work extends to the sub-genres of nightscape, deep sky, solar, lunar and optical phenomenon photography. He is also a photography educator and has conducted numerous workshops. His works have appeared in over 40 books & magazines including Astronomy, BBC Sky at Night, Sky & Telescope among others, and in various websites including National Geographic, NASA, Forbes. He was the first Indian to win “Astronomy Photographer of the Year” award in a major category.
Related Posts
 Here’s how to quickly remove those annoying halos in your HDR images
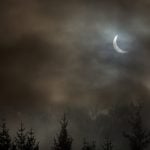
 Photographer captures extremely rare moon halos during partial eclipse
 Plan ahead: Here’s the calendar of the upcoming solar and lunar eclipses
 Here’s The First Known Photograph Of The ISS Transiting The Moon During A Lunar Eclipse
Join the Discussion
DIYP Comment Policy
Be nice, be on-topic, no personal information or flames.