


The Complete Macro Photography Guide: Master Close-Up Photography
Aug 15, 2025
Darlene Lleno
Darlene Lleno brings a unique perspective to DIY Photography as someone who grew up surrounded by camera gear but chose words over lenses. With five years of writing experience, she specializes in photography content that’s both technically informed and genuinely passionate. Growing up with a photographer twin brother meant camera talk was everyday conversation in her household. While he mastered capturing moments, Darlene discovered she preferred being the subject and the storyteller behind the scenes. As a travel enthusiast and mother of two, she understands the importance of preserving life’s precious moments. When not exploring new destinations or writing for DIY Photography, you’ll find her reading or tending to her garden. Her approach to photography writing is refreshingly authentic, she may not be behind the camera, but she knows exactly what it takes to help others capture the shots that matter most.
Share:

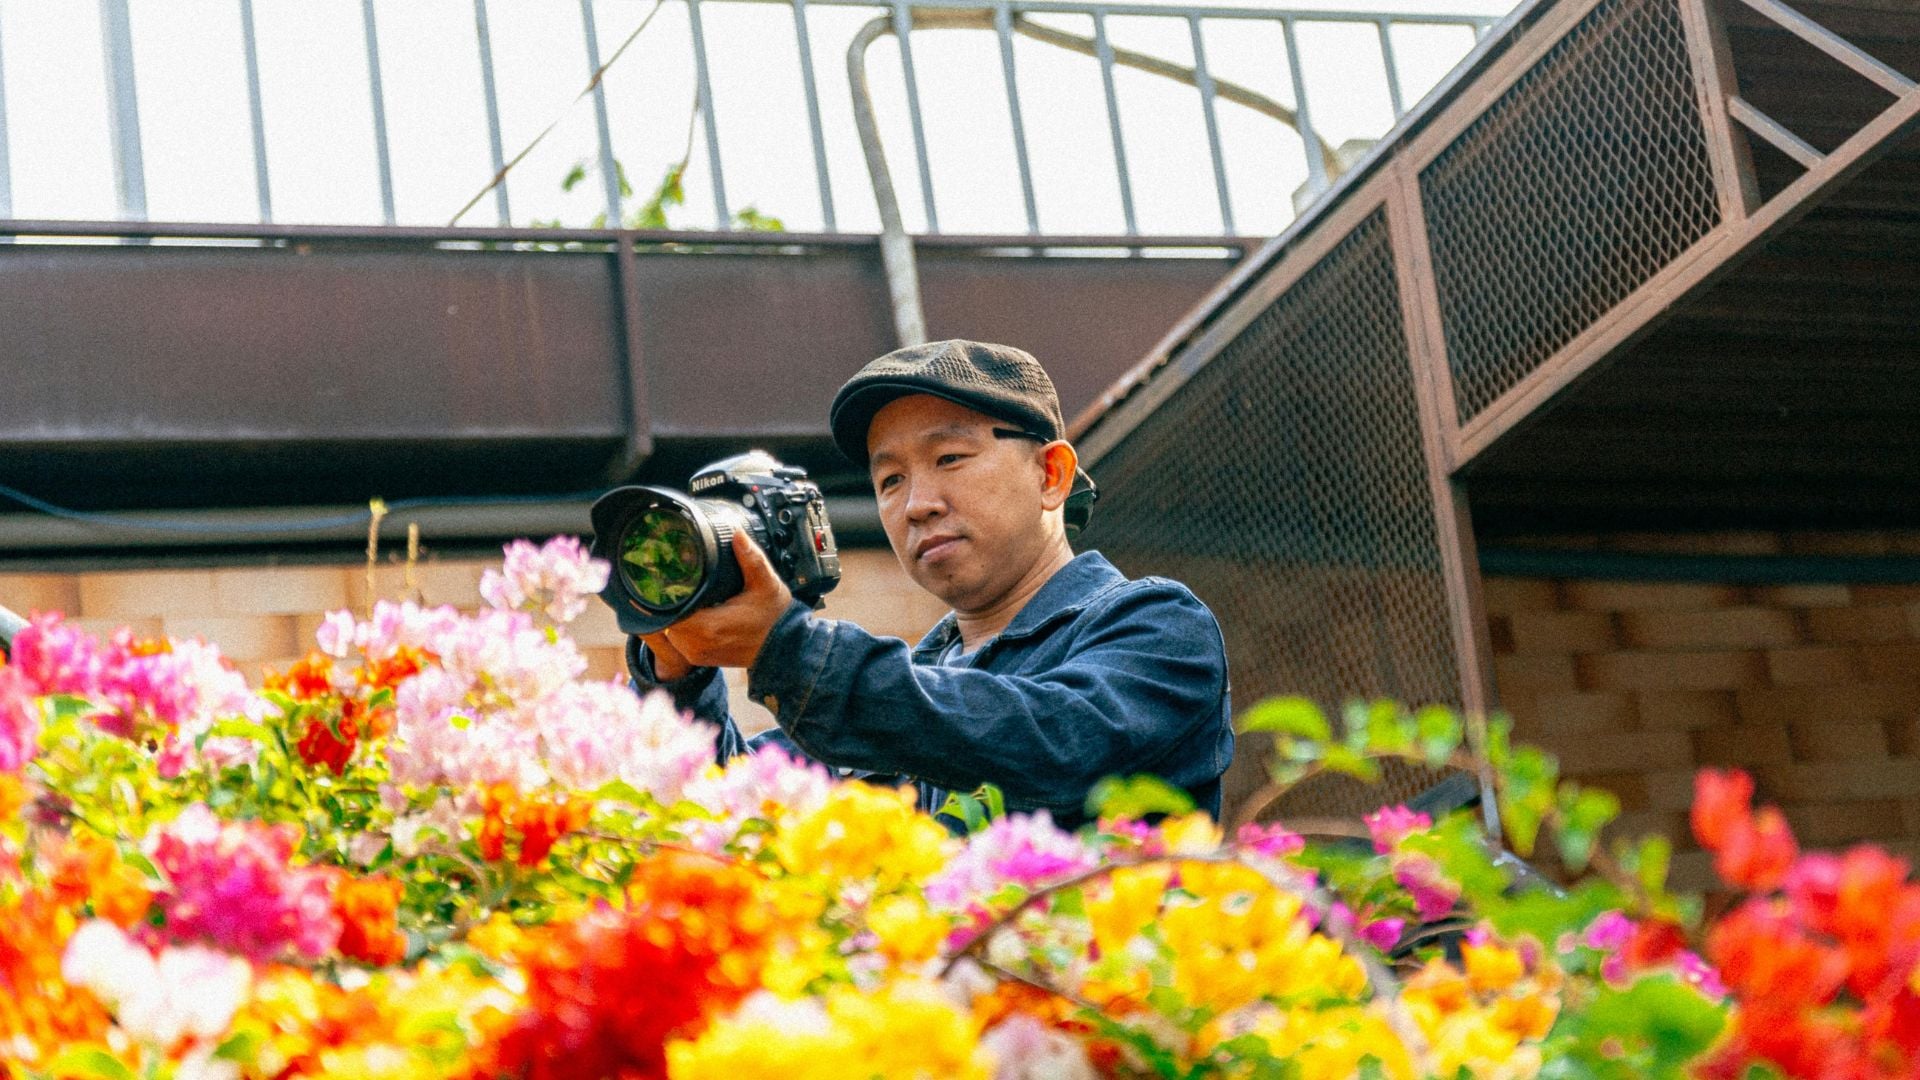
Macro photography opens up a miniature world that most people never see with their naked eye. This specialized form of photography captures subjects at life-size magnification or greater, revealing incredible details in flowers, insects, water droplets, and everyday objects that become extraordinary under close inspection.
The art of getting extremely close to small subjects requires specific techniques, equipment, and patience that differ significantly from standard photography approaches. You’ll discover textures, patterns, and colors that exist all around us but remain hidden until viewed through a macro lens.
Macro Photography Basics
The definition of macro photography centers on magnification ratios. True macro photography achieves a 1:1 magnification ratio, meaning your subject appears life-size on your camera sensor. A bee that measures 15mm in real life will occupy 15mm on your camera’s sensor when photographed at true macro magnification.
Many photographers use the term more loosely to describe any extreme close-up photography. Some lenses labeled as “macro” only achieve 1:2 or 1:4 ratios, but they still allow you to get much closer than standard lenses. The key is getting close enough to reveal details invisible to casual observation.
Magnification ratios work differently than you might expect. A 1:1 ratio means life-size. A 2:1 ratio means twice life-size on the sensor. Anything greater than 1:1 enters the territory of “super macro” photography, where subjects appear larger than life.
Understanding these ratios helps you choose the right equipment and set proper expectations for your shots. Most photographers find 1:1 magnification sufficient for stunning macro images, though some specialized subjects benefit from higher magnification levels.
Getting Started with Macro Photography
Starting your journey in macro photography requires understanding basic equipment options, fundamental techniques, and common pitfalls to avoid.
Essential Equipment in Macro Photography
Starting macro photography doesn’t require breaking the bank, but certain gear makes a significant difference in your results. You can begin with extension tubes on your existing lenses before investing in dedicated macro equipment.
Extension tubes fit between your camera body and lens, reducing the minimum focusing distance. They don’t contain any glass elements, so image quality remains high. A basic set of extension tubes costs much less than a macro lens but provides similar magnification capabilities.
Reversing rings offer another budget-friendly option. These adapters let you mount a lens backward on your camera, turning it into a makeshift macro lens. A 50mm lens reversed often provides excellent magnification, though you lose autofocus and automatic aperture control.
Close-up filters screw onto your existing lens like a magnifying glass. While convenient and affordable, they can reduce image quality compared to other methods. They work best with higher-quality lenses and careful technique.
Basic Techniques for Sharp Images
Getting sharp macro images requires mastering several fundamental techniques. Focus stacking ranks among the most important skills for serious macro photographers.
Depth of field becomes extremely shallow at macro distances. Even at f/11 or f/16, you might have only a few millimeters in acceptable focus. Focus stacking involves taking multiple images at different focus points, then blending them together for front-to-back sharpness.
Manual focus works better than autofocus for most macro photography situations. Autofocus systems struggle with the shallow depth of field and high magnification. Moving your camera slightly forward or backward often proves more effective than turning the focus ring.
Tripods become essential for macro photography, especially when focus stacking or working with longer shutter speeds. Even slight camera movement becomes magnified at close distances, leading to blurry images.
Guidelines for First Timers in Macro Photography
Understanding what works and what doesn’t in macro photography saves countless hours of frustration. These guidelines represent hard-learned lessons from experienced macro photographers who’ve made these mistakes so you don’t have to.
Do’s:
- Practice with stationary subjects like coins, jewelry, or dried flowers before attempting moving insects or animals
- Learn to work quickly once you achieve focus and composition, as lighting conditions and subject positions change rapidly
- Clean your lens frequently since dust, pollen, and water spots become highly visible at macro magnifications
- Use natural window light or dedicated macro lighting instead of harsh direct sources
Don’ts:
- Using your camera’s built-in flash creates harsh shadows and unflattering reflections on small subjects
- Underestimating how much even gentle breezes move flowers and small plants at high magnifications
- Expecting perfect results immediately instead of understanding that macro photography requires significant practice to master
- Ignoring the importance of a sturdy support system for achieving sharp images
Macro Photography Gear Selection
Choosing the right equipment for macro photography involves understanding how different cameras, lenses, and accessories perform at extreme close-up distances.
Camera Bodies
Both DSLR and mirrorless cameras excel at macro photography, each offering distinct advantages. DSLRs typically provide longer battery life, which helps during extended macro photography sessions that involve lots of focus stacking.
Mirrorless cameras offer real-time exposure preview through the electronic viewfinder. You can see exactly how your image will look before taking the shot, including depth of field effects. This feature proves invaluable when working with tricky lighting conditions.
The crop factor on APS-C sensors effectively increases your magnification compared to full-frame sensors. A 100mm macro lens on an APS-C camera provides the same field of view as a 160mm lens on full-frame, giving you more working distance from your subject.
In-body image stabilization, found in many mirrorless cameras, helps with handheld macro photography. However, it can sometimes interfere with focus stacking, so many photographers disable it for tripod-mounted shots.
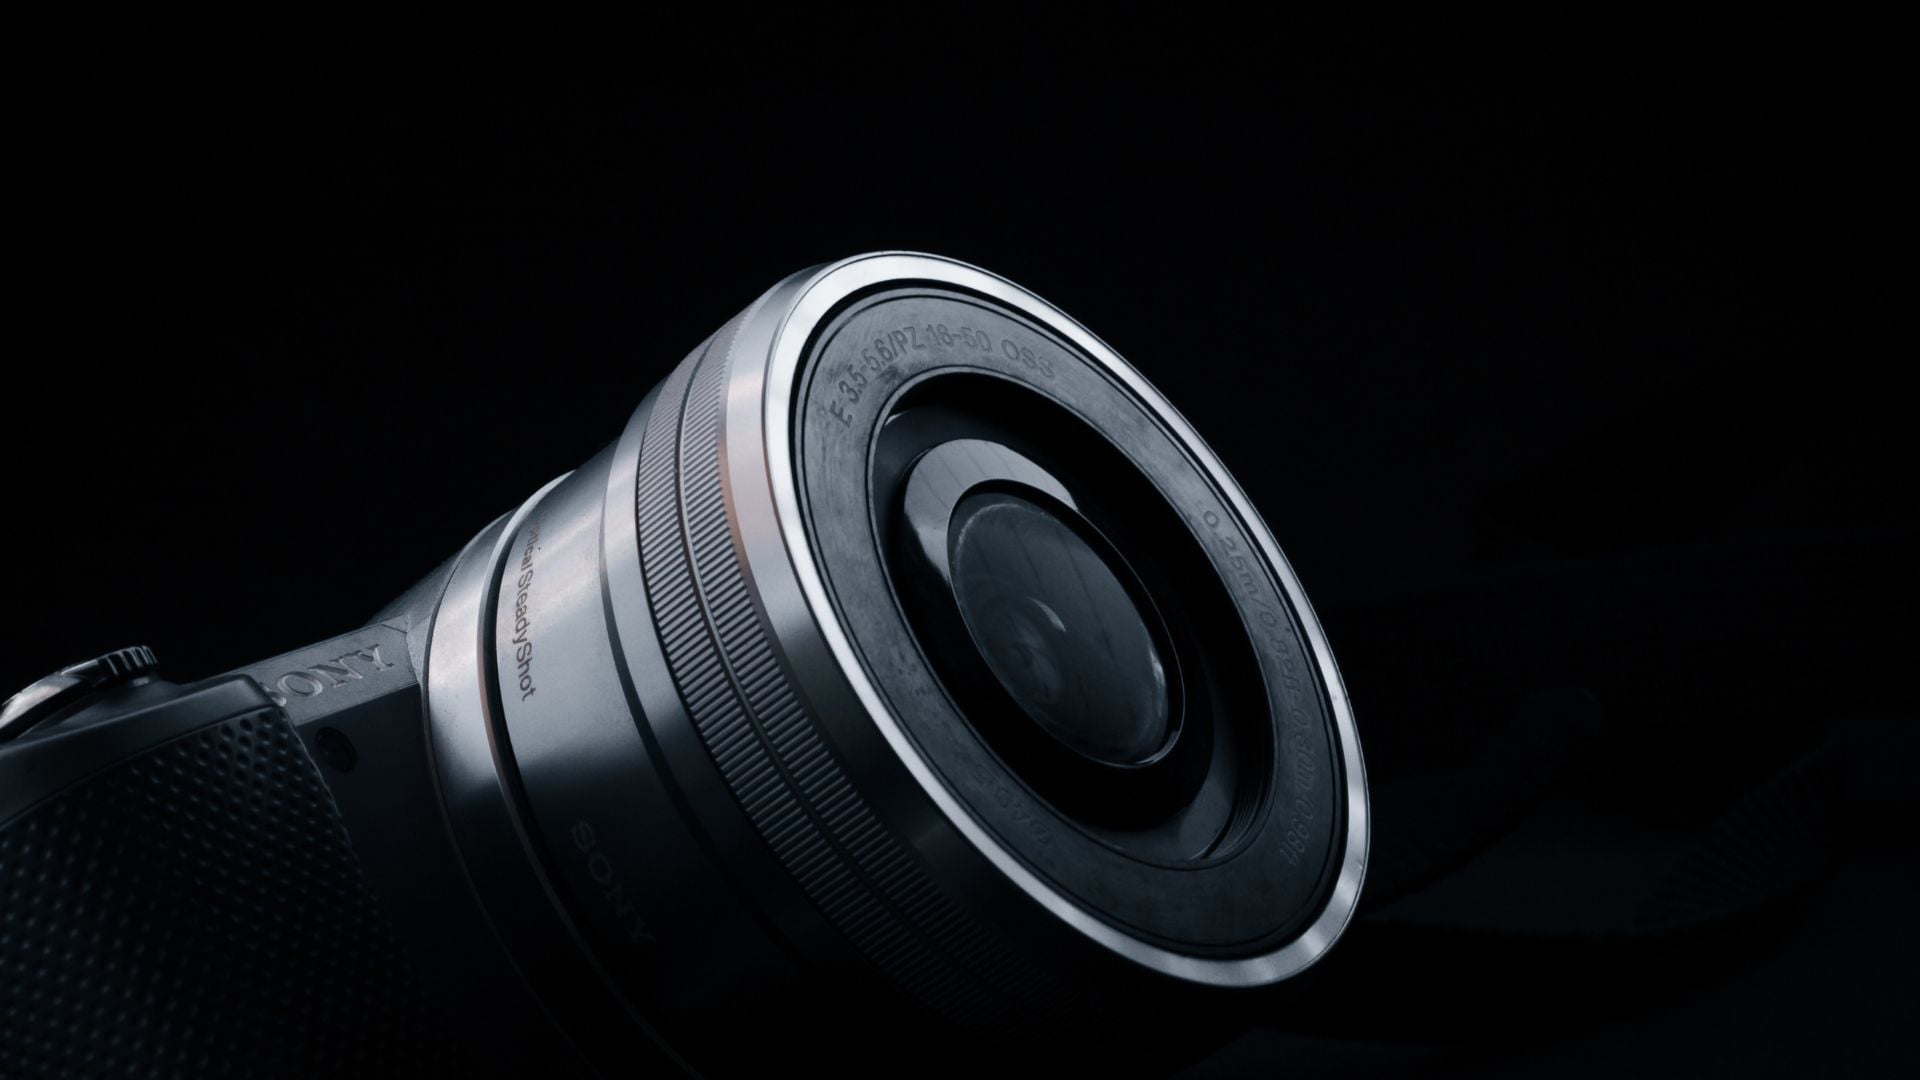
Macro Photography Lenses
Dedicated macro lenses provide the best image quality and easiest workflow for serious macro photography. These lenses are optimized for close-up work, delivering sharp images from infinity down to 1:1 magnification.
Choosing the right focal length affects both your working distance and the type of subjects you can effectively photograph. Each focal length serves different purposes and shooting situations.
Common focal lengths and their specific applications:
- 60mm macro lenses – Lightweight and affordable option that requires getting very close to subjects, making them ideal for studio work with inanimate objects but challenging for live insects.
- 100mm macro lenses – Most versatile choice providing excellent working distance while maintaining true 1:1 magnification, suitable for both beginners and professional photographers.
- 180mm-200mm macro lenses – Premium option offering maximum working distance for photographing skittish subjects like butterflies and spiders without disturbing their natural behavior.
The 100mm focal length represents the most popular choice for macro photography lenses. This length provides enough working distance to avoid scaring insects while still achieving true macro magnification. The extra distance also helps with lighting your subject without casting shadows from the lens itself.
Some photographers prefer vintage manual focus macro lenses. These older lenses often cost less than modern alternatives while delivering excellent image quality. You’ll lose autofocus and automatic aperture control, but many macro photographers use manual focus anyway.
Support Systems and Accessories
A sturdy tripod becomes your best friend in macro photography. Look for models that allow low-angle positioning, as many interesting macro subjects exist close to the ground. Carbon fiber tripods offer strength with less weight for field work.
Macro focusing rails provide precise focus control when mounted between your camera and tripod. These rails let you move the camera forward and backward in tiny increments, perfect for focus stacking or fine-tuning composition.
Remote shutter releases prevent camera shake during long exposures or focus stacking sequences. Cable releases, infrared remotes, or smartphone apps all work well for triggering your camera without touching it.
Camera Settings for Macro Photography
Mastering camera settings specific to macro photography helps you achieve consistently sharp, well-exposed images in challenging close-up situations.
Aperture Considerations
Aperture selection in macro photography involves balancing depth of field against image sharpness. Most lenses perform best at apertures between f/8 and f/11, but macro photography often requires different approaches.
Shooting wide open at f/2.8 or f/4 creates extremely shallow depth of field, isolating tiny portions of your subject. This technique works well for artistic images where you want to emphasize specific details like a single flower petal or insect eye.
Stopping down to f/11 or f/16 increases depth of field but may introduce diffraction that softens your images. Finding the sweet spot for your specific lens and camera combination requires testing and experience.
Many macro photographers use apertures between f/5.6 and f/8 as a compromise between depth of field and image sharpness. These apertures provide reasonable sharpness while maintaining some depth of field for front-to-back detail.
Shutter Speed Strategies
Fast shutter speeds help freeze subject movement and minimize camera shake effects that become magnified at macro distances. Even slight vibrations can ruin a macro photograph due to the high magnification involved.
Wind presents a constant challenge in outdoor macro photography. Even gentle breezes move flowers and small plants significantly at macro magnifications. Shutter speeds of 1/250s or faster help minimize motion blur from swaying subjects.
Image stabilization, whether in-lens or in-body, extends your handheld capabilities but works less effectively at macro distances. The high magnification amplifies even stabilized movement, making tripods necessary for the sharpest results.
ISO Performance and Focus Modes
Modern cameras handle high ISOs much better than older models, opening up new possibilities for macro photography in challenging light. ISO 1600 or even 3200 often produces acceptable results with current camera technology.
Single-point autofocus works best for macro photography when autofocus is used at all. The narrow depth of field requires precise control over where the camera focuses, making single-point AF more predictable than area or tracking modes.
Many macro photographers prefer manual focus for ultimate control. The shallow depth of field and high magnification make it easy to see exactly what’s in focus, especially when using live view magnification features.
Lighting Techniques for Macro Photography
Proper lighting makes the difference between ordinary and extraordinary macro photographs, requiring specific approaches for the unique challenges of close-up work.
Natural Light
Golden hour light works beautifully for macro photography, providing warm, soft illumination that flatters most subjects. The lower angle of morning and evening sun creates interesting shadows and highlights that add dimension to your images.
Overcast conditions create natural diffusion that’s perfect for macro photography. The soft, even light eliminates harsh shadows while providing enough illumination for reasonable shutter speeds.
Natural window light provides excellent illumination for indoor macro photography. Large windows act as giant softboxes, providing directional but diffused light that’s perfect for revealing texture and detail.
Artificial Lighting Solutions
Controlling light becomes critical in macro photography due to the close working distances and shallow depth of field. Different artificial lighting options serve specific purposes and shooting scenarios.
LED panels offer adjustable, continuous lighting that lets you see exactly how your subject will be illuminated before taking the shot. Many modern LED panels provide daylight-balanced light and dimming controls for precise exposure control without the harsh shadows of direct flash.
Ring lights mount directly around your lens barrel, providing even, shadowless illumination that eliminates most directional lighting problems. While this lighting can appear flat for artistic work, it excels for scientific or documentary-style macro photography where even illumination takes priority over dramatic shadows.
Speedlights provide powerful, brief illumination that can freeze subject movement while allowing small apertures for increased depth of field. Off-camera flash positioning offers more creative lighting possibilities than on-camera flash and prevents the flat, harsh look of direct frontal lighting.
Light Control Tools
Diffusers soften harsh light sources, creating more pleasing illumination for macro subjects. Translucent materials like white fabric, parchment paper, or commercial diffusion panels all work effectively.
Reflectors bounce light back onto your subject, filling in shadows created by directional lighting. White cards, mirrors, or commercial reflectors can redirect light exactly where you need it.
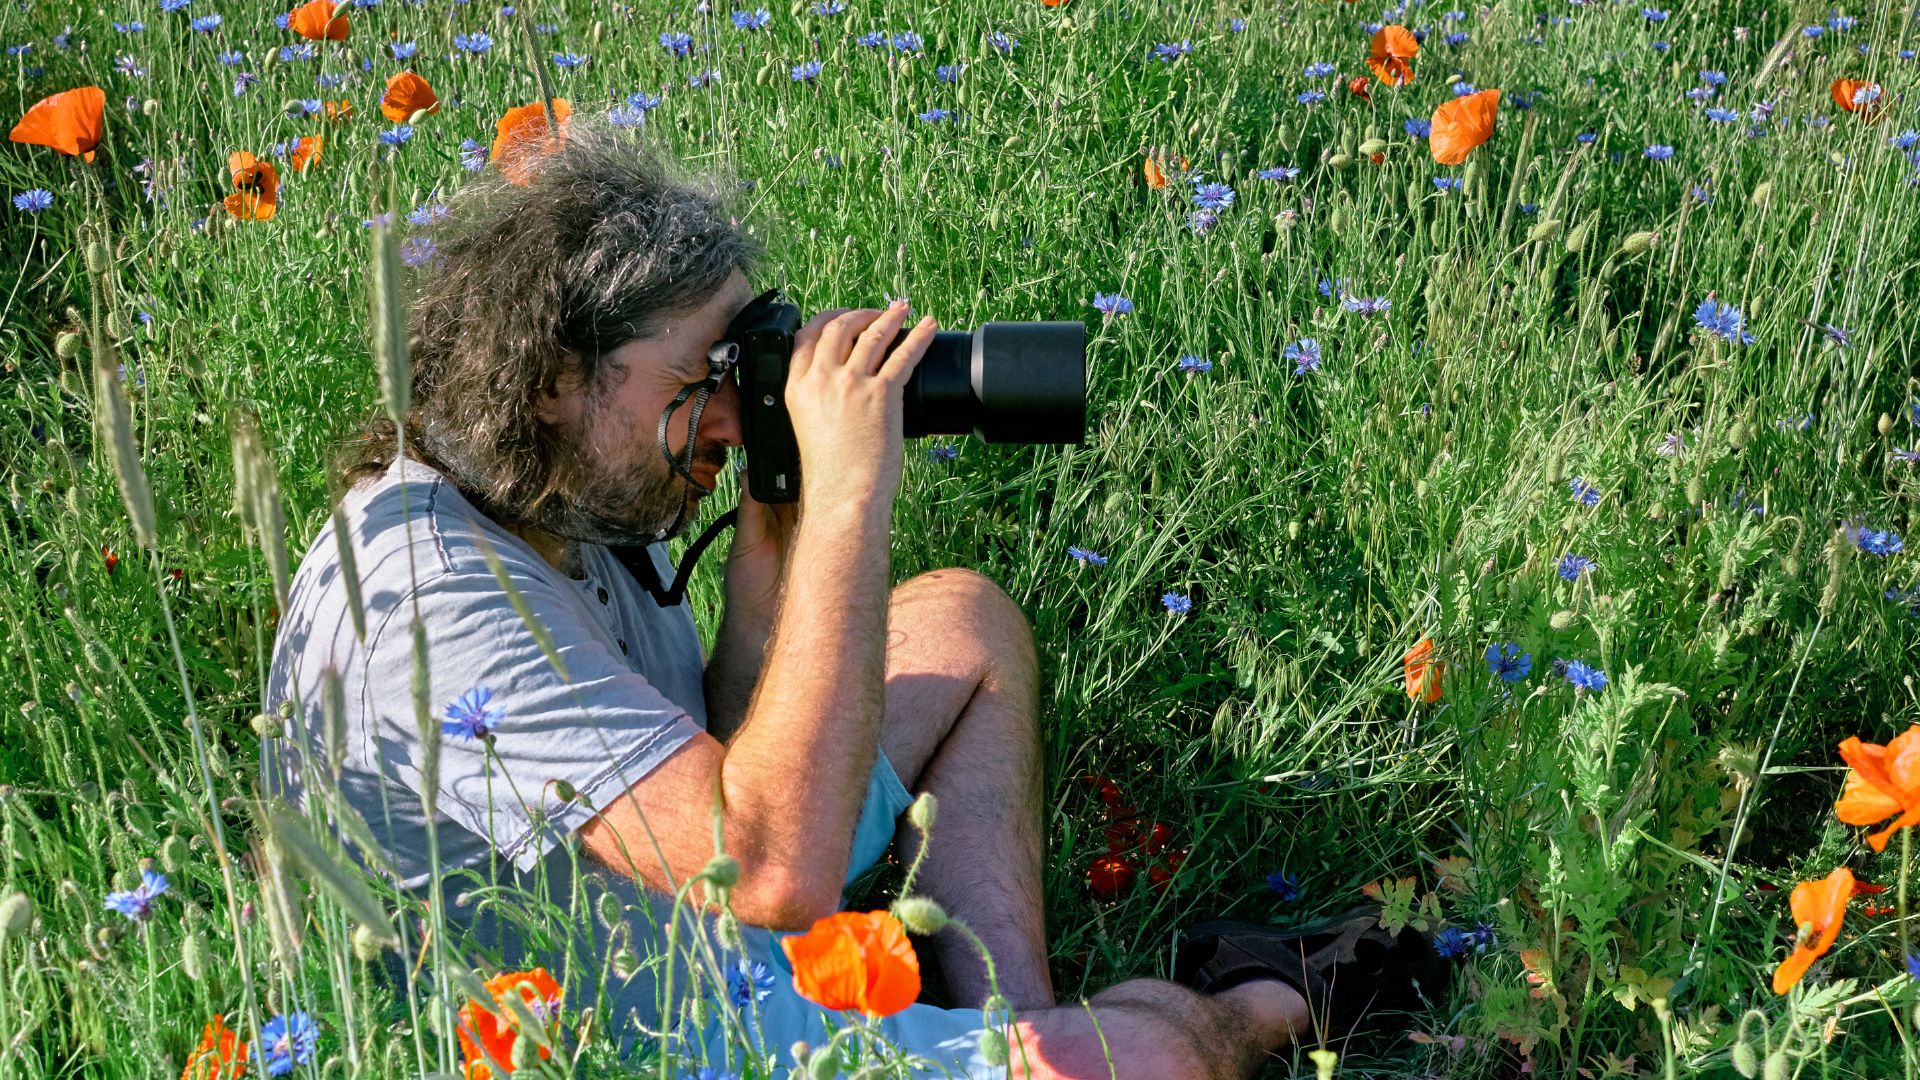
Field Techniques and Composition in Macro Photography
Working in the field with macro photography requires specific approaches to camera positioning, background control, and subject interaction.
Camera Positioning Strategies
Your physical position and camera angle dramatically affect the impact and effectiveness of macro photographs. Unlike regular photography where you can easily change perspectives, macro work requires careful consideration of every positioning choice.
Getting down to your subject’s level often creates more engaging macro images than shooting from above. This eye-level perspective makes viewers feel more connected to small subjects like insects or flowers, creating an intimate viewing experience that draws people into the miniature world.
Side lighting reveals texture and form much better than front lighting, which tends to flatten three-dimensional subjects. Position yourself so that natural or artificial light hits your subject from the side to emphasize surface textures and create depth through shadow play.
Positioning techniques that improve macro compositions:
- Shoot at subject eye level to create intimate connection and engagement with viewers
- Use upward angles to incorporate dramatic sky backgrounds that make small subjects appear larger than life
- Try extreme close-ups and angles that would be physically impossible with larger subjects
- Change your physical position to improve backgrounds rather than relying solely on camera settings adjustments
Background Control Methods

Clean, simple backgrounds help your macro subjects stand out. Look for natural backgrounds like blue sky, out-of-focus foliage, or smooth surfaces that won’t compete with your main subject.
Distance between your subject and background affects how much blur you achieve. Moving closer to subjects that are far from their backgrounds creates more pleasing bokeh and better subject separation.
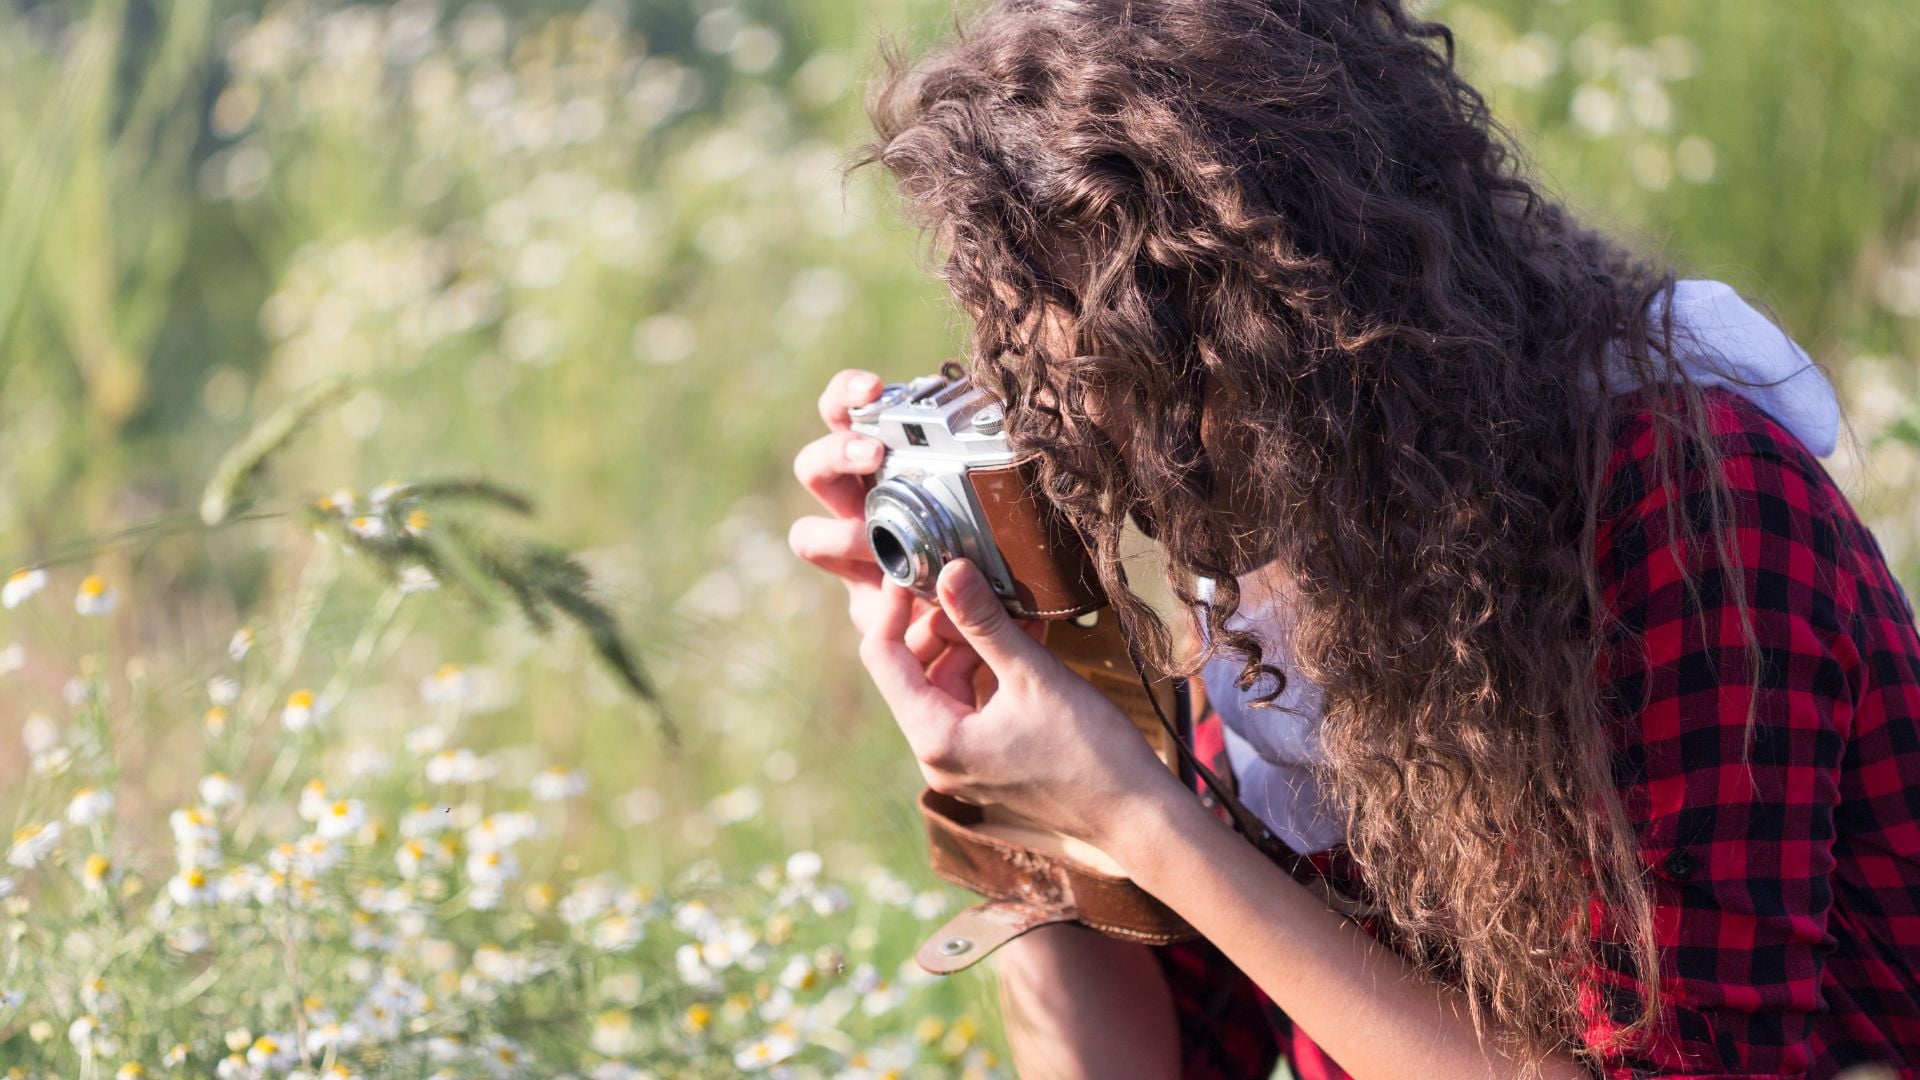
Working with Live Subjects
Patience becomes your most valuable asset when photographing insects, spiders, and other small creatures. Moving slowly and avoiding sudden movements helps keep subjects calm and cooperative.
Early morning often provides the best opportunities for insect macro photography. Cool temperatures make insects less active and more willing to stay in one place while you set up your shot.
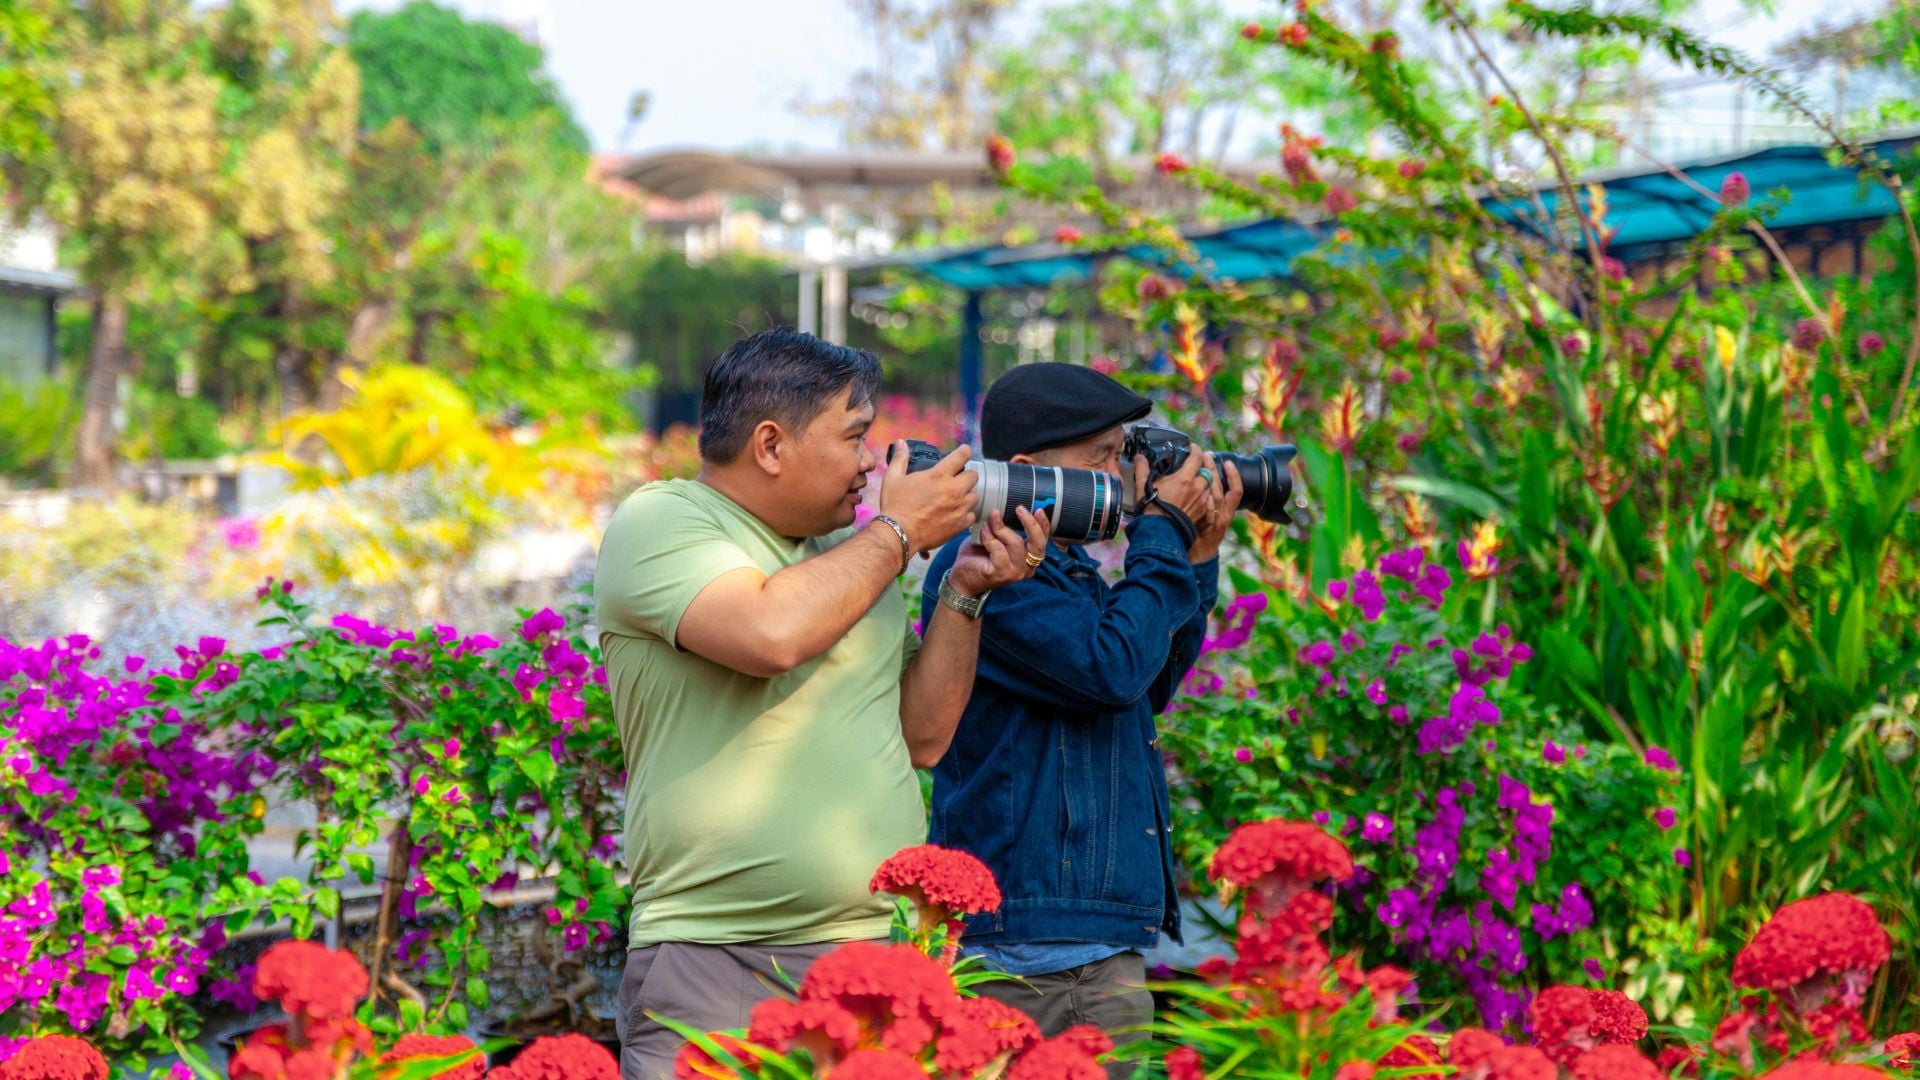
Macro Photography Ideas and Creative Applications
Exploring different subjects and creative approaches helps develop your skills while building a diverse portfolio of macro images.
Flower Photography Techniques
Focus on individual flower parts rather than entire blooms. Stamens, pistils, and pollen create abstract compositions that reveal the intricate engineering of flowers. Water droplets on petals add another layer of visual interest.
Capture flowers at different stages of their lifecycle. Buds, fresh blooms, and aging flowers each offer unique photographic opportunities. The patterns of decay can be just as beautiful as fresh petals.
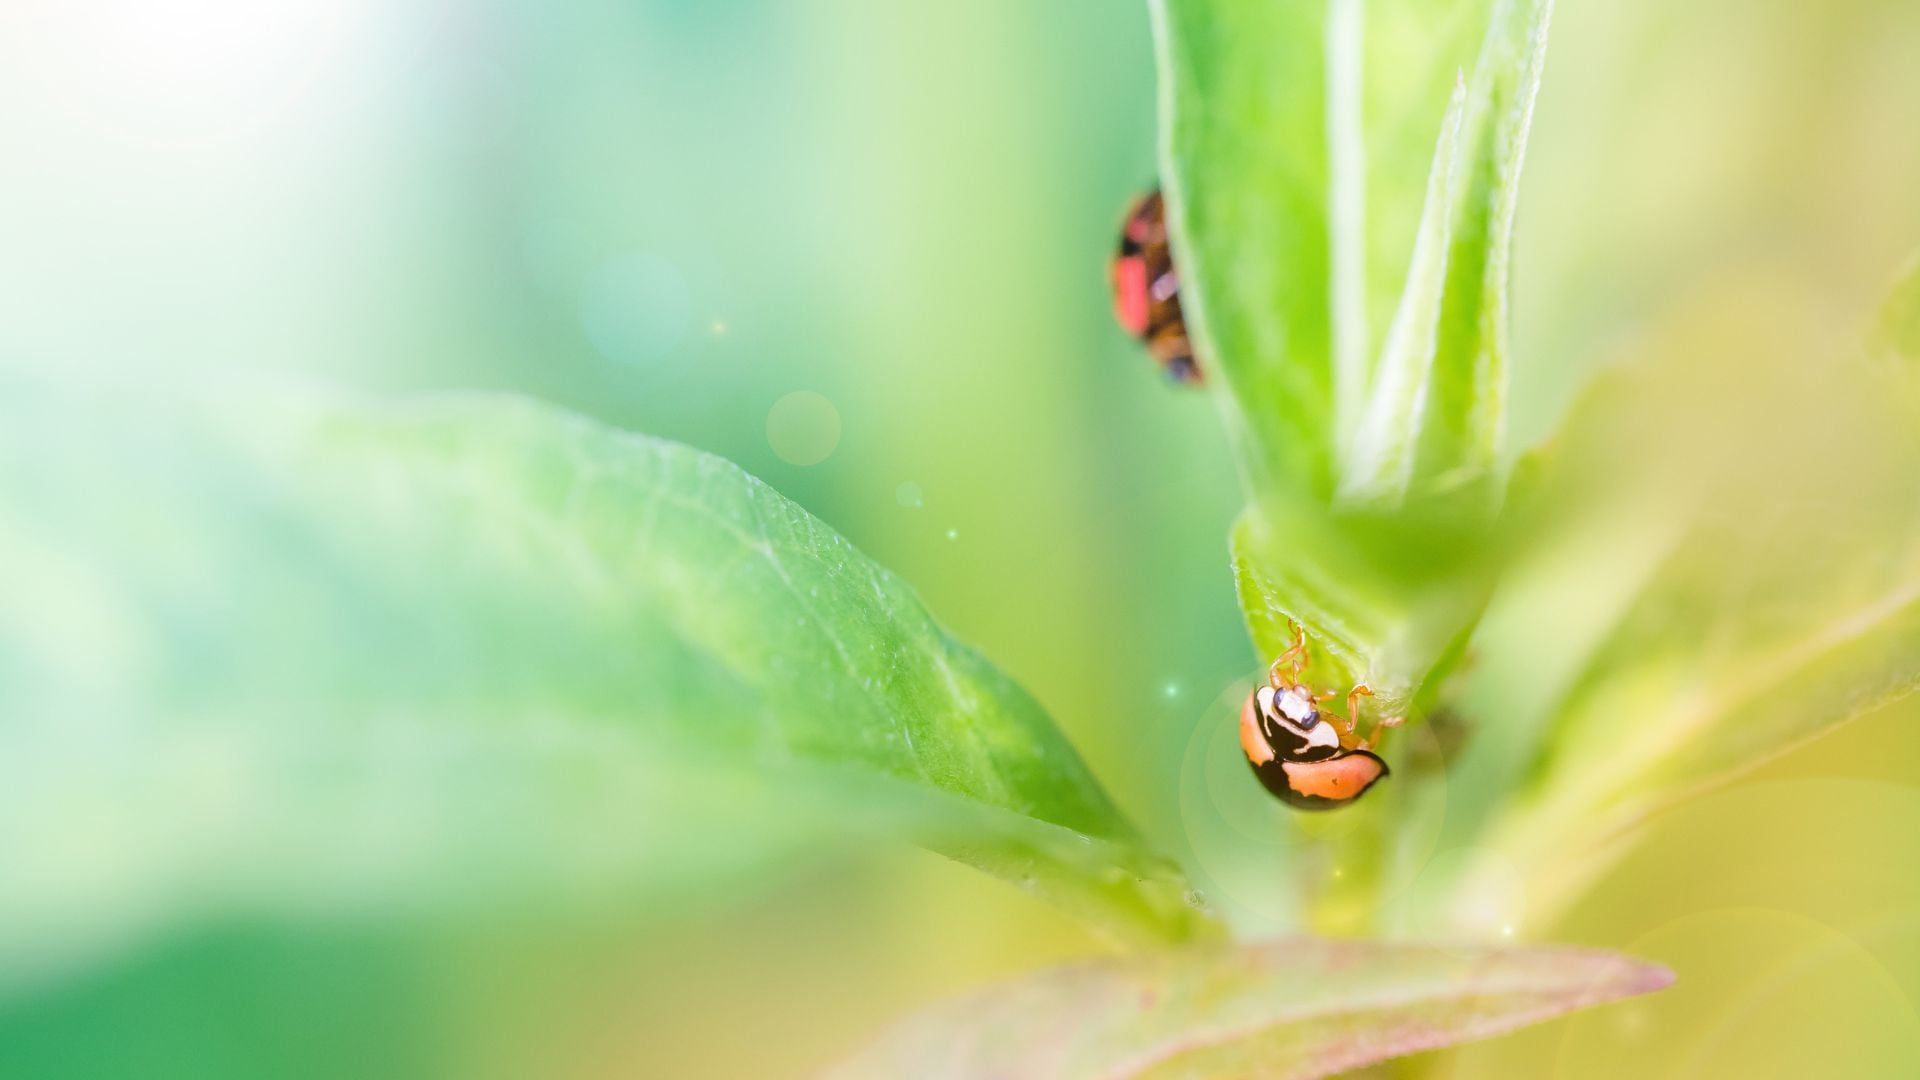
Insect and Small Creature Photography
Photographing living subjects requires different approaches than static macro photography. Success depends on understanding animal behavior, timing, and specialized techniques for working with unpredictable subjects.
Understanding the specific behaviors and patterns of different insects dramatically improves your success rate. Some insects become more docile in cooler temperatures, while others are most active during specific times of day.
Key subjects and techniques for living macro photography:
- Compound eyes reveal the complex visual systems insects use to navigate, with each facet catching light differently to create intricate geometric patterns
- Wing details showcase the engineering marvels that enable flight, from transparent sections to intricate vein patterns and microscopic scales
- Behavioral photography captures insects feeding, mating, or interacting with their environment for storytelling beyond simple portraits
- Focus stacking becomes essential with three-dimensional living subjects to achieve complete front-to-back sharpness across complex body structures
Compound eyes make particularly fascinating macro subjects, revealing the hundreds or thousands of individual lenses that create an insect’s vision. Each individual facet catches and reflects light differently, creating intricate honeycomb patterns that become abstract art at high magnifications.
Abstract and Artistic Approaches
Everyday objects transform into abstract art under macro magnification. Circuit boards, fabric weaves, kitchen utensils, and office supplies all reveal unexpected beauty when viewed up close.
Water droplet photography opens up endless creative possibilities. Droplets can act as tiny lenses, inverting and magnifying backgrounds, or they can become perfect spheres that reflect entire scenes.
Seasonal Opportunities
Each season offers unique macro photography opportunities that take advantage of natural cycles, weather patterns, and seasonal subjects. Planning your macro photography around seasonal changes ensures year-round shooting opportunities.
Weather conditions and natural phenomena create temporary subjects that exist only during specific seasons. Understanding these patterns helps you plan shoots around optimal conditions and rare opportunities.
Seasonal macro photography opportunities:
- Spring: Fresh plant growth with delicate new leaves and buds, emerging insects in various life stages, and soft natural lighting that complements gentle spring colors
- Summer: Peak insect activity with full behavioral opportunities, fully developed flowers showing complete detail, and strong directional lighting for dramatic shadow effects
- Fall: Colorful changing leaves with intricate vein patterns, morning frost creating temporary crystal structures, and insects preparing for winter dormancy
- Winter: Complex ice crystal formations on various surfaces, snow pattern details and textures, and hardy subjects like evergreen needles and persistent seed pods
Technical Challenges and Solutions in Macro Photography
Macro photography presents unique technical challenges that require specific solutions and workarounds.
Managing Shallow Depth of Field
Extremely shallow depth of field represents the biggest technical challenge in macro photography. Even at small apertures like f/16, you might have only millimeters of acceptable sharpness, requiring specialized techniques to achieve front-to-back detail.
Focus stacking provides the most effective solution for overcoming depth of field limitations. This technique involves combining multiple images focused at different distances to create one image with complete sharpness throughout the subject.
Complete focus stacking workflow:
- Mount camera on sturdy tripod to prevent any movement between frames
- Switch to manual focus and manual exposure to maintain consistency across all frames
- Take systematic series of images with focus points progressing from front to back of subject
- Use specialized software like Helicon Focus or Zerene Stacker to blend images automatically
- Retouch any artifacts or ghosting that appears in areas where the software struggled with alignment
Smaller apertures increase depth of field but introduce diffraction that reduces overall image sharpness. Finding the optimal aperture for your specific lens requires testing different settings to balance depth of field needs against maximum optical performance.
Achieving Consistently Sharp Focus
Manual focus often produces sharper results than autofocus in macro photography. The high magnification makes it easy to see exactly what’s in focus, especially when using live view magnification.
Focus rails provide micro-adjustments that are impossible by hand. These precision tools let you move the camera in tiny increments for perfect focus placement or focus stacking sequences.
Mirror lock-up or electronic first curtain shutter reduces vibrations that can blur macro images. Even tiny vibrations become significant at macro magnifications.
Overcoming Lighting Obstacles
Fill flash balances natural light with artificial illumination, preventing harsh shadows while maintaining natural-looking lighting. Use flash exposure compensation to fine-tune the balance.
Reflector positioning becomes critical in macro photography due to the small working distances. Small reflectors can be positioned very close to subjects without appearing in the frame.
Post-Processing Macro Photography
Processing macro images requires specific techniques to handle the unique characteristics of close-up photography.
Focus Stacking Workflows

Processing focus stacked images requires specialized software and techniques that differ significantly from single-image processing. The goal is seamlessly blending multiple images while maintaining natural-looking results.
Professional focus stacking software analyzes each pixel across all images in your sequence, selecting the sharpest version of each area to create the final composite. Understanding how these programs work helps you shoot better source images and troubleshoot common problems.
Complete focus stacking workflow from capture to final image:
- Import all related images from your focus sequence into dedicated stacking software
- Use automatic alignment tools to compensate for minor camera movement between shots
- Select appropriate blending algorithm based on your subject type and image characteristics
- Review the initial result and identify any artifacts, ghosting, or alignment problems
- Use manual retouching tools to fix areas where automatic blending failed
- Export the completed stack for final color correction and sharpening adjustments
Shooting technique affects stacking success more than post-processing skills. Consistent exposure settings, systematic focus progression, and stable camera positioning make the software’s job much easier and reduce the need for manual corrections.
Color and Exposure Optimization
RAW processing provides maximum flexibility for correcting exposure and color issues in macro photography. The close working distances and specialized lighting often require significant adjustments.
Local adjustments work better than global corrections for many macro images. Different parts of your image may need different color temperature corrections, especially when mixing natural and artificial light sources.
Detail Enhancement and Sharpening
Output sharpening should be adjusted based on your intended use. Images displayed on screen need different sharpening than prints, and large prints need different sharpening than small prints.
Over-sharpening becomes obvious quickly in macro photography due to the high level of detail and magnification. Apply sharpening conservatively and check results at 100% magnification.
Advanced Macro Photography Techniques
Moving beyond basic macro photography opens up new creative possibilities and technical challenges.
High Magnification Photography
Super macro photography exceeds 1:1 magnification, revealing details invisible even to strong magnifying glasses. Specialized equipment like microscope objectives or reversing lens combinations achieve these extreme magnifications.
Bellows units provide variable magnification control for film and digital cameras. These accordion-style extensions offer magnifications from 1:1 to 10:1 or higher, depending on the focal length of attached lenses.
Working distance decreases dramatically at high magnifications, making lighting and composition extremely challenging. Specialized ring lights or fiber optic illumination systems help overcome these obstacles.
Scientific Documentation Standards
Standardized lighting eliminates variables that could affect scientific accuracy. Ring lights or multiple flash units provide even, reproducible illumination for documentation purposes.
Color accuracy becomes critical for scientific work. Custom white balance settings and color checker references ensure accurate color reproduction across different lighting conditions.
Scale references help viewers understand the actual size of microscopic subjects. Including rulers, coins, or other size references provides context that’s often essential for scientific documentation.
Creative Effects and Artistic Vision

Multiple exposure techniques can create abstract art from macro subjects. Combine several images in-camera or during post-processing for surreal effects that transcend literal documentation.
Intentional camera movement at macro magnifications creates painterly effects impossible to achieve with larger subjects. Small movements translate into flowing, abstract patterns at high magnification.
Troubleshooting Common Problems in Macro Photography
Identifying and solving frequent issues in macro photography helps improve your success rate and image quality.
Image Quality Issues
Most macro photography problems stem from a few common technical issues that become magnified at close focusing distances. Understanding these problems and their solutions prevents frustration and improves your success rate significantly.
Camera movement that would be invisible in regular photography becomes an obvious blur in macro images due to the high magnification factor. Even tiny vibrations from mirror slap, shutter movement, or tripod instability can ruin otherwise perfect macro photographs.
Common image quality problems and their specific solutions:
- Soft images typically result from camera shake rather than focusing errors, requiring faster shutter speeds, more stable support systems, or flash illumination to freeze all movement
- Uneven lighting creates distracting shadows and hot spots that pull attention from your subject, solved with multiple light sources, reflector positioning, or diffusion materials
- Chromatic aberration appears as colored fringes around high-contrast edges and becomes more visible at macro magnifications, reduced by stopping down aperture or corrected during post-processing
- Dust spots on sensors or lens elements become highly visible at small apertures commonly used in macro work, requiring frequent cleaning and careful handling
Workflow and Organization Solutions
Managing the large number of files generated by macro photography, especially focus stacking projects, requires systematic organization from the moment you start shooting.
A single focus stacked macro image might require 20-50 individual frames, and a productive shooting session can easily generate hundreds of files. Without proper organization, finding and processing related images becomes unnecessarily time-consuming.
Essential organizational practices for macro photography:
- Use descriptive file naming systems that include date, subject, and sequence information to keep related images grouped together
- Create dedicated folder structures that separate different shooting sessions and subjects for easy navigation
- Implement immediate backup procedures since losing a focus stacking sequence means losing the entire final image
- Maintain separate storage for original RAW files and processed versions to preserve maximum editing flexibility
Processing time increases dramatically with focus stacking workflows. Budget extra time for image processing, especially when working with large numbers of high-resolution images.
Building Your Macro Photography Skills
Developing expertise in macro photography requires consistent practice, continuous learning, and gradual equipment expansion.
Practice Strategies and Projects
Developing macro photography skills requires consistent, focused practice that builds both technical proficiency and creative vision. Random shooting rarely leads to significant improvement compared to systematic skill-building exercises.
Setting specific practice goals and challenges pushes you to explore techniques and subjects you might otherwise avoid. These structured approaches accelerate learning while building a diverse portfolio of work.
Systematic skill-building exercises for macro photography improvement:
- Photograph identical subjects under different lighting conditions to understand how light quality affects mood and detail rendering
- Practice focus stacking sequences with increasingly complex three-dimensional subjects to master this essential technique
- Experiment with various background control methods to learn how environmental choices affect subject presentation
- Test different magnification ratios with the same lens to understand how reproduction ratios change perspective and working distance
Starting a daily or weekly macro photography practice creates consistent opportunities to refine techniques and discover new subjects. This regular commitment forces you to find photographic opportunities everywhere while continuously practicing fundamental skills like focus control and composition.
Equipment Progression Path
Start with budget options like extension tubes or reversing rings before investing in expensive macro lenses. These accessories let you explore macro photography without major financial commitment.
Add lighting equipment gradually as you identify specific needs. Start with natural light and simple reflectors, then add LED panels or flash units as your techniques develop.
Upgrade your tripod and support system as your skills advance. A sturdy tripod becomes more important as you attempt more challenging shots and longer focus stacking sequences.
Developing Personal Style
Study the work of established macro photographers to understand different approaches and styles. Analyze what makes their images compelling and consider how those techniques might work in your photography.
Experiment with different subjects, lighting, and composition approaches to find what resonates with you. Some photographers excel at scientific documentation, while others prefer artistic interpretation.
Share your work regularly for feedback and recognition. Online communities, photography forums, and local camera clubs provide audiences for your images and opportunities for constructive criticism.
Advanced Macro Photography Applications and Specializations
Macro photography branches into several specialized areas, each requiring specific techniques and equipment considerations.
Scientific and Technical Documentation
Scientific macro photography requires standardized approaches to ensure accurate, reproducible results. Consistent lighting, precise color reproduction, and detailed metadata documentation become essential for research applications.
Scale indicators and reference materials help establish actual subject sizes. Including measurement tools or known objects provides context that’s critical for scientific applications.
Commercial and Product Photography
Macro techniques apply directly to product photography, especially for jewelry, electronics, and small manufactured items. The same principles of lighting, focus stacking, and composition create compelling commercial images.
Studio setups for commercial macro work require more controlled environments than field photography. Seamless backgrounds, multiple light sources, and precision positioning become standard requirements.
Art and Creative Expression
Fine art macro photography pushes beyond literal documentation to create images that emphasize mood, emotion, and artistic vision. Abstract compositions, unusual lighting, and creative post-processing transform ordinary subjects into art.
Gallery presentation of macro images often requires large prints to showcase the incredible detail captured at high magnifications. Understanding print requirements influences shooting and processing decisions.
Discovering Hidden Worlds Through Your Lens
Macro photography transforms how you see everyday objects by revealing incredible details invisible to the naked eye. Success requires mastering specialized techniques like focus stacking, understanding shallow depth of field challenges, and choosing appropriate equipment for your subjects and budget.
Start with basic gear like extension tubes before investing in dedicated macro lenses. Practice with stationary subjects to build fundamental skills, then progress to more challenging live subjects as your expertise develops. The technical knowledge serves your creative vision, helping you capture compelling images that showcase the extraordinary beauty existing in ordinary places.Your macro photography journey begins with looking closely at the world around you and discovering that amazing subjects exist everywhere, waiting to be photographed.

Darlene Lleno
Darlene Lleno brings a unique perspective to DIY Photography as someone who grew up surrounded by camera gear but chose words over lenses. With five years of writing experience, she specializes in photography content that’s both technically informed and genuinely passionate. Growing up with a photographer twin brother meant camera talk was everyday conversation in her household. While he mastered capturing moments, Darlene discovered she preferred being the subject and the storyteller behind the scenes. As a travel enthusiast and mother of two, she understands the importance of preserving life’s precious moments. When not exploring new destinations or writing for DIY Photography, you’ll find her reading or tending to her garden. Her approach to photography writing is refreshingly authentic, she may not be behind the camera, but she knows exactly what it takes to help others capture the shots that matter most.


Join the Discussion
DIYP Comment Policy
Be nice, be on-topic, no personal information or flames.