


8 Photography Tips for Beginners in 2025
Aug 7, 2025
Darlene Lleno
Darlene Lleno brings a unique perspective to DIY Photography as someone who grew up surrounded by camera gear but chose words over lenses. With five years of writing experience, she specializes in photography content that’s both technically informed and genuinely passionate. Growing up with a photographer twin brother meant camera talk was everyday conversation in her household. While he mastered capturing moments, Darlene discovered she preferred being the subject and the storyteller behind the scenes. As a travel enthusiast and mother of two, she understands the importance of preserving life’s precious moments. When not exploring new destinations or writing for DIY Photography, you’ll find her reading or tending to her garden. Her approach to photography writing is refreshingly authentic, she may not be behind the camera, but she knows exactly what it takes to help others capture the shots that matter most.
Share:
Starting your photography journey can feel overwhelming when you scroll through social media and see those amazing shots. Everyone else seems to have figured out some secret to capturing perfect moments while you’re still wondering which button does what on your camera. But here’s the thing: good photography tips for beginners can transform your basic snapshots into stunning images much faster than you’d expect.
Photography isn’t rocket science. You don’t need expensive gear or years of training to take pictures that make people stop and look. What you really need are solid fundamentals and practical photography techniques that actually work in everyday situations.
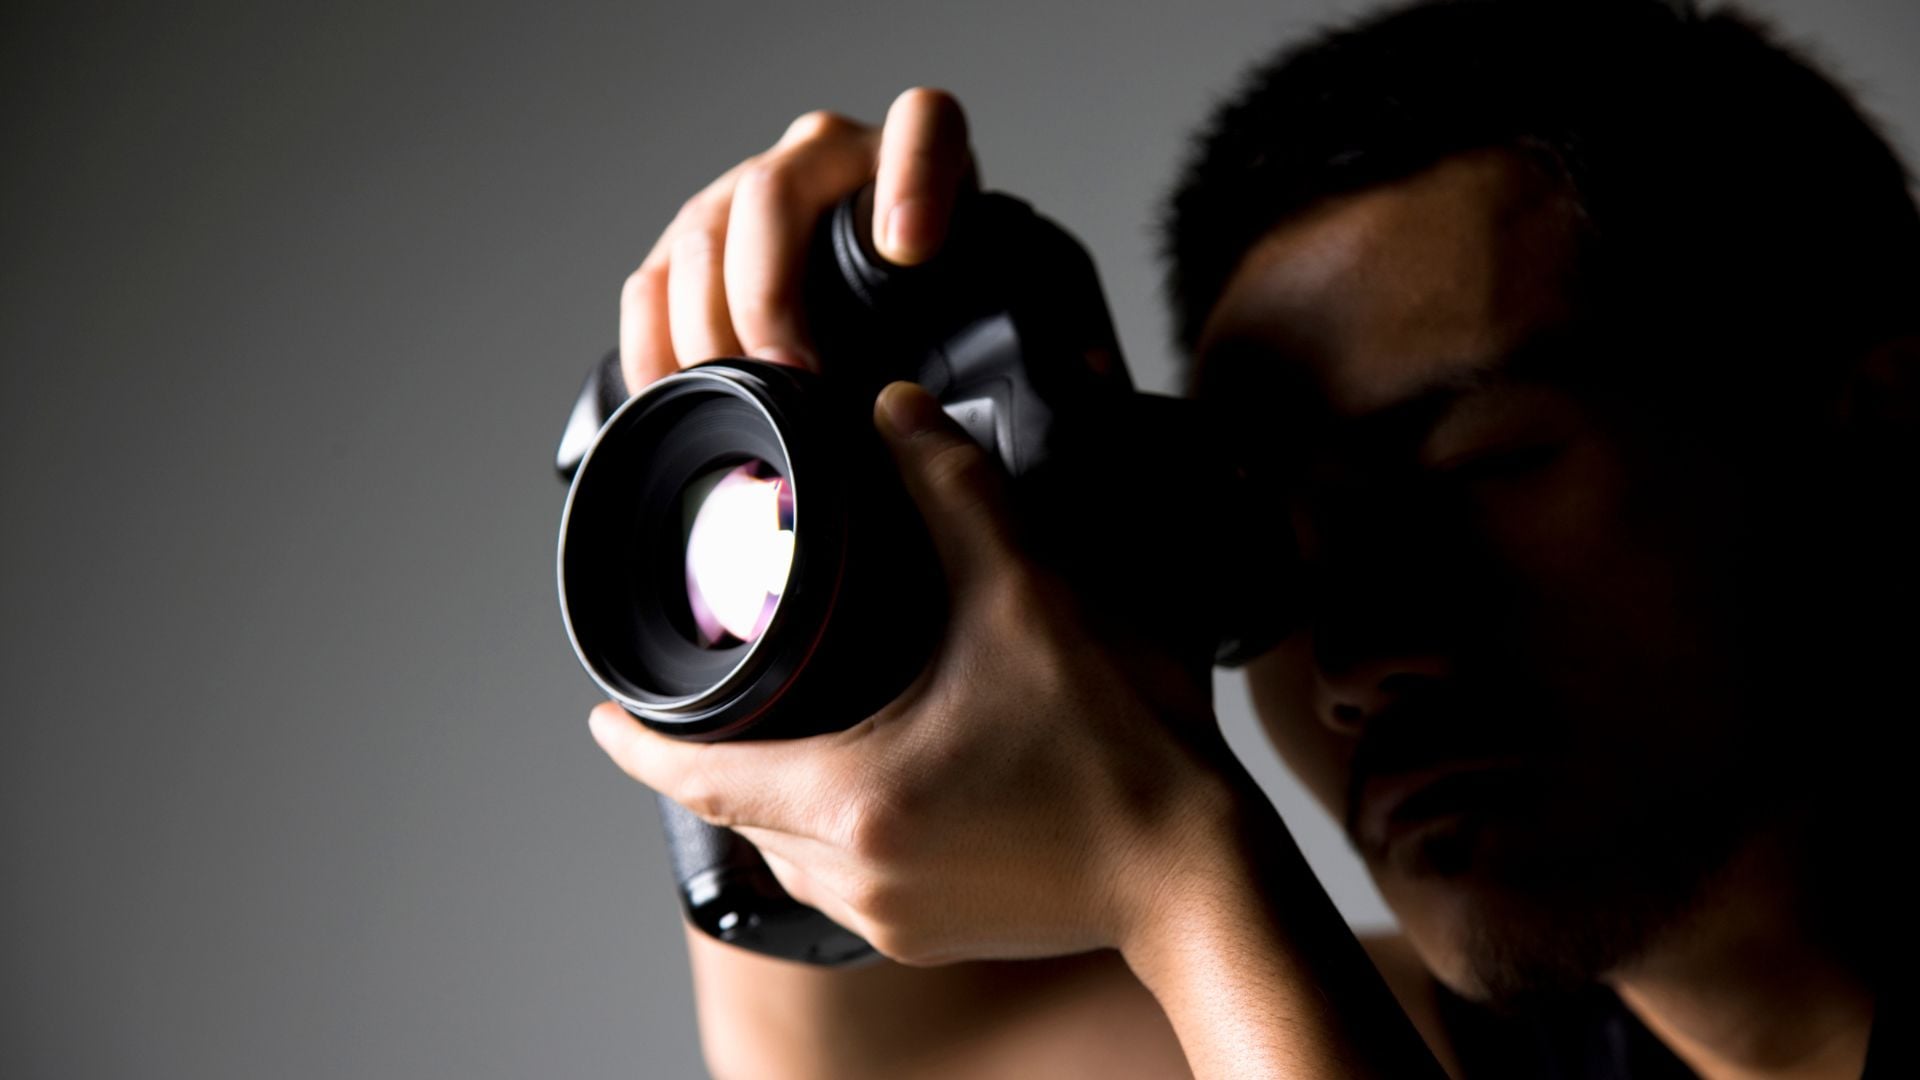
1. Get Familiar with Your Camera Basics

Before you can create amazing photos, you need to understand the tool you’re holding. Your camera might look intimidating with all those buttons and settings, but the core concepts are pretty straightforward once you break them down.
Think of your camera as a tool. Whether you’ve got a smartphone, point-and-shoot, or DSLR, the same basic principles apply everywhere. Light enters through the lens, hits the sensor, and creates your image. That’s really all there is to it.
Most beginners get caught up obsessing over technical specs and miss what’s actually important: knowing how to use your camera matters way more than owning the latest, most expensive model. Start with whatever you have right now. A basic camera in the hands of someone who knows what they’re doing will always beat a high-end camera collecting dust because the owner got intimidated by all the controls.
Know Your Camera Modes
Understanding different shooting modes gives you more creative control as you develop your skills. Each mode offers varying levels of automation versus manual control:
- Auto Mode works great when you’re starting out, but it limits your creative options since the camera makes all the decisions.
- Program Mode lets the camera pick aperture and shutter speed while you control ISO and other settings. It’s a good middle ground.
- Aperture Priority Mode is where most photographers live. You choose the aperture (which controls depth of field), and the camera selects the right shutter speed.
- Shutter Priority Mode flips this around. You pick the shutter speed (great for controlling motion), and the camera chooses the aperture.
- Manual Mode gives you complete control over everything, but save this for when you really understand the basics.
Start with Aperture Priority once you’re comfortable with the fundamentals. This mode gives you creative control over how much of your photo stays in focus while letting the camera handle the technical stuff.
Master the Exposure Triangle
Three settings control whether your photos turn out bright or dark: aperture, shutter speed, and ISO. Think of them as teammates that need to work together.
Aperture
Aperture controls depth of field. Low numbers like f/1.8 create that dreamy blurred background effect, while higher numbers like f/8 keep everything in your scene sharp from front to back.
Shutter Speed
Shutter Speed controls motion. Fast speeds like 1/500th of a second freeze action completely, while slower speeds create artistic motion blur.
ISO
ISO makes your camera’s sensor more sensitive to light. Low numbers like 100 produce clean, crisp images, while higher numbers let you shoot in darker conditions but add grain to your photos.
These three always work as a team. Change one setting, and you’ll probably need to adjust the others to keep your exposure looking right. Practice switching between different modes until this relationship starts feeling natural.
2. Composition Rules That Actually Work

Good composition separates random snapshots from photos that actually grab attention. These proven techniques help you arrange elements in your frame to create more compelling images.
Rule of Thirds
Place important subjects along imaginary lines that divide your frame into nine equal sections. This creates much more dynamic, interesting photos than centering everything. Most cameras have a grid option in the settings to help you with this.
But remember, rules exist to be broken thoughtfully. Sometimes centering your subject creates exactly the dramatic impact you want. Learn the rule of thirds first, then experiment with breaking it intentionally.
Leading Lines
Use natural or architectural lines to guide viewers’ eyes through your photo. Fences, roads, shorelines, and shadows all work perfectly for this. Strong leading lines transform boring scenes into compositions that actually hold people’s attention.
Diagonal lines work especially well because they add energy and movement to static subjects. Horizontal lines suggest calm and stability, while vertical lines convey strength and growth.
Additional Composition Techniques
These extra composition tools will add variety and visual interest to your photography once you’ve mastered the basics:
- Symmetry and Patterns can create visually striking images. Look for repeating elements or perfect balance in your scenes.
- Fill the Frame by getting closer to eliminate distractions and create more impact with your subject.
- Use Negative Space thoughtfully. Sometimes what you leave out of your photo matters as much as what you include.
- Apply Color Theory by looking for complementary colors (opposites on the color wheel) that create visual tension and interest.
- Focus on Texture and Detail through close-up shots that reveal interesting patterns often missed by casual observation.
Frame Within a Frame
Windows, doorways, tree branches, and architectural elements create natural frames around your subject. This technique adds depth and directs focus exactly where you want it.
Don’t force this technique though. When you notice natural framing opportunities, use them. When you don’t see any, just shoot without them. Obvious, forced framing looks amateur and distracts from your main subject.
4. Lighting Secrets for Better Photos
Light makes or breaks every photograph. Master these lighting fundamentals and you’ll see immediate improvement in your images, regardless of what camera you’re using or how much technical knowledge you have.
Even with perfect composition and expensive gear, bad lighting ruins everything. But good lighting can make even ordinary subjects look amazing.
Golden Hour
Shoot during the hour after sunrise or before sunset for warm, soft light that makes everything look incredible. This light is forgiving on people’s faces, adds natural warmth to skin tones and colors, and creates a professional look even for beginners.
During golden hour, shadows are soft and directional, creating beautiful depth without harsh contrasts. Colors appear richer and more saturated. Even amateur photographers often achieve professional-looking results during these magical times.
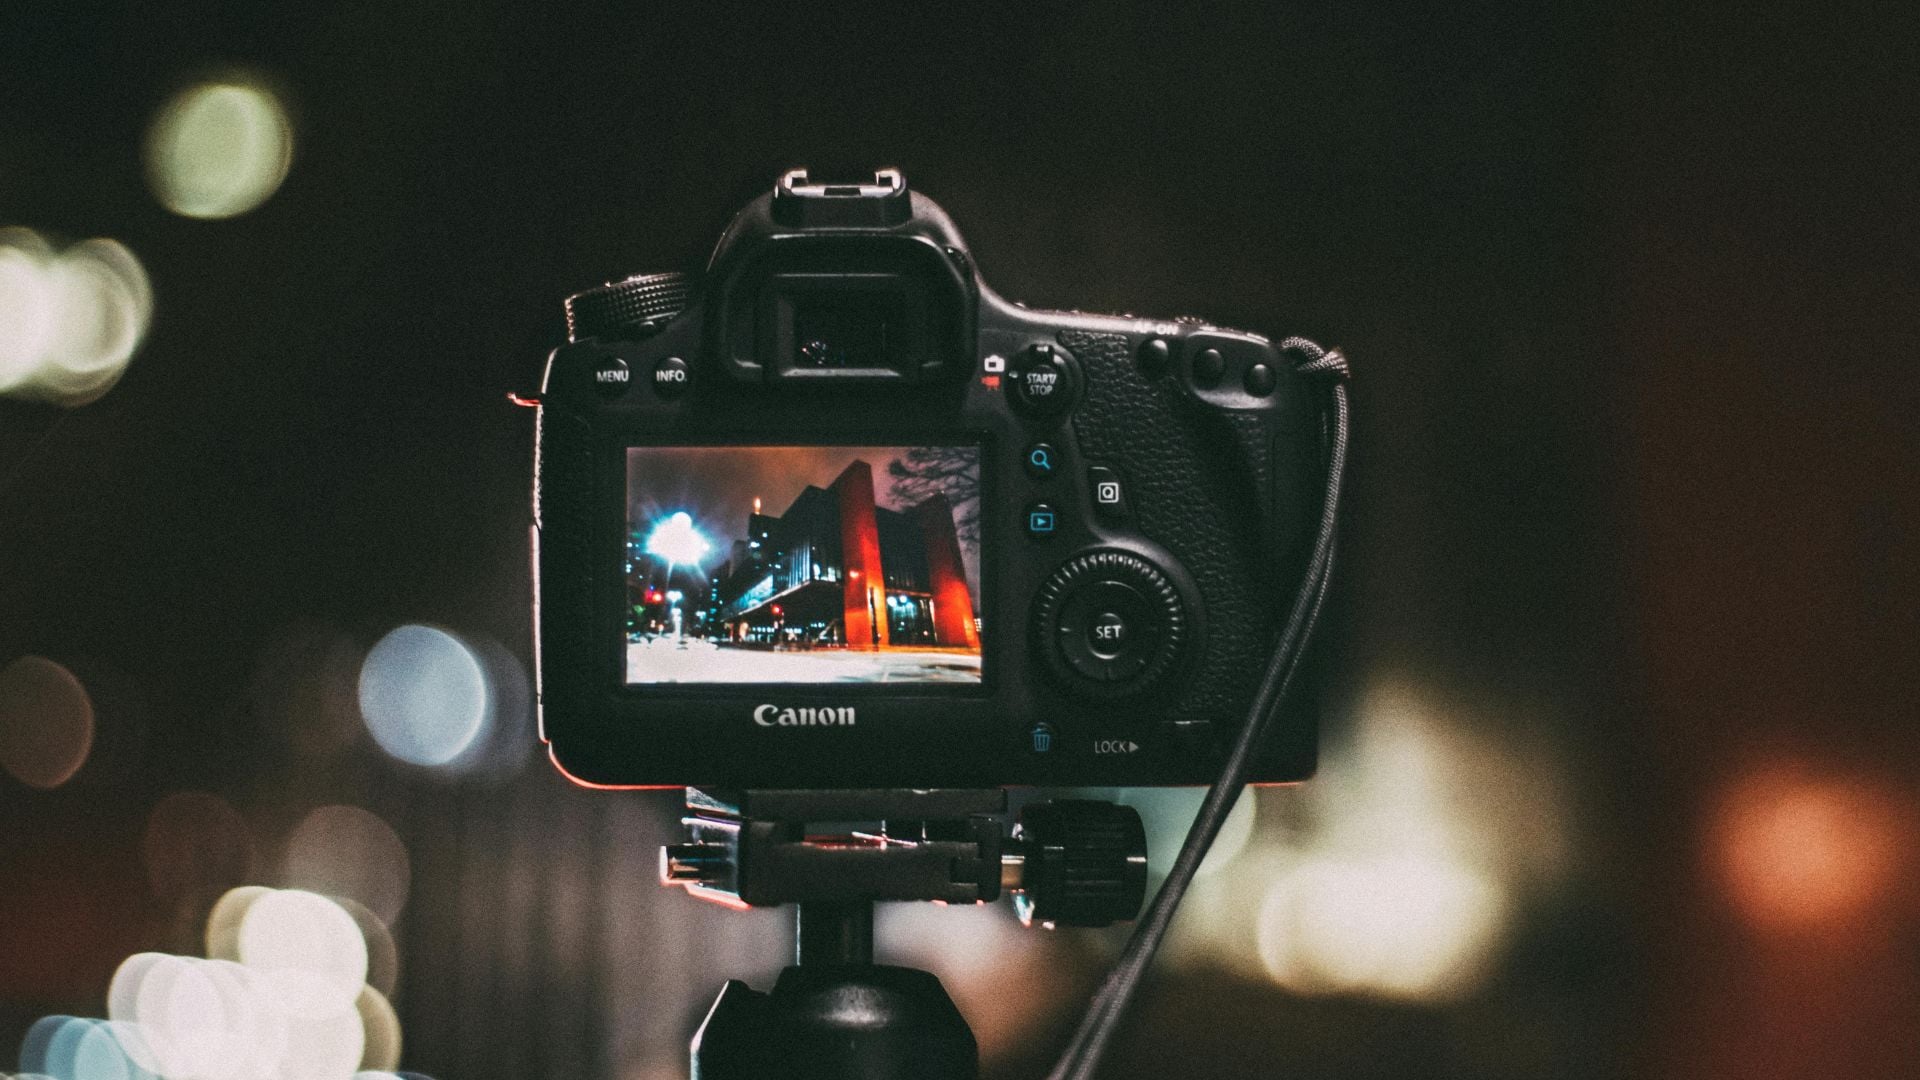
Blue Hour
The 20 to 30 minutes after sunset (or before sunrise) provide moody, even lighting that’s perfect for cityscapes and architectural photography. The sky takes on deep blue tones while artificial lights balance naturally with ambient light, creating stunning atmospheric shots.
Avoid Harsh Midday Sun
Direct overhead sun creates unflattering shadows under eyes and noses, washes out colors, and makes people squint uncomfortably. If you must shoot during midday, find open shade or use fill flash to soften those harsh shadows.
Overcast days actually provide excellent lighting for portraits and close-up work. Clouds act like a giant natural softbox, creating even, smooth light that’s perfect for capturing details and natural expressions without harsh contrasts.
Direction Matters
Front lighting is safe but often appears flat and boring. Side lighting creates dimension and mood in your photos. Backlighting can look dramatic, but you need to be careful with your camera settings to avoid unwanted silhouettes (unless that’s your creative goal).
Practice shooting the same subject with light coming from different directions. You’ll quickly see how light direction completely changes the mood and emotional impact of your photographs.
5. Essential Photography Techniques

These fundamental techniques form the backbone of good photography. Once you master these skills, you’ll have the tools to handle almost any shooting situation with confidence.
Focus Where It Counts
Sharp focus on your main subject isn’t negotiable. Modern cameras offer multiple focus modes, but single-point autofocus gives you the most precise control. Place that focus point exactly where you want maximum sharpness.
For moving subjects, switch to continuous autofocus mode. This tracks motion and constantly adjusts focus. For stationary subjects, single-shot mode locks focus when you half-press the shutter button.
Don’t rely entirely on autofocus though. Learn when to switch to manual focus, especially in low light situations or when shooting through glass or fences where autofocus struggles.
Focus Techniques for Different Situations
Different shooting scenarios require specific focusing approaches to get the best results. Here are the most effective techniques for common photography situations:
- For Portraits: Always focus on the eye closest to your camera for the most engaging results.
- For Landscapes: Use hyperfocal distance focusing techniques to maximize sharpness from foreground to background.
- For Action: Continuous autofocus with tracking modes works best for moving subjects.
- For Macro Photography: Manual focus gives you precise control over tiny details that autofocus might miss.
- For Low Light: Single-point autofocus with AF assist beam helps in challenging lighting conditions.
Depth of Field Control
Understanding depth of field separates beginners from photographers who really know their craft. Wide apertures (low f-numbers) create shallow depth of field that blurs backgrounds beautifully. Narrow apertures (high f-numbers) keep everything sharp throughout your scene.
Use shallow depth of field to isolate subjects from busy backgrounds. Use deep depth of field for landscapes where you want everything in focus from foreground elements to the distant horizon.
Your distance from the subject also affects depth of field. The closer you get to your subject, the more background blur you’ll achieve at any given aperture setting.
Motion and Timing
Great photography often comes down to perfect timing. Wait for that decisive moment when all elements align perfectly. This might be a genuine smile, perfect lighting, or the exact instant when action reaches its peak.
For moving subjects, try panning techniques. Follow the subject with your camera while using a slower shutter speed. This keeps your subject sharp while creating motion blur in the background, conveying a strong sense of movement and energy.
Don’t just hold down the shutter button hoping for the best. Watch scenes develop and anticipate the perfect moment. Thoughtful, intentional shooting usually produces much better results than randomly firing off hundreds of shots.
6. Common Beginner Mistakes to Avoid

Learning what not to do can improve your photography just as much as learning proper techniques. Avoid these common pitfalls and you’ll skip months of frustration while developing better habits from the start.
Trying to Include Everything
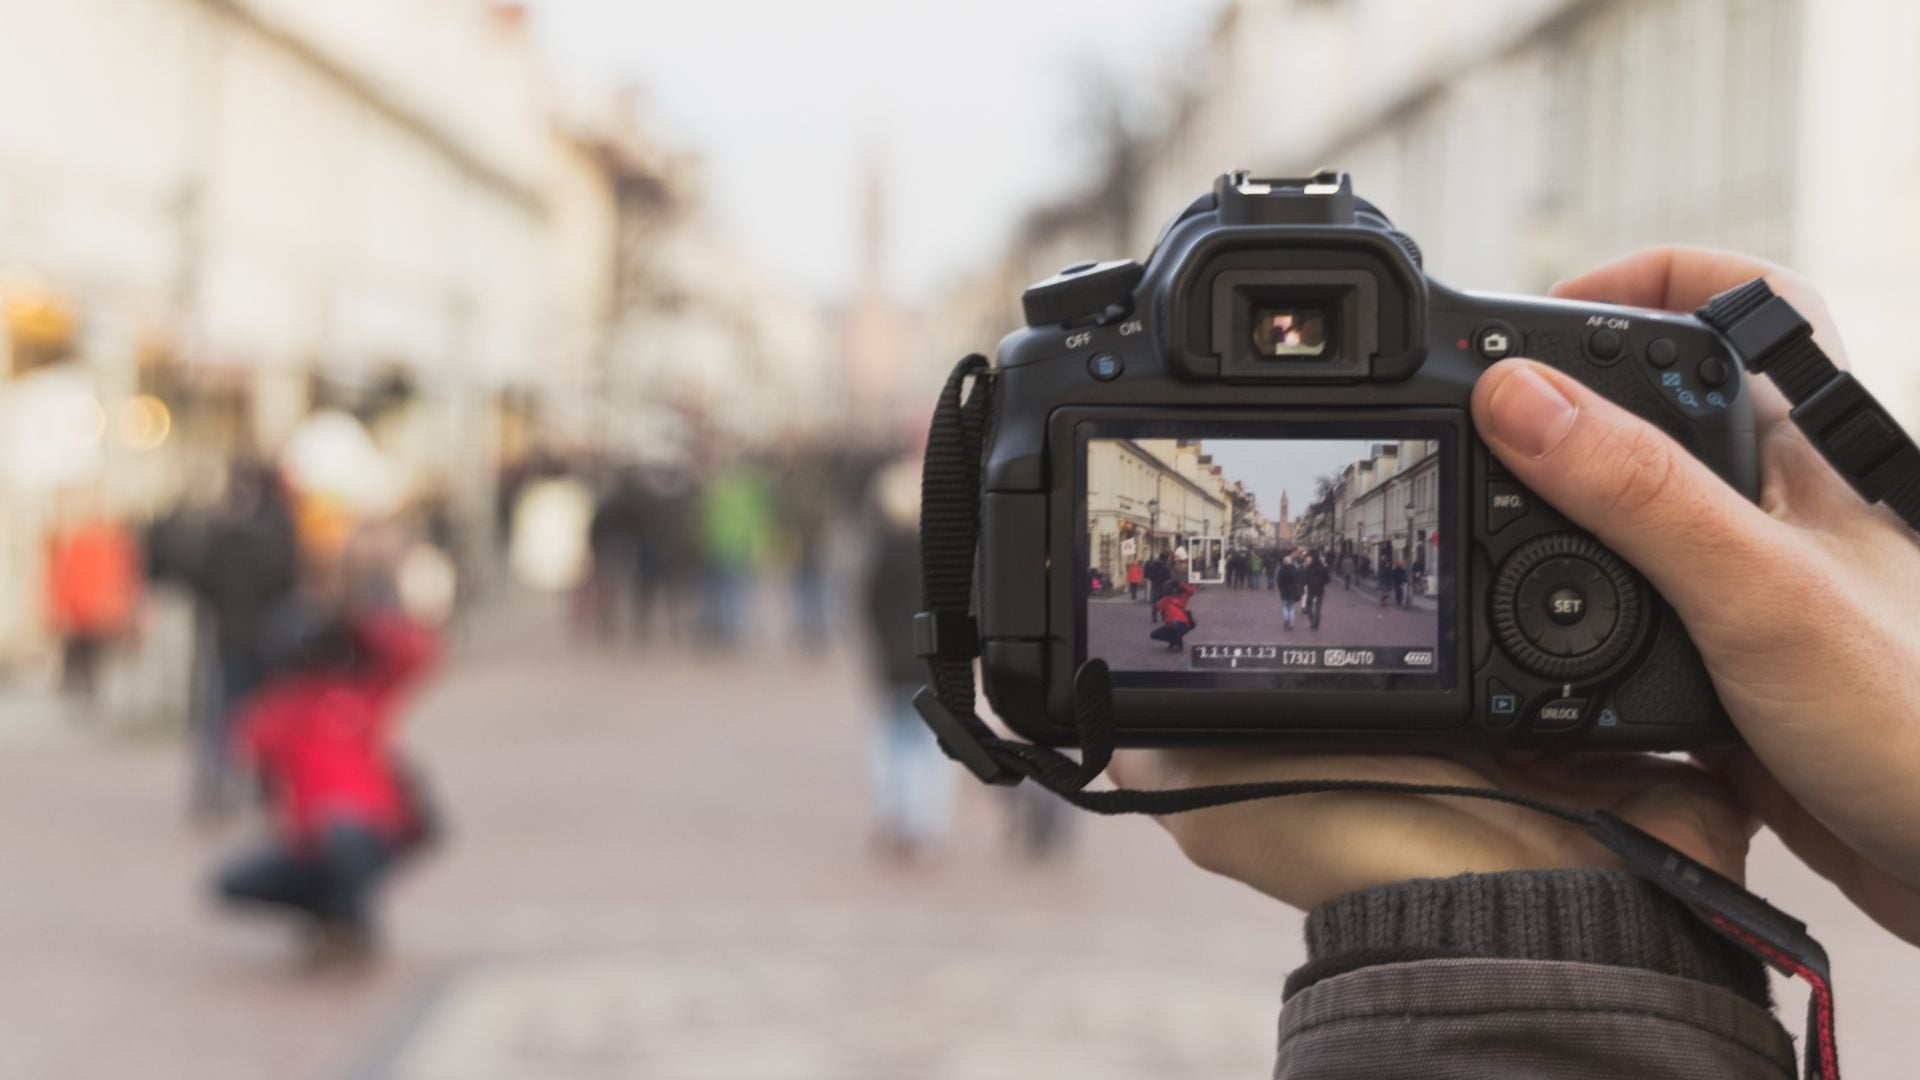
New photographers often attempt to capture entire scenes, resulting in cluttered, confusing images. Instead, focus on one main subject or story element. Fill your frame with what actually matters and eliminate distracting elements.
Get physically closer to your subjects. Most amateur photos would improve dramatically if the photographer had simply taken three steps forward before shooting.
Ignoring Backgrounds
Your background is part of your composition. Distracting elements, tilted horizons, and cluttered backgrounds ruin otherwise good photos. Always check your entire frame before pressing the shutter button.
Sometimes changing your shooting height eliminates problematic backgrounds. Shooting from a lower angle can replace a messy background with clean sky.
Technical Mistakes That Ruin Photos
Avoiding these common technical errors will immediately improve your image quality and save you frustration during shoots:
- Camera Shake ruins sharpness. Learn proper holding techniques or use a tripod for sharp images in all conditions.
- Wrong White Balance creates unnatural color casts. Learn to adjust for different light sources like tungsten, fluorescent, or daylight.
- Exposure Problems occur when you don’t understand your camera’s metering modes. Learn how your camera measures light.
- Poor File Management limits your editing options. Shoot in RAW format for maximum flexibility in post-processing.
- Equipment Oversights like forgetting to remove lens caps or check battery levels can cost you important shots.
Over-Processing Photos
Heavy filters and extreme editing immediately scream “amateur.” Subtle adjustments that enhance rather than completely transform your original image look much more professional and authentic.
Learn basic editing skills, but use them with restraint. Your goal should be making photos look their absolute best, not creating obviously artificial results that distract from the actual content.
7. Building Your Photography Skills
Improvement comes through deliberate practice and learning from both successes and failures. These strategies will accelerate your development and build genuine confidence behind the camera.
Practice Daily
You don’t need exotic locations or perfect conditions to improve. Practice with whatever subjects are available. Photograph everyday objects, family members, pets, or scenes around your neighborhood.
Set small challenges for yourself. Spend a week shooting only in black and white, or try capturing the same subject at different times throughout the day. Creative constraints often spark unexpected innovations.
Photography Challenges to Try
Regular practice challenges keep you motivated while building specific photography skills. These structured exercises help develop different aspects of your photography:
- 365 Project: Take one meaningful photo every day for an entire year to build consistent habits.
- Single Lens Challenge: Use only one focal length for a month to really understand that perspective.
- Color Studies: Focus on incorporating one specific color in all your shots for a week.
- Street Photography: Practice capturing candid moments and genuine expressions in public spaces.
- Abstract Photography: Find interesting patterns, textures, and shapes in everyday objects.
Study Photos You Admire
Look at work by photographers you genuinely respect. Try to understand what makes their images so compelling. How did they handle lighting? What composition strategies did they use? How do they approach color or contrast?
Don’t limit yourself to photography websites. Study cinematography in movies, composition in paintings, and visual design in advertisements. Strong visual principles apply across all media, and inspiration often comes from unexpected sources.
Learn From Your Mistakes
Every photographer creates terrible images while learning. Instead of getting discouraged, analyze what went wrong. Was focus off? Poor composition? Bad lighting? Understanding your failures teaches you more than accidental successes ever will.
Keep some of your early work. Looking back shows how much you’ve actually improved and reminds you that progress takes consistent time and practice.
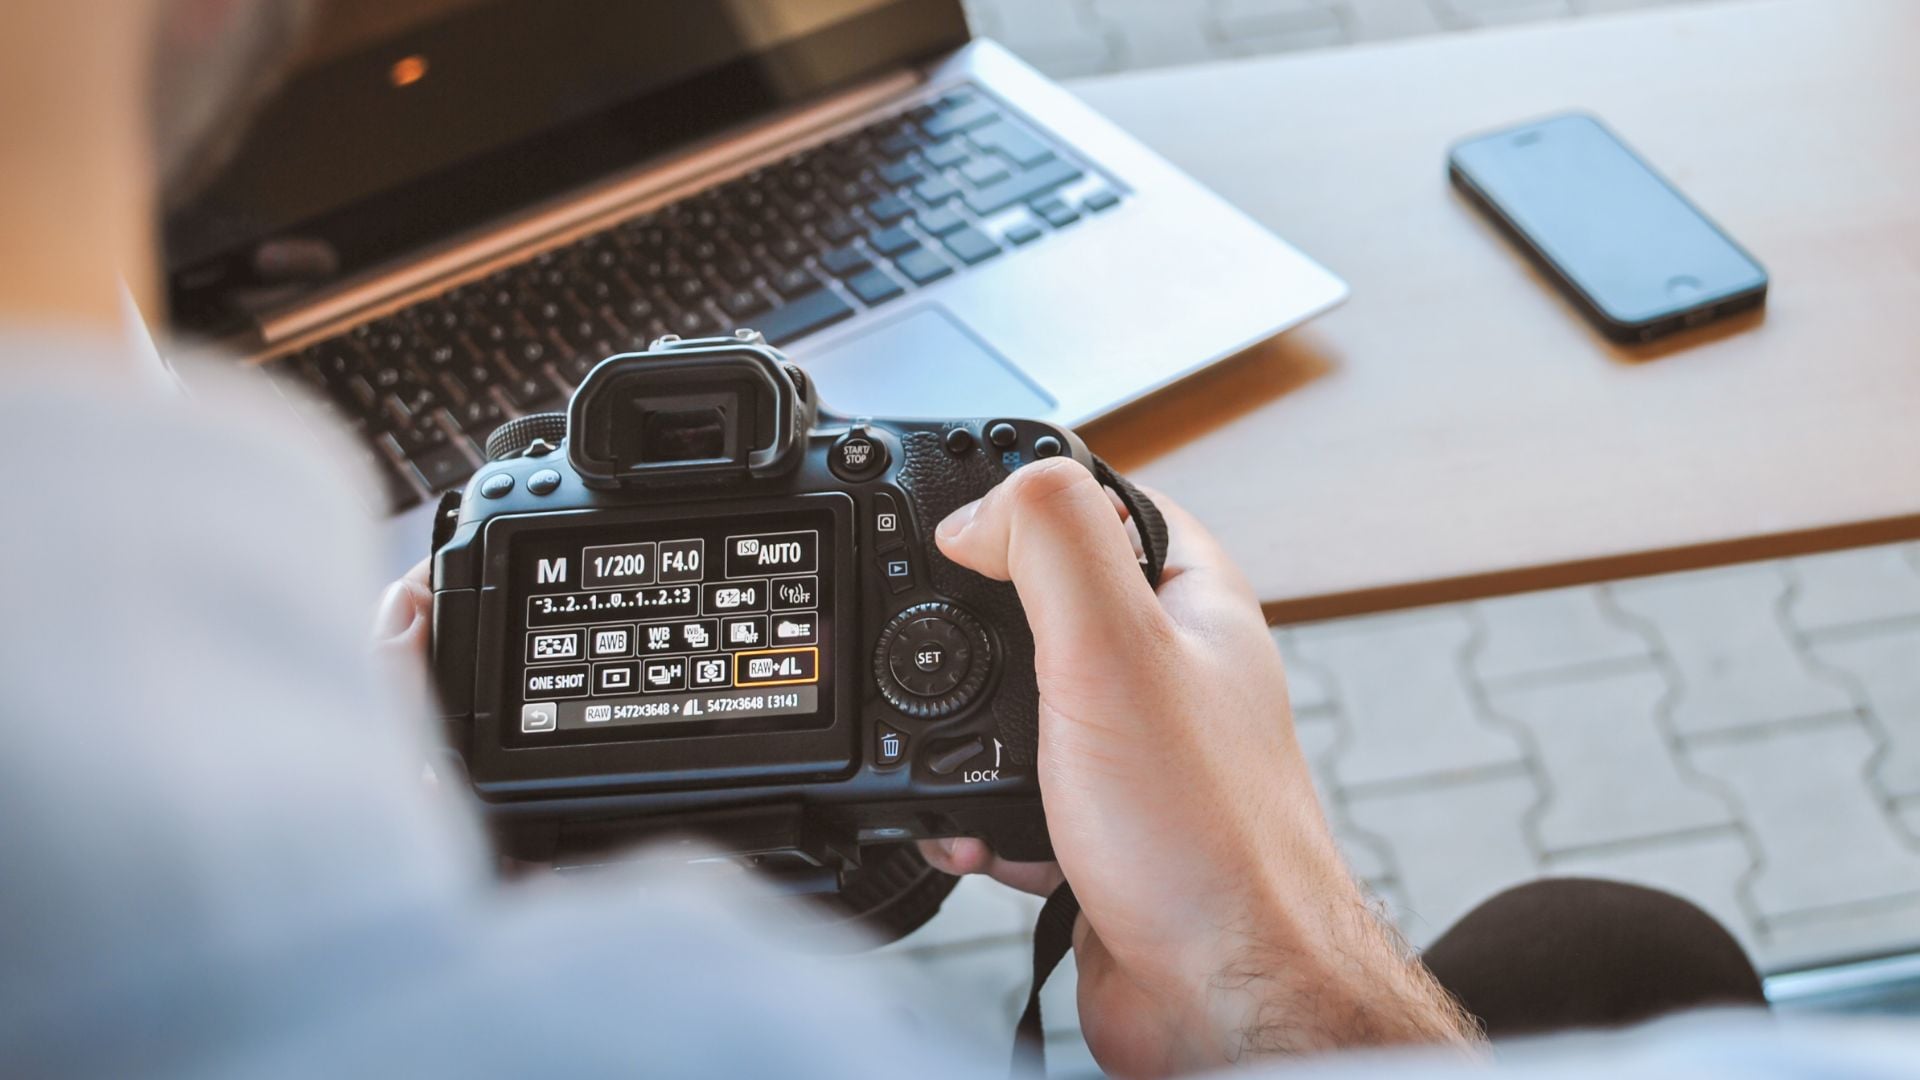
8. Equipment Advice for Beginners

Smart equipment choices can support your learning journey, but gear alone never makes anyone a better photographer. Focus on mastering fundamentals before investing in expensive equipment.
Start Simple
You don’t need professional gear to create outstanding images. A basic DSLR or mirrorless camera with a kit lens handles most situations perfectly well. Even high-quality smartphones produce excellent results when used skillfully.
Master whatever equipment you currently own before considering upgrades. Understanding fundamental photography techniques matters infinitely more than having the latest camera body or fastest lens.
Camera Types Explained
Each camera type has specific advantages depending on your needs and shooting style. Understanding these differences helps you make informed decisions:
- DSLR Cameras use traditional mirror mechanisms, offer excellent battery life, and have extensive lens selections from multiple manufacturers.
- Mirrorless Cameras are smaller and lighter, feature excellent electronic viewfinders, and have rapidly growing lens options.
- Point-and-Shoot Cameras are compact with built-in lenses, making them perfect for travel and casual shooting situations.
- Smartphone Cameras are always with you, improving rapidly in quality, and excellent for learning composition fundamentals.
Invest in Learning First
Spend money on books, online courses, or hands-on workshops before buying expensive gear. Knowledge and developed skills create better photos than expensive equipment ever will.
When you do decide to upgrade, buy based on specific needs rather than general desires for “better quality.” If you mostly shoot portraits, invest in a good portrait lens. If you love landscapes, a quality wide-angle lens makes more sense.
Essential Accessories
Smart accessory choices support your photography without breaking the bank. These items provide the most value for developing photographers:
- A sturdy tripod enables sharp photos in low light and opens creative possibilities like long exposures and self-portraits. Buy the best tripod you can reasonably afford because cheap ones create more frustration than help.
- Extra batteries and memory cards prevent missed opportunities during important shoots. Clean your lens regularly with proper materials.
- A lens hood reduces flare and protects your front element from damage.
Taking Your Next Steps in Photography
Your photography journey is just beginning, but with these fundamentals in place, you’re ready to start creating images that reflect your unique vision and improve with every shot you take.
Photography tips for beginners cover essential technical basics, but becoming a truly confident photographer requires consistent practice and patience with yourself. Don’t expect perfection immediately. Even professional photographers continue learning and growing throughout their entire careers.
Set realistic, achievable goals and celebrate small improvements along the way. Focus on enjoying the creative process rather than worrying constantly about final results. Photography should bring joy and creative satisfaction, not stress about technical perfection.
Start shooting regularly, apply these photography techniques consistently, and trust that your skills will develop naturally over time. Every accomplished photographer started exactly where you are right now. The only real difference between beginners and experts is time invested in practicing and learning from both successes and inevitable mistakes.

Darlene Lleno
Darlene Lleno brings a unique perspective to DIY Photography as someone who grew up surrounded by camera gear but chose words over lenses. With five years of writing experience, she specializes in photography content that’s both technically informed and genuinely passionate. Growing up with a photographer twin brother meant camera talk was everyday conversation in her household. While he mastered capturing moments, Darlene discovered she preferred being the subject and the storyteller behind the scenes. As a travel enthusiast and mother of two, she understands the importance of preserving life’s precious moments. When not exploring new destinations or writing for DIY Photography, you’ll find her reading or tending to her garden. Her approach to photography writing is refreshingly authentic, she may not be behind the camera, but she knows exactly what it takes to help others capture the shots that matter most.


Join the Discussion
DIYP Comment Policy
Be nice, be on-topic, no personal information or flames.