


How to Resize Images in Canva for Any Device (PC, Mac, and Mobile)
Nov 19, 2025
Darlene Lleno
Darlene Lleno brings a unique perspective to DIY Photography as someone who grew up surrounded by camera gear but chose words over lenses. With five years of writing experience, she specializes in photography content that’s both technically informed and genuinely passionate. Growing up with a photographer twin brother meant camera talk was everyday conversation in her household. While he mastered capturing moments, Darlene discovered she preferred being the subject and the storyteller behind the scenes. As a travel enthusiast and mother of two, she understands the importance of preserving life’s precious moments. When not exploring new destinations or writing for DIY Photography, you’ll find her reading or tending to her garden. Her approach to photography writing is refreshingly authentic, she may not be behind the camera, but she knows exactly what it takes to help others capture the shots that matter most.
Share:

Learning how to resize images in Canva is a skill that saves time and frustration. Whether you’re working on a desktop or tapping away on your phone, Canva gives you powerful tools to adjust your images for any platform. This guide walks you through every method, from quick changes to precise adjustments.
Understanding Canva’s Resize Tools
Canva offers multiple ways to handle image sizing. You can change individual elements within your design or resize the entire project. The platform works the same across Windows, Mac, and mobile devices, though some features have slight interface differences.
The basic resize function lets you drag elements to your desired size. For more control, you’ll find advanced options that work with exact pixel measurements. These tools help when you need specific dimensions for social media image sizes or print projects.
When preparing files for printing, knowing the right dimensions for your desired print size prevents quality issues. Our free print size calculator helps you determine the optimal pixel dimensions based on your target print size and resolution requirements.
How to Resize Images in Canva: Basic Method
Start with the simplest approach. Click any element, photo, text box, or video in your Canva workspace. Small squares appear at the corners and sides. These are your resize handles.
Quick Resize Steps
Step 1: Select Your Element
Click on the image, text box, photo, or video you want to resize. A blue border with small squares appears around it.
Step 2: Drag Corner Handles
Click and hold any corner handle. Drag inward to make it smaller or outward to make it larger. The element scales proportionally.
Step 3: Release to Apply
Let go of your mouse button when you reach your desired size. The changes apply automatically.
Resizing Multiple Elements
Step 1: Create Selection
Click and drag across your canvas to draw a selection frame around multiple elements.
Step 2: Resize Together
Grab any corner handle from the grouped selection. Drag to resize all elements together proportionally.
How to Resize Images in Canva: Advanced Options
Click the Position button on the toolbar above your editor. Under Advanced, you’ll see Width and Height fields where you can enter specific pixel values.
Precise Pixel Resizing Steps
Step 1: Open Position Panel
Click the element, then click the Position button on the toolbar above the editor.
Step 2: Enter Exact Values
In the Advanced section, type your desired width and height in pixels.
Step 3: Lock Aspect Ratio
Click the lock icon between Width and Height to maintain proportions. When locked, changing one value automatically adjusts the other.
Step 4: Apply Changes
Press Enter or click outside the panel. Your element resizes to exact specifications.
Stretching Images Without Proportions
Step 1: Enter Crop Mode
Double-click your element to activate crop mode.
Step 2: Hold Shift and Drag
Press and hold the Shift key. While holding Shift, grab any resize handle and drag. The element stretches without maintaining aspect ratio.
Step 3: Apply
Click Done or press Enter to apply the stretched dimensions.
How to Resize Images in Canva: Entire Design
The Resize button at the top of your editor changes your whole project dimensions. This feature differs from adjusting individual elements because you’re changing the canvas size itself.
Magic Resize for Multiple Formats
Step 1: Access Resize
Click the Resize button at the top of the editor menu.
Step 2: Select Sizes
Choose from suggested design sizes or browse by category. You can select up to five different sizes at once.
Step 3: Choose Resize Method
Click Continue and choose either “Copy & resize” to keep your original or “Resize” to change the current design.
Step 4: Find Files
Resized copies appear in the same folder. Multiple sizes save to a new dedicated folder.
Custom Size Resizing
Step 1: Select Custom Size
Click Resize from the top menu, then click “Custom size.”
Step 2: Enter Dimensions
Type your width and height values. The platform accepts measurements from 40 x 40 pixels up to 8000 x 3125 pixels.
Step 3: Apply
Click Continue, then choose your resize method. Your design updates to the new dimensions.
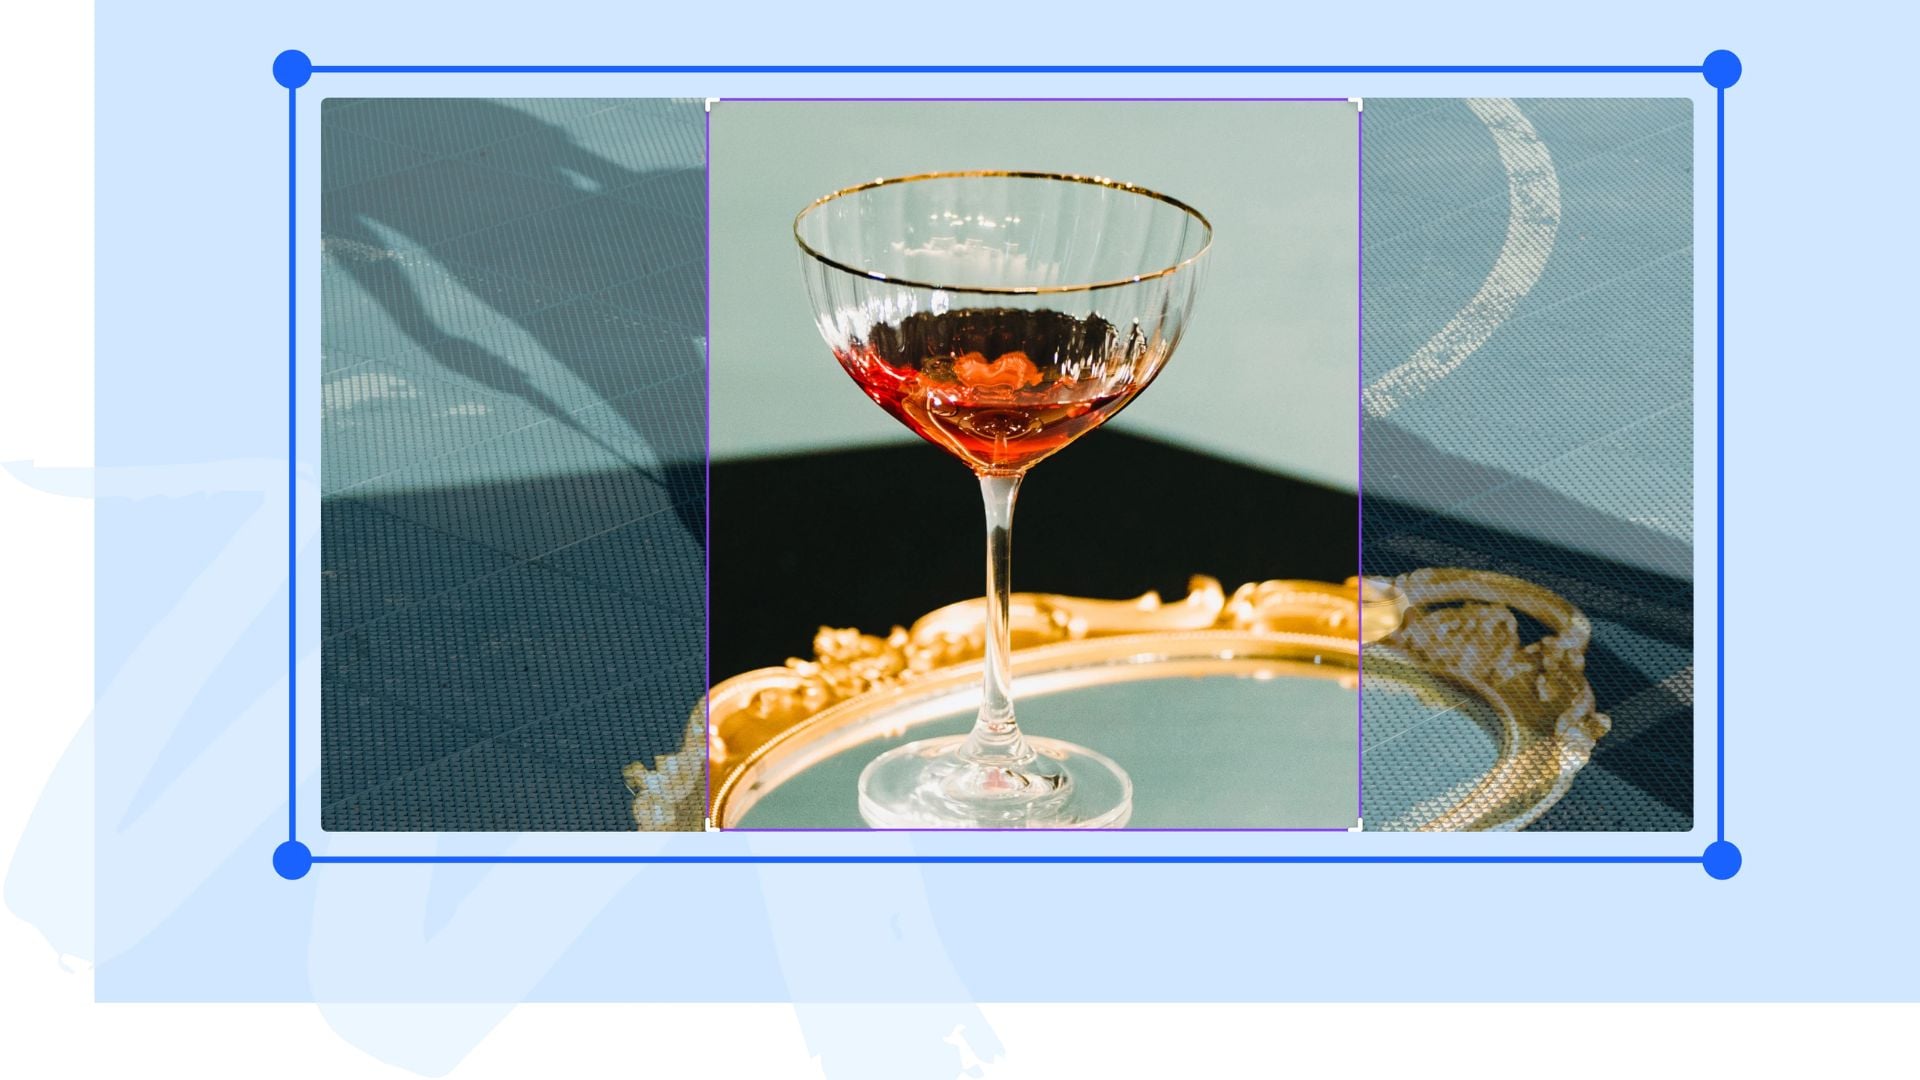
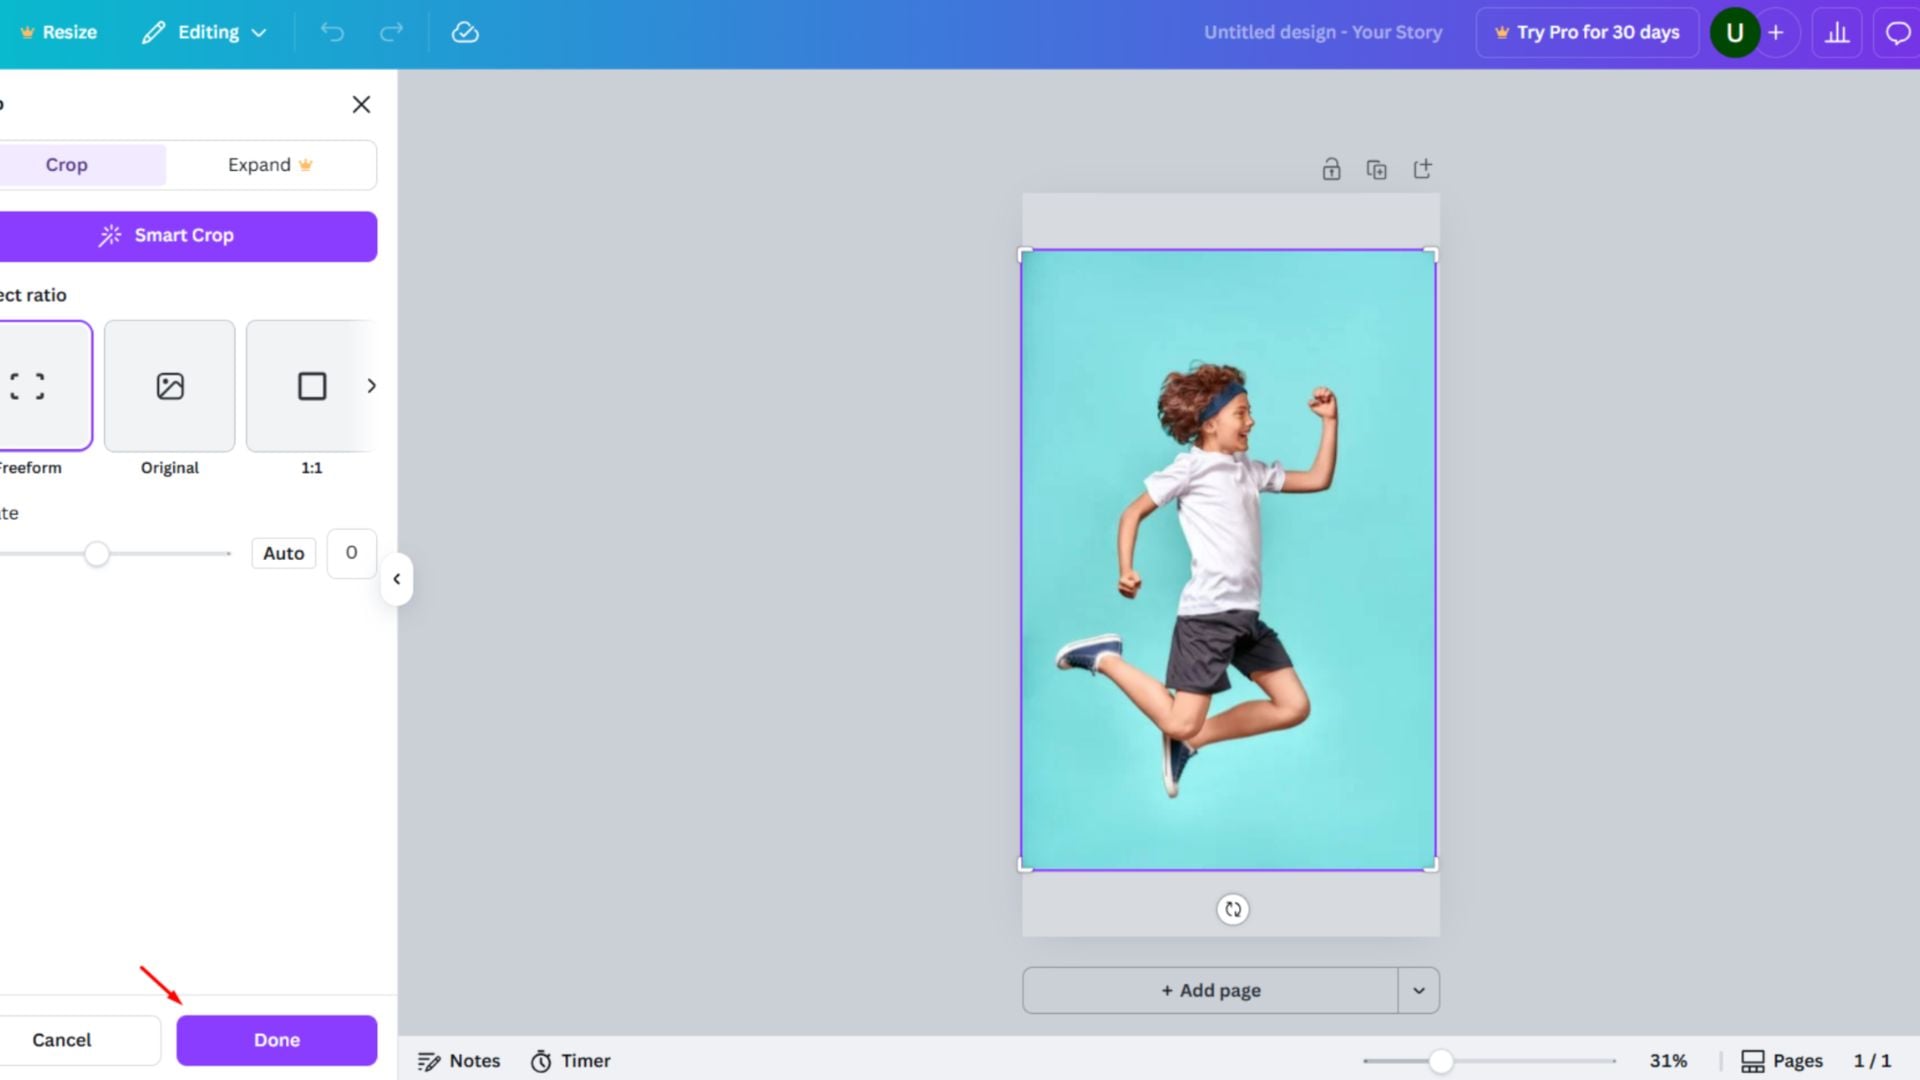
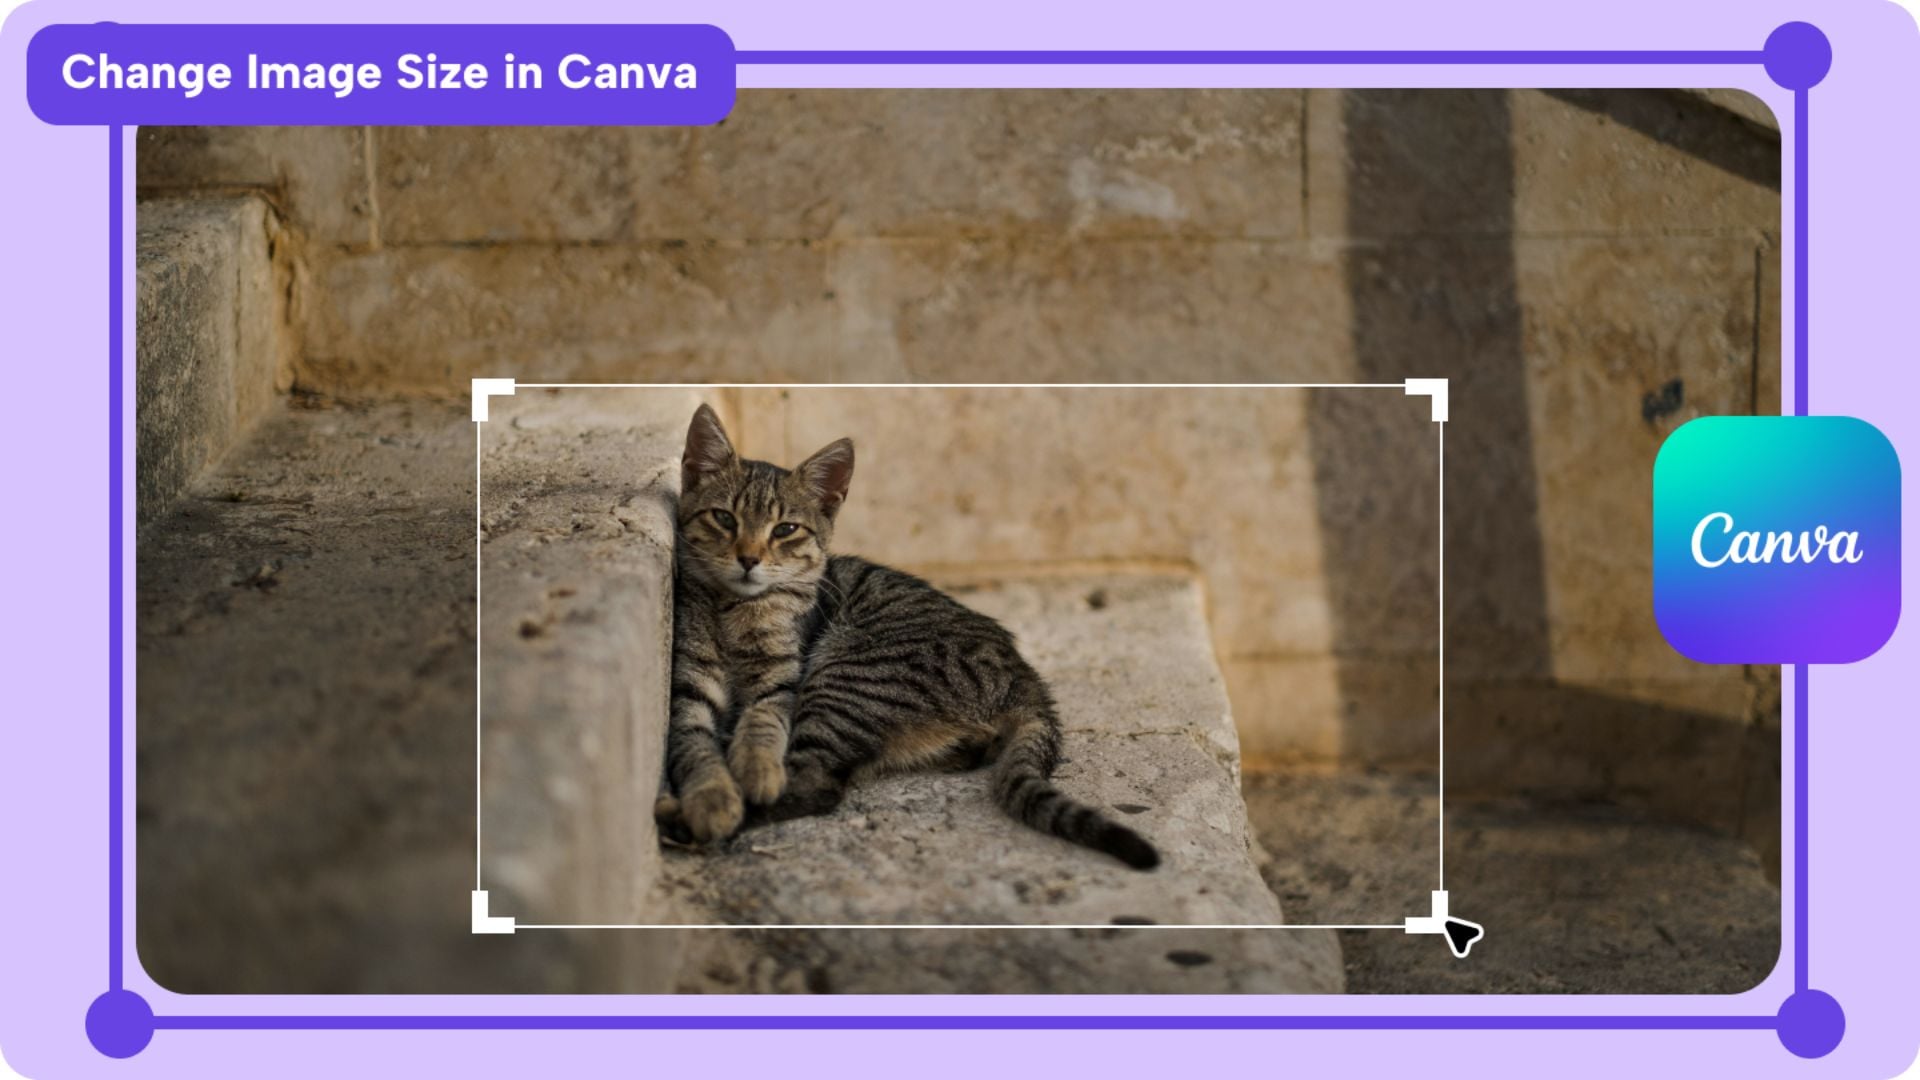
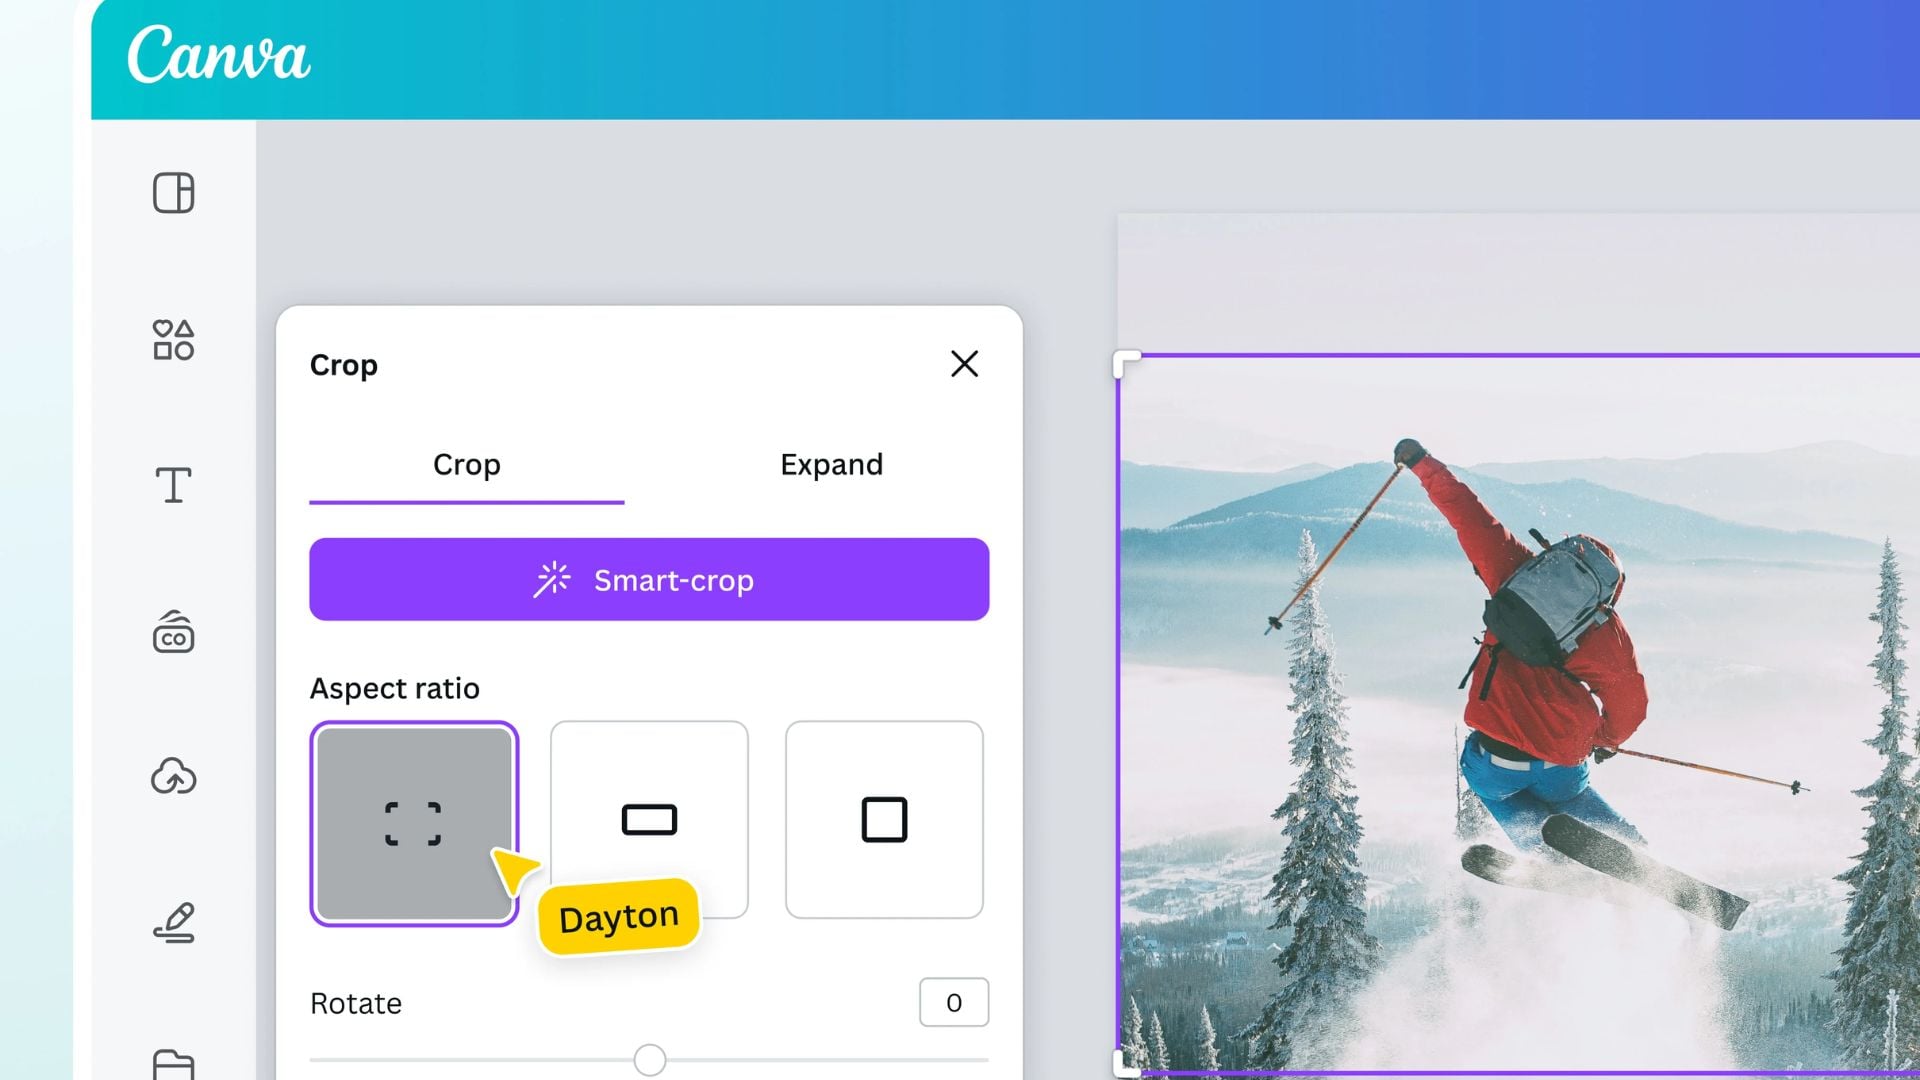
How to Crop Images in Canva
Cropping removes unwanted parts of your image. This differs from resizing because you’re changing what’s visible rather than the actual size.
Step 1: Open Crop Tool
Click on the image, then click the Crop button on the editor toolbar. Alternatively, double-click the element.
Step 2: Choose Aspect Ratio
Select a preset crop aspect ratio like square, portrait, or landscape photography format in the side panel.
Step 3: Adjust Crop Area
Click and drag the crop handles at the corners. Move them to frame the part of the image you want to keep.
Step 4: Apply
Click “Done” in the side panel or click outside the element to finish cropping.

Cropping Images Inside Frames
Step 1: Double-Click Image
Double-click directly on the photo inside the frame. This activates crop mode without affecting the frame structure.
Step 2: Adjust and Apply
Drag the image to reposition it within the frame. Click outside to save changes.
How to Resize Images in Canva on Mobile
The mobile app works similarly to the desktop version. Tap any element to select it. Touch controls replace mouse movements for resizing.
Mobile Quick Resize
Step 1: Select Element
Tap once on the image or element you want to resize. Corner handles appear around it.
Step 2: Pinch or Drag
Use two fingers to pinch inward (smaller) or pinch outward (larger). Alternatively, tap and hold any corner handle, then drag.
Step 3: Confirm
Tap anywhere outside the element to apply the resize.
Mobile Precise Resizing
Step 1: Access Position Tool
Tap the element, then tap the Position icon in the toolbar at the bottom.
Step 2: Enter Dimensions
In the Advanced section, tap the Width and Height fields. Type your pixel values using the keyboard.
Step 3: Apply
Tap outside the menu or tap the checkmark to apply your precise dimensions.
Tips for Quality Results
Always work with high-resolution source images. Enlarging a small image creates pixelation and blur. Start with files that exceed your final output size when possible.
Lock aspect ratios to prevent distortion. Stretched images look unprofessional. The Lock Aspect Ratio toggle helps maintain natural proportions.
Use the advanced resize options for critical projects. Manual dragging works for quick edits, but pixel-perfect measurements matter for print work and professional deliverables.
Troubleshooting Common Issues
Can’t select multiple elements? Make sure you’re dragging a selection frame around them rather than clicking individually. Hold Shift to add elements to your selection.
Aspect ratio won’t lock? Check that you’re in the Position panel under Advanced settings. The lock icon should appear between the width and height fields.
Videos showing error icons? The file may be too large or in an unsupported format. Try converting to MP4 and reducing the file size before uploading.
Working Within Size Limits
Canva enforces minimum and maximum dimensions. The smallest design measures 40 x 40 pixels. The largest reaches 8000 x 3125 pixels. These limits keep files manageable and ensure proper rendering.
If your desired dimensions exceed these limits, you can scale them proportionally. Enter your target size even if it turns red. Then lock the aspect ratio. Adjust one dimension to fit within the allowed range. The other dimension updates automatically, maintaining your original proportions.
For designs outside these limits, download your design as a PNG file. Use the scale option between 0.5 and 3.125 times the design size during download.
Best Practices for Different Projects
Social media posts need platform-specific dimensions. Instagram prefers squares or vertical rectangles. Facebook works best with horizontal images. Understanding these requirements before you start saves resizing time.
Print projects demand higher resolution. A web image at 72 DPI looks terrible on paper. Plan for at least 300 DPI for professional printing. This affects your starting size and scaling decisions.
Presentation slides have standardized ratios. Most projectors use 16:9 widescreen format. Creating at the right size prevents awkward black bars or stretched content.
Understanding exposure and composition principles when cropping matters. The technical ability to resize means nothing without good visual judgment about what to keep in frame.

Moving Forward with Confidence
Mastering how to resize images in Canva opens up creative possibilities. You can adapt one design for multiple platforms without starting from scratch. The tools work consistently whether you’re on a computer or mobile device.
Practice with different methods. Quick dragging works for casual projects. Advanced controls deliver professional results. Knowing when to use each approach makes you more efficient.
The resize function is more than a technical tool. It’s part of your creative workflow. Use it thoughtfully alongside composition principles and design fundamentals. Your resized images should look intentional, not just technically correct.

Darlene Lleno
Darlene Lleno brings a unique perspective to DIY Photography as someone who grew up surrounded by camera gear but chose words over lenses. With five years of writing experience, she specializes in photography content that’s both technically informed and genuinely passionate. Growing up with a photographer twin brother meant camera talk was everyday conversation in her household. While he mastered capturing moments, Darlene discovered she preferred being the subject and the storyteller behind the scenes. As a travel enthusiast and mother of two, she understands the importance of preserving life’s precious moments. When not exploring new destinations or writing for DIY Photography, you’ll find her reading or tending to her garden. Her approach to photography writing is refreshingly authentic, she may not be behind the camera, but she knows exactly what it takes to help others capture the shots that matter most.


Join the Discussion
DIYP Comment Policy
Be nice, be on-topic, no personal information or flames.