


Hot Pixels vs Dead Pixels: How to Fix Sensor Issues
Dec 18, 2025
Darlene Lleno
Darlene Lleno brings a unique perspective to DIY Photography as someone who grew up surrounded by camera gear but chose words over lenses. With five years of writing experience, she specializes in photography content that’s both technically informed and genuinely passionate. Growing up with a photographer twin brother meant camera talk was everyday conversation in her household. While he mastered capturing moments, Darlene discovered she preferred being the subject and the storyteller behind the scenes. As a travel enthusiast and mother of two, she understands the importance of preserving life’s precious moments. When not exploring new destinations or writing for DIY Photography, you’ll find her reading or tending to her garden. Her approach to photography writing is refreshingly authentic, she may not be behind the camera, but she knows exactly what it takes to help others capture the shots that matter most.
Share:
Hot pixels vs dead pixels create two distinct problems for your camera sensor. One comes from heat and disappears when things cool down. The other stays stuck in place forever.
Understanding the difference saves you time and frustration. You’ll know exactly how to fix each problem when it shows up.
What Are Hot Pixels
Hot pixels show up as bright spots in your photos. They glow red, green, or blue depending on which sensor element goes wrong. These spots happen when individual pixels generate too much electrical charge.
Heat causes the problem. Your sensor warms up during long exposures or when you shoot hundreds of frames quickly. The temperature rise makes certain pixels leak electrical current. That leak creates false brightness in your image.
You’ll see hot pixels most often when shooting at high ISO. They also appear during extended exposures lasting several seconds. The combination of high ISO and long shutter speeds makes them really obvious.
The good news? Hot pixels come and go. That annoying bright spot from yesterday might not show up today. Your sensor just needs to cool down between shooting sessions.
What Are Dead Pixels
Dead pixels appear as tiny black dots that never move. They show up in exactly the same spot in every single photo you take. These pixels stopped working completely.
A dead pixel can’t register light anymore. It stays dark whether you’re shooting portraits in bright sun or landscapes at sunset. The pixel just doesn’t respond.
Physical damage causes dead pixels. Some come from manufacturing defects. Others develop as your sensor ages over years of use. A few dead pixels on a modern sensor rarely affect your photos noticeably.
Dead pixels stick around permanently. Cooling your camera won’t fix them. Changing your camera settings won’t help either. You need different solutions for permanent defects.
Understanding Stuck Pixels
Stuck pixels differ from both hot and dead pixels. These stay bright at one color constantly. You might see a pixel that glows pure red or bright green in every image.
Like dead pixels, stuck pixels never change position. Unlike dead pixels, they stay lit instead of staying dark. The pixel receives power but can’t change its state anymore.
You can’t fix stuck pixels by adjusting settings or letting your camera rest. They need software correction or professional repair to address. Most photographers handle them the same way as dead pixels.
Key Differences Between Hot Pixels and Dead Pixels
The main difference comes down to permanence. Hot pixels disappear when conditions change. Dead pixels stay put no matter what you do.
Appearance Patterns
Hot pixels create colored spots that vary in brightness. The intensity changes based on sensor temperature and exposure settings. Shoot cooler and they fade. Shoot hotter and they multiply.
Dead pixels produce solid black dots every single time. They look identical whether you shoot fast snapshots or 30-second exposures. Temperature doesn’t affect them at all.
Root Causes
Hot pixels stem from electrical issues triggered by heat. Your sensor’s photodiodes leak current when temperatures climb. This creates false signals that show up as bright spots.
Dead pixels come from actual physical damage. The photodiode broke and can’t convert light to electrical signals anymore. It stays dark because it stopped functioning entirely.
When They Show Up
Hot pixels appear mainly during specific shooting conditions. Long exposure photography makes them obvious. High ISO settings reveal them too. Warm weather increases how often you’ll see them.
Dead pixels show up everywhere. Quick snapshots and extended exposures both display them. Your ISO settings and shooting environment make no difference.
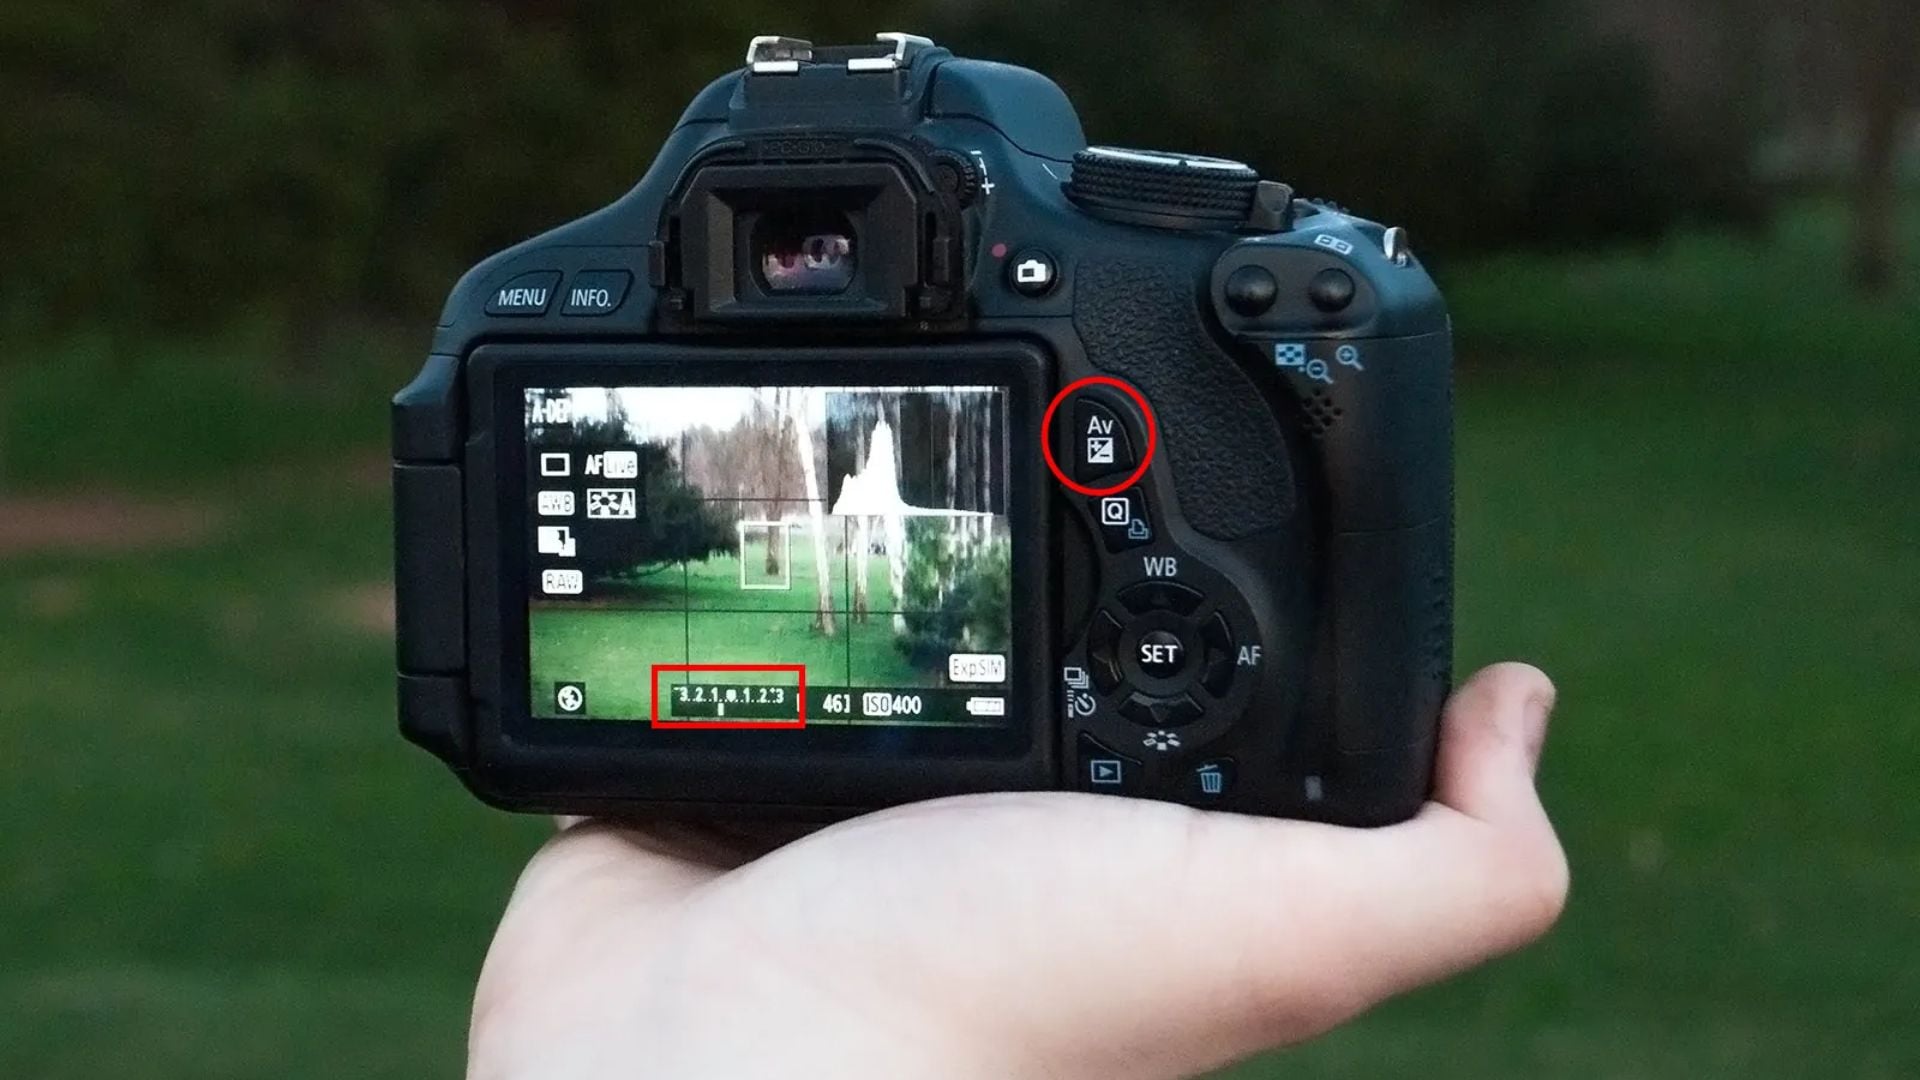
How to Spot Pixel Problems
Testing for pixel issues takes just a few minutes. Put your lens cap on and set your camera to manual mode.
Here’s the simple test process:
- Set your ISO to 3200 or higher
- Choose a 30-second shutter speed
- Take several shots with the lens cap on
- Review images at 100% zoom on your computer
Bright colored spots mean hot pixels. Solid black dots indicate dead pixels. Bright spots in the exact same location across multiple shots signal stuck pixels.
Let your camera cool for 30 minutes and repeat the test. Hot pixels should decrease or vanish. Dead and stuck pixels stay exactly where they were.
Fixing Hot Pixels
Turn on long exposure noise reduction in your menu. Your camera captures a dark frame after each long exposure. It then subtracts that dark frame from your image automatically.
This method works great but doubles your shooting time. A 30-second exposure needs another 30 seconds for processing. Plan ahead when shooting night photography or astrophotography.
Give your camera regular breaks. Turn it off for 10 to 15 minutes between sessions. The sensor cools down and hot pixels decrease dramatically.
Avoid rapid-fire shooting in hot weather. Space out your shots when possible. The sensor needs time to dissipate heat between frames.

Editing Software Fixes
Lightroom and Photoshop both handle hot pixels easily. Use the spot removal tool to click on bright spots. The software samples nearby pixels and fills the area naturally.
Noise reduction adjustments work on the entire image at once. Luminance noise reduction targets brightness issues. Color noise reduction handles the weird colors hot pixels create.
Dedicated programs like Topaz DeNoise AI work even better. They distinguish hot pixels from real image detail. Your photos stay sharp while noise disappears.
Prevention Tips
Shoot during cooler parts of the day when possible. Early morning and evening produce fewer hot pixels than midday heat. Your sensor stays cooler in moderate temperatures.
Keep your ISO below 800 for minimal hot pixel problems. Hot pixels increase dramatically above ISO 1600 on most cameras. Use lower settings whenever light allows.
Consider shooting multiple shorter exposures instead of one long one. Stack them together in post-processing. This works great for low-light photography and reduces hot pixel formation.
Fixing Dead Pixels
Most modern cameras include pixel mapping functions. This scans your sensor and creates a map of problem pixels. The camera then uses nearby pixel data to fill dead spots.
Finding pixel mapping varies by brand. Nikon calls it sensor cleaning. Canon names it manual sensor cleaning. Check your manual for exact menu location.
Run pixel mapping on your new camera right away. Repeat the process every few months or after suspected damage. The procedure takes minutes and eliminates many visible dead pixels.
Software Correction Methods
RAW processing software fixes dead pixels automatically most of the time. Programs like Capture One and Lightroom detect them during conversion. They interpolate values from surrounding pixels invisibly.
Some dead pixels survive automatic processing. Use the spot removal tool to paint over them manually. Clone nearby pixels to fill dead areas naturally.
Professional Repair
Severe dead pixel problems might need professional help. Camera manufacturers offer sensor replacement services. Third-party shops handle sensor work too.
Sensor cleaning costs $100 to $300 depending on your model. Complete replacement runs $500 to $1000 or more. Compare repair costs to your camera’s current value.
A few dead pixels rarely justify expensive repairs. Most photographers manage minor issues through software correction.
Prevention and Maintenance
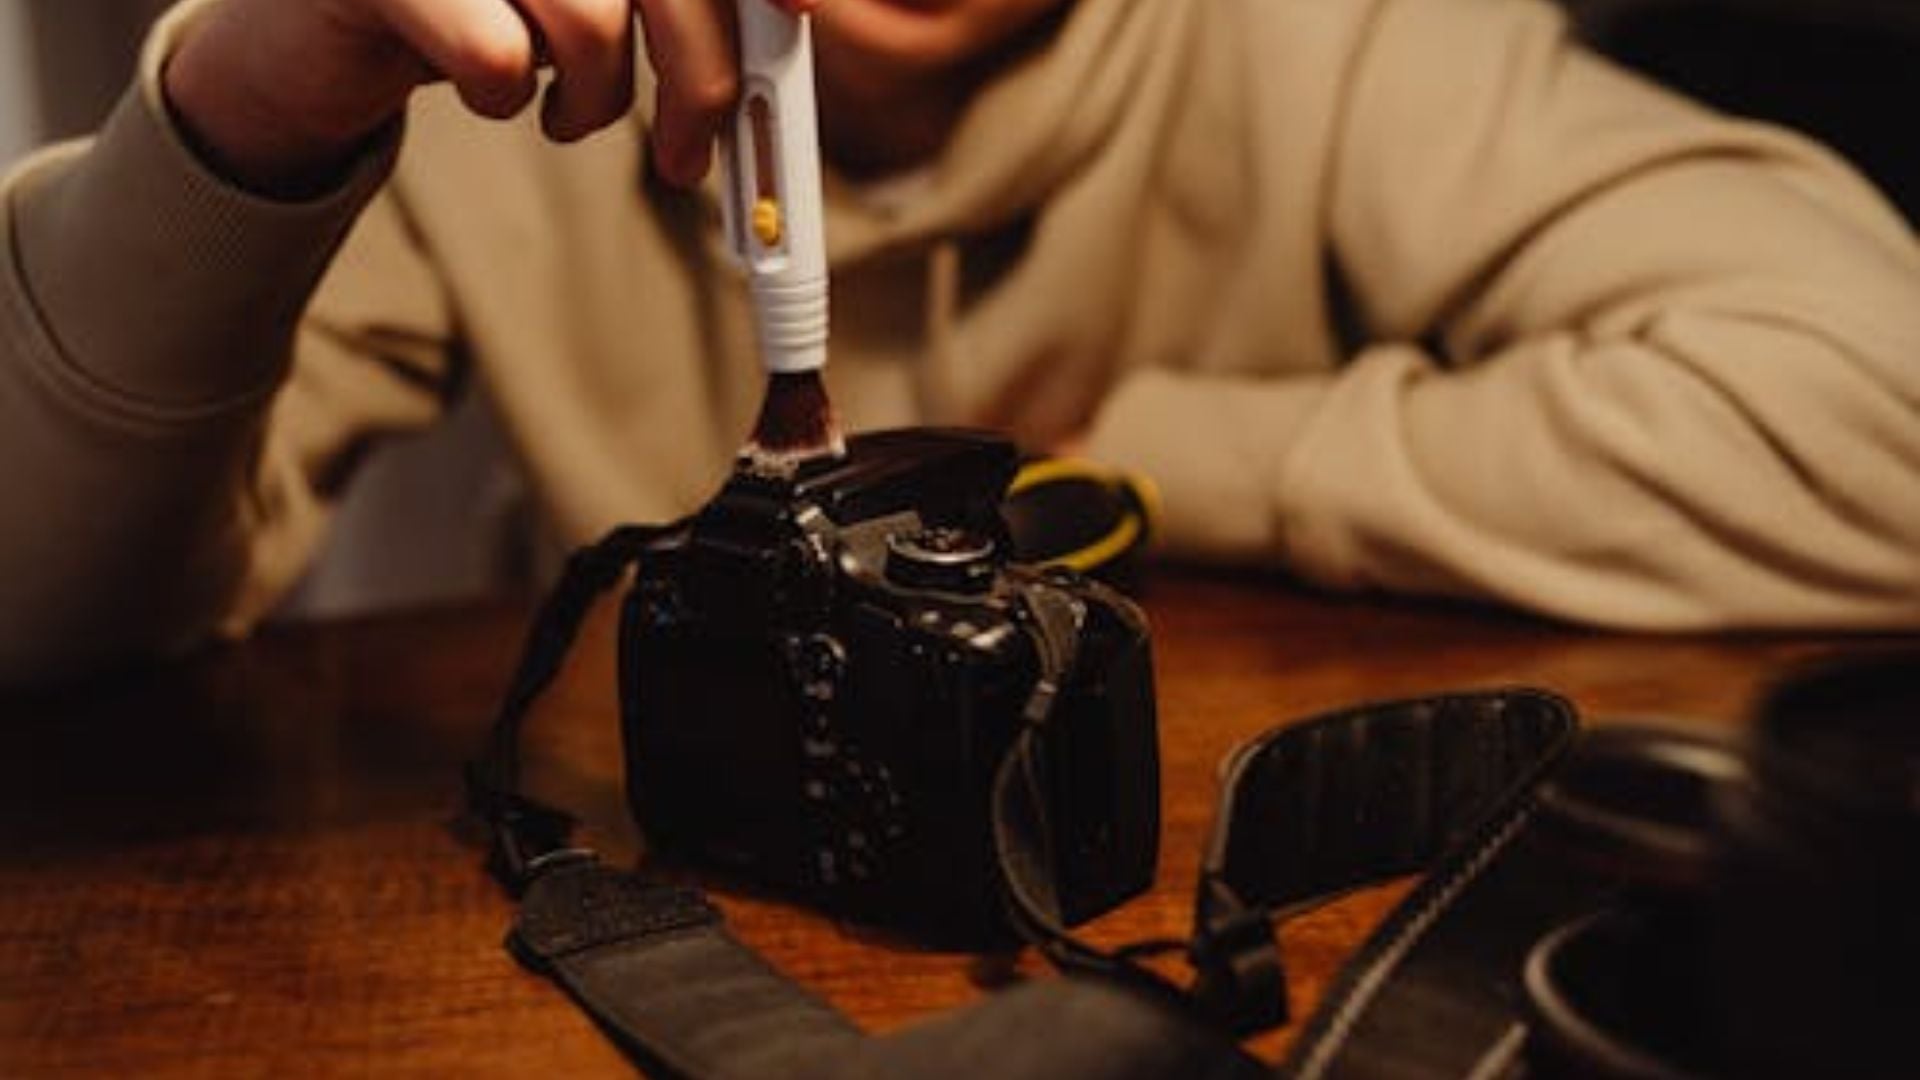
Keep your sensor clean to avoid additional problems. Dust spots can hide dead pixels or confuse troubleshooting. Regular sensor cleaning maintains image quality overall.
Avoid extreme temperature swings with your camera. Don’t move from air conditioning into hot sun immediately. Give it adjustment time. Rapid changes stress electronic components.
Store your camera at moderate temperatures. Extreme heat damages sensors and increases dead pixel formation. Keep cameras out of hot cars and direct sunlight.
Use quality memory cards and don’t interrupt writes. File corruption won’t cause pixel problems directly. But it creates artifacts that look similar to sensor issues.
When to Worry About Pixel Issues
A few hot pixels during long exposures are completely normal. Don’t stress unless you see dozens in typical shooting. Most hot pixel issues resolve through cooling or noise reduction.
Several clustered dead pixels deserve attention. One dead pixel rarely shows up noticeably. Five or more in one area create visible defects worth addressing.
Rapidly increasing dead pixels signal potential sensor trouble. A sensor gaining multiple new dead pixels monthly needs evaluation. This pattern suggests underlying damage or defects.

Hot pixels in normal exposures at low ISO indicate problems. These should only appear during long exposures or high ISO work. Hot pixels in everyday shots suggest electronic issues needing repair.
According to Cambridge in Colour’s sensor guide, all digital sensors have some imperfect pixels. Manufacturers allow certain dead pixels within quality standards. This explains why new cameras sometimes ship with a few.
Real-World Impact
Hot pixels rarely affect normal photography much. Daylight shooting at reasonable ISOs produces clean images. The problems mainly hit specialized photography types.
Astrophotography suffers most from hot pixels. Long exposures at high ISOs create perfect conditions. Dark skies make every bright spot visible.
Night photography and light painting also show problems clearly. Extended exposures in darkness reveal sensor noise. That same noise disappears in brighter scenes.
Dead pixels affect all photography types equally. Their small size means they rarely appear obviously though. Exceptions come in smooth areas like clear skies or studio backgrounds.
Camera Differences and Sensor Health
Different sensors show varying pixel problem rates. Larger sensors with bigger pixels typically have fewer hot pixel issues. Bigger photodiodes generate less heat per pixel.
Older camera models develop more pixel problems over time. Sensor technology improves with each generation. Newer cameras handle heat better with more robust components.
High megapixel cameras pack more pixels into the same area. This density can increase hot pixels. Less space exists for heat dissipation between pixels.
Mirrorless cameras sometimes show more hot pixels than DSLRs. The electronic viewfinder keeps sensors active continuously. Constant operation generates more heat than occasional sensor use.
Track your sensor health over time with regular testing. Test every few months and document which pixels show problems. This reveals whether issues are increasing or staying stable.
For professional sensor evaluation, B&H offers sensor cleaning services with detailed analysis. They detect problems invisible to normal testing methods.
Advanced Fixes for Serious Issues
Multiple dark frame averaging reduces hot pixels better than single frames. Capture several dark frames and average them together. This cancels random noise while preserving hot pixel patterns.
Flat field calibration helps with both pixel types in astrophotography. This advanced technique captures reference frames showing sensor irregularities. These frames correct imperfections during processing.
Custom correction matrices work for permanent pixel problems. Advanced users create correction files that fix known pixels during conversion. This requires technical knowledge but provides seamless correction.
Professional software like PixInsight includes advanced sensor analysis tools. These create detailed maps showing every problematic pixel on your sensor.
Understanding Your Sensor’s Limits
Every digital sensor has some imperfect pixels at manufacture. Camera makers build this into their quality standards. Professional cameras have stricter standards than consumer models.
High resolution sensors naturally contain more total pixels. They may have more dead pixels while still meeting standards. The percentage of bad pixels matters more than absolute numbers.
Sensor age affects pixel problems gradually. Older sensors develop more dead pixels over time. Hot pixels may increase as electronics degrade. This slow degradation is normal and expected.
Heat generation during operation is unavoidable. Better cooling and efficient electronics reduce hot pixels. But no camera eliminates them completely under all conditions.
Practical Shooting Strategies
Your shooting style affects how much pixel problems matter. Wildlife and sports photographers rarely notice a few dead pixels. Action shots and varied scenes hide minor defects easily.
Studio photographers see pixel problems more clearly. Solid backgrounds and controlled lighting reveal every sensor imperfection. Commercial work often requires perfect sensors.
Landscape photographers fall somewhere in between. Detailed scenes hide minor problems. But clear skies and smooth water show every defect.
Know your sensor’s weaknesses and work around them. Avoid problematic settings when clean output matters most. Save challenging conditions for less critical work.
Testing Different Scenarios
Test your sensor under various conditions. Shoot at different ISOs from 100 to your maximum. Try exposures from 1 second to 30 seconds. Document what you find.
Note when hot pixels appear most frequently. Some cameras show problems only above ISO 3200. Others develop issues at lower settings. Understanding your camera’s threshold helps planning.

Check how ambient temperature affects your results. Shoot the same test indoors and outdoors on hot days. Compare results to identify temperature-related patterns.
Record your findings for future reference. Note the date, conditions, and results. This documentation helps track sensor health over years.
Understanding Your Sensor Better
Hot pixels vs dead pixels need different approaches to fix. Hot pixels come from heat and vanish when cooling happens. Dead pixels result from permanent damage and stay put forever.
Most photographers face minor pixel issues that don’t significantly impact work. Simple solutions handle the majority of problems effectively. In-camera noise reduction works for hot pixels. Software correction manages dead pixels.
Understanding these sensor issues helps you shoot confidently. You’ll know exactly what to do when pixel problems appear. Keep your expectations realistic and your sensor maintained well.

Darlene Lleno
Darlene Lleno brings a unique perspective to DIY Photography as someone who grew up surrounded by camera gear but chose words over lenses. With five years of writing experience, she specializes in photography content that’s both technically informed and genuinely passionate. Growing up with a photographer twin brother meant camera talk was everyday conversation in her household. While he mastered capturing moments, Darlene discovered she preferred being the subject and the storyteller behind the scenes. As a travel enthusiast and mother of two, she understands the importance of preserving life’s precious moments. When not exploring new destinations or writing for DIY Photography, you’ll find her reading or tending to her garden. Her approach to photography writing is refreshingly authentic, she may not be behind the camera, but she knows exactly what it takes to help others capture the shots that matter most.
Related Posts
 The first Sony A7III firmware arrives to fix “blinking pixels” in video and prevent touchscreen death
 Nikon issues recall for some Z6 & Z7 mirrorless cameras over VR issues
 Samsung’s new 50-megapixel JN1 sensor has the smallest pixels in the world
Join the Discussion
DIYP Comment Policy
Be nice, be on-topic, no personal information or flames.