


Portrait Photography Basics: Camera Settings & Lenses
Oct 7, 2025
Alysa Gavilan
Alysa Gavilan has spent years exploring photography through photojournalism and street scenes. She enjoys working with both film and mirrorless cameras, and her fascination with the craft has grown over the decades. Inspired by Vivian Maier, she is drawn to capturing everyday moments that often go unnoticed.
Share:

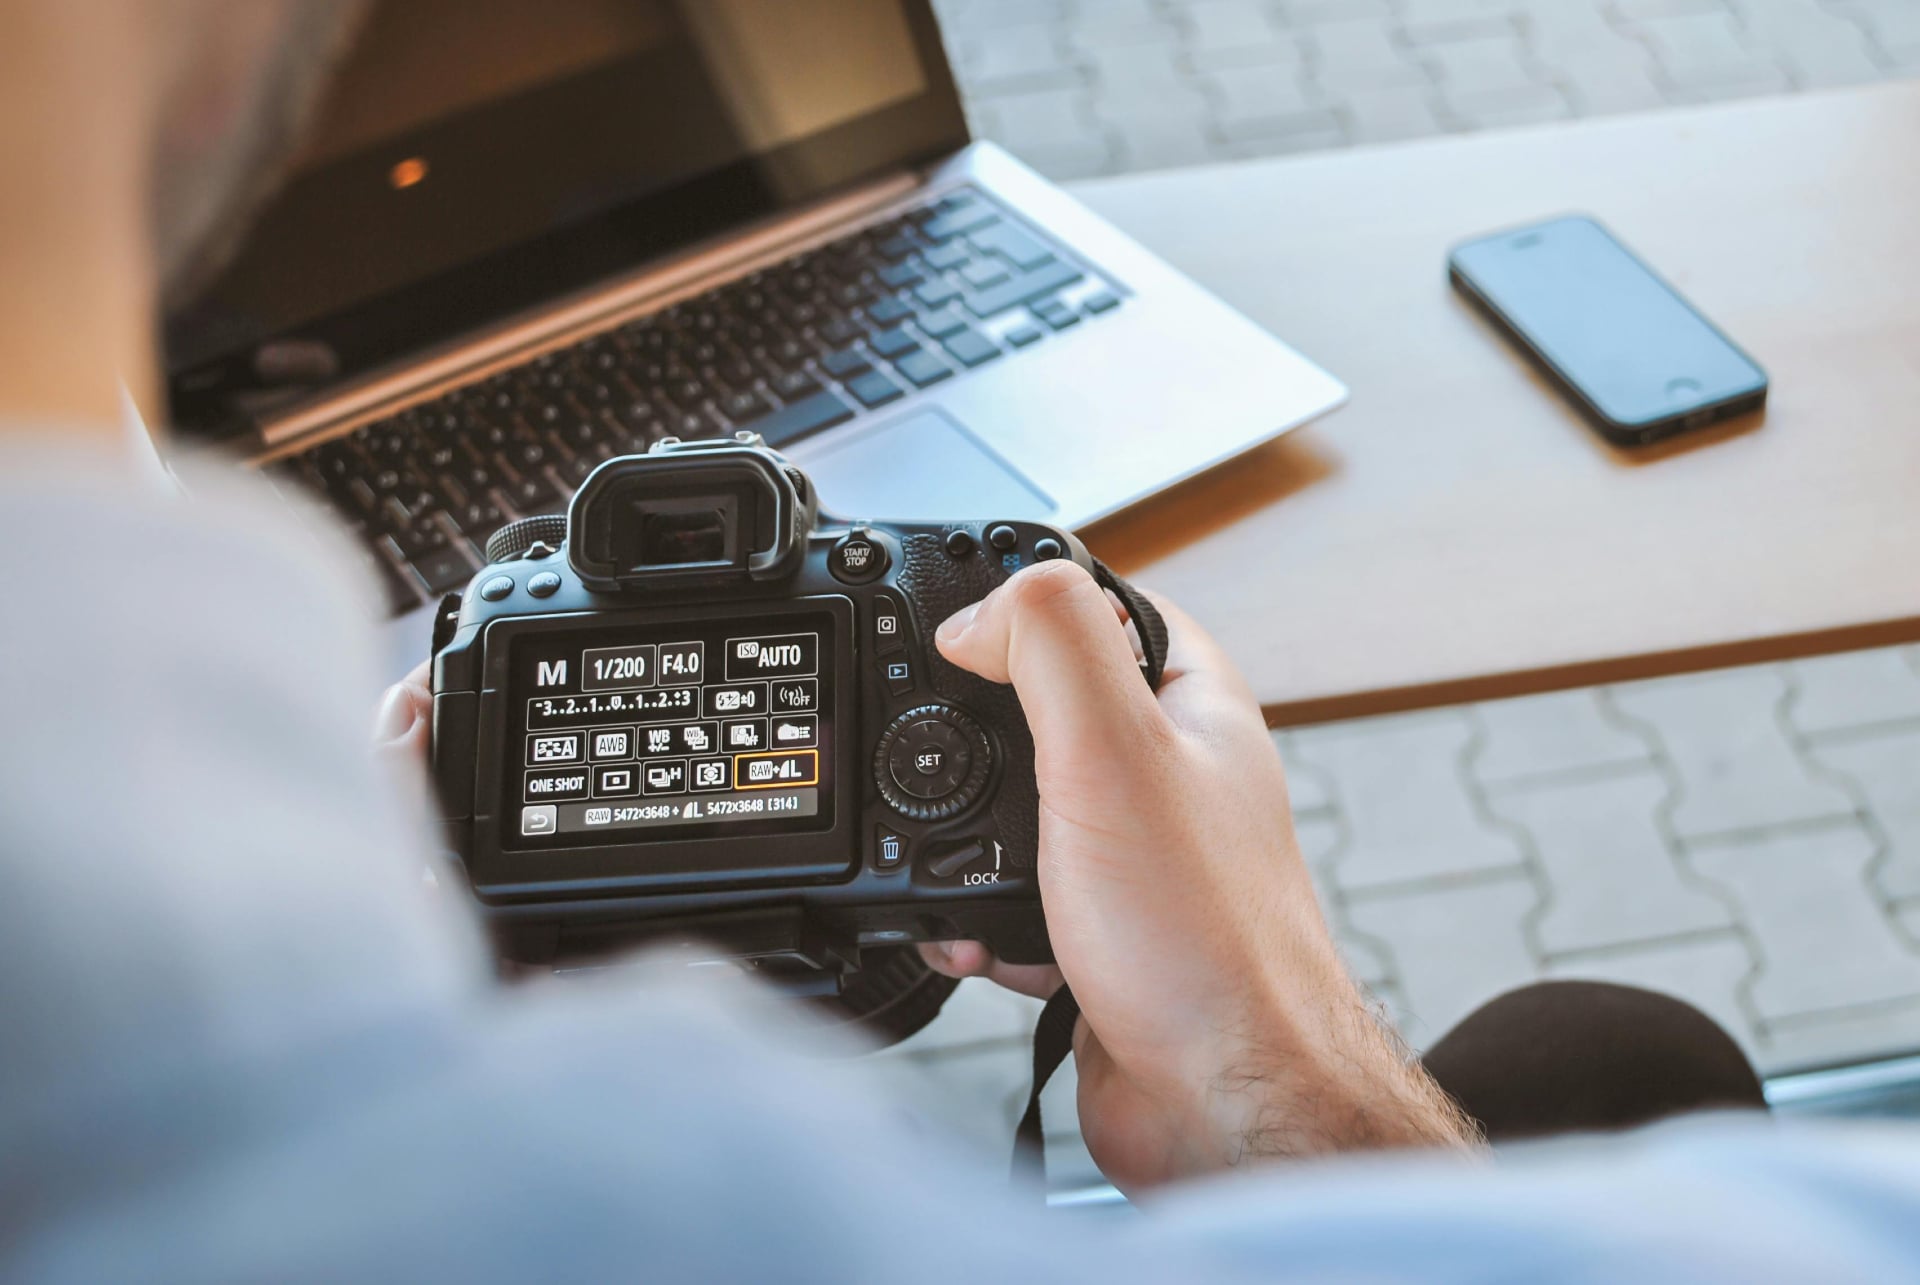
Portrait photography goes beyond capturing a face. It tells a story, reveals personality, and uses technique to bring out the essence of the subject. For beginners, though, figuring out which settings to use can feel overwhelming. Aperture, shutter speed, ISO, and focal length are variables that depend on the light and the lens you’ve chosen.
One key thing to remember is that portrait photography settings always depend on context. For example, shooting portraits with only natural or ambient light requires different decisions compared to working with flash or studio lighting. Similarly, two lenses set to the same aperture won’t necessarily give the same look: a 200mm lens at f/4 isolates your subject more strongly than a 70mm lens at f/4 because focal length also influences depth of field.
This guide walks you through portrait photography settings and lens choices for portraits. At the end, you’ll also find practical “recipe” settings for common portrait scenarios you can try immediately.

Choosing the Right Lens for Portrait Photography
The lens you choose shapes the entire feel of your portrait. It doesn’t just dictate how much of the scene fits in the frame, but also how much of it will be in focus, how the background looks, and how your subject’s features are rendered.
Prime Lenses Offer Clarity and Background Separation
Prime lenses like a 50mm f/1.8 or 85mm f/1.4 are portrait staples, offering wide apertures that bring in more light and create beautiful background blur. Very fast lenses down to f/1.2 or f/1.4 are the gold standard, but even an f/1.8 can deliver excellent results across a wide range of settings.
With primes, you get crisp detail in the eyes while the background melts away. And because they’re fixed focal lengths, primes also push you to move around and think carefully about composition, often leading to stronger results.
Zoom Lenses Provide Flexibility Without Constant Lens Changes
Zooms, such as a 24–70mm f/2.8 or 70–200mm f/2.8, are practical for dynamic situations like events or weddings where your subject may move or where you don’t have much space.
While they usually don’t open as wide as primes, they give you the ability to quickly change framing. A zoom also lets you experiment with perspective. For example, at the 70mm end, you’ll capture more of the environment. Meanwhile, if you use 200mm, you’ll compress the background and achieve dramatic subject separation even at narrower apertures like f/4.

Focal Length Affects Depth of Field and Subject Perception
It’s not just aperture that controls depth of field. Focal length plays a big role, too. For example, a portrait shot at 200mm and f/4 will have far less in focus than the same scene shot at 70mm and f/4.
Longer focal lengths create a shallower focus and more background compression, giving portraits a flattering, professional look. Wider focal lengths, like 35mm or 24mm, exaggerate perspective and can distort facial features up close, but they’re ideal for environmental portraits that tell a story and reveal more about the subject’s life.
Portrait Photography Settings for Natural and Ambient Light Portraits
When working with natural light, your settings revolve around balancing exposure while taking advantage of the quality of available light.
Wide Apertures Create Soft, Dreamy Portraits Outdoors
A wide aperture like f/1.8 or f/2.0 can be great when shooting with natural light, keeping your subject sharp while blurring a busy background. Just be careful not to go too wide since many portrait photographers prefer stopping down to around f/2.8 to avoid having only a sliver of the face, like a single eyelash, in focus.
Shutter Speed Freezes Motion and Avoids Camera Shake
Natural light portraits often involve handheld shooting, so keeping shutter speed fast enough is crucial. As a rule of thumb, your shutter speed should match or exceed your focal length. For example, at least 1/100 with a 50mm lens. The older standard was double the focal length, but with today’s in-body and lens stabilization, you can often shoot several stops slower without blur.
If you’re using 85mm, aim for 1/100s or faster; at 200mm, 1/200s or faster. Increase shutter speed to 1/250 or 1/500 to freeze subtle movements if your subject is moving or you’re capturing candid expressions.
ISO Adapts to Changing Light Conditions
Natural light is inconsistent. Shooting under the sun at noon requires very different settings than photographing at sunset or indoors by a window. Keep ISO as low as possible, say 100 or 200, to maintain image quality. Though don’t be afraid to raise it to 640 or higher in window light, where it can still produce a clean result!
Raise ISO gradually if light drops to balance the trade-off between noise and sharpness. Modern cameras can handle ISO 1600 or higher, so don’t be afraid to push it if needed, especially if you’re already wide open on aperture and don’t want to sacrifice shutter speed.
Portrait Photography Settings With Flash
Flash, whether on-camera or off-camera, adds an entirely new layer of control. Because the flash provides its own burst of light, your settings determine both how the subject is lit and how much of the ambient environment is visible.
Aperture Controls Flash Exposure and Depth of Field
Unlike natural light, where aperture mainly affects depth of field, in flash photography it also dictates how much flash light reaches the subject.
A wider aperture means more flash exposure and brighter subjects, while a narrower aperture reduces flash effect. For single-person portraits, settings between f/2.8 and f/8 often strike the right balance, keeping the subject sharp while still allowing flattering depth of field.
Shutter Speed Balances Flash and Ambient Light
Shutter speed doesn’t affect flash exposure directly, but it controls how much ambient light appears in the image.
At the maximum sync speed (often around 1/200 or 1/250), the flash dominates, and the background can fall darker. Slowing down the shutter speed allows more ambient light into the frame, balancing the subject with the environment for a more natural look.
This technique is often used in outdoor portraits where you want to expose for the background while still lighting the subject with flash.
ISO Fine-Tunes Overall Brightness
ISO in flash photography works as an adjustment tool. Raising ISO makes both flash and ambient light appear brighter, while lowering it darkens both.
A common approach is to set ISO low (around 100 or 200) to maximize image quality, then adjust flash power and aperture for the subject.
If you need more ambient background light, a small ISO bump can help without forcing major changes to flash settings.

Working With Light: Natural vs. Flash
Light is everything in portrait photography, and how you use it depends on your setup.
Shaping Natural Light for Portraits
Window light, overcast skies, or golden hour sun are some of the best sources of flattering natural light.
Positioning your subject relative to the light source changes the mood dramatically. For example, side lighting adds depth and drama, backlighting creates a halo effect, and front lighting produces even, clean portraits.
The challenge with natural light is consistency, so you often need to adapt settings quickly as conditions shift.
Flash Gives You Control and Consistency
Flash allows you to sculpt light precisely, regardless of time of day or weather.
A single off-camera flash with a softbox can mimic natural window light indoors, while multiple lights can create dramatic studio effects.
Flash also ensures consistency across a series of portraits. Every shot can have the same exposure and quality of light, which is useful for professional work. Doing so, however, requires practice to balance flash with ambient light so that images don’t look artificial or overly harsh.

White Balance and Skin Tones
Getting color right is critical in portraits, since unnatural skin tones can ruin the mood of a photo.
Custom White Balance Keeps Colors True to Life
Auto white balance often struggles with mixed lighting or unusual color temperatures. Setting a custom white balance using a gray card ensures natural, accurate skin tones.
For portraits, this is especially important because viewers immediately notice when skin looks too orange, too blue, or washed out.
Warm Tones Often Make Portraits More Inviting
Even with accurate white balance, many photographers choose to warm images slightly, either in-camera or during editing.
A touch of warmth enhances skin tones, adds vibrancy, and makes portraits feel more welcoming and emotive.

Practical Portrait Photography Settings for Common Scenarios
Every shooting situation is different, so you can’t rely on fixed “recipes.” It helps, however, to have starting points you can test and adjust.
Understanding the exposure triangle, including how aperture, shutter speed, and ISO work together, gives you the tools to adapt to any lighting scenario. See our full guide on the exposure triangle to know more.
Outdoor Golden Hour Portrait with Natural Light
Set your aperture between f/1.8 and f/2.8 to create a dreamy background blur while keeping your subject’s face sharp. Use a shutter speed of 1/200 or faster to prevent blur from small movements, and start with ISO 100 for clean images.
If the light is fading quickly, increase ISO to 400 or 800 to maintain exposure. Golden hour light is warm, so setting white balance to “daylight” usually preserves the natural tones.
Indoor Window Light Portrait Without Flash
Start with an aperture of f/2.0 to f/2.8 to let in as much light as possible while maintaining sharpness.
Because indoors is usually darker, use a shutter speed around 1/125, raising ISO to 800 or 1600 if needed.
Position your subject at an angle to the window to create soft side lighting and depth. If you’re shooting RAW, daylight or flash white balance usually works well, though you can fine-tune it manually to warm the tones slightly if needed.
Studio or Off-Camera Flash Headshot
Set ISO to 100 for maximum image quality for controlled flash portraits. Aperture between f/5.6 and f/8 keeps the entire face sharp while still separating the subject from the background.
Shutter speed at your camera’s sync speed, usually 1/200 or 1/250, ensures proper flash exposure without motion blur. White balance can be set to “flash” or custom-calibrated with a gray card for accurate skin tones. Adjust flash power or distance to fine-tune brightness.

Common Portrait Photography Settings Mistakes Beginners Make
Some pitfalls can trip up beginners, no matter how carefully you study settings. Knowing what to avoid will help you improve much faster.
Shooting Too Wide with the Wrong Lens
Beginners sometimes shoot portraits at 24mm or 28mm while standing too close to their subject. This exaggerates features, including making noses look bigger, heads distorted, and proportions feel unnatural.
If you want to use wide lenses, step back and include more of the environment so the distortion feels intentional rather than unflattering.
Forgetting About Flash Sync Speed
If you’re using flash and push your shutter speed beyond the camera’s sync speed (usually 1/200 or 1/250), you’ll end up with a dark black band across the frame where the shutter curtain blocks the flash.
Always double-check your sync speed and stay within its limit unless you’re using high-speed sync.
Relying Only on Auto White Balance
While modern cameras are good at guessing white balance, mixed lighting or strong color casts can throw it off. Relying only on auto mode may give you inconsistent skin tones across a series of portraits.
Learning to set custom white balance, or at least fixing it in editing, is a small step that makes a big difference.
Ignoring Background Distractions
The background matters as much as the subject when it comes to portrait photography.
Beginners often focus on the person and forget that poles, signs, or bright spots behind them can ruin the image. Using a wider aperture helps blur distractions, but it’s equally important to move your subject or adjust your angle to keep the frame clean.

Putting It All Together
Portrait photography is often also about how all the choices you make interact with one another.
For example, the aperture you set affects not only depth of field but also how much light reaches the sensor, which then influences your ISO and shutter speed. Your choice of lens determines how compressed or expansive the scene feels, and whether the background melts into soft blur or stays detailed.
Bringing all these elements together in a consistent way is what transforms snapshots into professional portraits.
Balancing Exposure Settings Is about Trade-Offs
Every exposure decision in portrait photography is a balancing act. A wide aperture like f/1.8 creates dreamy background blur, but it also requires careful focusing because the depth of field is razor-thin.
Choosing a slower shutter speed allows in more light, but risks subject movement or camera shake. Raising the ISO brightens the image but can add noise that softens details.
There’s no single correct combination. Instead, it’s about understanding which trade-off serves your artistic goal best in the moment.
For example, if you want to freeze a child’s laughter outdoors, you might prioritize a fast shutter speed, even if it means raising ISO slightly. In a studio with strobes, you could keep ISO low and shutter speed at sync speed, letting aperture control depth of field.
There’s no shame, however, in using semi-automatic modes like Canon’s TV or AV, or their equivalents on Nikon and Sony, which give you control over one setting while the camera handles the rest.
Light Determines How Your Choices Come Together
No matter how much you fine-tune your portrait photography settings, the output depend on light to succeed.
In natural light, your exposure triangle must adapt to the constantly shifting brightness of the environment. A cloudy afternoon may allow for softer, more forgiving exposures, while bright midday sun requires smaller apertures or faster shutter speeds to avoid harsh highlights.
In artificial light, you gain more consistency but must balance flash power, modifiers, and distance with your chosen portrait photography settings.
This is why many portrait photographers develop two mental workflows so they can seamlessly adjust their technical approach depending on the conditions. These include one for working outdoors in changing light and another for controlled studio setups.
Lens Choice Shapes Not Just Sharpness But Also Perspective
The lens you choose for a portrait shapes how your subject is perceived.
A 50mm lens offers a natural look with balanced proportions, but step up to 85mm or 105mm and you’ll notice faces appearing more flattering due to compression. Push further into the 200mm range, and the background seems to melt away entirely, isolating your subject in a sea of blur.
On the other hand, shooting at wider focal lengths like 35mm includes more environment, useful for environmental portraits but requiring caution to avoid distortion of facial features.
Understanding how focal length changes not only the technical rendering but also the emotional feel of the portrait allows you to make more intentional creative decisions.
Consistency Comes From Practice and Repetition
The more you practice, the more second nature these decisions become.
Beginners often juggle settings one at a time, like changing aperture without noticing how it affects shutter speed, or swapping lenses without anticipating how it changes depth of field.
With practice, these adjustments become intuitive. You’ll begin to “see” light differently, anticipate how much blur a certain lens will give you at a certain distance, and instinctively know how far you can push ISO before noise becomes an issue on your camera.
Consistency comes not from memorizing a perfect formula but from repeated experimentation until the relationships between portrait photography settings, lenses, and light feel natural.
Creativity Emerges Once the Technical Fades into the Background
Ultimately, the technical mastery of portrait photography is only a foundation. Once you’re comfortable juggling exposure, focus, lens choice, and lighting, you free up mental space to focus on your subject.
Great portraits, after all, are about human connection. A technically perfect but emotionally empty portrait is quickly forgotten. The true magic happens when technical choices serve the creative vision, like when shallow depth of field enhances intimacy, when warm white balance makes a moment feel tender, or when dramatic lighting intensifies emotion.
Putting it all together means using it seamlessly in the service of storytelling.

Alysa Gavilan
Alysa Gavilan has spent years exploring photography through photojournalism and street scenes. She enjoys working with both film and mirrorless cameras, and her fascination with the craft has grown over the decades. Inspired by Vivian Maier, she is drawn to capturing everyday moments that often go unnoticed.


Join the Discussion
DIYP Comment Policy
Be nice, be on-topic, no personal information or flames.