


A Newbie’s Guide to Editing Concert Photos
Aug 30, 2025
Dunja Đuđić
Dunja Djudjic is a multi-talented artist based in Novi Sad, Serbia. With 15 years of experience as a photographer, she specializes in capturing the beauty of nature, travel, concerts, and fine art. In addition to her photography, Dunja also expresses her creativity through writing, embroidery, and jewelry making.
Share:

Editing concert photos is one of the crucial steps in music photography. After mastering your timing and composition and getting the right gear, proper editing will make your photos truly shine. Stage lights change color in an instant, performers move constantly, and fog machines can flatten an otherwise great shot. There are tons of challenges for both shooting and editing concert photos, so let us help you go through them.
[Related Reading: The Ultimate Guide to Concert Photography: Gear, Settings, Techniques & More]
How to Edit Concert Photos: Start with RAW
Before we even dive into the editing process, there’s one absolute must for concert photography: shoot RAW. When photographing live music, JPEG simply won’t give you the flexibility to fix lighting disasters or intense color casts. RAW files preserve highlights, shadows, and color data that would otherwise be lost.
Concerts are unpredictable by nature. One moment, you have a perfect spotlight; the next, your subject is drowned in blue, red, or magenta light. This is where RAW comes to the rescue, allowing you to recover details in blown-out highlights, pull shadows back from near black, and adjust white balance without wrecking the image quality. And trust me, you’ll need all of this.
Culling and Organizing Before Editing
When you come home from a show, you may have hundreds or even thousands of photos on your cards. This is personally my least favorite part, and I always feel overwhelmed when I transfer them to Lightroom. But let’s take a deep breath and count to five. Breathe out slowly. Ready? Let’s cull the photos.
I use Lightroom for editing, and I use a star rating system to make the culling process easier. Give obvious rejects like blurry or misfocused shots a 1-star rating, then delete them in a batch. Mark your best frames as 5-stars, and keep a middle rating for images you’re unsure about.
If you’re stuck between similar shots, Lightroom’s Survey mode (hit N on your keyboard) makes it easier to compare multiple images side by side and choose the keepers.
Another useful trick is creating virtual copies. This lets you try different edits on the same image without affecting the original, perfect for testing looks or experimenting with black-and-white versions.
Fixing Lighting and Color Casts
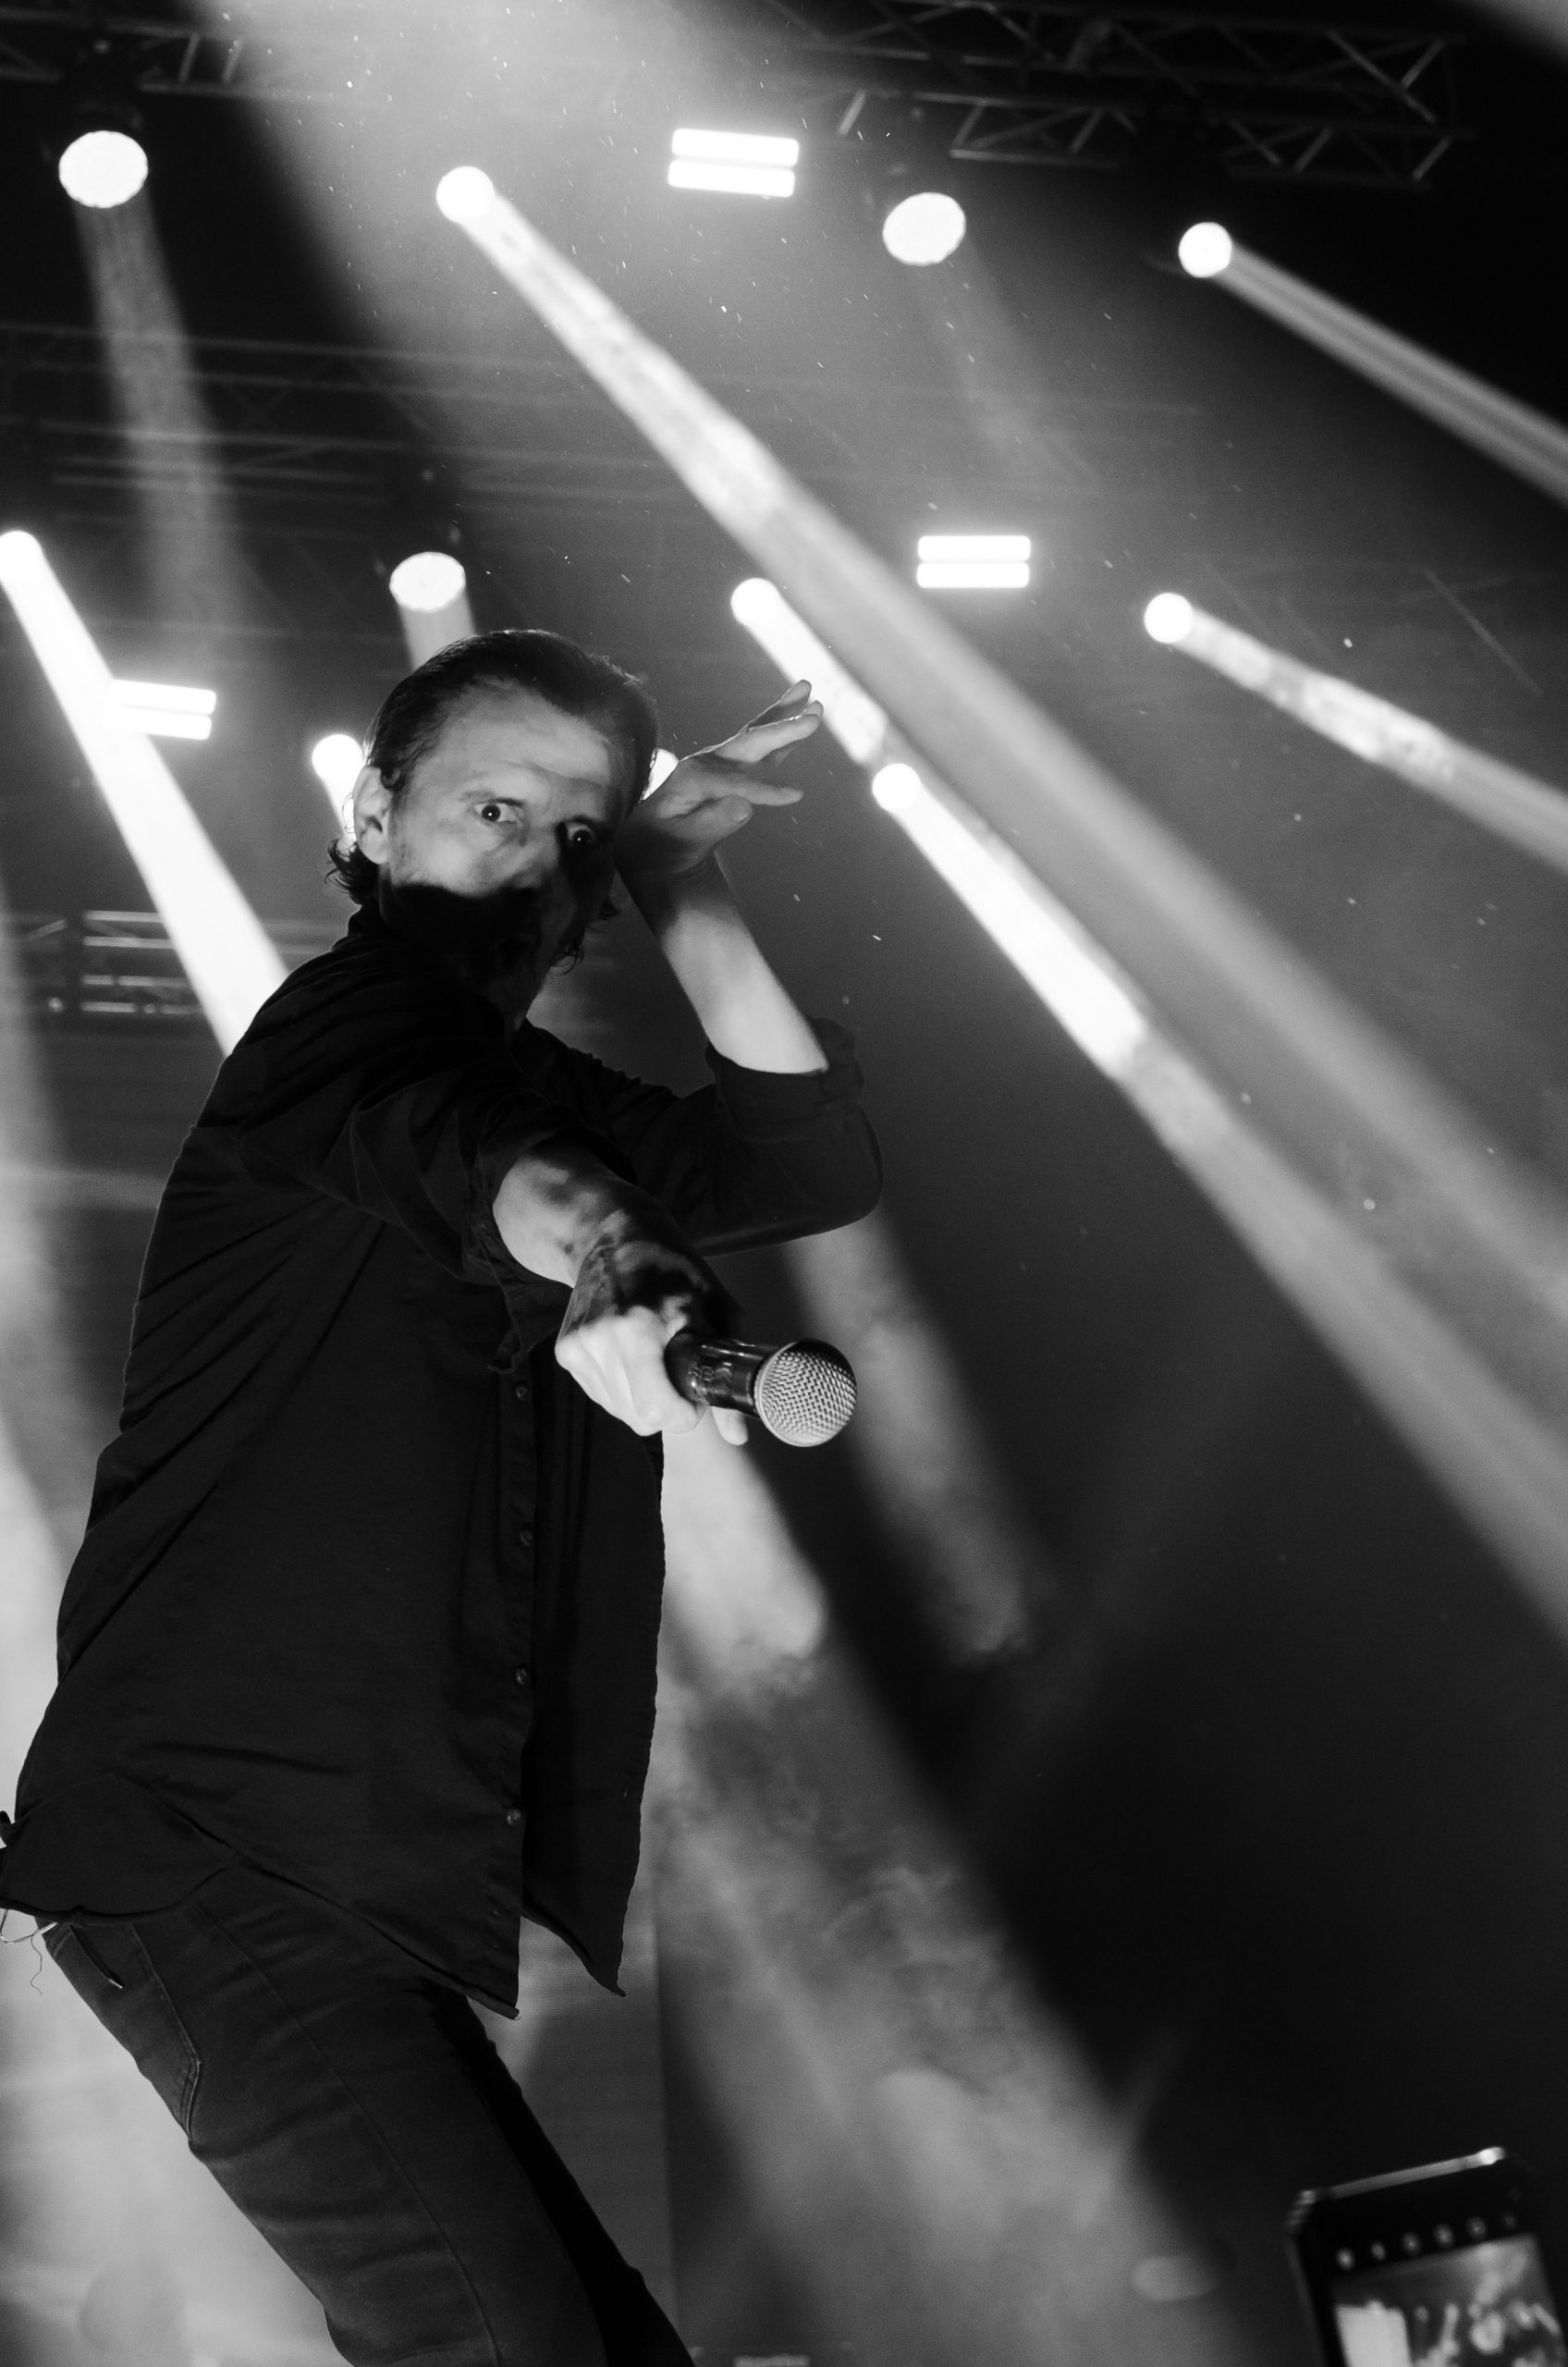
One of the biggest challenges in editing concert photos is dealing with unnatural color casts. Stage lights often leave performers bathed in purple, magenta, red, and my least favorite – blue hues. They make skin tones look unrealistic and sometimes even erase the facial features. But thankfully, many photos are still salvageable and this is where your basic adjustments and HSL panel do the heavy lifting.
Start with exposure. Lower the highlights to bring back facial details, and gently raise shadows to avoid losing the subject in darkness. From there, adjust white balance. Often, moving the temperature slider toward warmer tones and the tint slider toward green can help neutralize the heavy magenta or blue lights.
The HSL panel is essential for cleaning up these issues. Desaturating purple and magenta tones selectively will help recover skin detail. Shifting hues can also bring colors closer to reality. Adding luminance to magenta, for example, can brighten faces that would otherwise look murky.
Split toning and color grading wheels are also effective tools. By adding greenish tones to highlights and shadows, you can counterbalance the overwhelming red or blue from stage lights. These subtle changes go a long way in restoring a natural look.
I personally like the colored lights on my subjects, as they depict the atmosphere of the concerts. However, I hate it when they’re so “bathed” in colored lights that they lose all the features. In cases like this, I always try to balance the color and the features. It requires some playing and experimenting, but as you play with white balance, HSL panels, split toning, and color grading, you’ll get the look you like best.


How to Edit Concert Photos with Fog or Flat Lighting
Every concert photographer has to work with fog machines. The haze can sometimes swallow the subject, and other times, it enhances the entire composition. However, if you’re not a fan of softened contrast and the performer fading into the background, editing is your rescue tool.
Boost contrast and clarity to make your subject stand out. The Dehaze slider in Lightroom is especially useful for cutting through the mist and bringing definition back into your images. Sometimes, though, a fog-heavy shot just won’t cooperate. In these cases, converting to black-and-white can be worth a try, giving your photo a bit of a dramatic edge.
Using the Curves panel also helps shape the mood. A subtle S-curve adds depth and punch, while flattening the curve can create a faded, film-like look. Experiment with these until you find a balance that matches the atmosphere of the performance.
[Related Reading: Low-Light Concert Photography: How to Use Speedlights when Shooting Live Music]

Noise Reduction and Sharpening in Concert Photography
Concerts photography often requires shooting at ISO 3200 or higher (much higher, if your camera allows it). Noise is unavoidable, but it’s fixable! I swear by Lightroom’s AI Denoise tool, as my old Nikon D7000 doesn’t exactly shine when I use high ISO. This tool allows those mega-grainy images to be cleaned up while preserving detail.
Keep in mind, though, that moderation is key. Too much denoising can make skin look plasticky or cartoonish. Use that preview window before you hit Denoise and make sure you achieve the natural look. This is because, once the process starts, it will take some time, so you want to get it right.
You can also apply some sharpening to your images. But once again, make sure not to overdo it. Overly sharpened images always look unnatural and subpar.
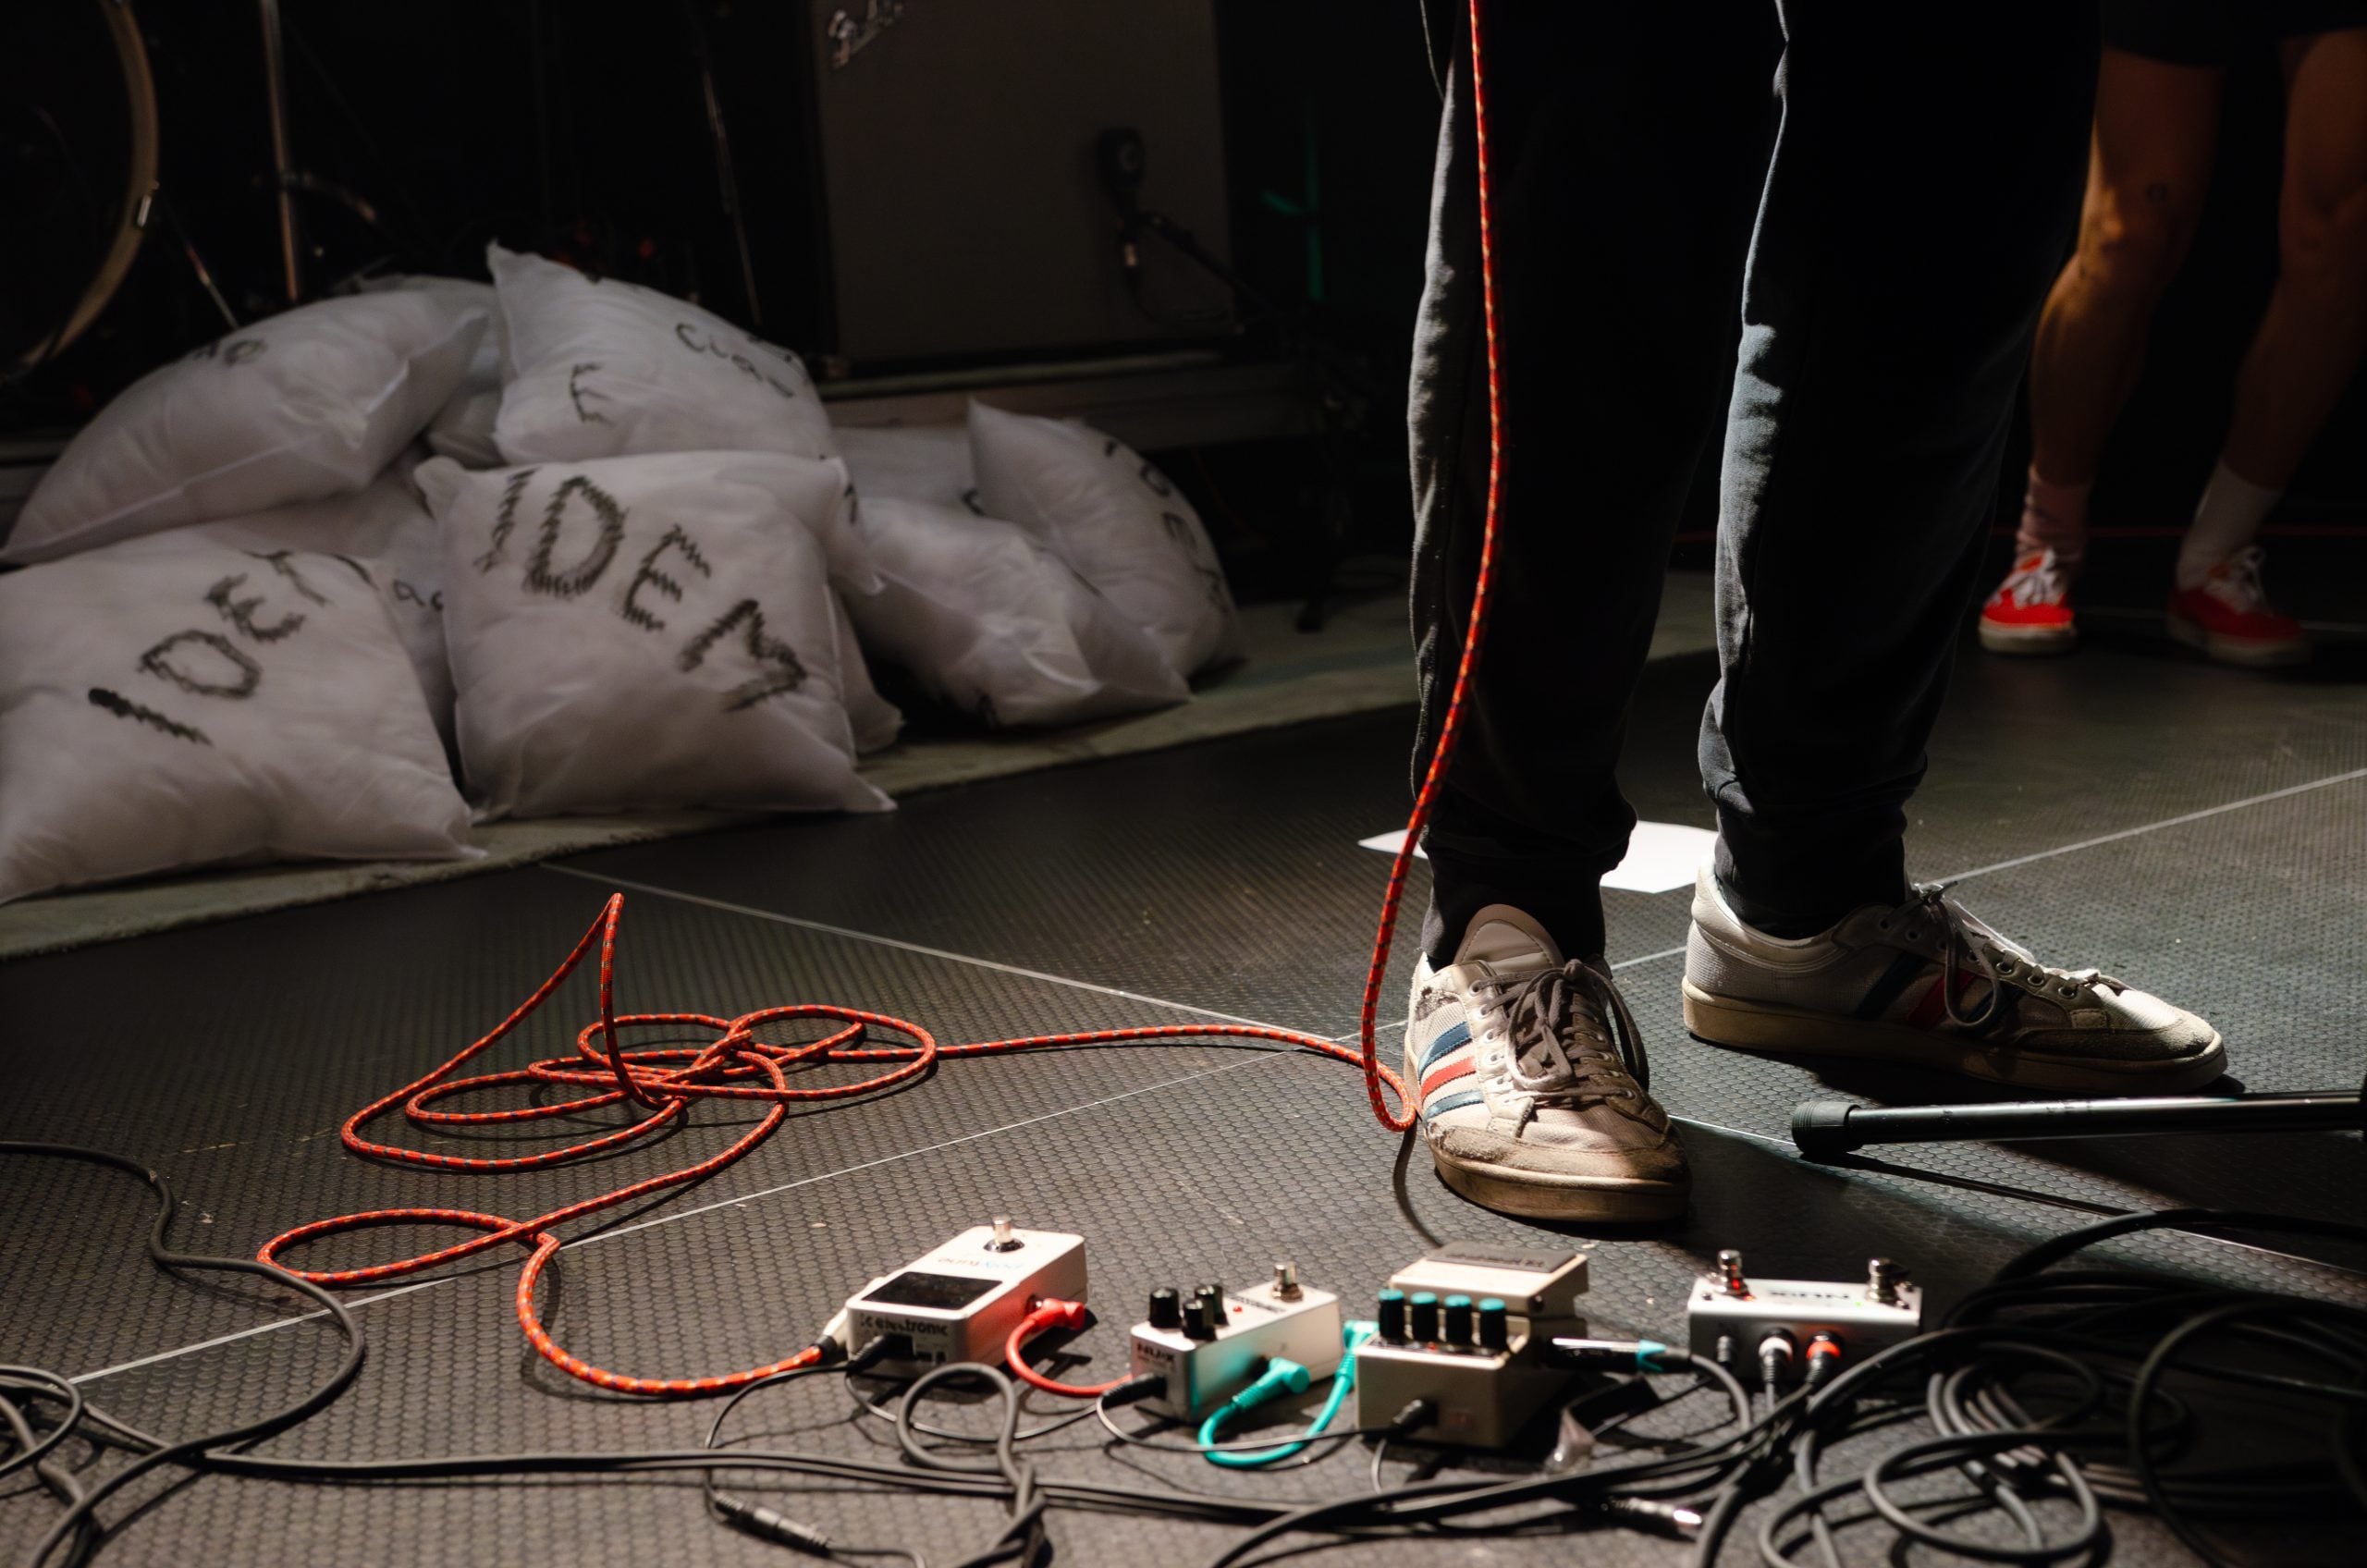
Removing Distractions
Stages are messy. Microphone stands, cables, and random hands from the crowd often creep into your frame. Sometimes, these add atmosphere, but more often than not, they clutter the shot. Lightroom’s AI Removal tool makes it easy to erase distractions quickly. You can also do it in Photoshop, which now offers a bunch of AI-powered tools. However, I still swear by a combo of the Patch tool and the Clone Stamp tool.
Removing a mic stand in front of the singer or a stray spotlight in the corner can take a good photo to great. Just remember not to overdo it. A little imperfection can add realism to a live music image.
Creative Editing and Developing a Style
Editing concert photos isn’t just about fixing problems – it’s also about expressing your creative style. Think color grading, curves, and calibration tools. You can add grain or adjust the red, green, and blue primaries. Honestly, the sky’s the limit here. I wouldn’t go into too much detail here, as each of us has our own preferences and we also change with time, and so does our style. I just want to encourage you to experiment, and you’ll develop your recognizable style as a music photographer.
Batch Editing Concert Photos for Consistency
When you’re editing hundreds of images from the same set, consistency matters. Lightroom allows you to sync edits across photos taken under similar lighting. This is a huge timesaver and ensures your gallery looks cohesive.
Be careful, though. Don’t paste the same settings across images with dramatically different lighting. Instead, create mini-presets for each lighting scenario within a show. For example, one for blue backlit images, another for warm spotlight moments, another for heavily fogged sections, and yet another for strong, bright lights. This keeps your edits efficient while respecting the unique atmosphere of each song.
When to Use Photoshop in Concert Photo Editing
Lightroom handles most of your editing, but sometimes you’ll need Photoshop too. I mainly use it for heavy cloning, as complex distractions are much easier to tackle there. Lightroom’s round-trip workflow makes it simple – just hit Command + E, edit in Photoshop, and the updated file appears back in Lightroom.
Final Tips on Editing Concert Photos
To wrap up, I’d just like to give you some tips that are more psychological than they are technical. Editing concert photos can be a little frustrating at first, especially when you’re faced with blown-out highlights, nasty color casts, or overwhelming noise. But with practice, you’ll learn how to turn these challenges into creative opportunities. Take it slow.
Another useful piece of advice I picked up with age is to step away from the computer… And then return and look at your edit with a fresh pair of eyes. This will help you spot any mistakes and any edits that need to be toned down… Or cranked up!
Finally, remember that every show is different, and every shoot and edit teach you something new. Over time, you’ll not only get faster at concert photography editing, but also develop a style that reflects your vision. In the end, editing isn’t about fixing mistakes, it’s about enhancing the story you captured in the pit or the crowd.

Dunja Đuđić
Dunja Djudjic is a multi-talented artist based in Novi Sad, Serbia. With 15 years of experience as a photographer, she specializes in capturing the beauty of nature, travel, concerts, and fine art. In addition to her photography, Dunja also expresses her creativity through writing, embroidery, and jewelry making.
Related Posts
 The Newbies’ Guide to Choosing a Medium Format Film Camera
 Kai’s photography tips for newbies: where to start and how to improve your photography
 Concert Photography Tips: From Getting a Pass to Editing Photos in Under Four Minutes
 Concert Photographer: Where Did Your Integrity Go? (Or How Concert Photographers Handle Contracts In Norway)
Join the Discussion
DIYP Comment Policy
Be nice, be on-topic, no personal information or flames.