


Amazon Product Photography Requirements: Complete 2025 Compliance Checklist
Oct 28, 2025
Darlene Lleno
Darlene Lleno brings a unique perspective to DIY Photography as someone who grew up surrounded by camera gear but chose words over lenses. With five years of writing experience, she specializes in photography content that’s both technically informed and genuinely passionate. Growing up with a photographer twin brother meant camera talk was everyday conversation in her household. While he mastered capturing moments, Darlene discovered she preferred being the subject and the storyteller behind the scenes. As a travel enthusiast and mother of two, she understands the importance of preserving life’s precious moments. When not exploring new destinations or writing for DIY Photography, you’ll find her reading or tending to her garden. Her approach to photography writing is refreshingly authentic, she may not be behind the camera, but she knows exactly what it takes to help others capture the shots that matter most.
Share:

Selling on Amazon means following strict ecommerce photo specs that directly affect your product listings. These image requirements have changed a lot over the years. You need to understand them if you want your products to show up in search results and actually sell. The platform processes millions of product images every day. Any photo that doesn’t meet their technical standards gets rejected automatically.
Getting your product photos right the first time saves you money and headaches. Amazon’s algorithm likes listings with compliant, high-quality images. This directly impacts how visible your products are and how many sales you make. This guide covers everything about Amazon’s current photography requirements. You’ll learn the technical specs and best practices that make your products stand out.
Amazon’s Core Image Requirements
Amazon splits product images into two types: main images and additional images. Each type has different rules. Both must meet certain technical specs though.
Main images are what customers see first. These photos show up in search results and at the top of your listing. Amazon is stricter about main images because they represent your product across the entire platform. Your main image has to show the actual product you’re selling. No lifestyle shots, graphics, or promotional text allowed.
Additional images give you more room to work with. You can upload up to nine total images per product. You can include lifestyle photography, detail shots, and infographics. You can show product dimensions or special features. These supporting photos help customers understand what they’re buying. Most successful sellers use all available image slots to tell their product story.
Technical Specifications You Must Follow
Amazon’s technical requirements apply to all product photos no matter what category you’re in. Your images need to be at least 1000 pixels in either height or width. Going with 2000 pixels or larger works better for the zoom feature. Customers love being able to zoom in on products.
Files must be in one of these formats: TIFF (.tif/.tiff), JPEG (.jpeg/.jpg), GIF (.gif), or PNG (.png). Most sellers stick with JPEG because it balances quality and file size well. The file size limit is 10MB per image. Most optimized product photos stay well below this while keeping great quality.
Your color mode must be sRGB or CMYK. File names should follow Amazon’s naming convention. Use the product identifier like your ASIN, 13-digit ISBN, EAN, JAN, or UPC. Follow it with a period and the file extension. For example: B000123456.jpg or 0237425673485.tif. This helps Amazon’s systems process your images correctly.
White Background Requirements for Main Images
Your main product photo needs a pure white background. We’re talking RGB 255, 255, 255 specifically. This isn’t something you can skip. Amazon’s automated systems check background colors. Photos with off-white, cream, or gray backgrounds get rejected immediately.
Professional photographers use seamless white paper or white fabric backdrops. Some use digital editing to achieve this pure white standard. The product should fill at least 85% of the frame. Books, music, and video products need to fill 100% of the frame. This means minimal empty space around the edges. Your item appears large enough for customers to see details in search results.
The entire product must be visible in the frame. No part of the item should be cut off at the edges. Shadows, reflections, and extra objects can’t appear in your main image. The product stands alone against that white background. No props allowed. No hands holding the item. No packaging unless the packaging itself is what you’re selling.

Category-Specific Requirements and Exceptions
Different product categories have unique ecommerce photo specs beyond Amazon’s general rules. Let’s break down what matters for each major category. These requirements can make or break your listing approval.
Clothing and accessories sellers must show products flat or on models. Mannequins and dress forms aren’t allowed though. The entire garment needs to be visible in the main image. Shoes require side-view main images showing the complete footwear item. You can include additional angles in your supporting photos. That primary side view is mandatory.
Jewelry photos must show the piece clearly without distracting backgrounds or fancy staging. Electronics and technical products benefit from multiple angles. Show ports, buttons, screens, and other functional elements. Books need clear cover images that match the actual product. Remember that book covers must fill 100% of the frame, not just 85%. Toys must follow additional safety disclosure requirements in their imagery.
Food and Beverage Photo Standards
Food products have stricter rules than most categories. Your main image should show the actual food item. Don’t just show the packaging unless you’re selling the packaged product as is. Prepared foods need appetizing presentation that accurately shows what customers receive.
Supplements and vitamins require clear label shots. Show ingredients, dosage information, and any required warnings. Amazon may request extra documentation proving your images match the actual product. Fresh foods like produce or meats need photography that honestly shows typical product quality.
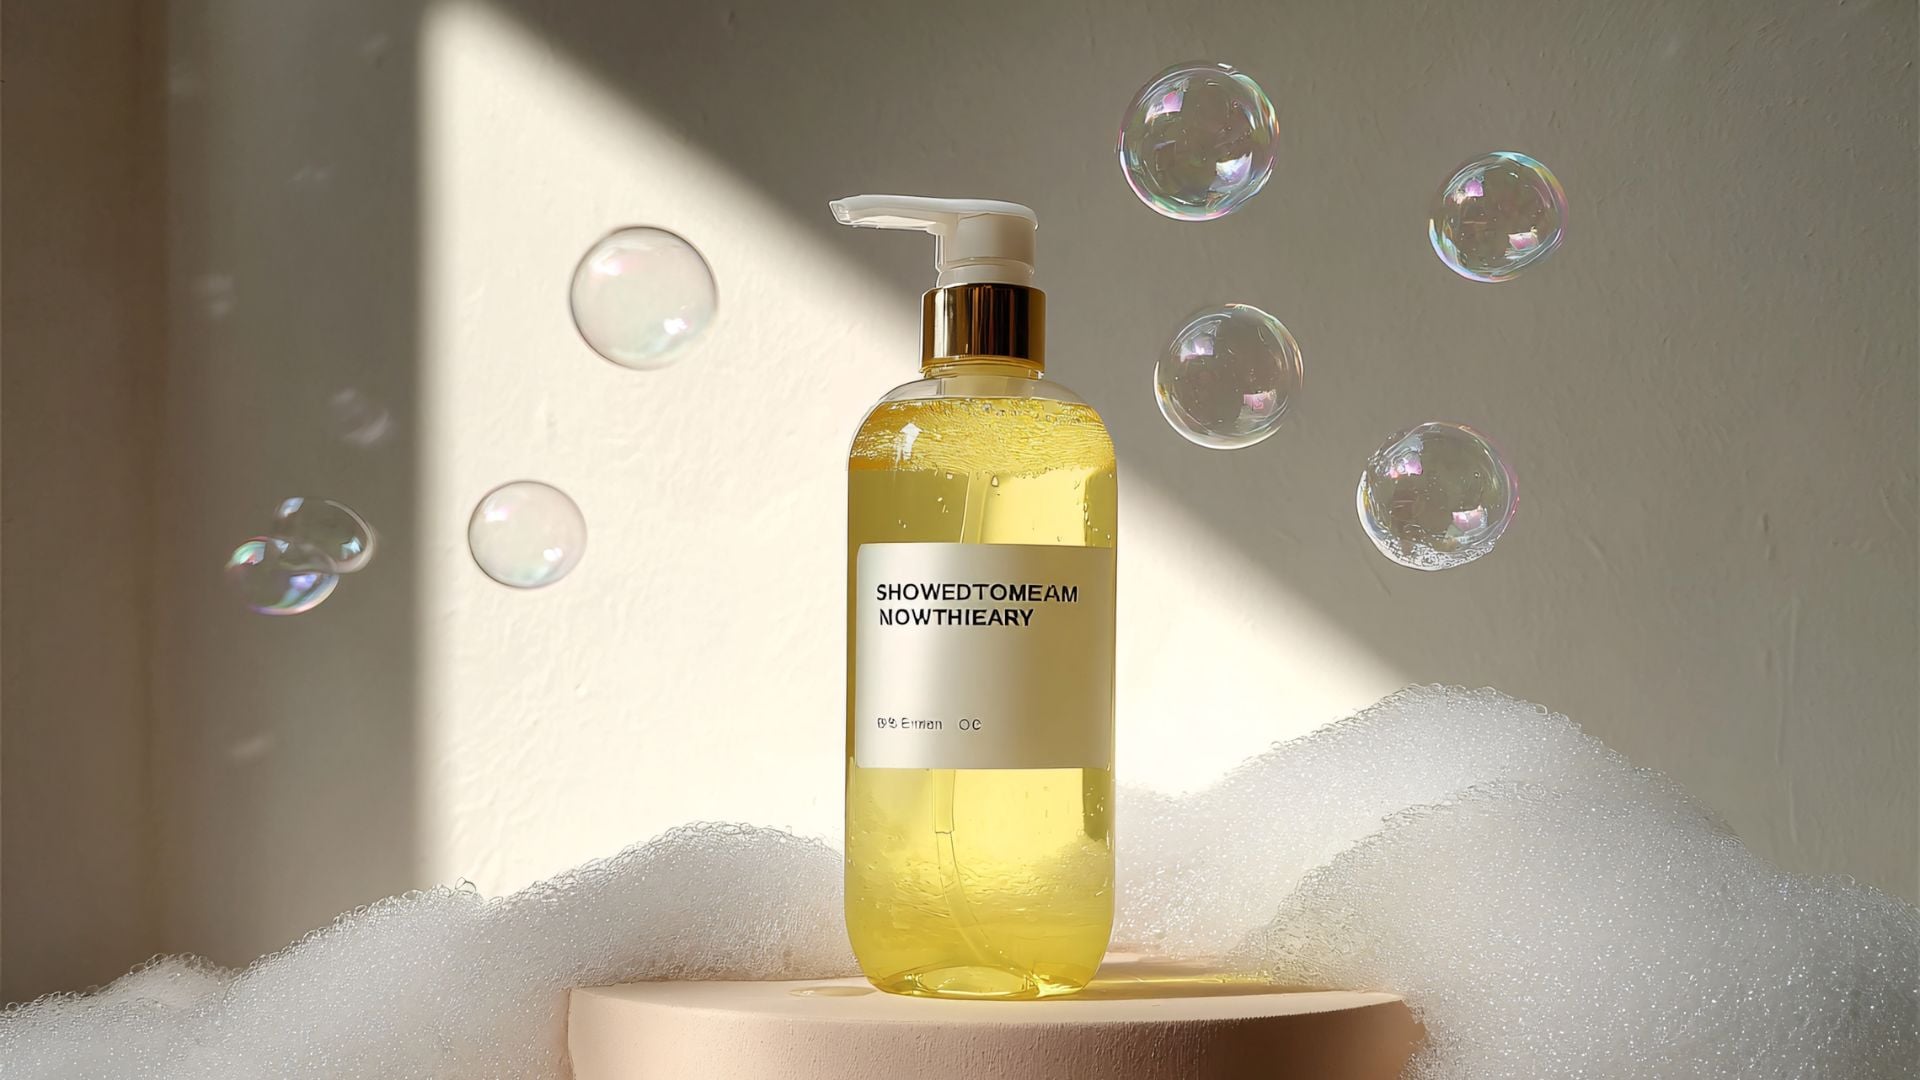
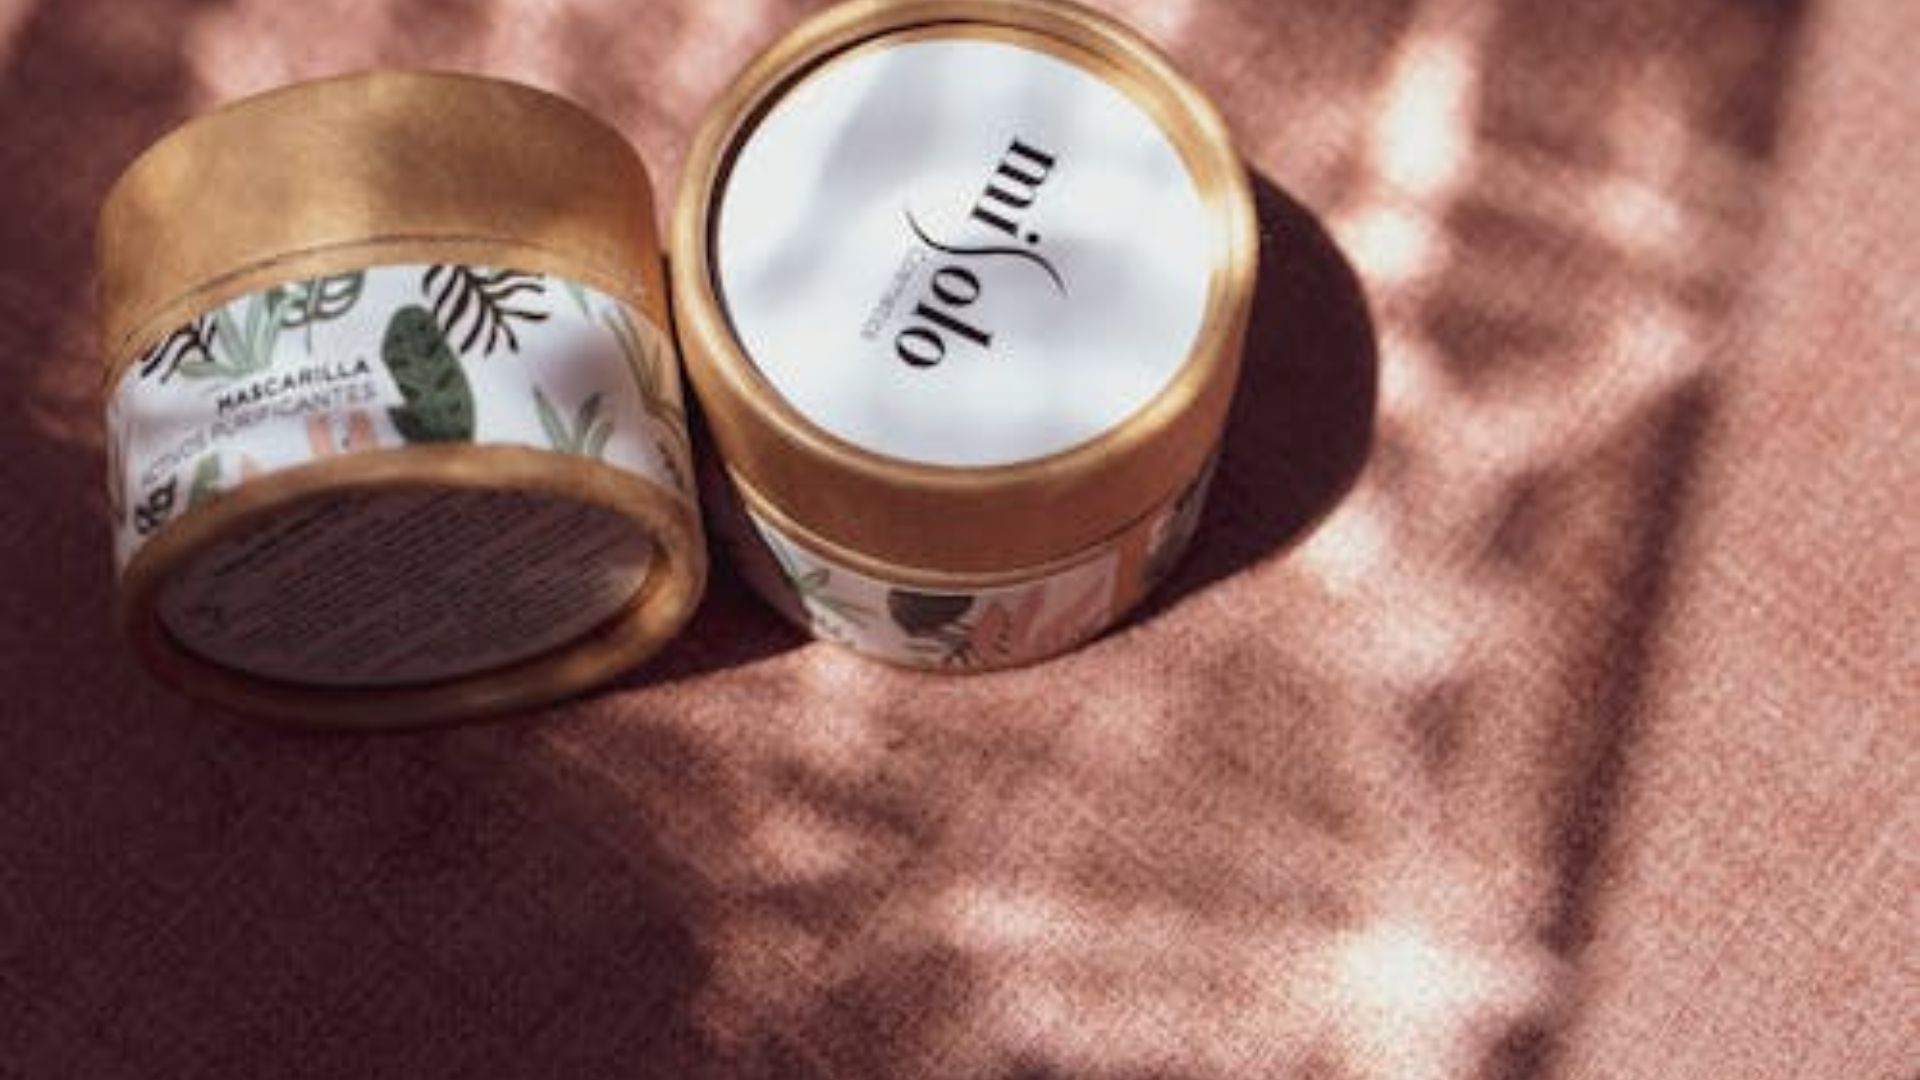
Beauty and Personal Care Imaging
Beauty products, cosmetics, and personal care items must show the product packaging clearly. The brand name, product name, and size should all be easy to read in your main image. Color cosmetics work well with swatch photos in additional images. The main shot still focuses on the product packaging though.
Skincare items often include ingredient callouts or comparison images in supporting photos. Any claims you make visually must follow FDA regulations and Amazon’s policies. Professional lighting helps cosmetics look appealing while staying accurate.

Optimizing Images for Maximum Conversion
Meeting minimum requirements keeps your listings active. Optimization is what actually drives sales though. High-resolution images that use Amazon’s zoom feature give customers confidence. Studies show that listings with zoomable images convert way better than those without this feature.
Lighting can make or break your product photography. Soft, diffused light gets rid of harsh shadows and shows products accurately. Many professional sellers buy lightboxes or studio lighting setups just for product shots. Lightboxes work especially well for smaller products because they eliminate shadows completely. Natural light works for some items. Consistency matters more than your light source.
Composition and Framing Techniques
Your product should take up most of the frame without getting cut off at the edges. Leave a small margin of white space around your item. Most products need to fill 85% of the frame. Books, music, and video items need to fill 100% of the frame. This keeps your product from looking cramped while making it appear substantial in search results.
Shoot from angles that show your product’s key features. Electronics should display screens, control panels, and connection points. Clothing needs to show fit, drape, and construction details. Tools and hardware should show size, components, and how they work.
Multiple angles in your additional images help customers understand your product completely. Include top views, bottom views, side angles, and close-ups of important details. Each photo should answer a specific customer question. This approach reduces returns and support tickets.
Using Lifestyle and Contextual Photography
Additional images let you show products in real settings. Amazon gives you more flexibility with these supporting photos. You can include other objects or use models to demonstrate how a product works. These lifestyle shots help customers picture themselves using your product.
A kitchen gadget looks way more appealing when someone’s actually using it. Clothing makes more sense when worn by a model who matches your target customer. You can also use cropped and zoomed-in images to highlight specific features. Backgrounds other than white are perfectly fine for these additional images.
Context photos show scale really well. Place your product next to common objects so customers understand its actual size. This prevents disappointment and cuts down returns from size misunderstandings. Many sellers include a photo with measurements clearly marked using rulers or everyday objects.
You can add text and graphics to your additional photos. Use these to explain various features and uses. Infographic images work great for products with multiple specs. Combine product photos with callouts highlighting key benefits. Show dimensions, materials, or technical details. These graphics answer common customer questions and reduce your customer service workload.

Common Mistakes That Lead to Rejection
Amazon’s automated review system catches many technical violations right away. Understanding what triggers rejection helps you avoid these problems. Your images typically get reviewed within a few hours of submission. Getting rejected means delays in launching your listing.
Pixelated or blurry images fail quality checks even if they meet size requirements. The photo must be in focus and well-lit with realistic colors. Some editing is fine. Your photos need to represent how your products look in real life though. Always export your photos at the highest quality setting your editing software allows.
Watermarks, logos, or promotional text on main images trigger automatic rejection. Save your branding efforts for packaging and product inserts. Amazon wants clean product photos that let customers focus on the item itself. Marketing messages belong in your product description, not your main image. You can include text and graphics in additional photos though.
Avoiding Image Manipulation Issues
Color accuracy matters more than most sellers think. Your product photo should match what customers actually receive. Oversaturated colors, heavy filters, or misleading lighting lead to returns and negative reviews. Honest representation builds trust and keeps your metrics healthy.
Light editing and color correction are fine. Heavy manipulation crosses the line though. Don’t add features to your product digitally that don’t exist in real life. Don’t remove flaws or defects that customers will see when the item arrives. Using editing software to bring out colors and show your product in the best light is acceptable. Making unrealistic changes is not.
Background removal is standard practice for product photography. Clean cutouts matter a lot though. Rough edges, missing pieces, or sloppy selections make your products look unprofessional. Spend time on proper selection techniques. Hire a professional editor if background removal isn’t your thing.
Creating Photos That Meet Amazon Standards
You have several options for getting compliant product images. Each approach has pros and cons depending on your budget, skills, and time. Many successful sellers start with one method and switch to another as their business grows.
Getting photos from your manufacturer or supplier is the easiest option. If you’re buying existing products they’ll likely already have photos you can use. The images might not be good enough though. Manufacturers aren’t always great marketers. The photos might not meet Amazon’s requirements either. Always check before using supplier photos.
Professional Photography Services vs DIY
Hiring professional Amazon product photography services costs more upfront. You get consistently high-quality images that meet all requirements though. Professional photographers understand ecommerce photo specs inside and out. They handle lighting, background removal, and editing efficiently. The investment often pays for itself through higher conversion rates and fewer returns.
Give clear instructions to your photographer about requirements. You don’t want to pay for photos you can’t use. Make sure they know about the 85% frame fill rule. Tell them which products need 100% frame fill. Explain that main images need pure white backgrounds.
Taking photos yourself gives you complete control over the process. You need a quality camera and basic photography skills though. Most camera phones take decent enough photos and work in a pinch. A good DSLR camera produces better results if you’re serious about product photography.
DIY Photography Tips
Use proper lighting when photographing your products. A lightbox is ideal for smaller items because it ensures no shadows. For larger products you’ll need to use lights. Waiting for a sunny day and shooting outside works too. Just make sure lighting is consistent across all your product shots.
Take lots of different photos from multiple angles. You want options to choose from. This ensures you get some good shots without needing to reshoot. Create a pure white background for your main image. Even when using a white backdrop you likely won’t get RGB 255, 255, 255. You’ll need to use editing software like Photoshop to adjust this.
Fill the frame with your product during shooting or crop it during editing. Remember the 85% rule for most products and 100% for books, music, and video. Use editing software to enhance things like color and exposure. Don’t edit so much that the photo becomes unrealistic. The goal is bringing out colors and showing your product clearly.
Managing Your Amazon Image Library
Once your pictures are ready you need to upload them to Amazon. When creating a new listing you’ll be prompted to upload your images. You can upload up to nine pictures for each product. Use all available slots to give customers the most complete view of your item.
Adding images to an existing listing takes just a few steps. Log in to your Seller Central account. Click Manage Inventory in the Inventory menu. Find the product you want to add new images for. Select Manage Images from the drop-down menu. Click Add Images and select the image slot you want to use.
You can choose an empty slot or replace an existing photo. Click the Browse File button and find the image you want to upload. Click Upload image(s) and wait for Amazon’s review. Your photos should be approved within a few hours if they meet all requirements.
Handling Image Suppression Issues
Amazon sometimes suppresses images that break policies. This happens even if they initially passed review. Regular audits of your active listings catch these problems before they hurt sales. Missing images kill conversion rates fast. Monitoring your catalog health should be part of your regular routine.
Resubmitting corrected images usually fixes suppression issues quickly. Review Amazon’s rejection reason carefully and fix the specific problem. Upload again once you’ve made the correction. Repeated violations can lead to listing suspension. Take image compliance seriously from day one.

Advanced Techniques for Competitive Advantage
Going beyond minimum requirements sets your listings apart from competitors. You want to stand out in crowded search results. These advanced techniques help you do exactly that without breaking Amazon’s rules.
360-degree product views give customers a complete look at your item. Amazon supports these interactive images in many categories. They significantly improve engagement metrics too. Customers spend more time on listings with 360 views. This signals to Amazon that your listing provides value.
Video content works really well with your product photos. Short clips showing your product in use demonstrate features better than static images. Show how to set up the product. Demonstrate special features or uses. Keep videos under two minutes for best results.
Testing and Optimization Strategies
Testing different image styles helps you understand what works with your specific audience. Try various composition approaches in your additional image slots. Use lifestyle shots in some slots and detail shots in others. Monitor your conversion rates to see which styles perform best.
Refreshing your product photos seasonally keeps your listings feeling current. Holiday-themed additional images can boost conversions during peak shopping periods. Your main image must stay compliant year-round though. Save festive touches for supporting photos only. Change them back after the season ends.
Mobile Optimization Considerations
Most Amazon shoppers browse on their phones now. Your product photos need to work on small screens where details might be harder to see. High contrast between your product and background helps mobile shoppers spot items quickly in search results.
Text in infographic images should be large enough to read on smartphones. Test your images on various devices before you finalize them. What looks perfect on your desktop monitor might be impossible to read on a phone screen. Simplify complex graphics for mobile viewing. Your customers will thank you.
The zoom feature becomes even more important on mobile devices. Customers need to see details clearly since screens are smaller. This is why Amazon recommends using images larger than the 1000 pixel minimum. Going with 2000 pixels or more ensures customers can zoom in and see everything clearly.
Staying Current with Amazon’s Requirements
Amazon updates its image requirements regularly as technology and customer expectations change. Subscribe to Seller Central notifications to catch policy updates early. The platform usually gives advance notice before enforcing new requirements. This gives you time to adjust your photography workflow.
Industry forums and seller communities share practical insights about image optimization. Learning from other sellers’ experiences helps you avoid common mistakes. Photography techniques that work well for Amazon often work on other ecommerce platforms too. According to Amazon’s official Seller Central guidelines, staying compliant protects your selling privileges and improves customer satisfaction.
Check Amazon’s style guides for your specific category regularly. Different product types sometimes have unique requirements that change. Books and media have that 100% frame fill requirement. Clothing has specific rules about models and presentation. Stay informed about requirements for your particular products.
Mastering Amazon Photo Requirements for Long-Term Success
Quality photography forms the foundation of successful Amazon listings. You need more than just great images though. Your product title should include your primary keyword. Use this same keyword naturally in your product description. Amazon lets you submit backend keywords too. Take advantage of this feature.
Answer customer questions quickly when they appear on your listing. Your answers show up for all potential buyers. This provides extra information that helps people decide to purchase. Include everything buyers need to know about your product in your description. Don’t write too much. Make sure any potential questions are answered though.
Break up your paragraphs and use subheadings to make content easier to read. Highlight the benefits of your product. Explain how it makes someone’s life easier or better. Focus on solving customer problems rather than just listing features.
Following proper white balance techniques and understanding aperture settings creates the foundation for compliant product photography. Many photographers benefit from learning color correction skills to perfect their images before upload. The Digital Photography School offers additional resources for improving your product photography skills.
Your product photography directly impacts your profits. Spending time to master Amazon’s requirements pays off through better search placement. You’ll see higher conversion rates and fewer customer complaints. Start with the basics and follow the rules. Gradually improve your approach based on performance data and customer feedback. Your business will grow as your photography skills improve.

Darlene Lleno
Darlene Lleno brings a unique perspective to DIY Photography as someone who grew up surrounded by camera gear but chose words over lenses. With five years of writing experience, she specializes in photography content that’s both technically informed and genuinely passionate. Growing up with a photographer twin brother meant camera talk was everyday conversation in her household. While he mastered capturing moments, Darlene discovered she preferred being the subject and the storyteller behind the scenes. As a travel enthusiast and mother of two, she understands the importance of preserving life’s precious moments. When not exploring new destinations or writing for DIY Photography, you’ll find her reading or tending to her garden. Her approach to photography writing is refreshingly authentic, she may not be behind the camera, but she knows exactly what it takes to help others capture the shots that matter most.
Related Posts
 A Complete Checklist For Shooting Night-Time Time-Lapse Sequences
 Amazon’s new AI tool could be the end of product photography
 This simple product photography walkthrough offers everything you need to know to get started in product photography
 The Complete Guide to Finding the Best Camera for Product Photography
Join the Discussion
DIYP Comment Policy
Be nice, be on-topic, no personal information or flames.