


DIY Astrophotography: Capture the Night Sky on a Budget
Jun 25, 2025
Soumyadeep Mukherjee
Soumyadeep Mukherjee is an award-winning astrophotographer from India. He has a doctorate degree in Linguistics. His work extends to the sub-genres of nightscape, deep sky, solar, lunar and optical phenomenon photography. He is also a photography educator and has conducted numerous workshops. His works have appeared in over 40 books & magazines including Astronomy, BBC Sky at Night, Sky & Telescope among others, and in various websites including National Geographic, NASA, Forbes. He was the first Indian to win “Astronomy Photographer of the Year” award in a major category.
Share:

Astrophotography feels magical. But it often seems expensive and technical. That doesn’t have to be true. With smart DIY methods, you can capture the stars from your own backyard. No telescope, star tracker, or deep pockets. You only need a little creativity, patience, and some basic gear.
Let’s explore how to do astrophotography on a budget, using DIY gear and simple tricks.
Table of contents
- Start with what you have
- Build a DIY tripod mount
- Cut light pollution with DIY filters
- DIY lens hood to avoid flares
- Beat the dew with simple tricks
- Make a DIY star tracker
- Reduce vibration while shooting
- Make use of inexpensive tools
- Master focus without autofocus
- Post-processing on a budget
- Shoot smart from light-polluted areas
- Capture star trails without tracking
- Build your own light pollution shield
- Use apps and tools smartly
- Final thoughts and further readings
Start with what you have
Even the most basic camera can capture stars if you know how to use it. Wide-angle lenses gather more light and help avoid star trails. Prime lenses often give sharper images. Manual control gives you full power. You decide how your photo looks. That’s the first step to making astrophotography affordable and real.
Most people already own a decent tool: a smartphone or a basic DSLR, or a mirrorless camera. Many modern smartphones have a night mode. Some also let you manually control ISO, shutter speed, and focus. Use apps like ProCamera (iOS) or Camera FV-5 (Android) to get manual control.
If you have a camera, any entry-level DSLR or mirrorless will work. A kit lens, like an 18-55mm or a cheap 50mm prime, is a great start. You don’t need a telescope. Just shoot wide and fast.
Build a DIY tripod mount
A tripod keeps your camera still during long exposures. Without it, stars will blur. But even tripods need support. Adding weight makes them more stable. Soft pads stop vibration from ground traffic. A simple trick like this gives you sharper photos, even in windy conditions. No tripod? Improvised supports work just as well for static shots.
A tripod is essential. But even a high-cost one can wobble. Here’s a DIY tip:
- Hang a bag of stones or water from the center column. This adds weight and reduces vibration.
- Place your tripod on a rubber mat or foam pad to absorb ground vibrations.
- Use rubber bands or a DIY clamp to secure the camera firmly to the tripod plate.
No tripod? Try these:
- Use a bean bag on a wall or a car roof.
- Place your phone or camera on a rolled-up towel angled at the sky.
Cut light pollution with DIY filters
Light pollution washes out the stars. Filters help bring them back. Theatrical gels block some city light wavelengths while keeping the stars visible. Welding glass may reduce glare in extreme cases. Homemade filters are not perfect, but they’re better than nothing. They help boost contrast and give better results from urban skies.
Light pollution is a killer. But you don’t need expensive filters. Here’s a budget solution:
- Use a piece of orange or amber theatrical gel as a light pollution filter.
- Make a filter holder from cardboard or a plastic cup cut to size.
- For phones, clip-on filters or even color gels taped over the lens can help.
You can also:
- Shoot toward the zenith to avoid horizon light.
- Use buildings or trees to block streetlights.
DIY lens hood to avoid flares
Lens hoods block stray light from hitting the lens. This reduces flares and increases contrast. They also shield your lens from side lighting caused by cars or porch lights. Building one yourself saves money and works just as well as branded hoods. It also protects your lens from dew and accidental knocks.
Here’s how you can make your lens hood:
- Use black craft foam or a cardboard tube.
- Wrap it around the lens with velcro or tape.
- Paint the inside with matte black paint or line it with black velvet.
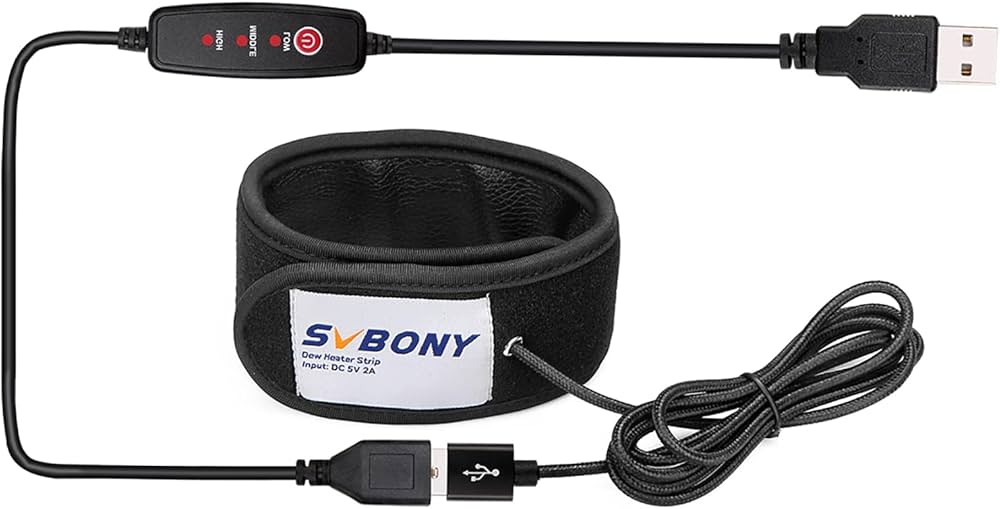
Beat the dew with simple tricks
On a cold and humid night, dew builds up on your lens and ruins your images. It causes blurring and soft spots. Heating the lens gently prevents condensation. Commercial dew heaters can cost a lot. But cheap heating pads or even hand warmers can do the job. A little warmth goes a long way in keeping your gear dry.
But you can get away without a dew heater. Try these DIY methods:
- Wrap a hand warmer (air-activated) around the lens with a sock or cloth.
- Use a USB-powered heating pad from a car seat or power bank.
- Build a DIY dew heater with resistors and USB wires.
- Always carry a microfiber cloth to wipe lenses gently.
Make a DIY star tracker
The Earth rotates. So stars move. That’s why they trail in long exposures. A barn door tracker slowly moves your camera to match the sky. It keeps stars sharp longer. Building one costs a fraction of a commercial model. It’s one of the most powerful DIY upgrades for deep-sky shots.
A motorized star tracker helps follow the stars and avoid trails. But commercial ones can be expensive. Make a barn door tracker using:
- Two wooden boards.
- A long bolt and nut (usually 1/4″-20).
- A simple hinge.
- A handle or knob to turn manually (or a cheap geared motor).
Reduce vibration while shooting
Vibration ruins detail. Even a small nudge creates a blur. Timers and remotes let the camera settle before shooting. Foam pads isolate it from the ground. These simple tricks give you cleaner, sharper star images without spending anything.
Use these tricks:
- Enable the camera’s self-timer (2 or 10 seconds).
- Use a remote shutter, phone app, or intervalometer.
- Place foam or cloth under the tripod legs.
For phones:
- Use a Bluetooth remote.
- Or trigger with a voice command or clap using an app like Open Camera.
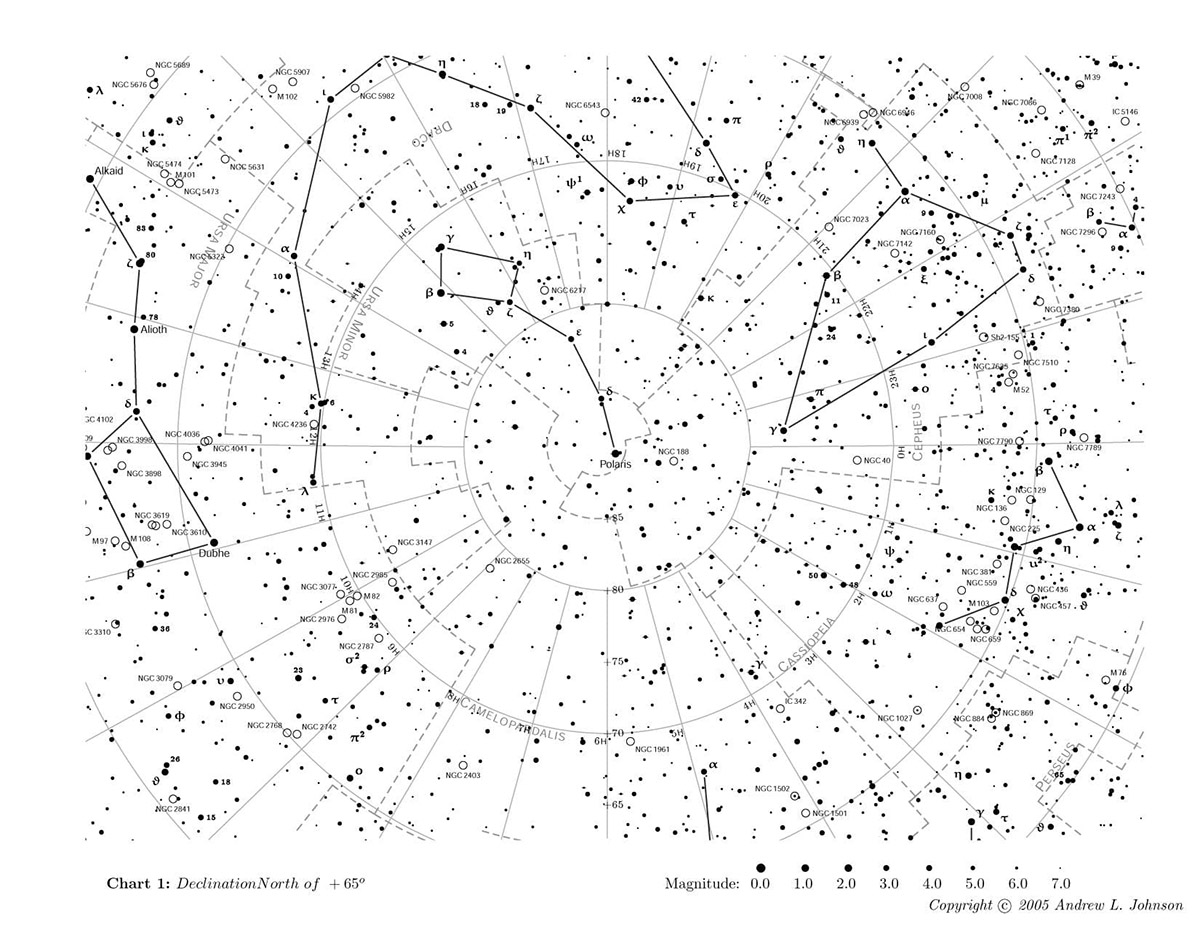
Make use of inexpensive tools
Accessories don’t have to be expensive. A laser helps aim your camera at specific stars. A blackout cloth blocks light from nearby buildings. These tools make your setup more efficient and your photos better. They’re simple, cheap, and effective.
Here are some useful, affordable, or DIY options:
- Laser pointers for pointing to stars (use with caution).
- Printed star charts or free apps like Stellarium or Sky Map.
- A blackout cloth or umbrella to block side light.
- Cardboard shields to shade your lens from porch lights.
Master focus without autofocus
Autofocus doesn’t work well in the dark. Stars are tiny and distant. Manual focus gives you control. A Bahtinov mask helps you nail sharpness every time. It’s a low-cost tool that works like magic. Focus is everything in astrophotography. Don’t skip it.
Try this:
- Set your lens to manual focus.
- Focus on a bright star or distant light using live view at max zoom.
- For phones, use a manual focus slider in a camera app.
You can also:
- Tape the focus ring after achieving sharpness.
- Use a DIY Bahtinov mask (print a template and cut it from plastic or card).
Post-processing on a budget
Your image isn’t finished in the camera. Post-processing reveals detail and color. Stacking improves signal-to-noise. Free software can do almost everything paid tools offer. You just need to learn the basics. Processing is the final step, and it makes a huge difference.
Use free or low-cost software:
- Siril: for stacking and basic processing.
- GIMP: free alternative to Photoshop.
- RawTherapee or Darktable: for RAW editing.
- Sequator (Windows) or Starry Landscape Stacker (Mac): for aligning and stacking.
For mobile:

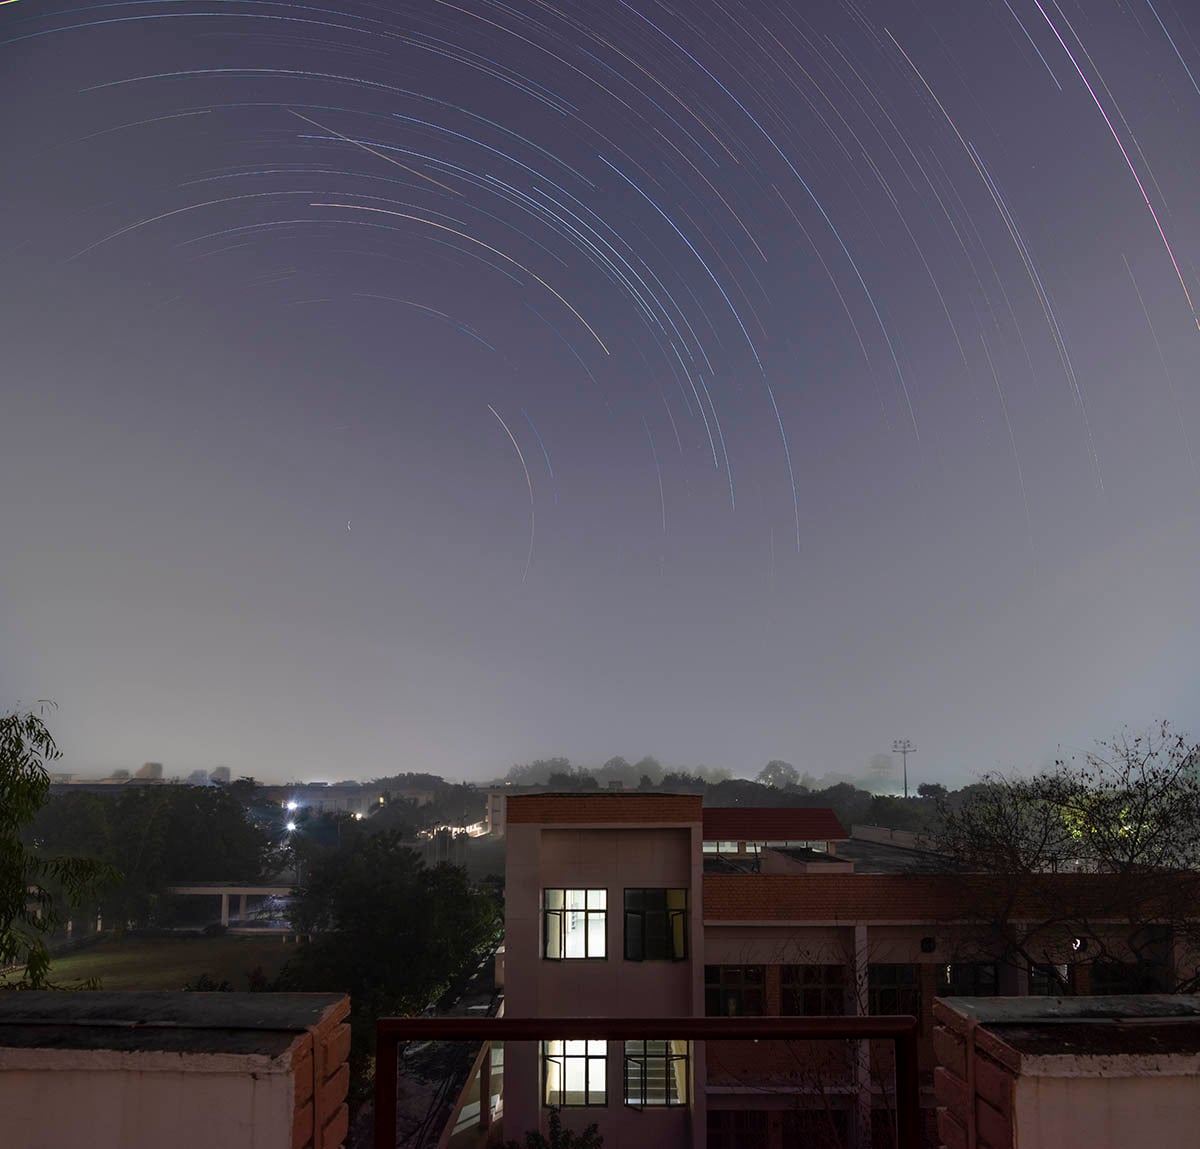
Shoot smart from light-polluted areas
Light pollution is real, but not the end. You can still capture great night sky shots with careful planning. A clear sky and the right direction help. Short exposures keep stars sharp. Stacking brings out the stars and removes noise. You can make magic, even in the suburbs.
You can shoot even in cities without going on a dark sky location trip. Use these tips:
- Go out during the new moon.
- Shoot when the sky is clear and dry.
- Aim toward zenith, away from city glow.
- Stack multiple short exposures to reduce noise.

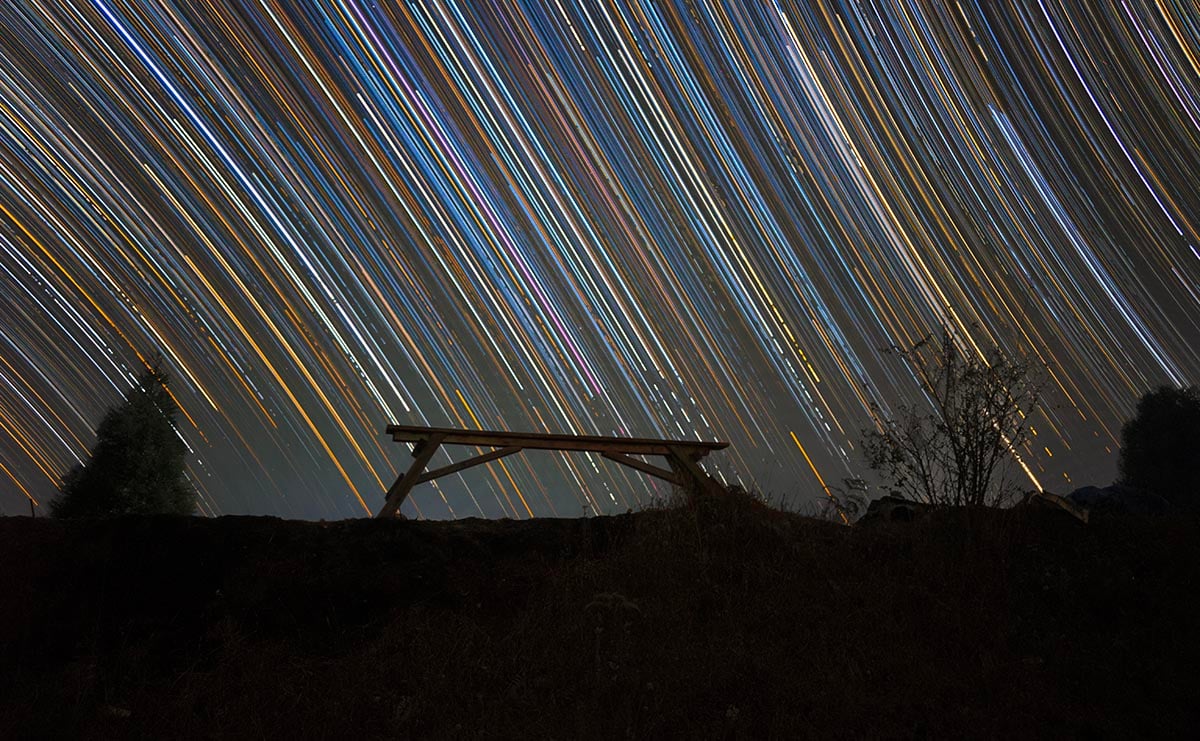
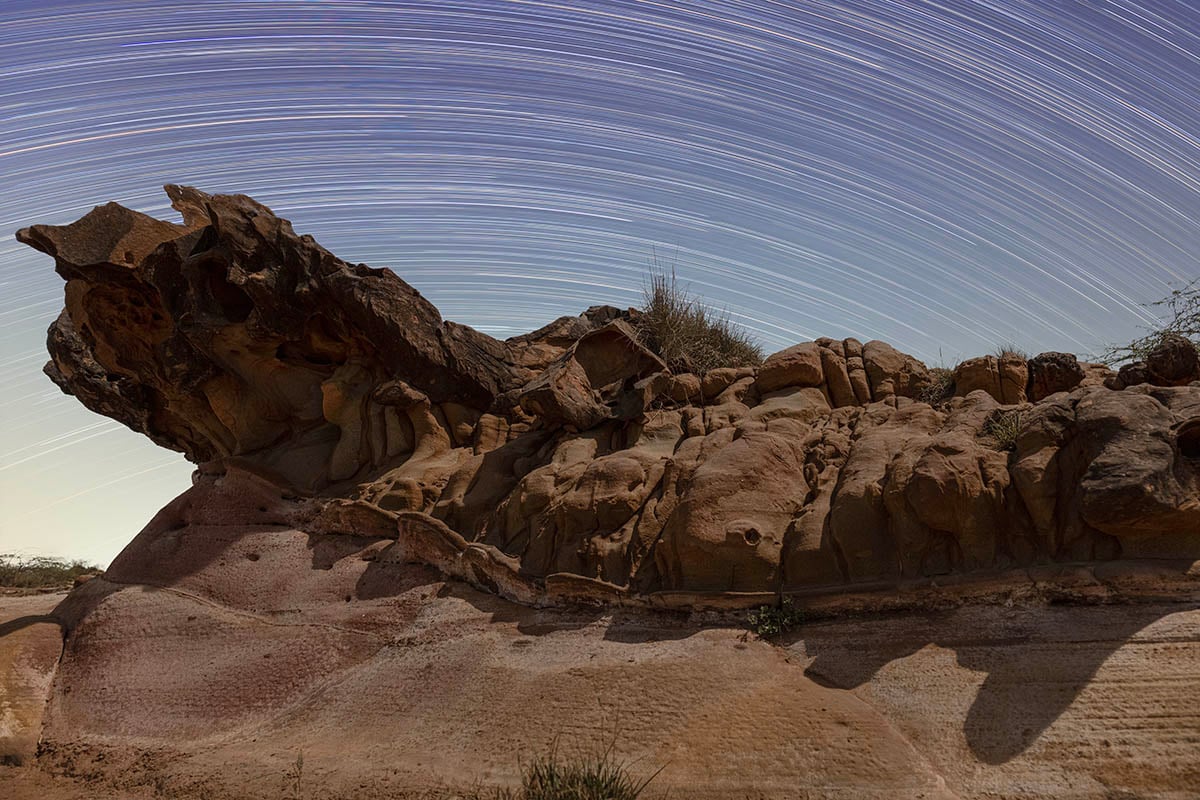
Capture star trails without tracking
Star trails are an easy win. They show Earth’s rotation in beautiful arcs. No tracking needed. Just shoot and stack. It’s a great beginner project with stunning results. You only need time and patience. You don’t need a tracker for this.
Here is a quick rundown of the process:
- Take many short exposures (20–30 seconds each).
- Use an intervalometer or an app.
- Stack them using StarStaX (free software).
Build your own light pollution shield
Although there is nothing you can do to avoid light pollution from an urban area, you can reduce the effects of an immediate light source. Local light from the side is sneaky. It dims contrast and causes glare. A simple shade or lens tent blocks that light. It’s like giving your camera a darkroom. It costs almost nothing, but it greatly improves your results.
Here are some options to do it:
- Use a cardboard box with cutouts to shield your camera lens from streetlights.
- Paint the inside black.
- You can also build a lens tent from dark fabric or a black umbrella.
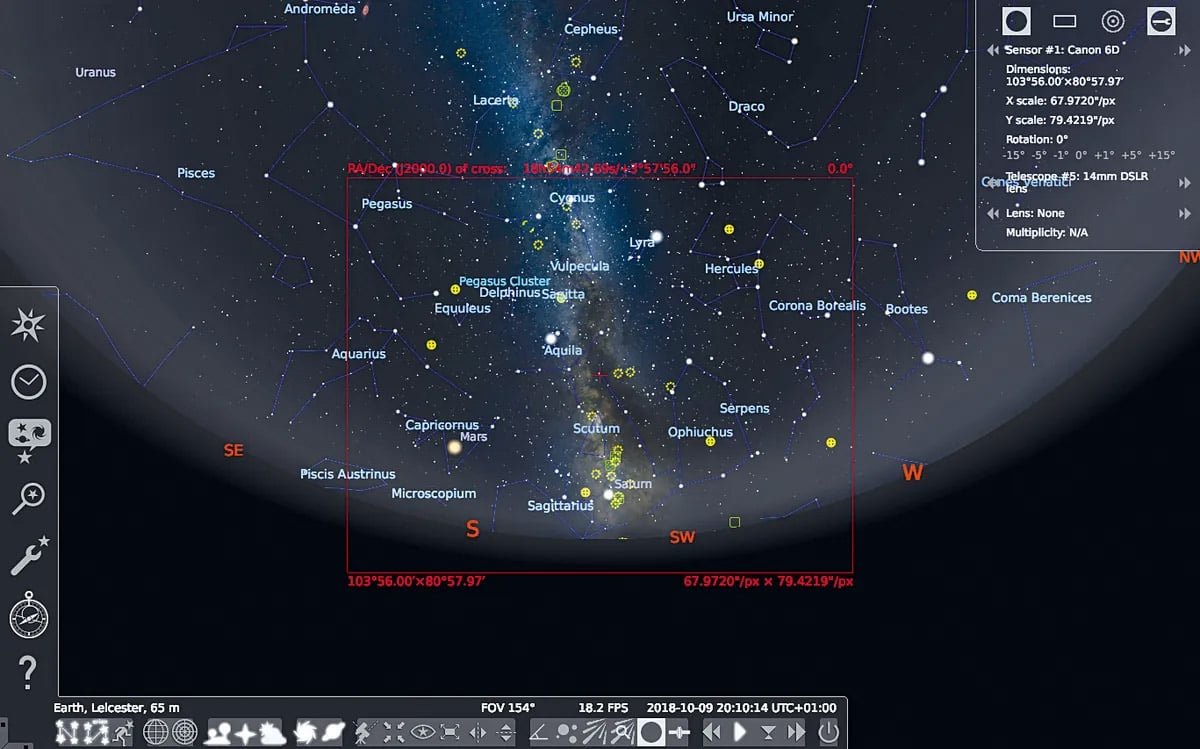
Use apps and tools smartly
Planning saves time and increases success. There are apps that help you find dark spots, align with stars, and avoid cloudy nights. Most are free or very affordable. They’re the best companions for any DIY astrophotographer.
- Stellarium or Sky Guide to plan shots.
- PlanIt! (Lite) for alignment.
- Use Google Earth to scout dark rooftops or parks.
Always check the weather and moon phase before going out.
Final thoughts and further readings
Astrophotography doesn’t have to cost a fortune. You can start with what you already own. Add DIY tools. Be patient and experiment. Don’t wait for the perfect gear. Go out and shoot. The sky belongs to everyone.
Here is a list of articles to dive deeper into astrophotography:
- Astrophotography Explained: A Guide to Shooting Night Skies
- All about astrophotography: Introduction to photographing the night sky
- All about astrophotography: Planning for a night’s session
- All about astrophotography: The art of shooting the night sky
- All about astrophotography: Processing astronomical images
- How to plan for an astrophotography trip: here is what to keep in mind
- 10 tips to take your star trail photography to the next level
- Urban Astrophotography: 5 things you can photograph from a light-polluted city
Clear skies!

Soumyadeep Mukherjee
Soumyadeep Mukherjee is an award-winning astrophotographer from India. He has a doctorate degree in Linguistics. His work extends to the sub-genres of nightscape, deep sky, solar, lunar and optical phenomenon photography. He is also a photography educator and has conducted numerous workshops. His works have appeared in over 40 books & magazines including Astronomy, BBC Sky at Night, Sky & Telescope among others, and in various websites including National Geographic, NASA, Forbes. He was the first Indian to win “Astronomy Photographer of the Year” award in a major category.


Join the Discussion
DIYP Comment Policy
Be nice, be on-topic, no personal information or flames.
3 responses to “DIY Astrophotography: Capture the Night Sky on a Budget”
So beautiful
Were you planning on putting up how to build and operate this DIY tracker? This site used to give detailed plans, not just a part list and let people try to figure out how to put it together.
They are coming soon. This is where all the articles will be housed