


How to plan for an astrophotography trip: here is what to keep in mind
Sep 21, 2024
Soumyadeep Mukherjee
Soumyadeep Mukherjee is an award-winning astrophotographer from India. He has a doctorate degree in Linguistics. His work extends to the sub-genres of nightscape, deep sky, solar, lunar and optical phenomenon photography. He is also a photography educator and has conducted numerous workshops. His works have appeared in over 40 books & magazines including Astronomy, BBC Sky at Night, Sky & Telescope among others, and in various websites including National Geographic, NASA, Forbes. He was the first Indian to win “Astronomy Photographer of the Year” award in a major category.
Share:

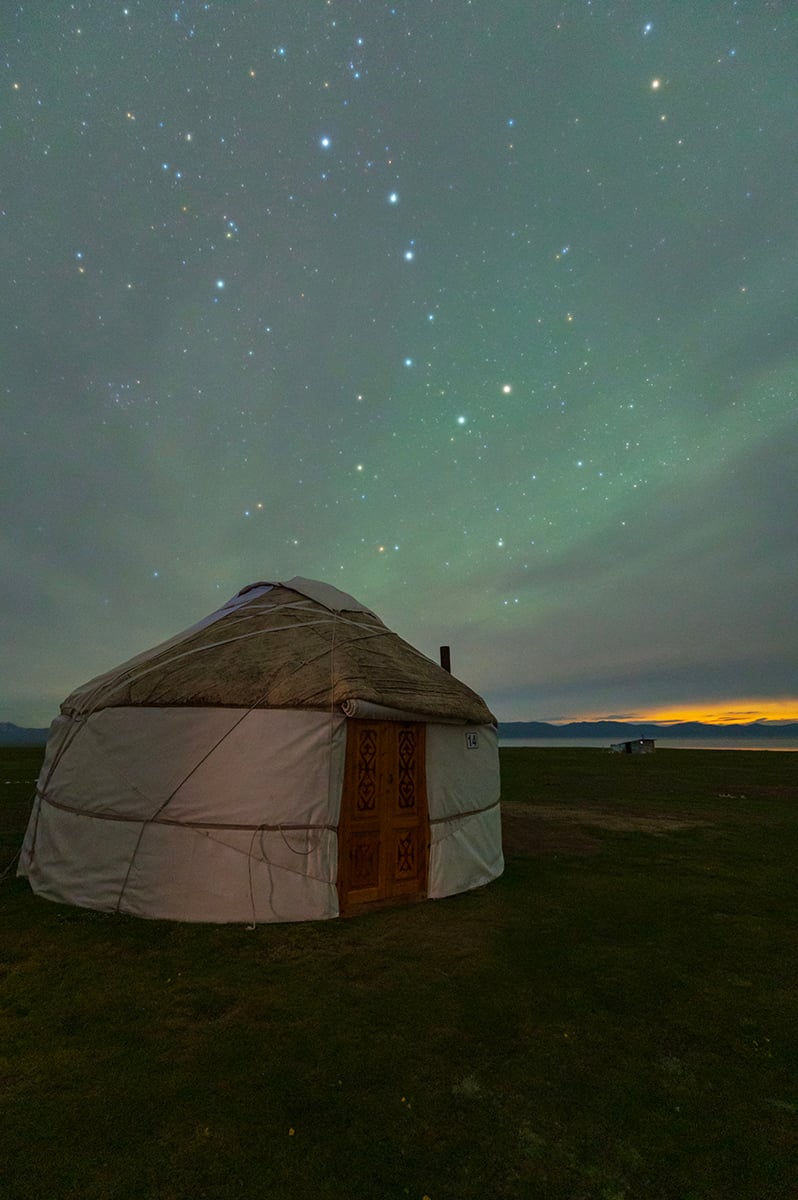
Traveling distances to do astrophotography can be fun. Not only does it give you the pleasure of traveling to a new place, but it also gives you a light pollution-free night sky. However, there are certain things to remember when you are planning such a travel.
Check the location
Initially, it may not be possible to pin down the exact locations you will be traveling to. To get an idea of the possible location, start looking for it on the web. For example, if you are traveling to Kyrgyzstan, simply start by searching “10 best photography locations in Kyrgyzstan”. This will give you ample and varied options to choose from. Once you do this and narrow it down to 5-6 locations, check them on Google Map (and the web) to gather information about the following:
- If the location has places for accommodation
- If the location can be reached via transport or requires hiking/trekking
- If the location is accessible at night
- If the other locations are accessible from this place and the distance between them
Once you have checked all the details, you may move the further narrowing down of the locations.
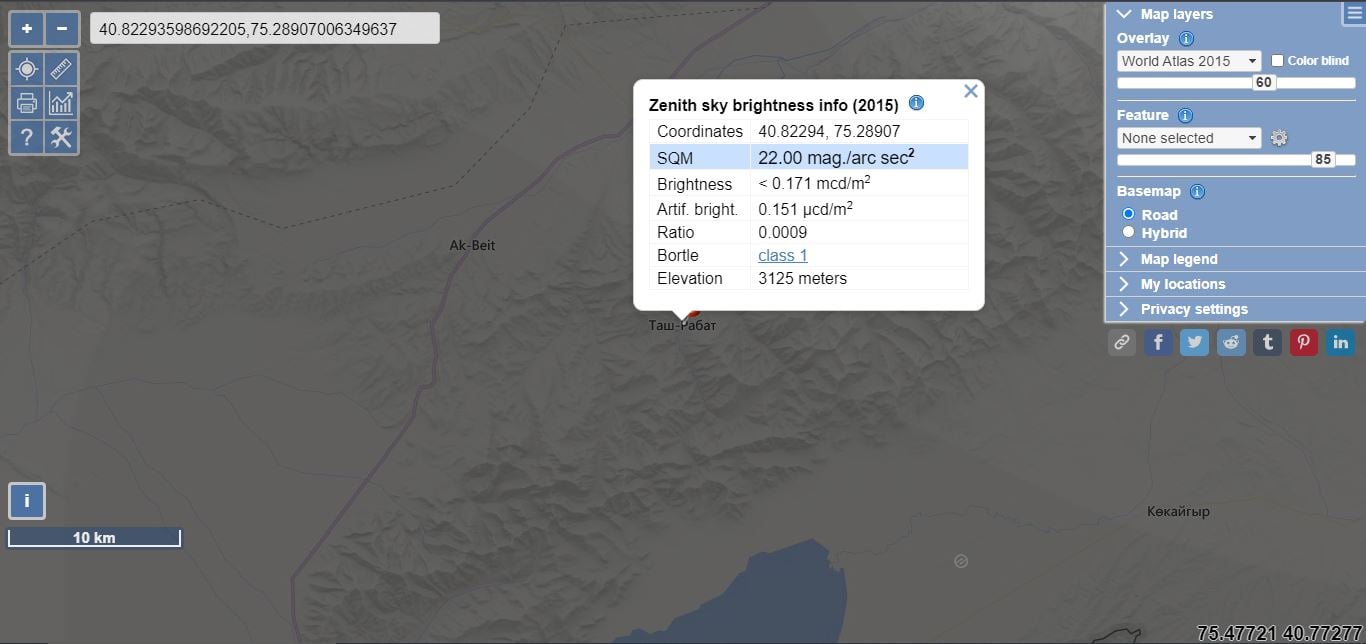
Check the Bortle scale
When you are spending your money to travel specifically to do astrophotography, the most important thing is to check how dark the sky is. If your aim is to do wide-field nightscape photography, Bortle 1-2 regions would be a perfect choice. With minimal light pollution in and around the place, you are bound to get the best view of the universe. However, if you are planning for a deep sky trip and you own narrowband filters and are not able to travel to the darkest sky locations, Bortle 3-4 can give you good results. Remember that there is no replacement for a good sky. Checking the locations and the Bortle Scale should be done simultaneously.
The best way to check Bortle Scale is the Light Pollution Map. Copy the coordinates of your target location from Google Map and paste it on the light pollution map website.
Narrowing down the locations
After getting a good idea of the region with the above points, you might want to narrow down to the specific locations you want to travel to. Here are the things to remember:
- Choose at least 2-3 locations. If you want to do nightscape or astro-landscape photography or other kinds of astrophotography, you want to have a variety of landscapes to produce some good images.
- Check the distance between the locations. You do not want 8-10 hours of travel in the daytime if you are planning to do photography at night. The shorter the distance, the easier it will be not to miss a single night of photography.
- If the distance is long, try breaking it by choosing a location in between. However, this may not always be possible.
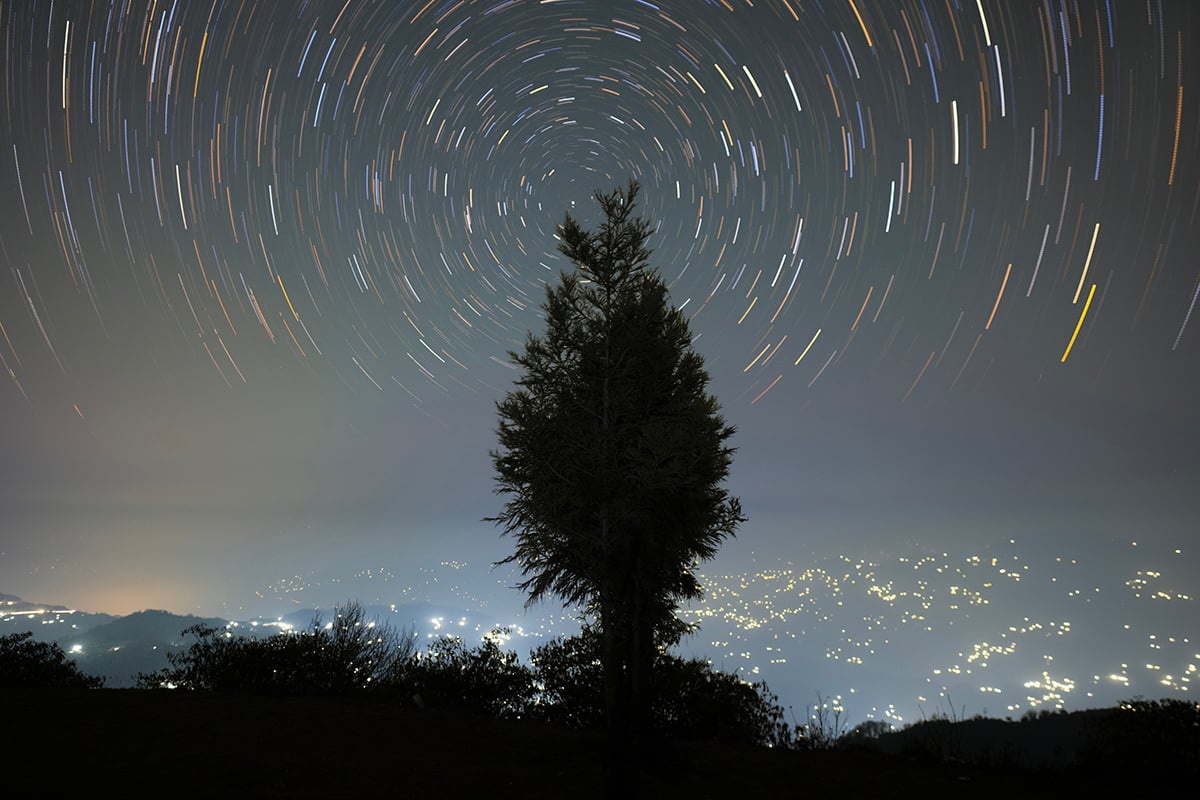
Check the weather
Weather is unpredictable, especially if you are traveling to the mountains. And it is the biggest concern for astrophotography. The only option you have is to go with the probability. Check the internet for the average rainfall and clear skies to find out if you are on the right track. If you think that there is a better chance for the weather to remain clear on those periods, go ahead with your plan. Remember to check the weather forecast for all the locations you have chosen.
You can use Accuweather or Windy to check for forecasts and statistics.
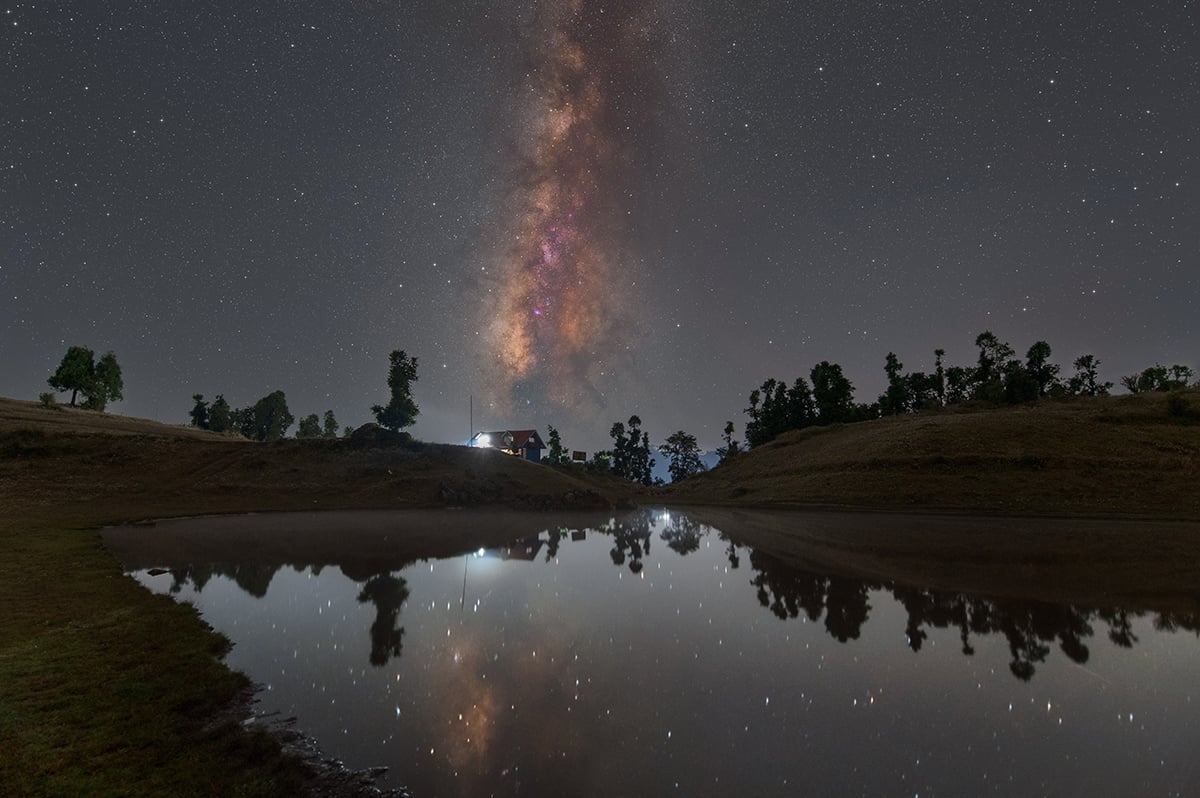
Check reference images
Before you pin down your locations, you might want to check what to expect from these places. Check the internet and the social media for reference images. The reference images do not strictly require to be night time images or astrophotography images. The goal is to get an idea about the landscape you can explore with your camera. In this phase, you can come across some interesting structures that you would like to include to your imaging plan. You can also use Google Earth to know more about the terrain.
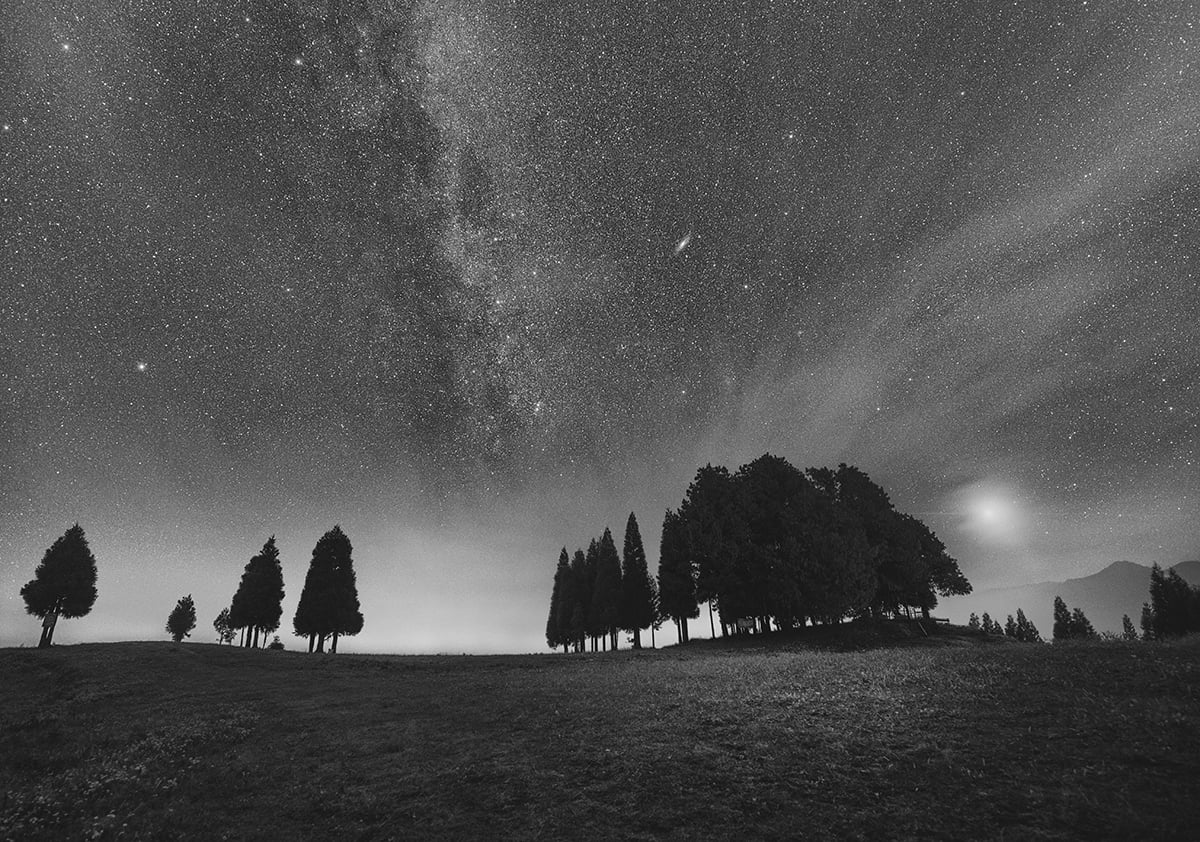
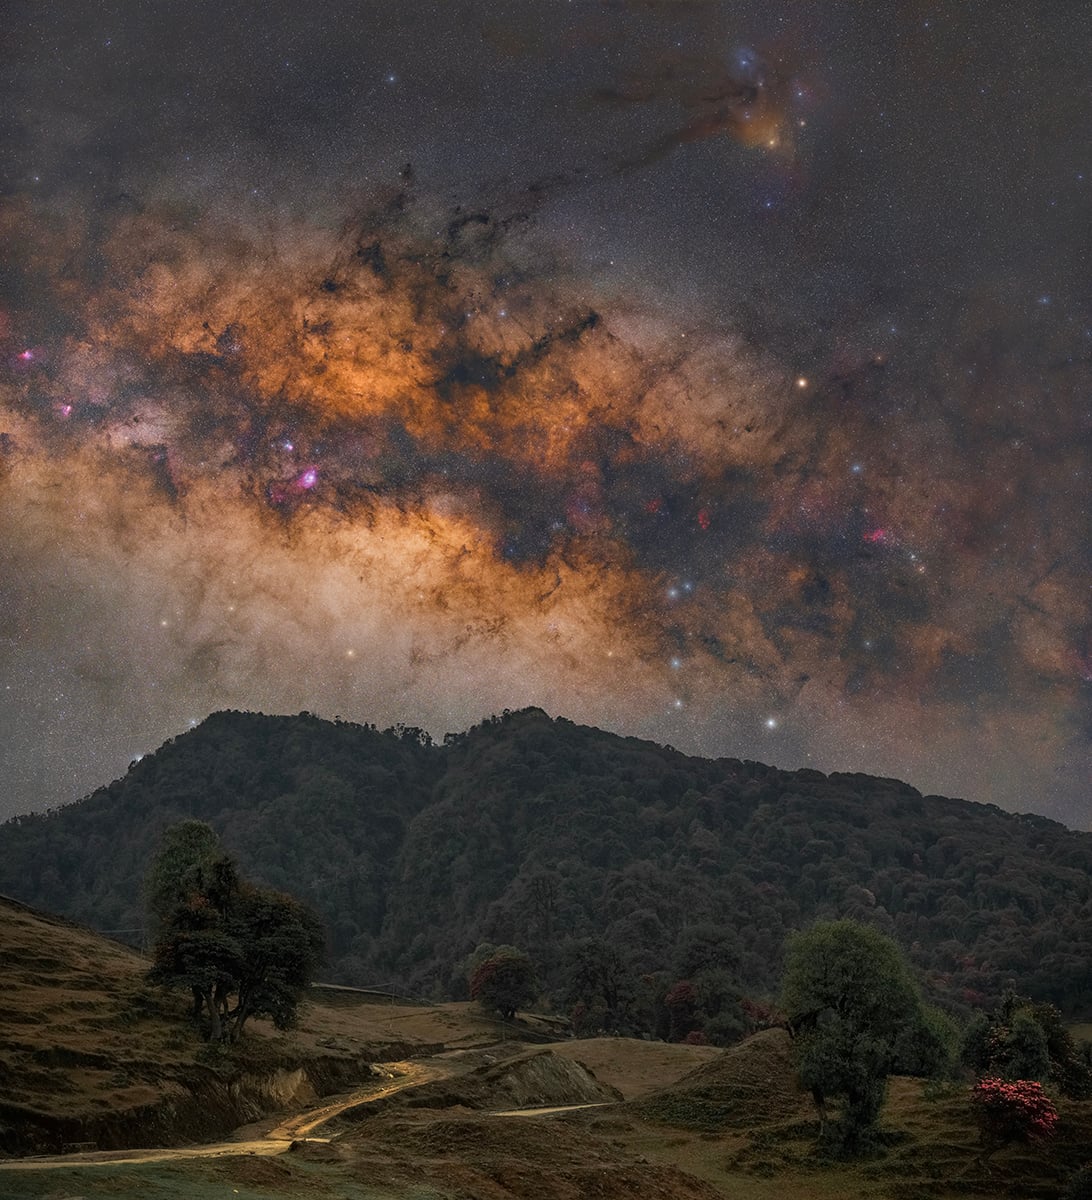
Check the objects in the sky
Depending on your month of travelling and your location, the objects in the sky will change. For example, if you want to photograph the Milky Way, you have to travel between April and September to get ample opportunities. You also need to have an idea about the following:
- Sunrise and sunset time
- Timings for twilight
- Rising and setting time of the night sky object (for example, Sagittarius region, Andromeda galaxy, Orion constellation etc.)
The best way to do this is via Stellarium or any other mobile planetarium apps (Mobile Observatory Pro etc.). Remember to modify your target location accordingly.
Fixing the itinerary and budget
Once you know your places, how to reach them and where to stay, it is time to fix your itinerary. Start talking to your preferred accommodations, transportation agencies and if possible, with a few locals. During this period, you may get some unexpected information and might have to change your itinerary accordingly. You need to be bold about it; do not make a major compromise with you nighttime imaging plans.
Now it is time to decide on your estimated cost. Your estimation should include the following:
- Flight fare
- Visa fare (if you are travelling to a foreign country)
- Accommodation cost
- Local transport cost
- Food and water cost
- Miscellaneous cost (this includes unforeseen expenses)
Make an imaging plan
By now, you already have an idea about the locations and the sky you are going to spend your nights under. This will be the time to make an astrophotography imaging plan on how to get the most of your nights. Here is how an ideal imaging plan should look like:
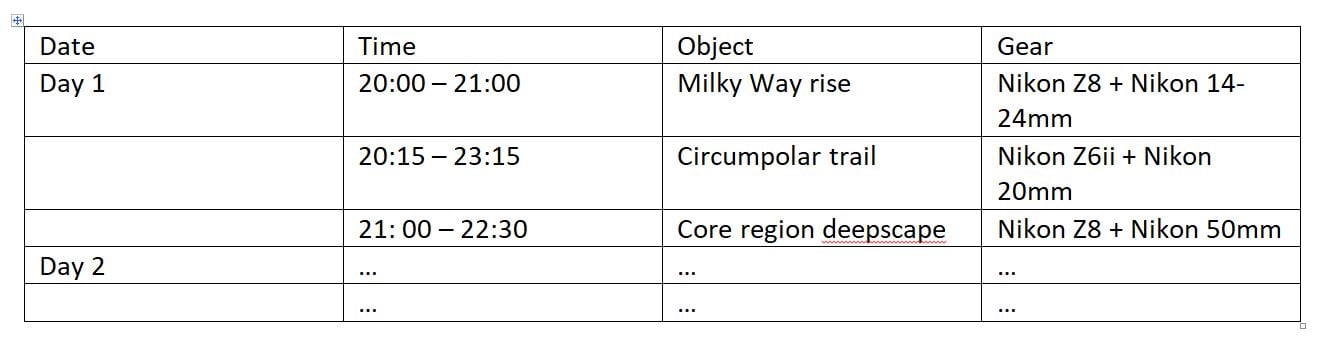
Of course, your plan will vary depending on when and where you are travelling and what equipment you have. You may not be able to strictly adhere to the plan, and you do not need to. But to have a plan in the back of your mind always helps you to utilise your time. Remember that the maximum amount of imaging time you will get from a trip will be 30-40 hours (assuming five photography nights from a 7-day trip). It is best to get the most out of it.
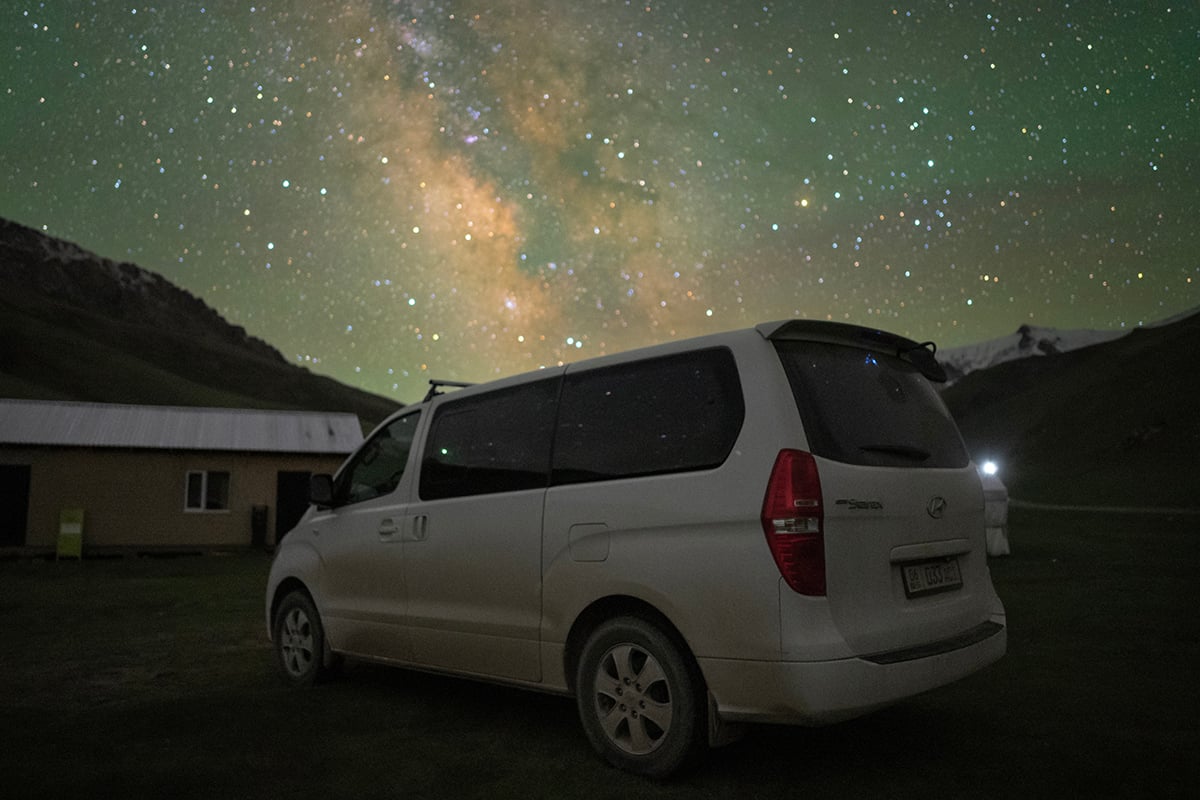
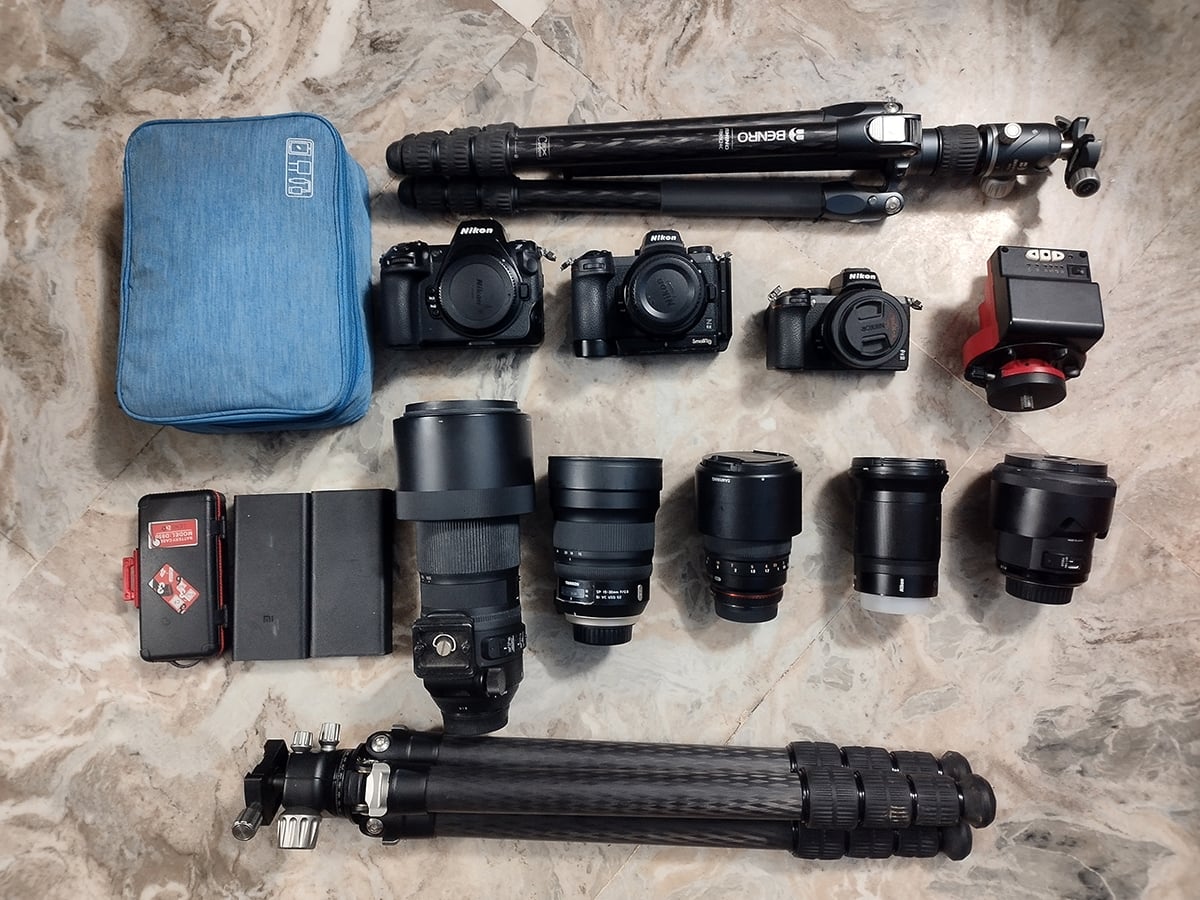
Choosing your equipment
This can be tricky. You would want to travel with all the cameras and lenses you have. But you can’t and also, don’t need to. Especially if your trip includes hiking or trekking, you have to travel light. Here is what to remember while choosing your equipment:
- Choose what you are familiar with. You can carry new lenses or cameras, but be sure to use them in daytime before you get to the location.
- Carry your lenses according to your imaging plan. If your plan does not include a small object requiring a larger focal length, do not carry a telephoto lens. You will probably never take it out of your bag in the trip.
- If you have the option of carrying more than one set up (more than 1 camera, tripod and lenses), do it. Other than setting up multiple cameras, this can also be used as a backup camera.
Now you are all set to enjoy a fantastic astrophotography trip. Clear skies.

Soumyadeep Mukherjee
Soumyadeep Mukherjee is an award-winning astrophotographer from India. He has a doctorate degree in Linguistics. His work extends to the sub-genres of nightscape, deep sky, solar, lunar and optical phenomenon photography. He is also a photography educator and has conducted numerous workshops. His works have appeared in over 40 books & magazines including Astronomy, BBC Sky at Night, Sky & Telescope among others, and in various websites including National Geographic, NASA, Forbes. He was the first Indian to win “Astronomy Photographer of the Year” award in a major category.
Related Posts
 Don’t make these mistakes when you plan a photography trip
 “Imagination” Is A Trip Into A Kids Mind Timelapse That Took A Year And A Half To Create
 Plan all your astrophotography trips with this free astronomy guide
 Mind Bending Clip Shot With 75 Camera Bullet Time Array Showcases Equally Mind Bending BMX Tricks
Join the Discussion
DIYP Comment Policy
Be nice, be on-topic, no personal information or flames.