


Astrophotography in Kyrgyzstan: an astrophotographer’s paradise
Aug 12, 2024
Soumyadeep Mukherjee

Alex Baker is a portrait and lifestyle driven photographer based in Valencia, Spain. She works on a range of projects from commercial to fine art and has had work featured in publications such as The Daily Mail, Conde Nast Traveller and El Mundo, and has exhibited work across Europe
Share:

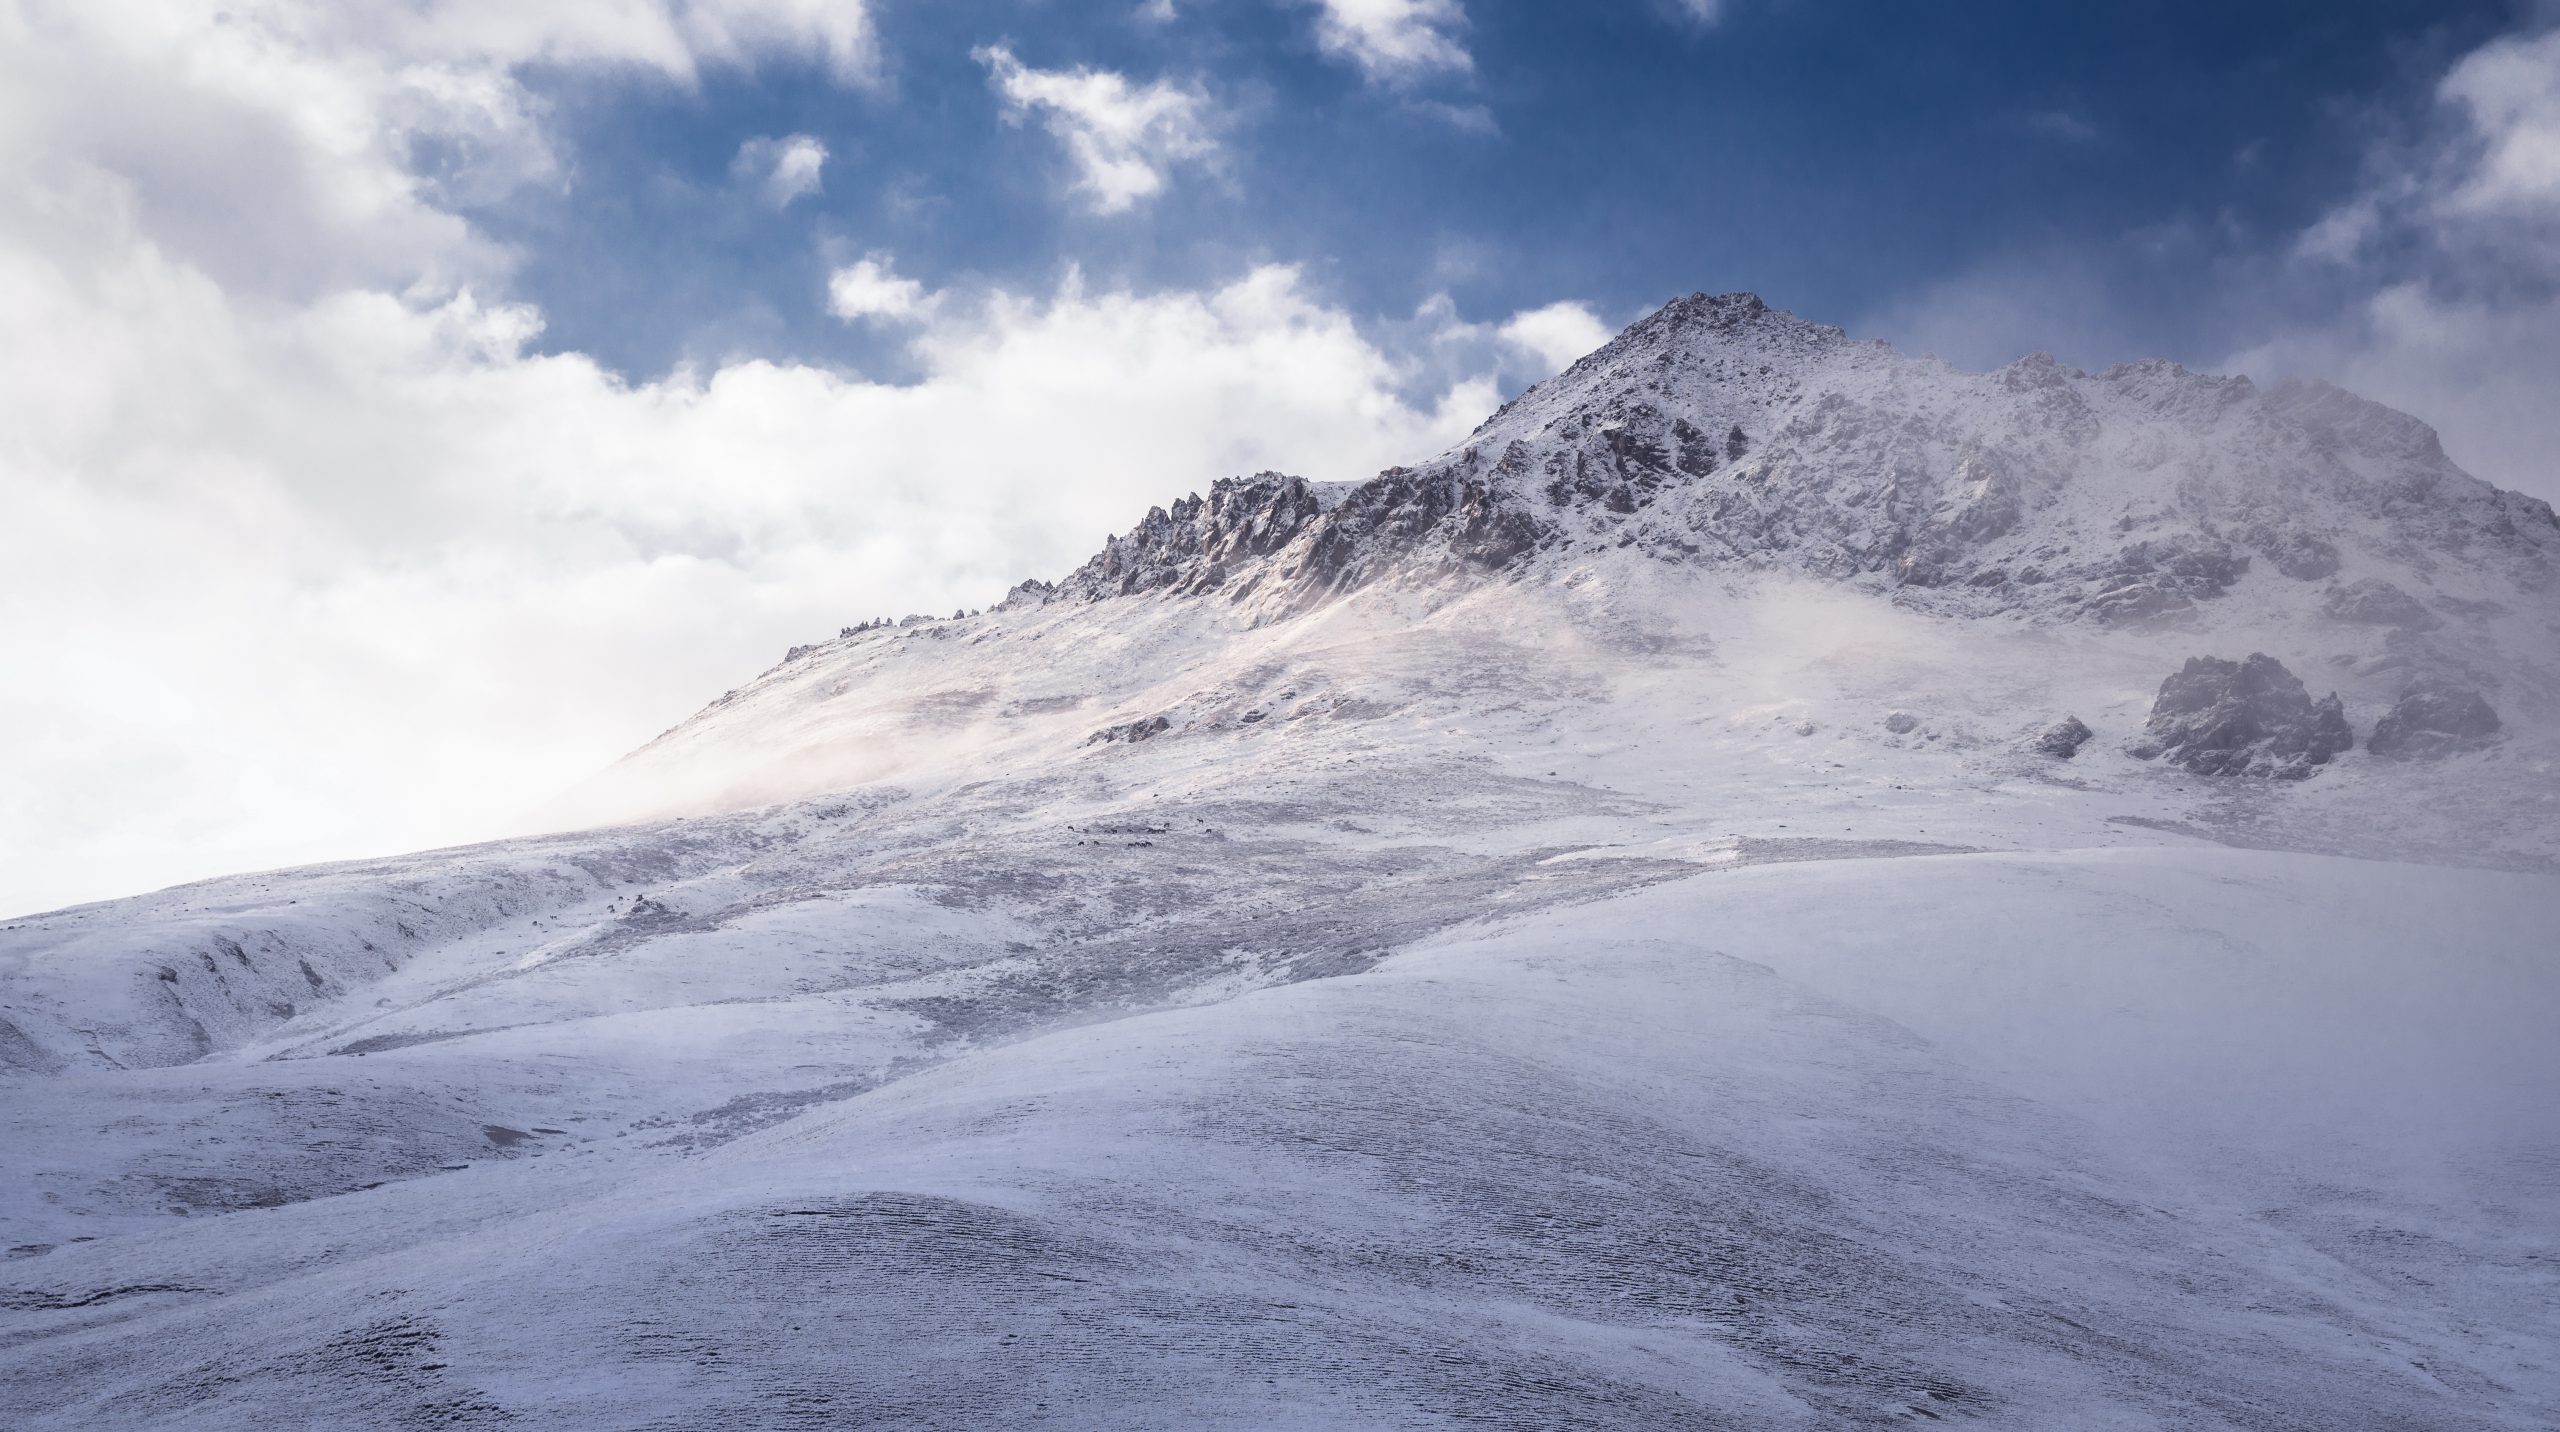
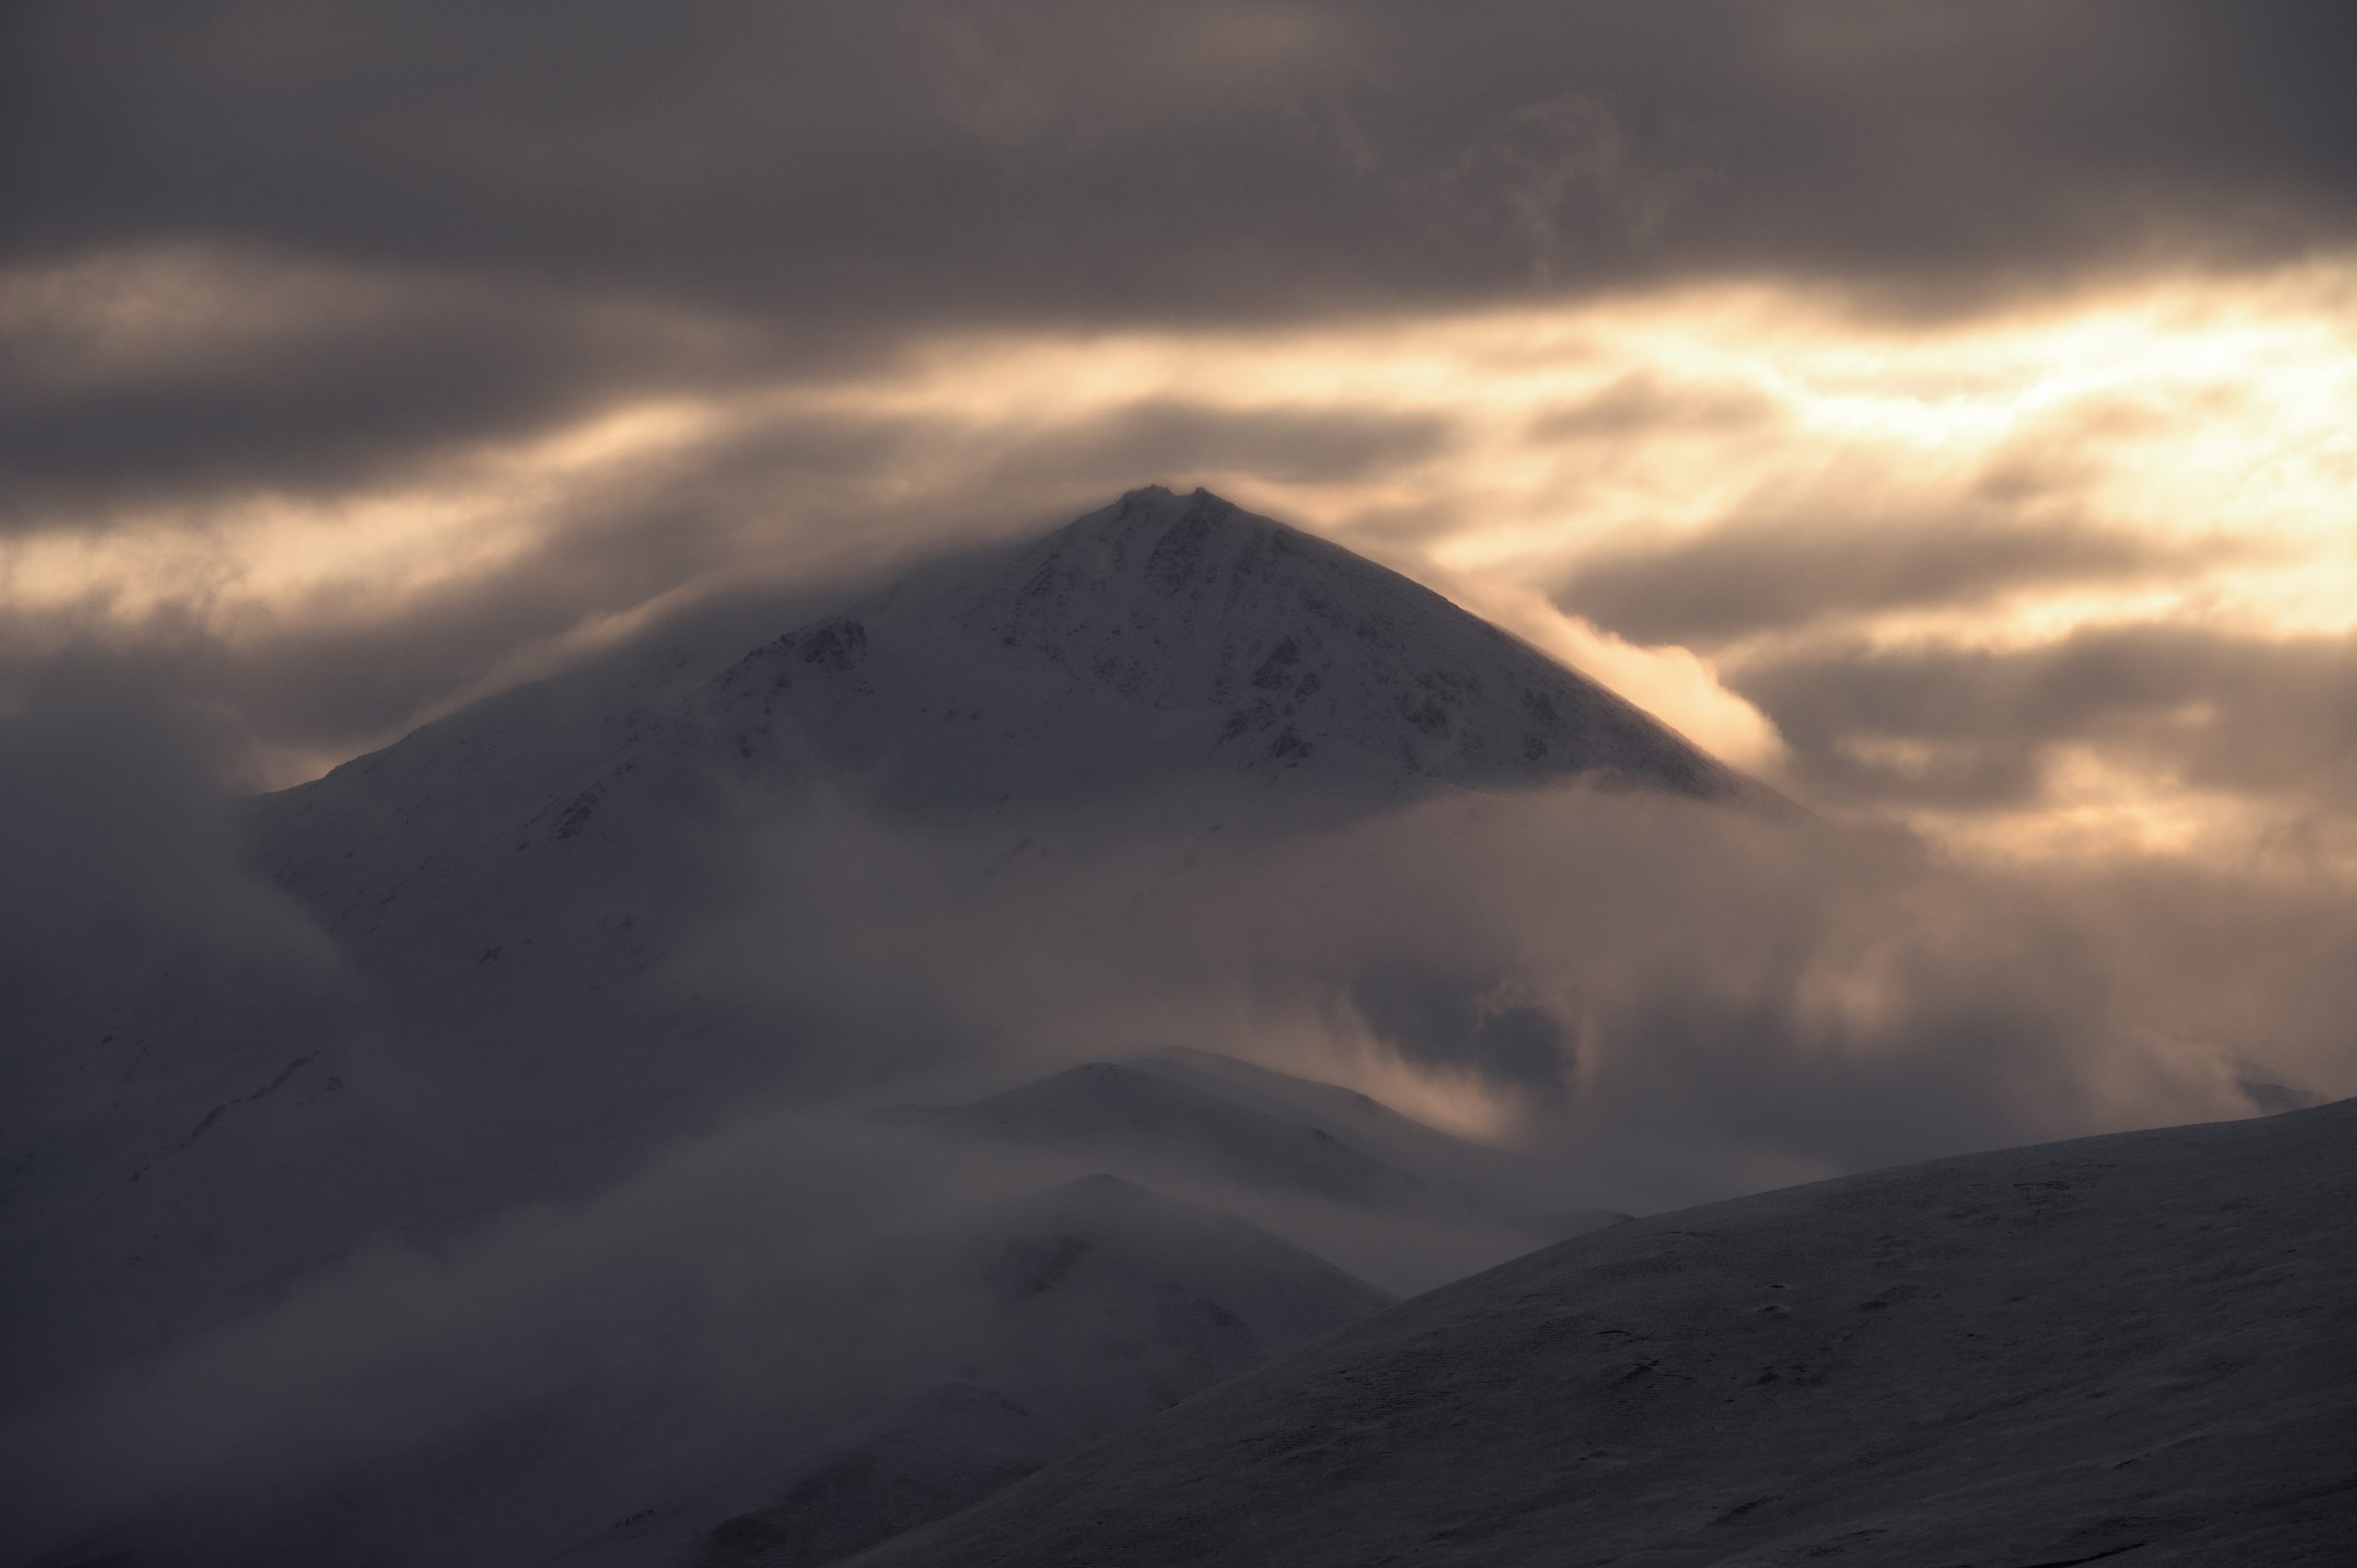
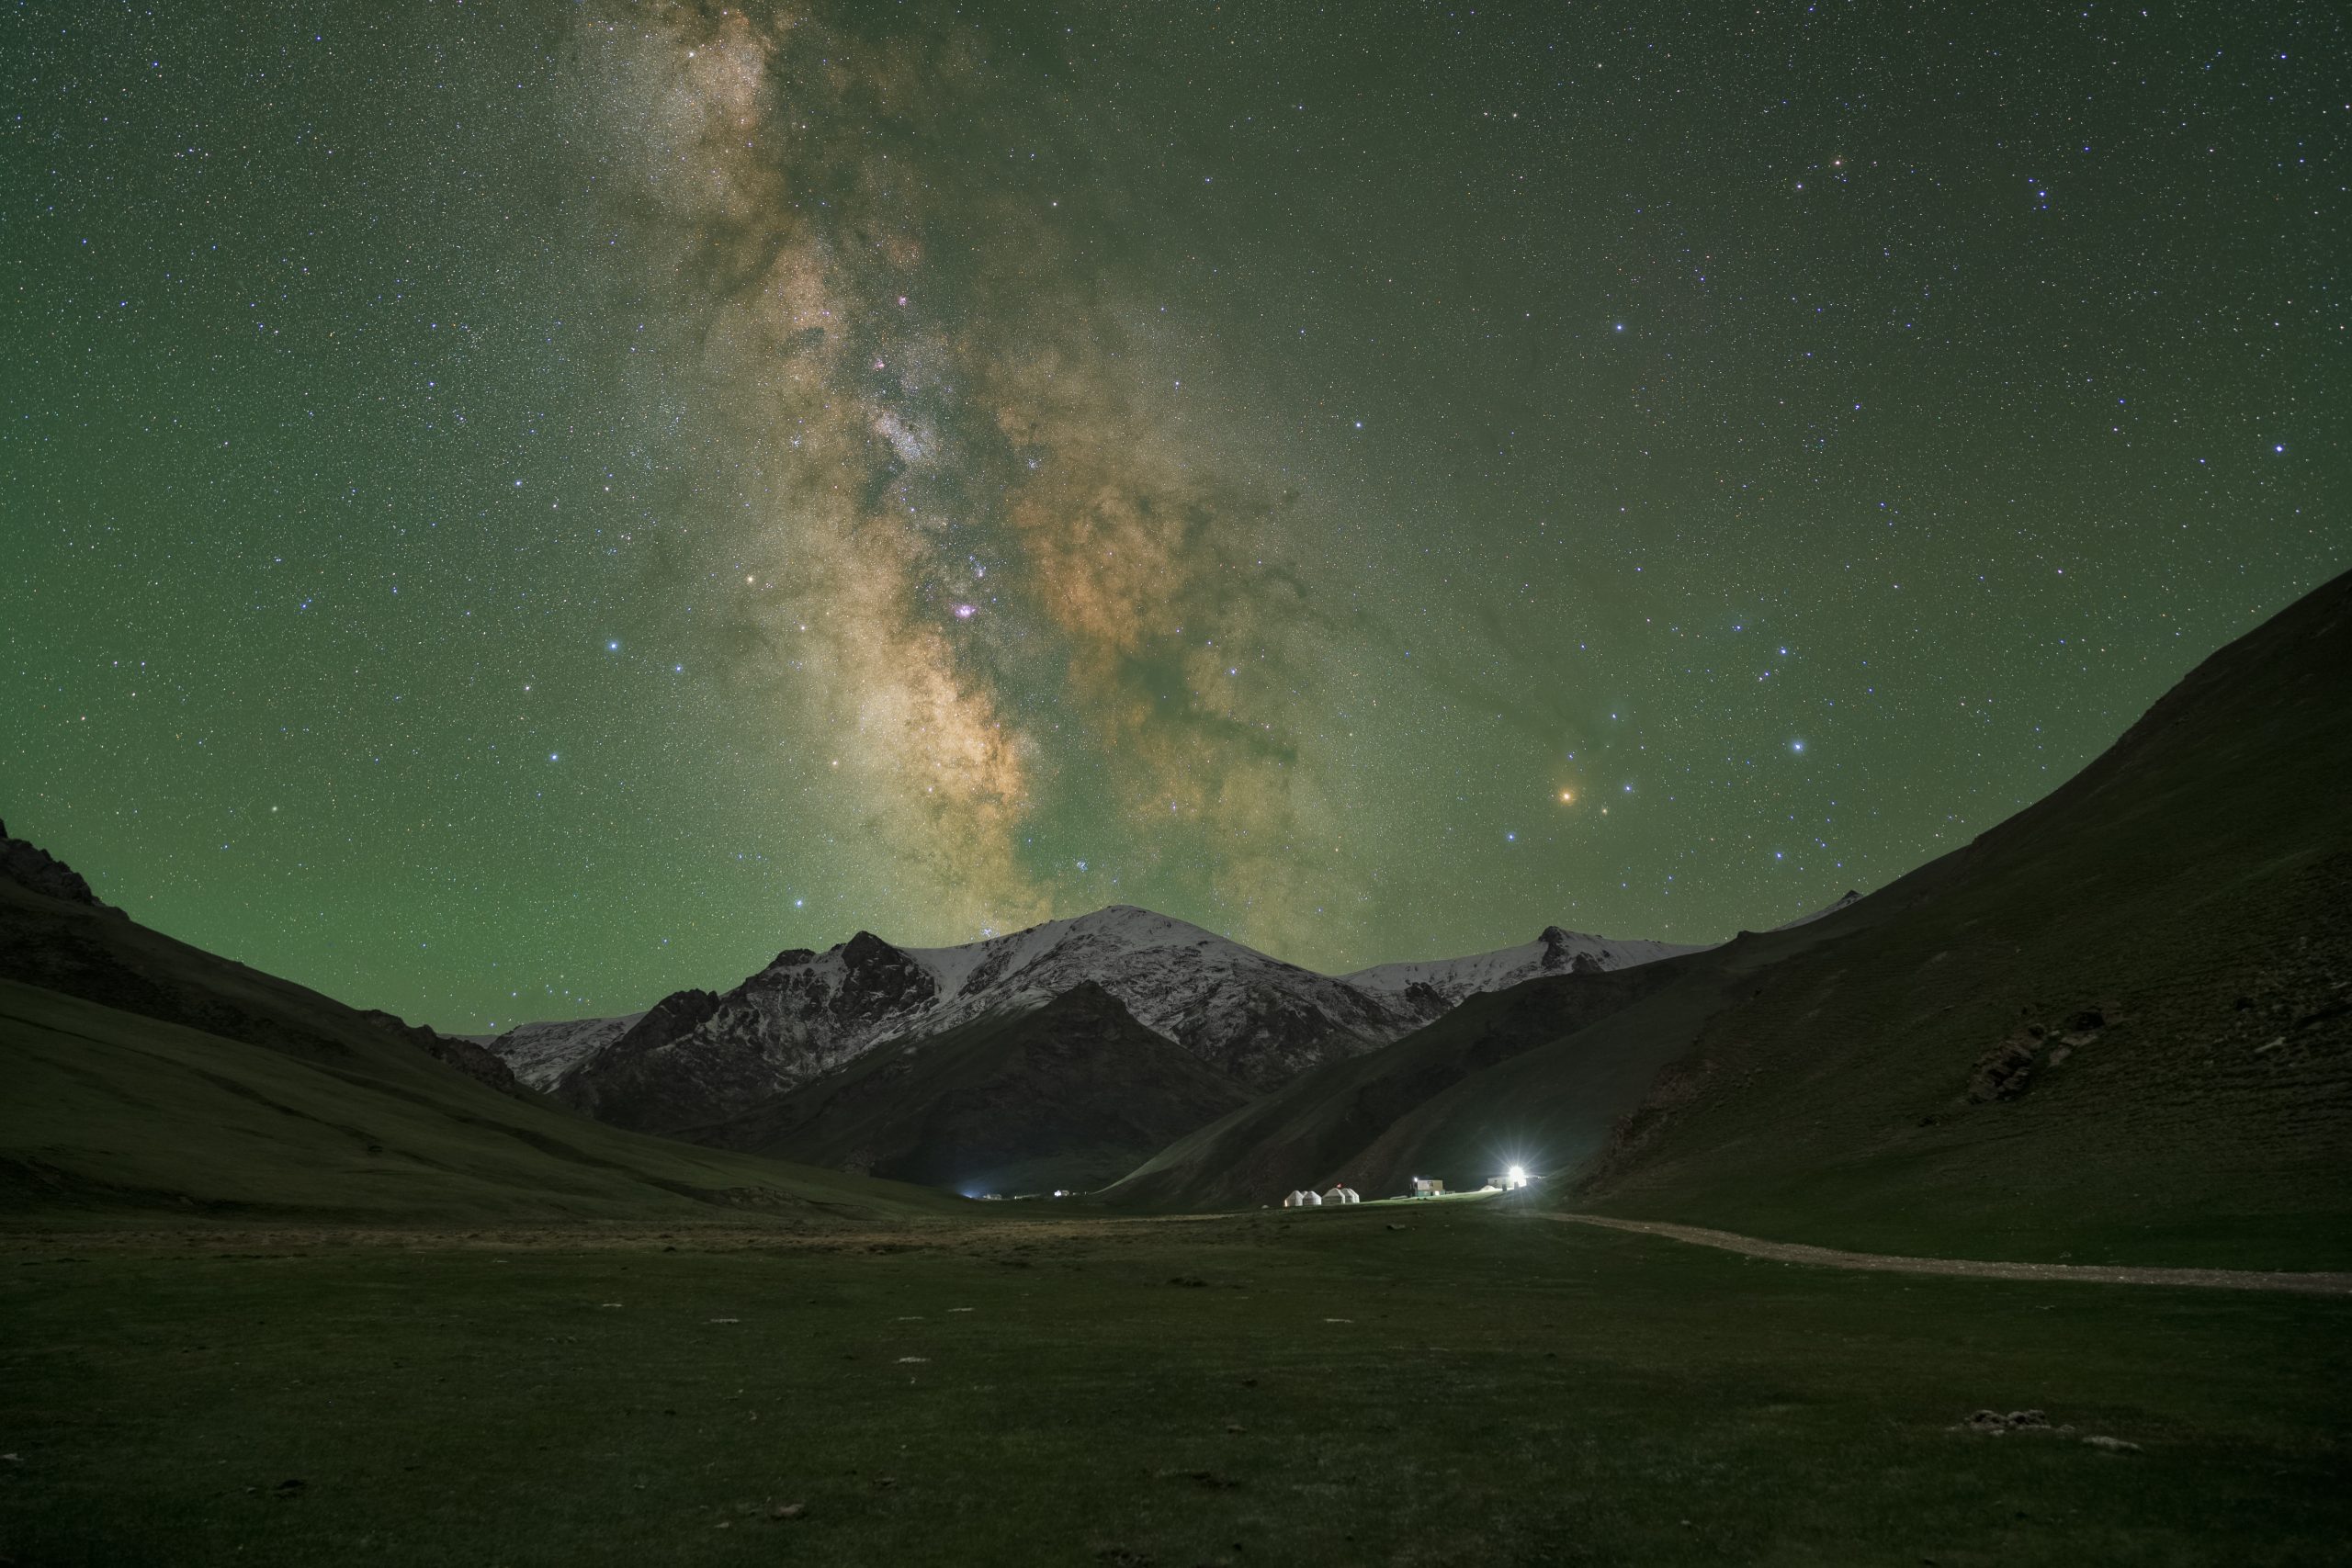
“I must be dreaming”. These are the words that I uttered to myself while travelling from Son-Kul to Tash Rabat in Kyrgyzstan. On one side of the road, I was watching the brown mountains of the Pamir Plateau and on the other side, the green valley, just like the Windows wallpaper. Although I wanted to go back to sleep in the comfortable seat of the minibus, I couldn’t.
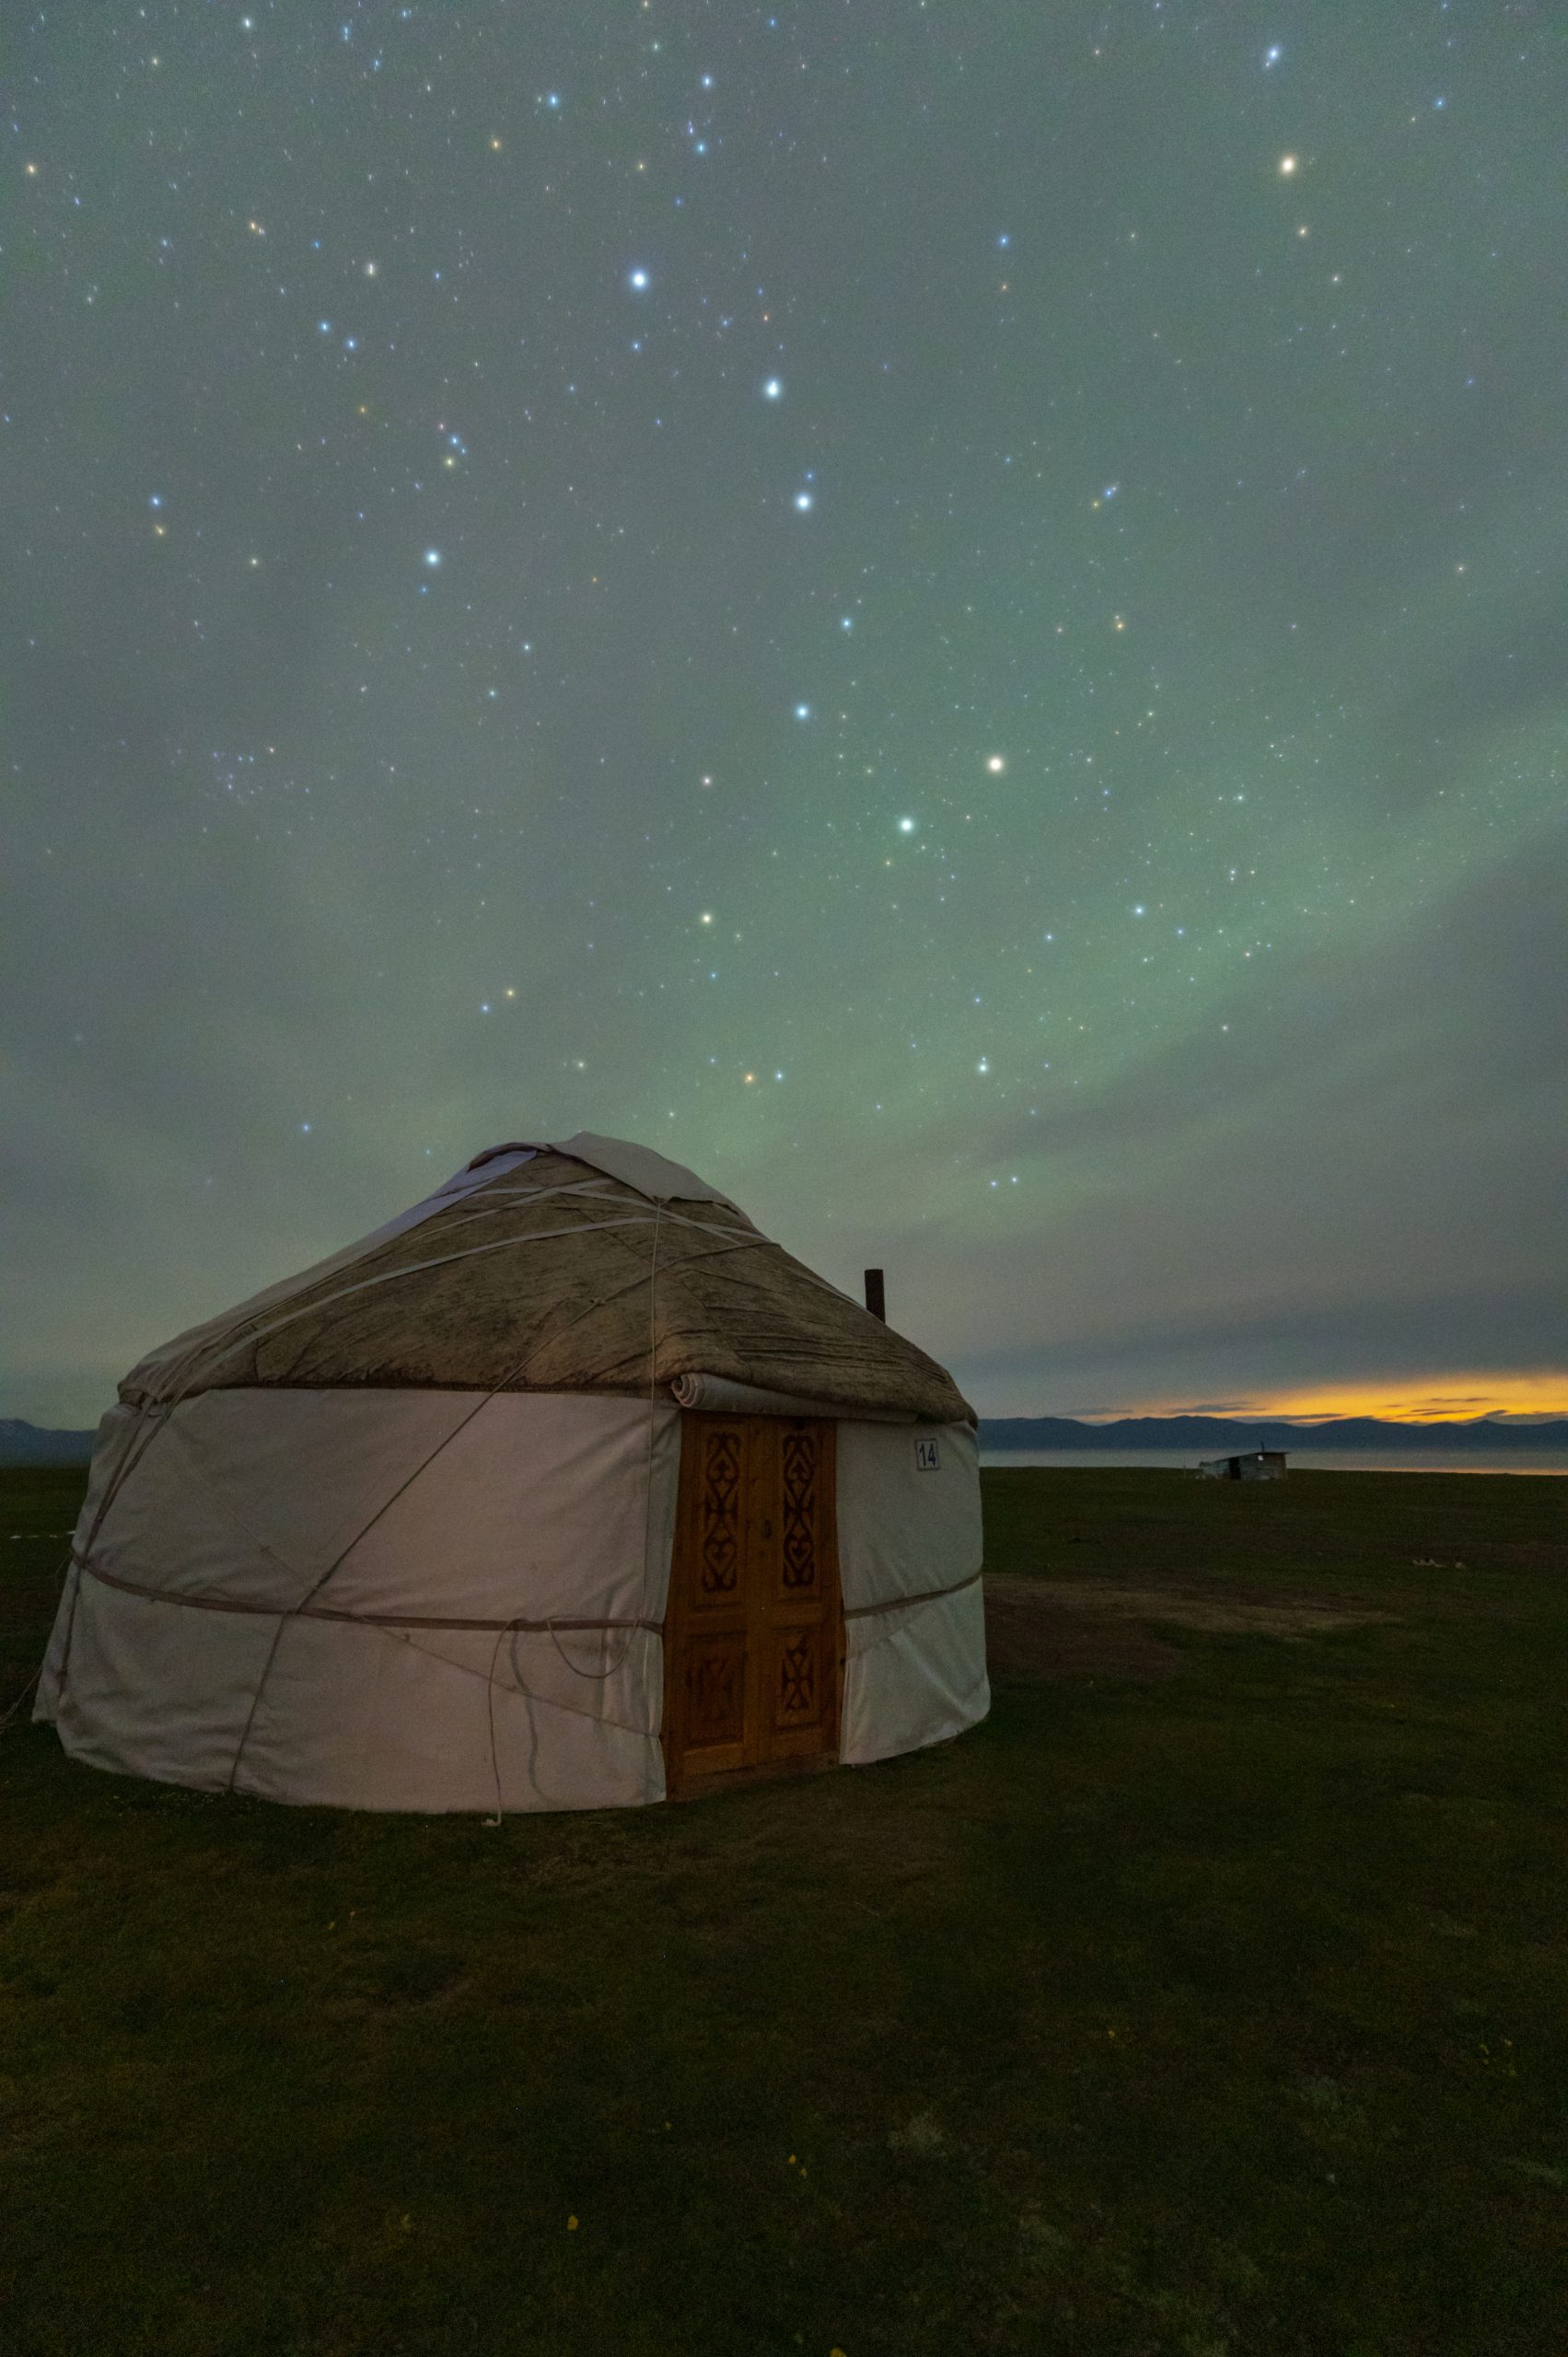
Back in 2023, I was planning to host a week-long astrophotography workshop for 2024 along with my teammates at Astronomads Bangla. While the initial plan was to host it somewhere in India, some of us stumbled upon a couple of Milky Way images from Kyrgyzstan. This changed everything. I wanted to travel to Kyrgyzstan and enjoy the night sky from a yurt. After a month of research, it was decided: I was going to Kyrgyzstan. Little did I know about the bag of surprises waiting for me.
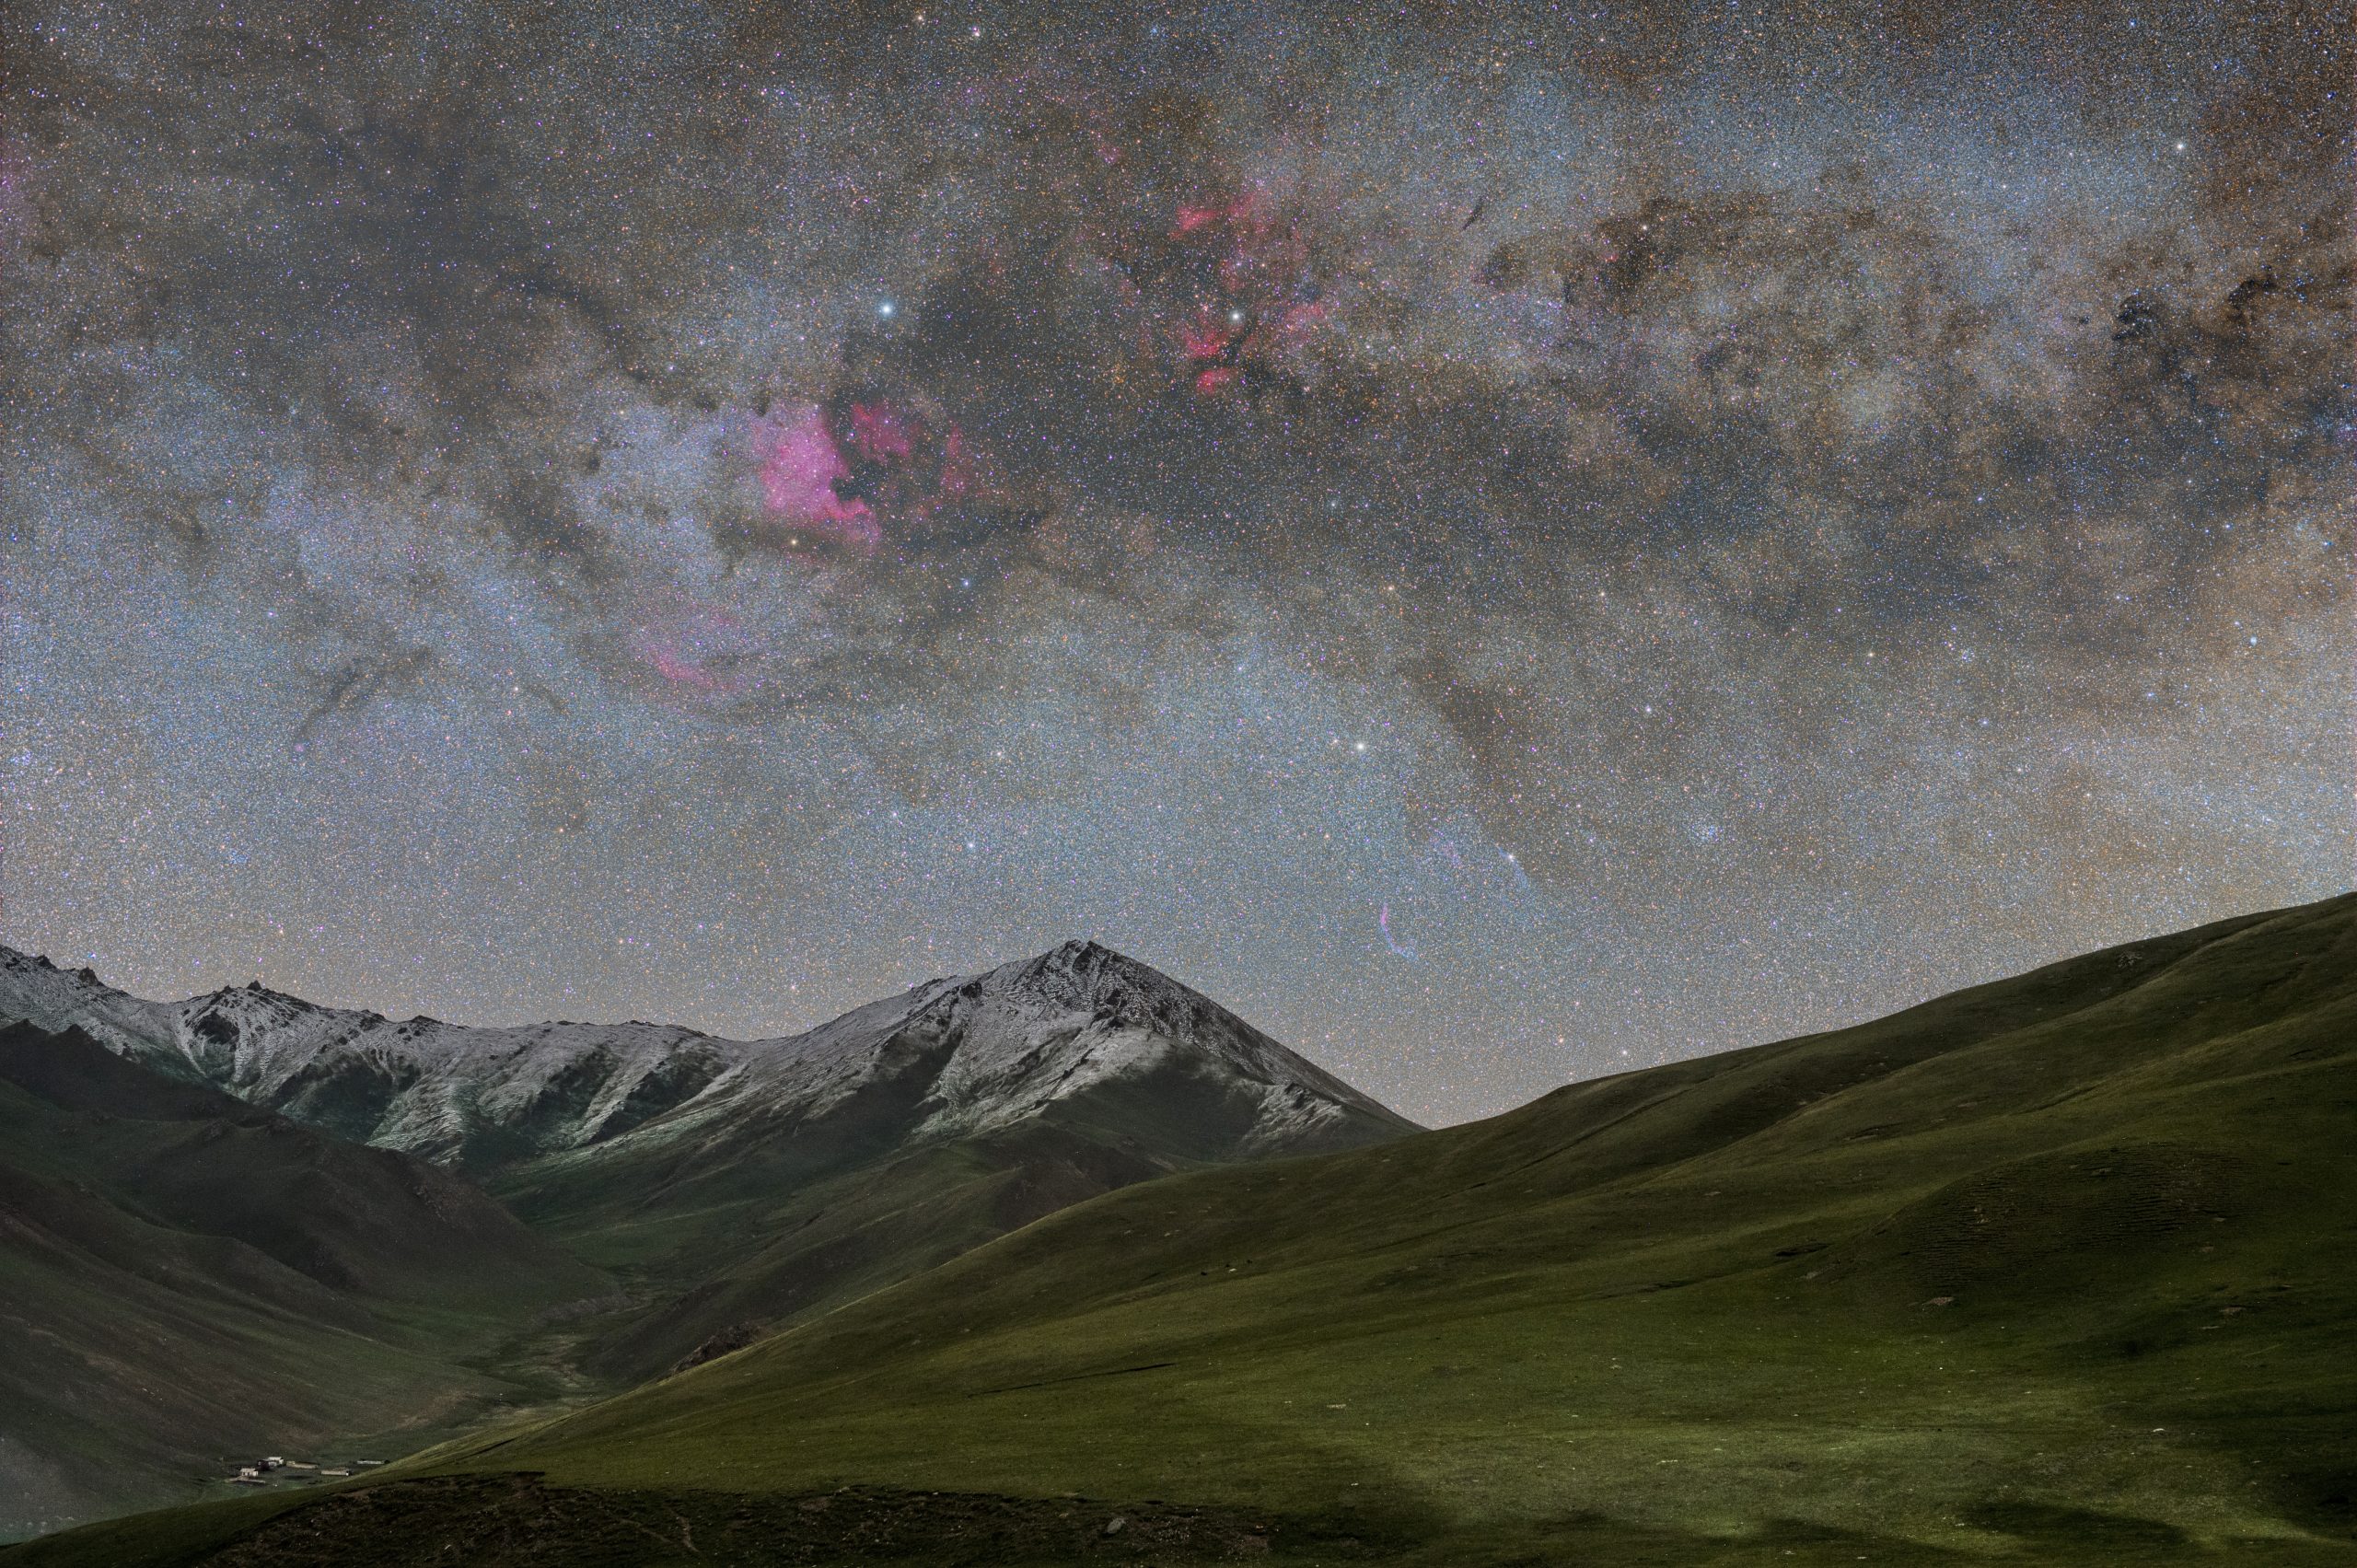
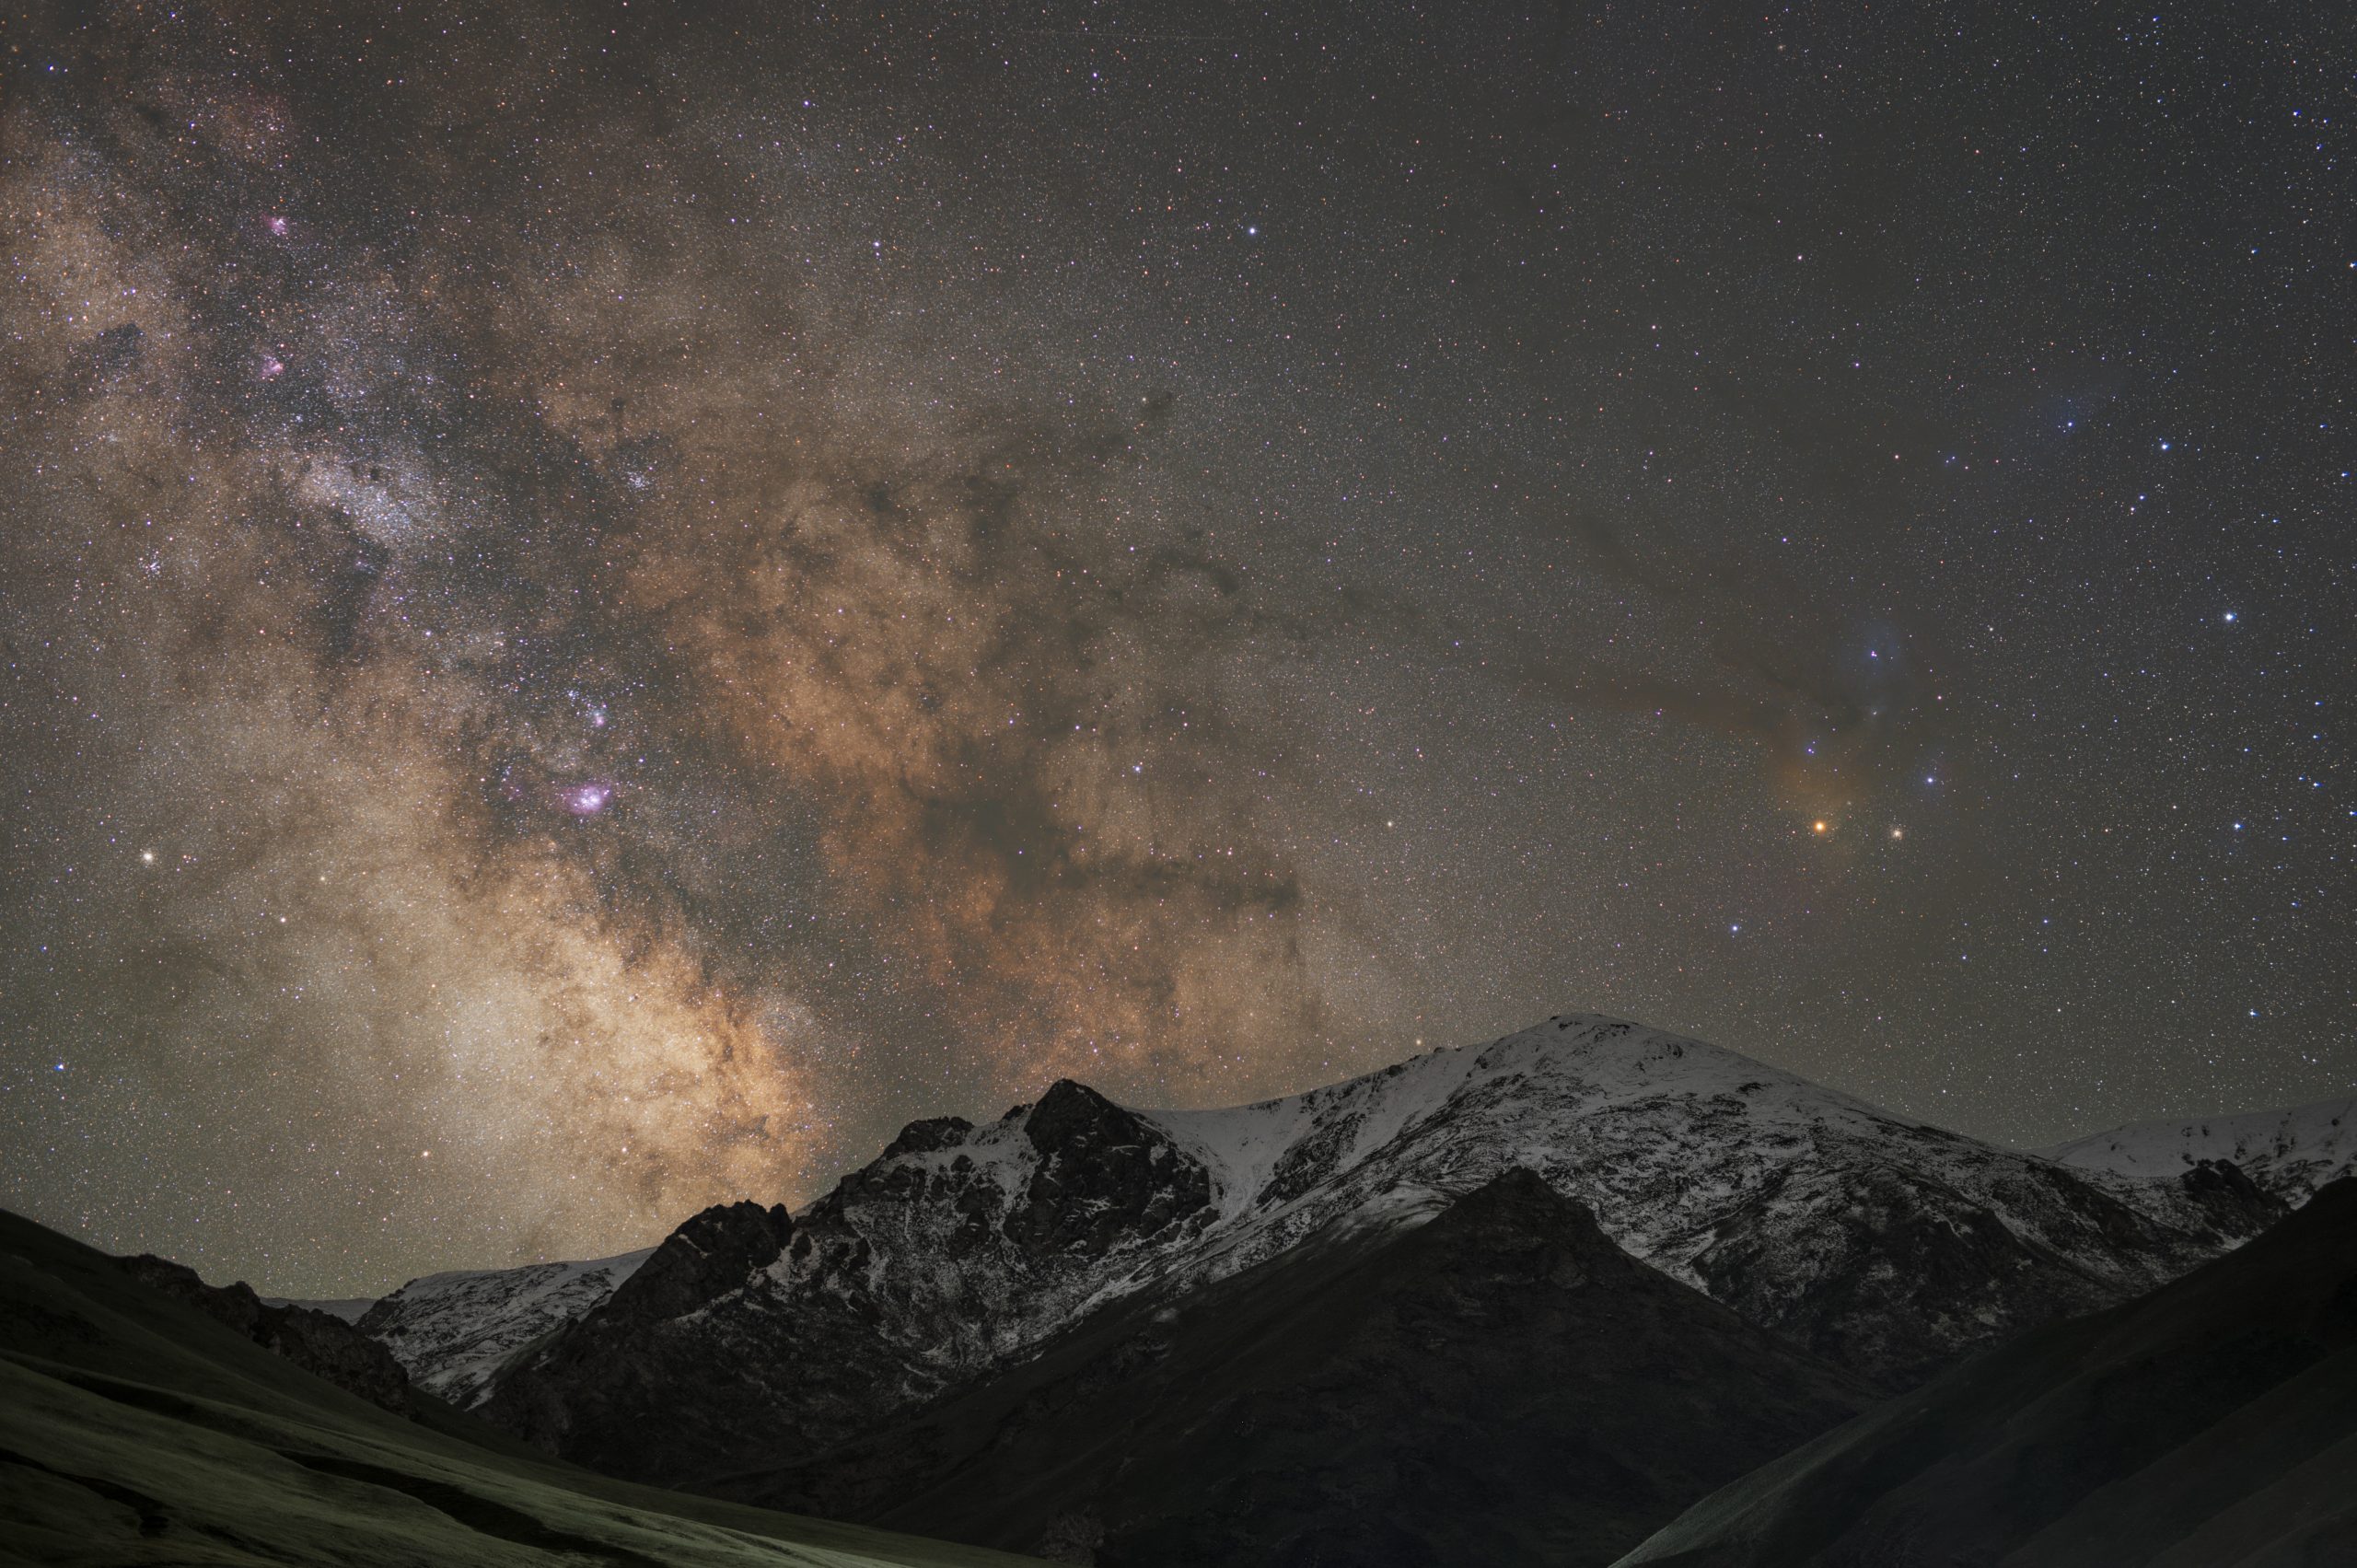
Kyrgyzstan seems to be a goldmine for astrophotographers. With a very low population density, the country has abundance of dark skies, paired with stunning natural landscapes. To add to this, travelling (and staying) in this country is not expensive. I travelled to 4 places: Son-Kul, Tash Rabat, Barskoon Valley and Isyyk-Kul, which is a small list of places one can travel to in search of pristine dark skies.
Camera equipment
For this trip, I was carrying multiple set-ups to make the most of it. The cameras I used in the tour included the Nikon Z6ii, Nikon Z8, and Nikon Zf. For lenses, I used Nikon Z 14-24mm, Nikon Z 24mm, Tamron 15-30mm, Tamron 35-150mm, Sigma 50mm and Samyang 135mm. My choices of tripods were Leofoto 364c and Leofoto 323c along with LH 40 ballheads. (A huge shoutout to Leofoto India, Nikon India and H&Y Filters for lending much of the gear). The equipment underwent some freezing temperatures at Tash Rabat.

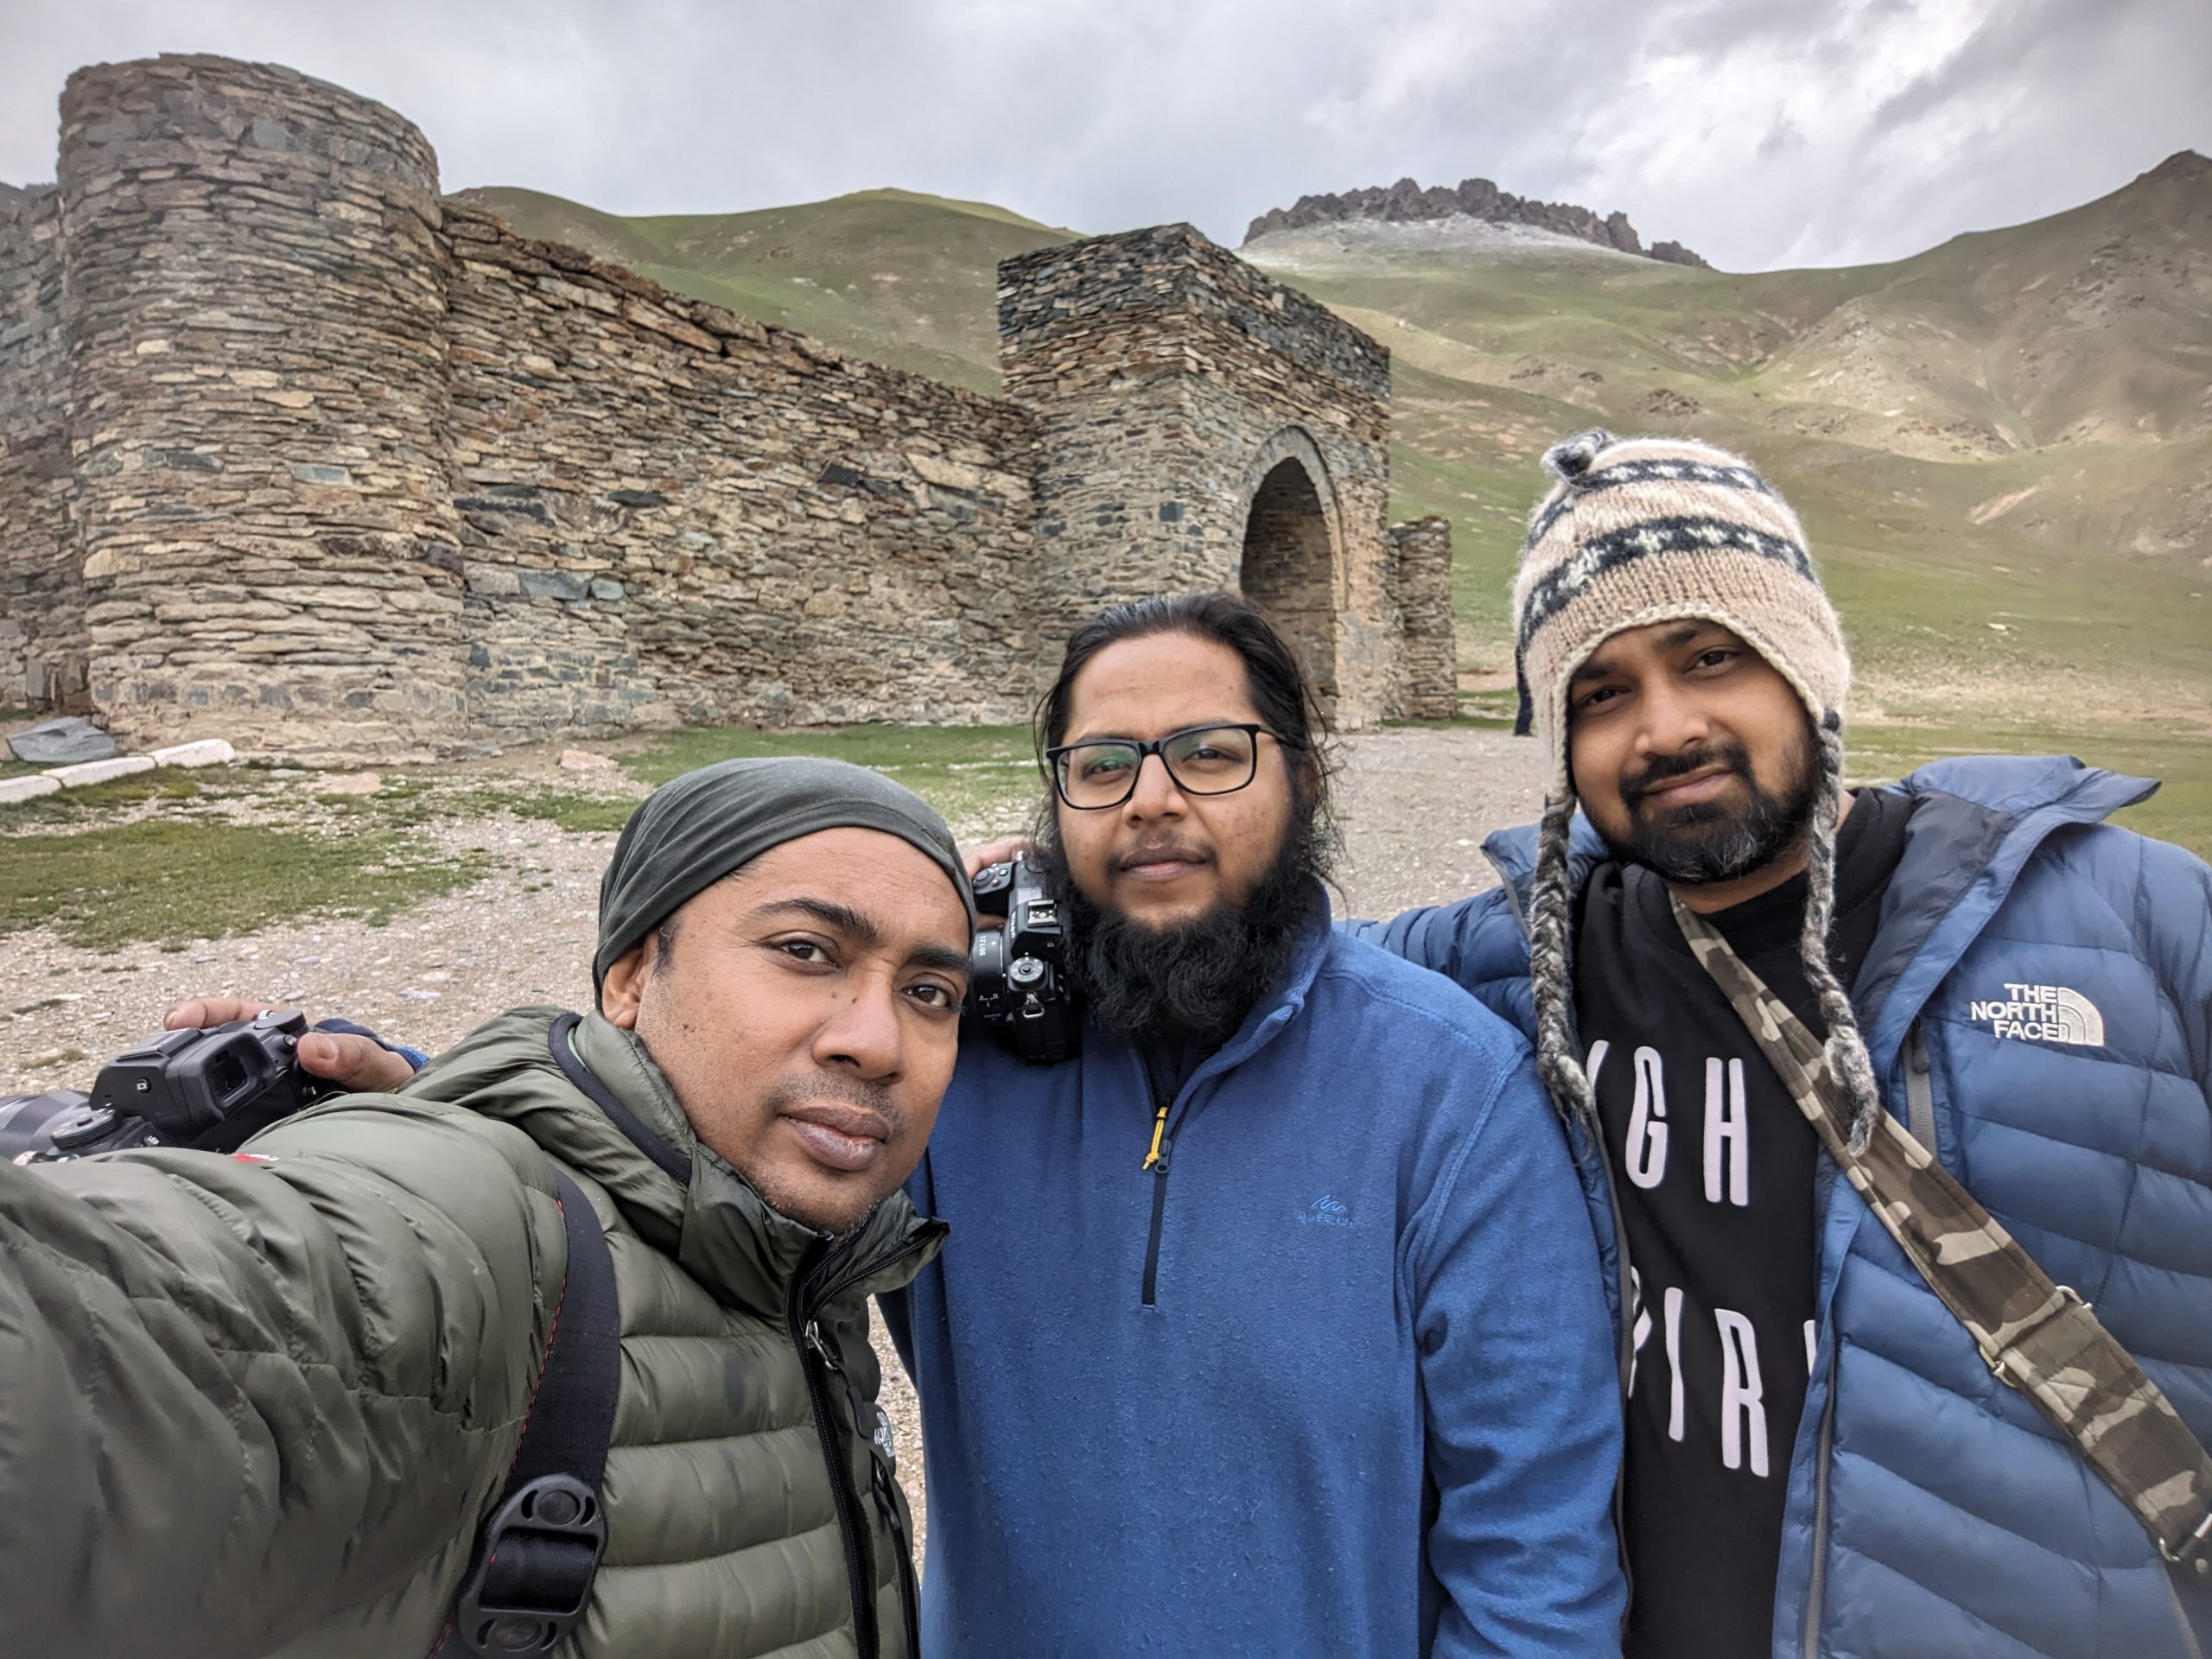
Travelling in a group
Apart from being able to enjoy the night sky and the natural landscapes, one of the best parts of the trip was photographing in a group. We were 19 people strong and the nights seemed to finish quickly while we were photographing together.
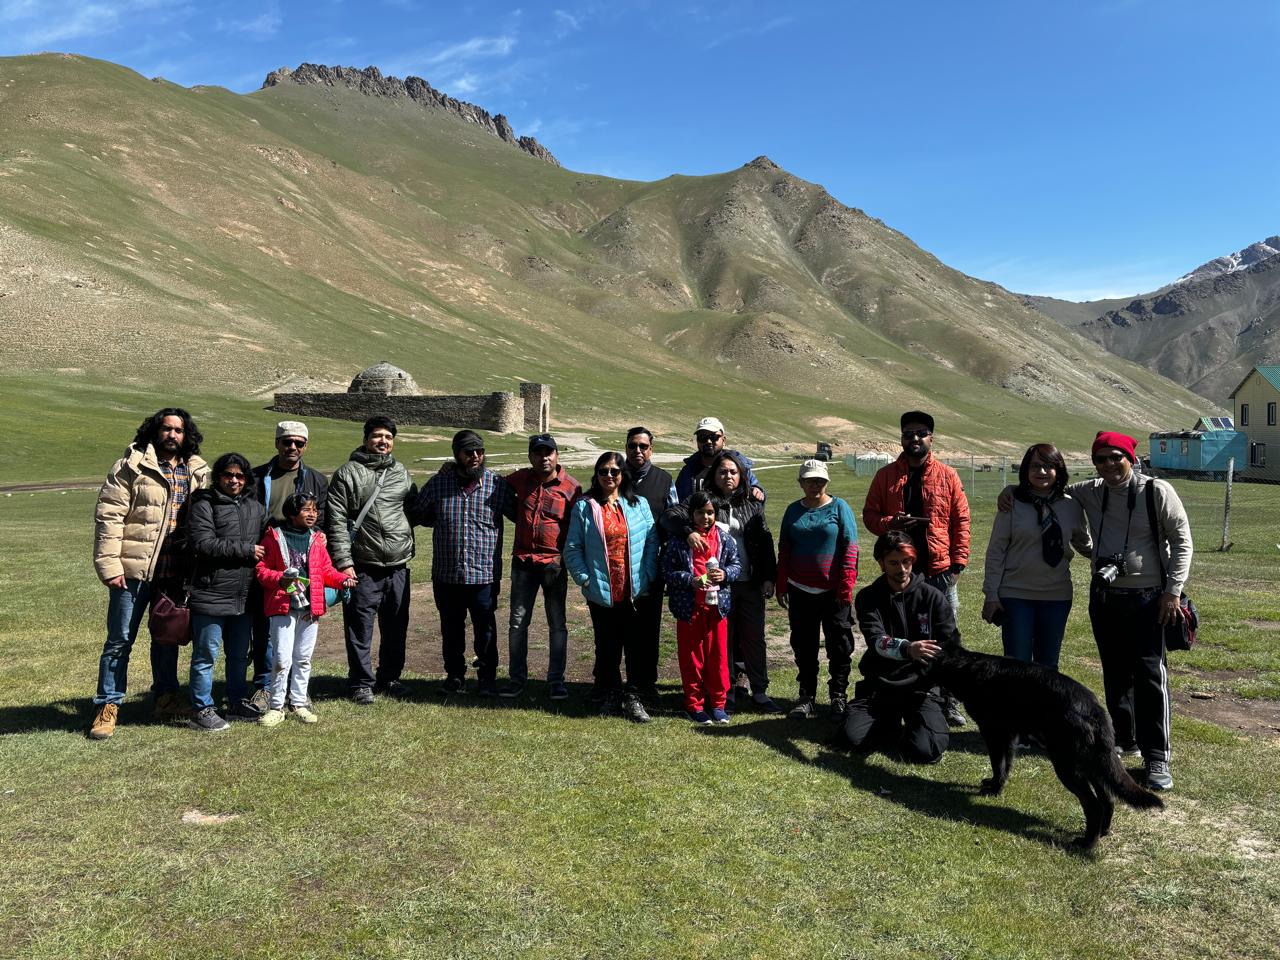
We had a total of 16 participants mentored by 3 mentors of Astronomads Bangla. Since the three of us have travelled so many times together, it has made astrophotography and spending nights outside less stressful for us. After spending a few hours in the field, I could go back to the yurt for a few minutes to warm myself up and not worry about my sequence of images being continued as I would have the others on the field. Another big advantage of having a group like this is to be able to find unique compositions. I could have missed some perspective, but the others would find it.
One might wonder how we, astrophotographers, produce the final image. Let me take you through the complete process behind a couple of images.
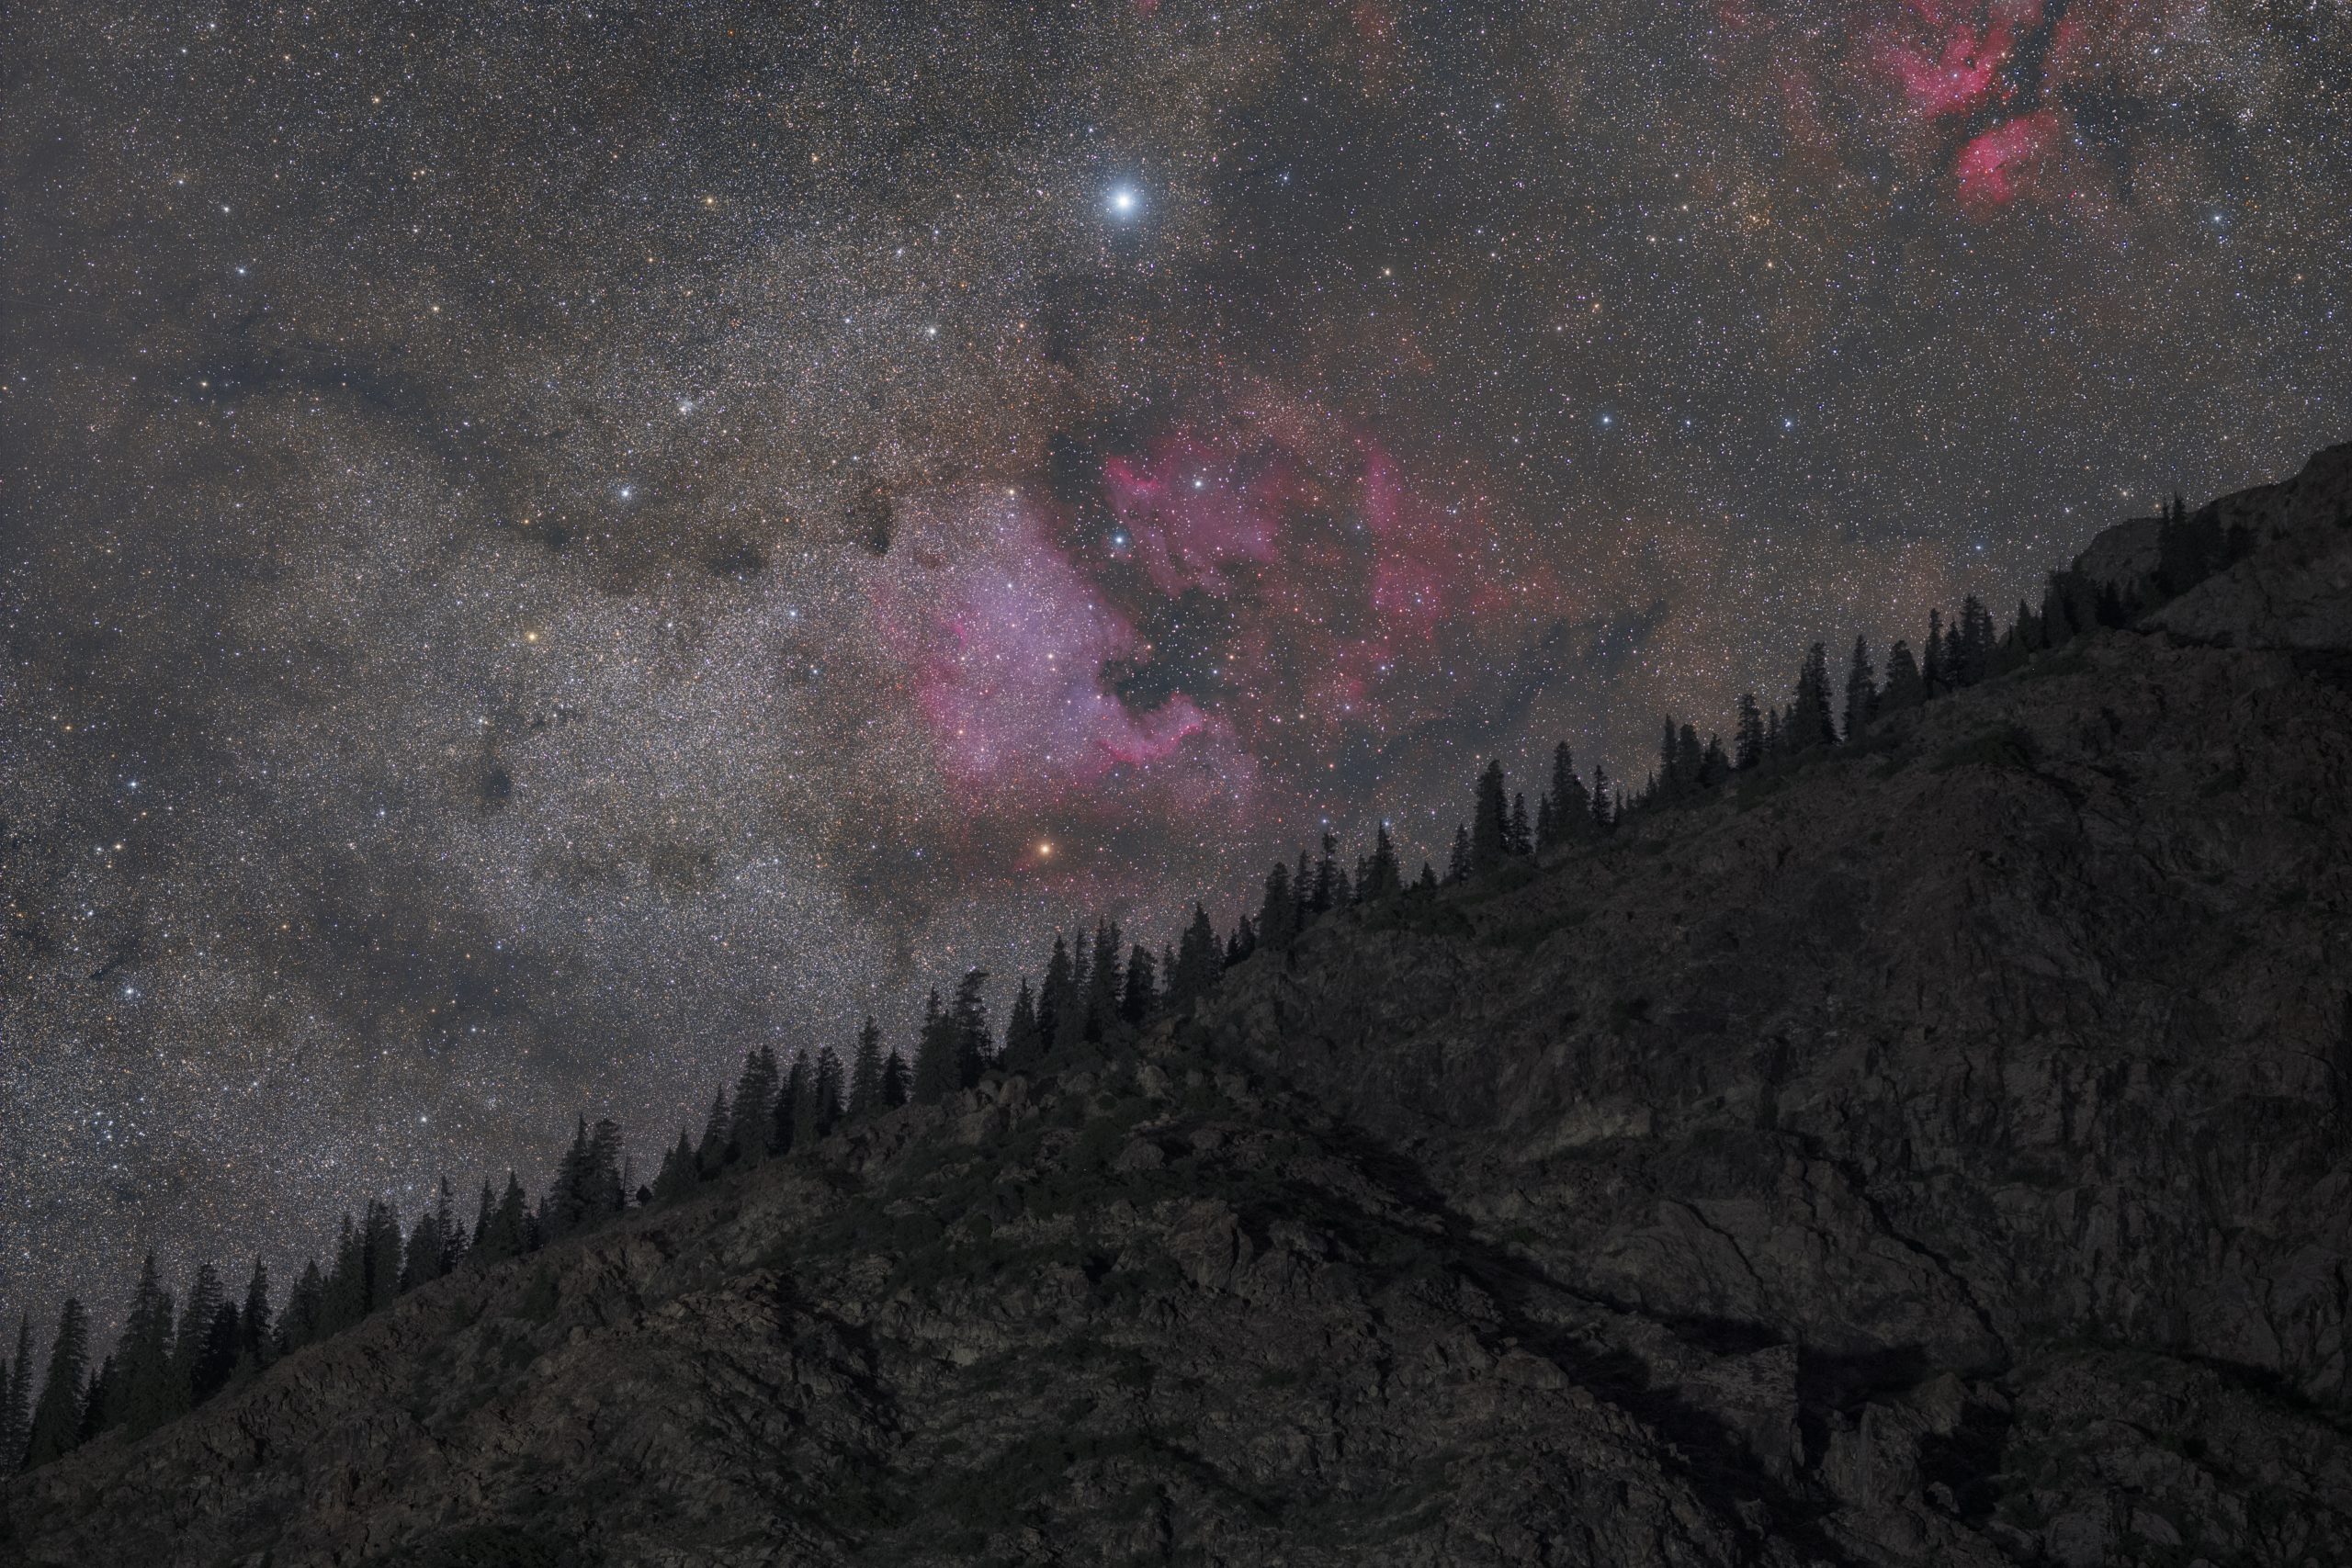
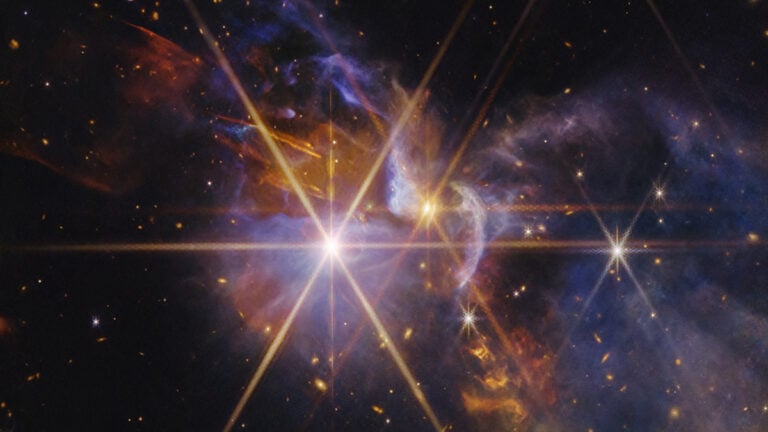
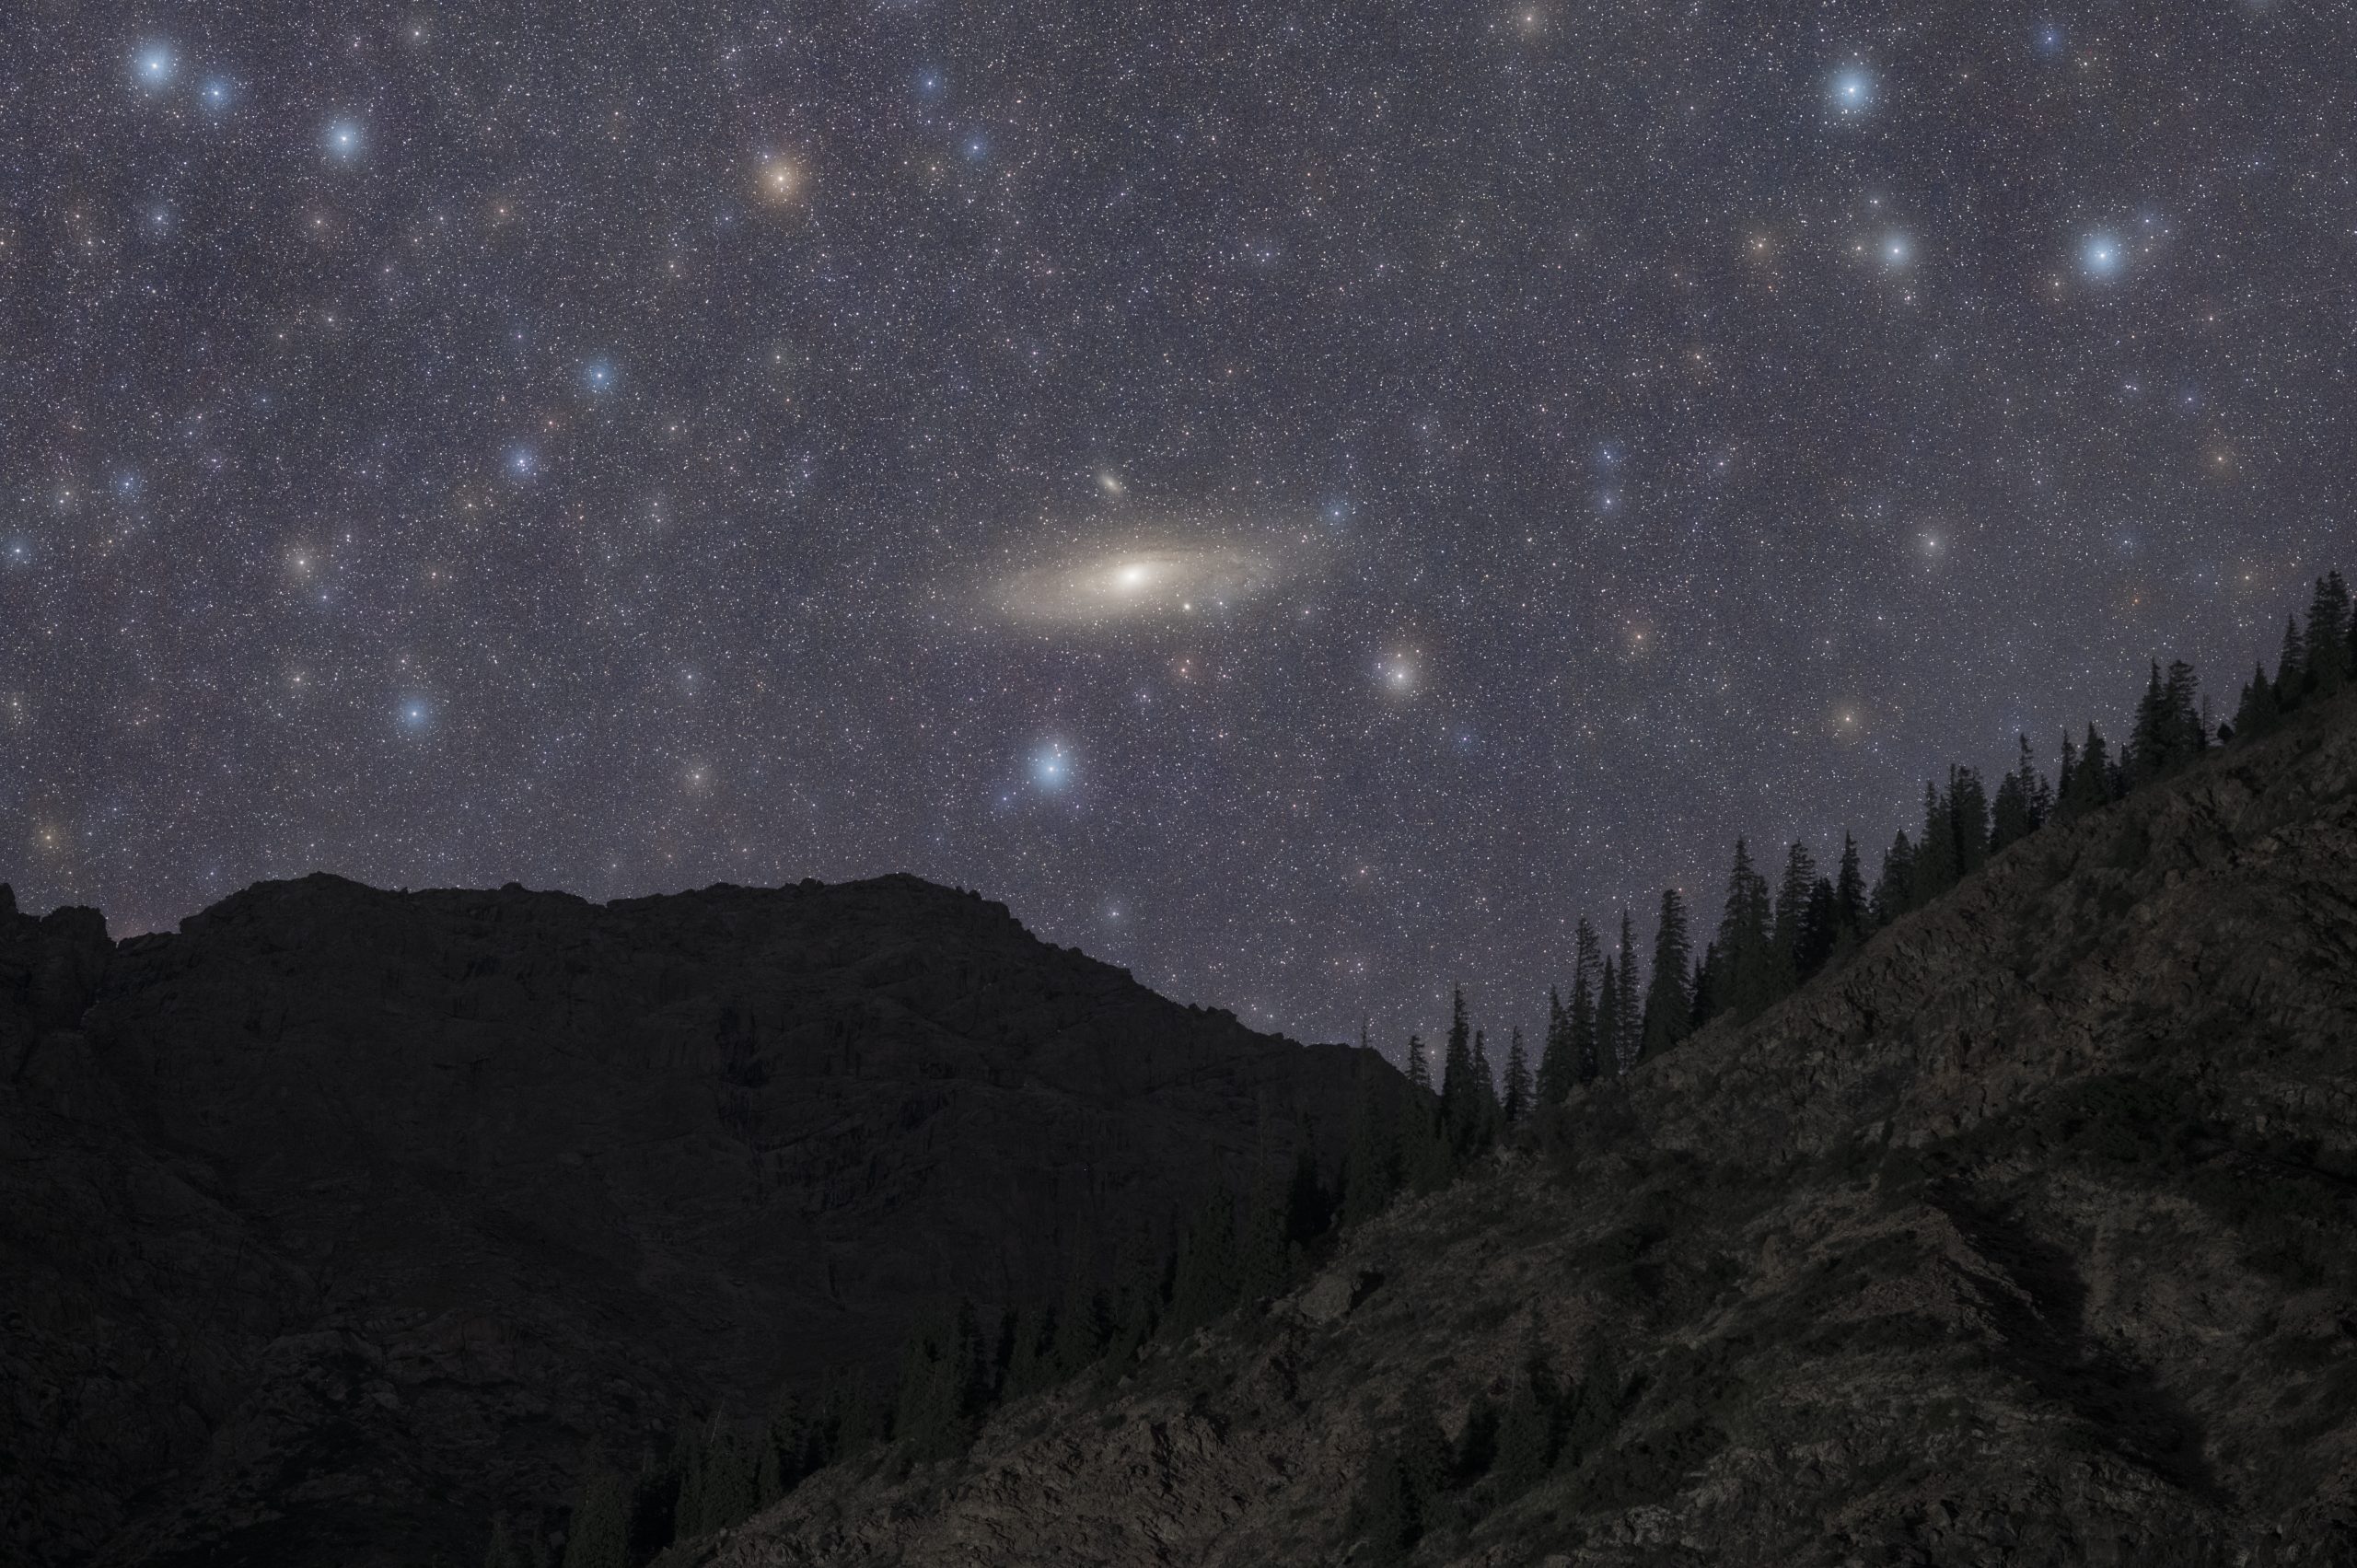
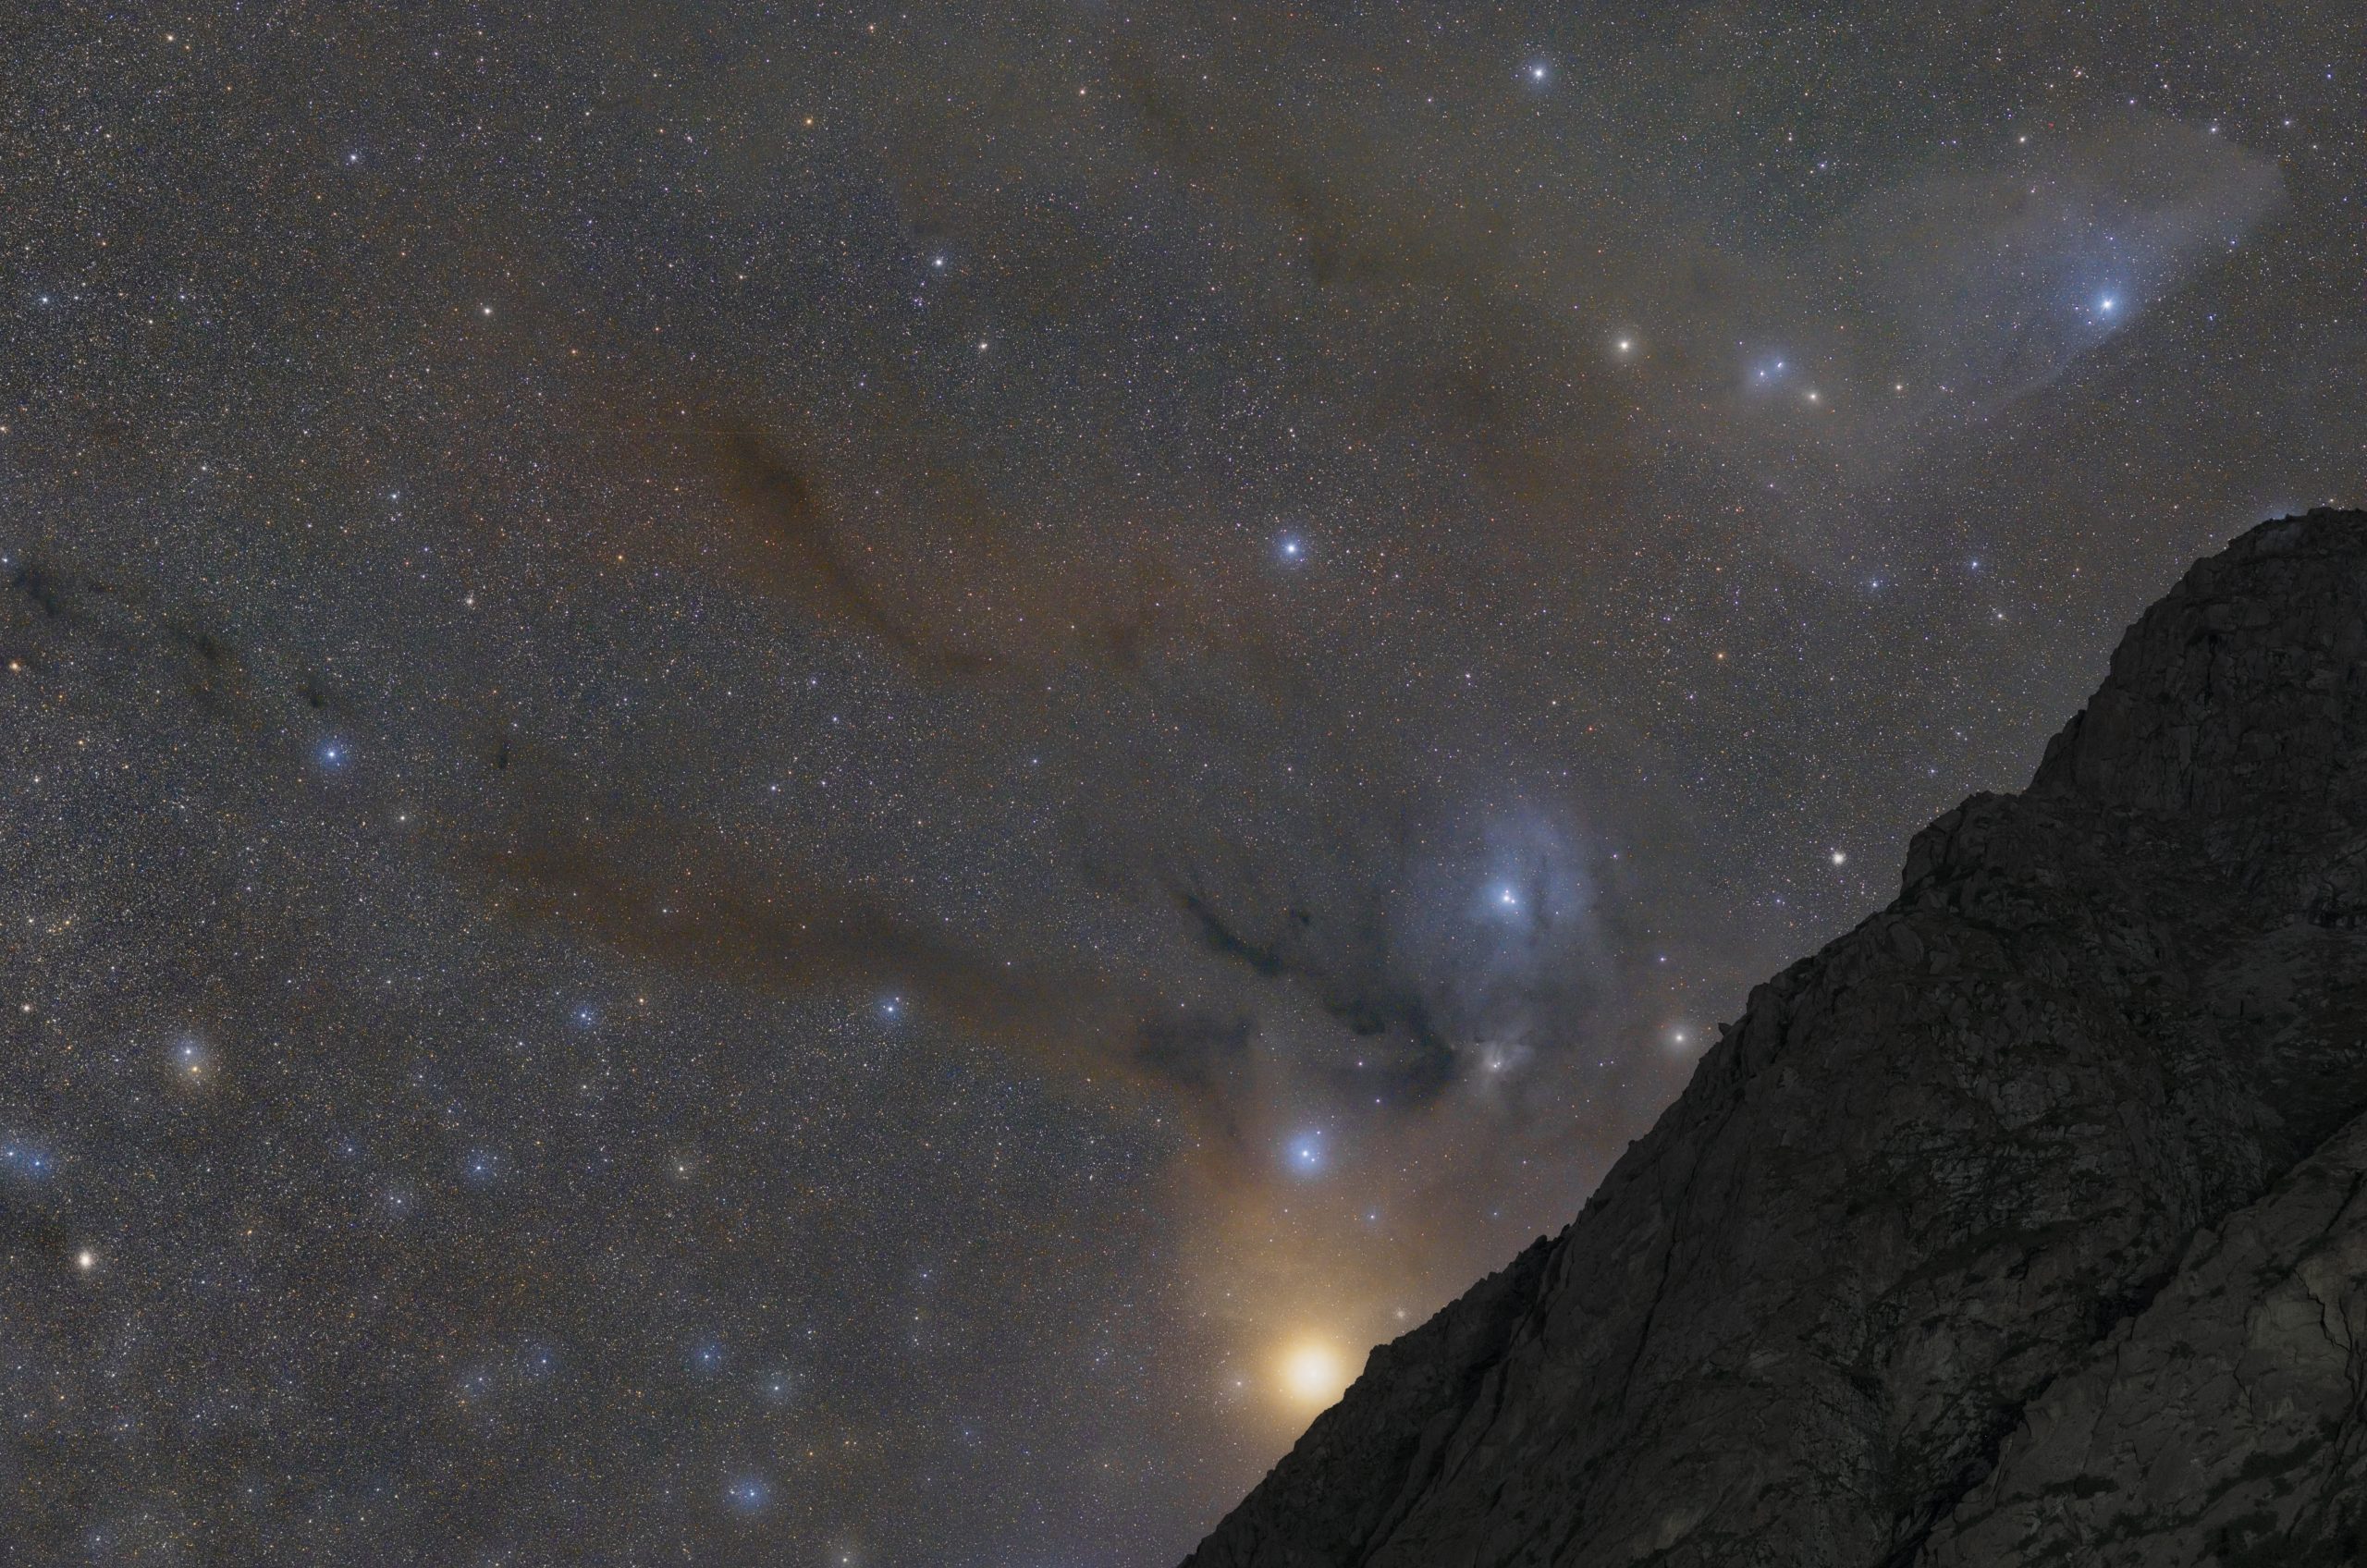
Deepscapes
These images are known as deepscapes, where we capture the rising or setting of a deep sky object along with landscape elements. I used a medium telephoto lens with the focal length of 135mm. The first thing required is to be able to locate the object in the sky. Since they are not visible to the naked eye or with the live view of your camera, one needs to identify a star within or near the object and compose accordingly.
For example, my point of reference was the bright blue star Deneb, which is towards the middle of the frame. I started with taking exposures for the landscape (5 images of 6o seconds, f/2.8, ISO 2000). Once finished, I would turn on the star tracker (star tracker is a must for deepscapes) and take multiple exposures for the sky. The total amount of exposure for the sky (also called total integration time) depends on the object.
For this particular image, I took 30 images of 90 seconds (f/2.8, ISO 1600), which gave me a total integration time of 45 minutes. Note that both the landscape and foreground are captured without moving your tripod. Next is to process the image. I would stack the sky images in a software like Sequator and process it via Pixinsight (a dedicated astrophotography processing software) and Photoshop and I would save it as a TIFF file. In Photoshop, I would then median stack the foreground. Finally, I would blend the sky image either via the Sky Replacement or a manual mask in Photoshop.
For a star trail image, the process, however, is somewhat different.
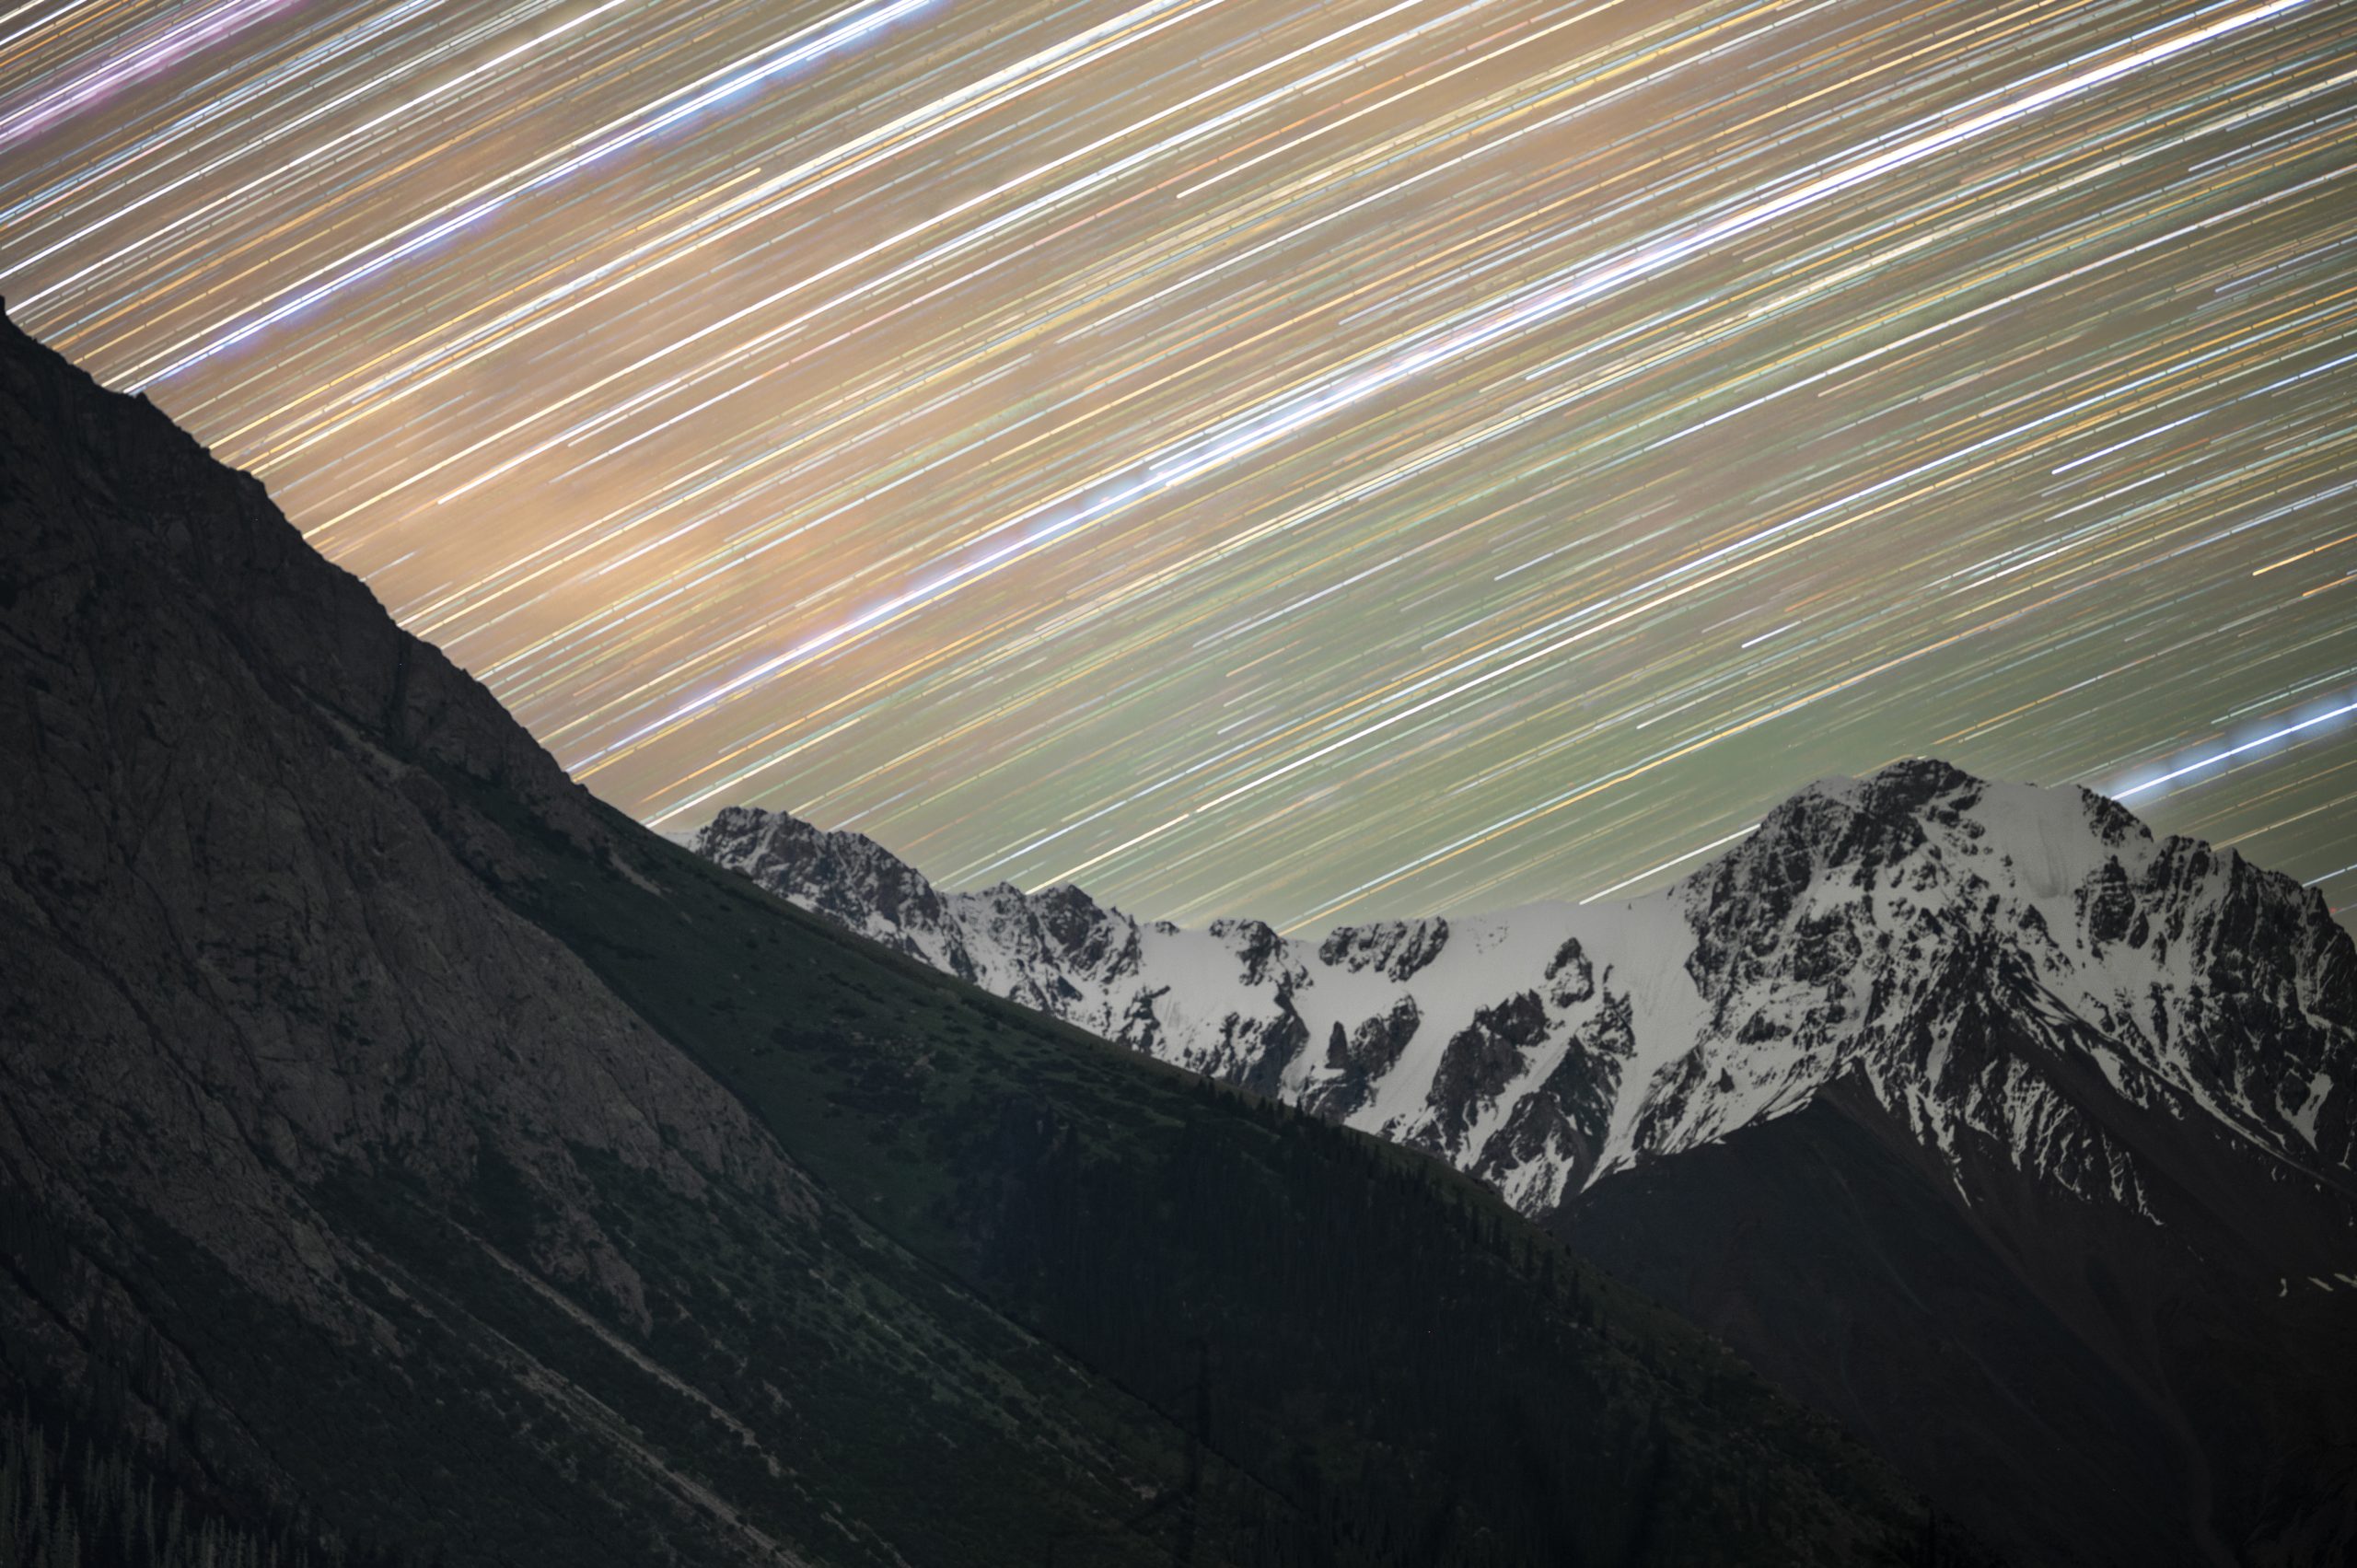
Camera settings for a star trail image
The imaging process is comparatively straightforward. I took a total of 100 images of 120 seconds long (f/2, ISO 1000) with a 135mm lens. Since the exposures were long enough, I did not bother taking separate sets of images for the landscape. To process the image, I would load all the images in Photoshop as layers change the blending mode to “Lighten” and flatten the image.
This allows all the trails to be visible in a single image. This stacked file would then undergo what is called “Dual/Double Processing”, which is frequently used in landscape photography. I would duplicate the layer and process the two layers separately, one layer to be used for the sky portion and the other one for the landscape portion. Finally, the two layers are blended with a manual (or automatic) mask.
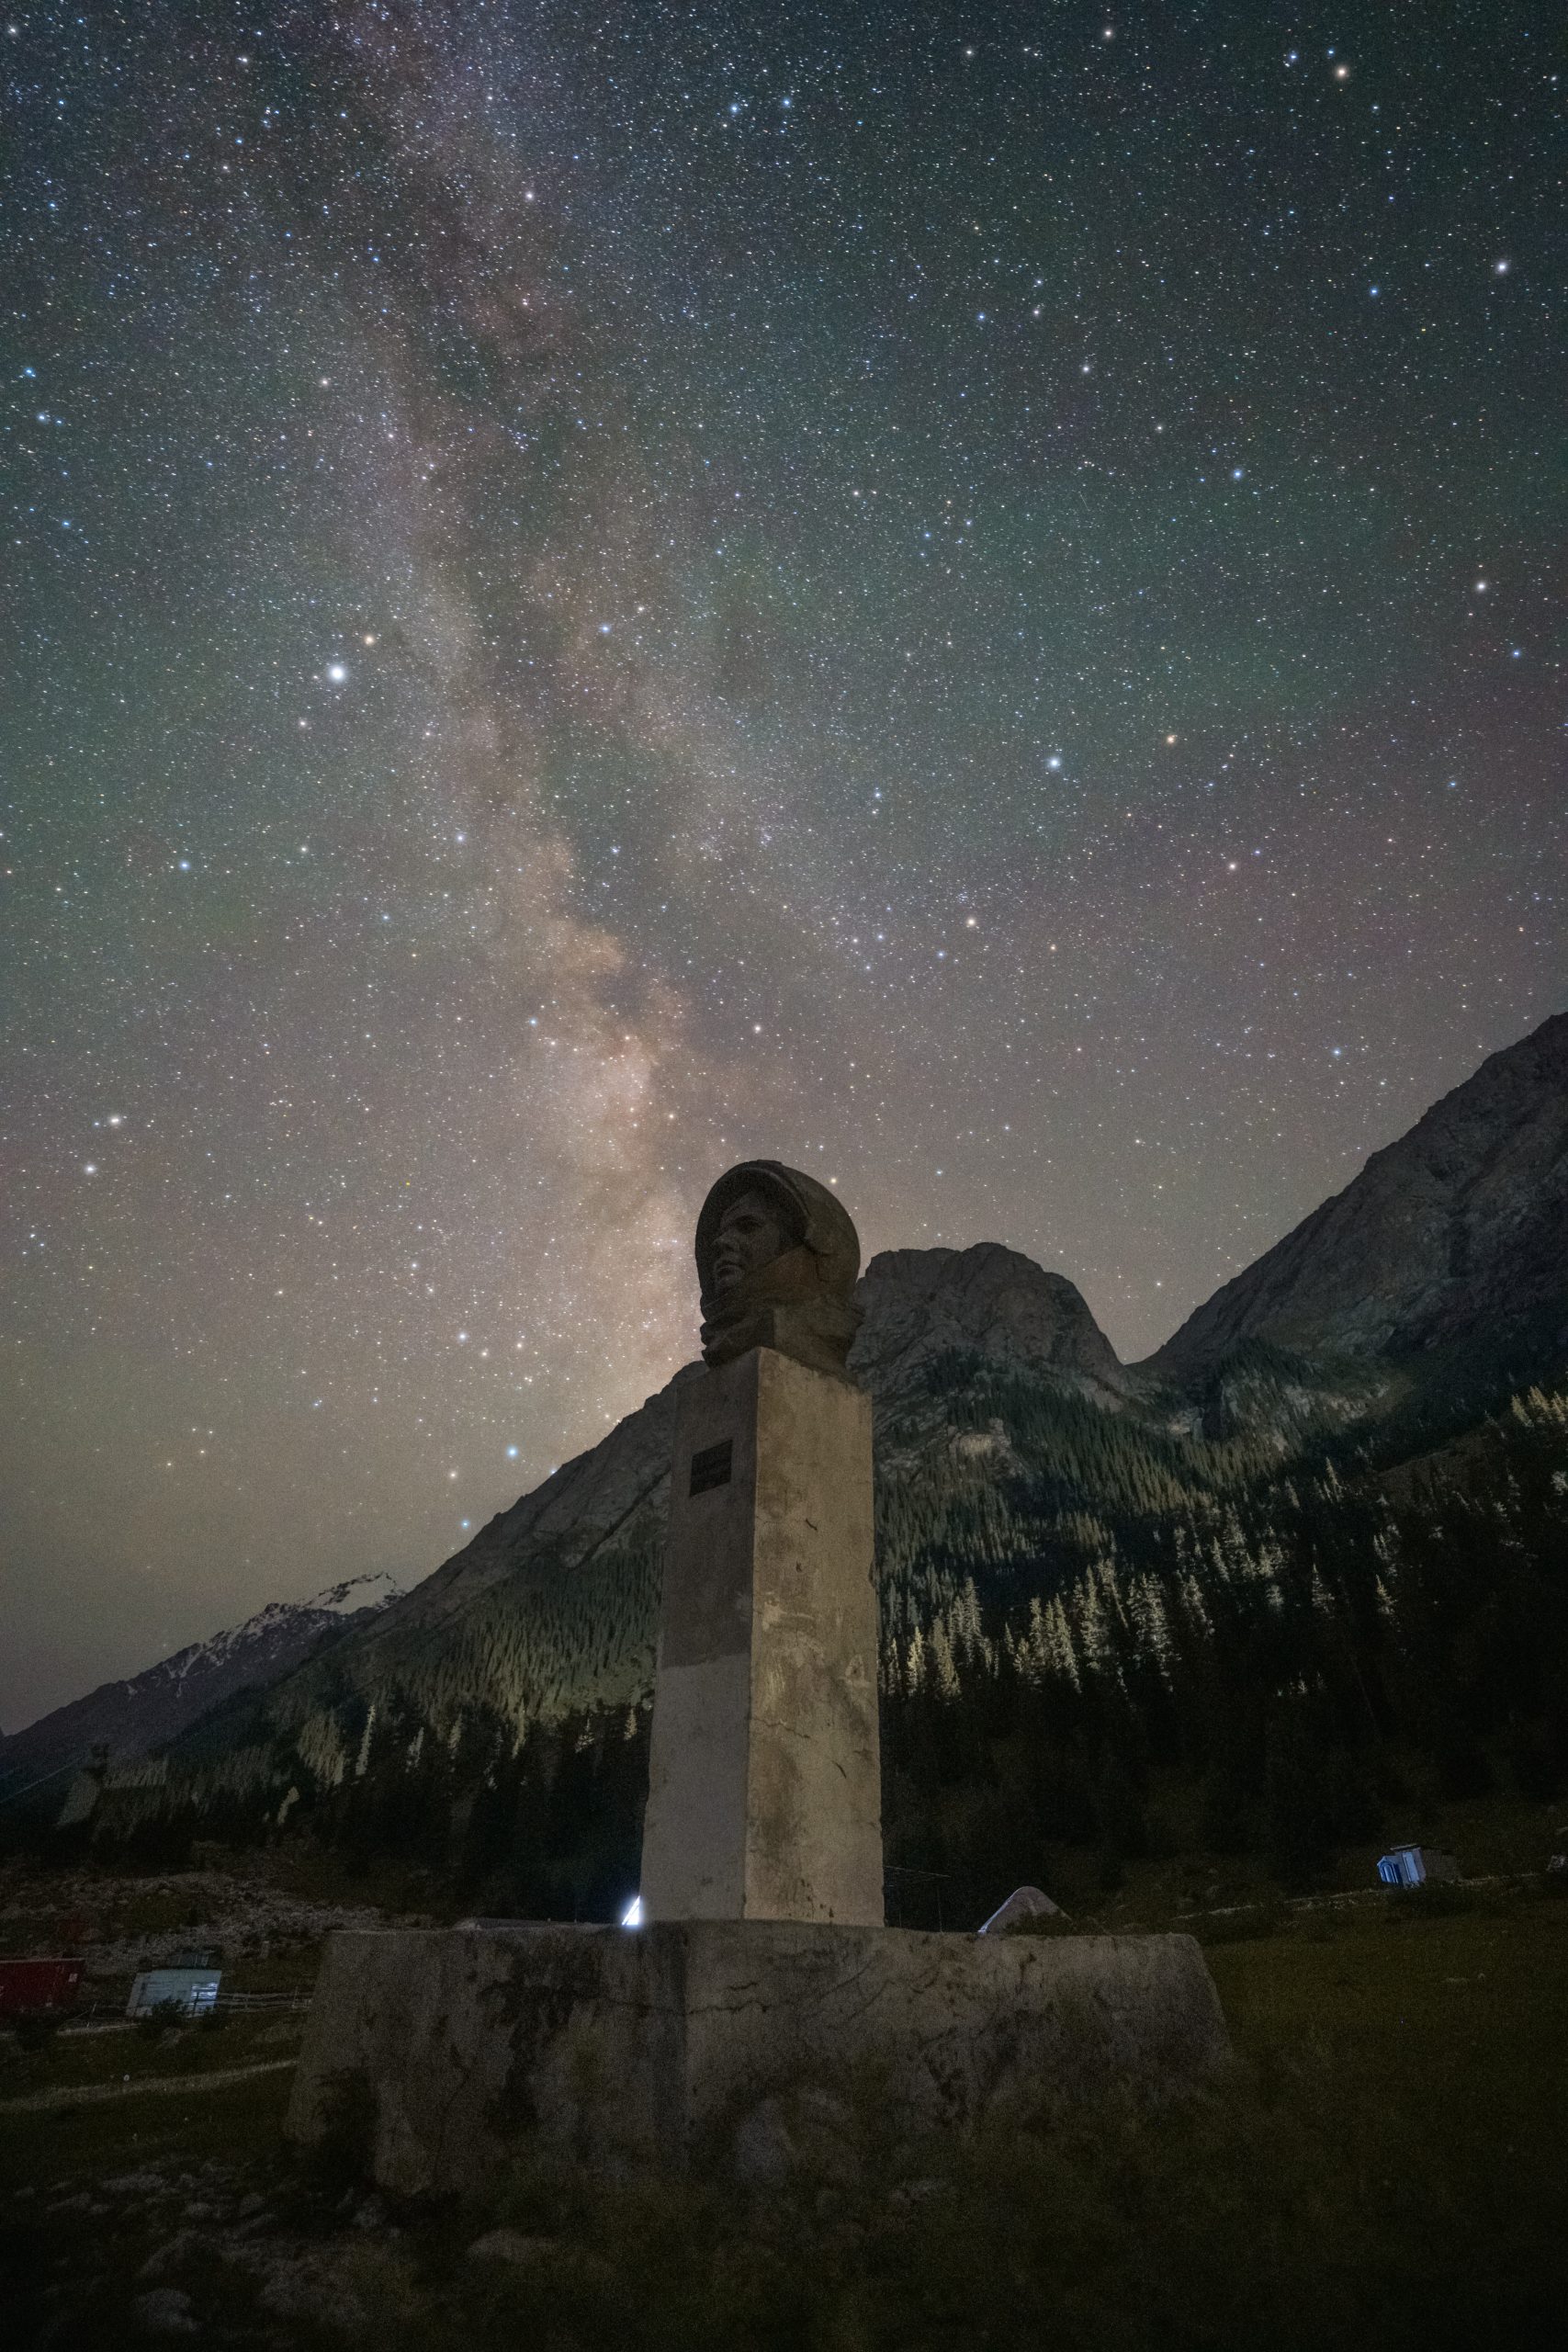
Capturing an adventurous image
This brings me to a very interesting (and adventurous) story behind one of the images I experienced at Barskoon Valley. I was aware of a Yuri Gagarin statue present at this location, and I planned to take images of it along with the Milky Way. However, the plan was somewhat disrupted when I reached Barskoon Valley later in the evening and did not get the opportunity to scout the location.
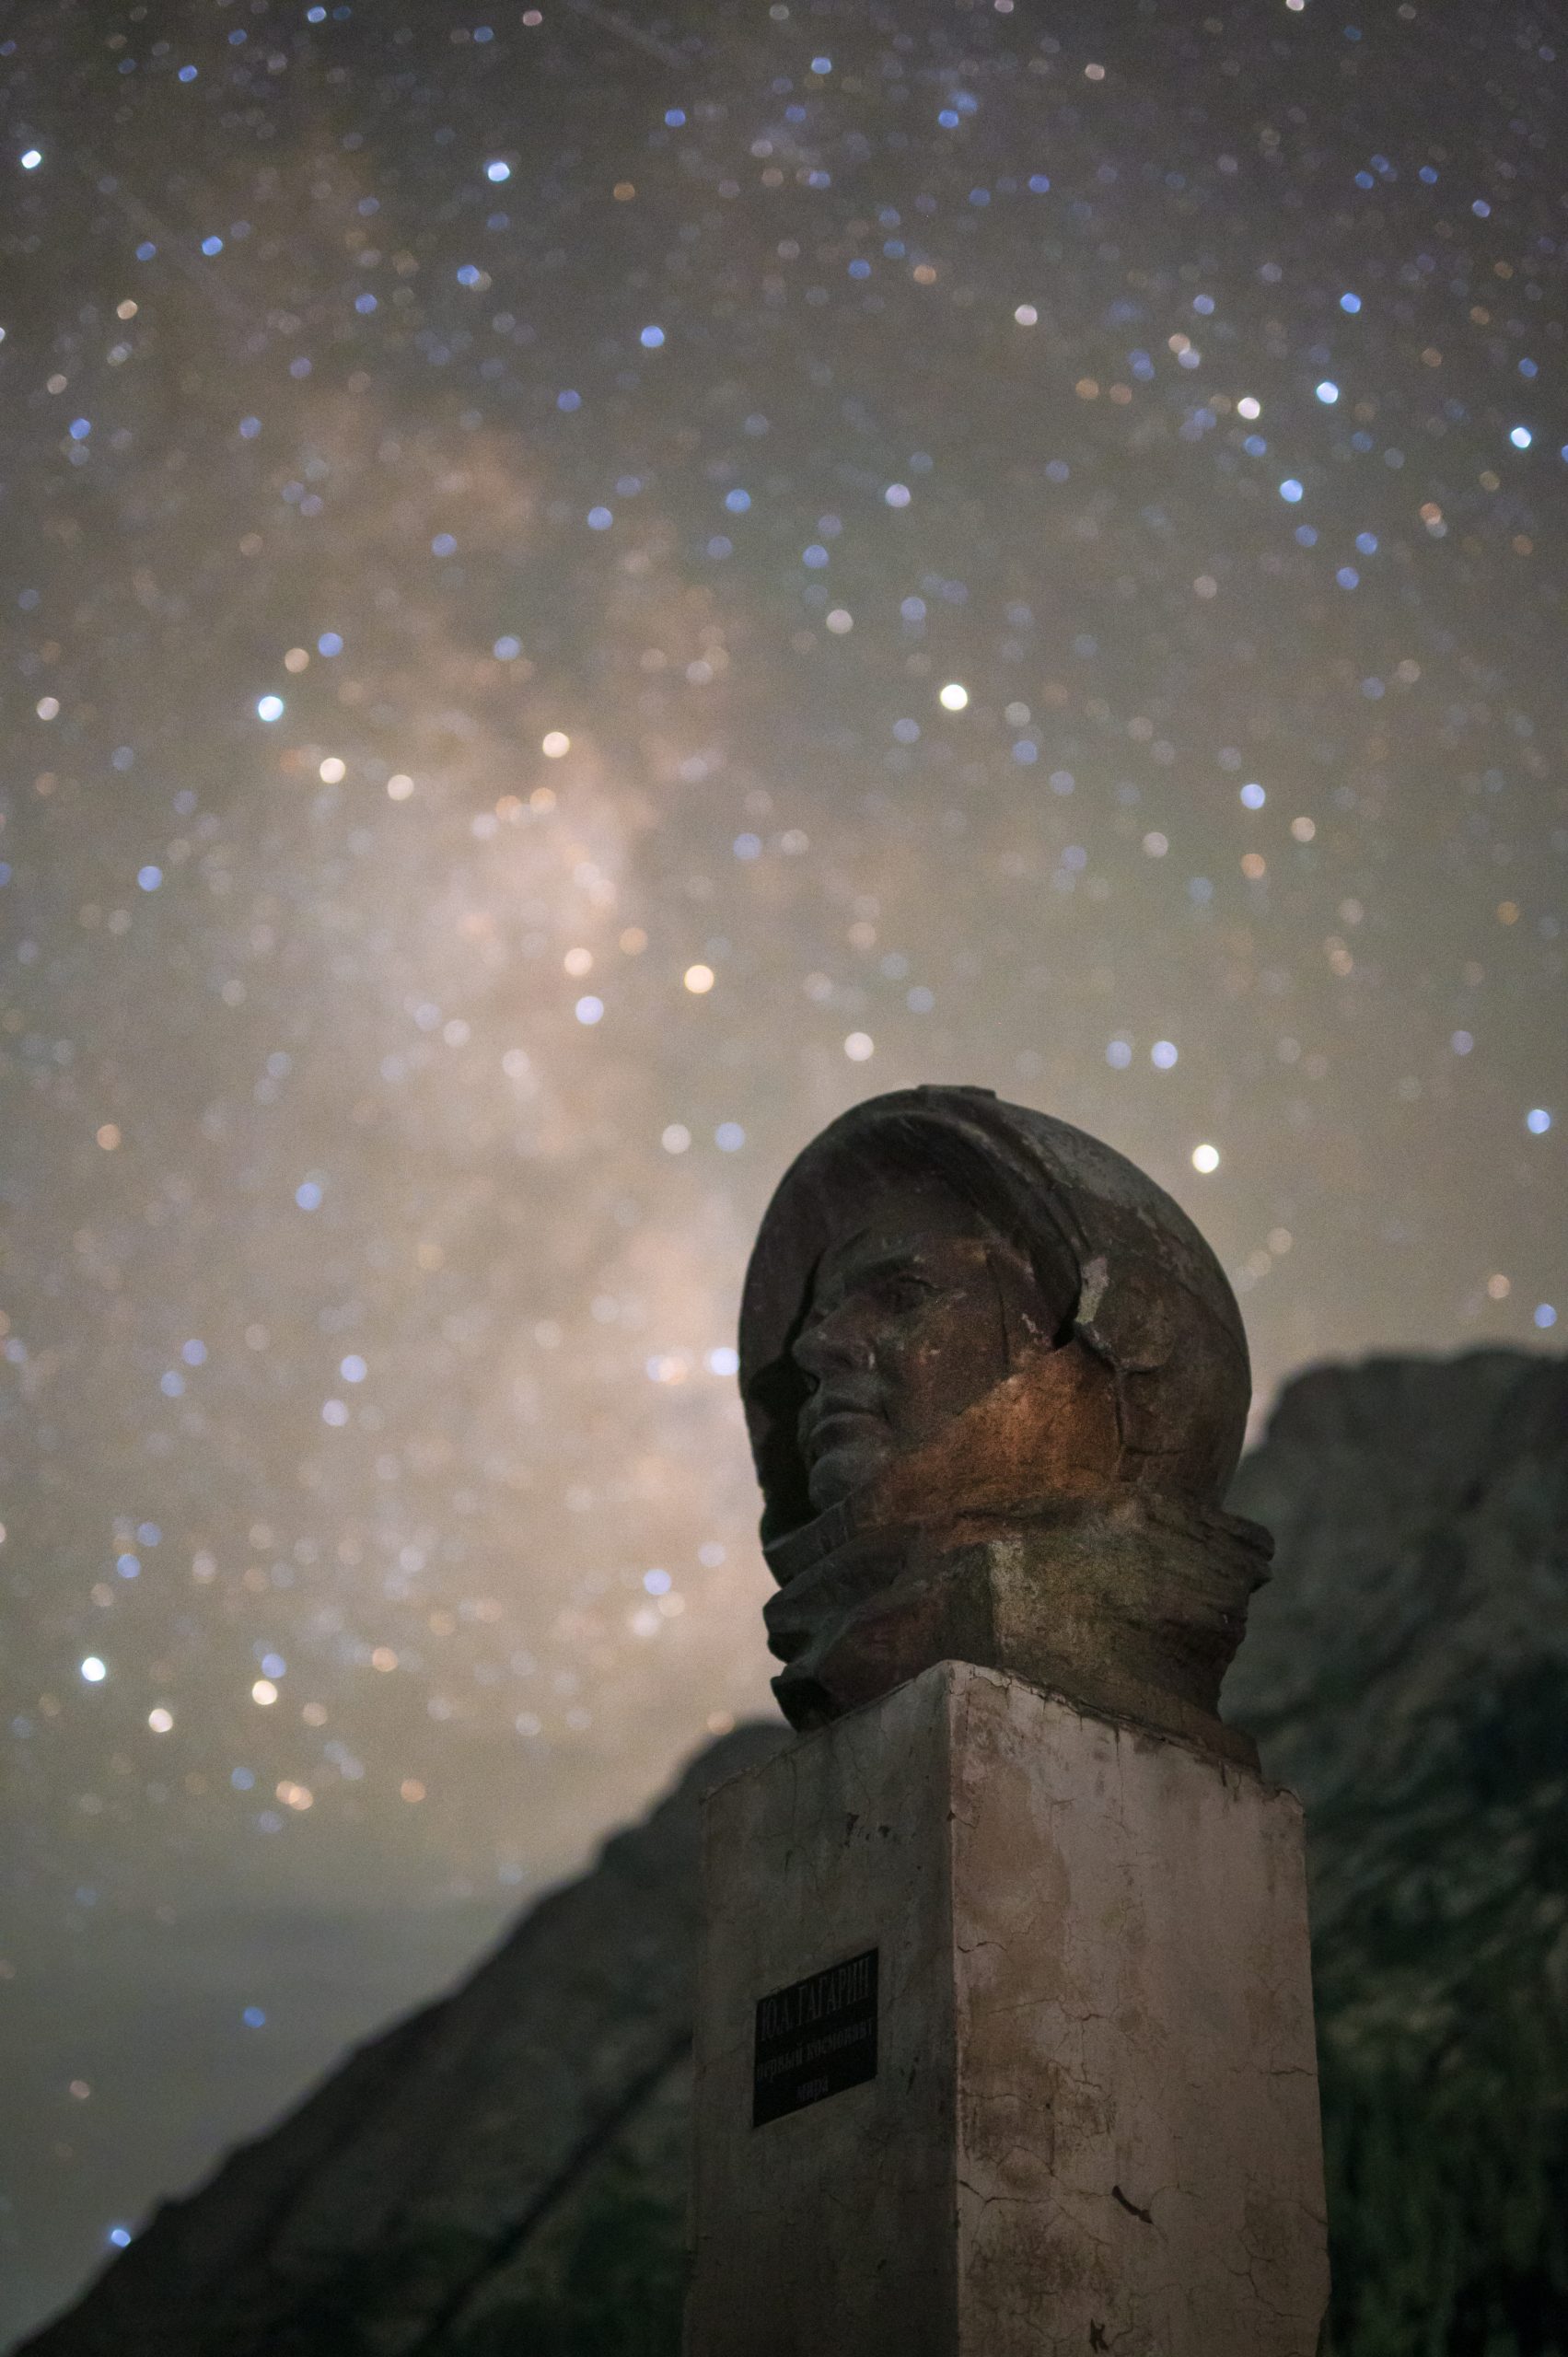
At night, I had no idea where the monument was. Five people in our group hit the road on foot and spent about an hour looking for it in pitch dark, but in vain. While returning back to our tent, one of us spotted the monument. But the area was fenced, and one of the signboards read “Military Area”. We wanted to photograph the monument, but at the same time, we did not want to get involved in any issue in a foreign country.
After speculating for another five minutes, comforting ourselves with our good intention of “only photographing the night sky with a historical monument”, we jumped across the fence with our imaging equipment. We spent around half an hour taking multiple photographs of the Milky Way there.
Advice for visiting Kyrgyzstan
After spending a week in Kyrgyzstan, it would be safe to say that it was one of the best places I have ever been. In the world of astrophotography, Kyrgyzstan has not been fully represented in terms of its potential. A country full of Bortle 1 and 2 skies, paired with some of the most amazing landscapes, can become a popular destination for astrophotographers and landscape photographers.
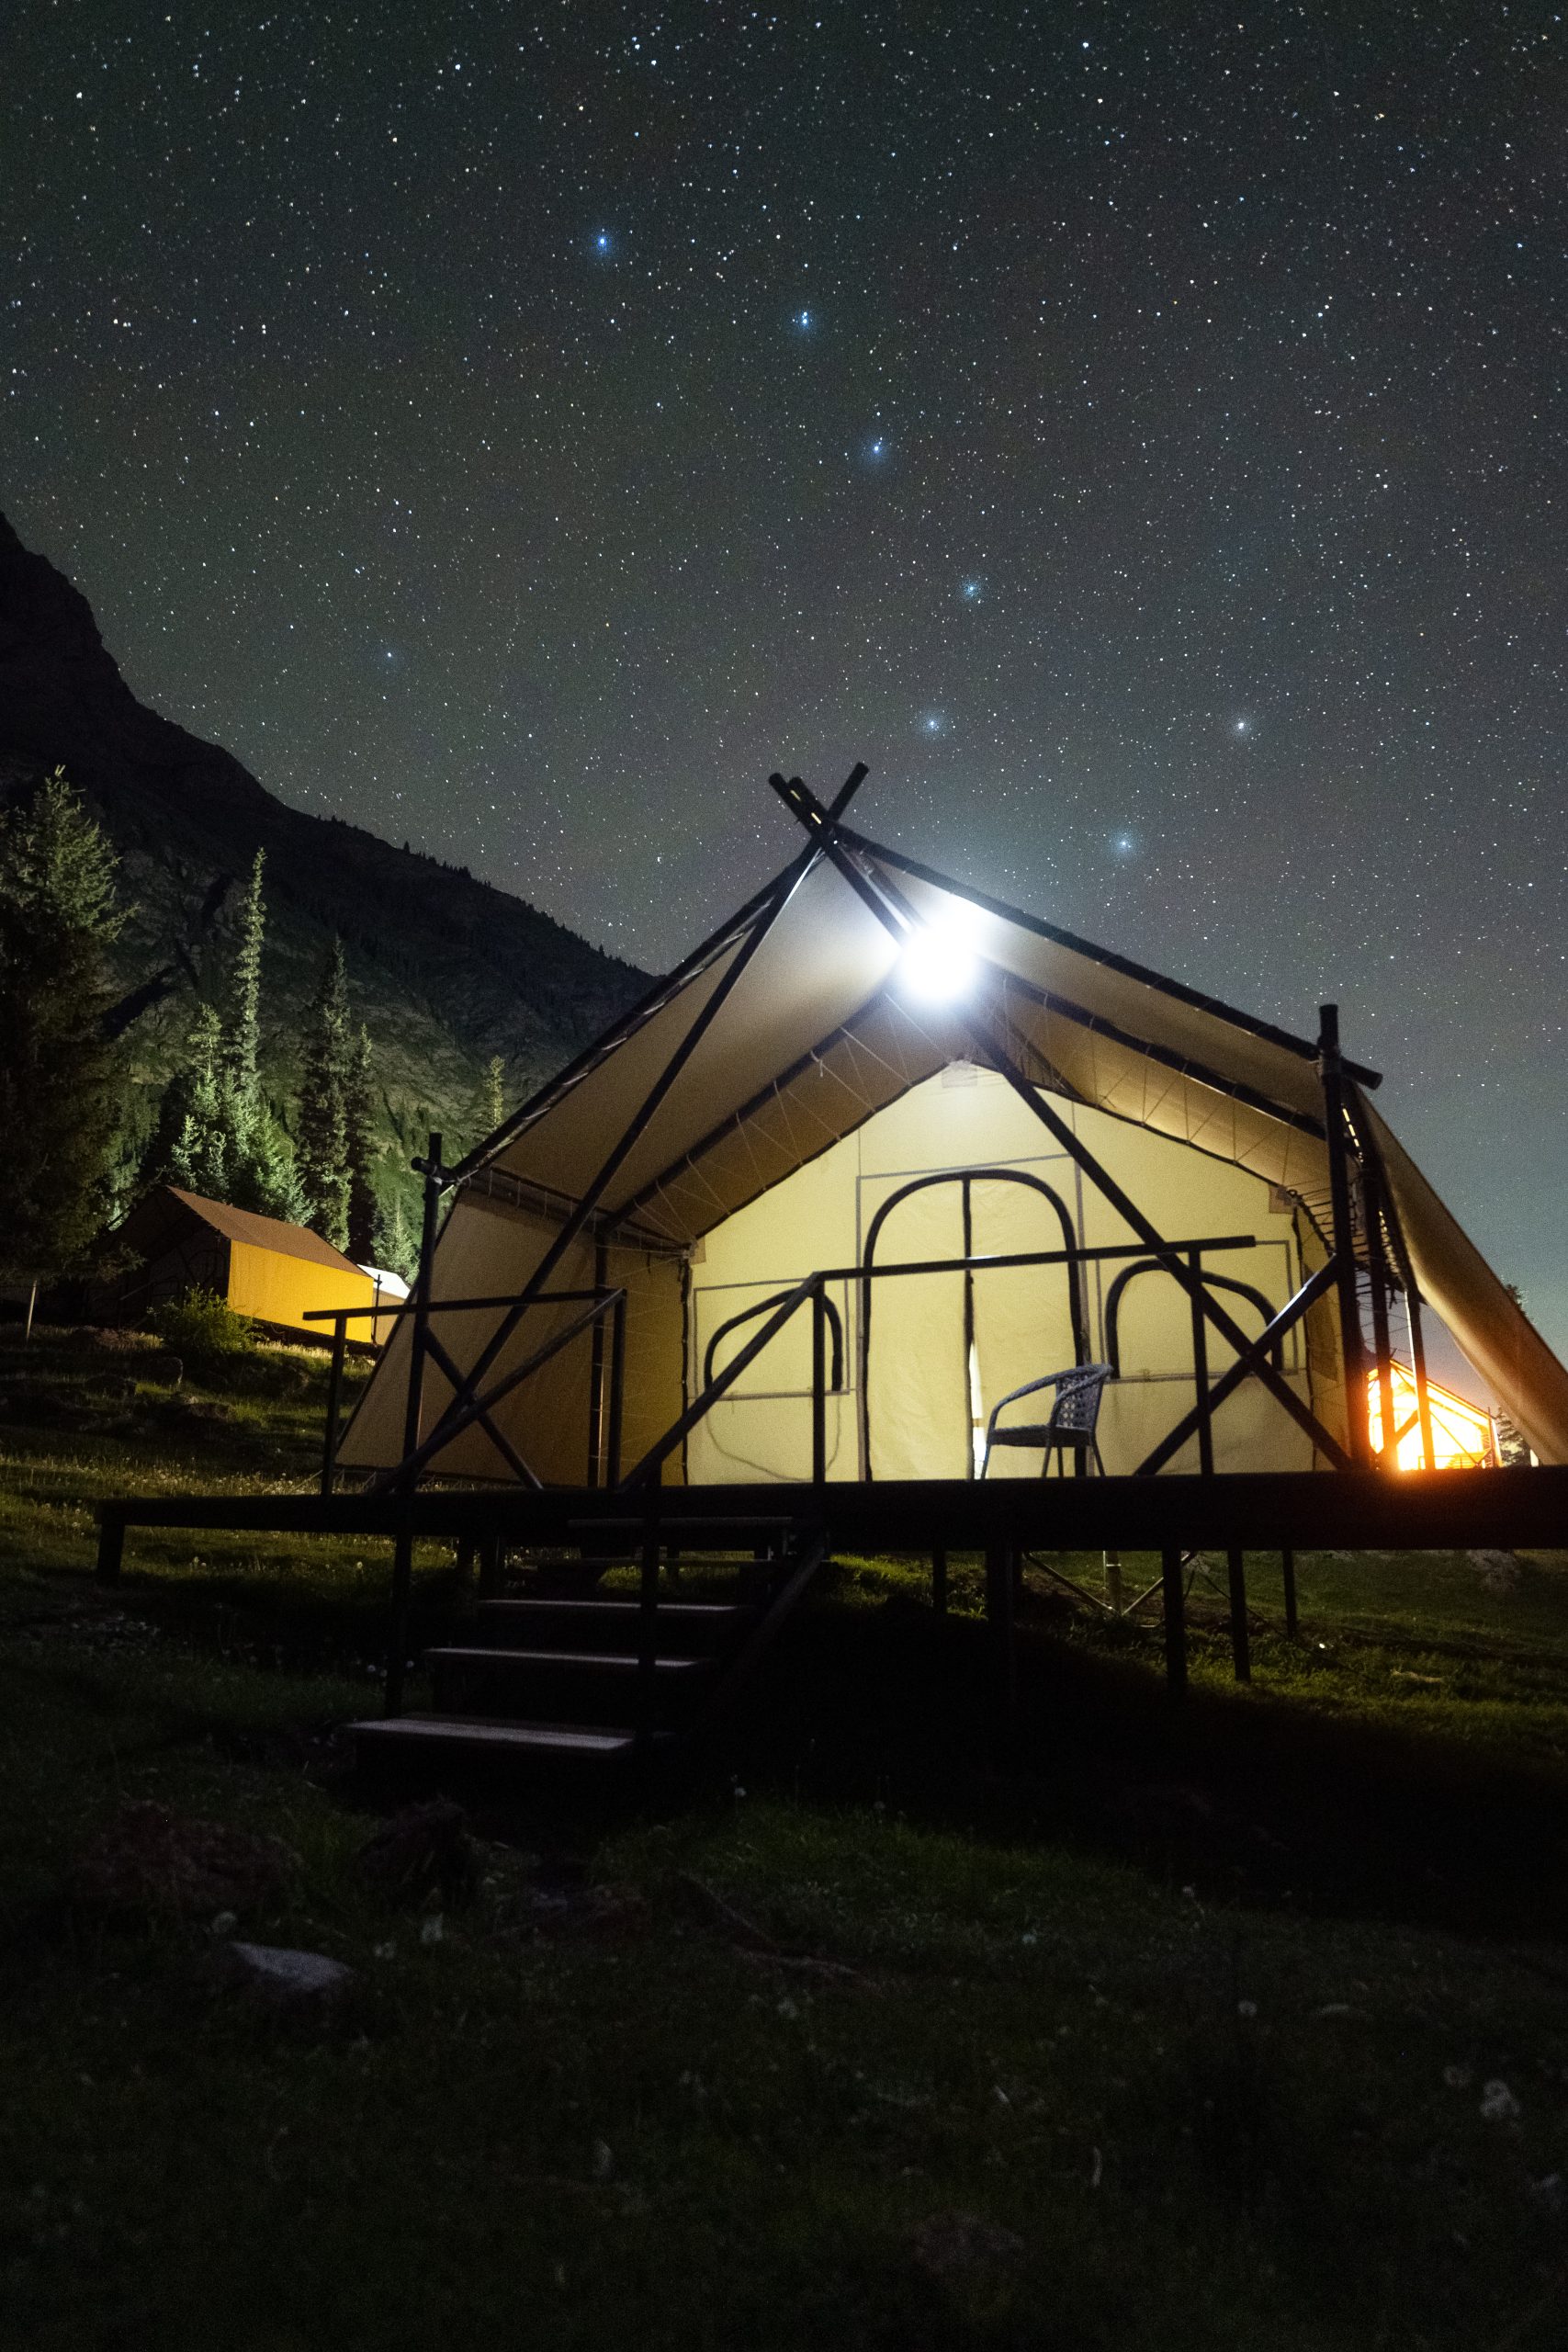
Big dipper above a swiss tent at Barksoon Valley
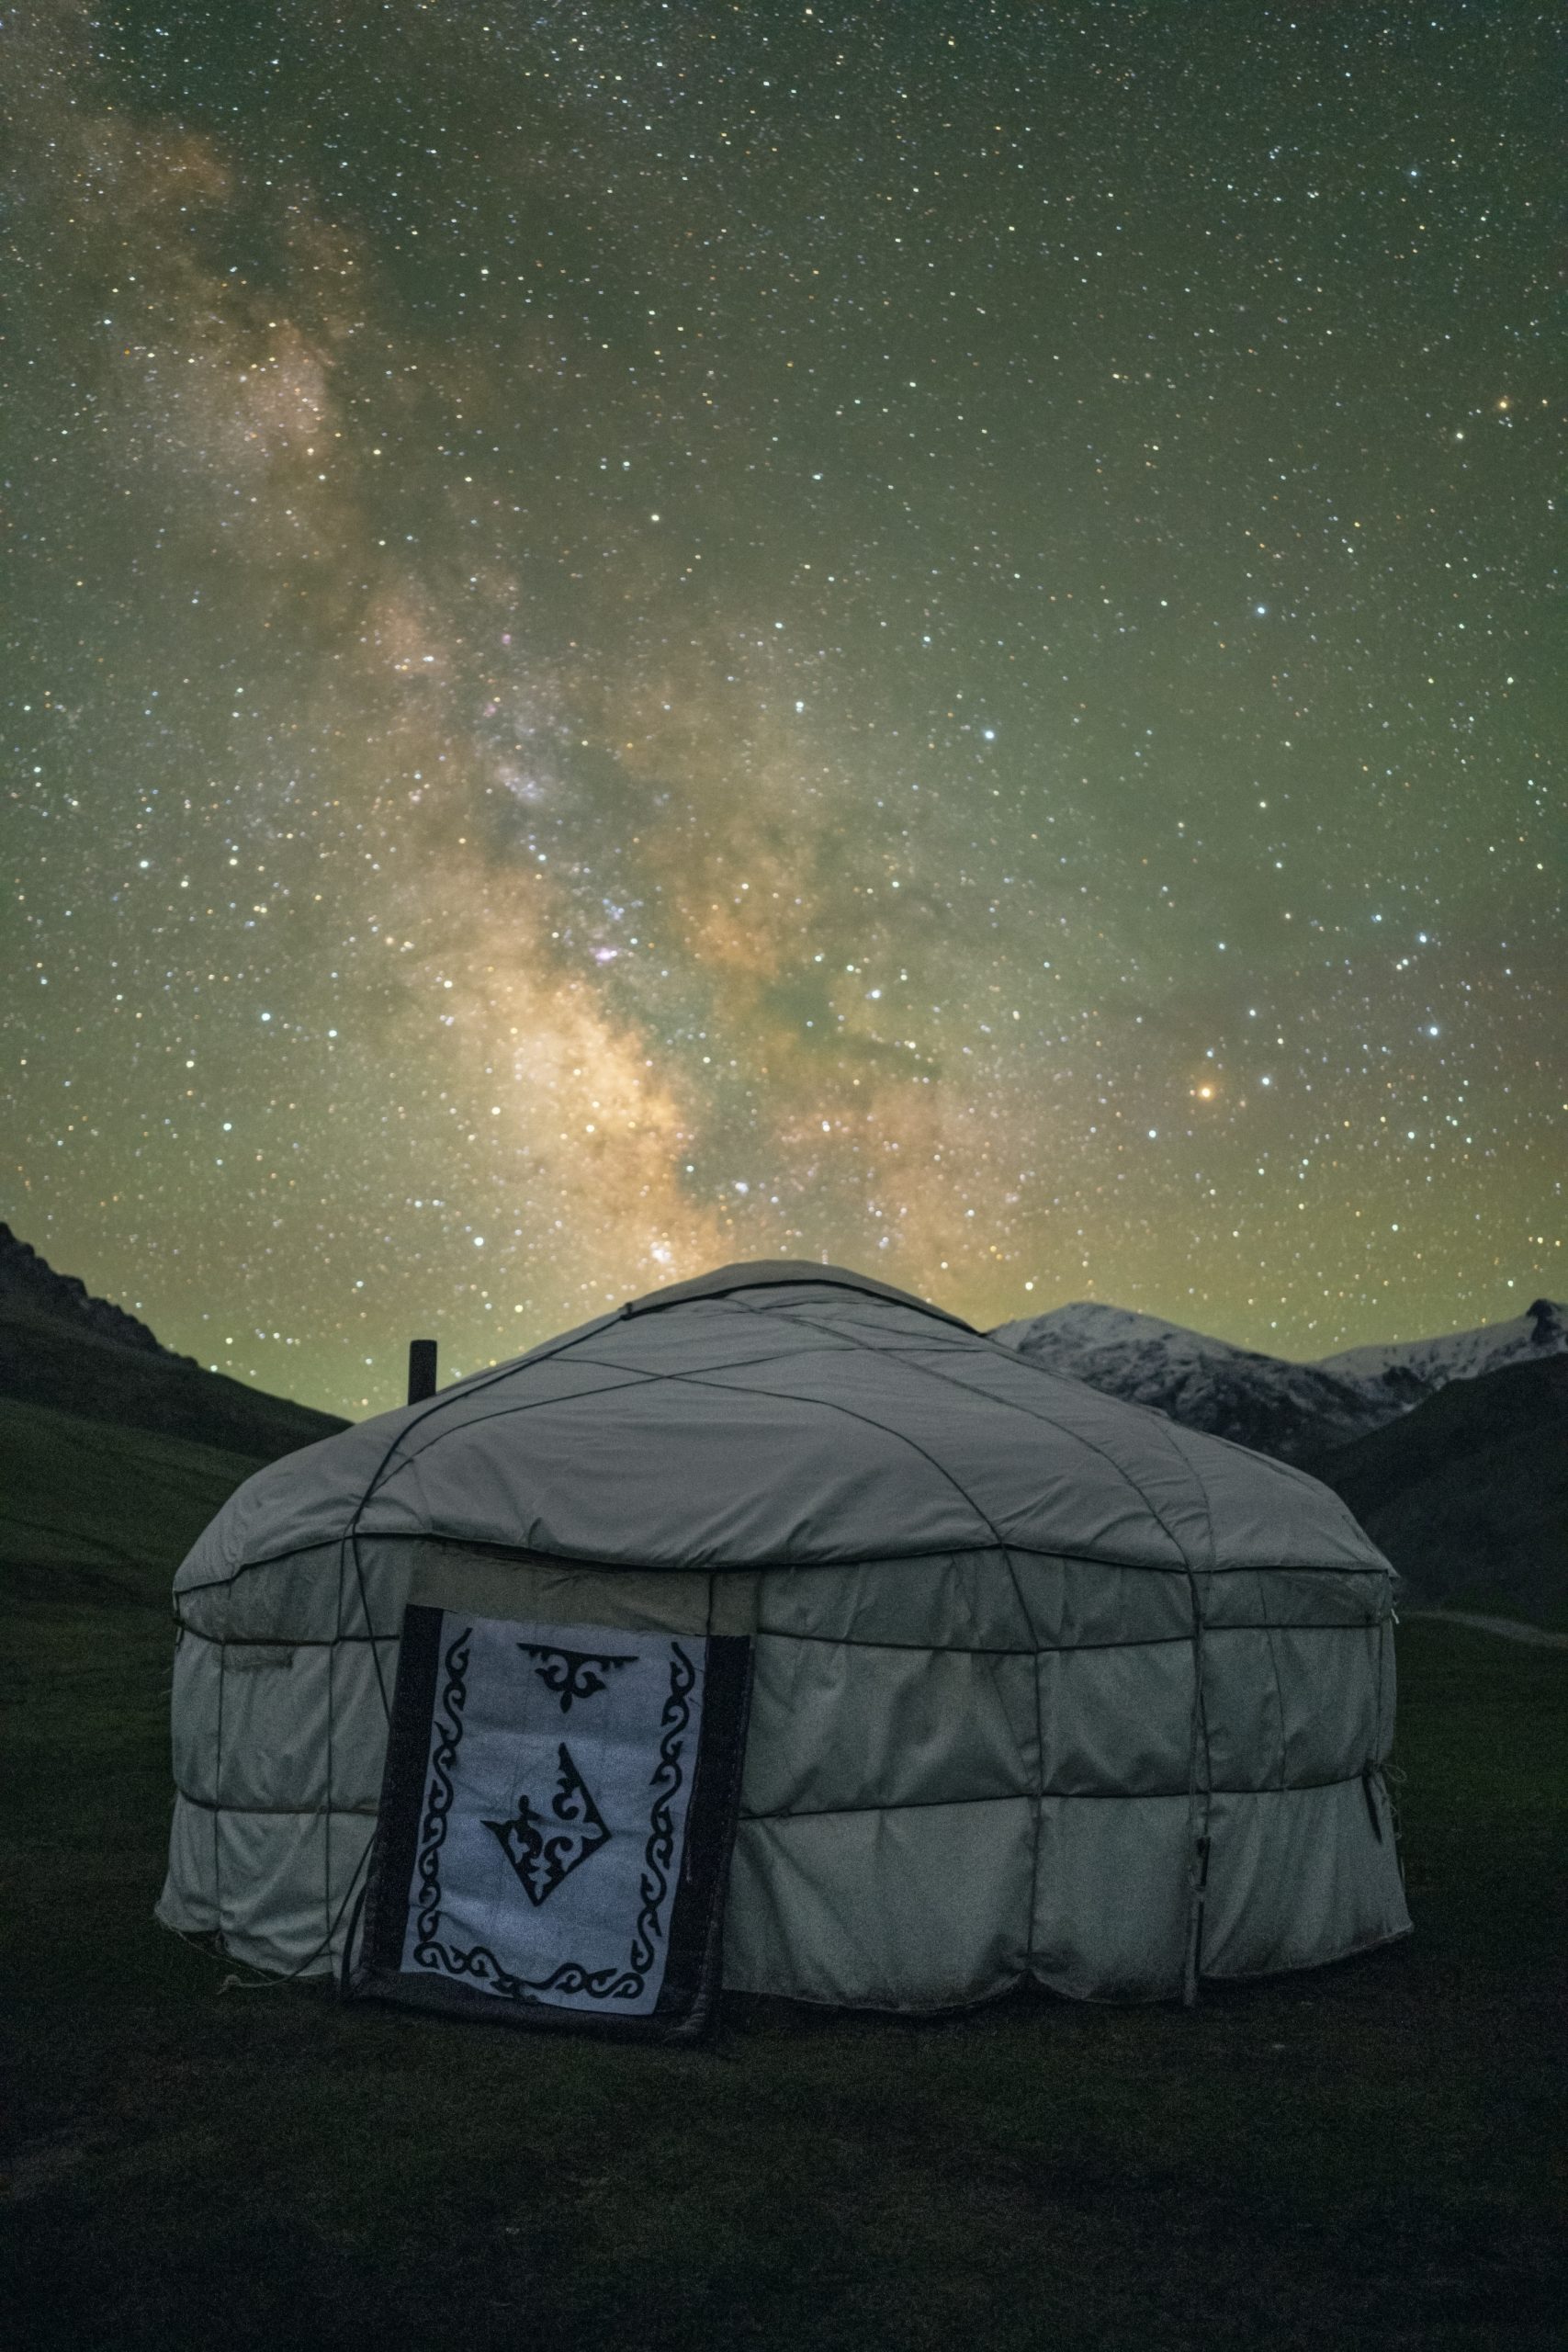
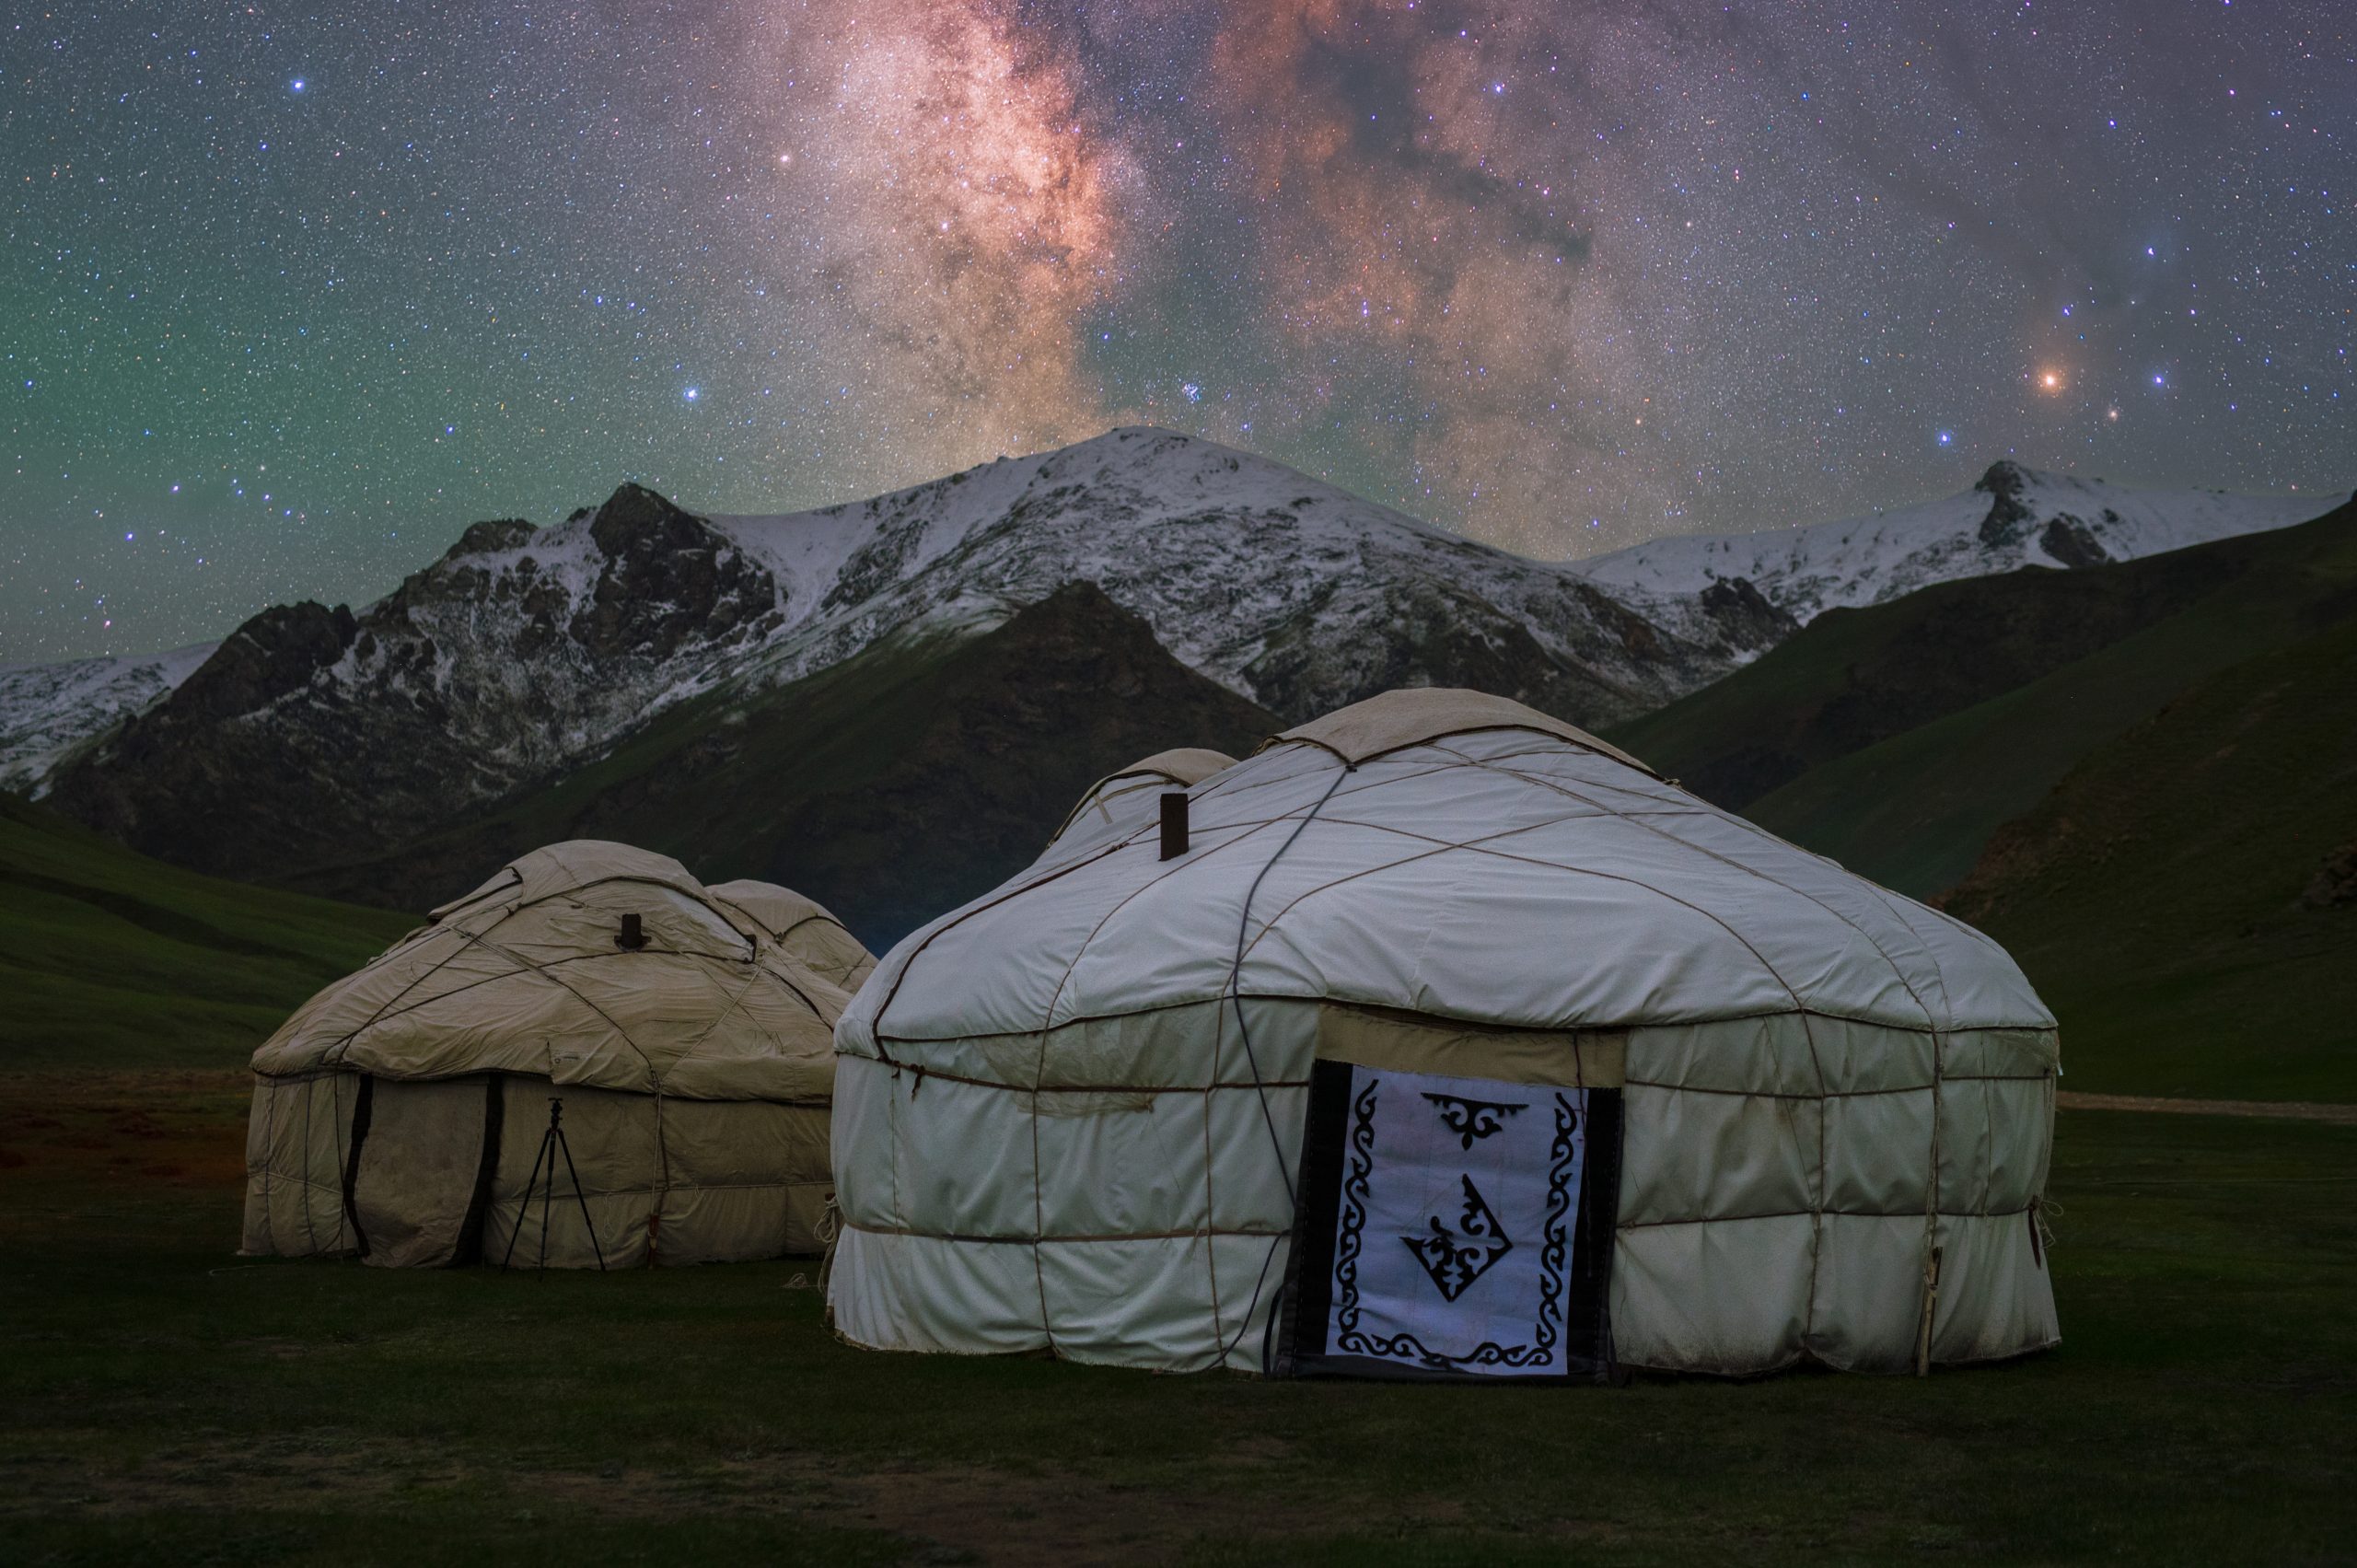
Milky way and a yurt
Next time you plan to make a long trip for astrophotography, do not forget to include Kyrgyzstan on your list. Here are a few things to remember if you are planning to visit the country:
1. If you are booking your accommodation on your own, do it well ahead. The remote areas which are most suitable for astrophotography do not have a lot of accommodation and they get filled up quickly.
2. Rent a car (with or without a driver). With public transport, you may not be able to access the desired locations.
3. Include a stay in yurts in your itinerary. Getting to know how the local nomads have been spending their lives is a lifetime experience (and it will give you some interesting foregrounds, too!)
4. Install a translator app before you go. Most of the people do not understand anything other than Kyrgyz or Russian.
5. Kyrgyzstan is a big country and there is a lot to explore. If you have limited time, do not try going everywhere. Rather choose a few places and spend more than one day there to get the best essence of the location. The best time to visit would be between June to October.
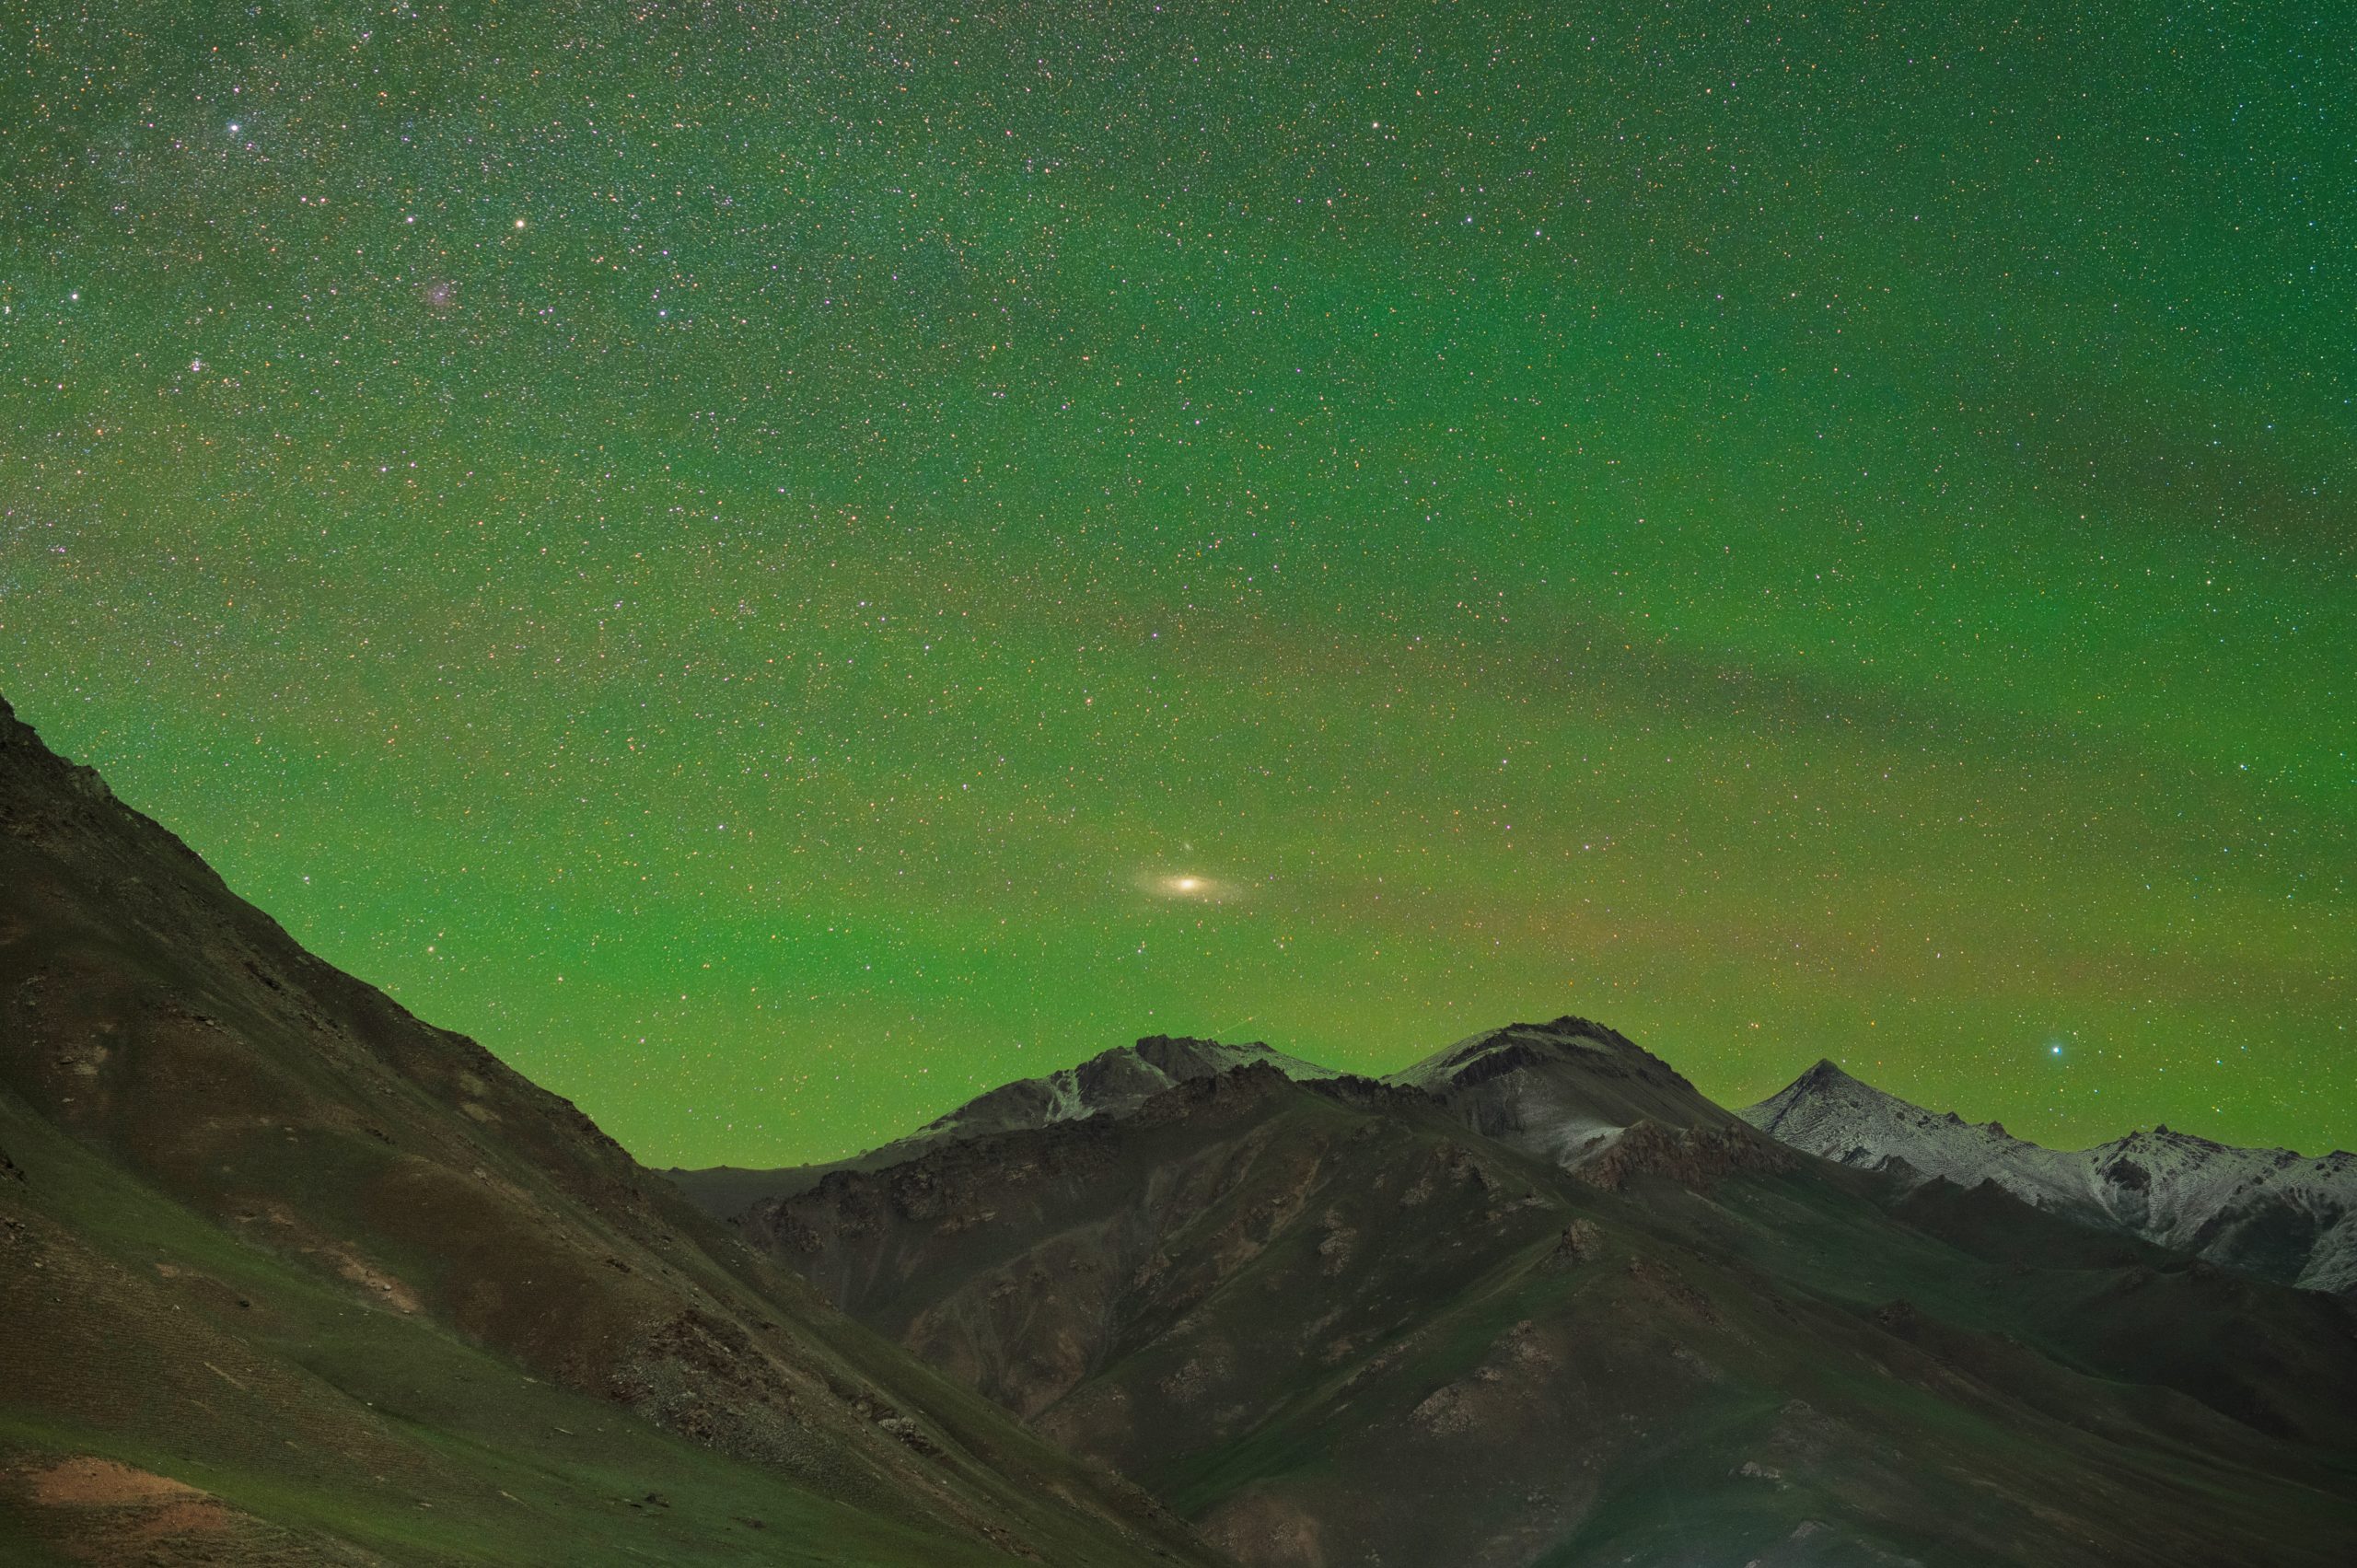
Here are a few more images from Kyrgyzstan:


About Soumyadeep Mukherjee
Soumyadeep Mukherjee is an amateur astrophotographer from Kolkata, India. He has done his Ph.D in linguistics. He was introduced to astrophotography during the COVID-19 pandemic, and for the last 4 years, he has been exploring and documenting the beauty of the night sky. He is a co-founder of ÔÇ£Astronomads BanglaÔÇØ, a group working towards the popularization and promotion of astrophotography in India. Soumyadeep was the first Indian to win the prestigious ÔÇ£Astronomy Photographer of the YearÔÇØ award in 2022 in a major category. His images have appeared in more than 30 magazines around the world, including Astronomy, Sky & Telescope, BBC Sky at Night, Cosmos, and Digital Camera World, among others. His images can also be found on numerous websites, including NASA, National Geographic, Forbes, BBC Science Focus, The Guardian, etc. He has written articles for magazines including Astronomy and Natuurfotografie. He loves to travel and enjoys good food. You can see more of his work on his website or follow him on Instagram.
We love it when our readers get in touch with us to share their stories. This article was contributed to DIYP by a member of our community. If you would like to contribute an article, please contact us here.
Related Posts
 Here are my gear and methods for shooting Deep Space: Photographer Spotlight Q&A with Astrophotographer Sara Wager
 Astrophotographer of the Year shares magnificent 2021 shortlists
 Amateur Astrophotographer And Hubble Space Telescope Join Forces To Snap M106
 Astrophotographer captures a half-million-mile long solar prominence
Join the Discussion
DIYP Comment Policy
Be nice, be on-topic, no personal information or flames.