


















Seestar S30 Pro Smart Telescope: Unboxing and First Impressions
Aug 23, 2026
Soumyadeep Mukherjee
Soumyadeep Mukherjee is an award-winning astrophotographer from India. He has a doctorate degree in Linguistics. His work extends to the sub-genres of nightscape, deep sky, solar, lunar and optical phenomenon photography. He is also a photography educator and has conducted numerous workshops. His works have appeared in over 40 books & magazines including Astronomy, BBC Sky at Night, Sky & Telescope among others, and in various websites including National Geographic, NASA, Forbes. He was the first Indian to win “Astronomy Photographer of the Year” award in a major category.
Share:
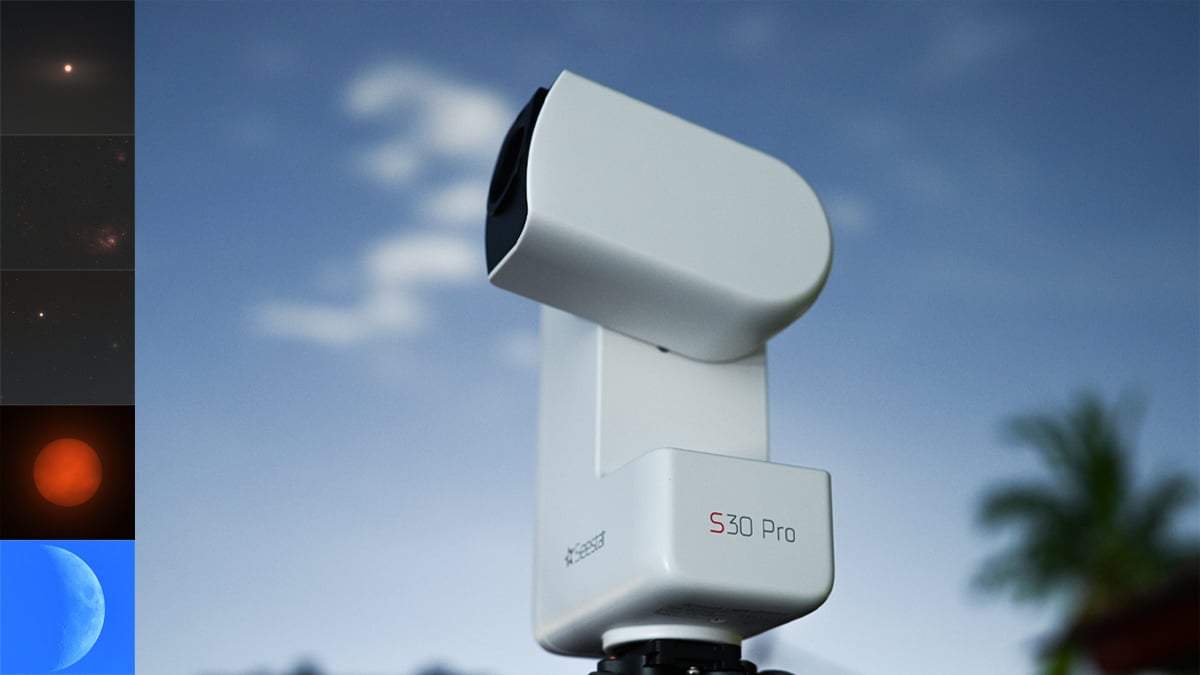
Table of contents
We are going through an interesting phase in astrophotography. For the last few years, we have been seeing a rise in all-in-one automated systems called Smart Telescopes. A lot of brands have jumped into this pool. While initially many astrophotographers did not realize its potential, and some also doubted it as “armchair astrophotography”, this piece of tech has found its way into the arsenal of many astrophotographers. From beginners to serious astrophotographers, the smart telescope is now the talk of the town.
Earlier this month, we received a piece from ZWO: their latest Seestar S30 Pro smart telescope. We had the opportunity to unbox it and put it into the field for an initial test. While we are yet to test it rigorously and put it to its maximum capability, the first few days were enough to make an impression.
Seestar S30 Pro: What is it?
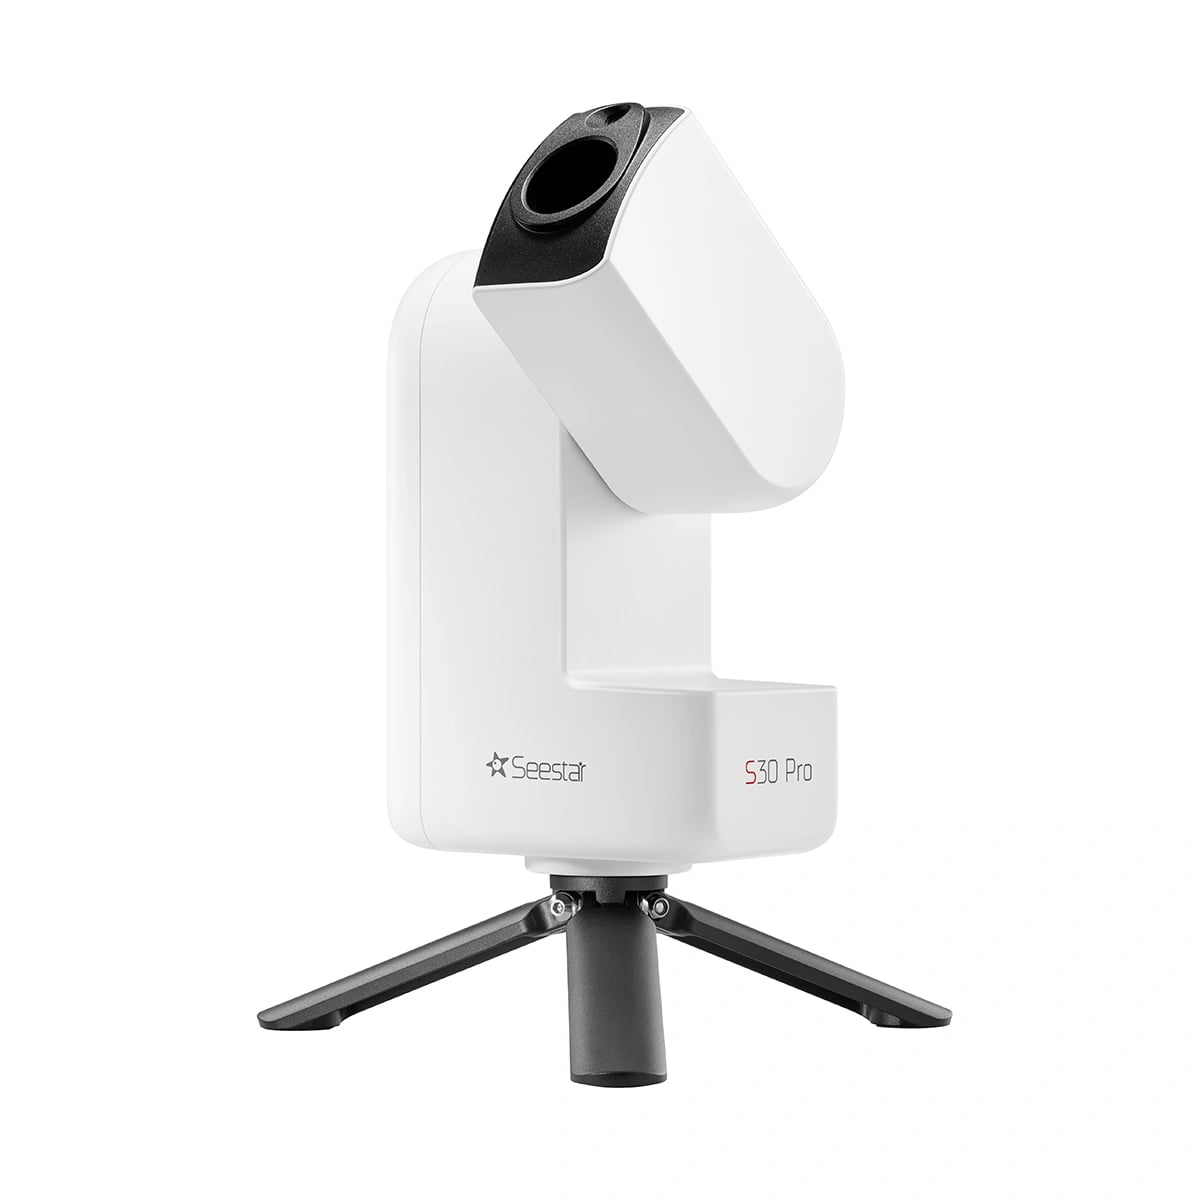
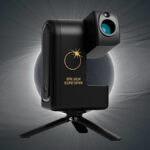
The Seestar S30 Pro is a smart telescope. If you don’t know what a smart telescope is, the best way to put it would be: it is an all-in-one device that has a telescope, a camera, a tracker, a storage device, and can be controlled with a mobile device. Basically, it is a combination of everything you need to do astrophotography.
The main optical system of the Seestar S30 Pro has a 30mm aperture and 160mm focal length, giving the telescope a focal ratio of f/5.3. ZWO uses a four-element apochromatic design with ED glass. It has a 4.6-degree field of view. But it gets better. The S30 Pro has another wide-angle lens that can capture nightscapes, including the Milky Way and star trails.
The main camera uses Sony’s IMX585, a 1/1.2-inch back-illuminated CMOS sensor with an 8.3-megapixel resolution. It produces images up to 3840 × 2160 pixels. The second camera uses Sony’s IMX586 sensor. It provides a 63-degree field of view.
The telescope also contains three filters that can be selected through the software. These include a UV/IR-cut filter, a dark filter, and an astronomical light-pollution filter. You also get a dedicated solar filter in the package.
[Related Reading: Seestar S30 Pro coming soon: Here is what we know so far]
The Unboxing experience
We received a package that was, well, not very big. A few years back, if somebody told me that this package contains (almost) everything I need to do deep sky and nightscape astrophotography, I would have taken it as a joke. But times change, and here we are.
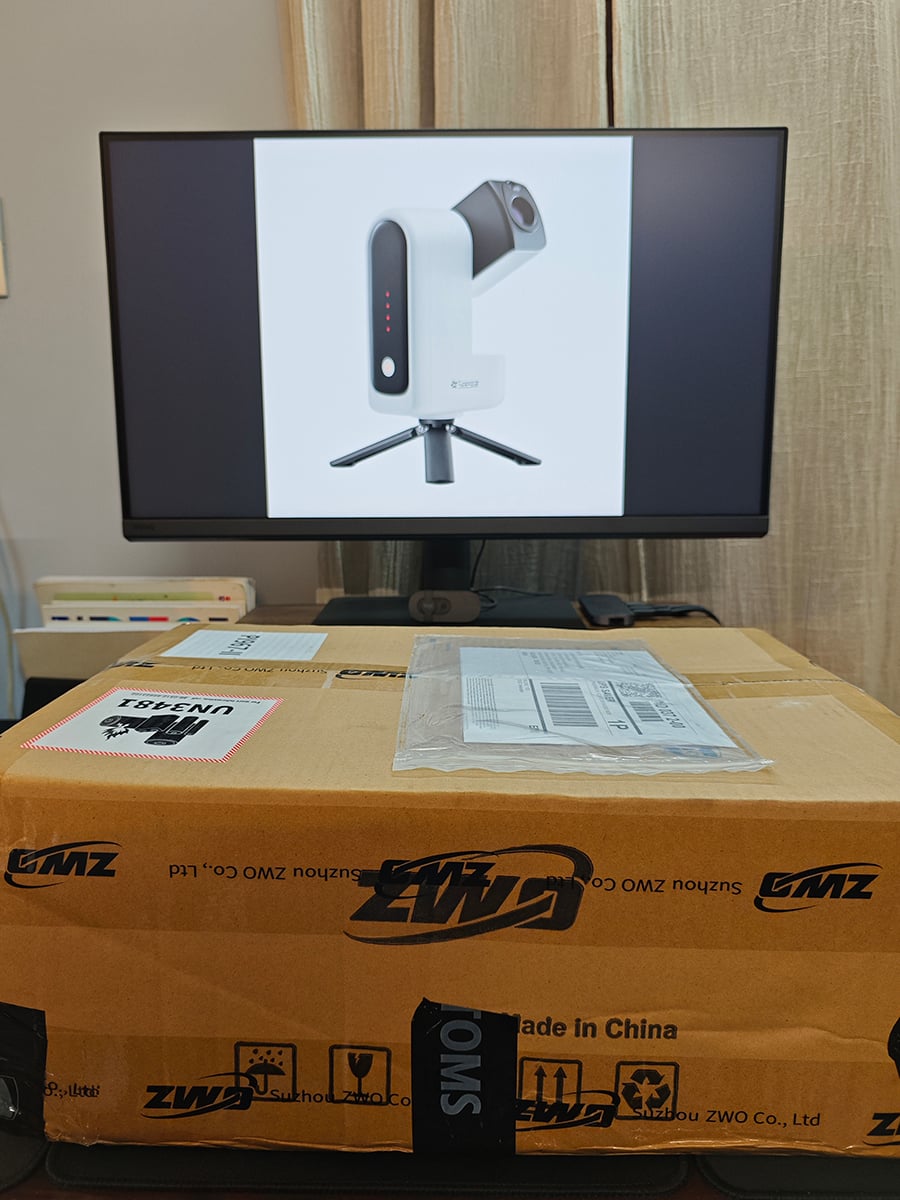
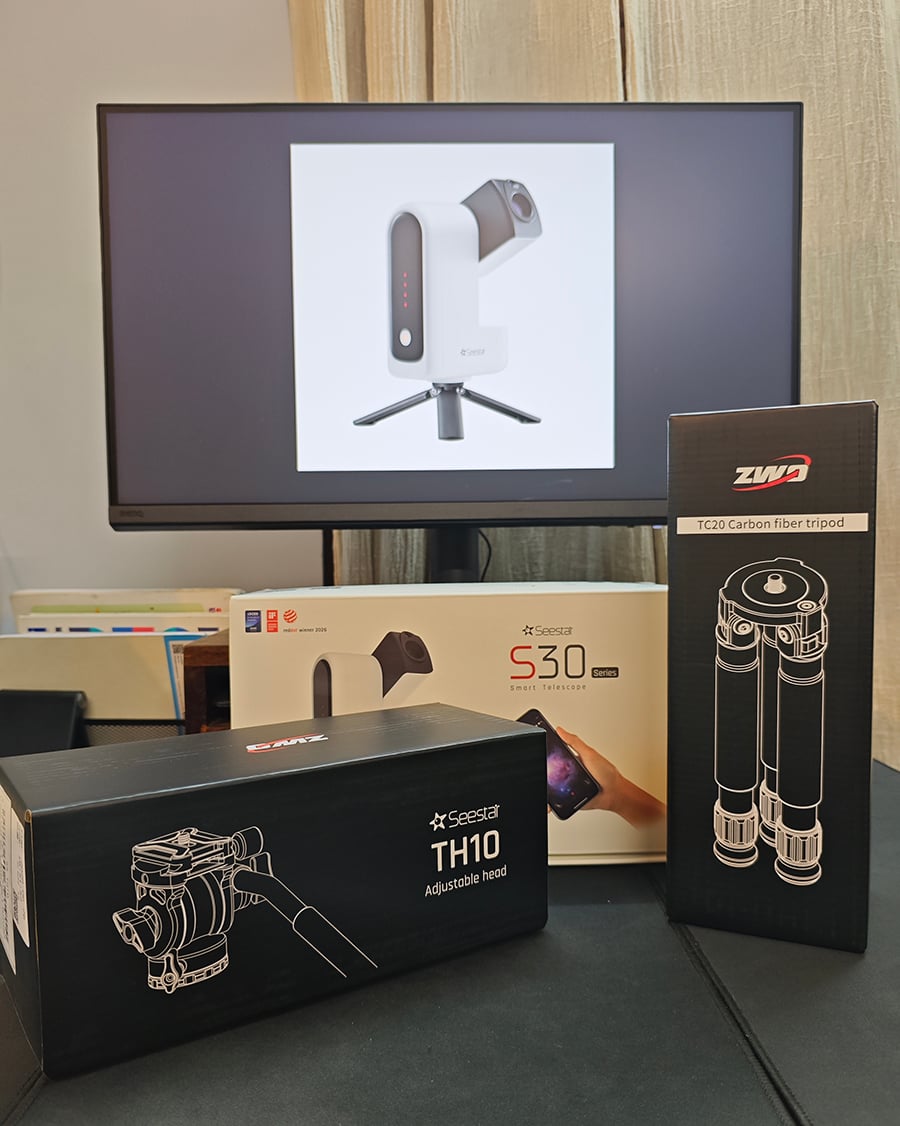
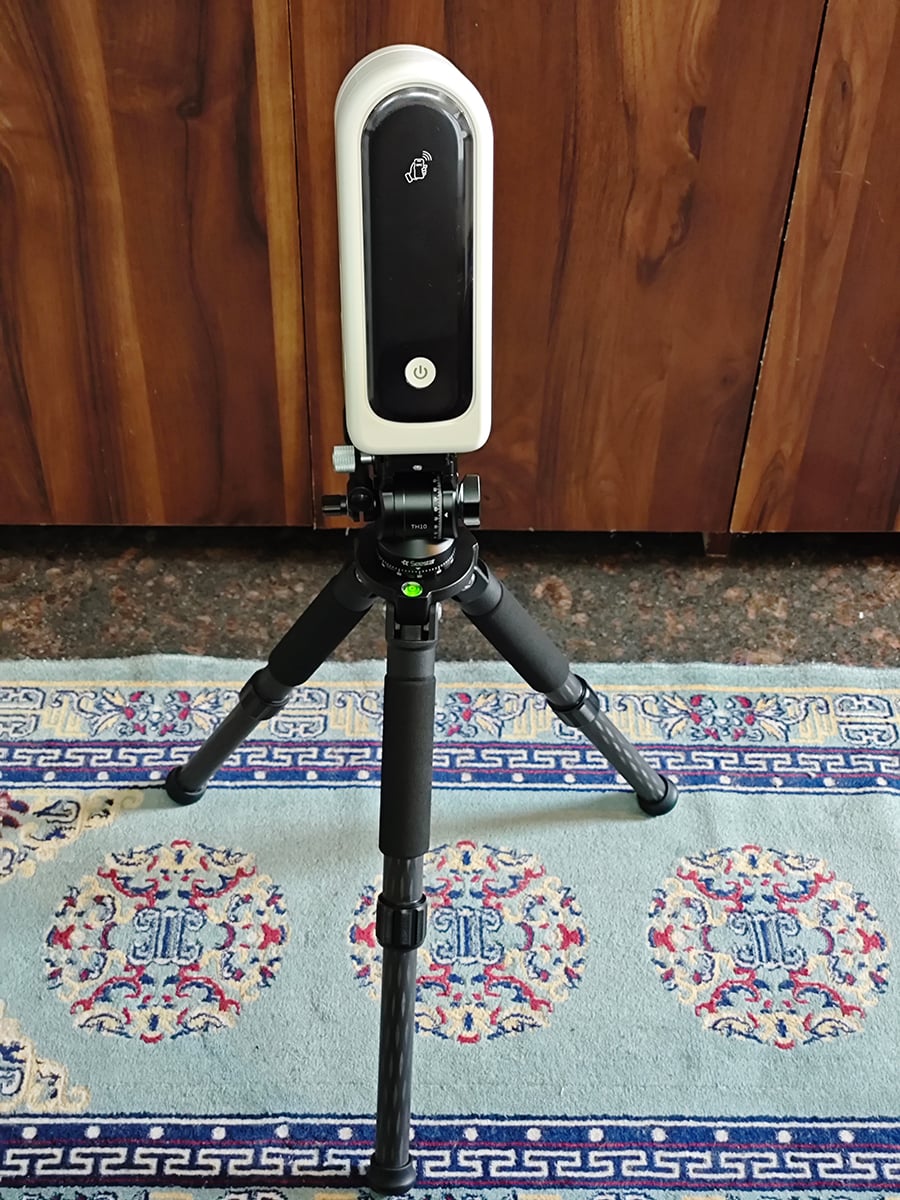
Opening the main package revealed three more boxes. ZWO had sent us the smart telescope with the EQ kit: a TC20 carbon fiber tripod and TH10 adjustable head. What they do is allow you to use the S30 Pro in EQ mode. The EQ mode ensures that you get longer exposures of up to 60 seconds with perfect tracking of the celestial object and also gets rid of the field rotation you get with the alt-az mode.
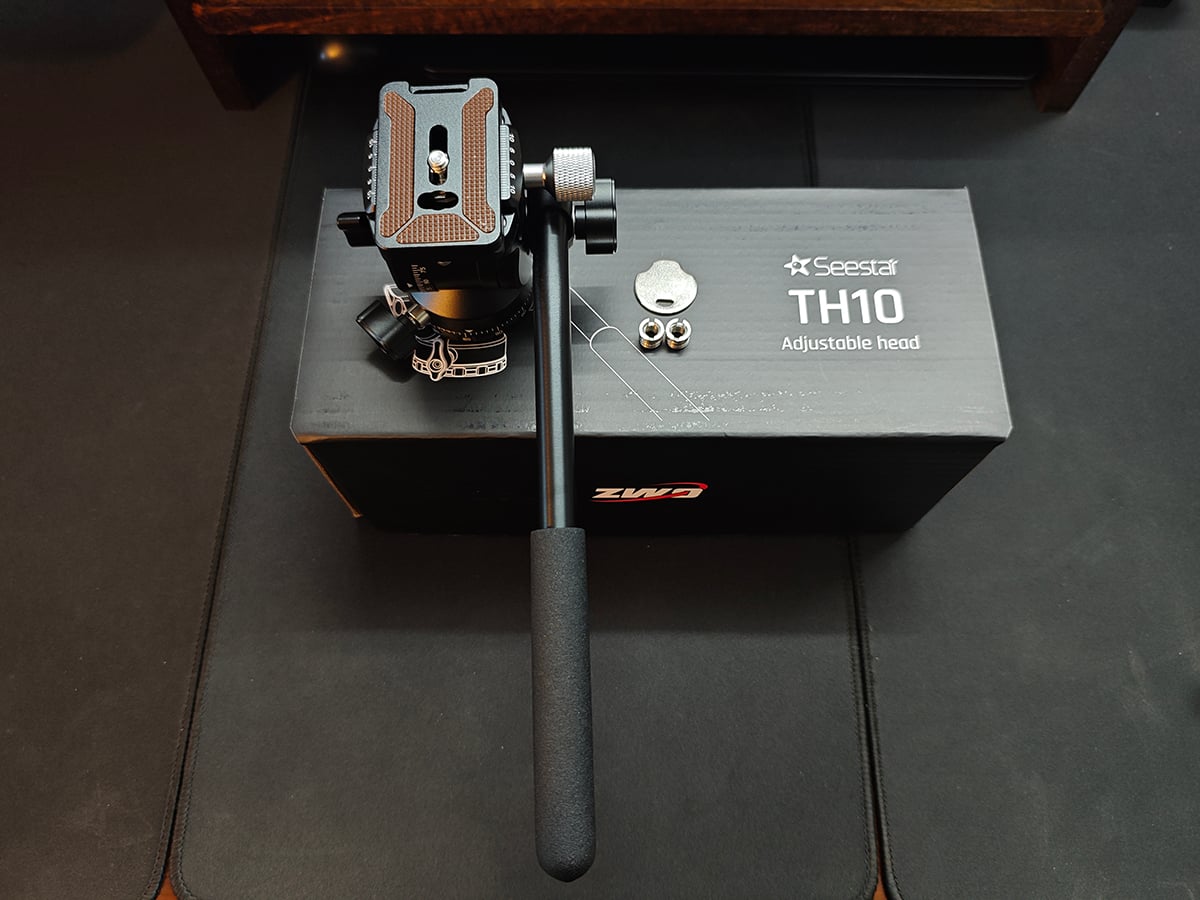
The TH10 head is simple to use. You attach it on top of the tripod and attach the S30 Pro (or anything else) with the Arca-Swiss plate (also provided in the box). It has two independent knobs that unlock the two movements: rotation or pan, and up-down movement. The handle provided with the adjustable head makes things easier. Although I’m someone who is used to a ball-head without a handle, I found the new head better suited for the smart telescope.
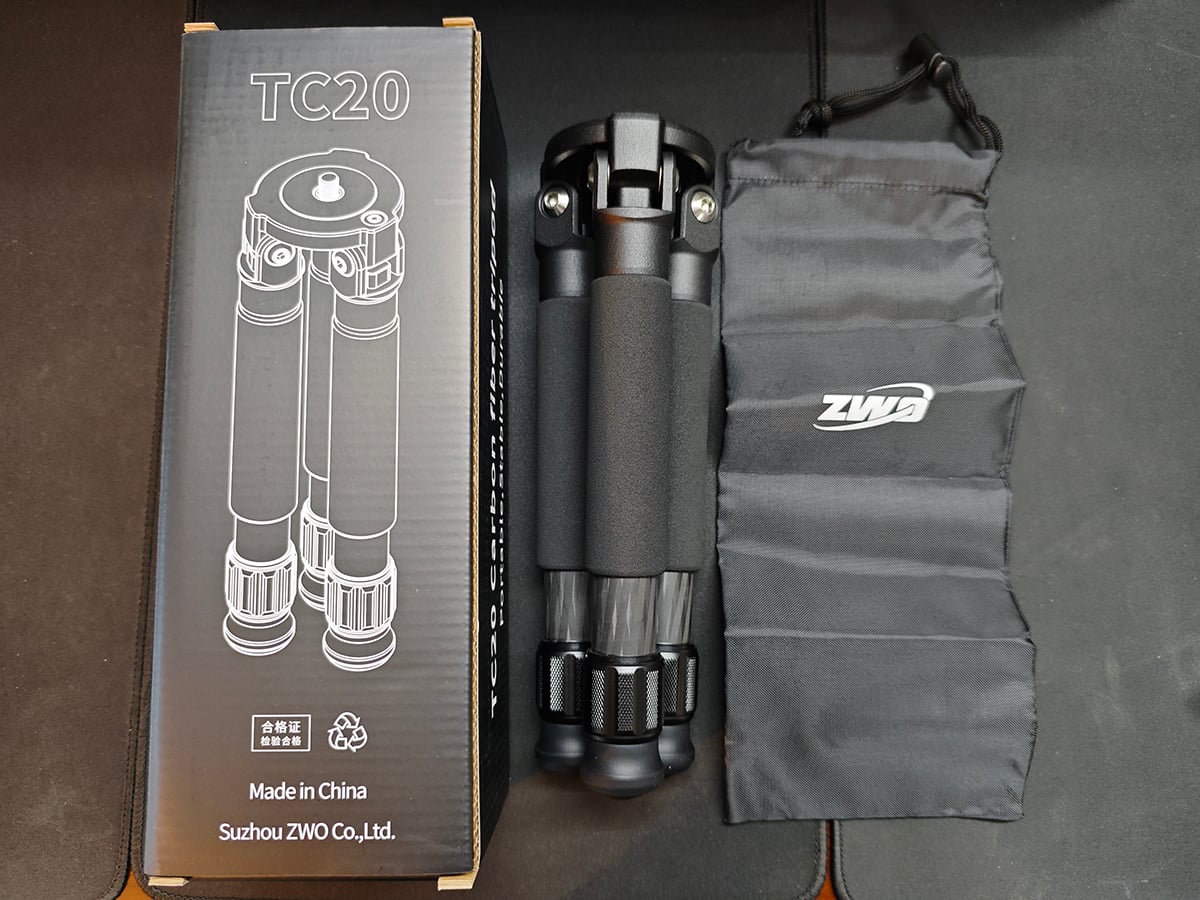
The TC20 was something that surprised me. It is small, with the size of a table-top tripod, and has a payload capacity of 30 kg. Really? It felt sturdy enough to make me put my mirrorless camera and a 150-600mm telephoto lens on it (I actually did that). The point is, it will easily carry the S30 Pro without the anxiety of any movement throughout a night’s session. Of course, we will put it to the test.
The main package: Exploring the Incredible
I kept the best for the end: a small box with the Seestar S30 Pro inside it. The package reads “Explore the Incredible”; quite apt.
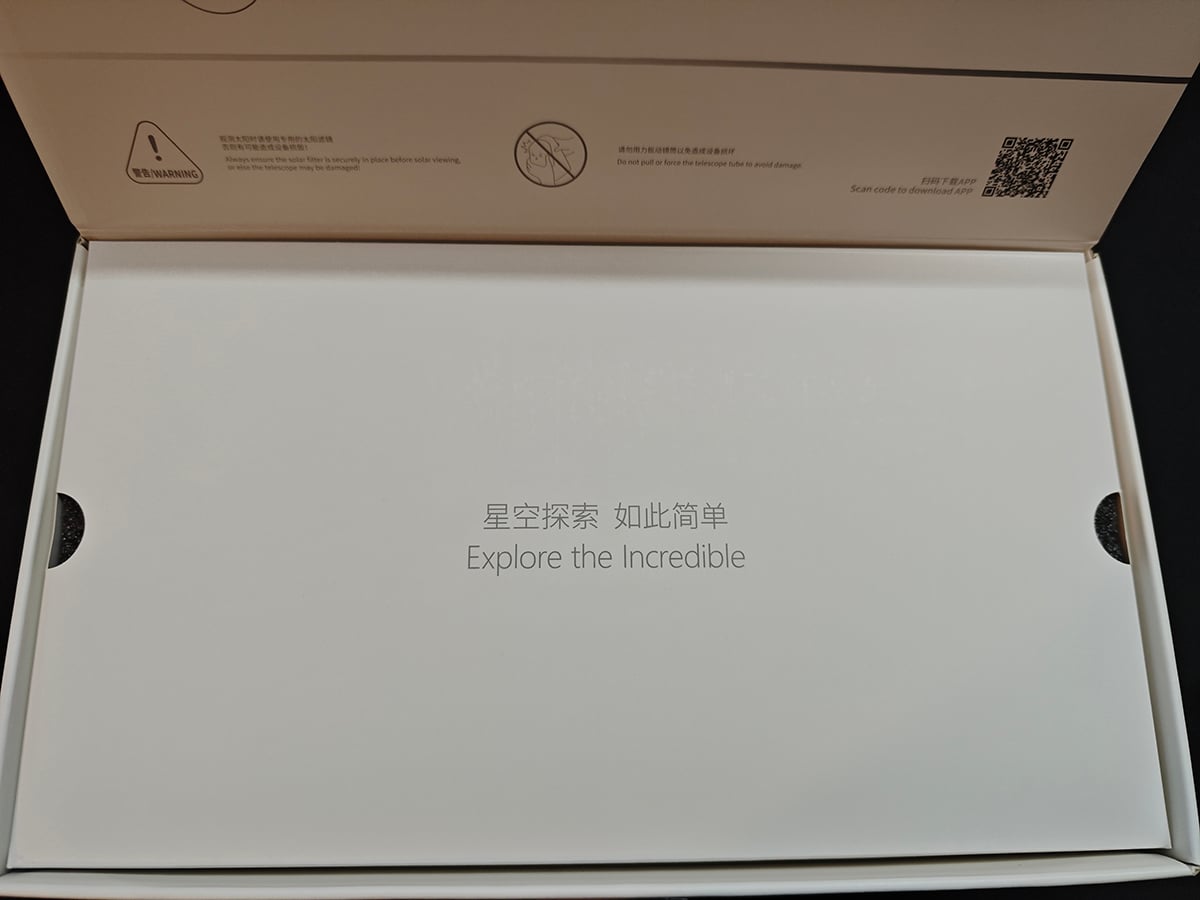
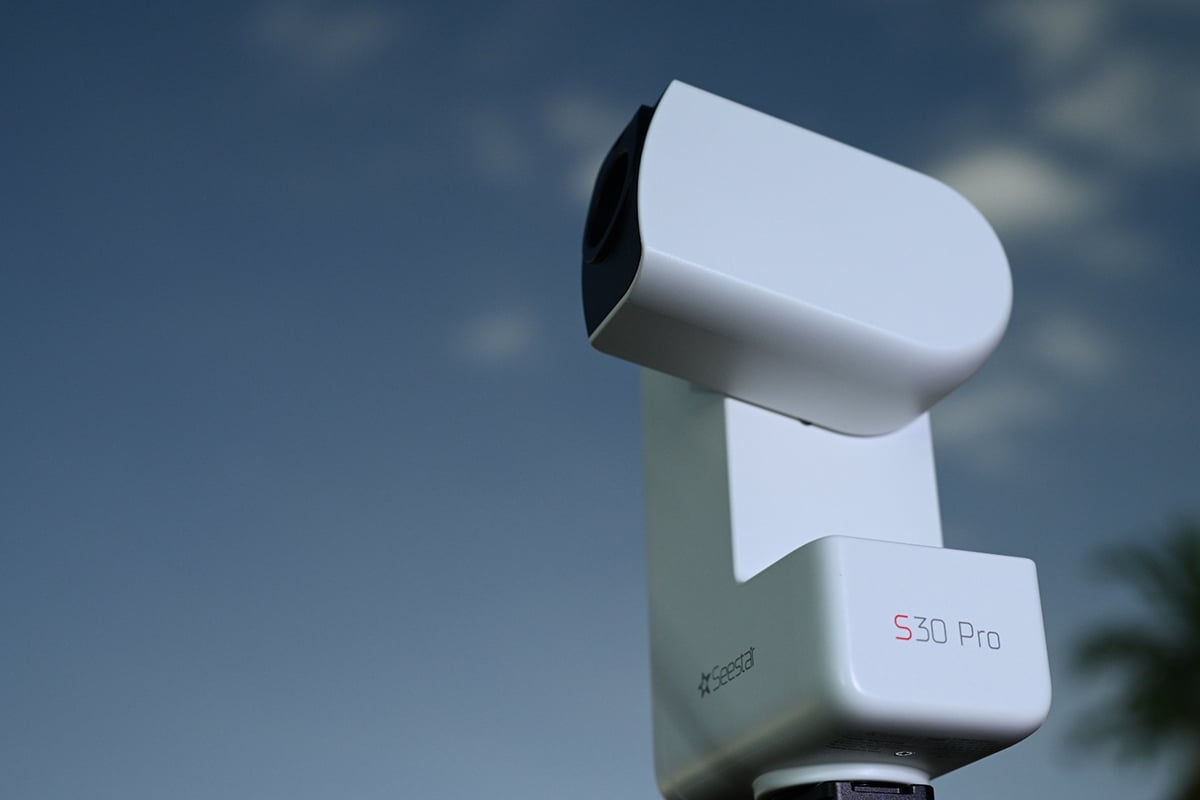
Opening the box reveals a carry pouch and a sheet of stickers. I’m not a sticker person, but for those who enjoy them, they’re in for a treat. The carry pouch looks and feels smooth and of good quality. Everything you need to work with the Seestar S30 Pro can fit inside the pouch. It contains, of course, the S30 Pro smart telescope, a small tripod, a strap, a magnetic solar filter, and a manual.
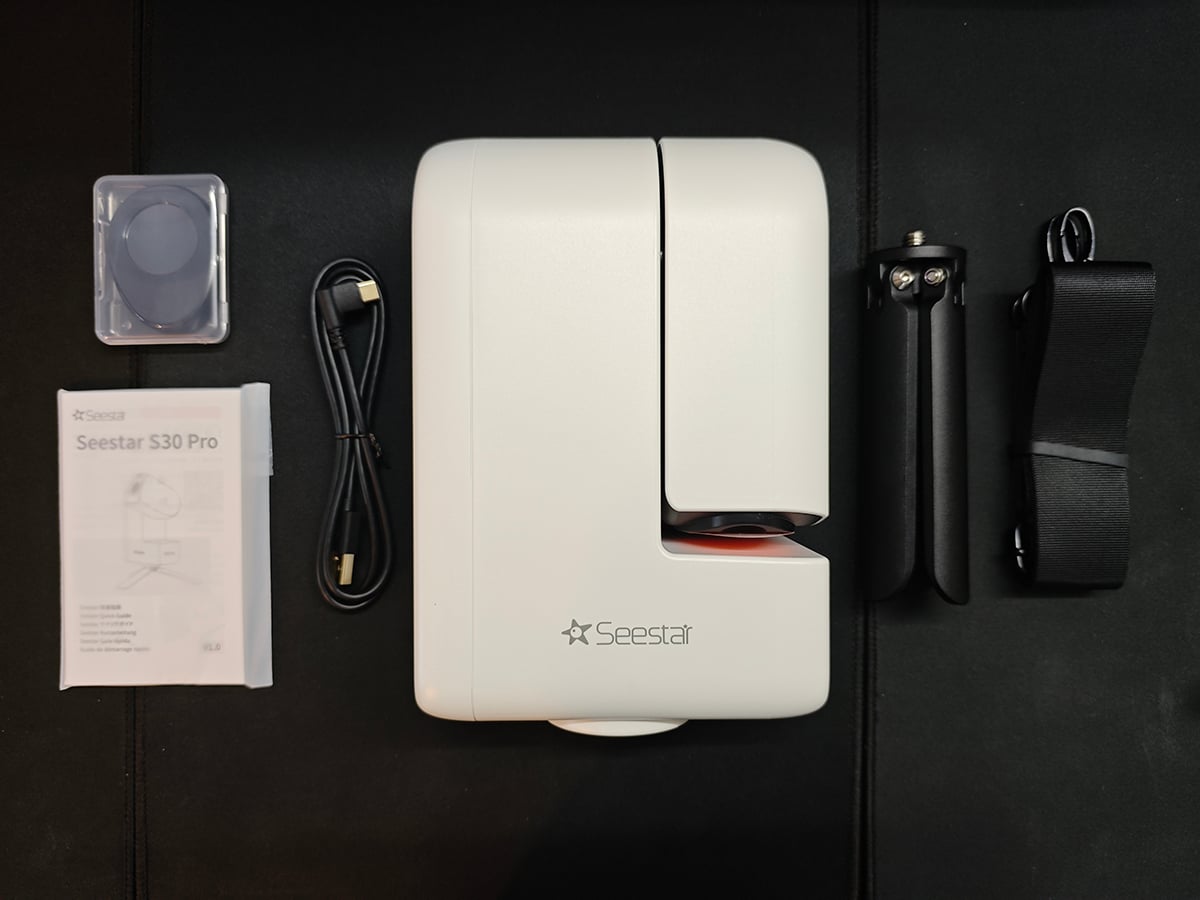
The S30 Pro is white. And I wish it also came in a black version, like the previous S50 smart telescope. While there isn’t a lot of advantage with the color itself, theoretically the sensor should stay a little cooler, especially during daytime solar photography. Now what we need to see is how much dirt becomes visible on the body after a field test.
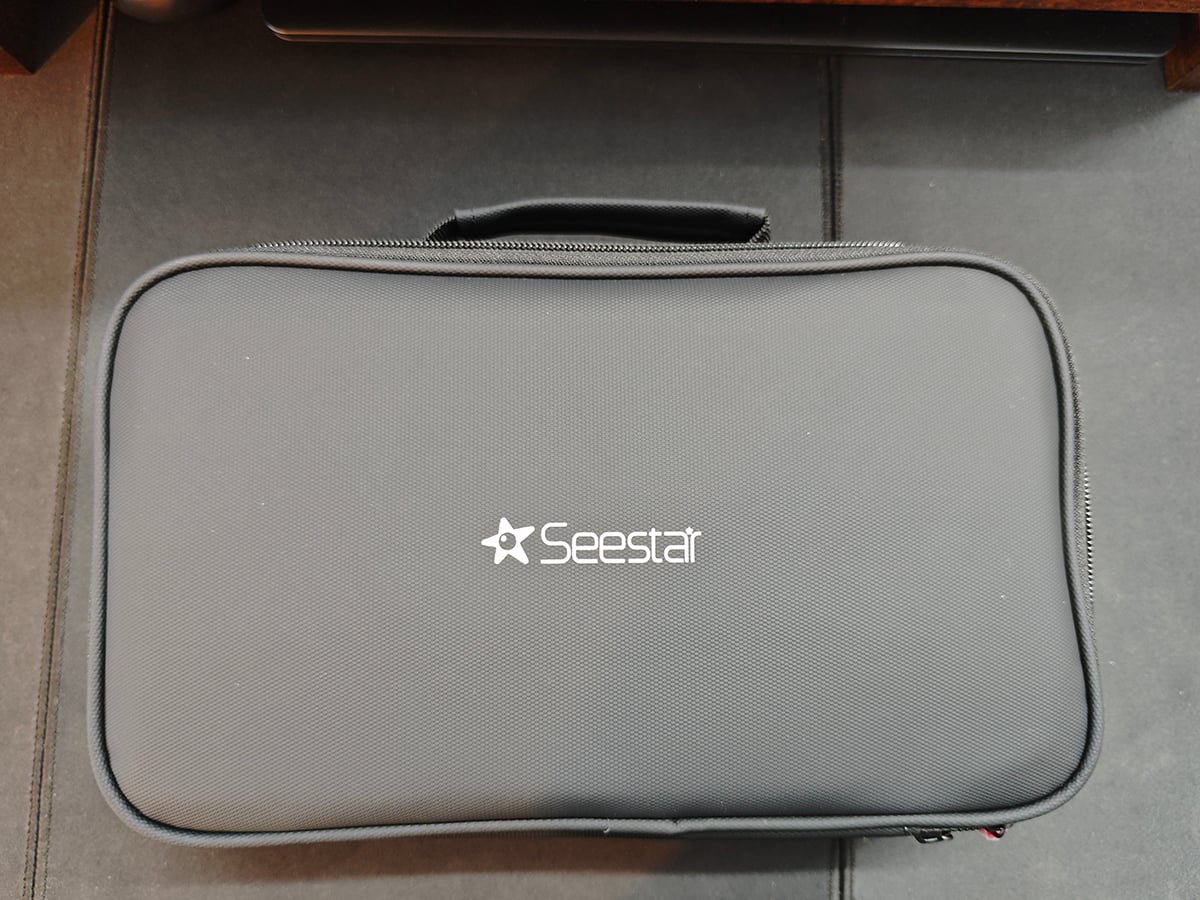
The main smart telescope is pretty small. It weighs around 1.5kg but feels well-built. The small tripod, although doesn’t feel as sturdy as the TC20 tripod, is enough to carry the S30 Pro.
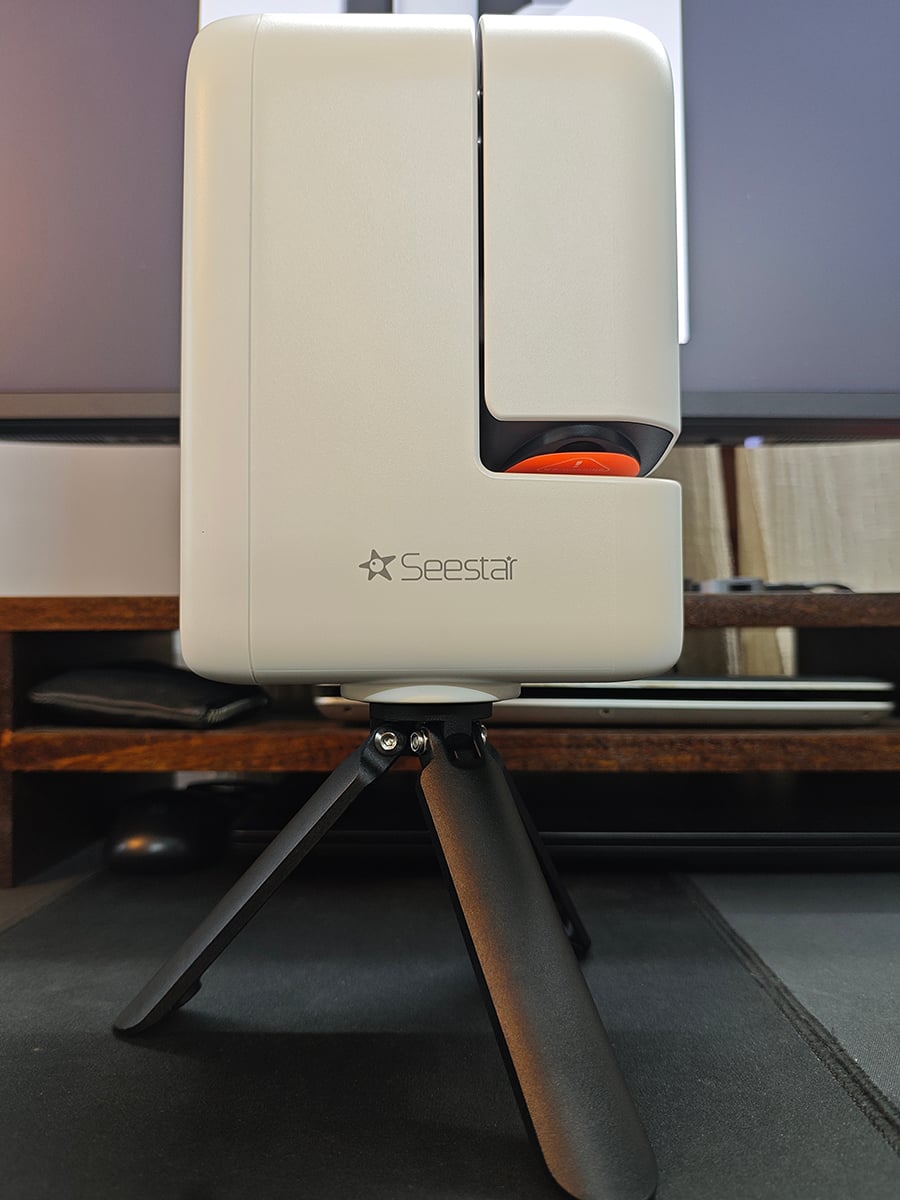
Personally, since we already have the TC20 tripod and the TH10 head of the EQ kit, I would continue using it instead of the smaller tripod.
[Related Reading: ZWO Seestar S30 Pro Launched: A Smart Telescope We’ve Been Waiting for]
First Light of Seestar S30 Pro
Here in India, we are going through a phase of heavy monsoon with cloud cover for the last 1 month. With that in mind, I did not expect to get to work with the S30 Pro anytime soon. I did not even bother to switch on the smart telescope and stored it inside the dry cabinet.
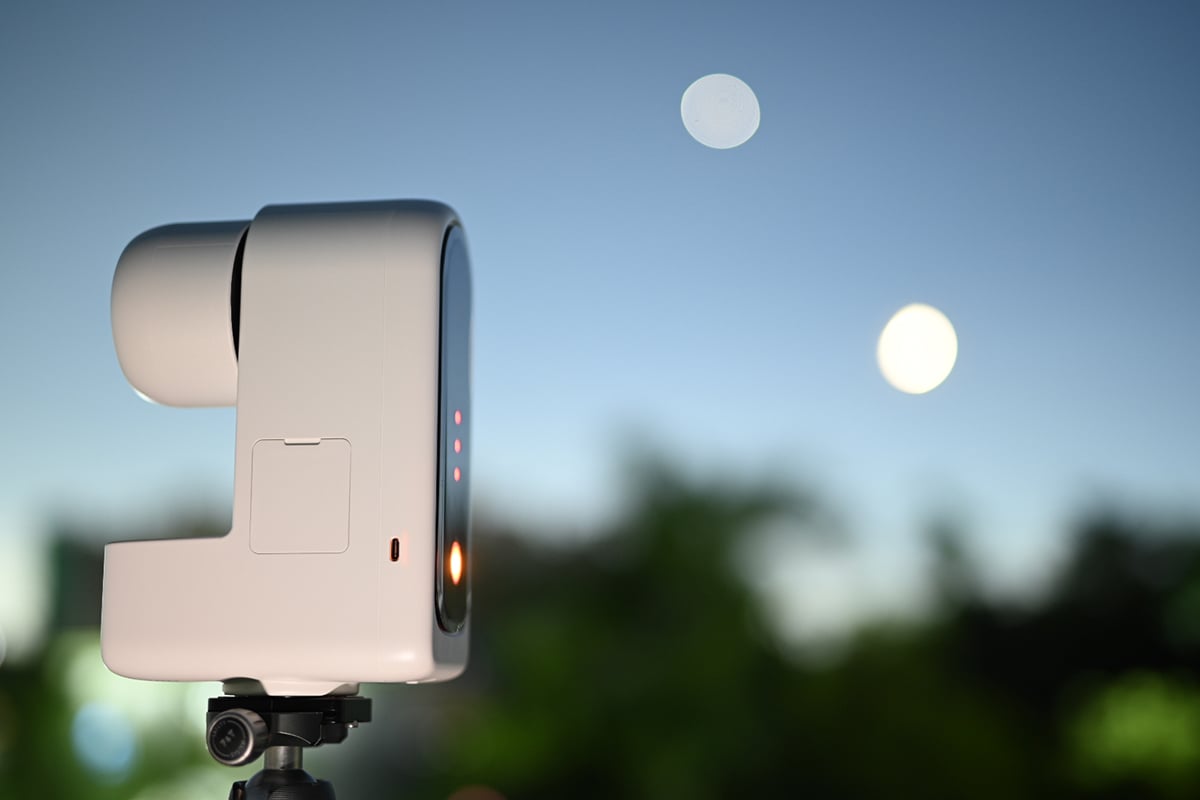
On the next evening, I found myself under a surprisingly clear sky. With the S30 Pro and a tripod, I rushed to the rooftop to get some images. And then I realized that I did not even have the Seestar app installed on my phone! It was a somewhat chunky app, almost 1.5 GB in size. I found the app to be quite user-friendly and intuitive. With no prior experience (or tutorials) with the app, I didn’t have to struggle much to get everything going.
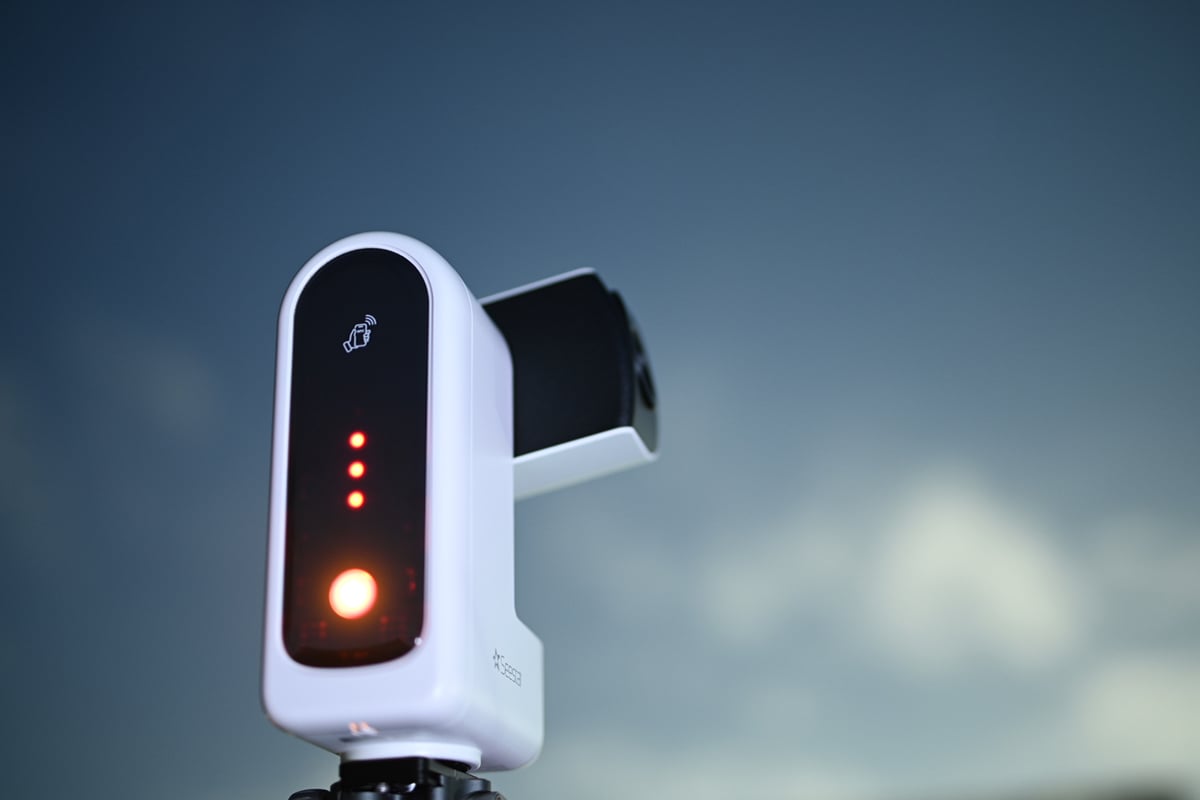
Here is the best part: from getting to the rooftop, installing the app, and getting the first image, it took around 10 minutes. This leads me to believe that this whole set-up is easy to use, an important point for beginners. The go-to functionality and autofocus were spot on.
Test shots from Bortle 9 sky
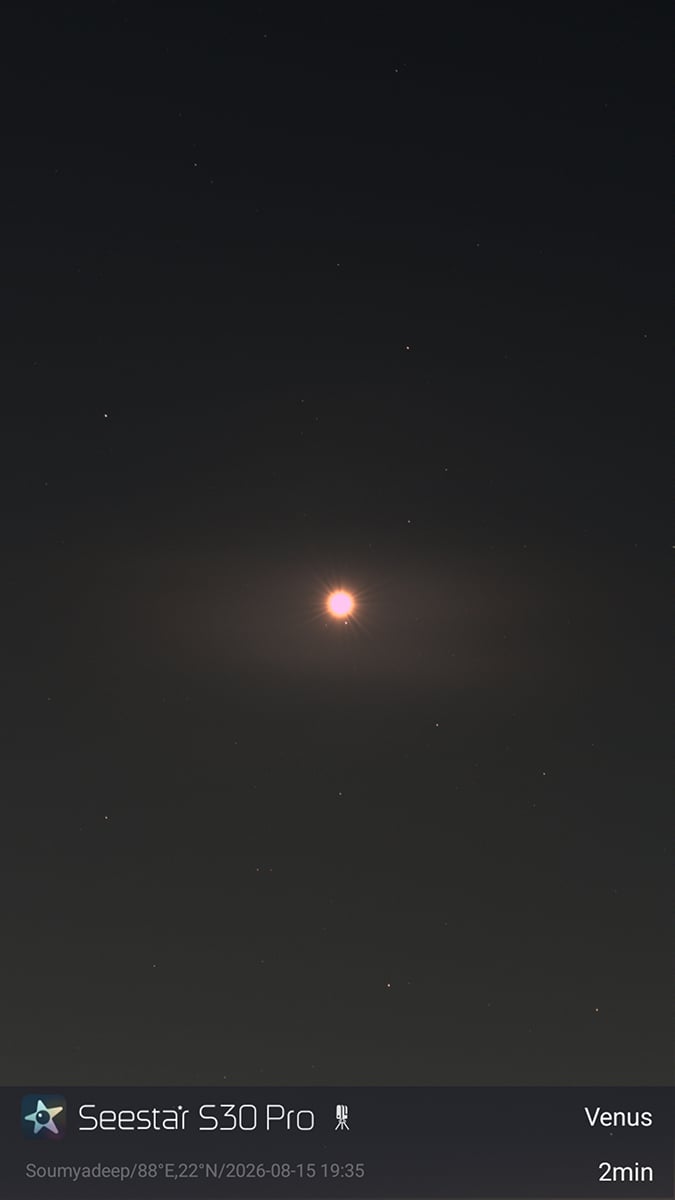
Before high clouds rolled in, I got to take some images of the Venus, Lagoon, and Trifid nebulae, Eagle and Omega nebulae, M4 star cluster. From a Bortle 9 sky and living near an international airport, I did not have high hopes. It was surprising to see these nebulae pop up on my screen with just a couple of shots (1 minute of integration time). The images you are seeing here are all direct from the telescope with no processing. But I believe that Seestar did some internal processing on them.
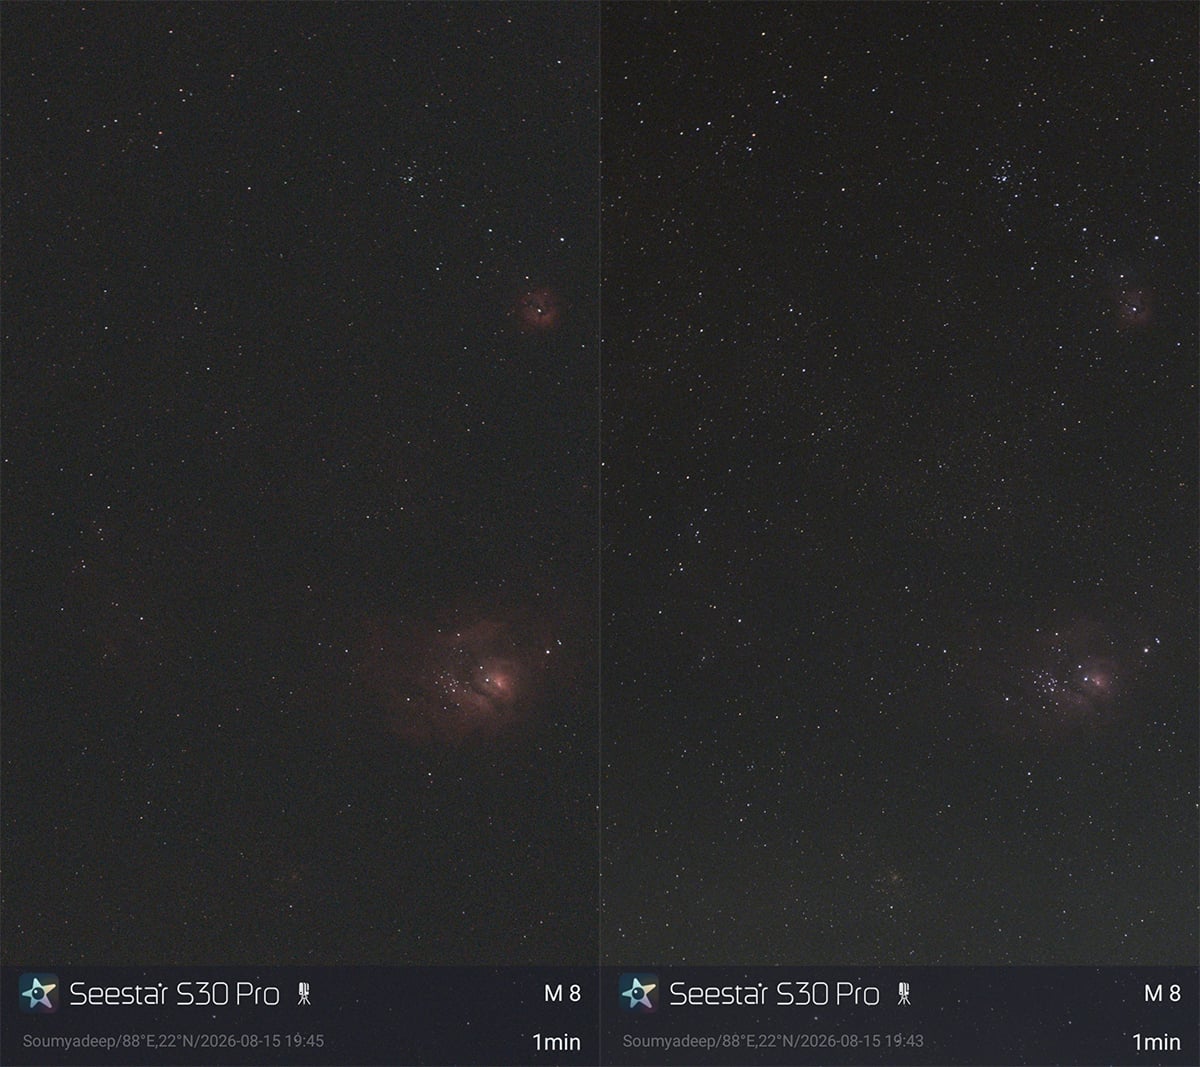
I fiddled around with the S30 Pro for a little more than an hour, and 14% of its battery got drained. It has a 6,000 mAh battery and is supposed to run uninterrupted for 4-5 hours depending on the external conditions. So, if you are planning to use it for the whole night, you’d better have a power bank attached to it.
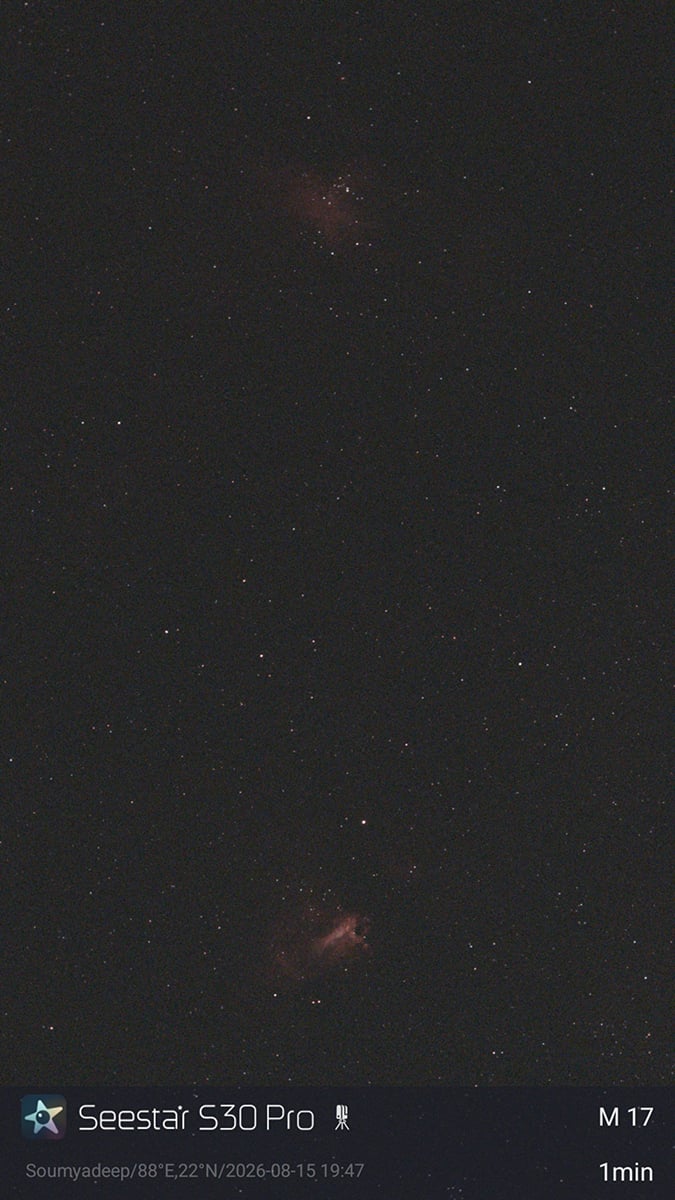
Capturing the Sun and the Moon
After a couple of days, I got another opportunity to use the S30 Pro to capture the Sun and the Moon. Always remember to attach the solar filter before pointing it towards the Sun. The Seestar app would also remind you to do the same.
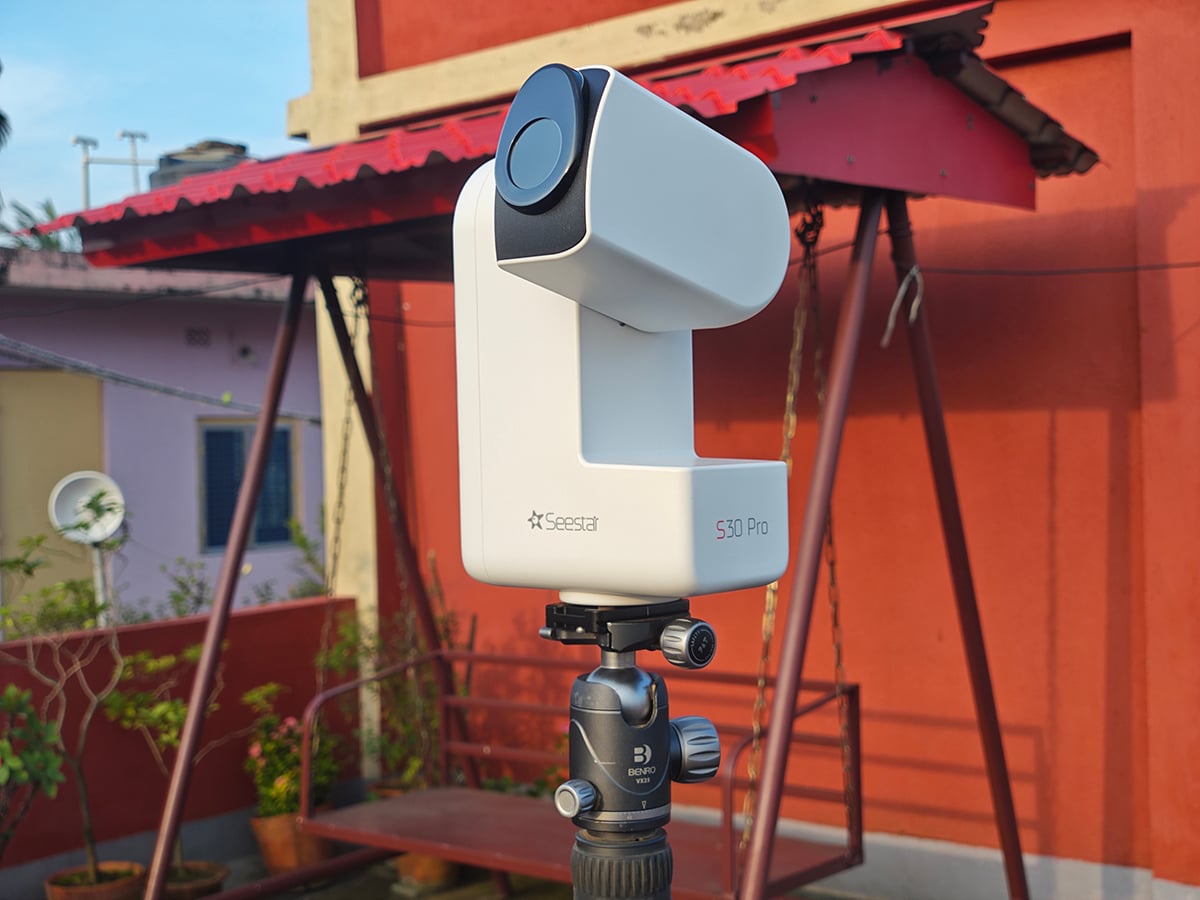
In this case, while trying to point it to the Sun, the S30 Pro struggled a bit. It could bring the Sun into the wide-field frame, but failed to center it with the telephoto lens. But this could have also happened due to the clouds that kept covering the Sun. This is not conclusive by any means and requires further testing without clouds (and human error, if any).
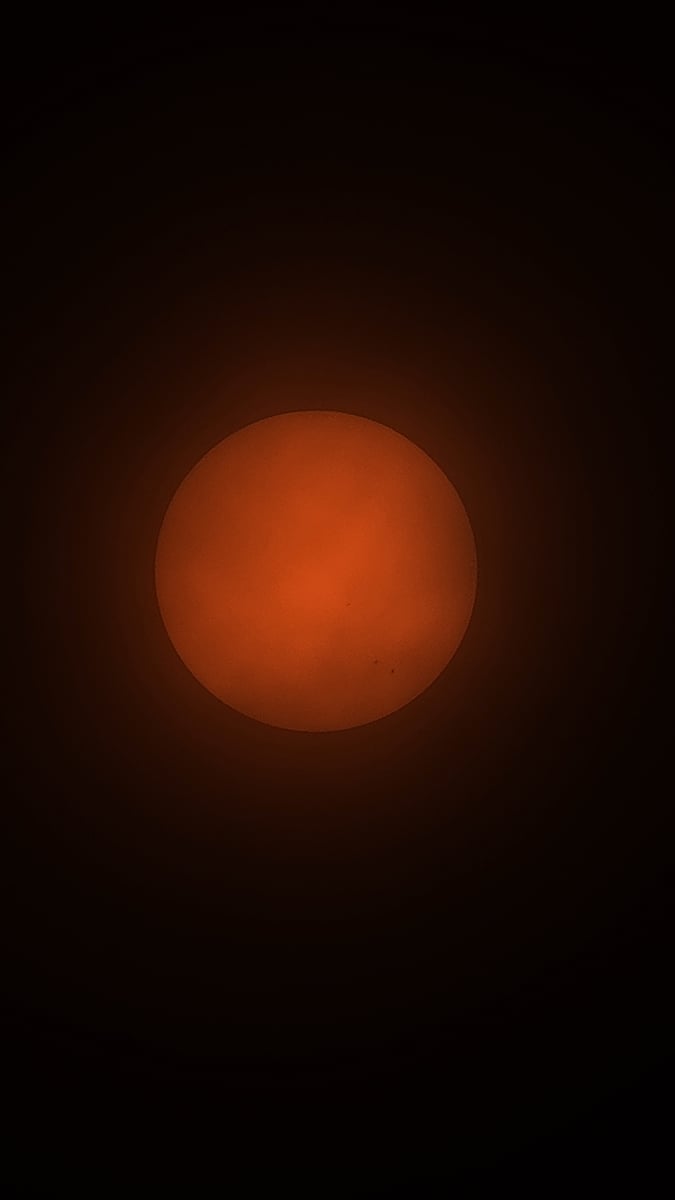
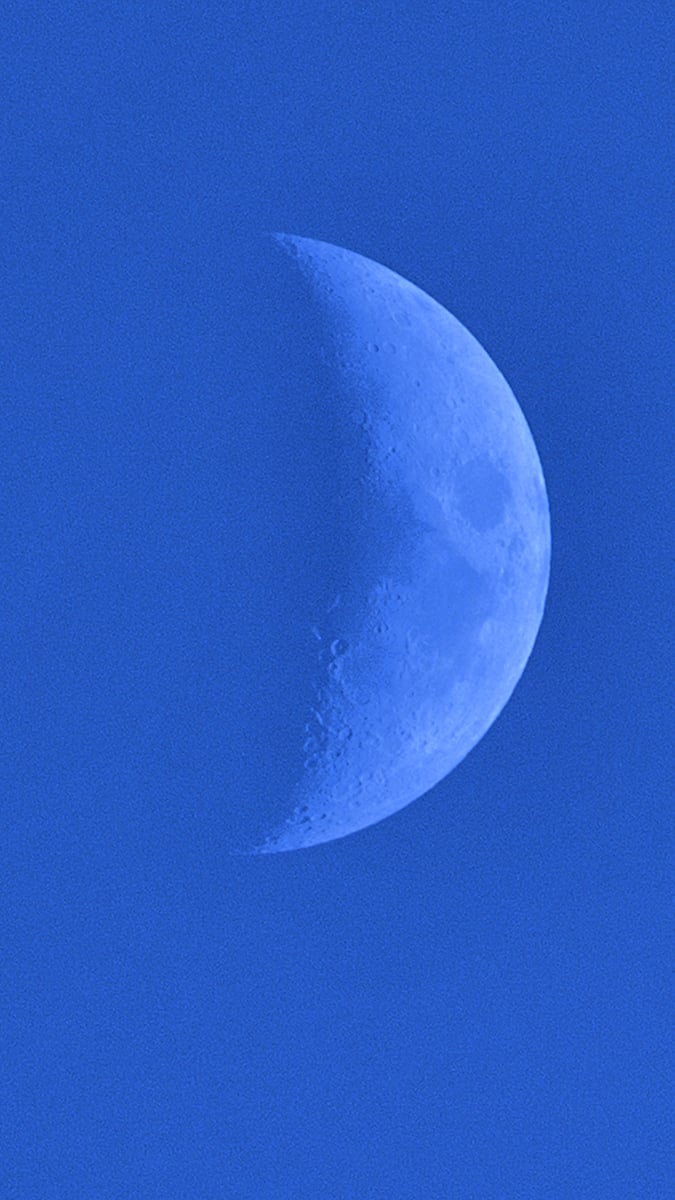
Pointing to the moon and capturing it was again straightforward. The go-to functionality worked as expected and found the Moon even through high clouds.
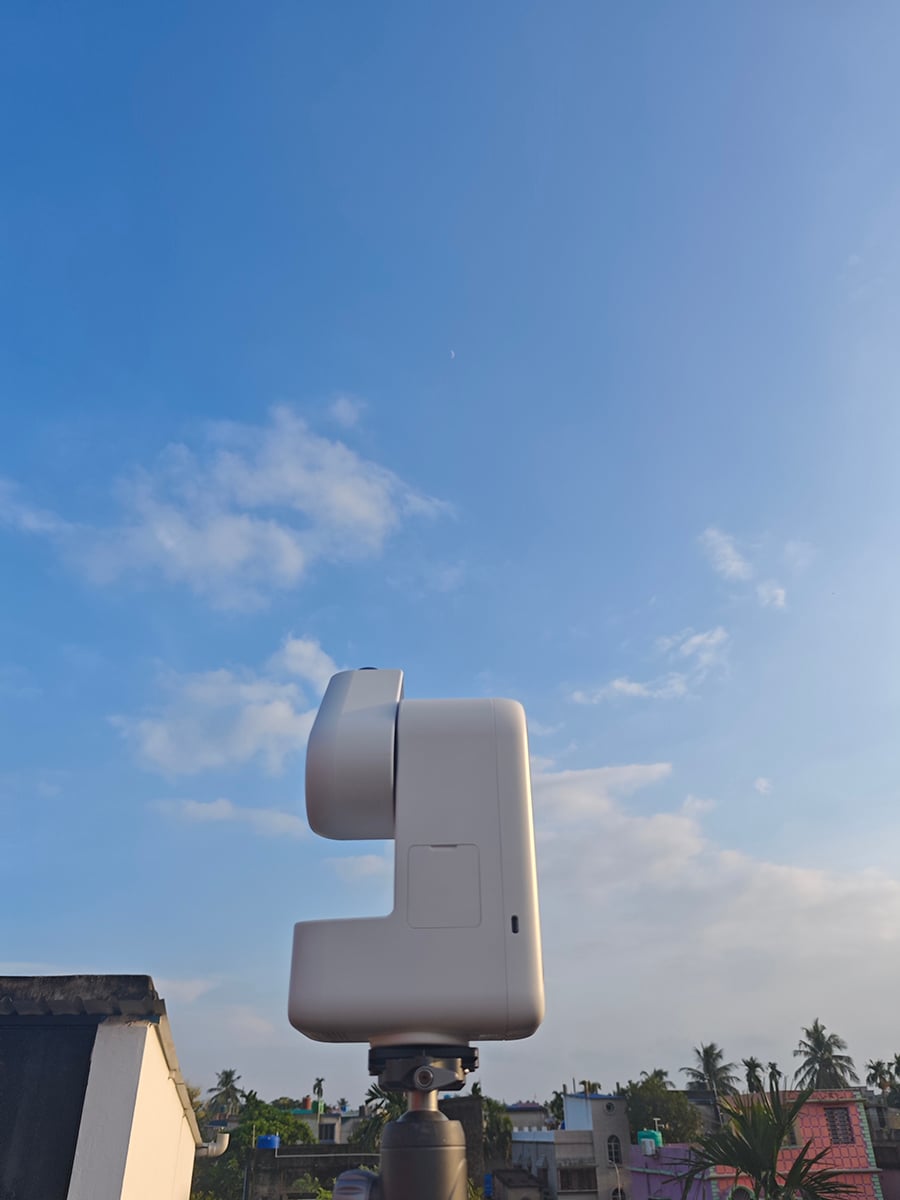
The results were not surprising this time. I did not expect the S30 Pro to give me images of the Sun and the Moon with super clarity with just an aperture of 30mm. The sunspots and lunar craters were clearly visible.
Final words
The Seestar S30 Pro is an exciting product, no doubt. Given its small size, affordable price range, hassle-free setup, and great initial results, it would be safe to say that it could be a great option for astrophotographers. For beginners, it is definitely going to give them some great images and welcome them to the new hobby. For intermediate and expert astrophotographers, this could be a valuable addition to their deep sky kit.
In the coming months, we are going to extensively use this smart telescope under different sky conditions and see how everything comes out. With the first few images, we have high hopes for this little machine!
Clear skies!
See more from DIYPhotography.net on Google
Add DIYPhotography.net as a trusted source. This makes
our stories more likely to appear in your Google Search results.
 Add as a preferred source on Google

Soumyadeep Mukherjee
Soumyadeep Mukherjee is an award-winning astrophotographer from India. He has a doctorate degree in Linguistics. His work extends to the sub-genres of nightscape, deep sky, solar, lunar and optical phenomenon photography. He is also a photography educator and has conducted numerous workshops. His works have appeared in over 40 books & magazines including Astronomy, BBC Sky at Night, Sky & Telescope among others, and in various websites including National Geographic, NASA, Forbes. He was the first Indian to win “Astronomy Photographer of the Year” award in a major category.


Join the Discussion
DIYP Comment Policy
Be nice, be on-topic, no personal information or flames.
2 responses to “Seestar S30 Pro Smart Telescope: Unboxing and First Impressions”
Don’t say the price, don’t say the price, don’t say the price! No one wants to know that, we’re all super wealthy! :-p
We wanted to focus more on the experience and the impression. Price could be a distraction! :-D But it’s not expensive at all, given what it brings to the table.