




















The Ultimate Guide to Wedding Photography: Styles, Gear & Tips
Aug 10, 2025
Alex Baker
Alex Baker is a portrait and lifestyle driven photographer based in Valencia, Spain. She works on a range of projects from commercial to fine art and has had work featured in publications such as The Daily Mail, Conde Nast Traveller and El Mundo, and has exhibited work across Europe
Share:
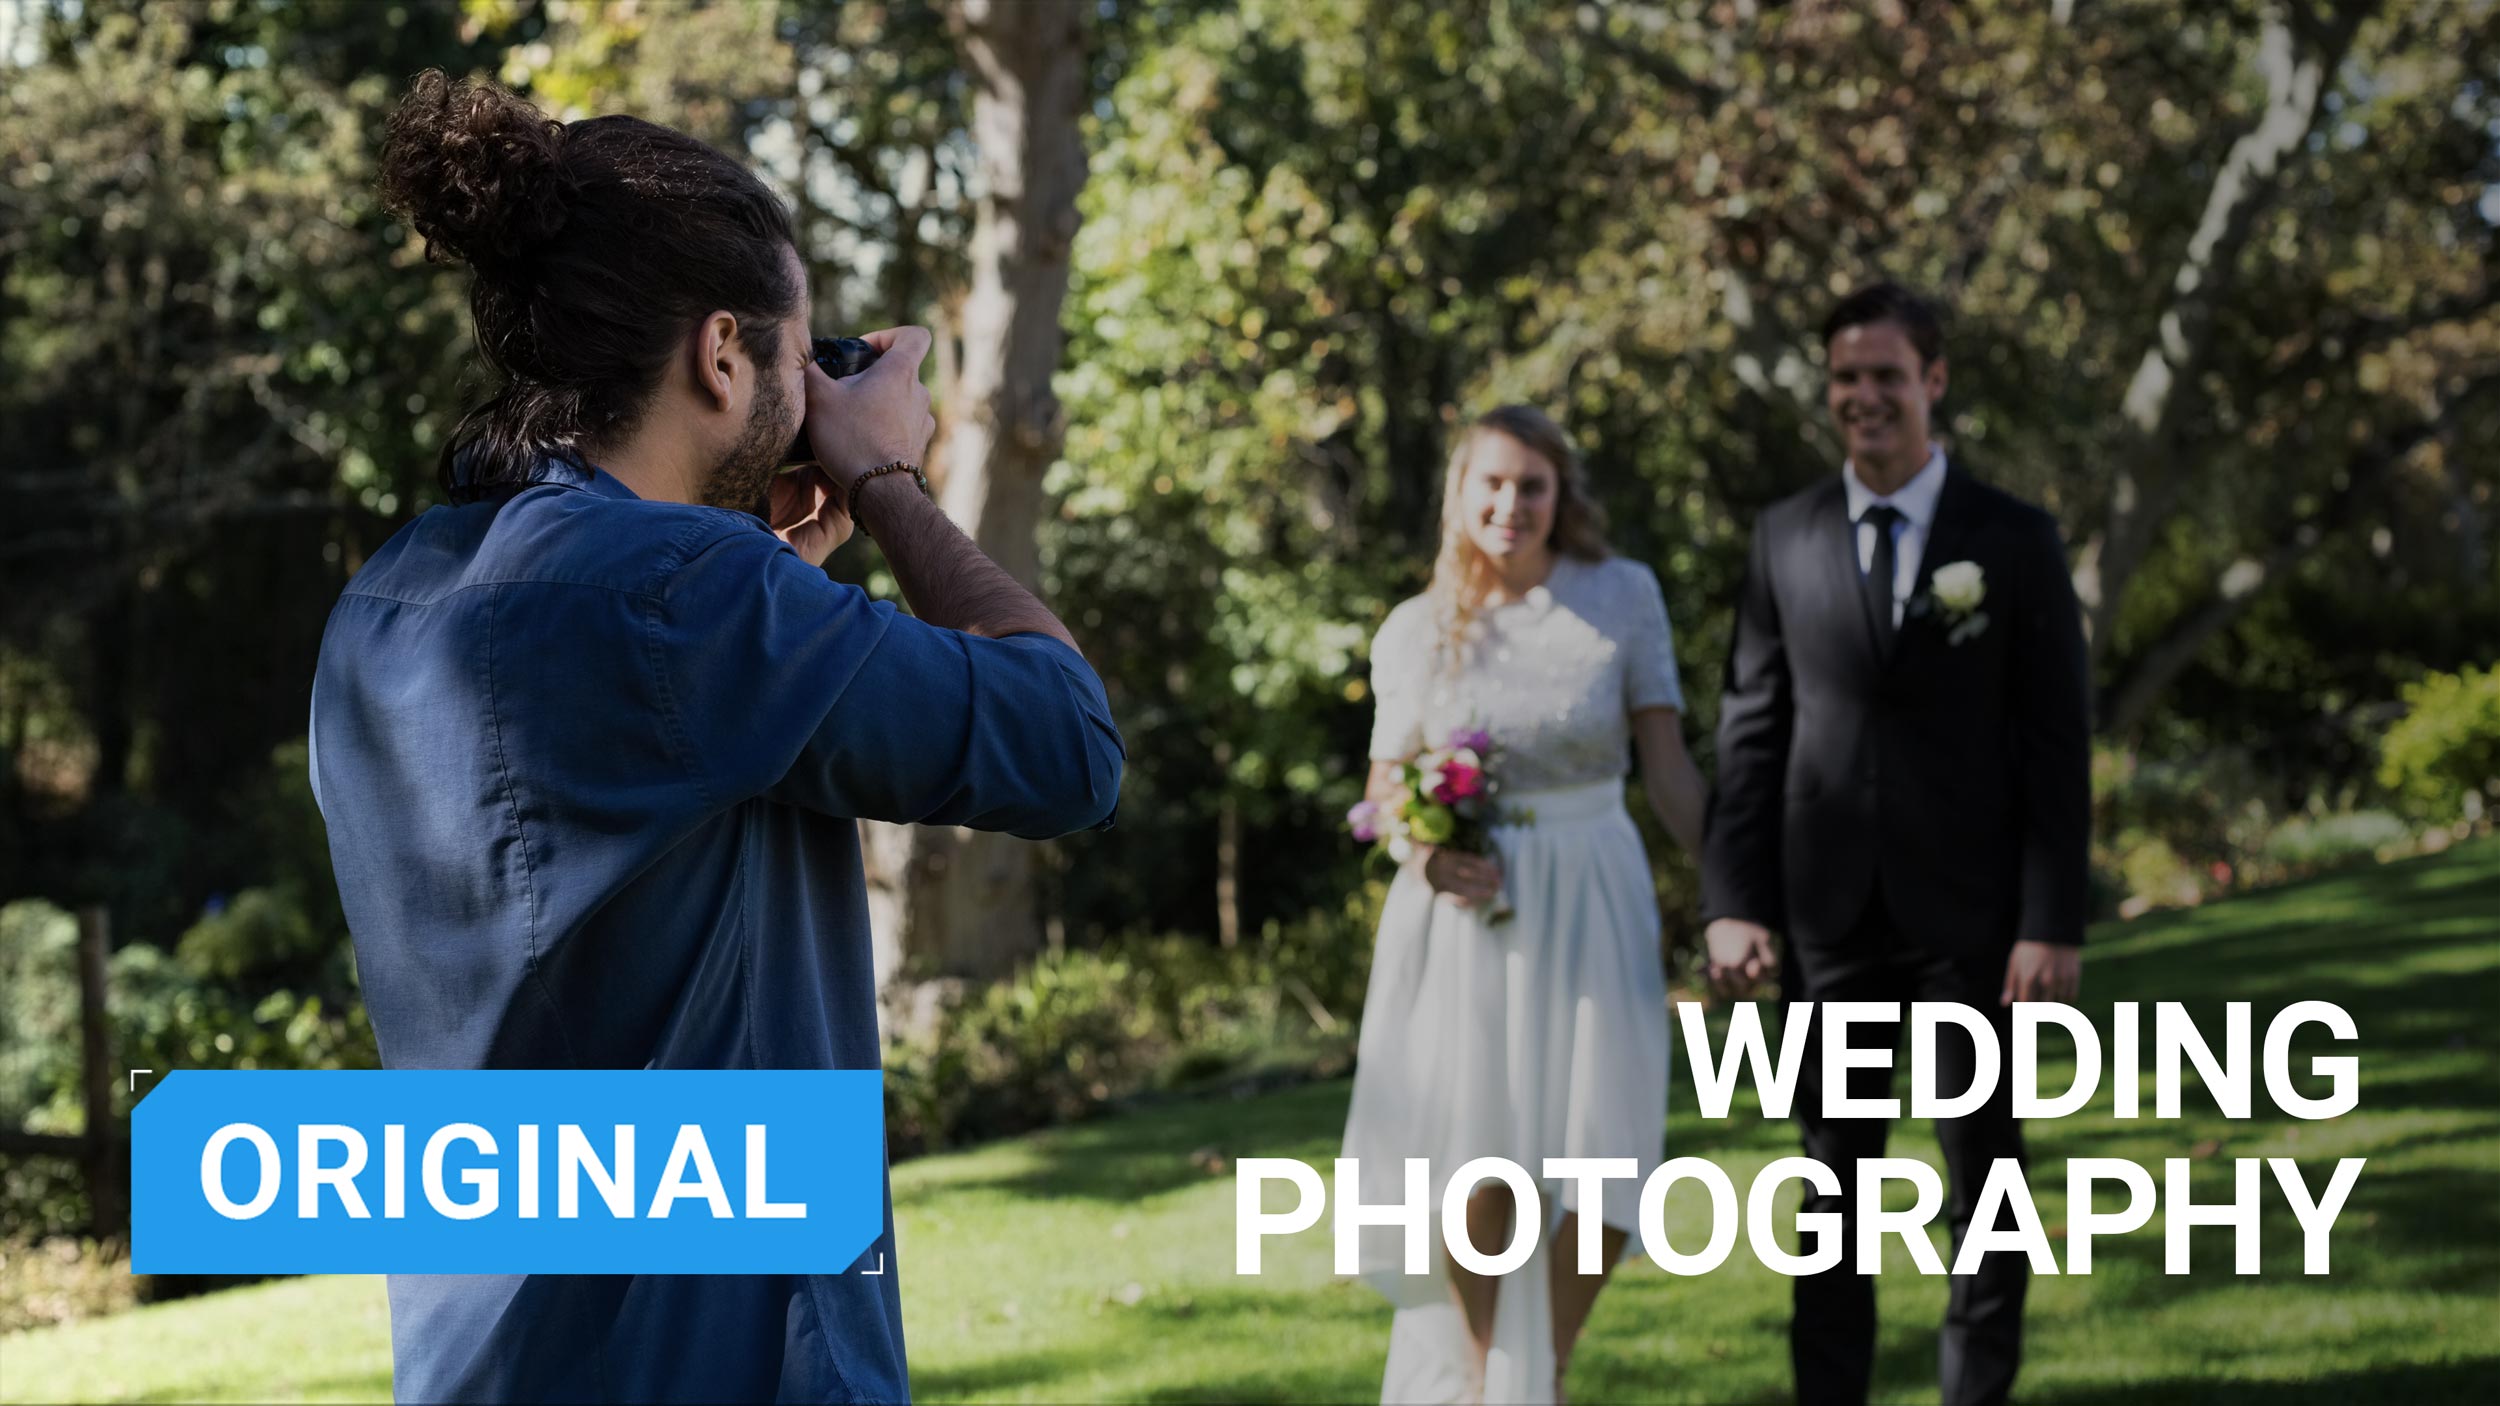
Wedding photography is one of the most exciting and demanding genres of photography. It blends portraiture, documentary storytelling, still life, event coverage, and emotion-driven moments into one fast-paced day with no do-overs. Understanding the rhythm, responsibilities, and techniques behind great wedding photography is essential if you want to be a successful wedding photographer.
This guide covers everything you need to know to confidently approach a wedding day: from essential wedding photography gear and must-have shot lists to posing tips, editing workflows, pricing strategies, and how to actually get started. With thoughtful preparation, a clear plan, and plenty of practice, you’ll be ready to capture timeless images that your couples will cherish forever.
What Wedding Photography is, and isn’t
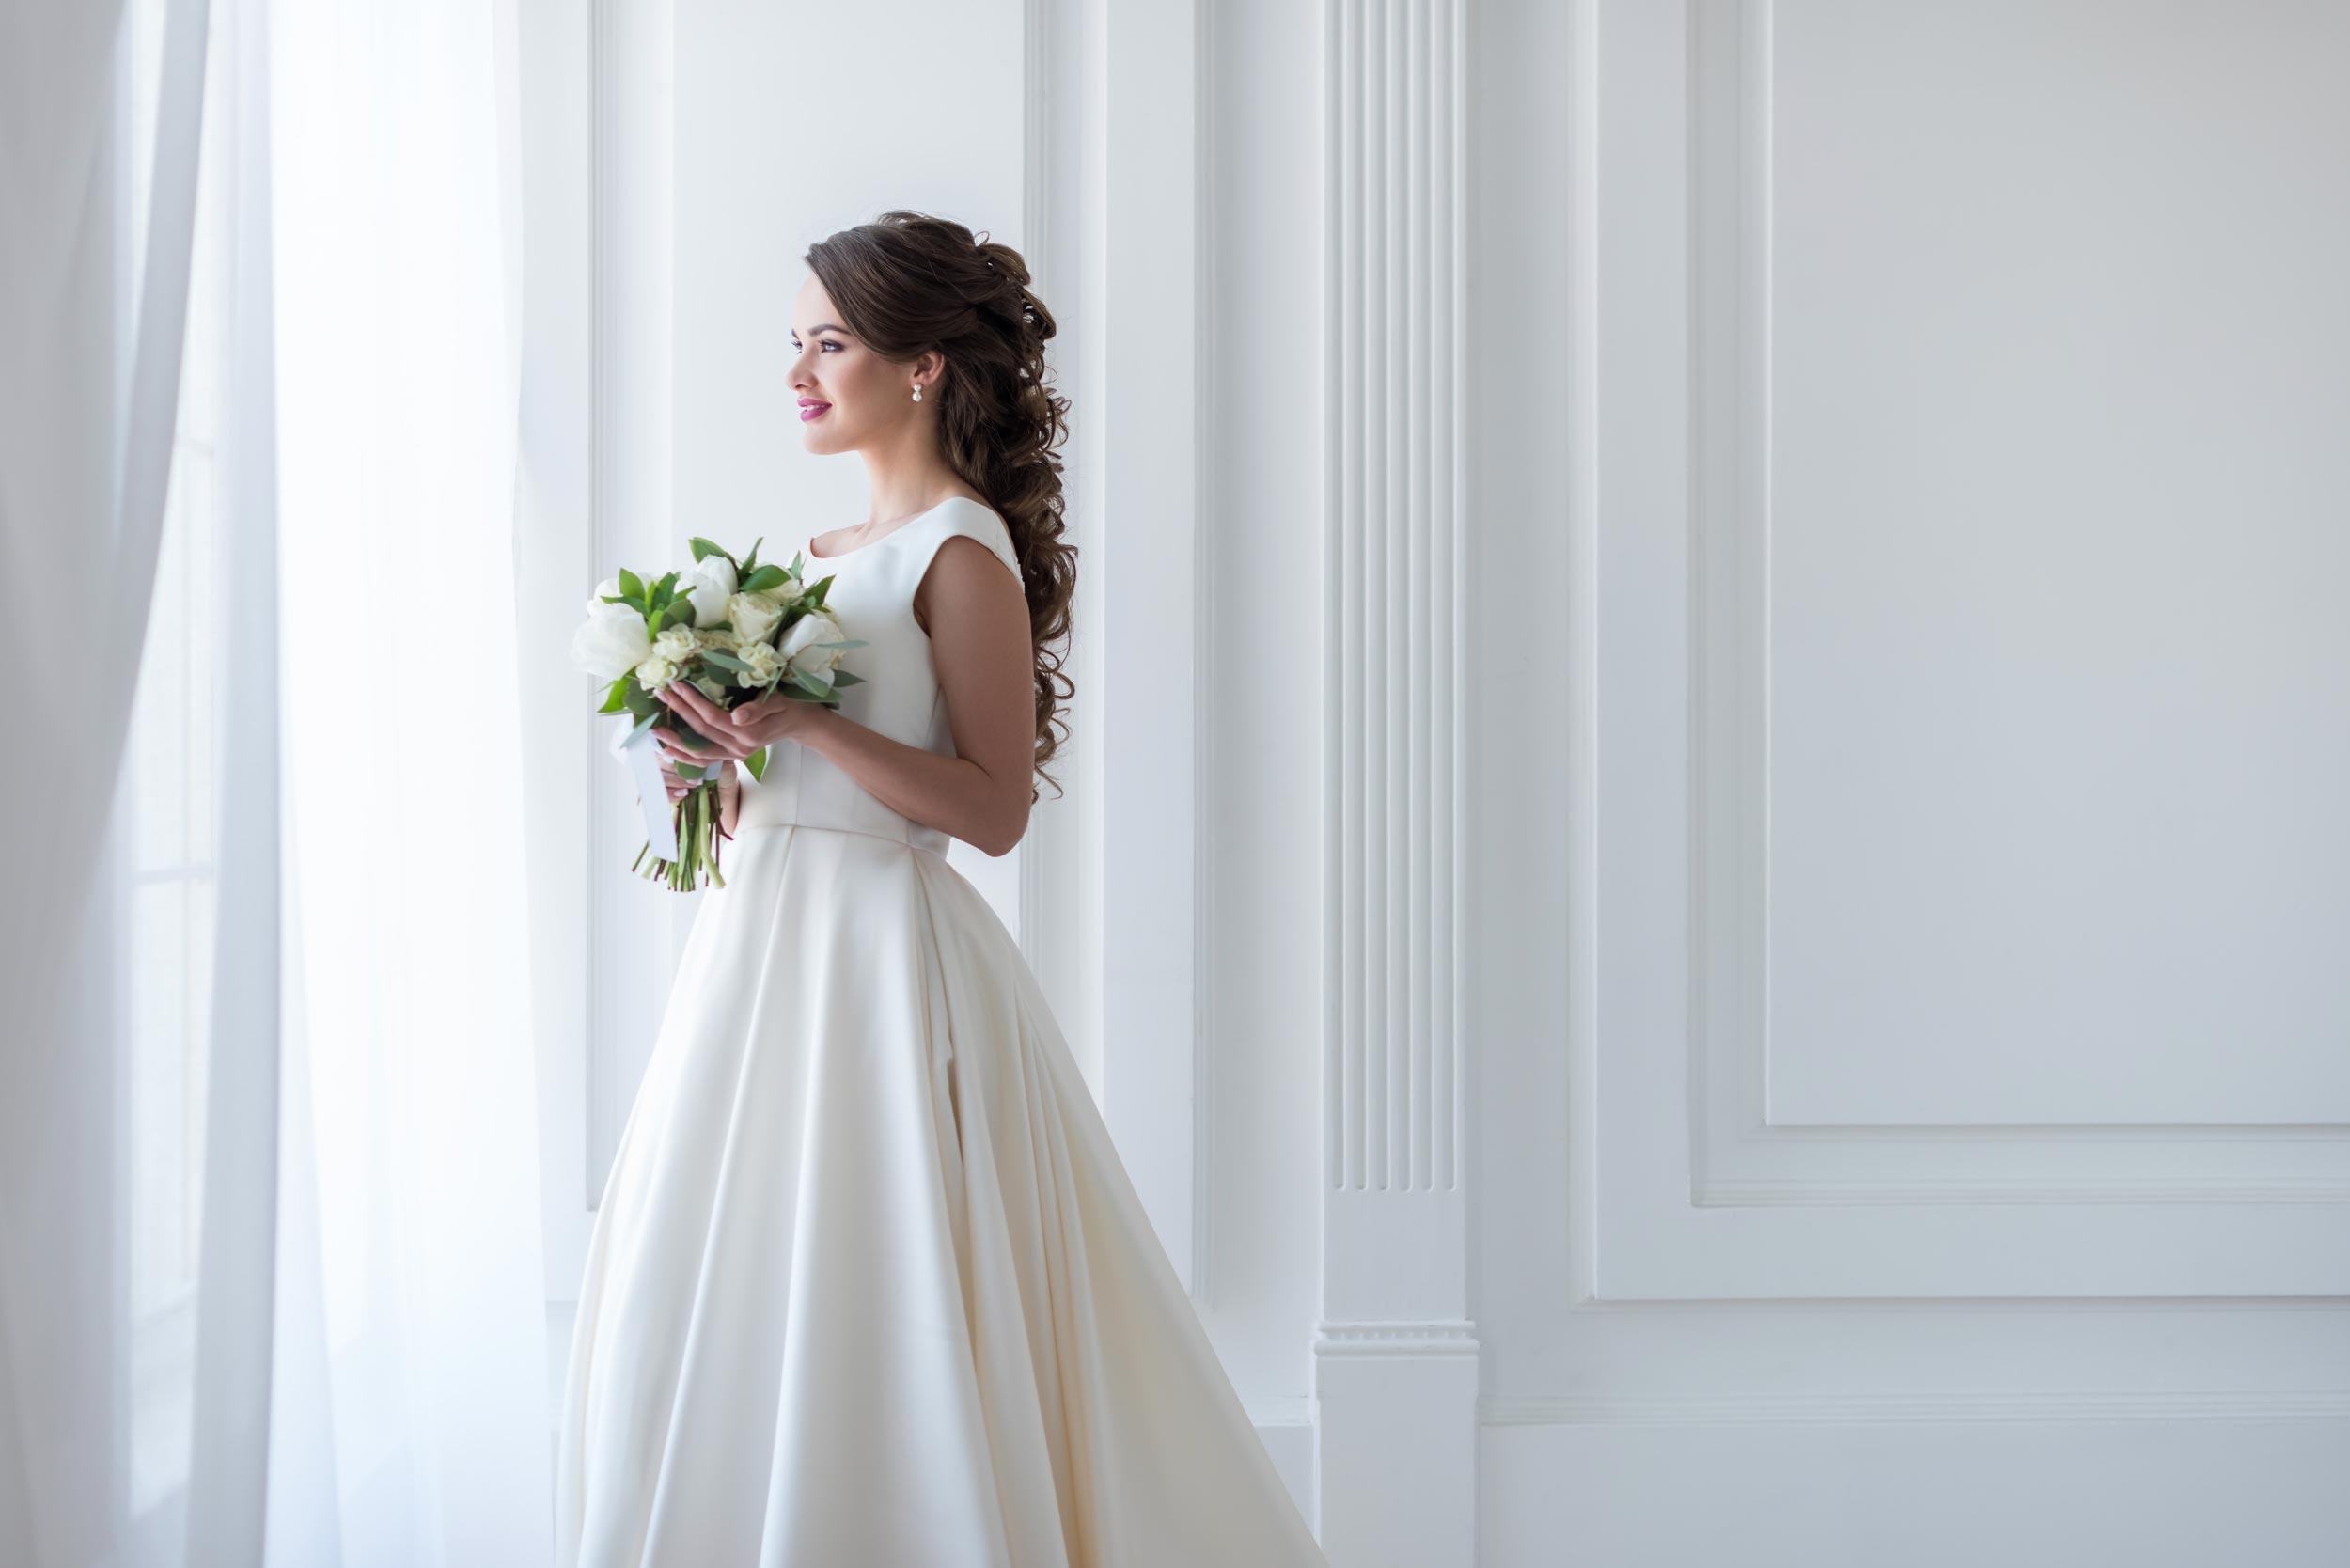
You might be thinking it’s a pretty obvious question to be asking, What is wedding photography? After all, it’s photographing two people getting married. And in it’s most basic essence, that’s exactly what it is. However, it’s also a lot more than that.
Wedding photography is every single type of photography you can think of, packaged into one gruelling 12 hour day. Add to that the pressure of thousands of dollars spent on this one day, lots of stressed and emotional people often travelling from far and wide, and no opportunity to re-shoot and you get the idea.
To be a wedding photographer you need to be:
- A great business person
- A people person
- Highly organised
- Have strong leadership skills with the ability to meld into the background when necessary
- Know your camera inside and out, and have the necessary gear
- Be a master at: candid/documentary photography, portraits, groups, event work, night time photography, interiors, still life, food, and macro/jewellery photography
- Zero health issues and a strong back (and knees!)
Wedding photography is not for everyone. There are many that excel at it and enjoy it, and that is a beautiful thing because it means that the rest of us can leave them to shoot all the weddings (joking!).
One thing is for sure: wedding photography is not easy, and it should not be taken on lightly. That being said, if you like it (or think you might like it), it’s a great photography career option and can be very fulfilling for the right photographer.

Why Do So Many Photographers Hate Weddings?
I have shot several weddings. The last one took me an entire weekend to recover from, physically. Like I mentioned before, wedding photography is not for the weak.
There are multiple reasons why wedding photography gets a bad rap among photographers, mainly because it’s really hard work, and often is high stress. There is no option to go back and reshoot if you didn’t get the shot or your memory card got corrupted.
You often have to work long hours and weekends, you need to deliver consistently high standard creative work, have impeccable people skills, and be great at editing as well (because there will be a lot of it until you can afford to train up an assistant or outsource it).
Did I mention that weddings are often highly stressful events? Family dynamics plus emotions running high often create drama during the day or run-up to the day. As the photographer, you’ll have to interact with at least one or two Bridezillas or nightmare Mothers at some point. High stress, alcohol, and family coming together can sometimes do strange things to people. Sometimes you’ll even be the default wedding planner if there isn’t one. If you are naturally a little bit introverted or not in a particularly happy place in your personal life, then shooting weddings can be hard emotionally (I know, we are pros, we can box up our emotions, but eventually it will come to bite you).
Ultimately, weddings are 75% crowd control/people skills, and 25% photography. If I still haven’t put you off, read on…
Wedding Photography Styles
There are as many different ways to photograph a wedding as there are photographers. You should gravitate towards your preferred style, and your ideal clients will follow (if you market yourself correctly!) The wonderful thing about wedding photography is that you can continue to market your photography services via word of mouth through other guests at the wedding, and previous couples. For example, you can package up dating app profile photos, couple shoots and engagement photos, weddings, maternity, baby, family…remember to focus on building relationships. Other guests and the wedding party will likely have people who will also be getting married in the next few years, too, so it’s a natural marketing vehicle (I’m being realistic, not cynical!).
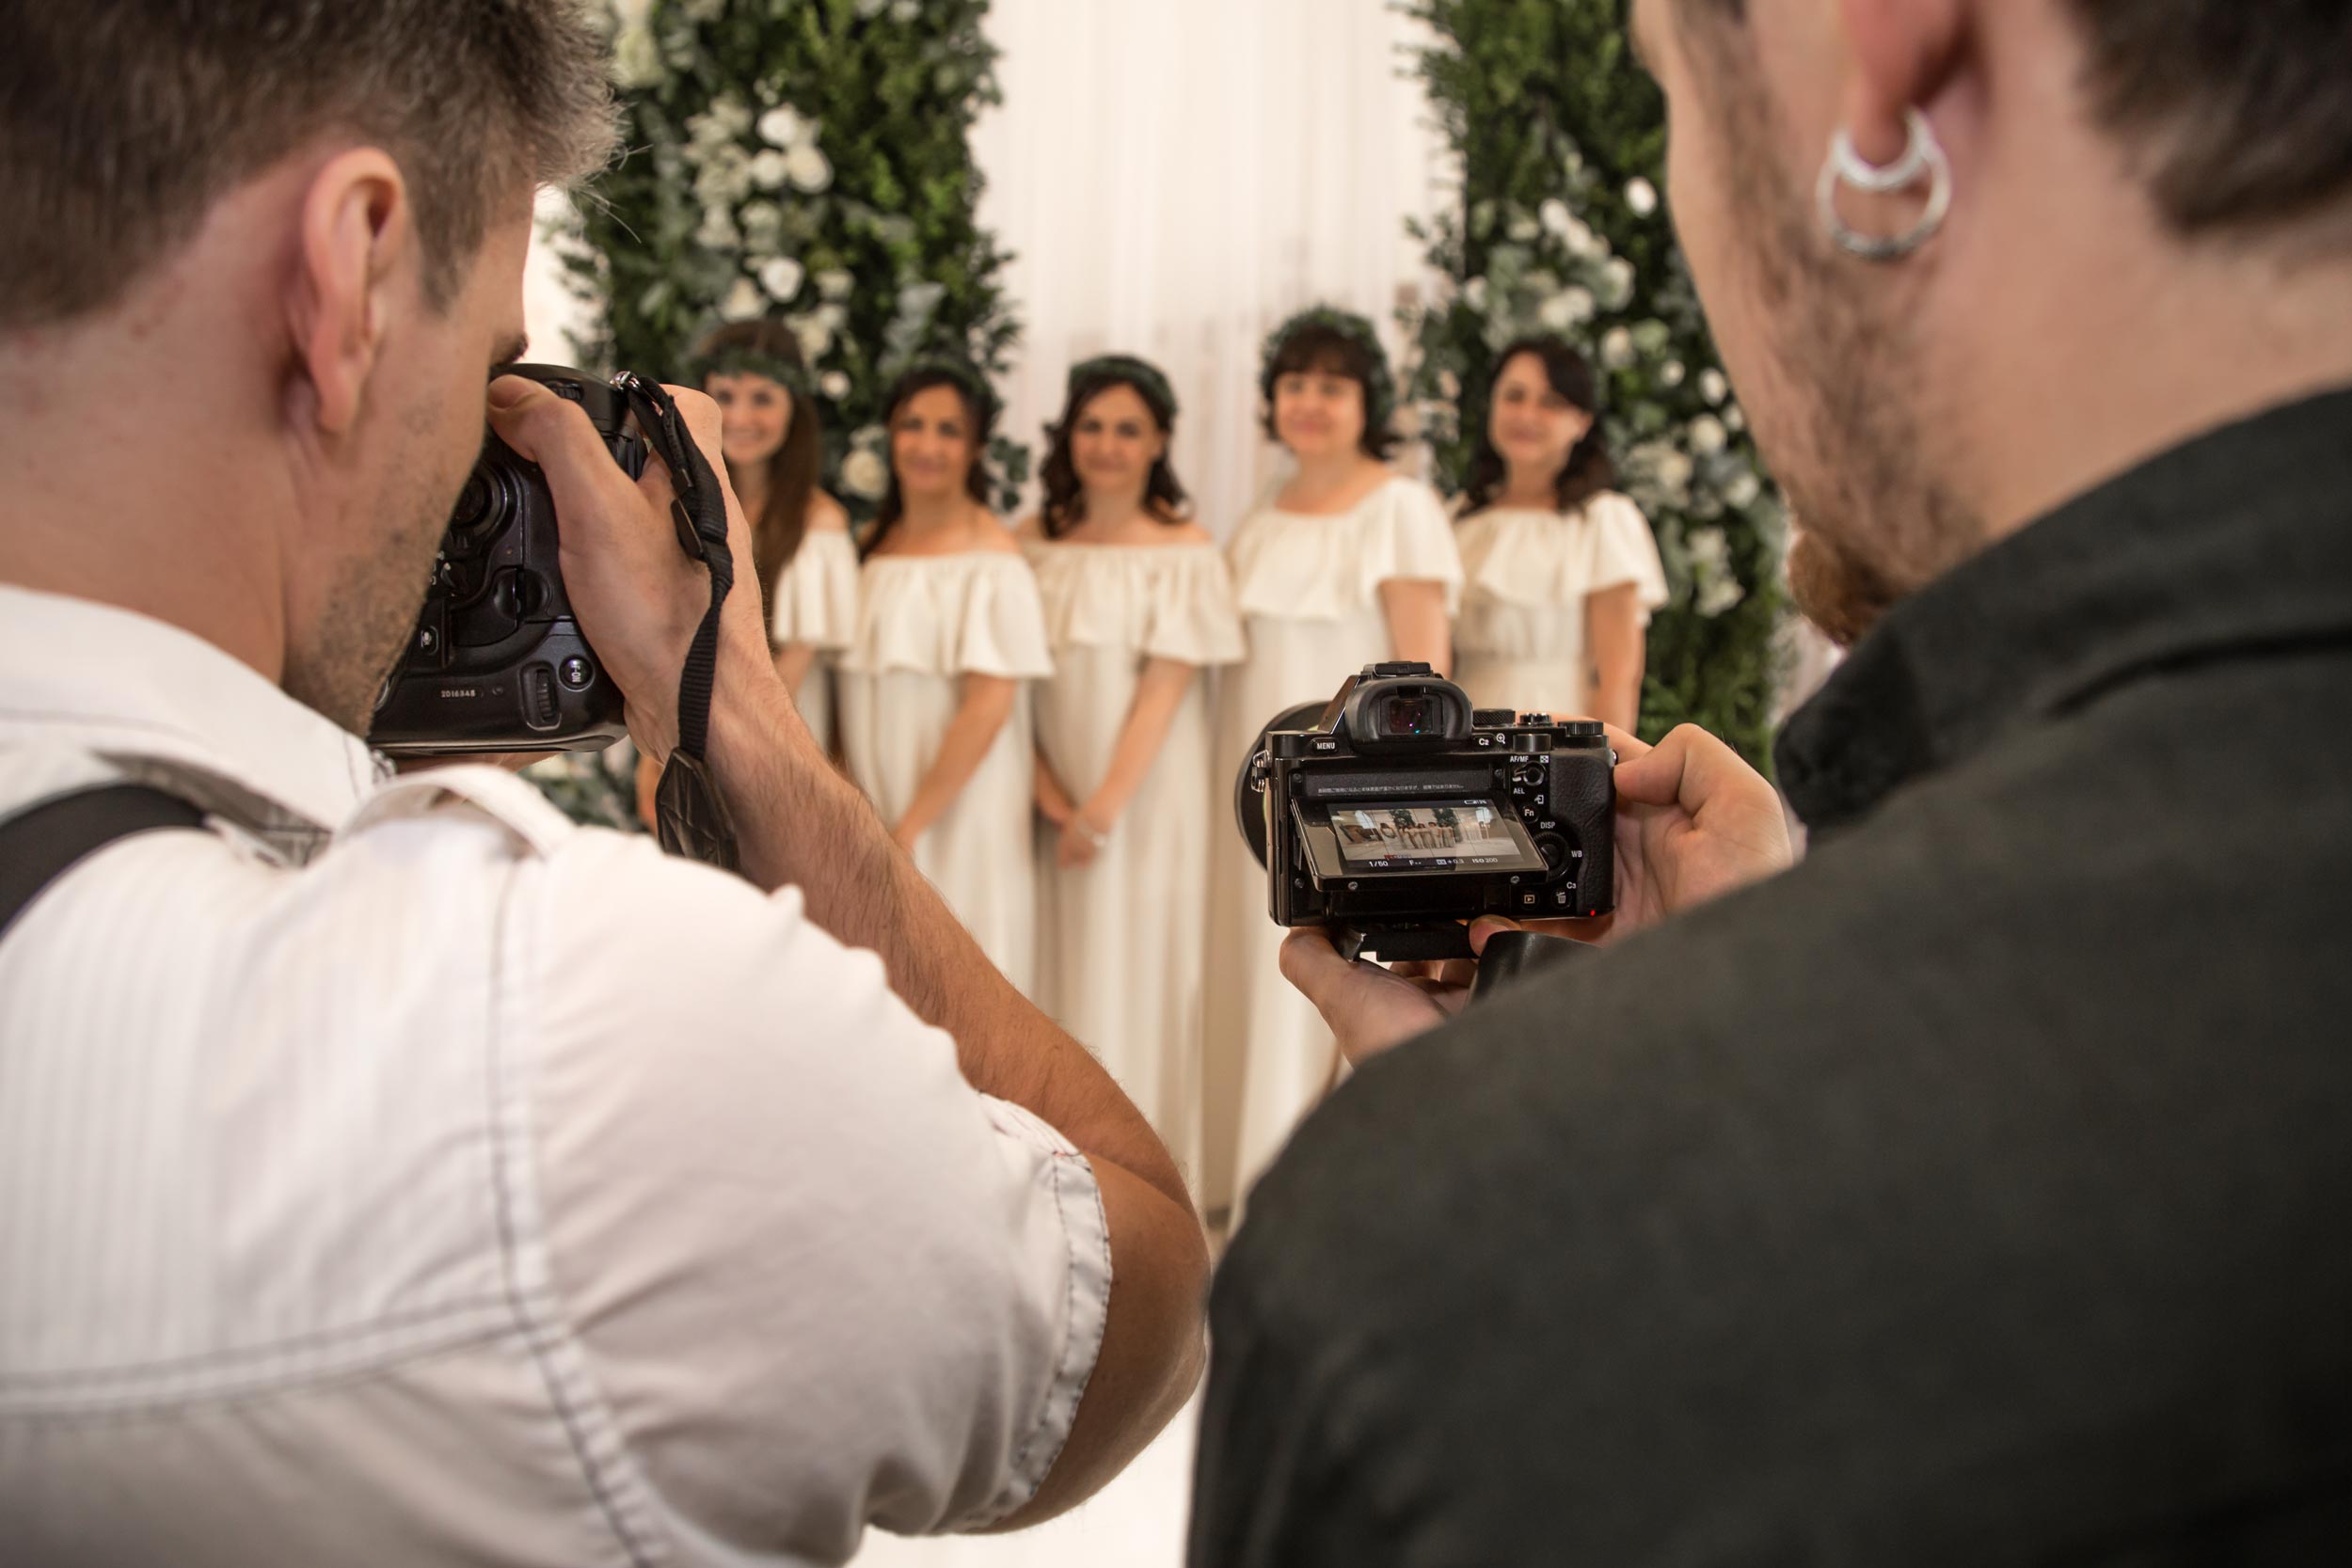
So, what styles are there that you could concentrate on? Many photographers are either a more traditional/formal style, or more recently things have leaned to a more candid documentary and natural feel. Ultimately, any wedding day will require you to shoot more than just one type. Even if you’re a documentary-heavy photo journalist photographer, you’ll still be required to do some formal posed photos, most likely. However, you can create more candid scenarios in order to keep things more aligned in your style. Or work with another photographer who excels at other styles.
Many photographers have made a name for themselves shooting elopements or destination weddings. Obviously, this requires the ability to travel and perhaps to shoot in an unknown place. You should add travel photography to your box of tricks in this case, and be prepared for extended coverage that may include days before or after the ceremony, difficult lighting like shooting on a beach at midday, and lots of activities. Still, there are many advantages, such as being able to charge a lot more and the perks of being paid to travel to beautiful locations.
[Related Reading: 12 Different Types of Wedding Photographers]
Essential Wedding Photography Gear
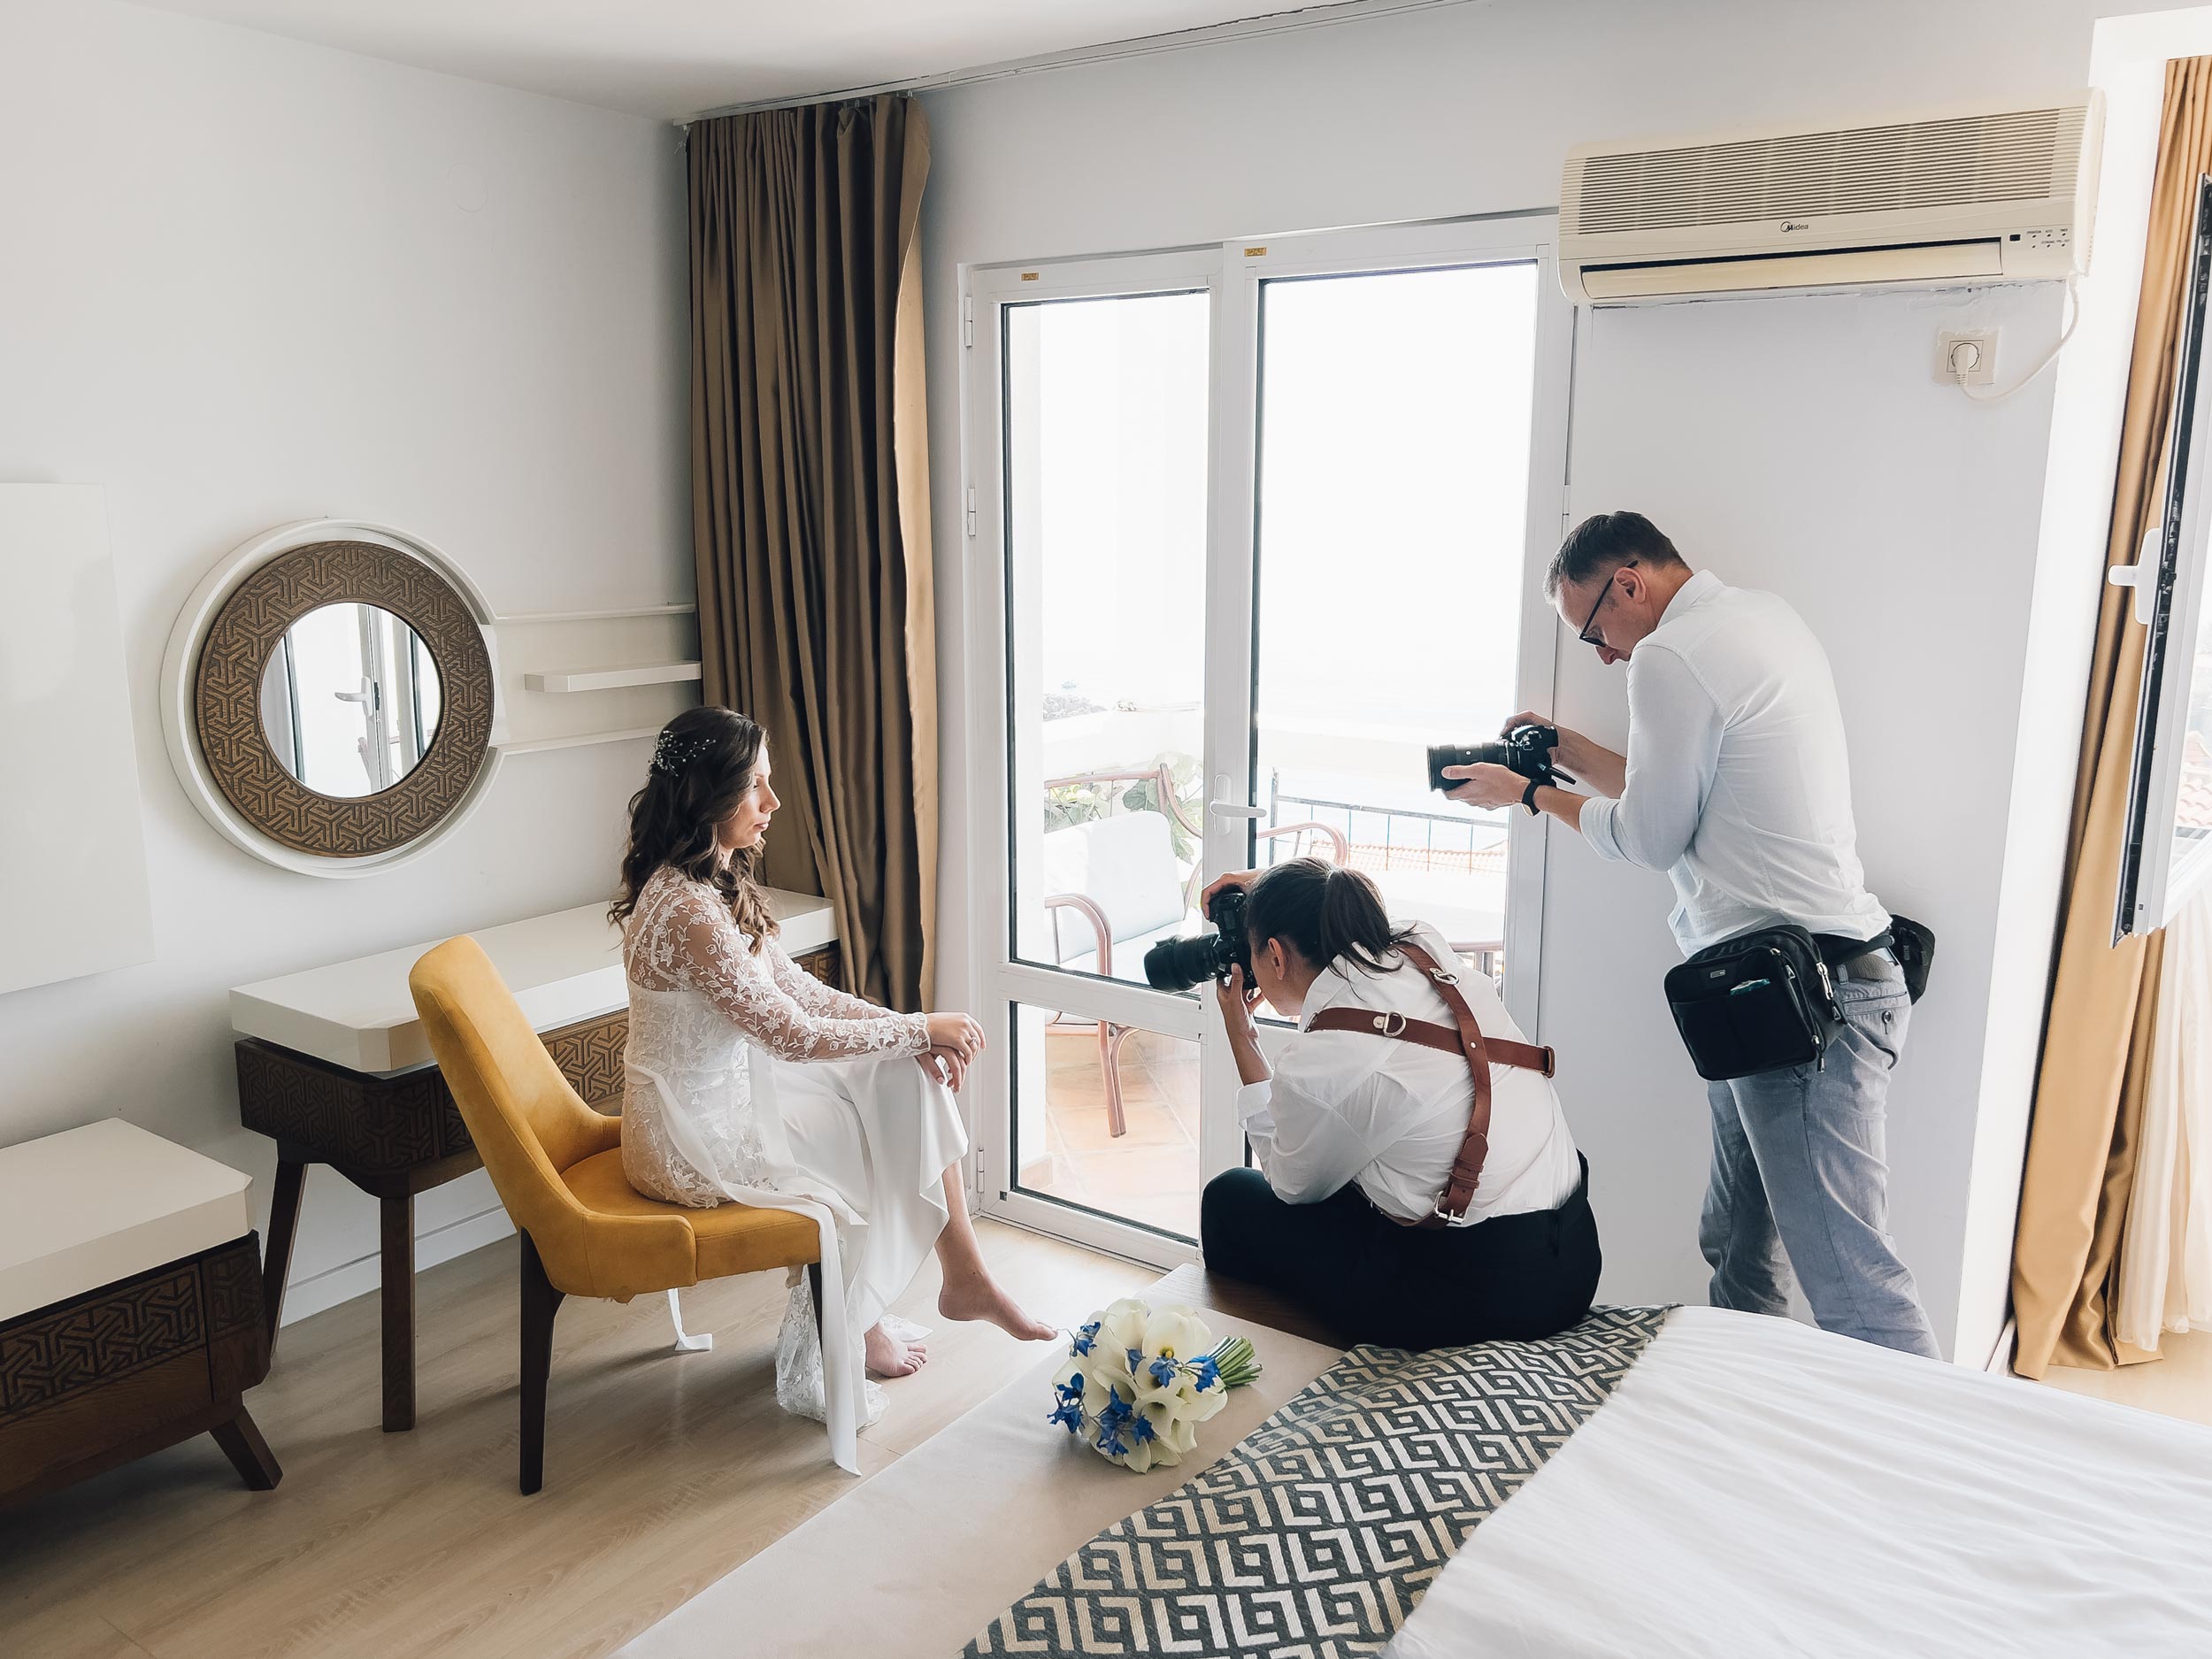
The two biggest things I’ve learnt from shooting weddings are: always have a 2nd shooter, and always use two camera bodies. Everything else is optional from there! I would have a minimum of the following in my bag:
- 2 bodies
- 24-70mm/70-200mm lenses
- optional macro lens or prime lens for portraits
- Off Camera Flash and triggers
- Step Ladder
- Spare cards/batteries
Best Camera Bags for Weddings
Talking of bags, I’ve found a messenger-style bag to be more helpful to wear on the day when I can just easily drop things into it or grab lenses or batteries. A backpack is definitely more comfortable for wearing long hours; however, it doesn’t look right for a formal event. Ideally, you could bring a rolling bag with the majority of gear and leave that in a secure place, then have a sling or messenger-style bag on your person with the items you need on you at all times.
What to Wear as a Wedding Photographer
In terms of what to wear, I tend to wear something more formal yet comfortable, usually black. Say, a nice dress with leggings and a jacket, or smart trousers and jacket. Always wear flat comfortable shoes but not sneakers.It’s better to be overdressed than underdressed at these occasions, in my opinion. Noone will complain about a photographer showing up in a suit, but they might a photographer in jeans and running shoes.
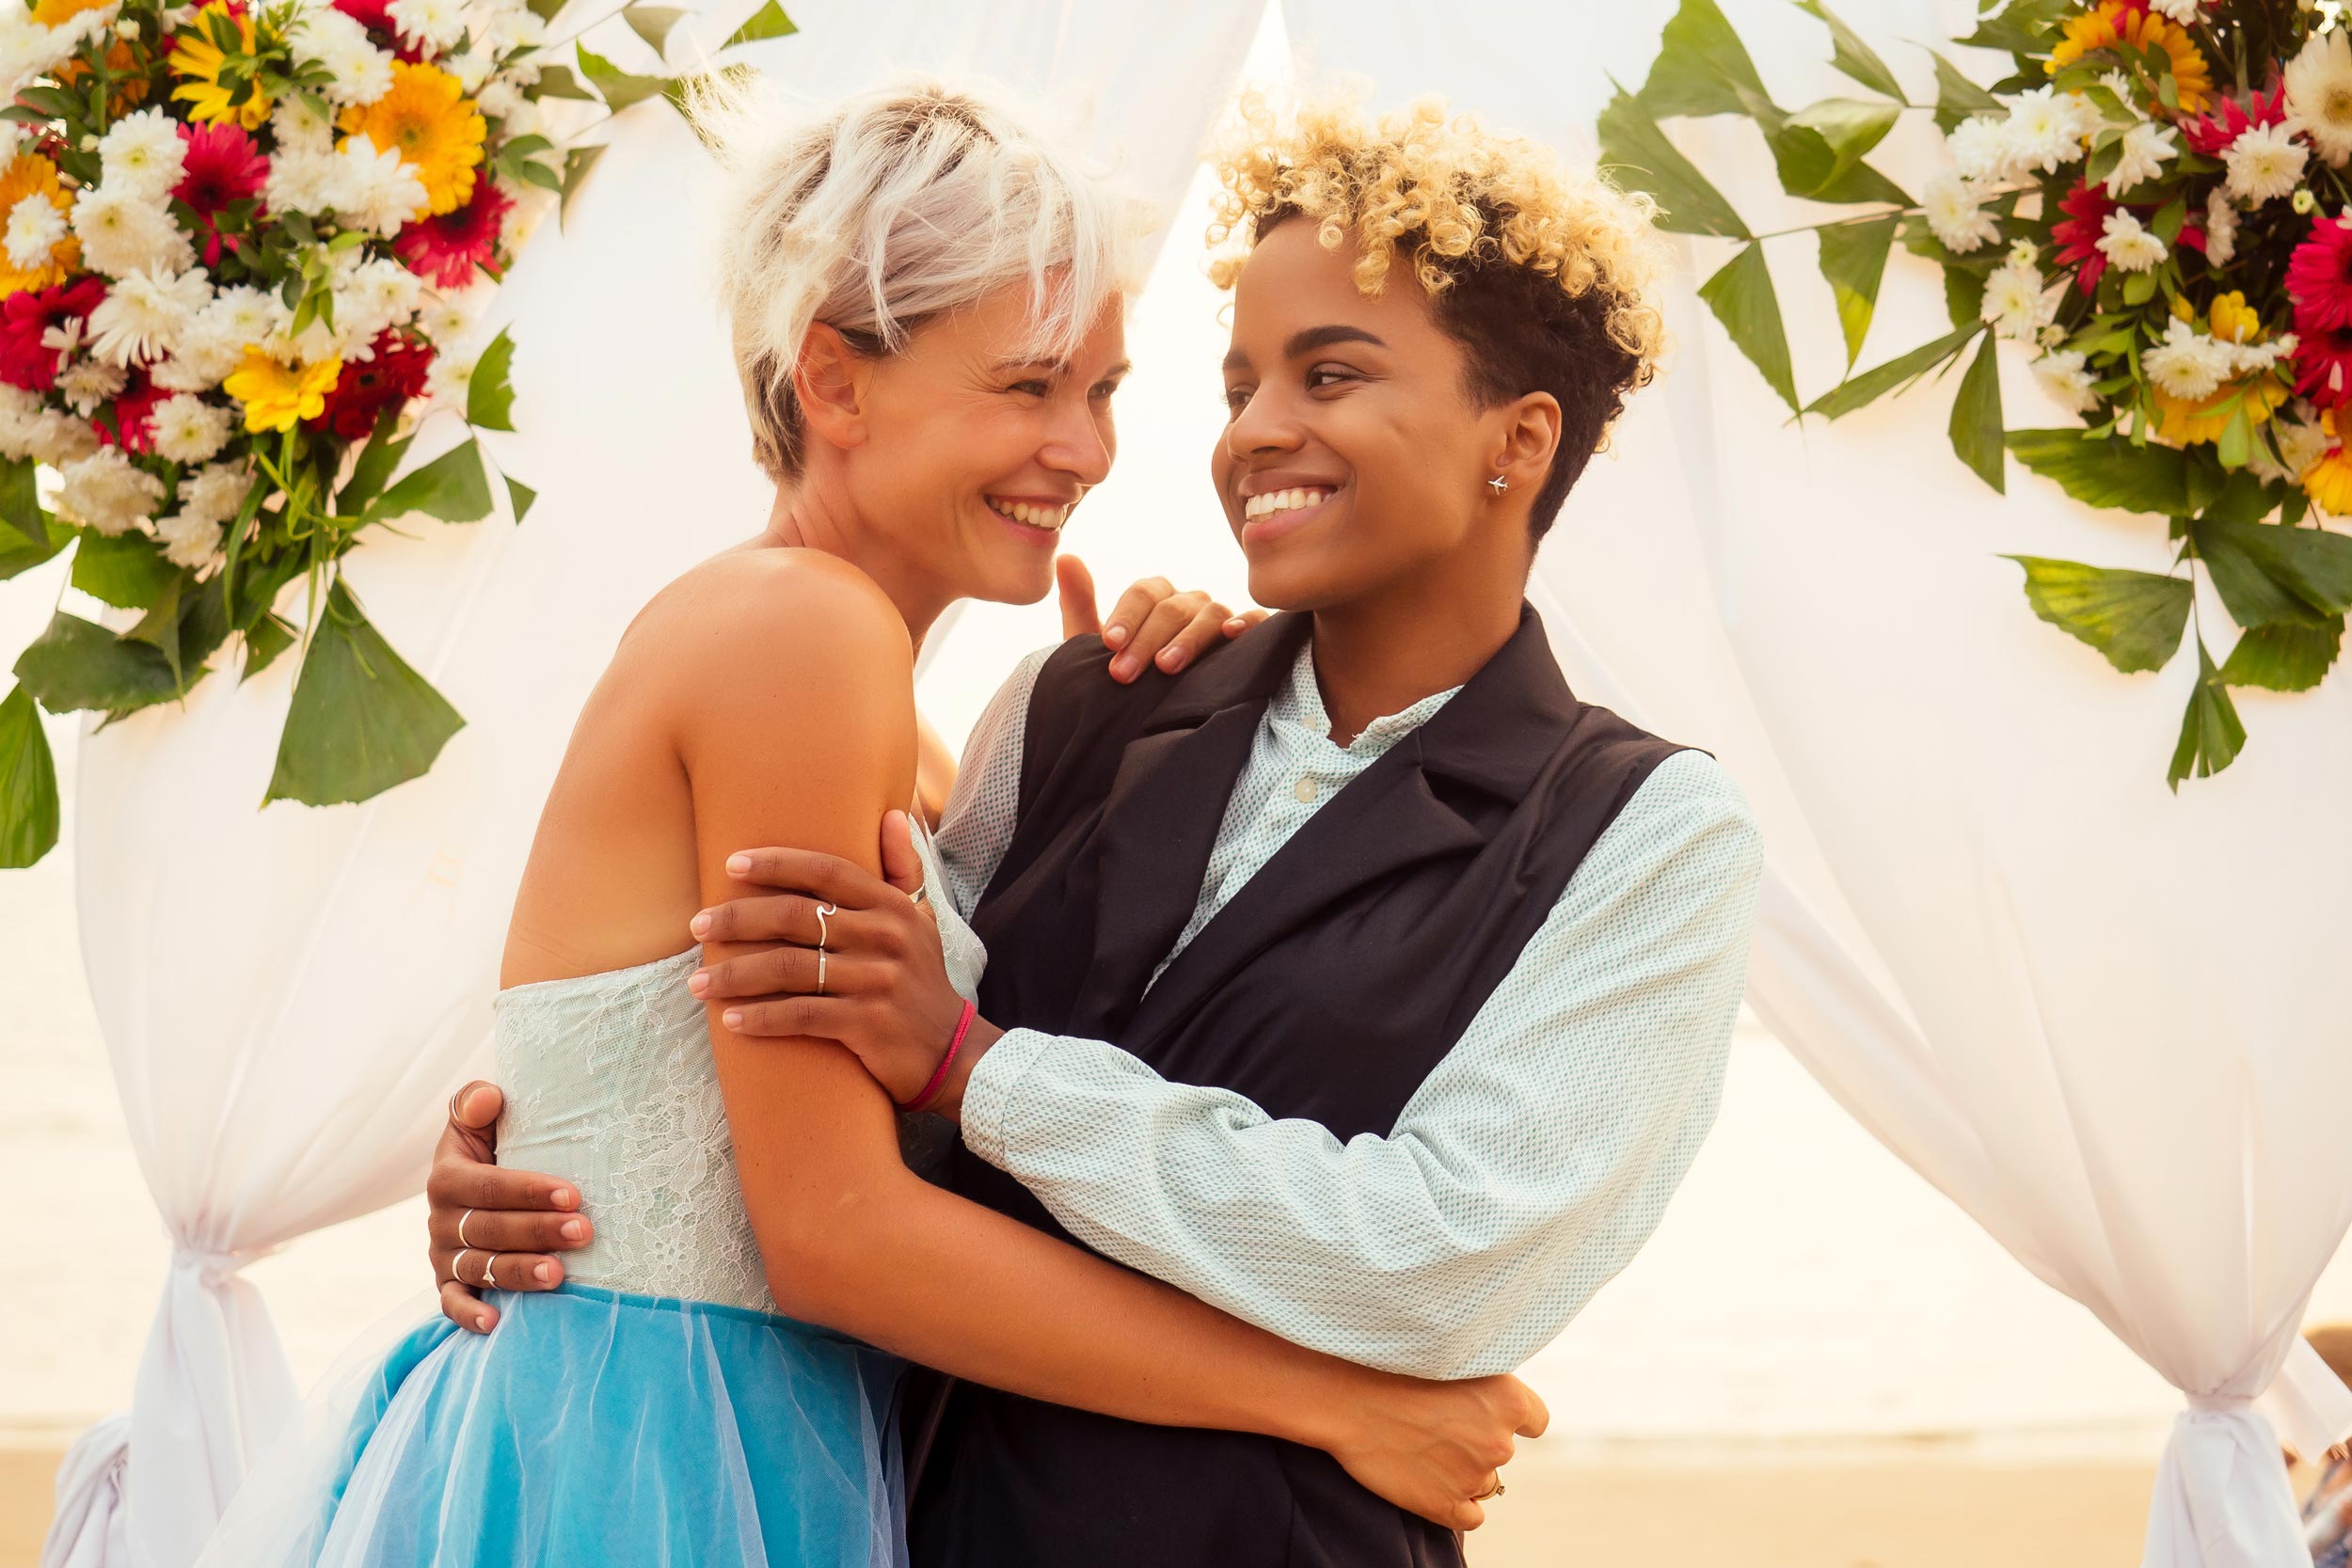
Obviously it depends on the location and how formal the wedding is, you should use your common sense. A beach wedding possibly won’t require you to wear a dark coloured suit, however a light coloured shirt and trousers might be appropriate.
Wedding Photography Sample Shot List
Having a well-organised shot list is crucial for any wedding photographer. It ensures that nothing important is missed and helps you stay on track throughout a busy and often emotional day. It’s also helpful to organise the day around a timeline of events. For example, in some cultures, it’s bad luck for the groom to see the bride before the ceremony, but in others it’s absolutely fine, and some people prefer to do the couple portraits as part of a ‘First Look’ in a private moment before the ceremony, particularly if the wedding itself is taking place later on in the day.
Just be careful not to do what I did once and almost sink the wedding party in a lake before the ceremony. I didn’t realise it was a floating dock and there were 20 people in the wedding party. The collective weight started to submerge the dock! Luckily I noticed just in time and got them off before disaster struck. We did get some epic photos, and a funny story though!
1. Preparation Moments (Bride, Groom & Venue)
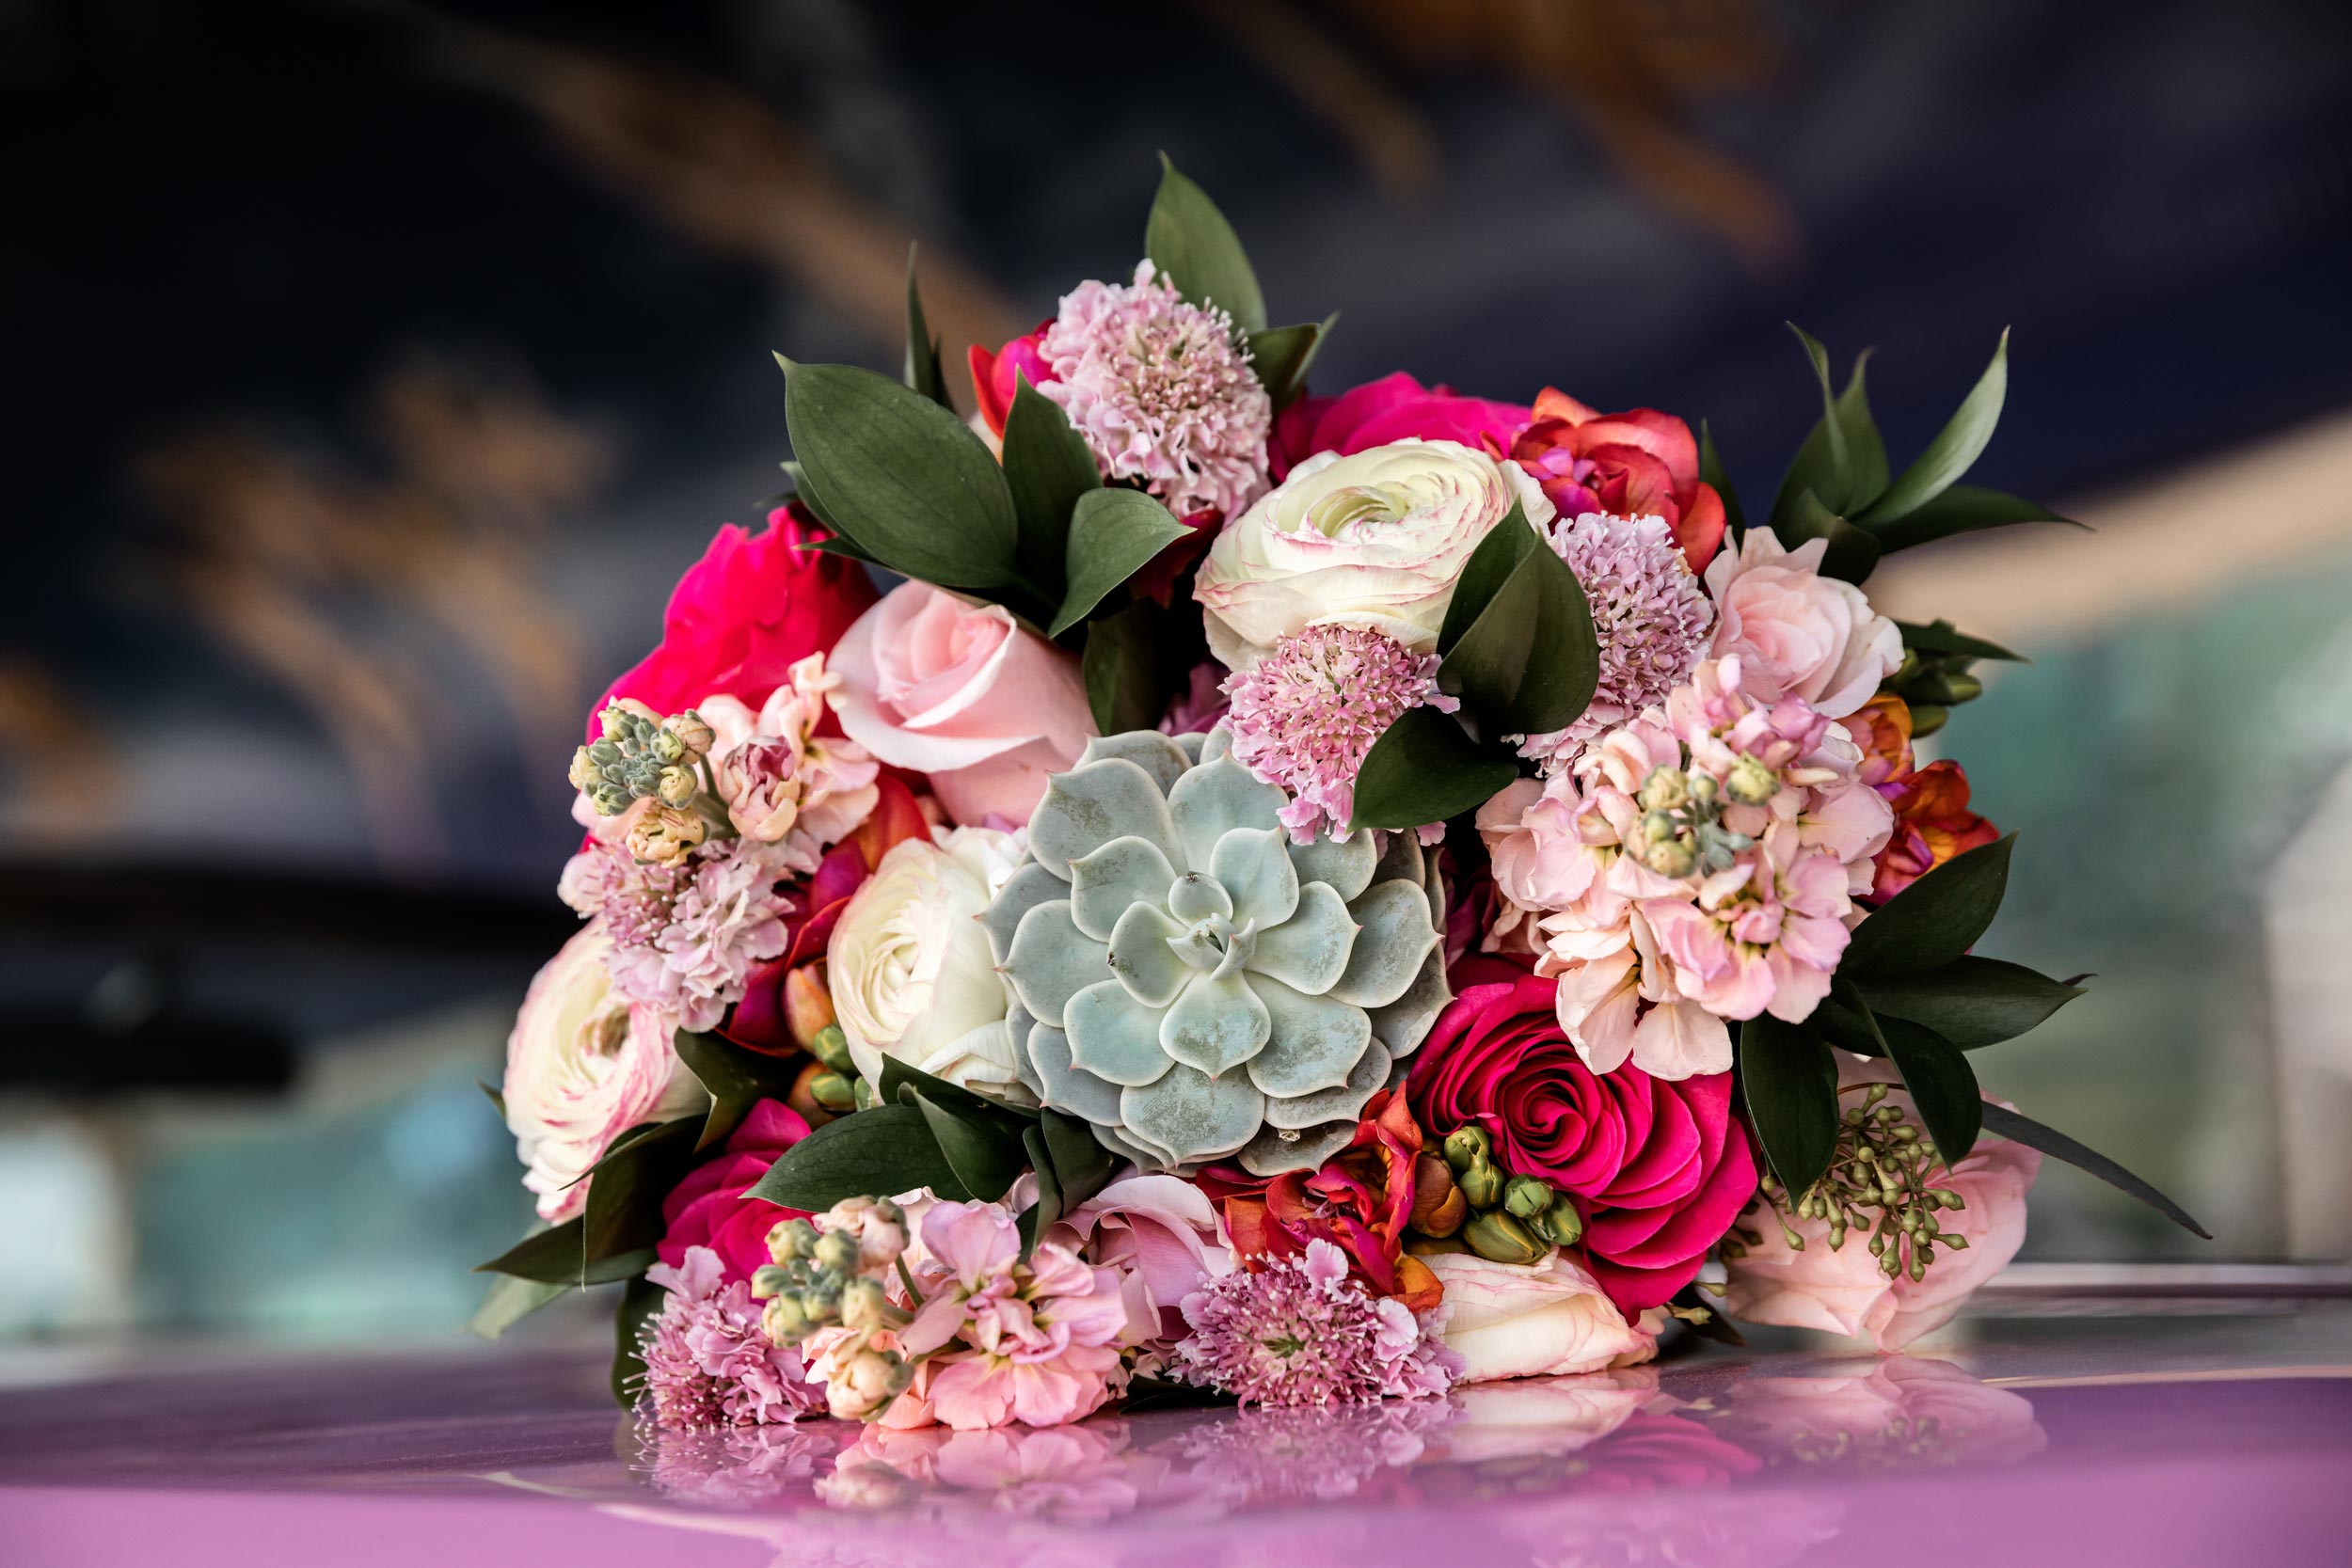
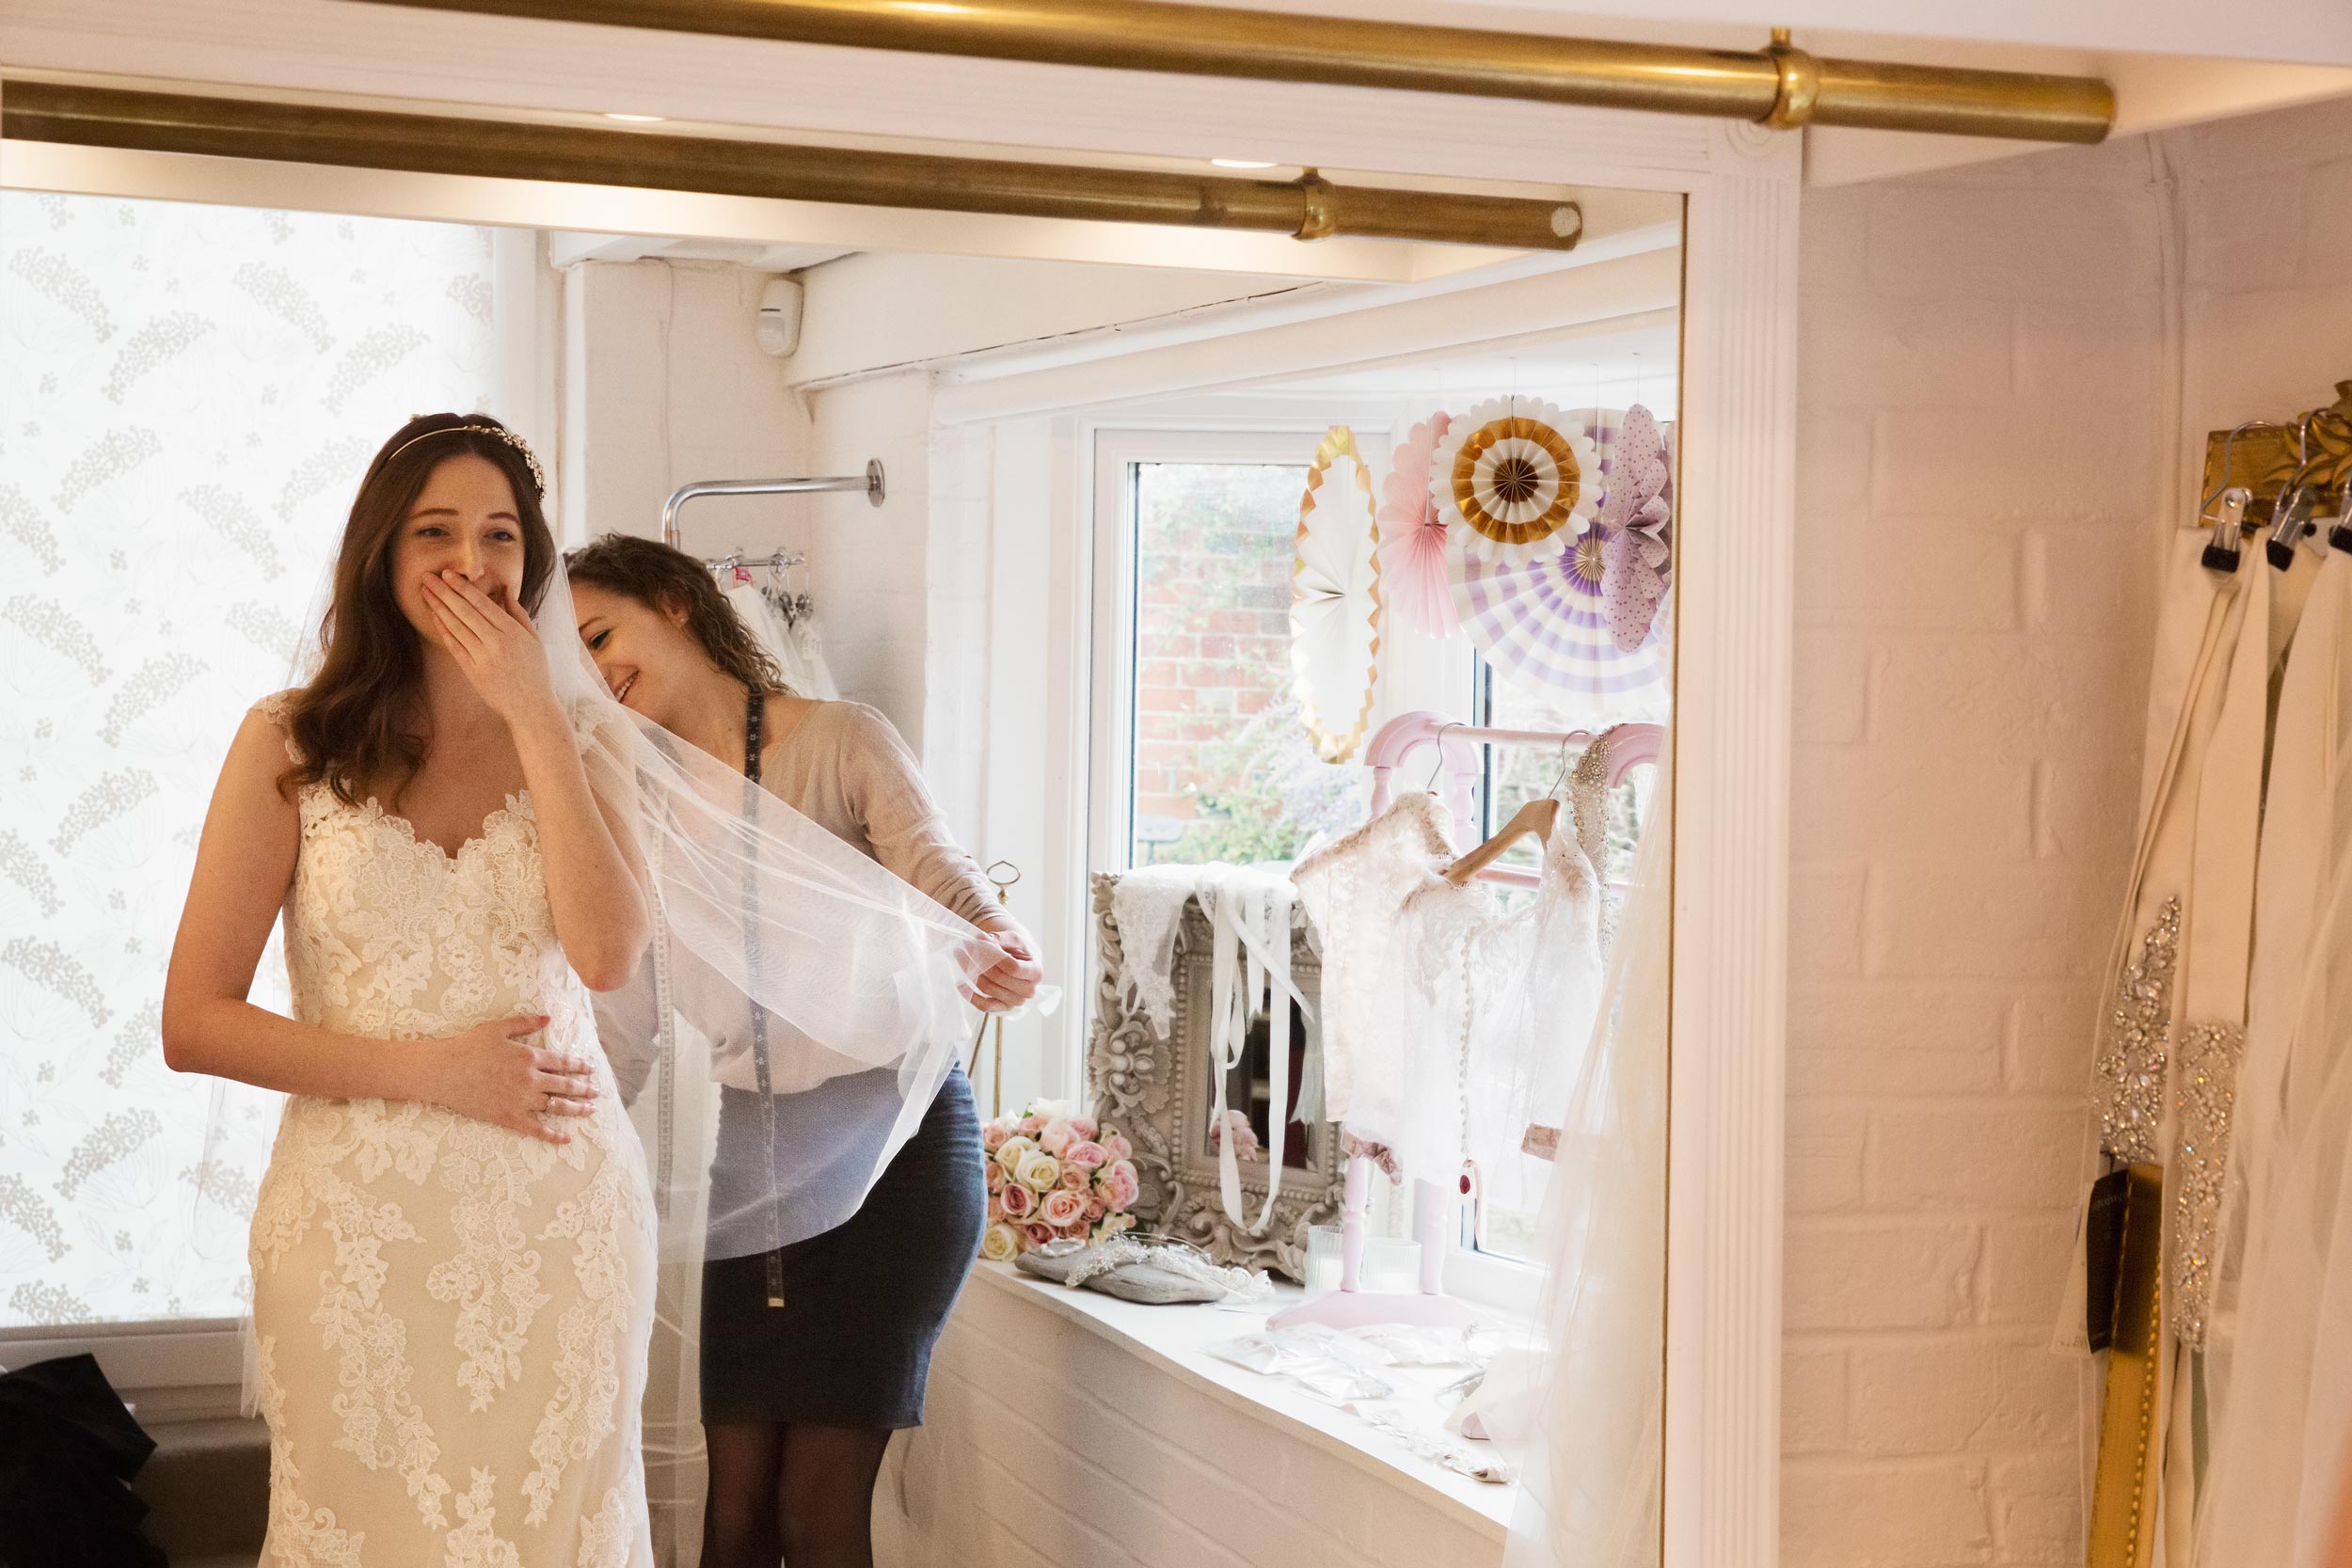
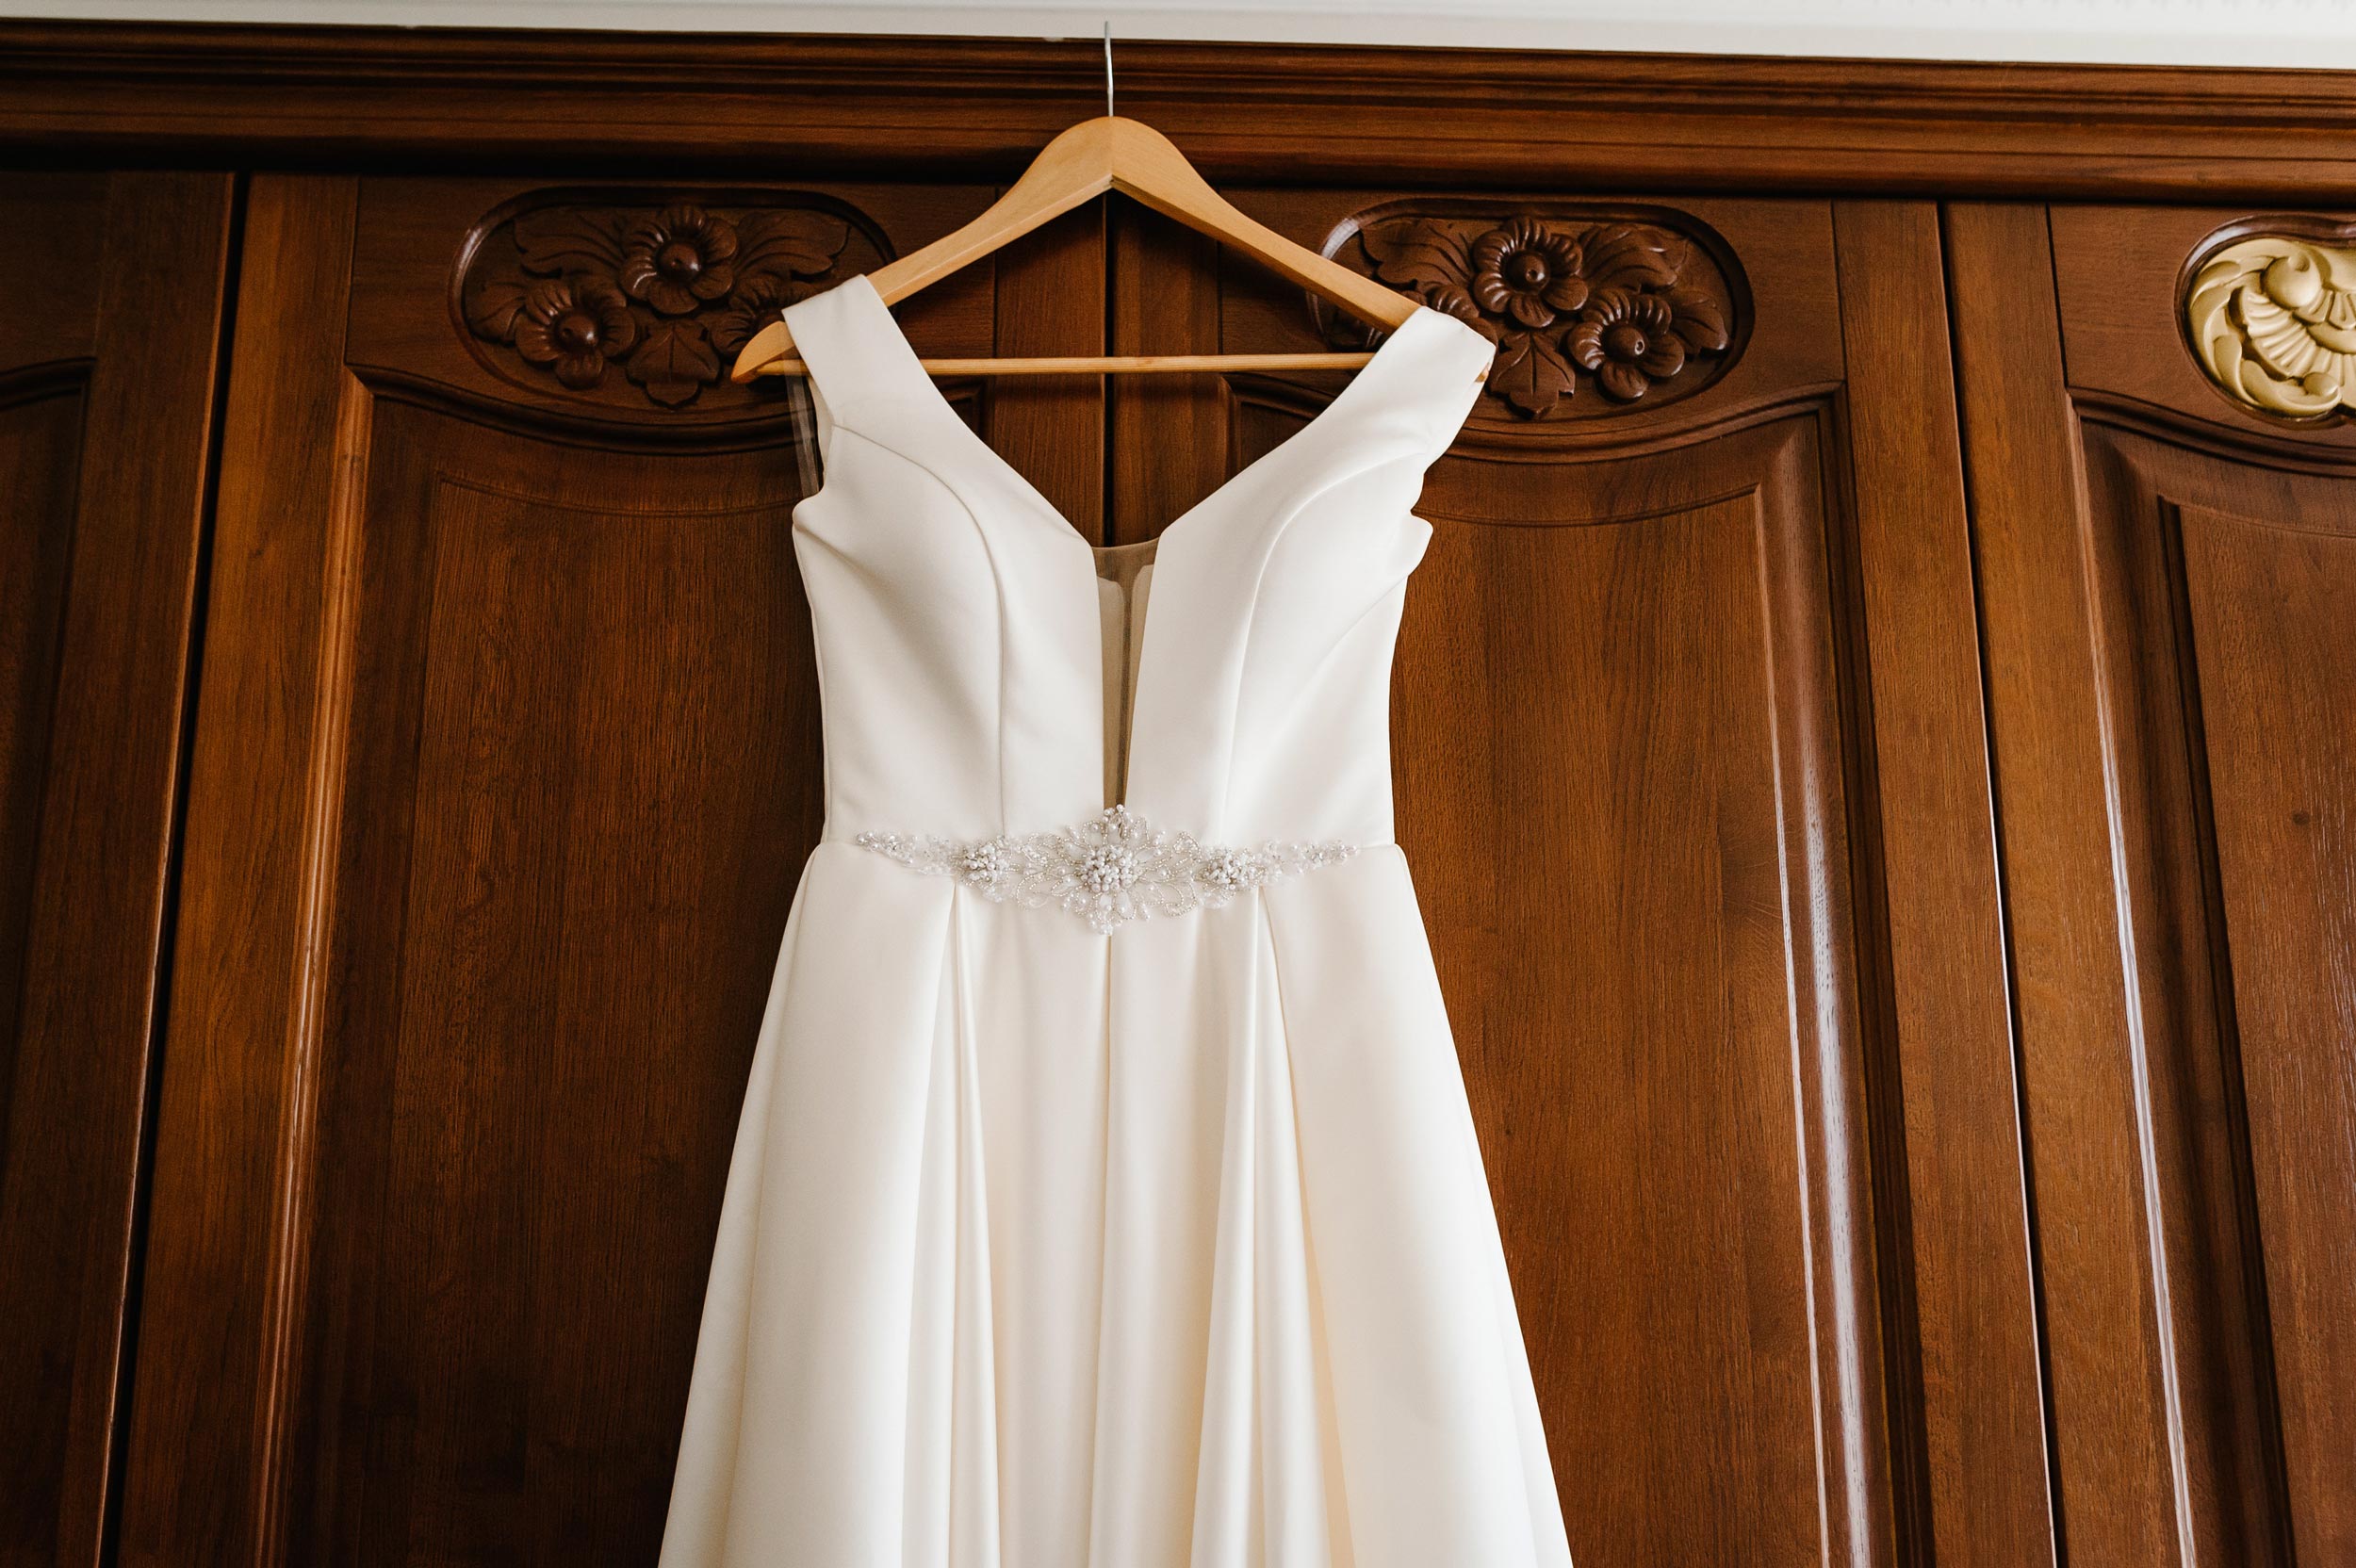
- Bridal prep: Hair and makeup in progress, bridal party interactions, close-ups of the dress, shoes, bouquet, and invitation suite. Emotional moments with parents or bridesmaids are gold.
- Groom prep: Buttoning the jacket, tying the tie, cufflinks, gift exchanges, group shots with groomsmen, and casual pre-wedding laughs.
- Venue details: Capture the ceremony and reception spaces before guests arrive, including the altar, chairs, lighting, floral arrangements, signage, and the overall ambience of the dressed venue.
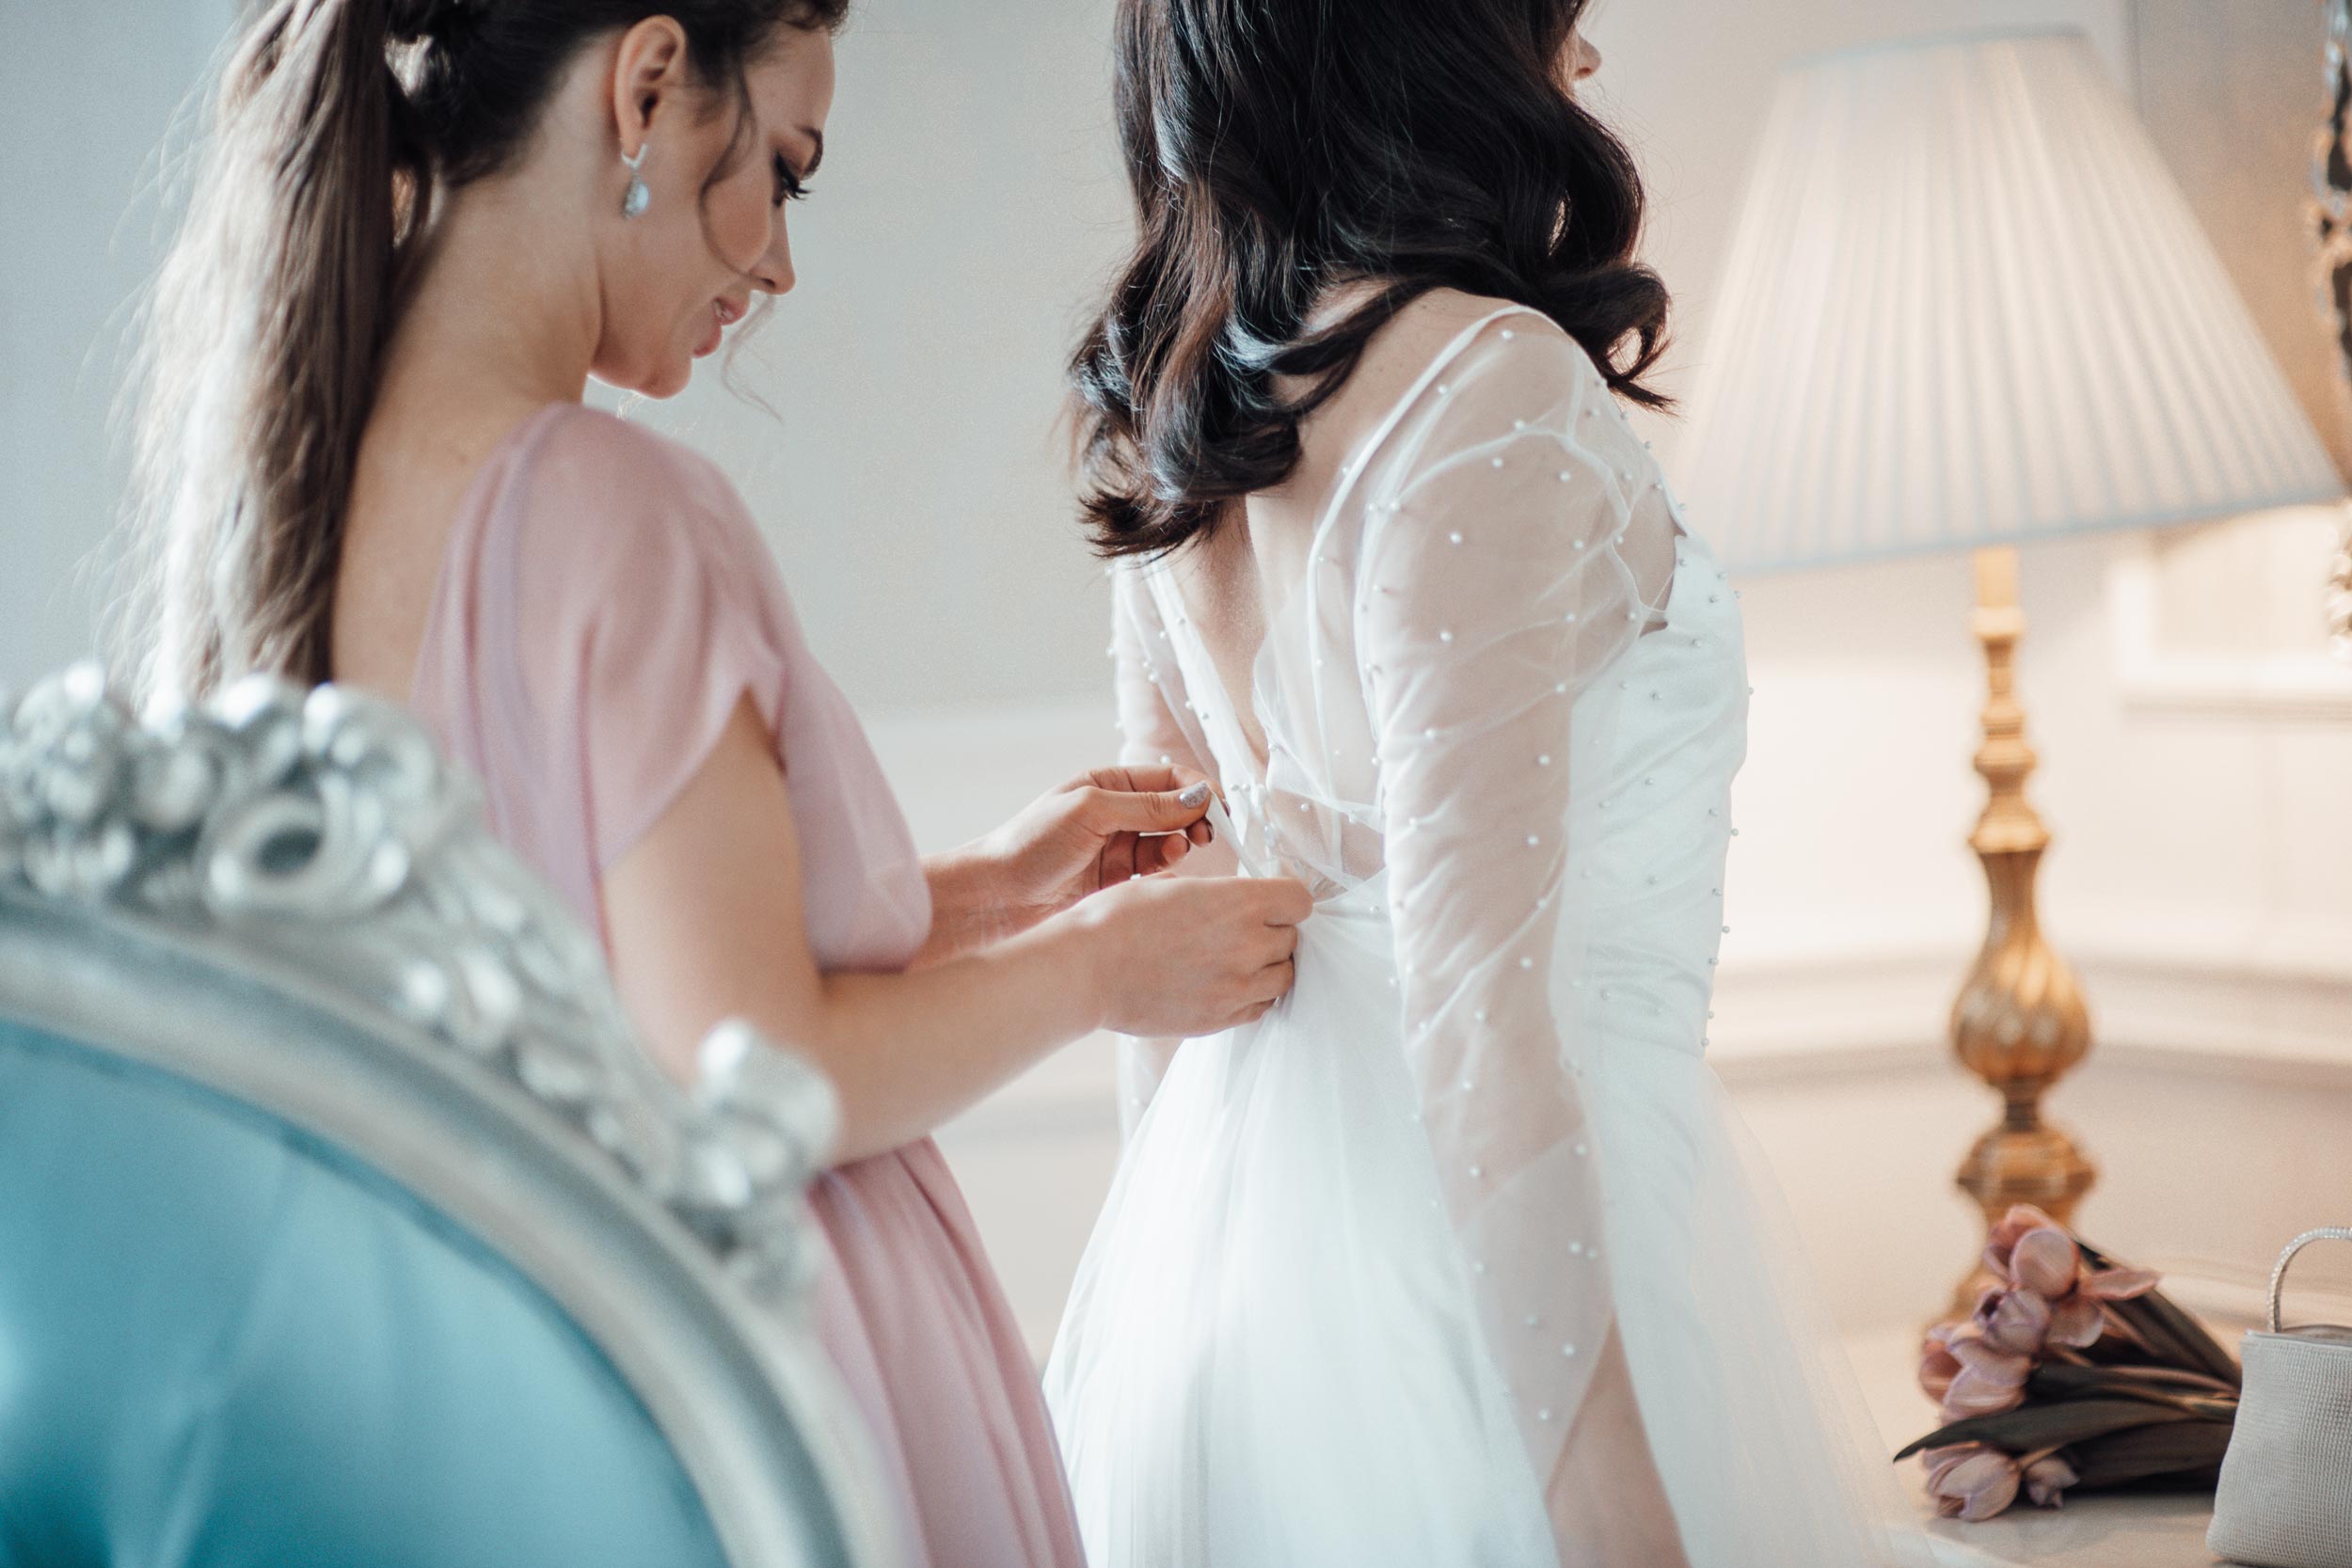
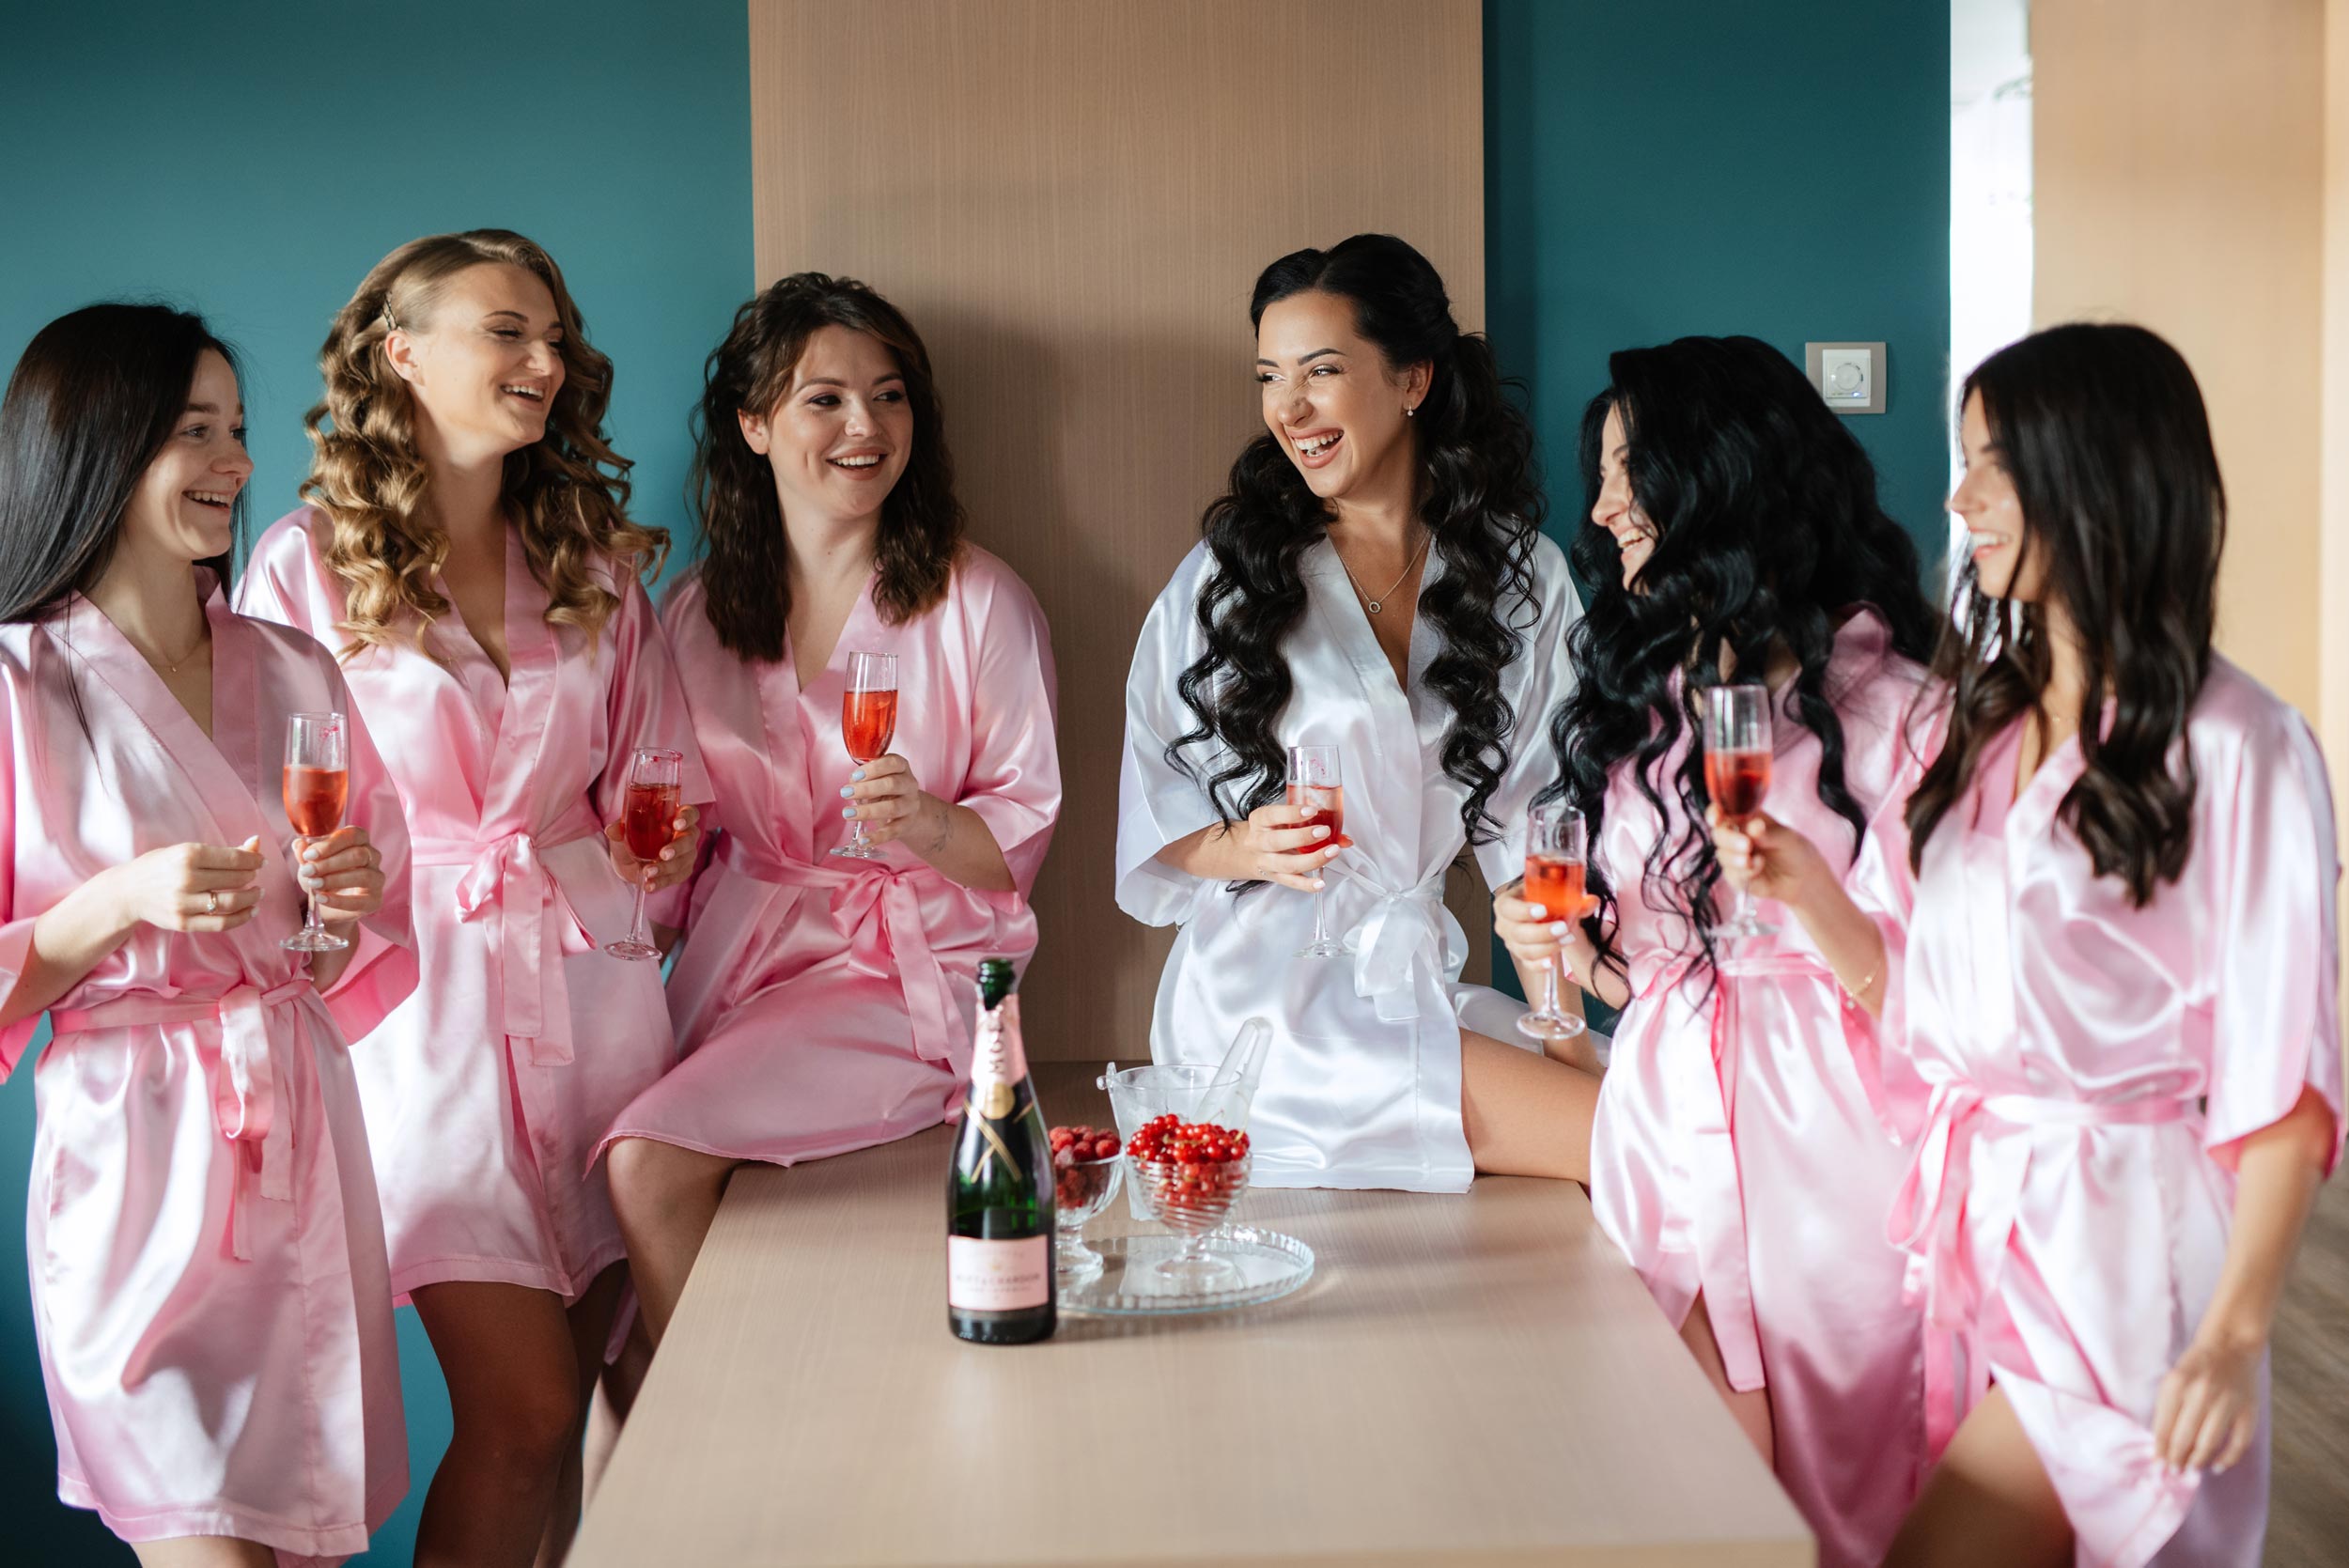
Tip: These shots establish the story’s beginning and set the tone. Arrive early to shoot untouched decor and prep moments.
2. First Look (If Applicable)
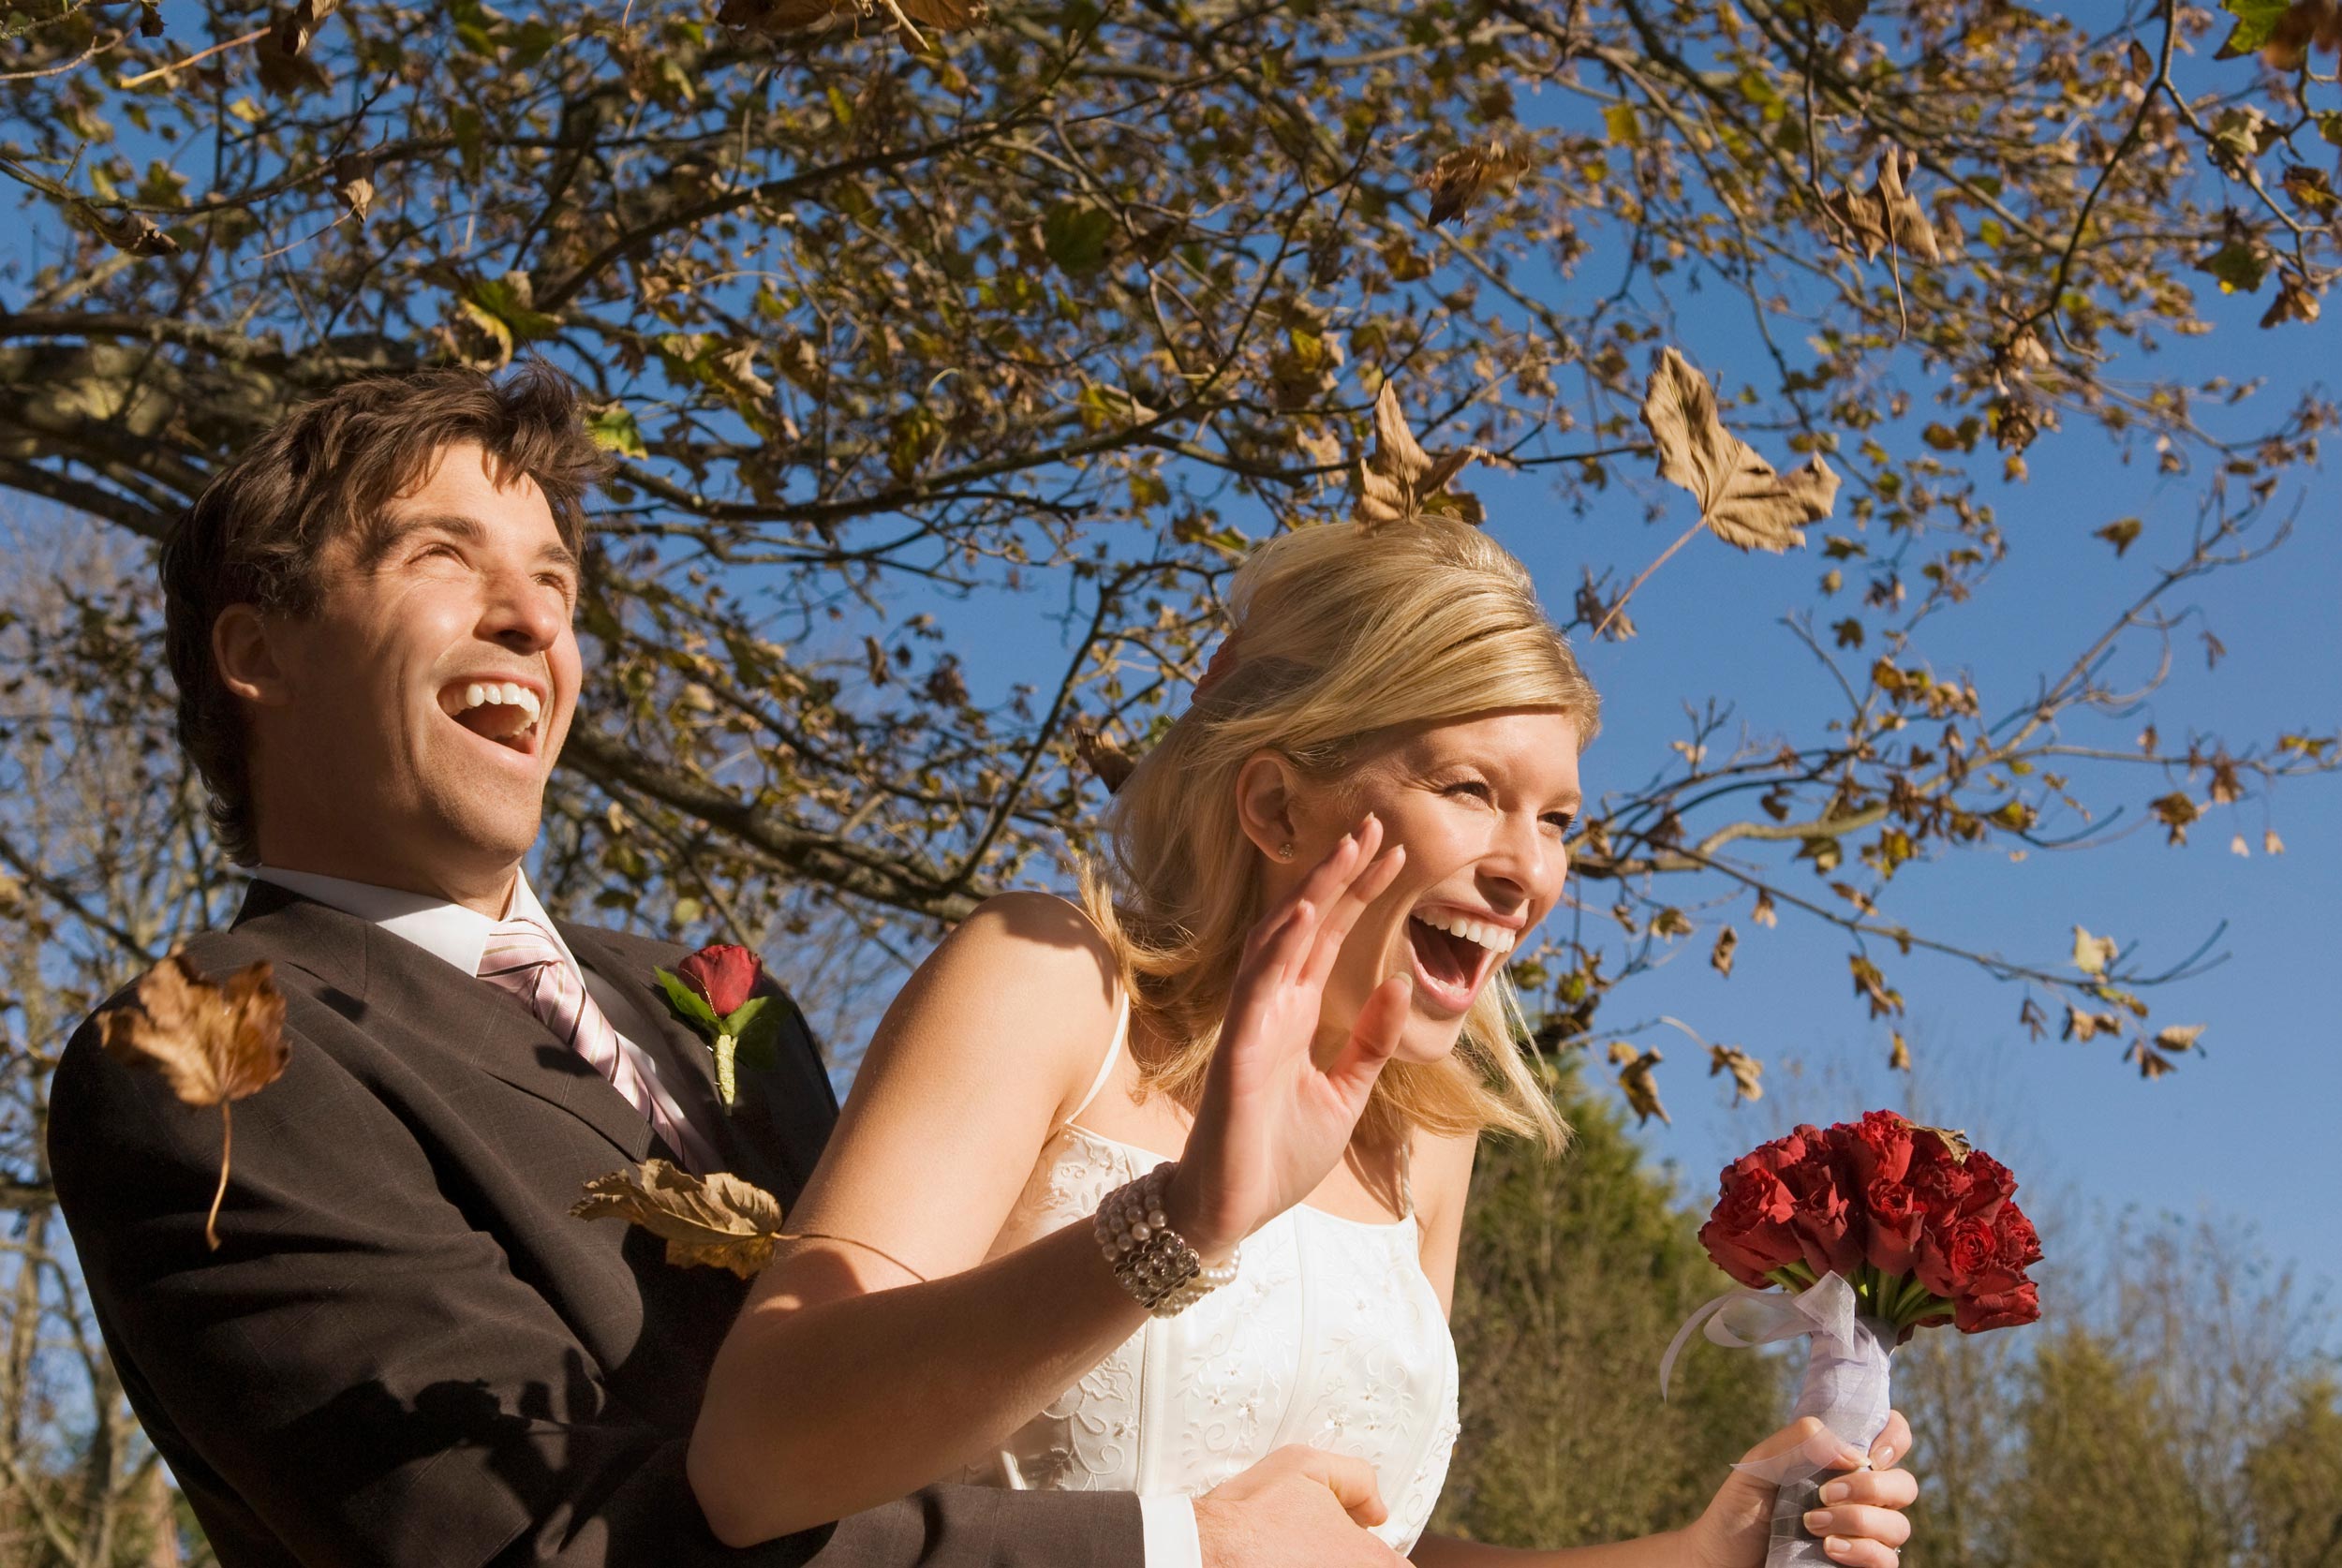
- The emotional reaction between the couple seeing each other for the first time in private.
- Close-ups of facial expressions, hands touching, and wide shots for context.
- Candid moments immediately after (laughter, kisses, hugs) are often some of the most intimate.
Tip: Scout the location ahead of time and prepare for good lighting and minimal background distractions.
3. Arrival Moments
- The bride arriving with a parent or bridal party.
- Emotional exchanges with family members, especially parents and grandparents.
- Close-up of the bouquet being held.
- Any last-minute details like adjusting the veil or a deep breath before walking in.
4. Ceremony
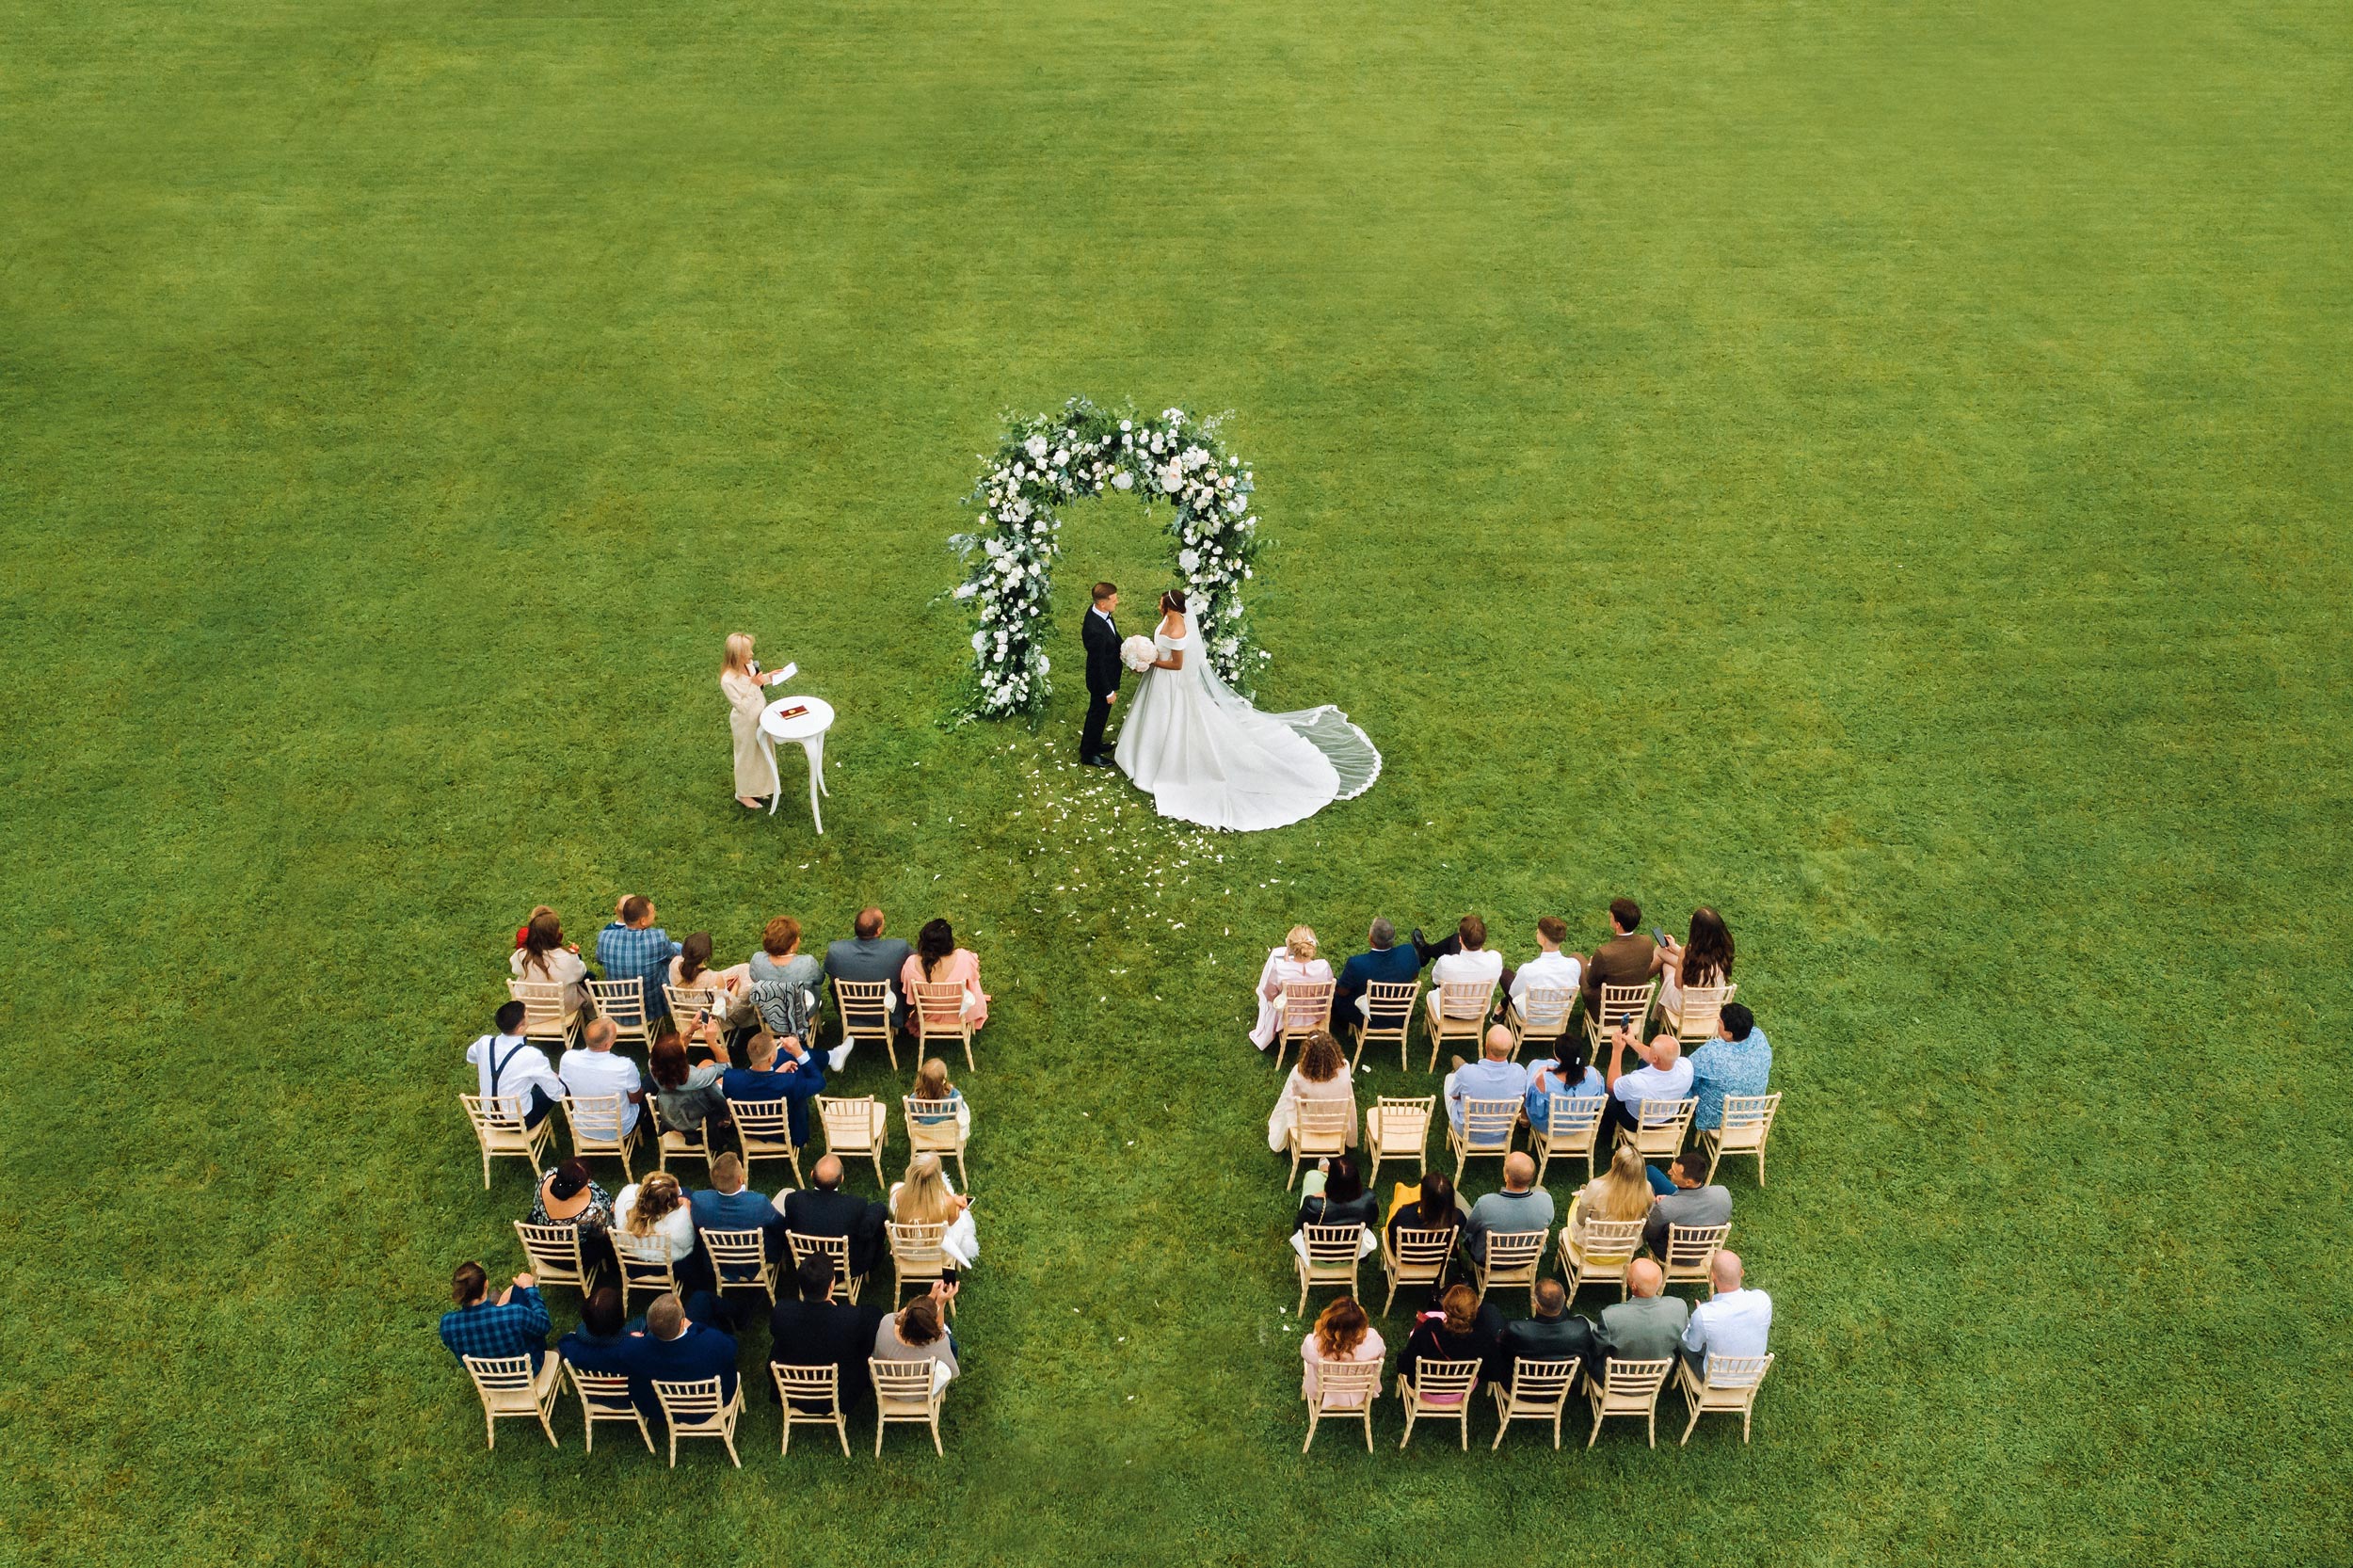
- Guest arrival: Reactions, outfits, and ambient moments before the ceremony begins.
- Processional: Everyone walking down the aisle, especially the bride’s entrance and the groom’s reaction.
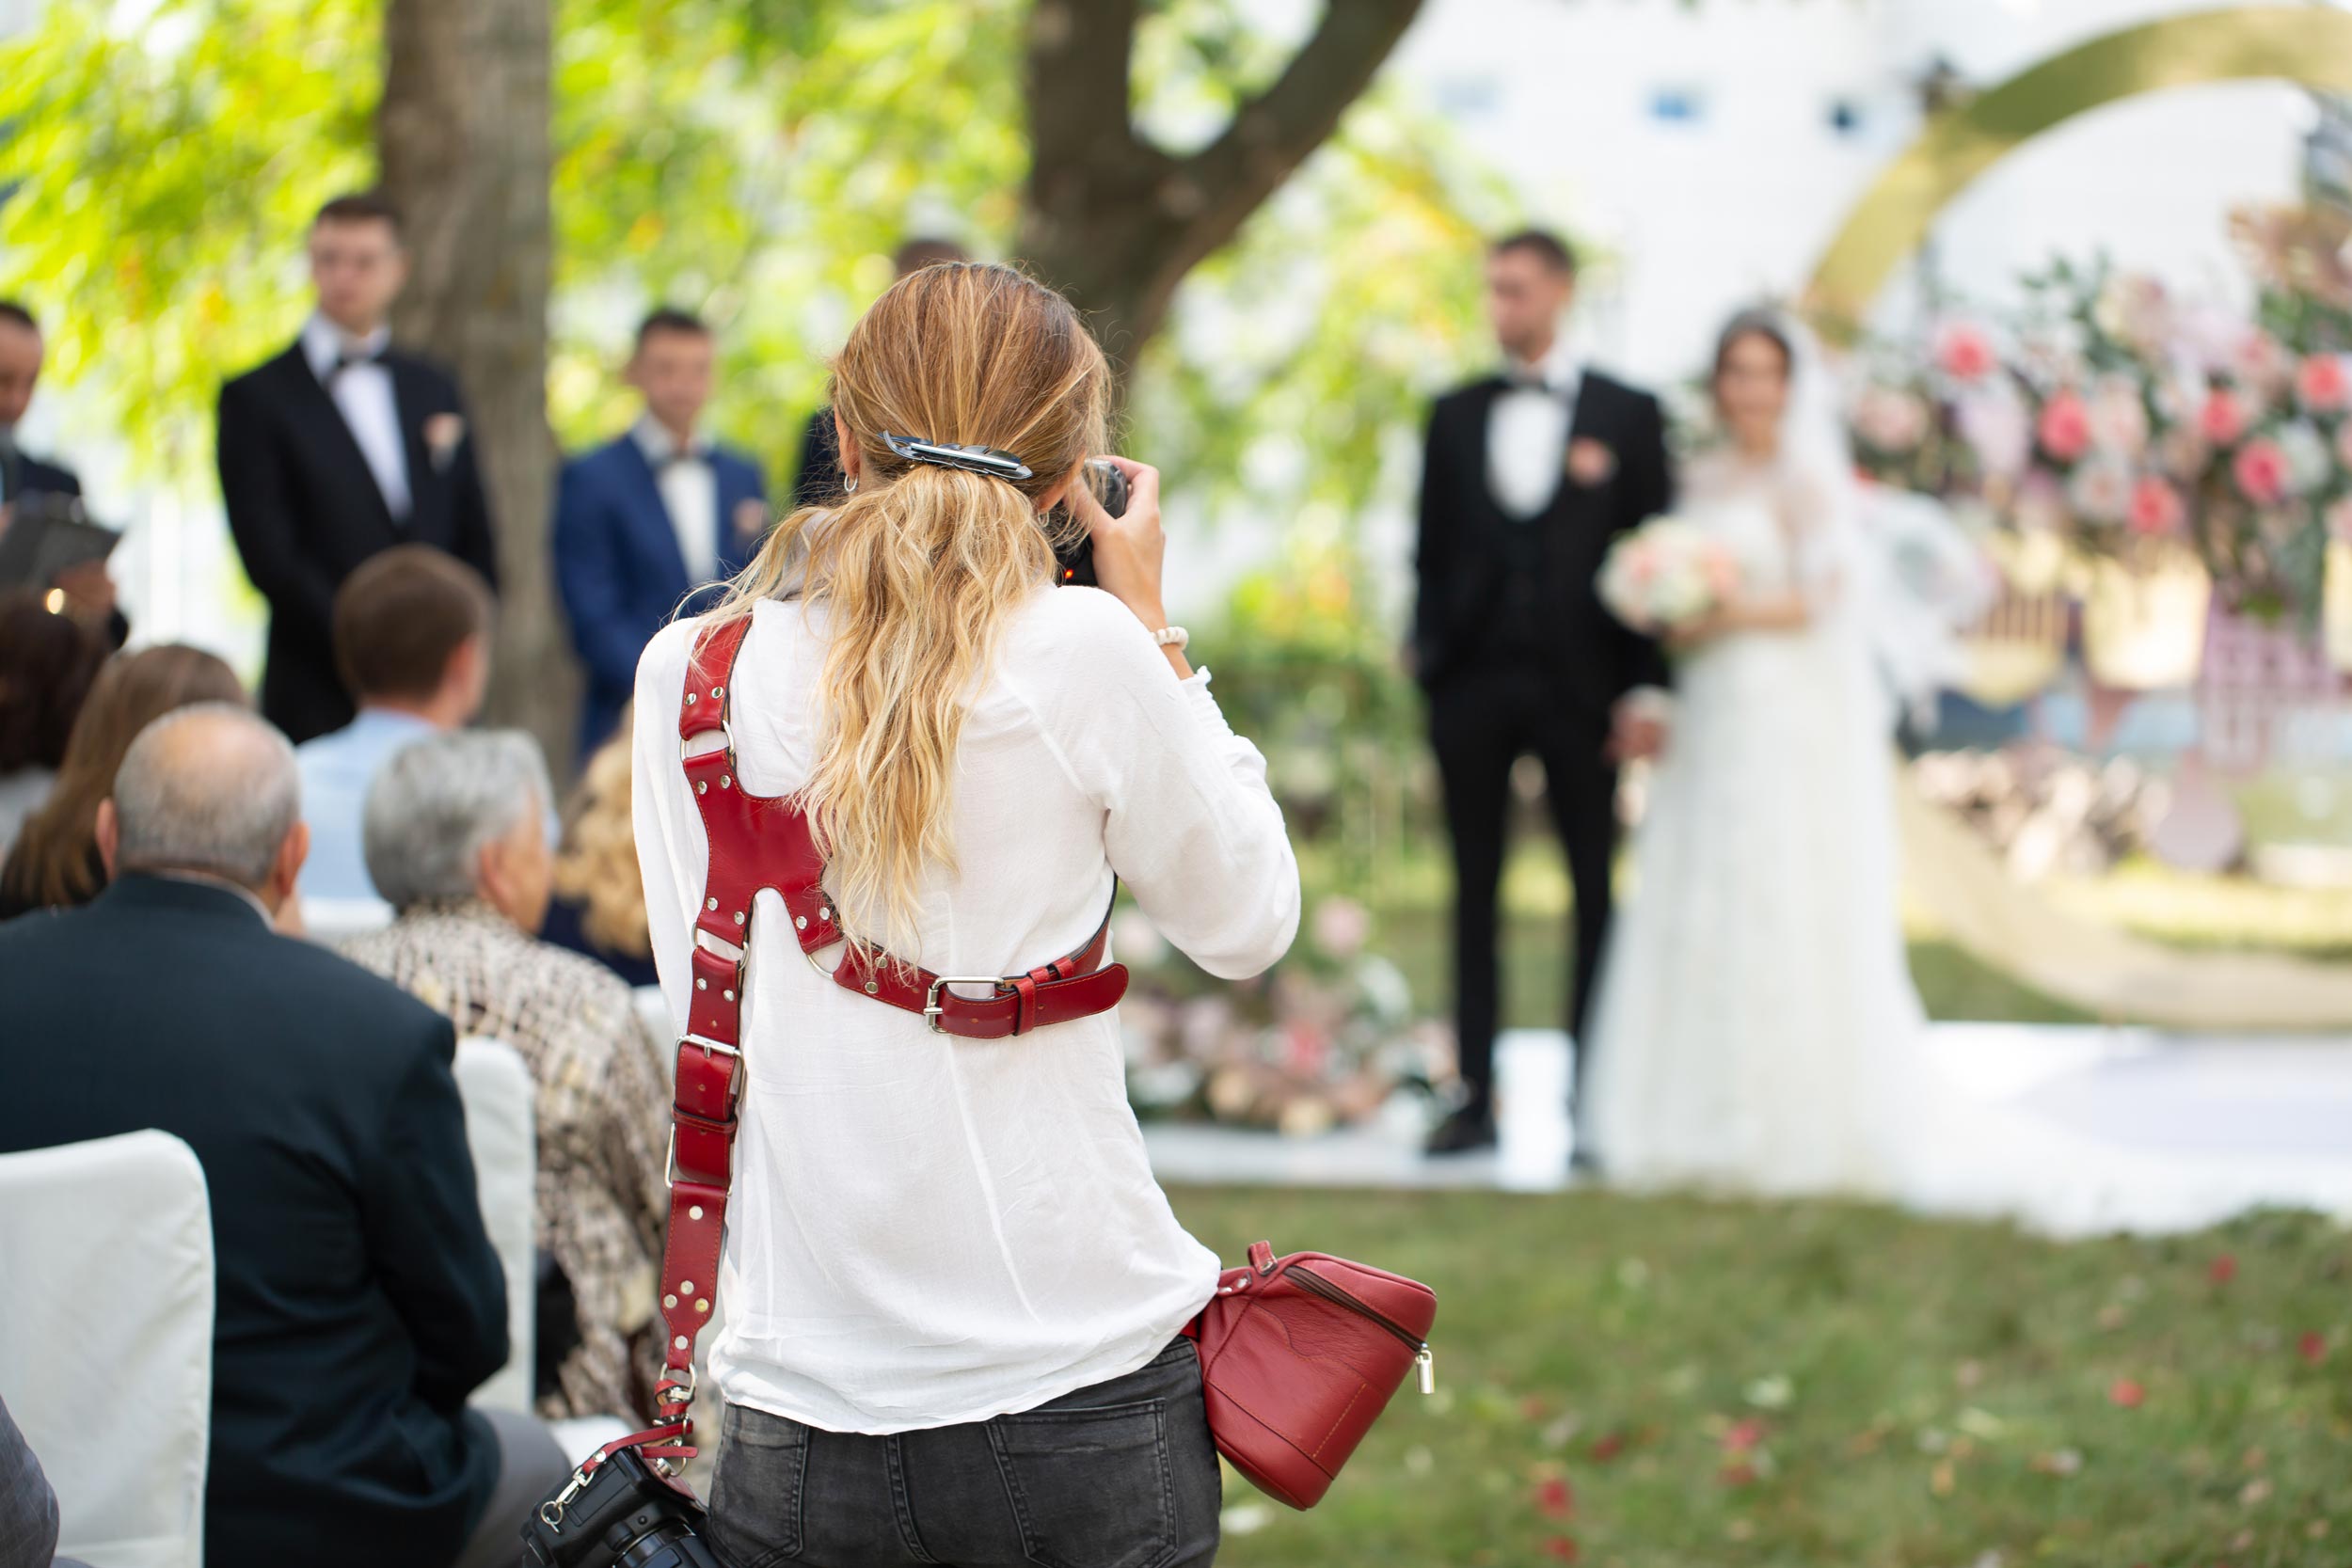
- Exchanging of vows and rings: Get both wide shots and close-ups of hands, tears, or smiles.
- First kiss: A must-capture, take a wide shot and a zoomed-in version.
- Recessional: The couple walking back down the aisle, hand-in-hand, often grinning or waving.
Tip: Use a second shooter (if possible) to cover both angles and audience reactions simultaneously.
5. Cocktail Hour
- Candid moments of guests mingling, laughing, clinking glasses.
- The couple with guests informally.
- Any entertainment like musicians, signature drinks, or food stations.
6. Formal Portraits and Group Shots
- Couple portraits in various poses and lighting.
- Immediate family, extended family, wedding party (groomsmen, bridesmaids).
- Informal groupings with friends or special guests.
- Creative or fun shots, if time allows (e.g. jumping, lifting the bride/groom, walking shots).
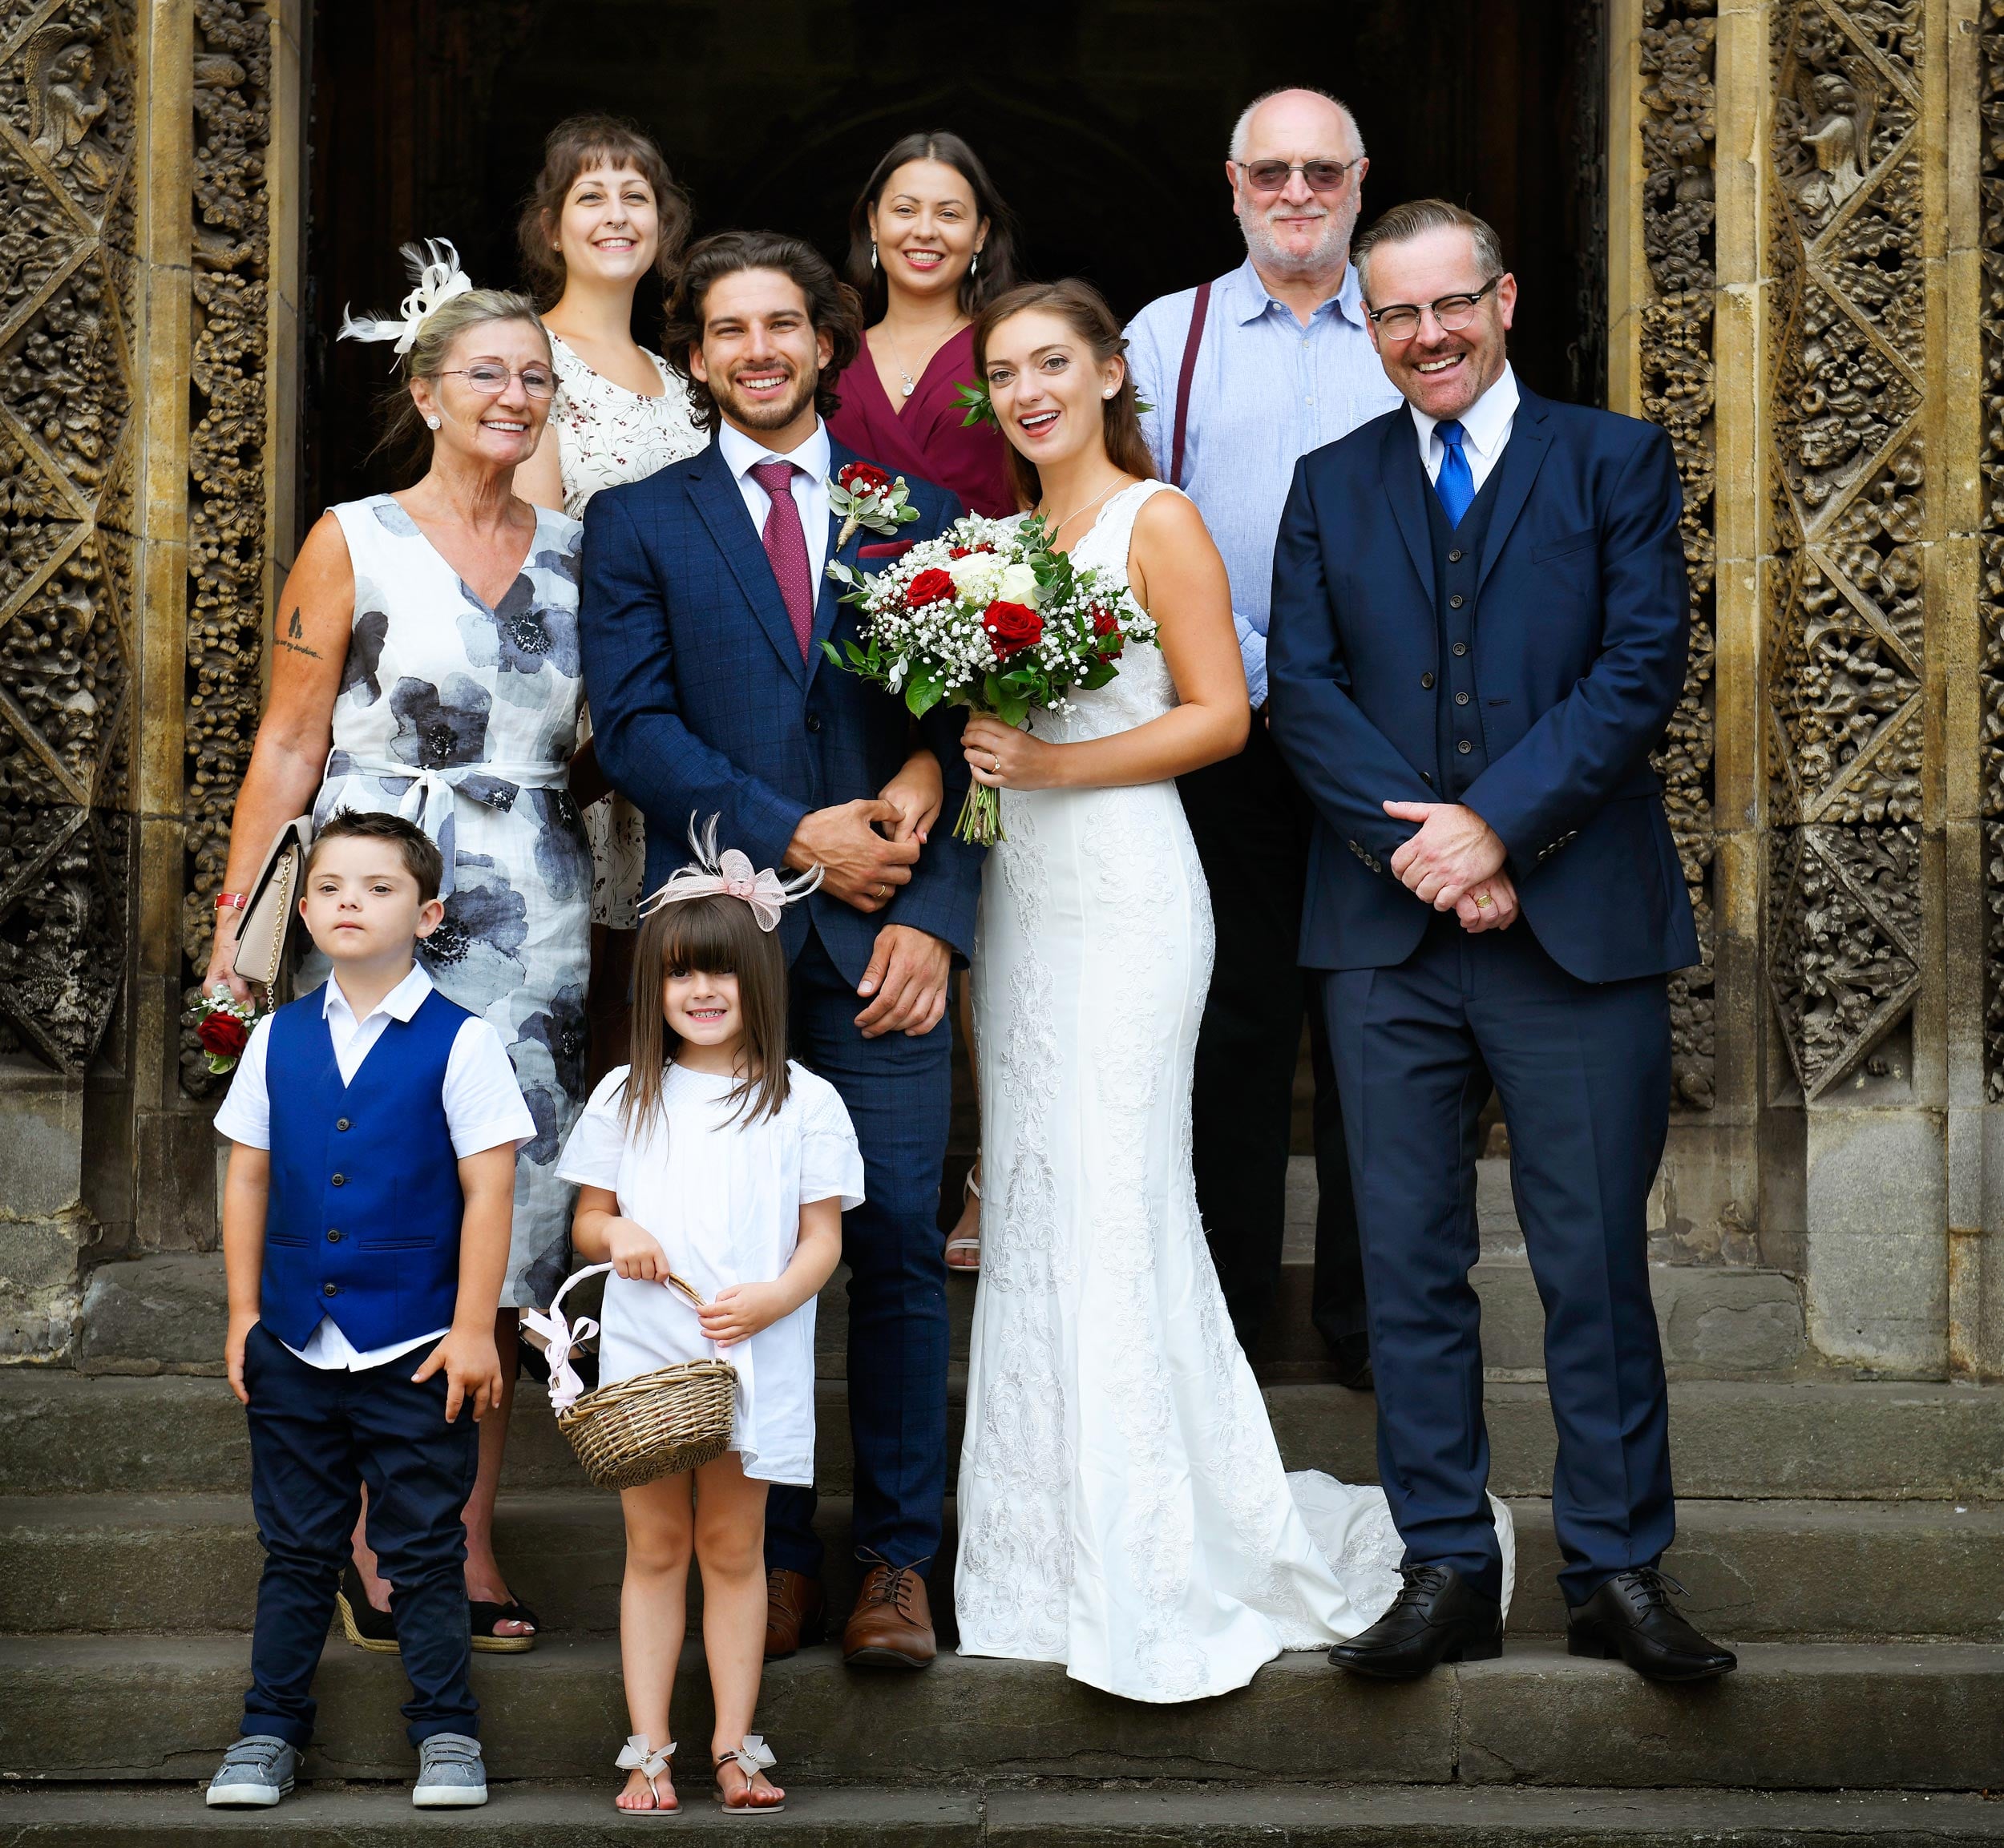
Tip: Plan this list in advance with the couple to avoid missing anyone important and ensure smooth transitions.
7. Detail Shots (Decor, Rings, Stationery, Venue Touches)
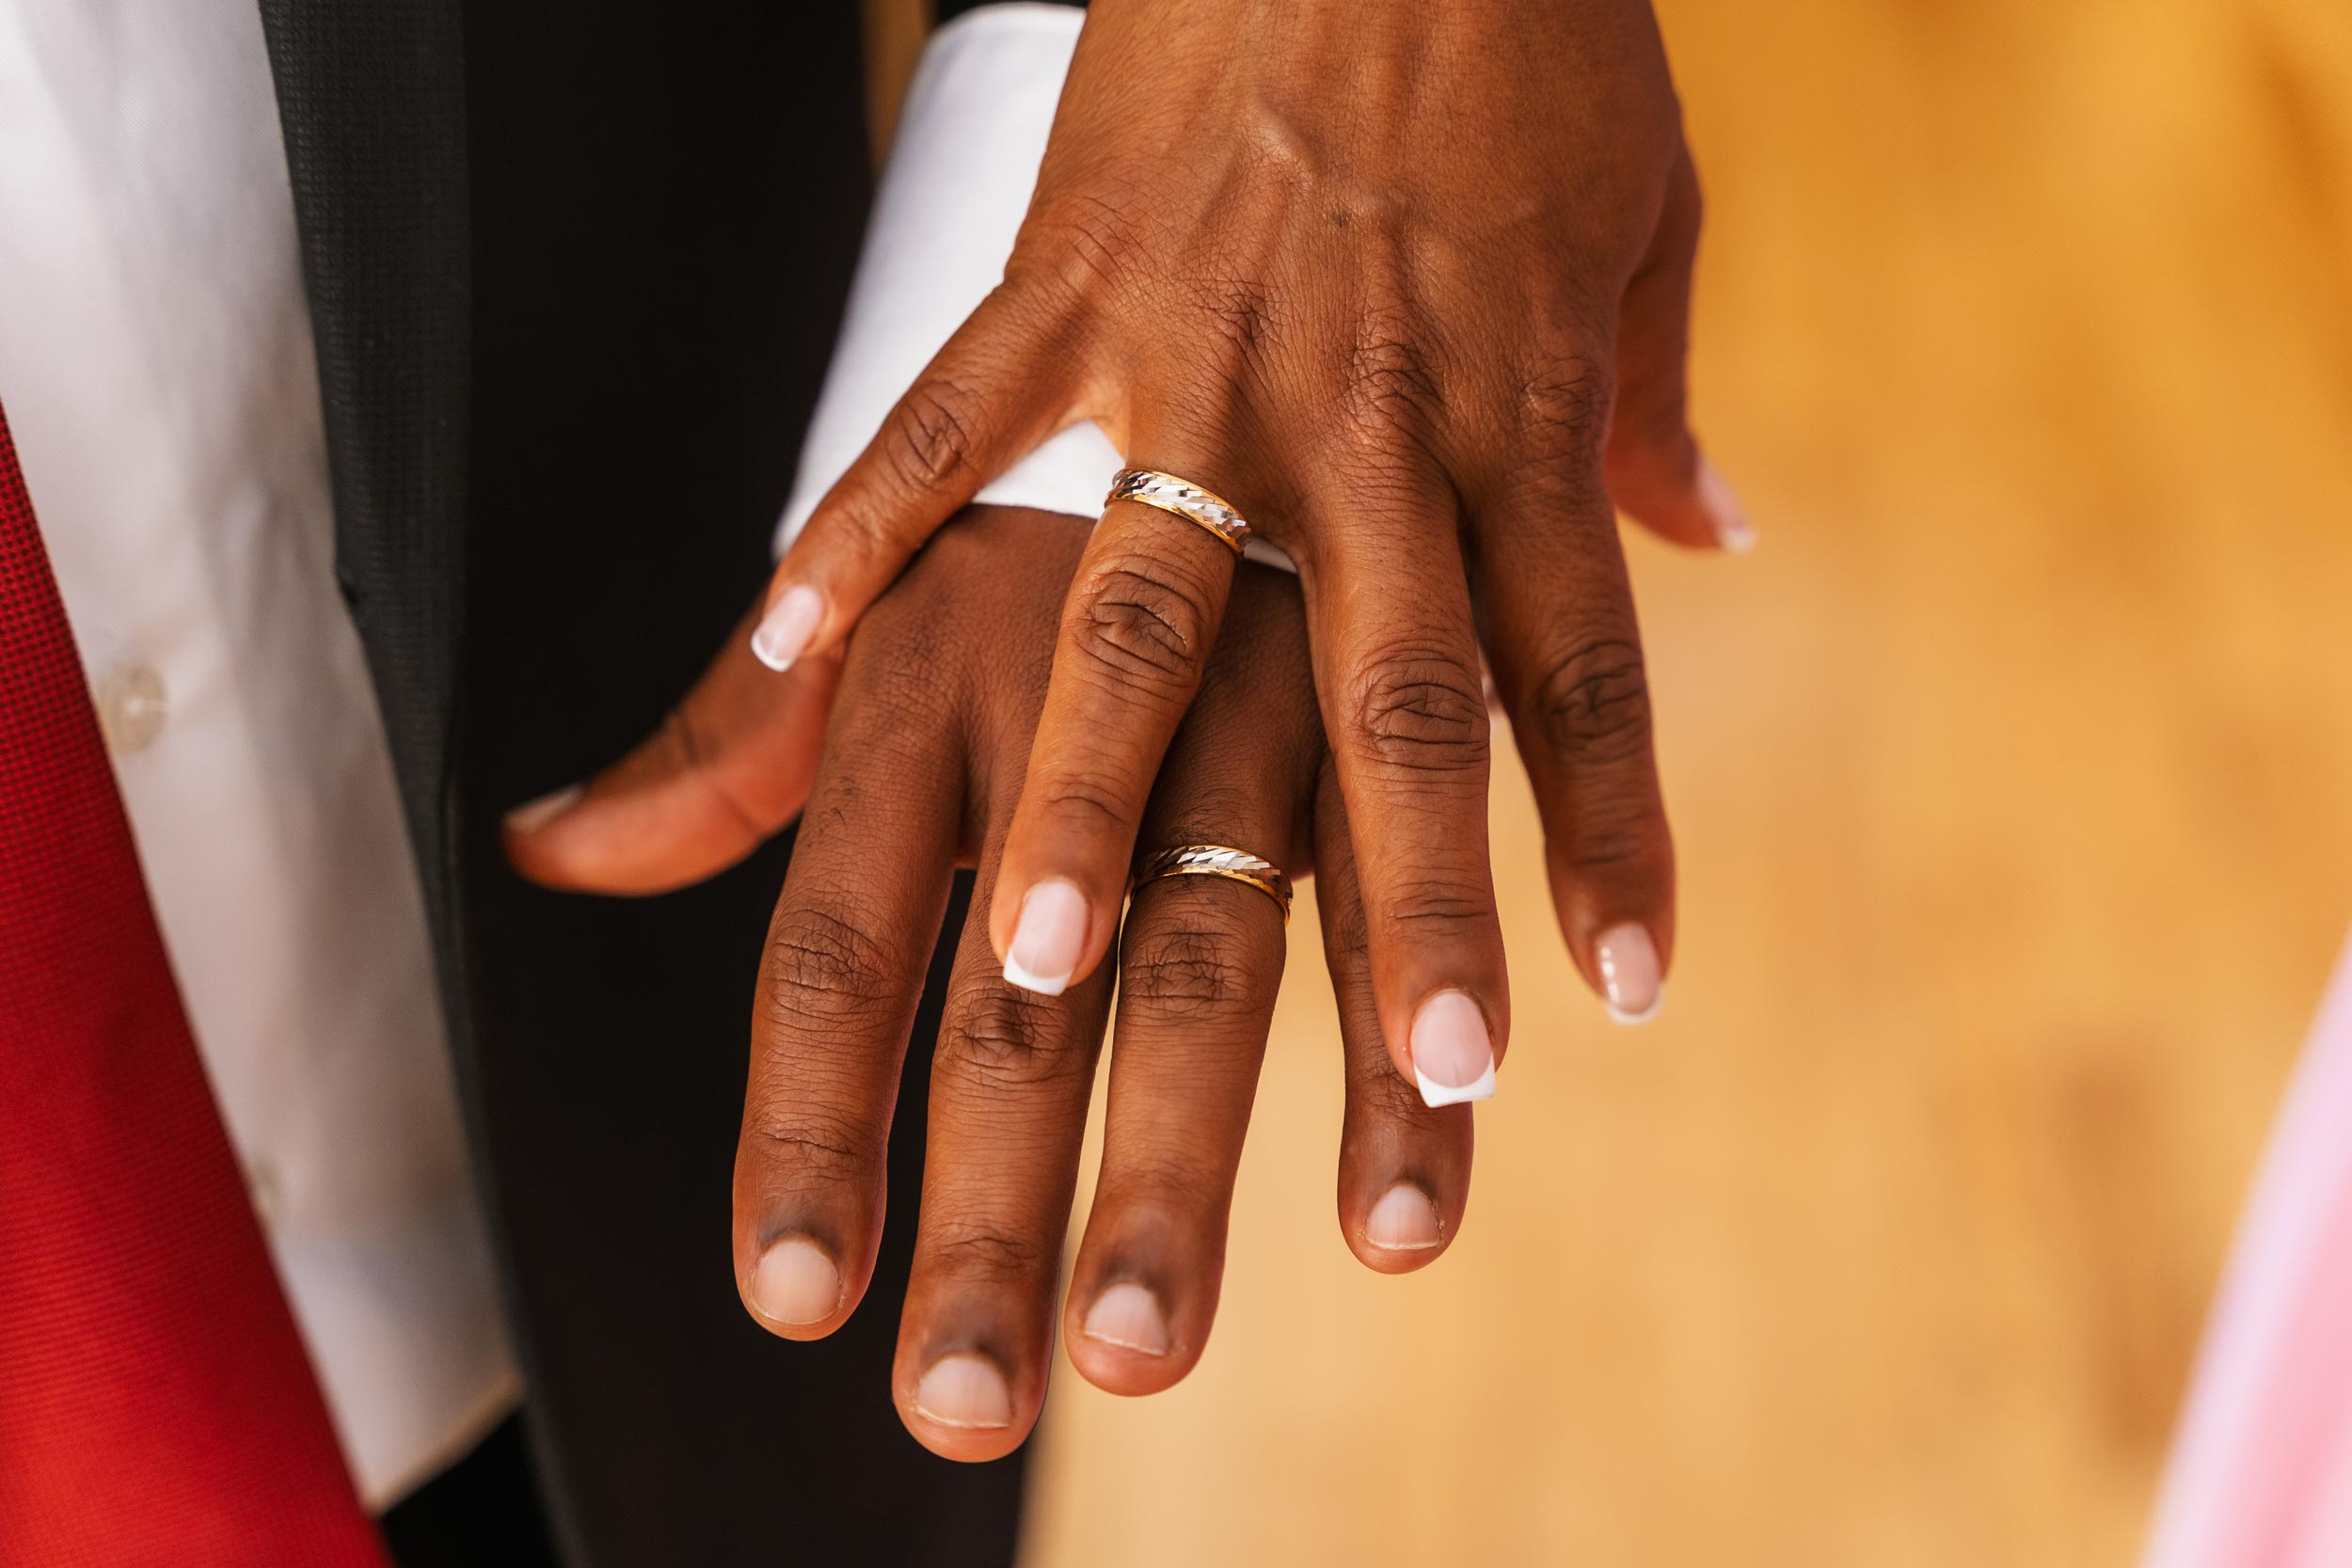
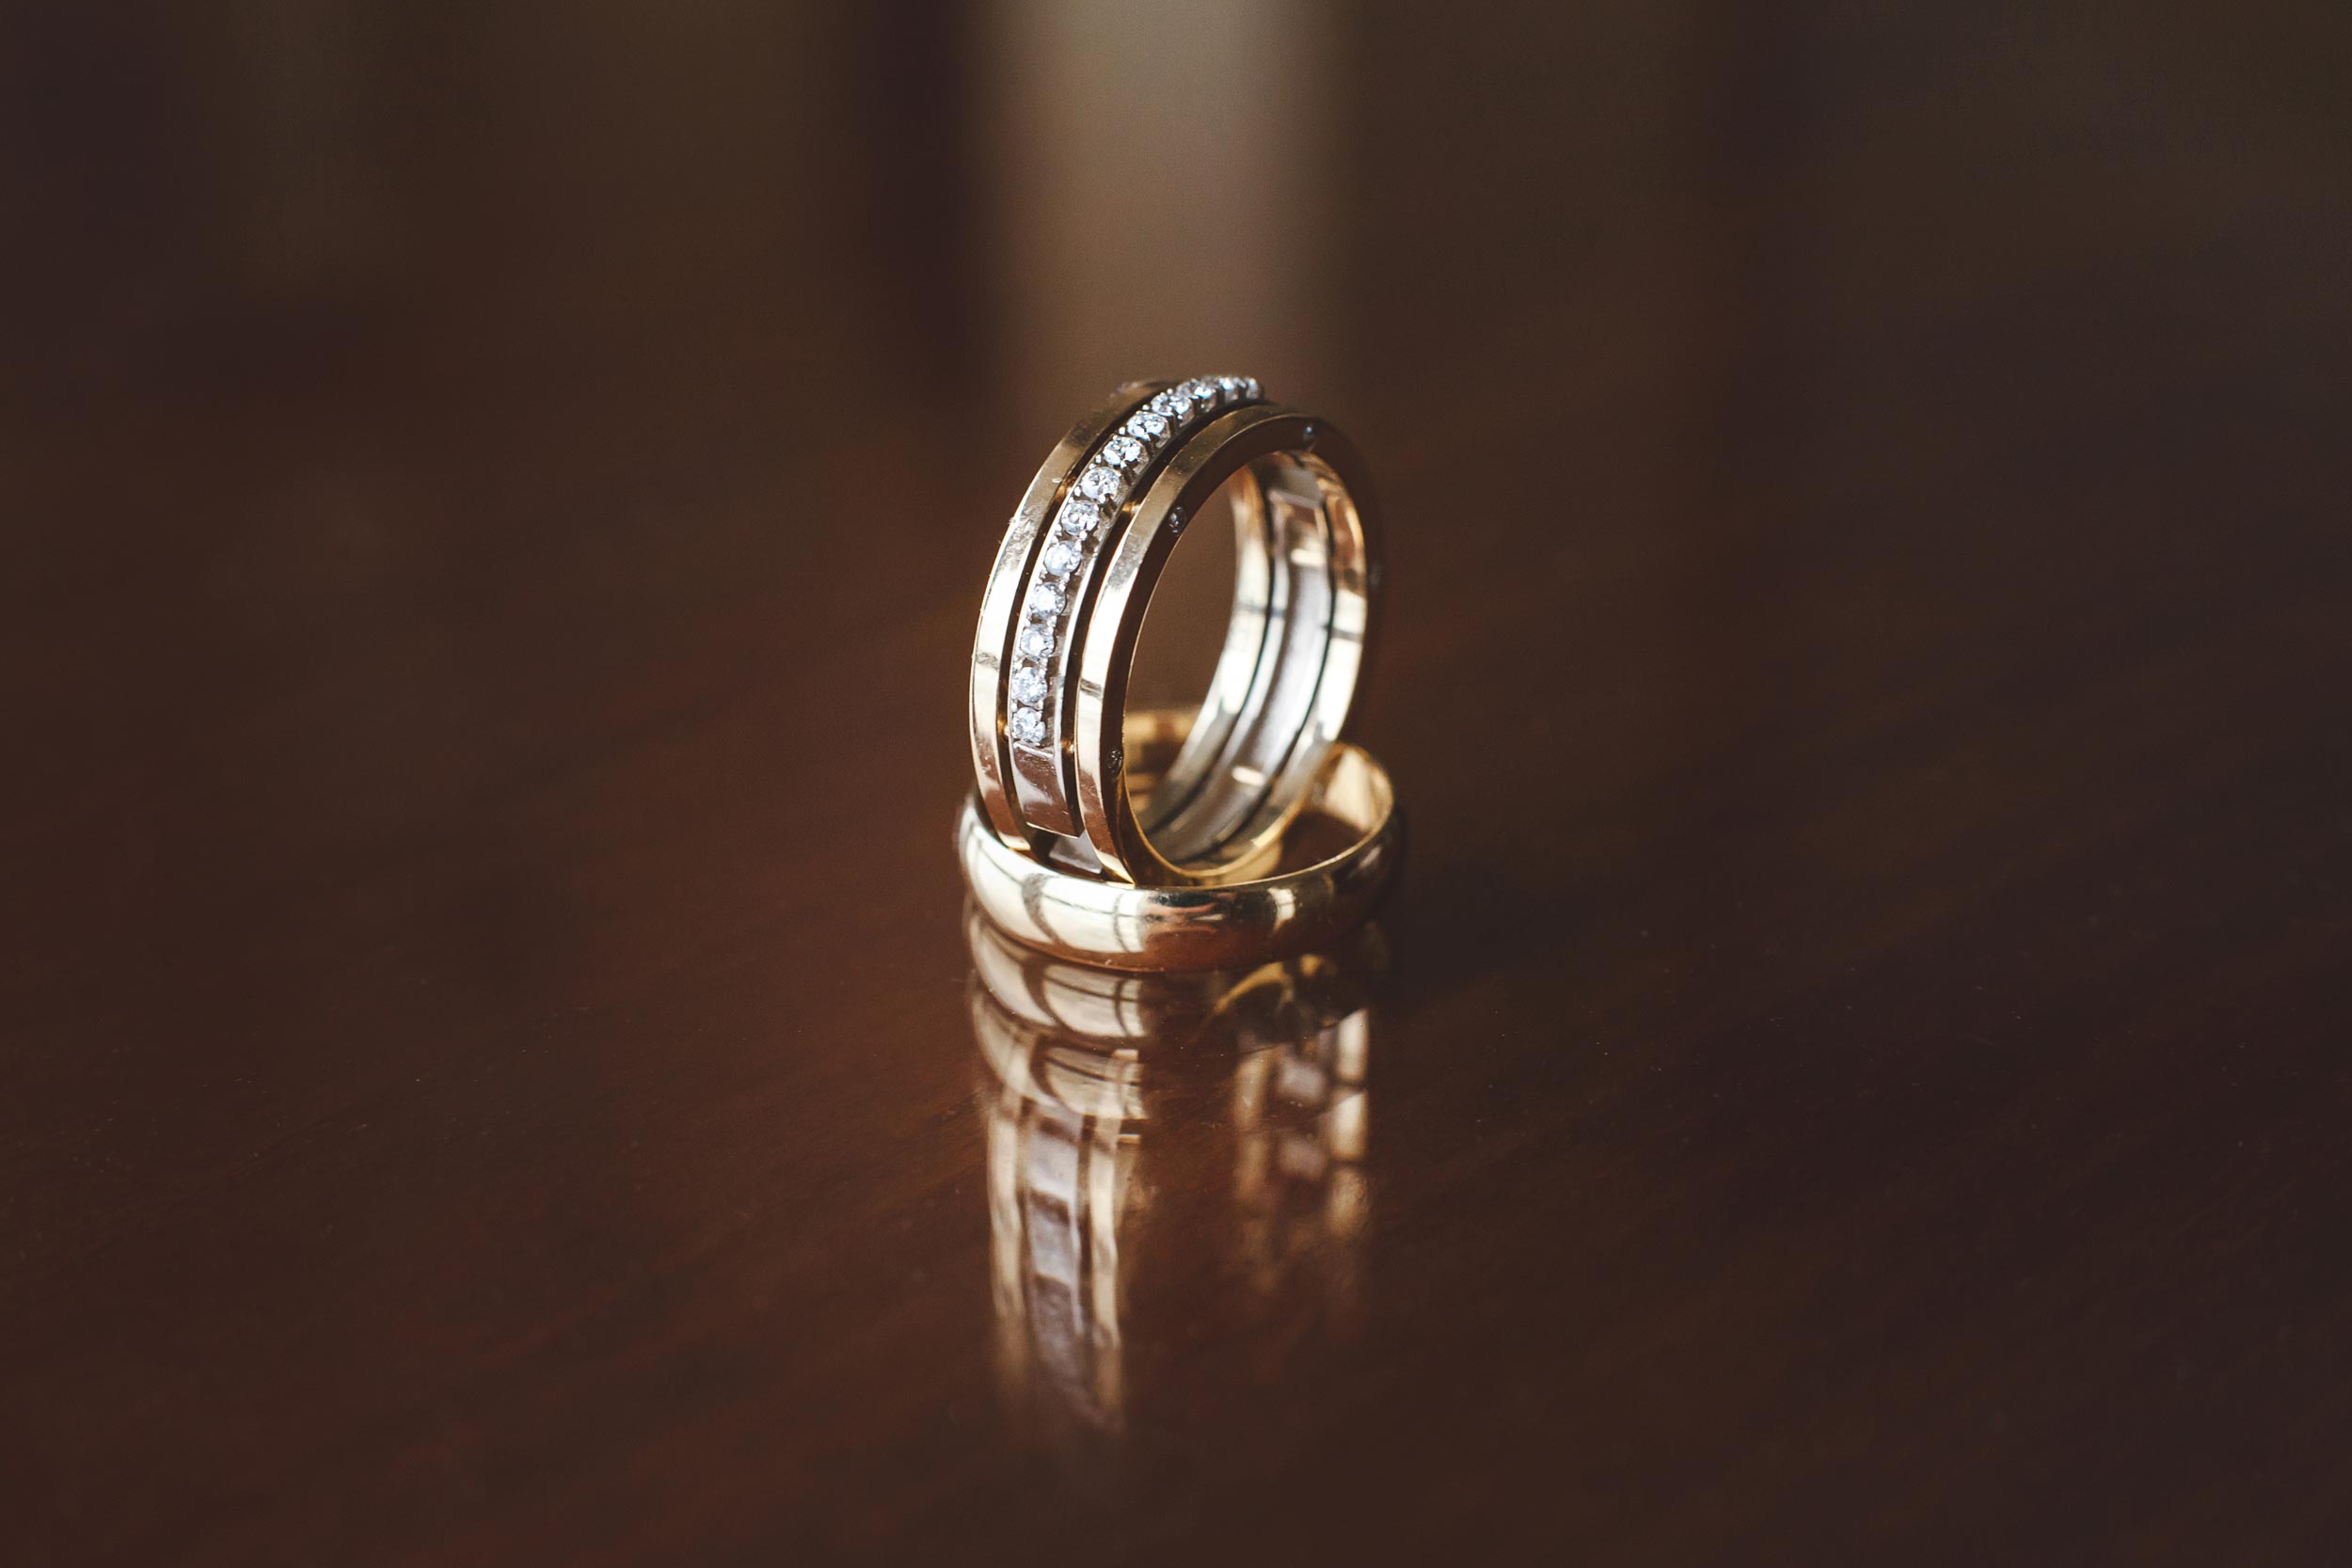
- Wedding rings (styled flat lay or macro).
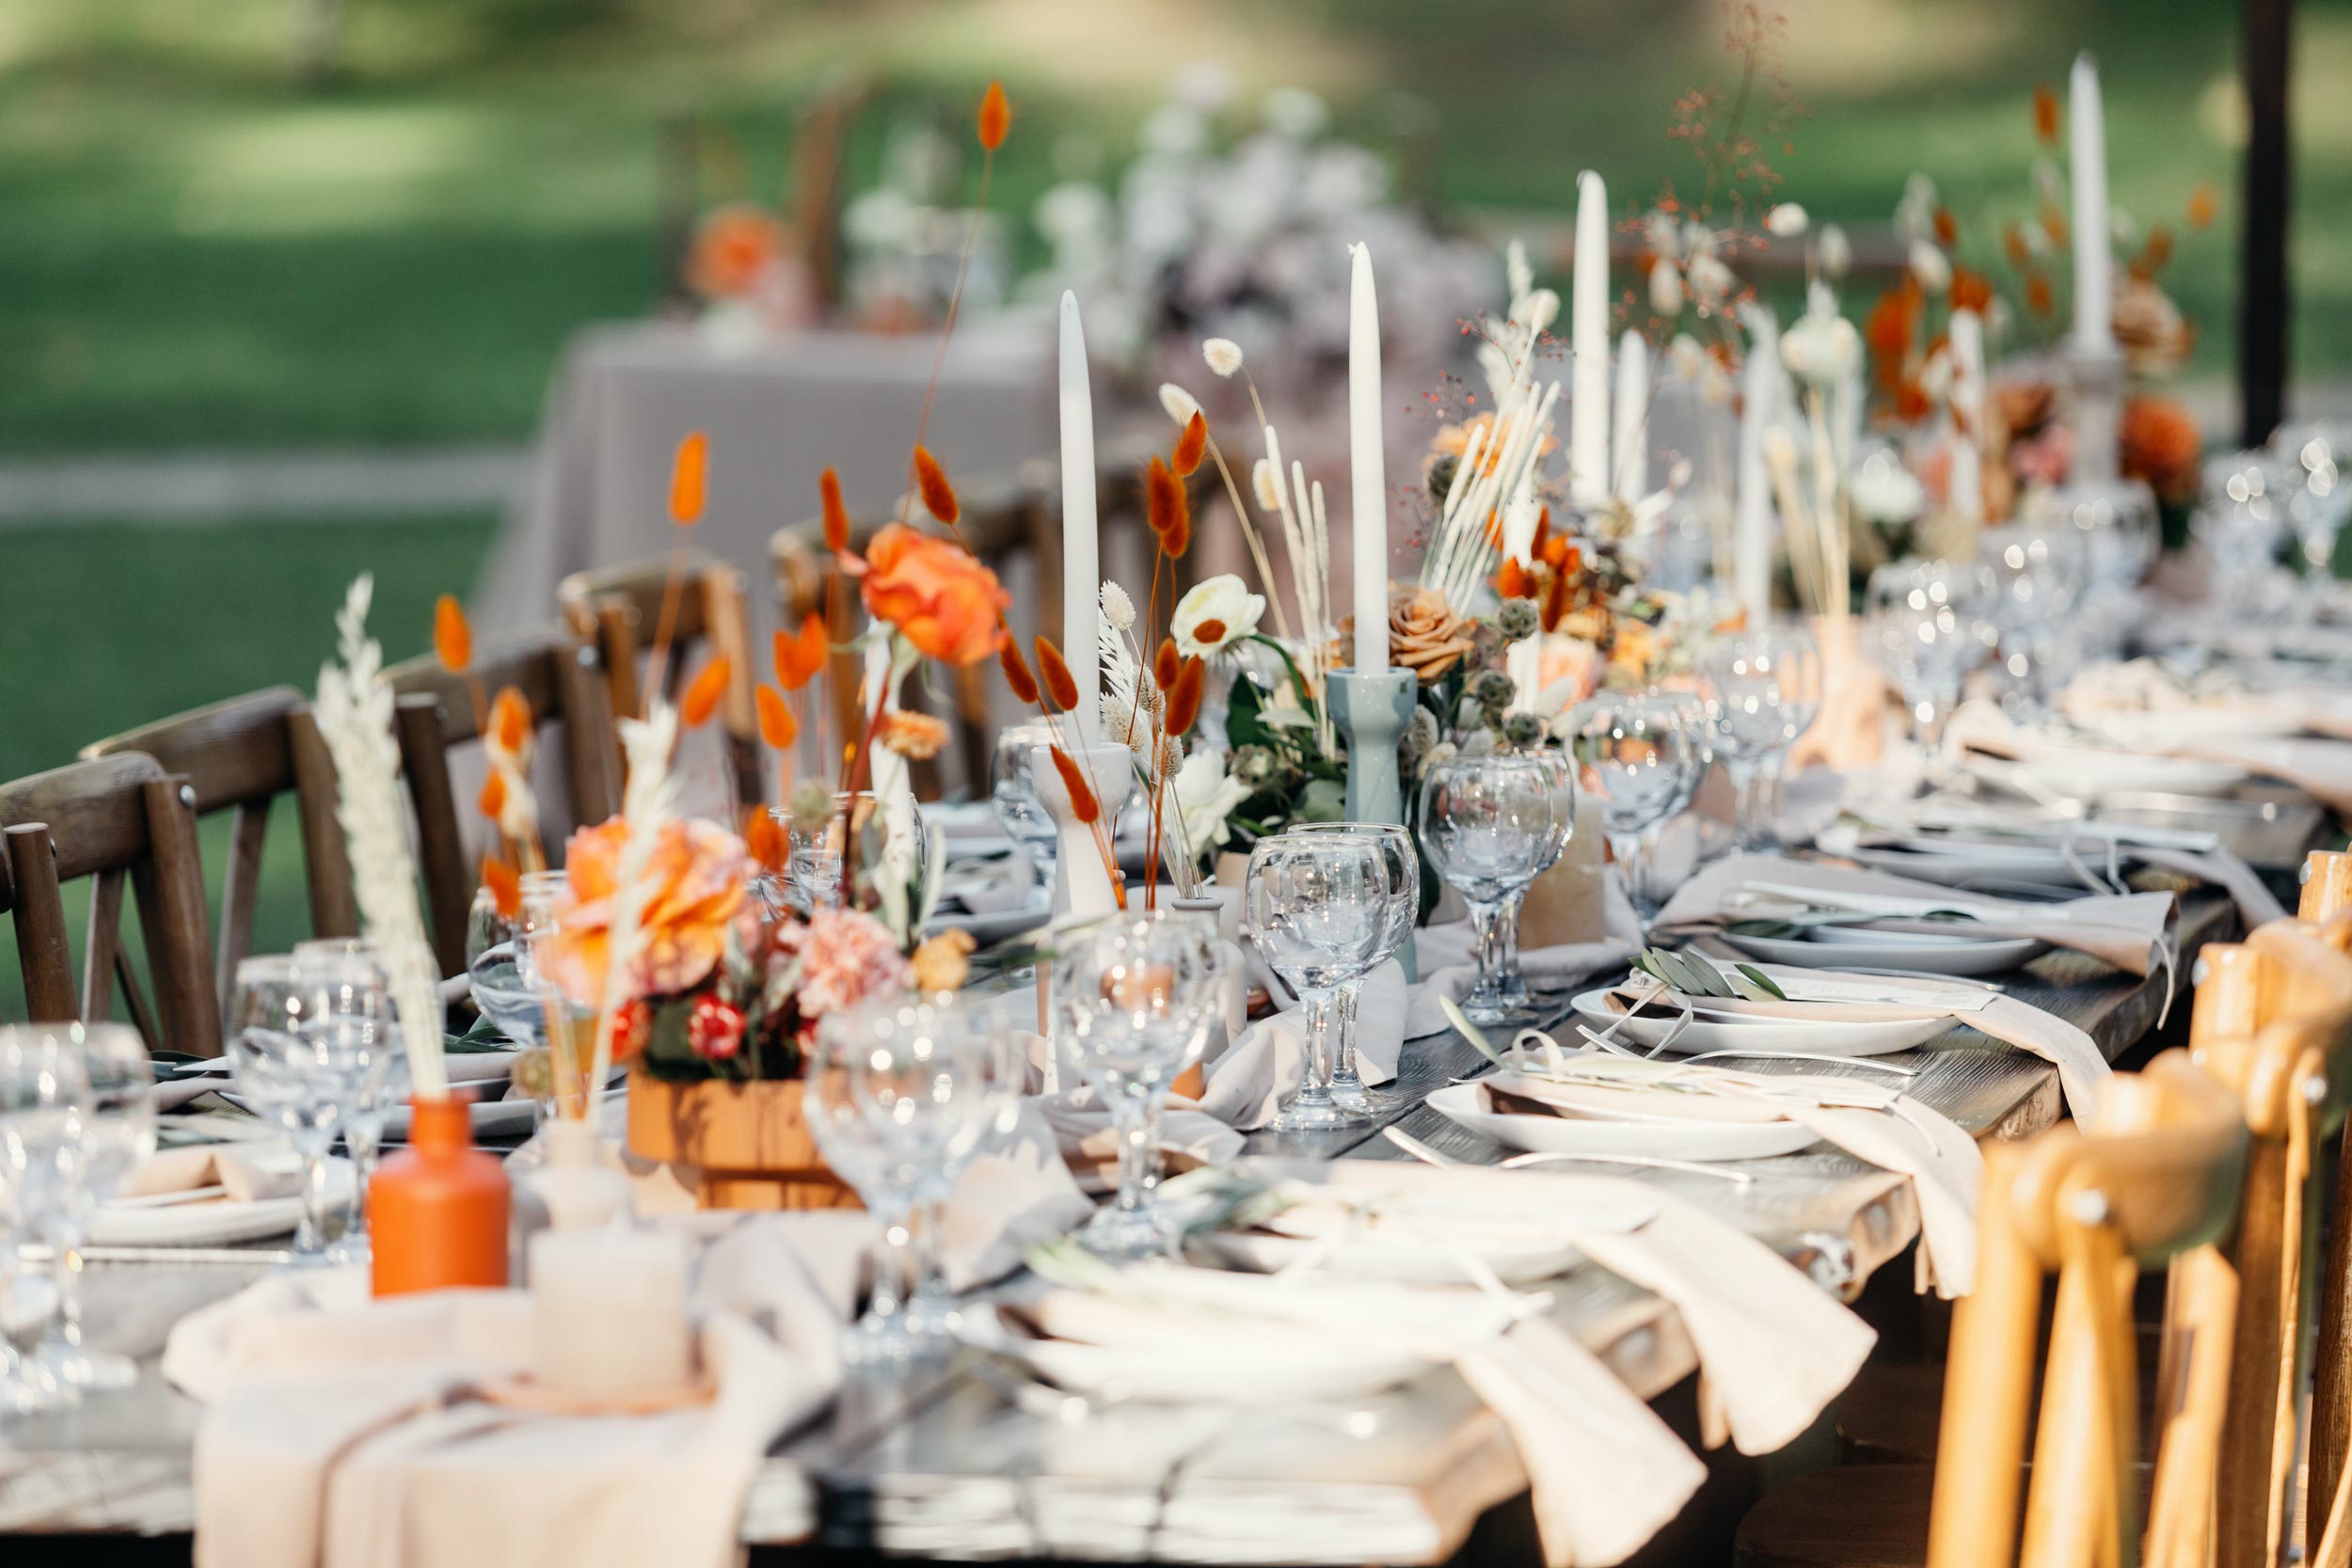
- Reception decor: table settings, place cards, favours, signage, lighting details, and floral arrangements.
- Menu cards, programs, and invitation suites.
- Guestbook table, gifts, or memory displays.
- Music set-up or special instruments if used.
These detail shots bring personality and narrative depth to the gallery.
8. Cake Cutting & Toasts
- The couple cutting the cake — capture reactions, laughter, feeding each other, etc.
- Toasts from family or the bridal party — get reaction shots of the couple and the guests.
- Candid smiles, laughter, and emotional responses.
Tip: Use a longer lens to stay unobtrusive and catch natural reactions.
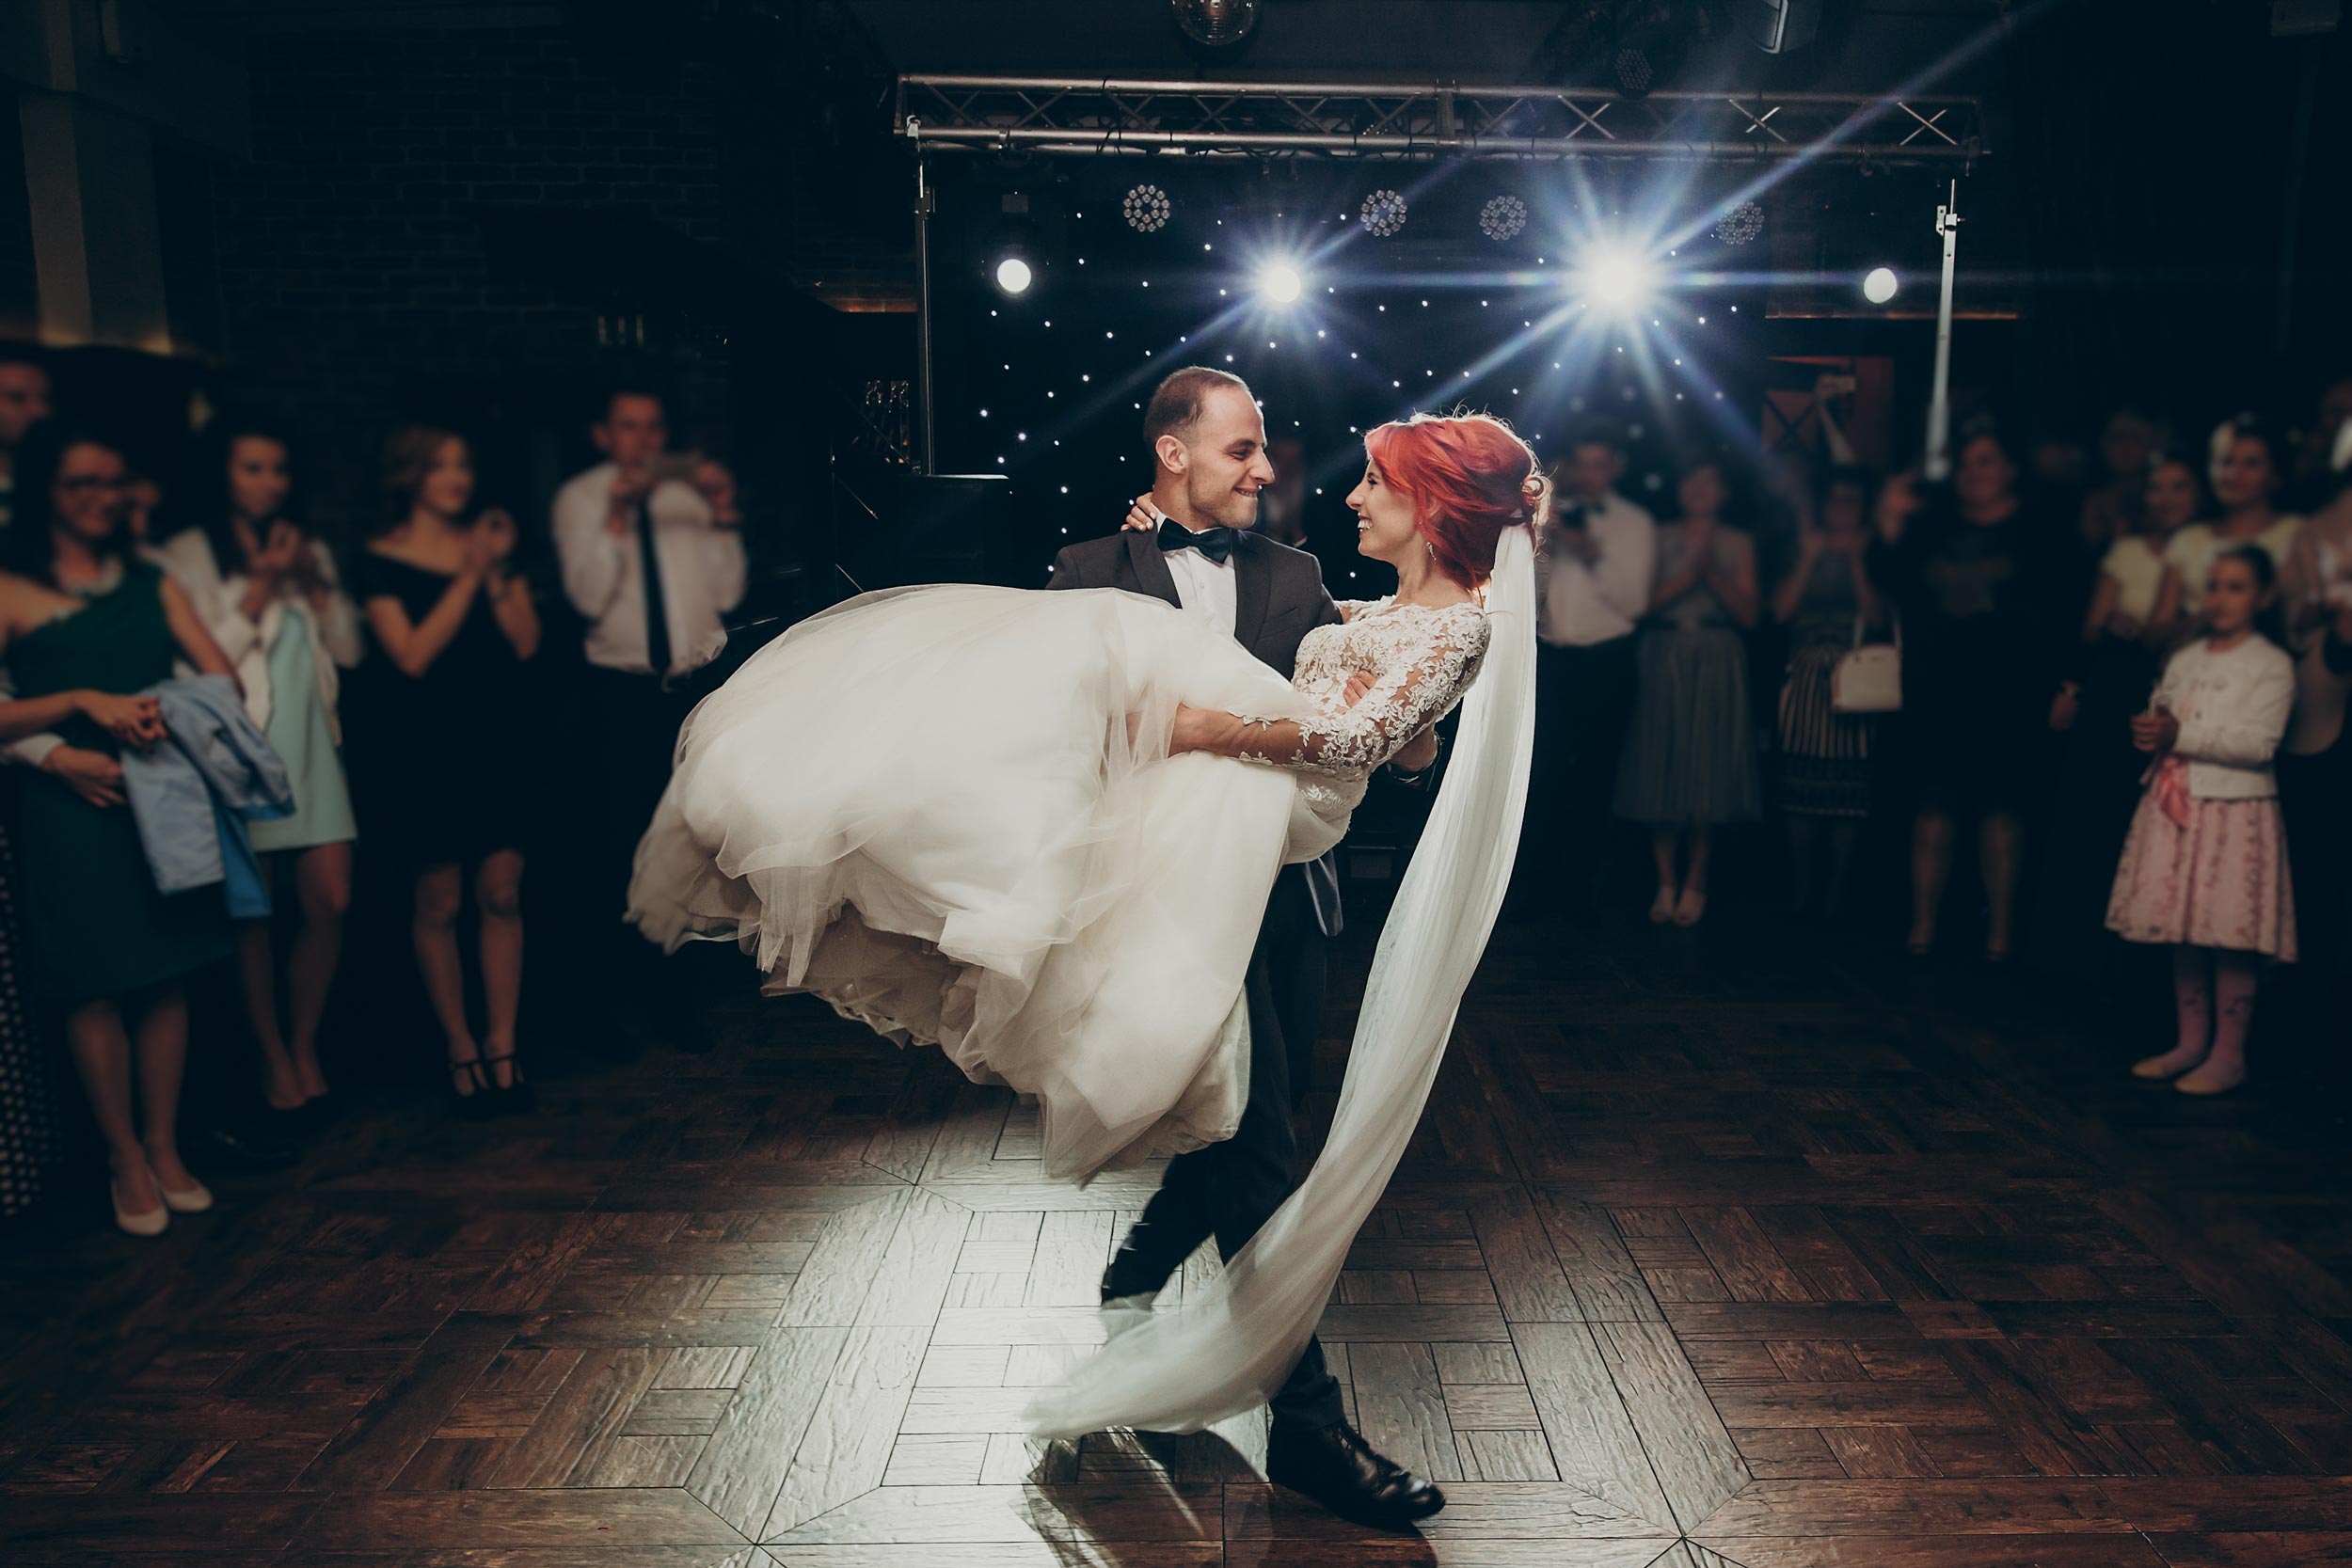
9. First Dance
- Wide shots of the entire scene with lighting, guests, and ambience.
- Intimate close-ups of the couple’s expressions and movement.
- Candids of family members watching and reacting.
Bonus: If there are parent dances (father-daughter, mother-son), treat them with equal care.
10. Dance Floor Coverage
- Fun, spontaneous moments of guests dancing, laughing, and celebrating.
- Kids on the dance floor, older relatives dancing, group shots in motion.
- Any surprises — choreographed dances, live performances, or special songs.
Use flash sparingly and get creative with movement and blur for an energetic feel.
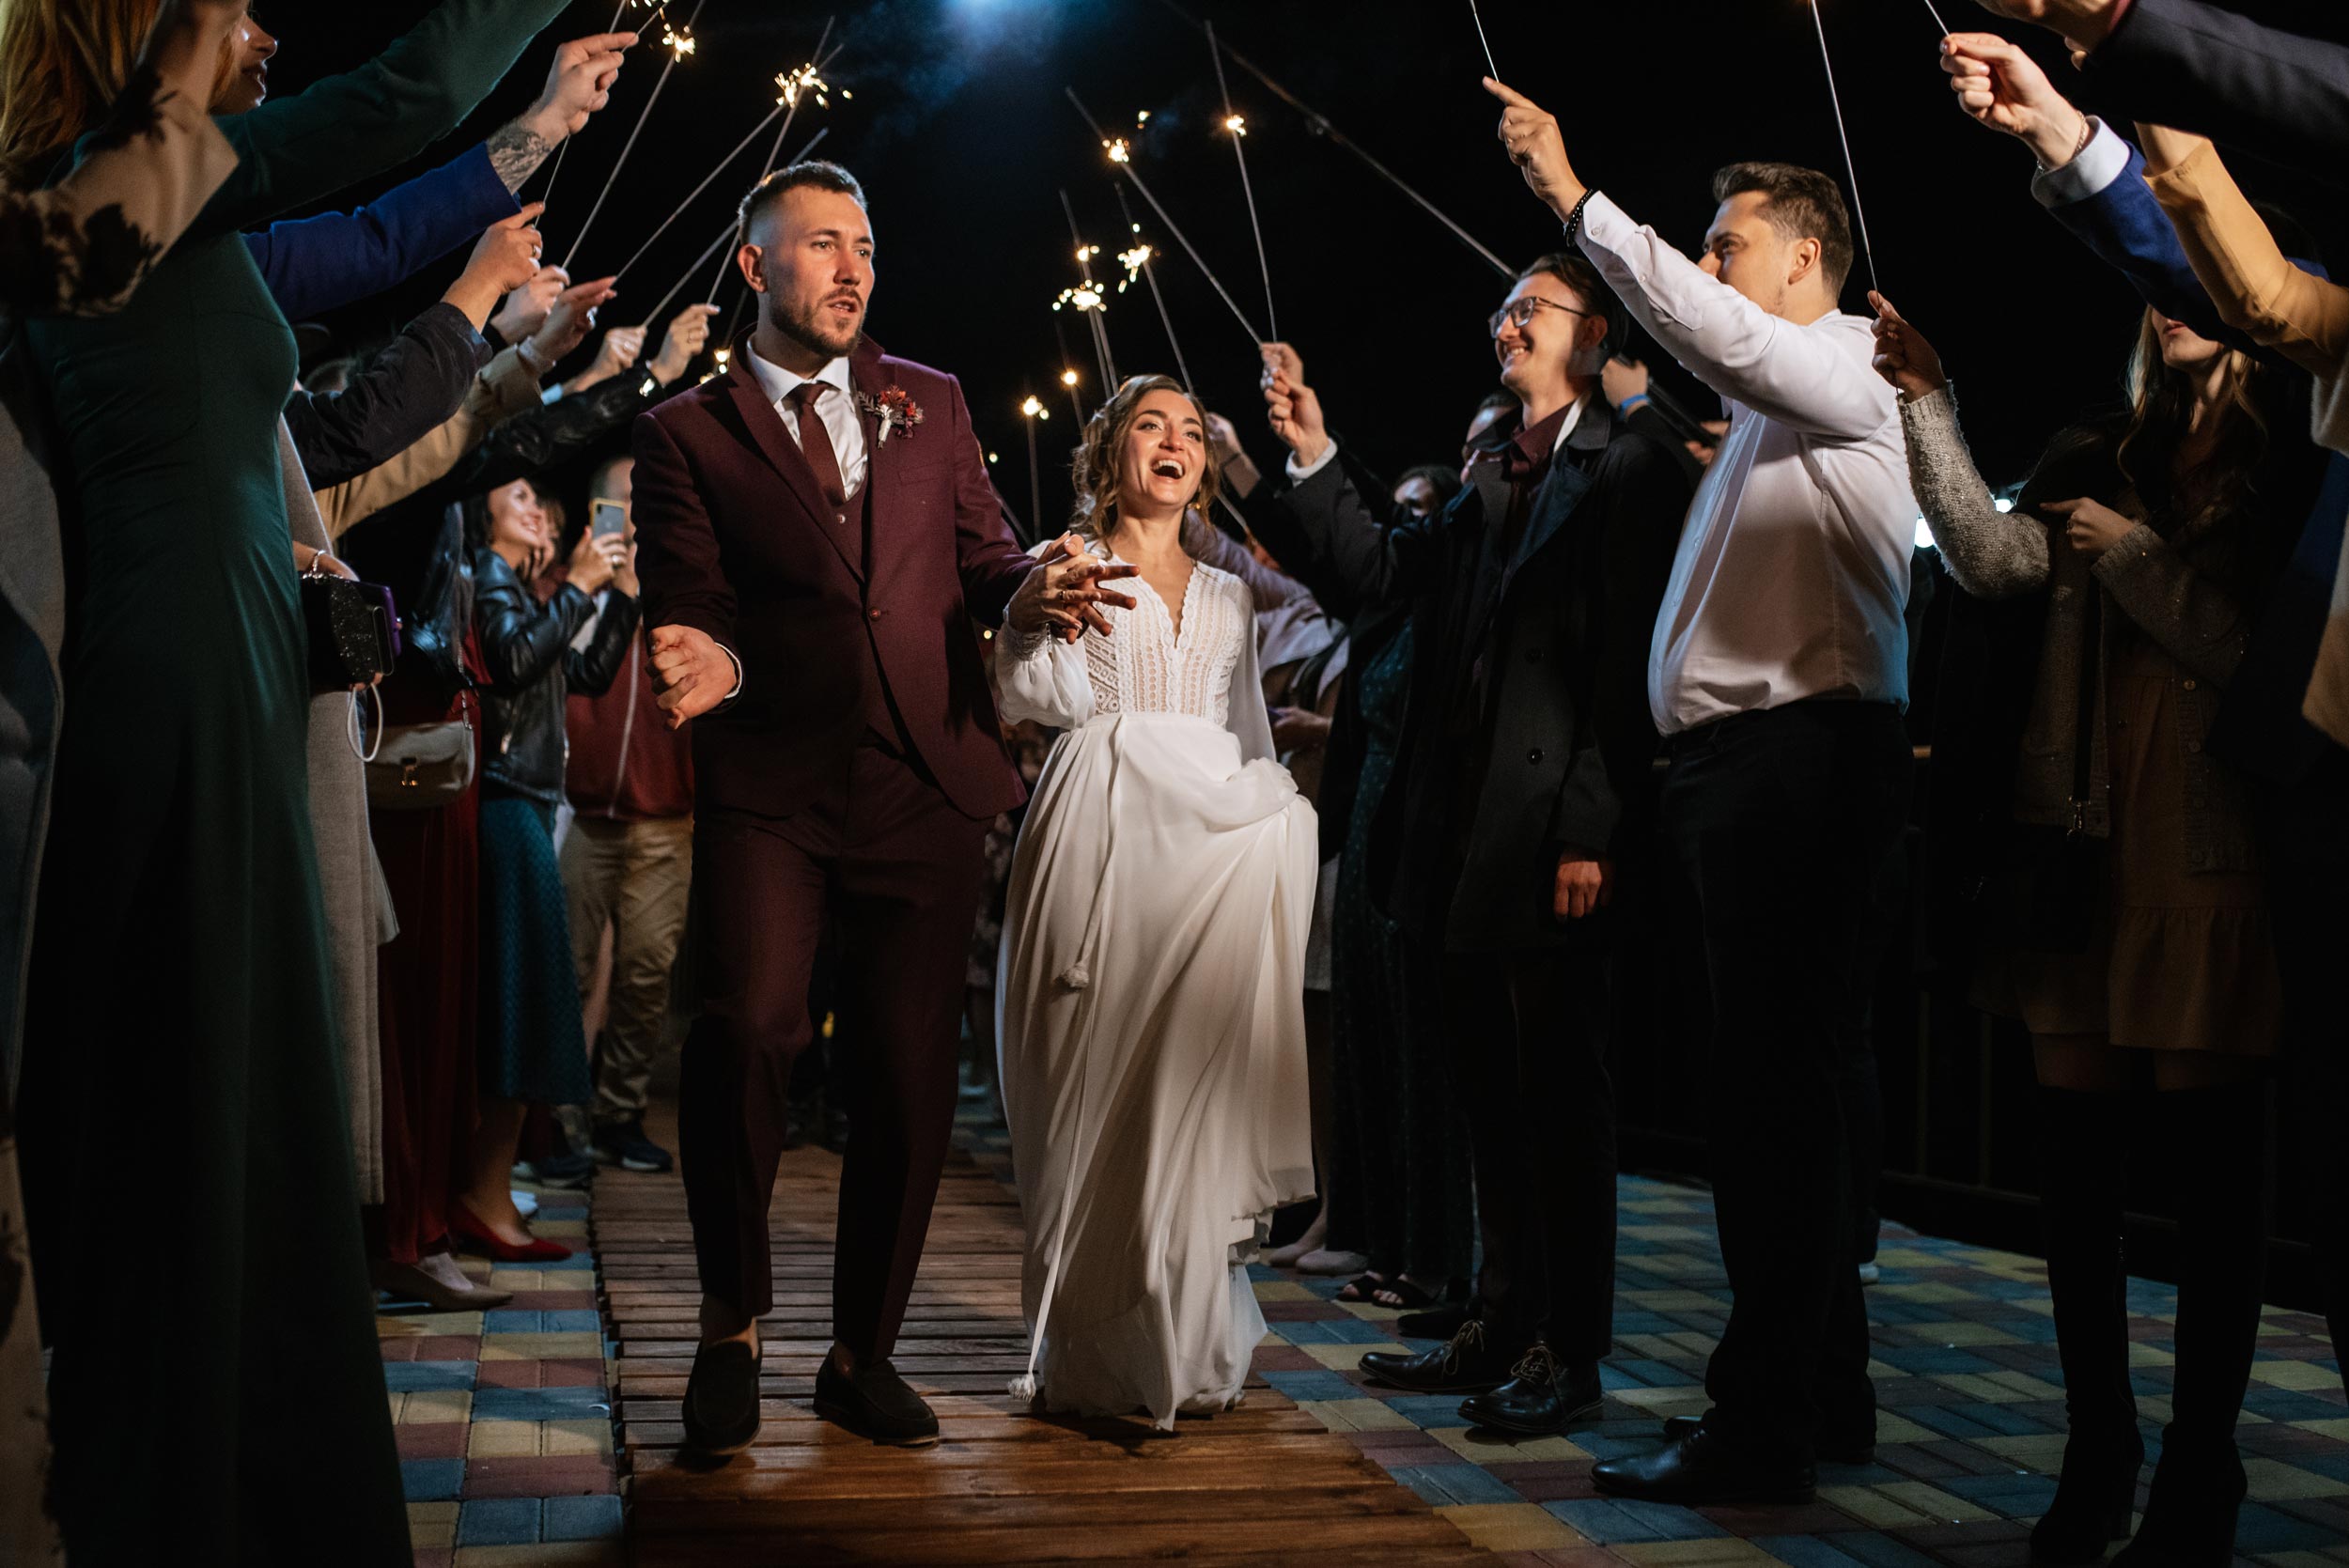
11. Exit / Send-Off / Bouquet Toss
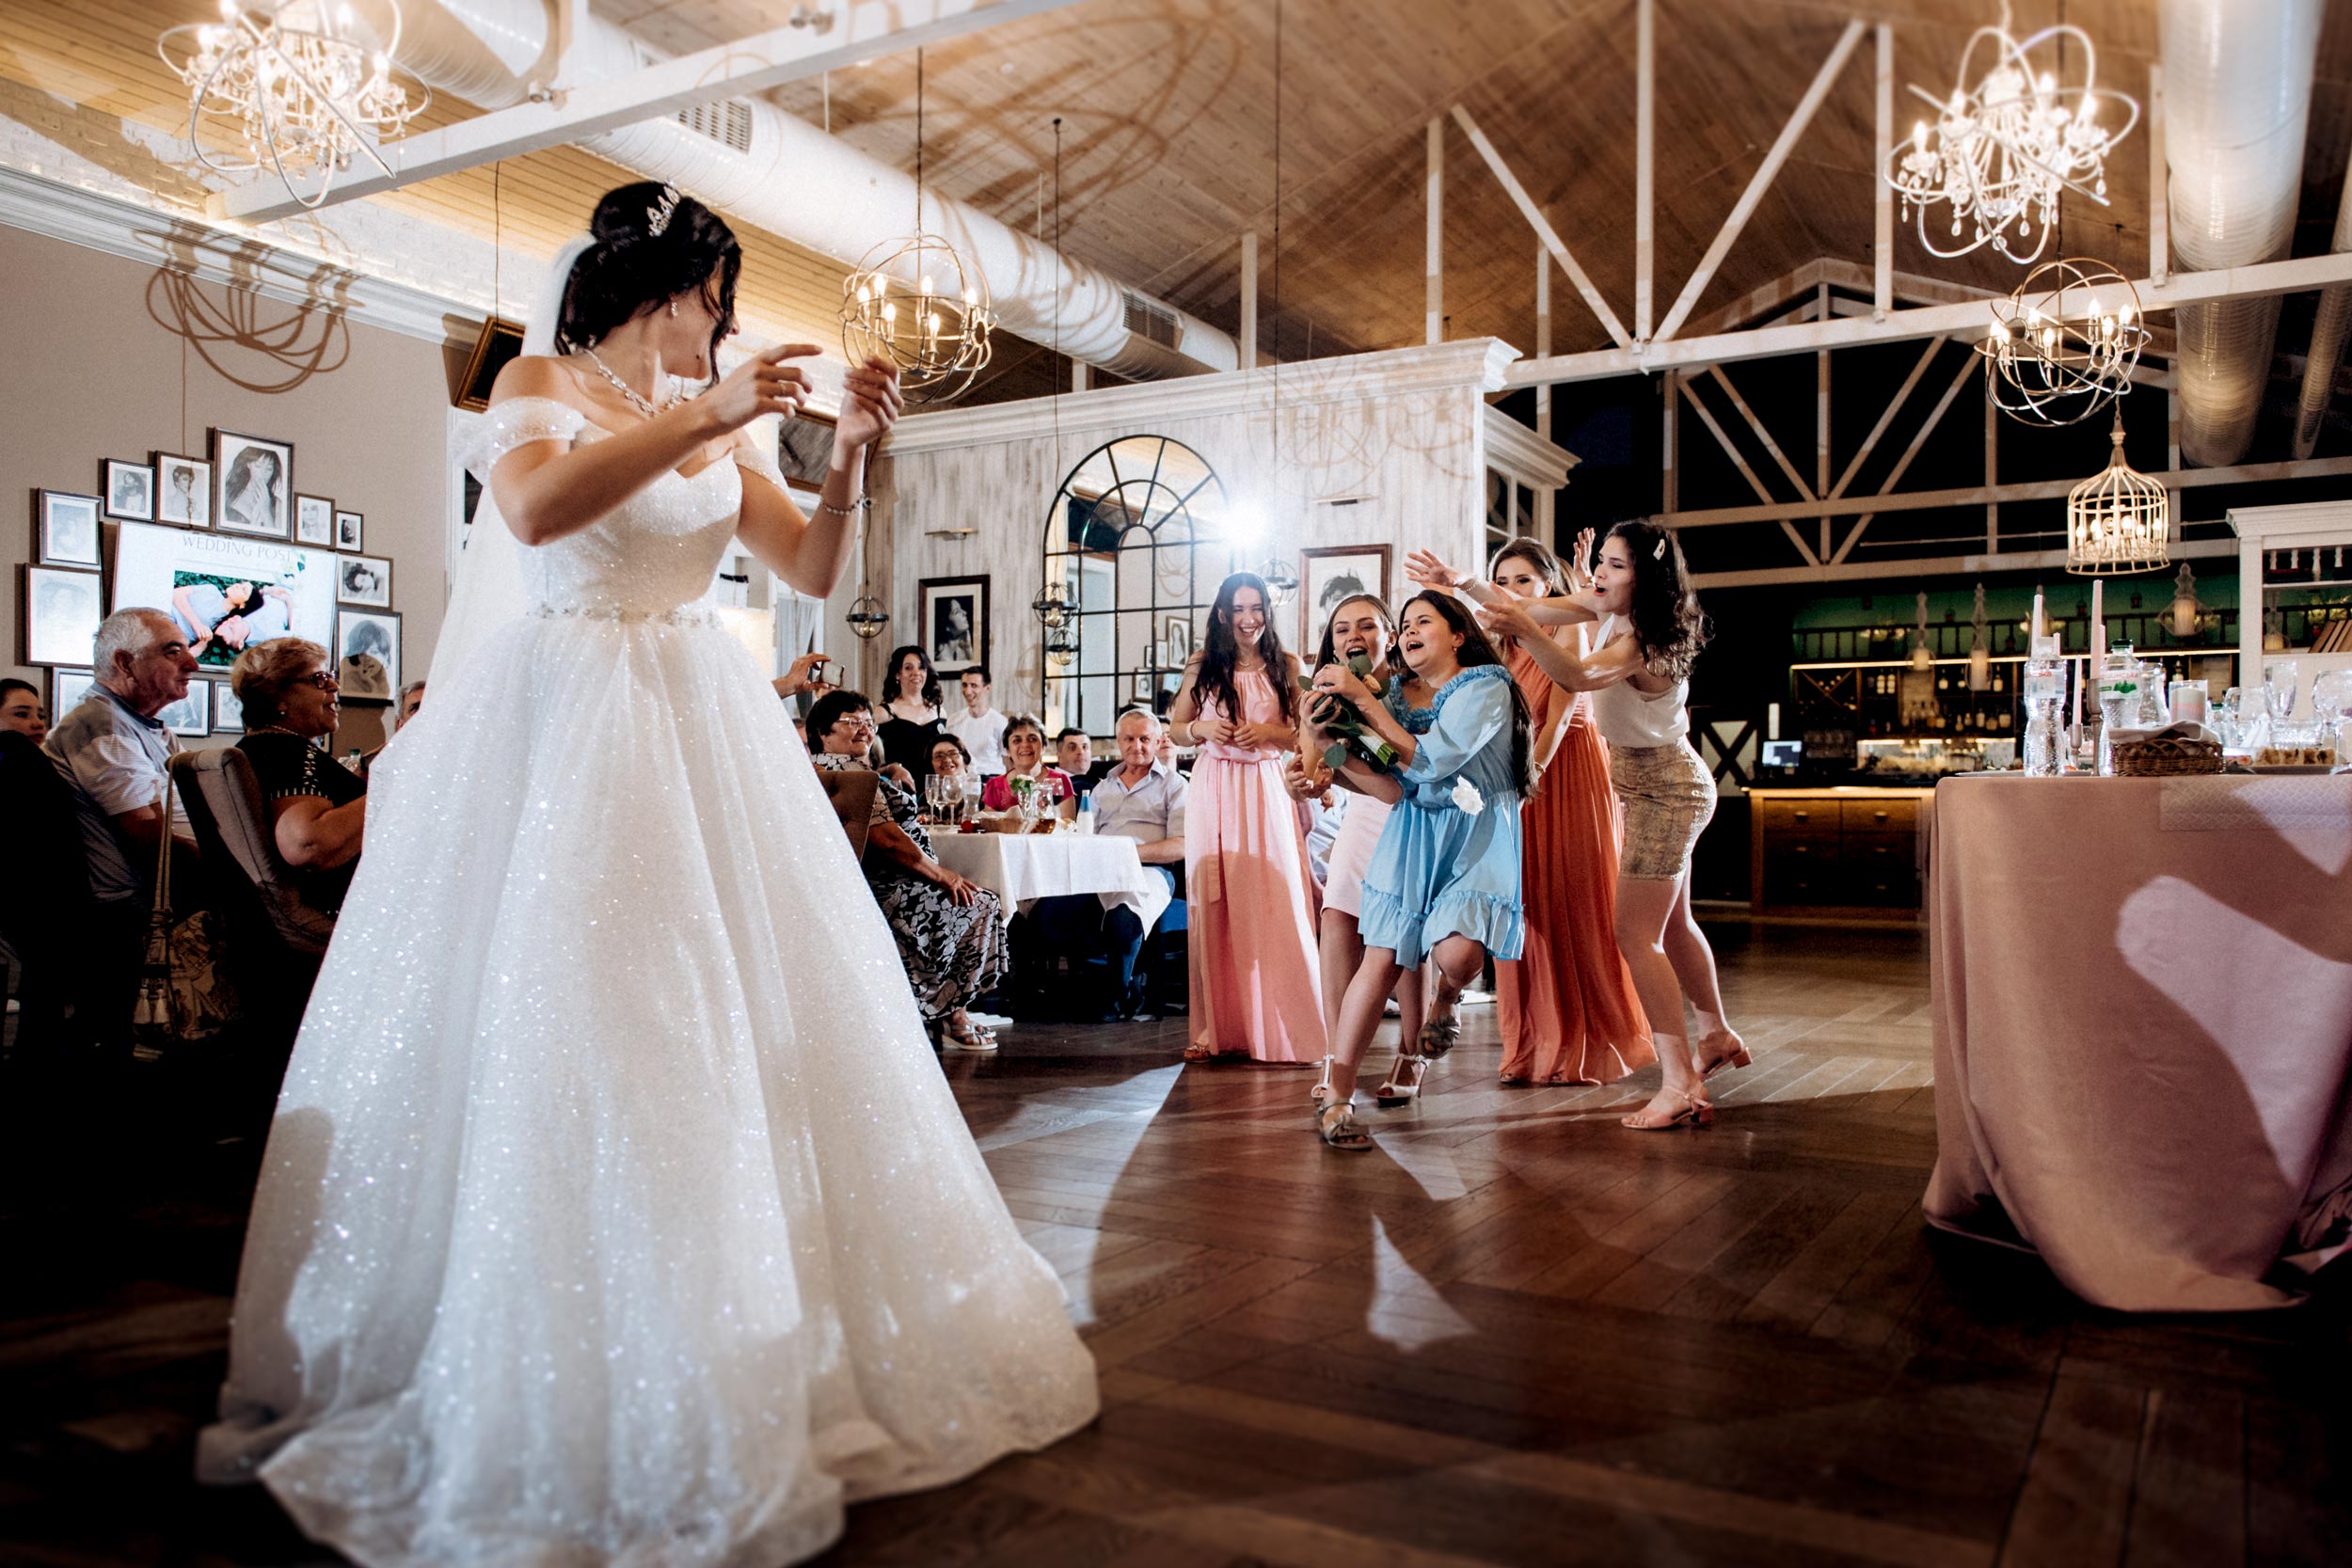
- Bouquet toss (including the reactions of guests trying to catch it).
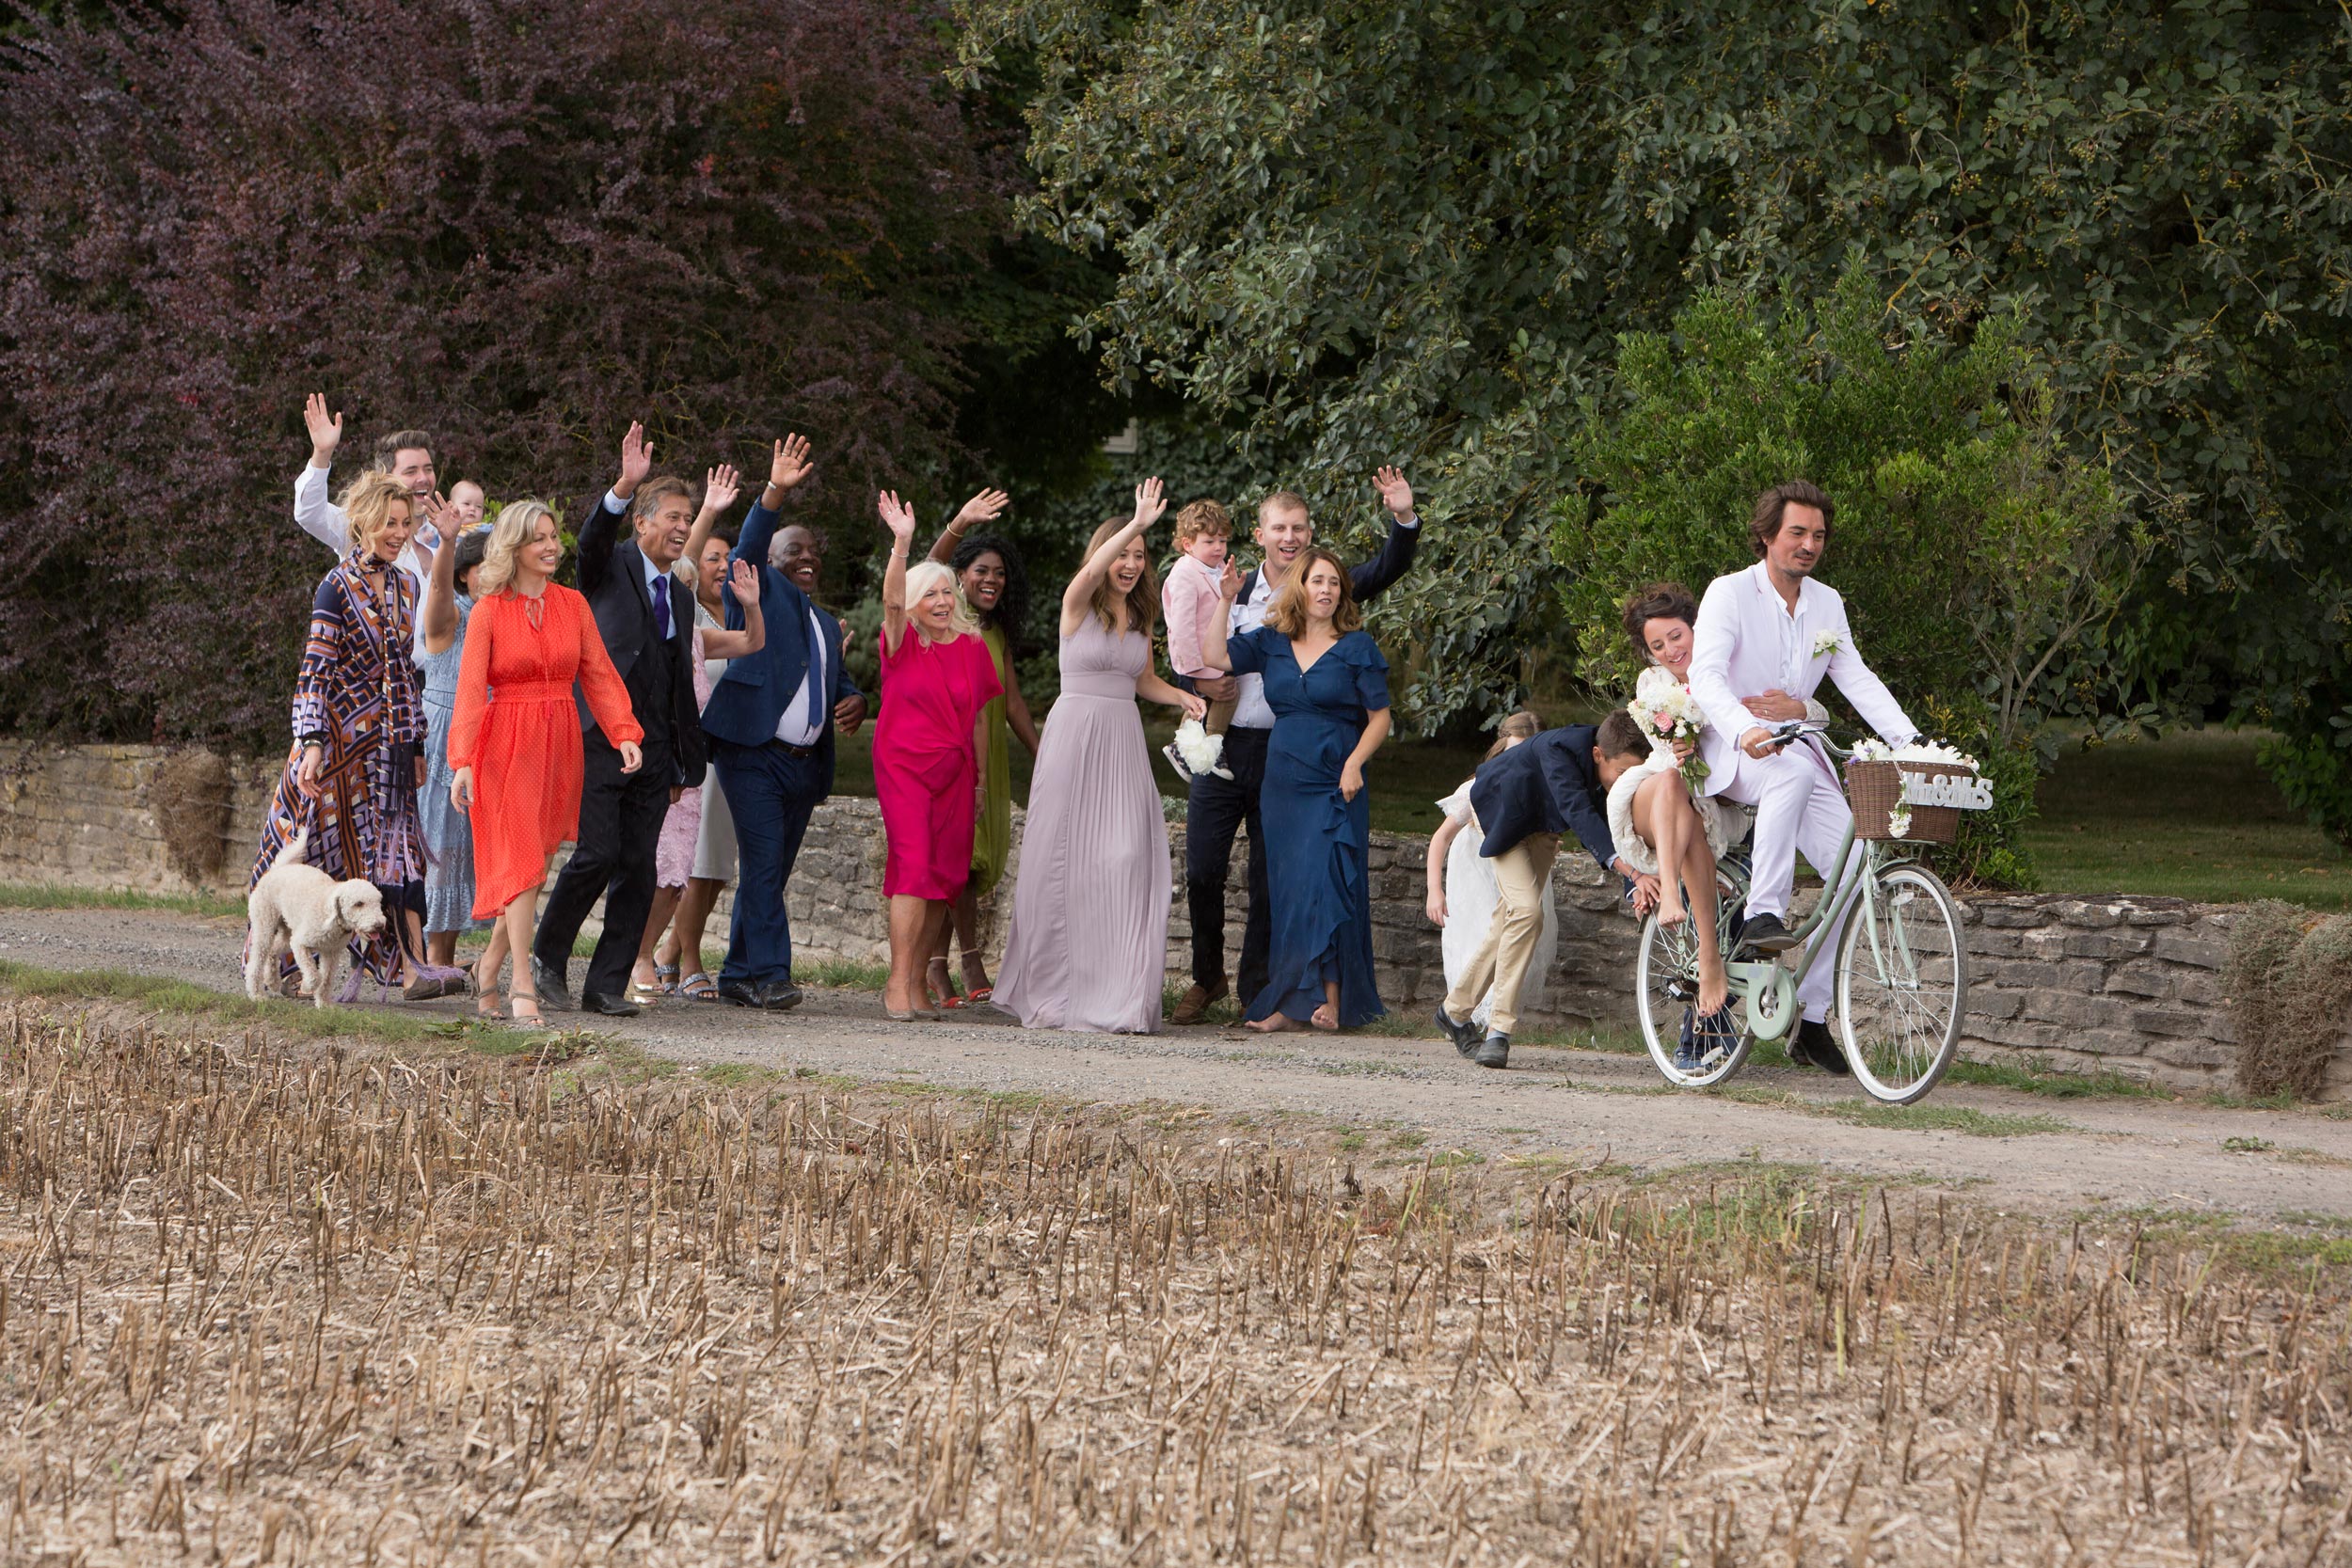
- Grand exit (sparklers, confetti, bubbles, vintage car, etc.).
- Final hugs, waves, and goodbye shots. Capture the closing emotional moments of the day.
[Related Reading: Do You Need a Wedding Photography Shot List?]
Best Practices for Shooting the Ceremony, Reception, and Details
Capturing a wedding is about documenting the story, mood, and fine details of the day with care and consistency. You want to find that balance between planned thoughtful shots and candid emotional moments. My best advice is to plan some shots ahead of time and get those in the bag, whilst being open to seredipitous moments at the same time (I did say it wasn’t easy!).
1. Build Relationships with Vendors and Venues
Strong professional relationships are key to shooting smoothly and being recommended for future work. These relationships can lead to vendor referrals and future bookings, and make the day run far more smoothly.
- Arrive early to introduce yourself to the planner, officiant, DJ/band, florist, and catering staff. They can provide you with crucial timing updates and heads-up on key moments.
- Coordinate with the venue to understand lighting restrictions, ceremony rules, and best angles. Some locations have strict photography policies, knowing them in advance builds trust.
- Collaborate, don’t compete. Be respectful of the flow. Stay out of the videographer’s shots, and check in with the planner before rearranging any styled items or tables.
- Tag and credit vendors in your galleries and social posts. It’s a simple way to support their work and increase your own visibility.
2. Practice Ahead of Time
Rehearse your skills before the big day, especially in lower-stakes environments like styled shoots or family events. Preparation builds confidence, and wedding days demand flexibility and fast thinking. Often you won’t even have time to check the back of your camera so you need to be able to shoot almost without thinking.
- Attend rehearsals when possible to scout locations, test lighting, and plan your positioning during the ceremony.
- Shadow experienced photographers to observe how they interact with clients and manage time.
- Conduct mock sessions in varied lighting conditions (harsh sun, candlelight, overhead spotlights) so you’re not surprised on the day. For one wedding I knew in advance I would be shooting the couple portraits by a lake at midday, so I borrowed a couple of friends to practice in that exact scenario beforehand.
- Practice switching between different lenses, lighting setups, and focus modes to increase your agility. I also gave myself a bit of a macro boot camp to nail the ring shots as that was an area I felt less confident in.
3. Interior Shots, Close-Ups, and Macro Techniques
Detail shots are essential in telling the full story of a wedding and showcasing the couple’s style. Mastering these requires technical precision and an eye for composition. These detail images are loved by planners, caterers, florists, and venues, which means more chances to collaborate and cross-promote.
- Interior shots: Use wide-angle lenses (e.g., 16–35mm) to capture the full scene: the mood of the ceremony space, reception layout, lighting design, and décor arrangements. Shoot these spaces early, before guests arrive, using a tripod for sharp images if necessary.
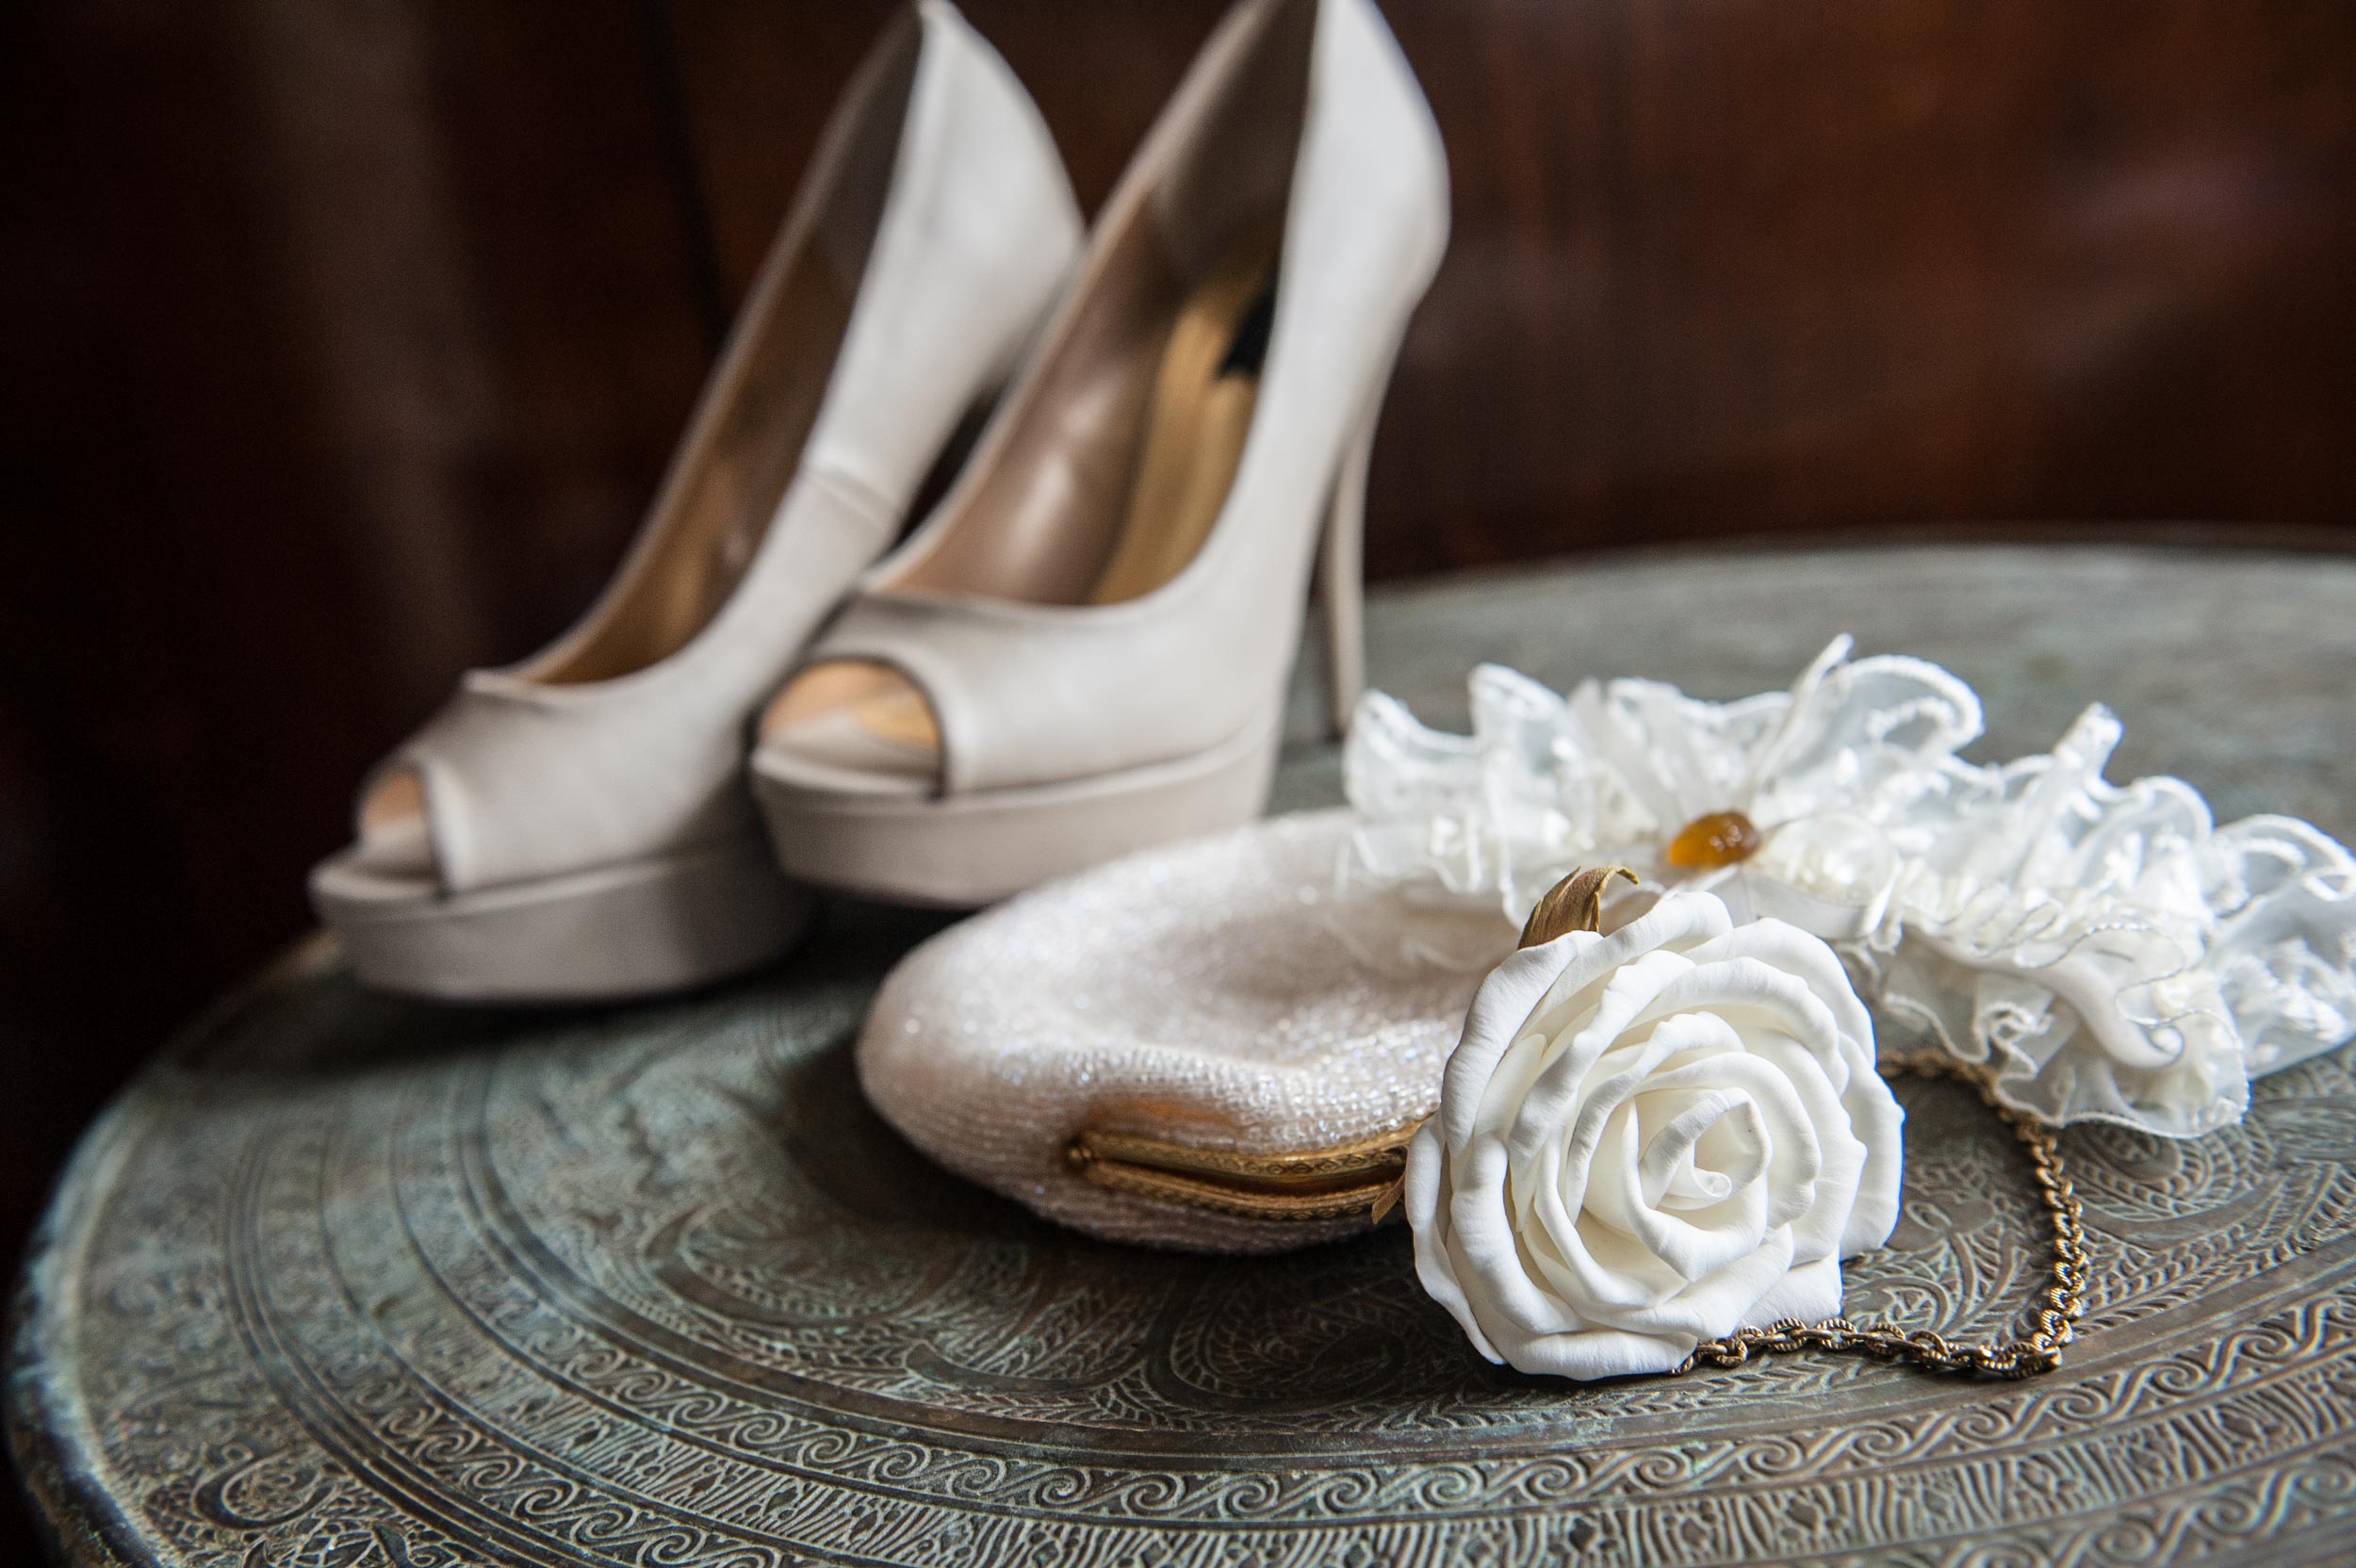
- Close-ups and still life: Compose clean, distraction-free backgrounds and use natural window light when possible. Arrange objects intentionally (rings, perfume, vows, invitations), and frame with surrounding textures like lace, ribbon, or greenery. Top down pov is often popular.
- Macro photography: A macro lens (like a 100mm f/2.8) is invaluable for ring shots, embroidery, and other fine details. Watch your depth of field (shoot around f/5.6–f/8 for sharpness), and stabilize with a tripod when possible.
- Food and drinks: Capture plated dishes as they arrive, desserts before they’re cut, and drinks being poured. Use natural or bounced light and shallow depth of field to make everything look fresh and appealing.
[Related Reading: Tips From Pro Wedding Photographers]
A Quick Guide to Bridal and Couple Portraits
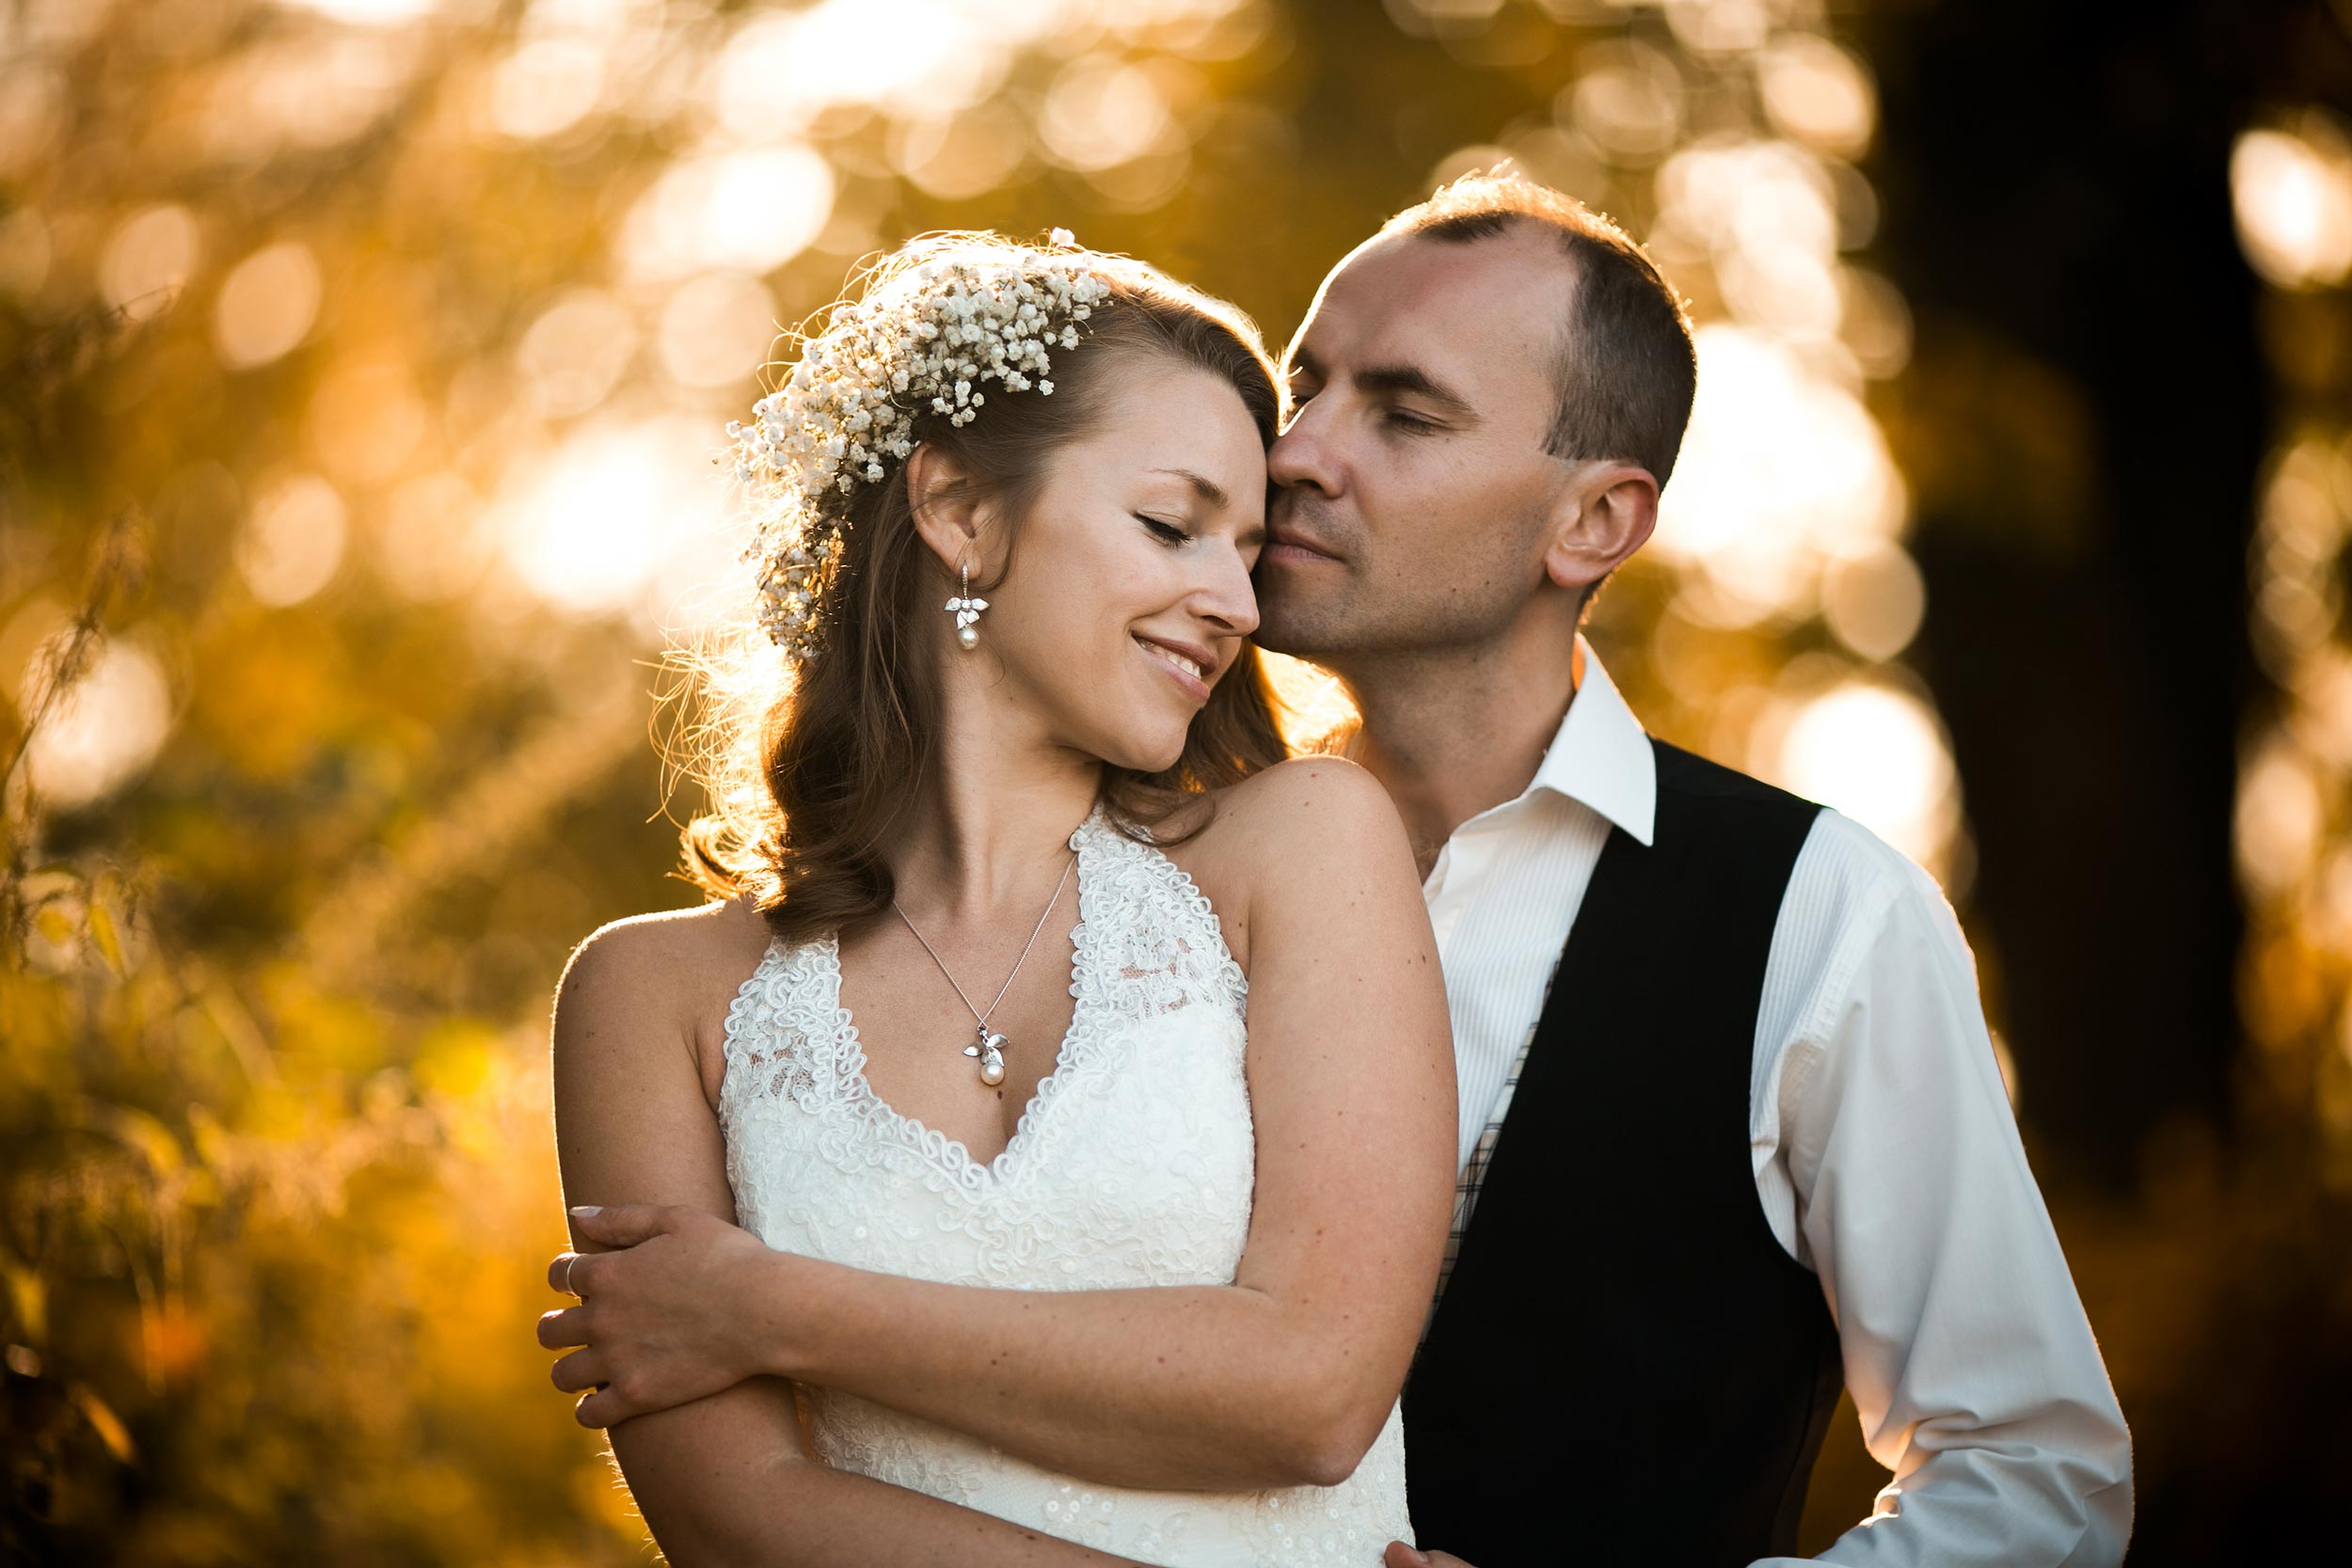
Bridal and couple portraits are often some of the most treasured images from a wedding day, and some of my favourite to shoot. However, they also require sensitivity, planning, and efficient direction. These sessions should feel relaxed, intimate, and fun for the couple, while giving you space to capture both timeless portraits and creative frames.
These can be done either before or after the ceremony, or even on a different day. Some wedding photographers like to include an engagement couple’s session as preparation for these portraits on the day, and to help them feel more relaxed. However, if you haven’t done that, don’t worry, you can still capture beautiful portraits without doing that first. It’s often the only time the couple gets alone all day. Your presence should feel calm, encouraging, and reassuring, and depending on the couple, you have freedom to get a little bit creative.
1. Create a Private, Comfortable Space
The best portraits happen when the couple feels safe and unobserved. Whisk them away to a semi-private location, even for just 15–20 minutes.
- This gives them a breather from the hectic schedule and lets you work without an audience.
- A quiet moment also allows for more natural, emotional expressions, away from guests and distractions.
2. Scout the Area and Time Your Light
Before the big day, scout the venue (or arrive early) to identify portrait locations with flattering light and backgrounds.
- Use an app like PhotoPills to plan for golden hour or understand how the light will fall at key moments.
- Have 2–3 go-to spots prepared, including a backup in case of bad weather or harsh light.
This preparation lets you move confidently and keeps the session on schedule.
3. Start with the Safe Shots, Then Get Creative
Begin with classic, well-lit poses, the kind the couple expects to see in their final gallery:
- Both looking at the camera
- Looking at each other
- Forehead-to-forehead or hand-in-hand
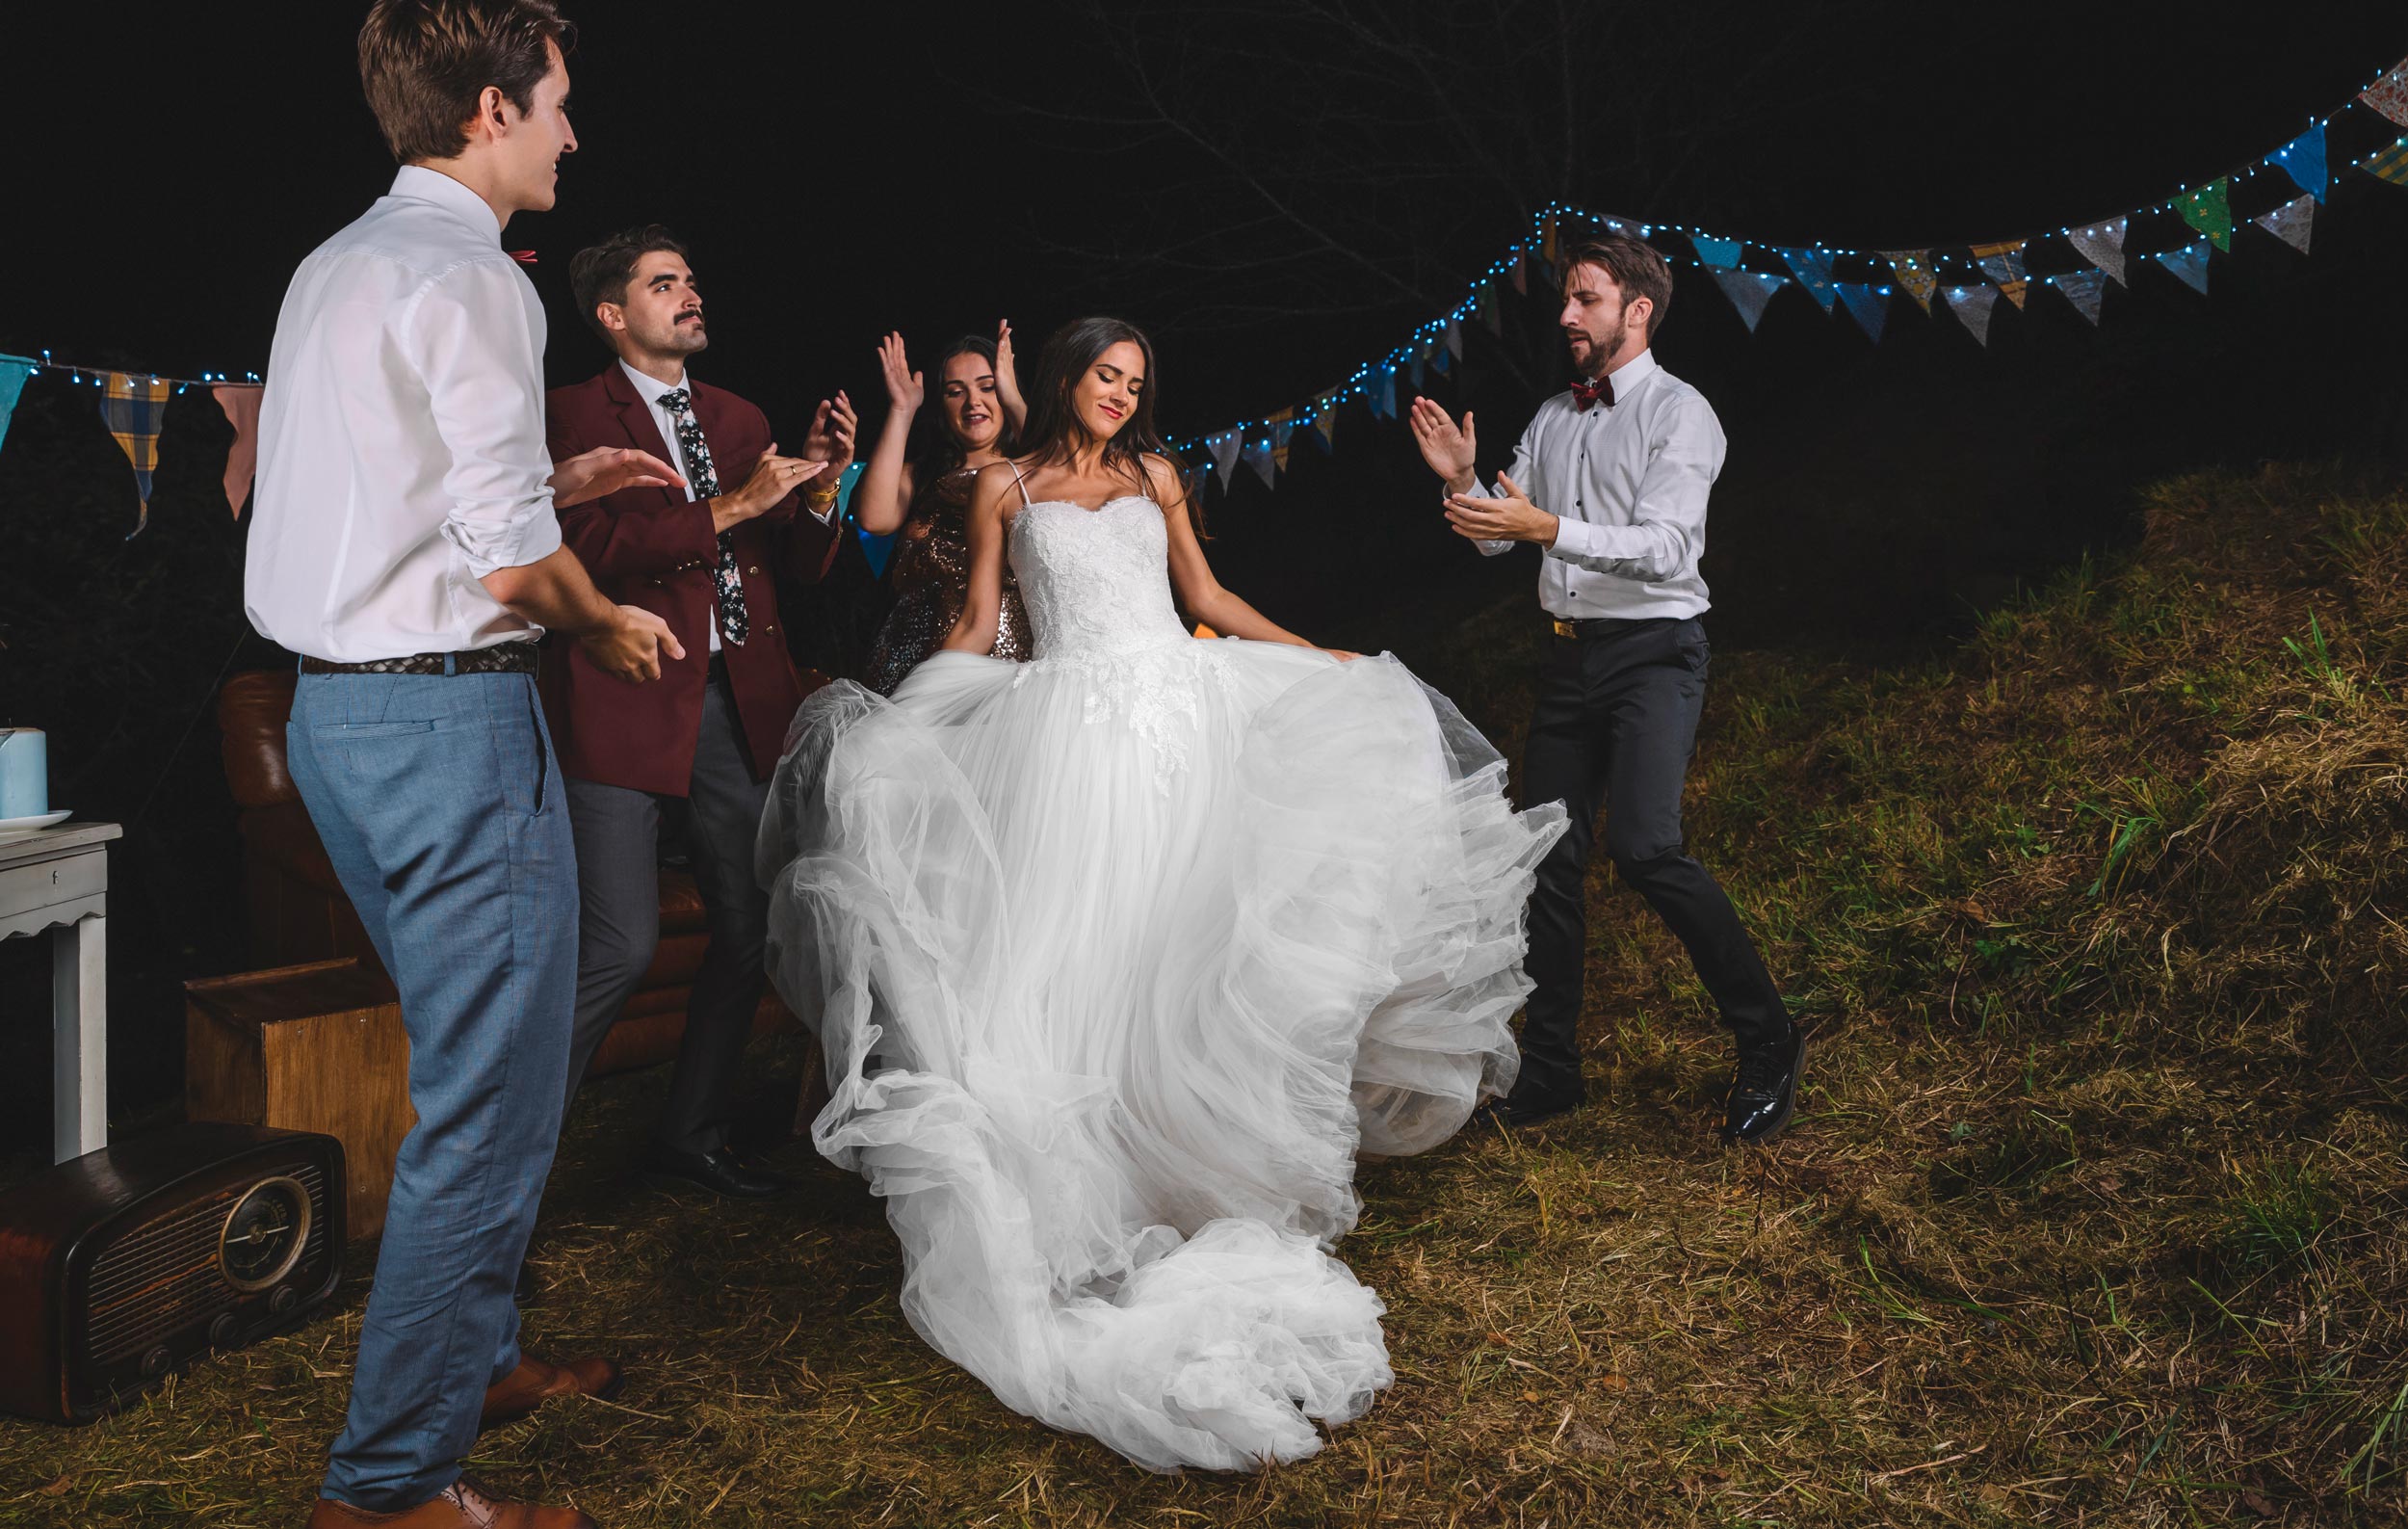
Once those are secured, you can loosen up and experiment with more candid, movement-based, or artistic compositions like motion blur, reflections, or dramatic lighting.
4. Use Natural Reflectors
Look for surfaces that bounce soft, flattering light onto your subjects, especially in shaded or low-light areas:
- Light-colored walls, sidewalks, or stone paths can naturally lift shadows and brighten skin tones.
- Avoid green grass or strong color casts from nearby objects that might tint the skin.
Using natural reflectors helps maintain beautiful skin tones without needing flash or additional gear.
5. Direct with Confidence (But Keep It Natural)
Most couples aren’t professional models, they’ll appreciate a bit of guidance. The key is making them feel comfortable, flattered, and connected.
- Hand placement matters: Encourage natural, soft touches — avoid defaulting to hands-on-hips unless it fits the vibe, as this can often feel forced or awkward.
- Upper arms: Be aware of how sleeveless dresses can highlight areas people are often self-conscious about. Posing the arms slightly away from the body (e.g., holding hands, light touch on the chest or bouquet) creates shape without adding tension.
- Use gentle, confident direction: “Let your shoulders relax,” or “Tilt your chin slightly this way.”
6. Add Movement and Prompts
Stiff poses can feel unnatural so give your couple simple actions to generate real emotion:
- Walk slowly toward you, hand-in-hand, then look at each other.
- Whisper something silly or sweet in each other’s ear.
- Pull each other in for a kiss and then laugh.
- Do a slow spin, dance, or dip if it suits their style.
These prompts make the couple interact and laugh naturally, creating genuine, warm portraits.
[Related Reading: Posing and Composition Tips for Wedding Photography]
How to Photograph Large Groups
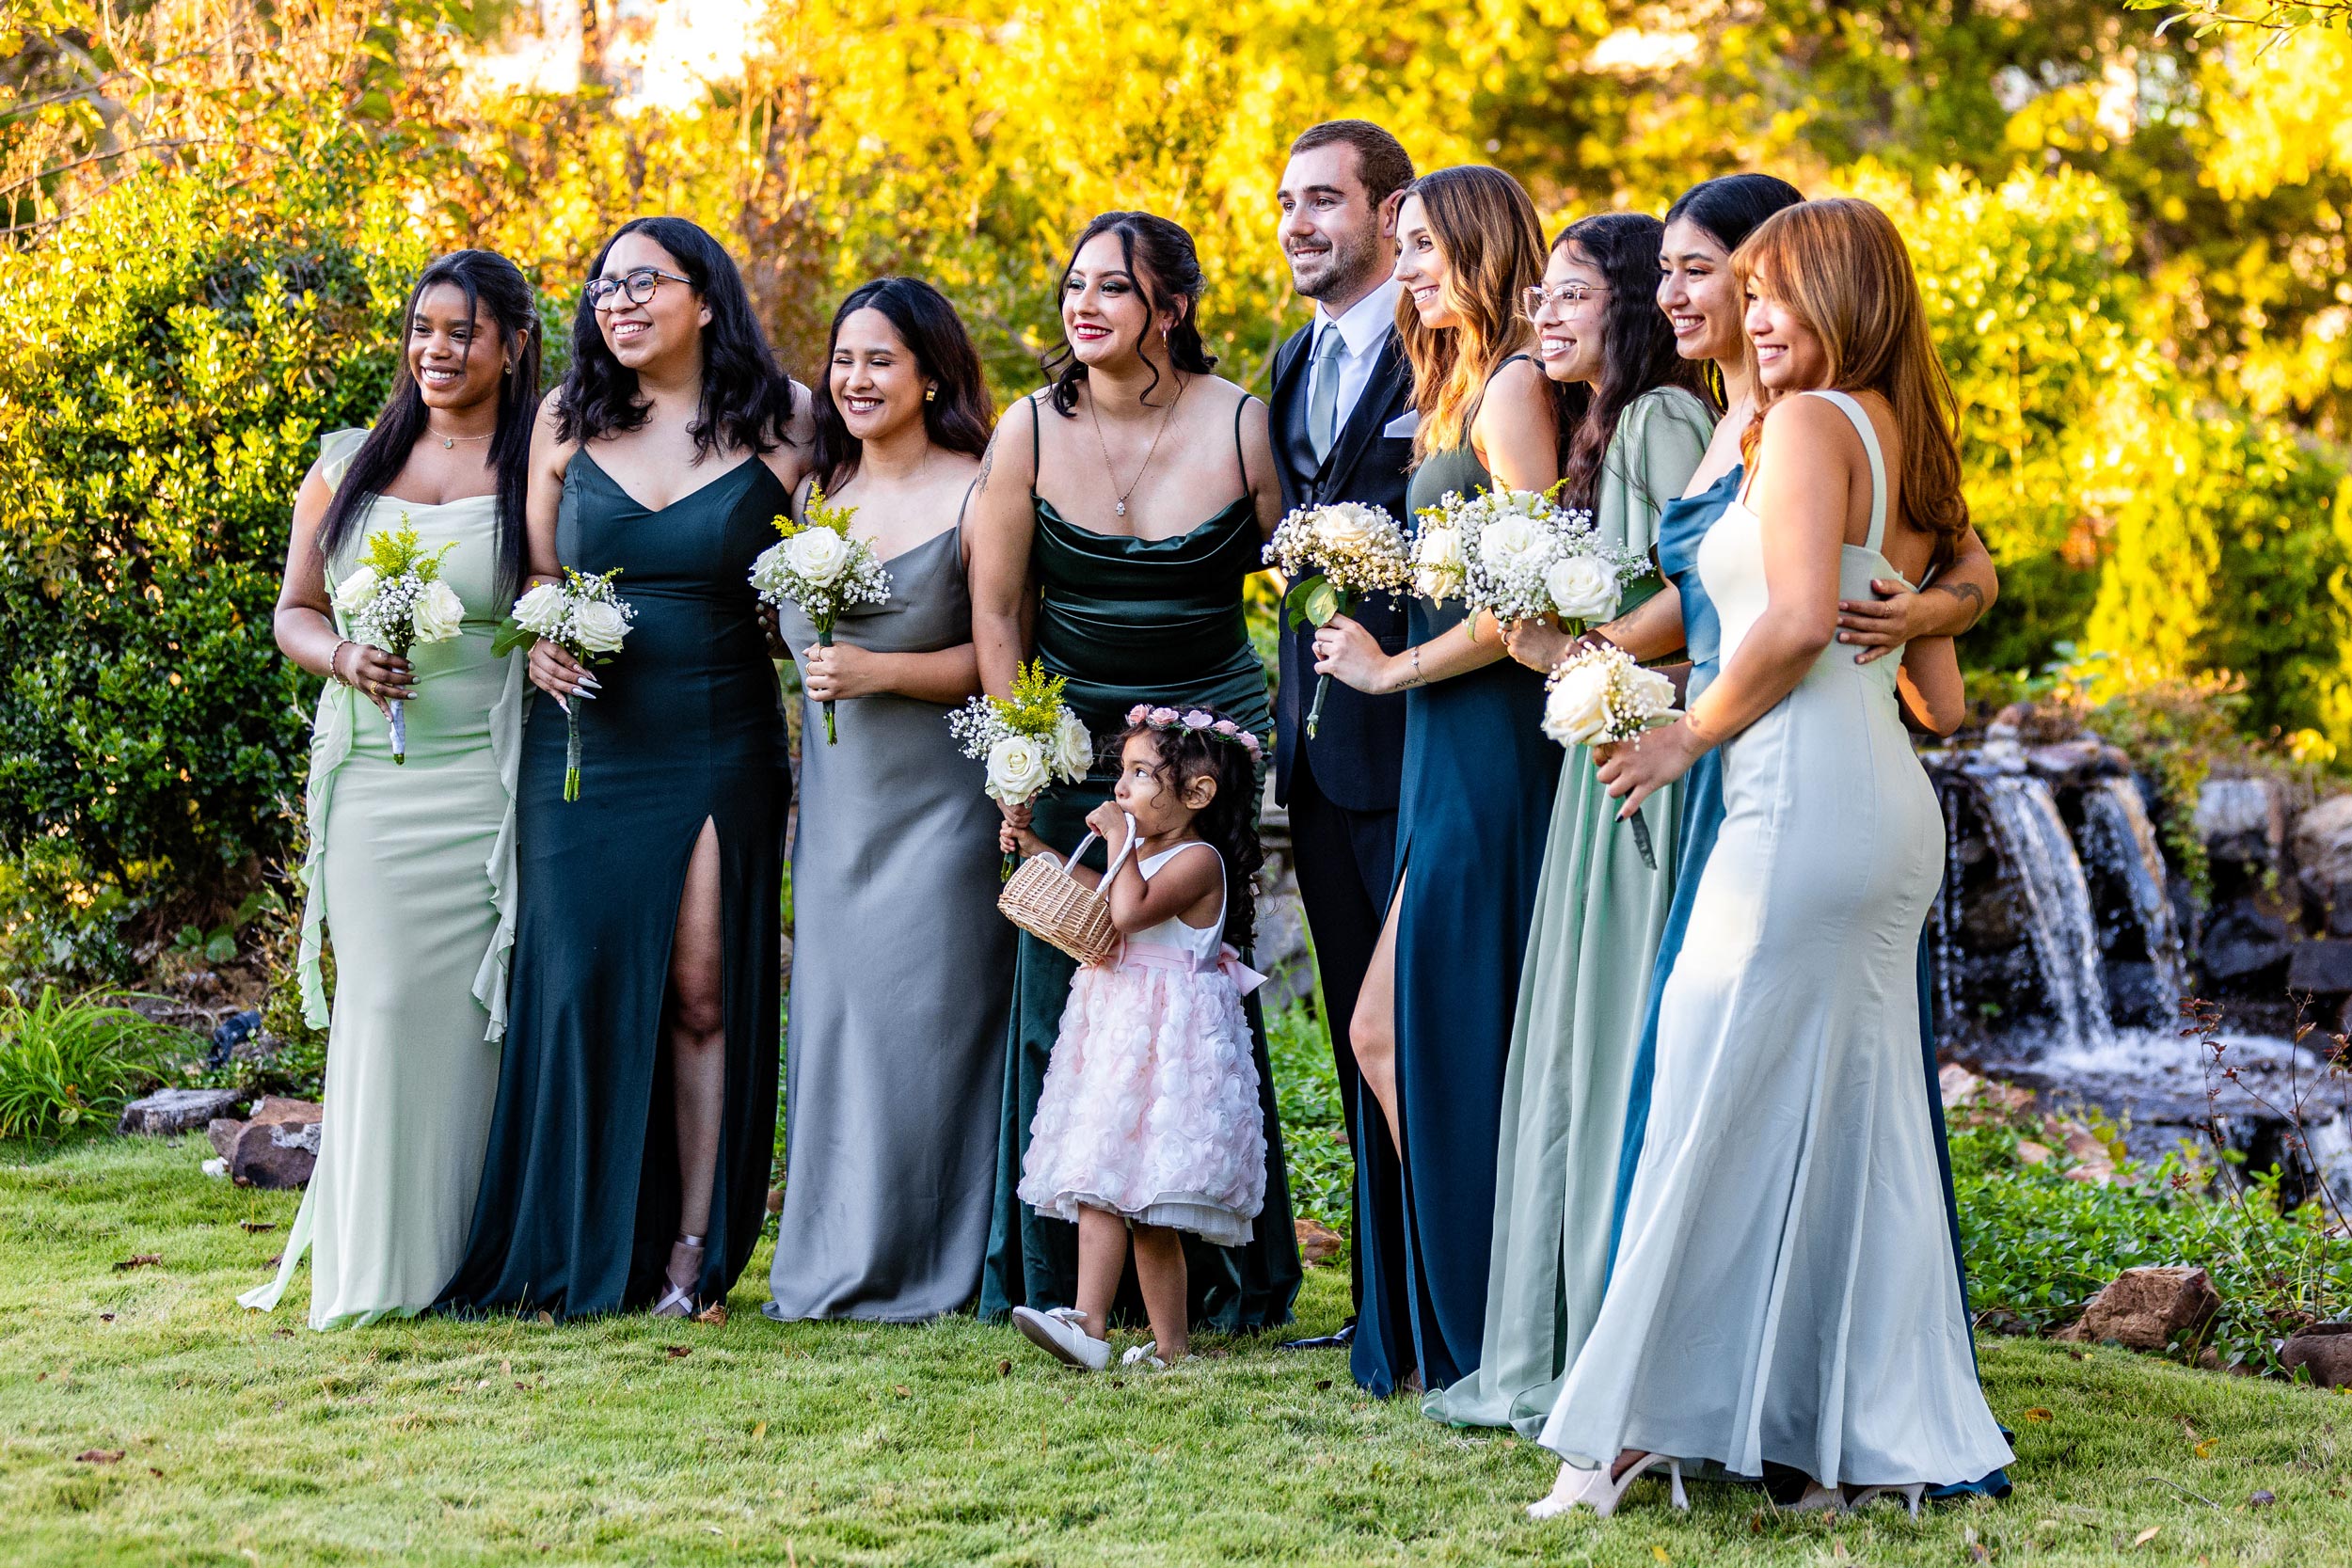
Photographing large groups at a wedding, especially family and bridal party portraits, requires organization, authority, and speed. These images are important to the couple but can easily become chaotic or time-consuming if not approached strategically. Group photos are more crowd management than photography!
1. Work Backwards: Start Big, Then Break Down
Begin with the largest group (e.g., extended family or full bridal party) and then remove people to work down to the smaller combinations (e.g., immediate family, parents, couple only).
- This approach is faster and more efficient than gathering and re-gathering people multiple times.
- It keeps the energy up and allows guests who aren’t in many photos to head to cocktail hour sooner.
2. Use Height to Your Advantage
For very large groups, especially outdoor ceremonies:
- Bring a step ladder to elevate your angle and ensure everyone is visible. This helps prevent people in the back from being blocked.
- Scout a high vantage point such as a staircase, balcony, or hill, which can help you fit everyone in while maintaining flattering proportions.
- Think in geometric shapes to avoid boring rows, study photographers like Annie Leibovitz or Mark Seliger who are masters at group portrait compositions and posing
- Always check that your background is clean and free from distractions like parked cars or signage.
3. Have a Shot List Prepared in Advance
Before the wedding day:
- Ask the couple (or planner) to provide a detailed group shot list — this should include names and groupings (e.g., “Bride with maternal grandparents” or “Groom with siblings and partners”).
- Print this list and have it with you on the day, or access it on your phone/tablet for quick reference.
- Organize the order based on logistical ease (e.g., elderly family members or children first so they’re not waiting too long).
This preparation ensures nothing important is missed and avoids last-minute stress.
4. Use an Assistant or Designated “Photo Wrangler”
Assign someone (ideally from the wedding party who knows names/faces) to help:
- Round up people ahead of each shot
- Call out names and help arrange people into position
- Keep the energy positive and the pace moving
This lets you focus on framing, lighting, and capturing expressions, instead of chasing down Uncle Dave.
5. Work Quickly and Let People Go Back to the Bar!
People tend to lose patience quickly during group portraits, especially in the heat or before the drinks start flowing. Keep things smooth by:
- Giving clear, confident direction (e.g., “Groom’s side, stand close together, all eyes on me”)
- Taking multiple frames to ensure sharpness and no blinks
- Letting people leave the moment they’re no longer needed
Respecting your subjects’ time will keep the atmosphere light, and the couple will appreciate your efficiency.
[Related Reading: The One Composition Tip Every Wedding Photographer Should Know]
Tips for Editing Wedding Photos
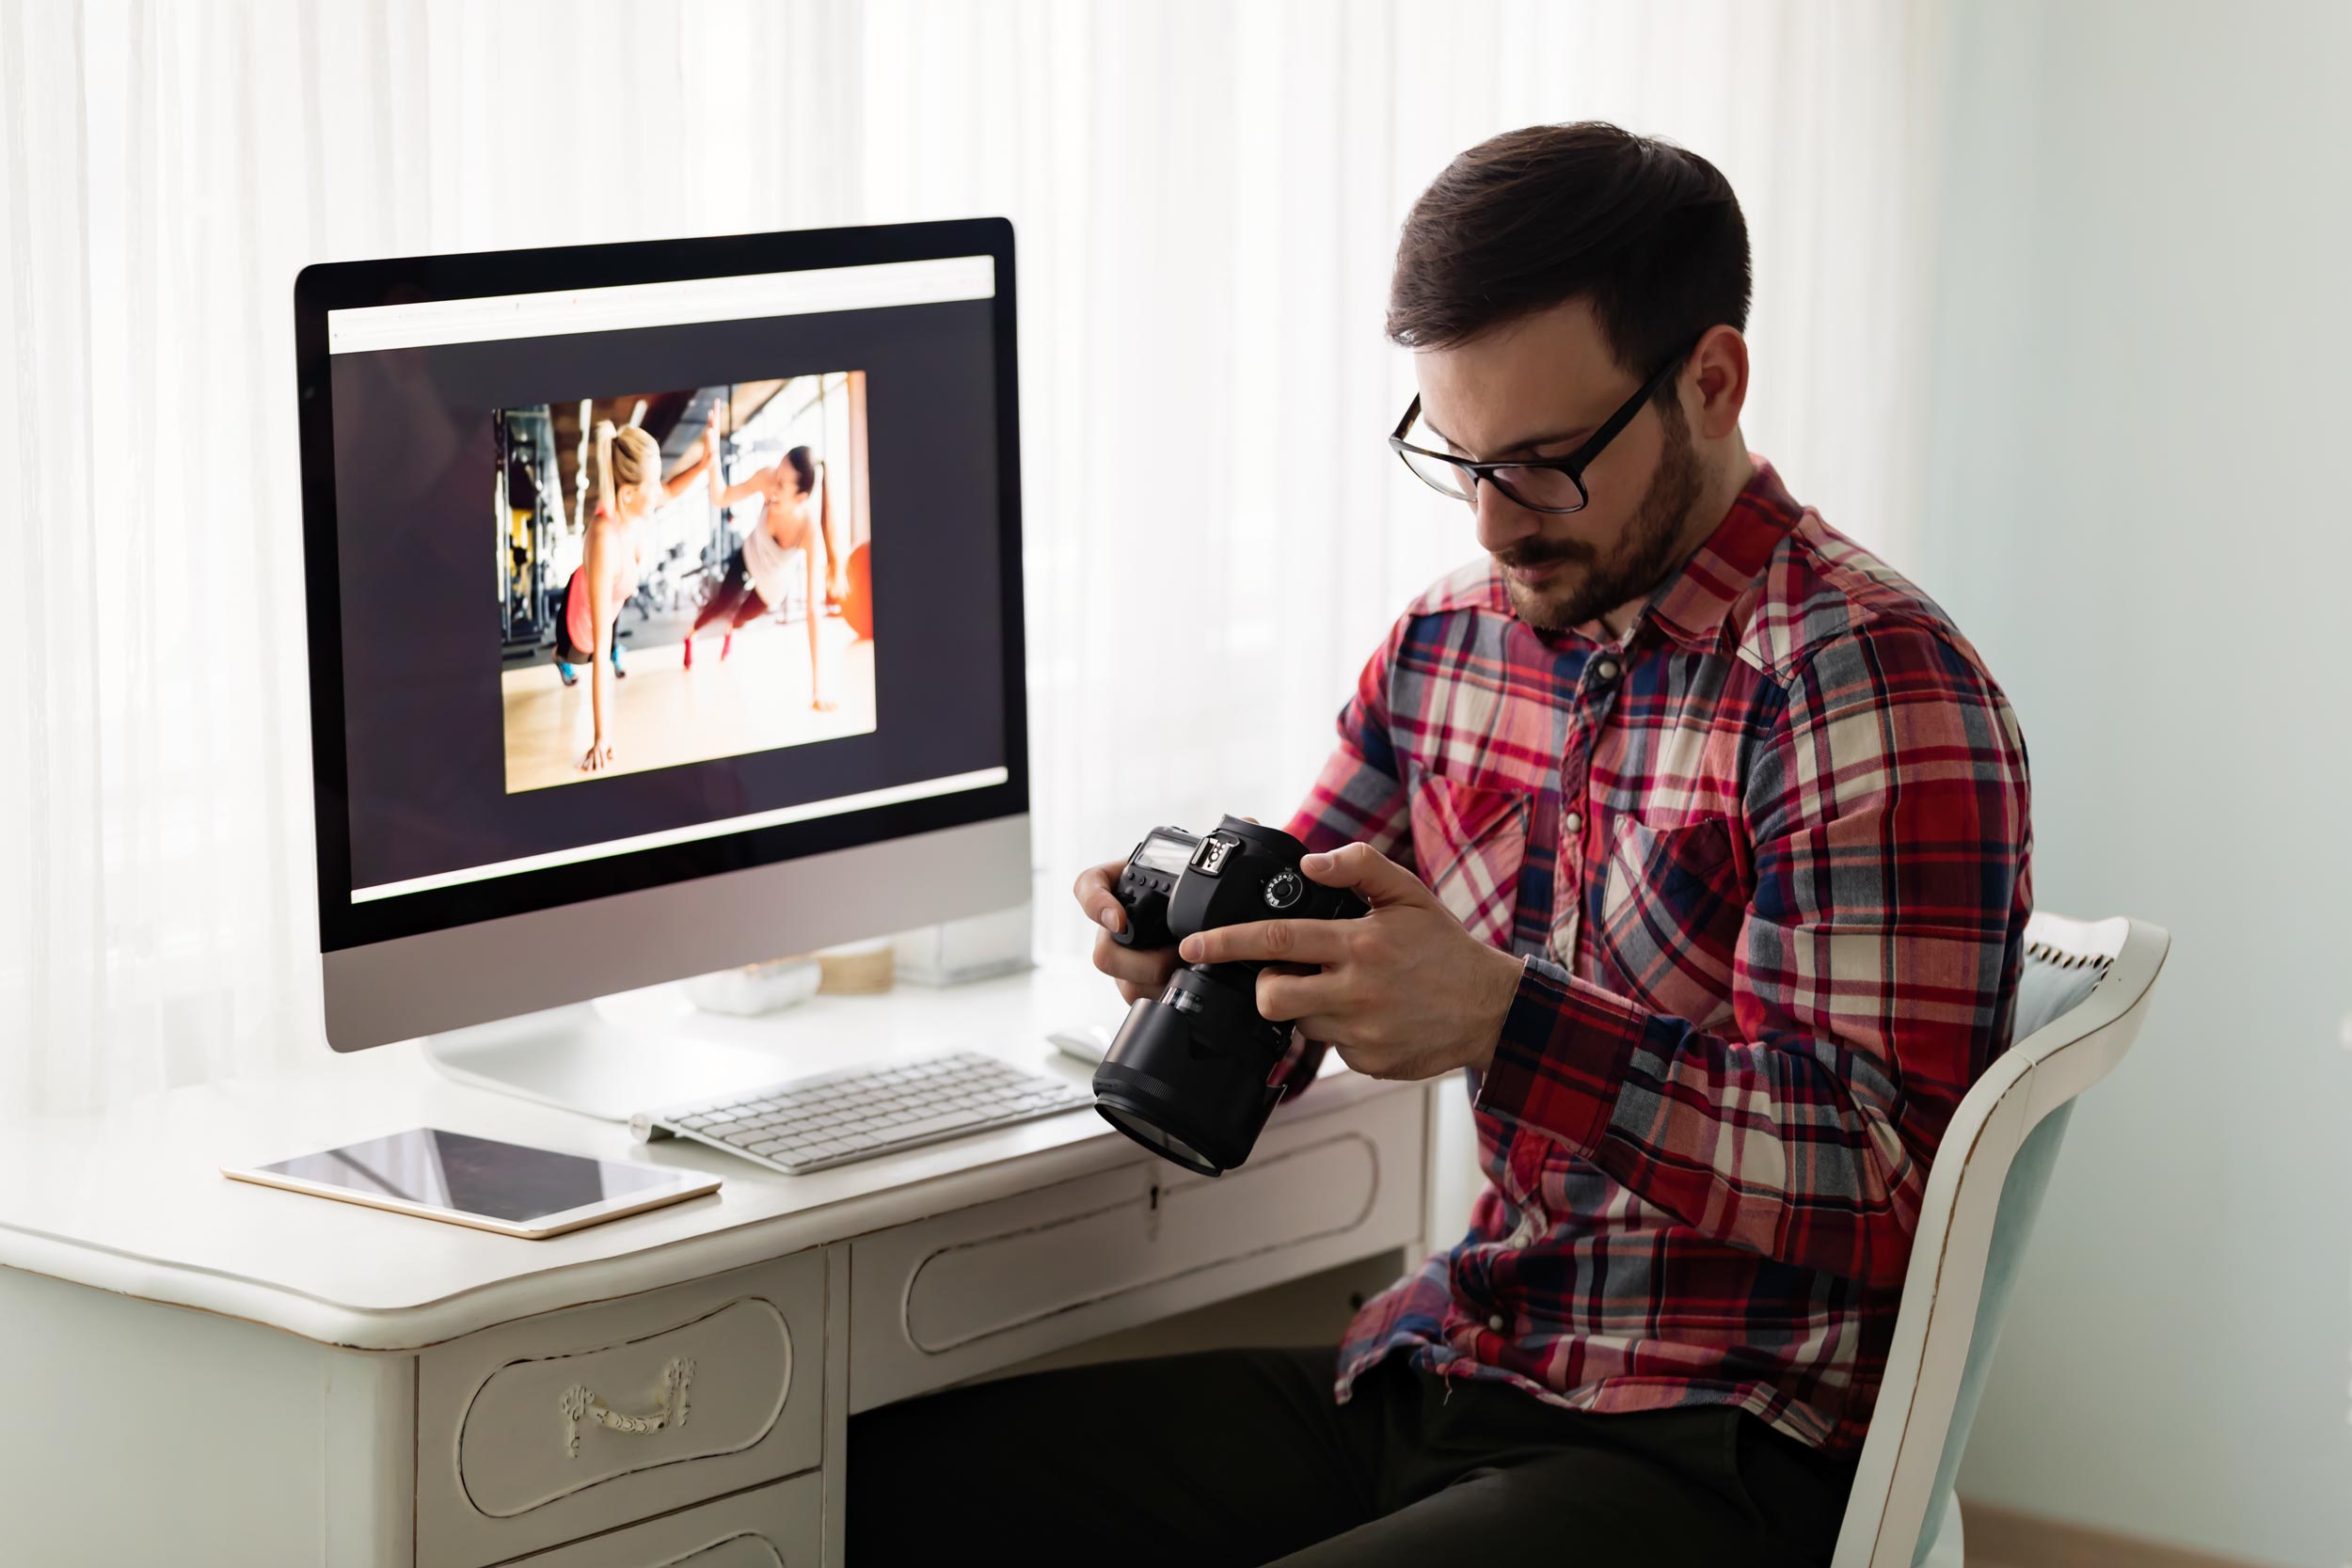
Editing a whole wedding can feel like a monumental task if you’re not experienced and haven’t figured out a slick workflow. You can easily end up with thousands of images to sort through, and that’s even before editing, retouching, and album design. Luckily, there are plenty of tools (both AI and otherwise) to help you with this. Like with anything, there isn’t one answer to the problem, and some workflows and ways of working will suit some photographers better than others.
1. Edit in Lightroom & Photoshop for Precision and Consistency
Adobe Lightroom (LR) is ideal for batch editing, exposure and colour adjustments, lens correction, and maintaining a consistent look across the full gallery. Save Photoshop (PS) for detailed retouching like removing distracting background elements, flyaway hairs, or doing advanced skin work on key portraits. A quick Lightroom cull and basic edit should be good enough for the majority of the images. I would only go into Photoshop for the couple and bridal portraits and anything that needs more specific detailed work.
- Use presets to speed up your workflow and maintain style consistency.
- Edit in collections or “scenes” (prep, ceremony, portraits, reception) to ensure tone matches lighting conditions across the day.
2. Use AI Tools for Culling and Editing Assistance
AI-powered tools like Aftershoot, Neurapix, or Imagen AI can dramatically reduce post-wedding editing hours.
- AI culling helps you eliminate duplicates, closed eyes, or blurry shots faster.
- AI editing can apply your custom editing style across hundreds of images, saving time while keeping your signature look intact.
These tools are especially useful during the busy season or when juggling multiple weddings at once.
3. Edit Differently for Albums vs. Digital Delivery
- Digital images (for online galleries or social media) always appear brighter than printed images, so edit accordingly.
- Use a colour calibrated screen when editing images for better colour accuracy.
- Print and album edits require more careful editing and sharpening to avoid banding, oversaturation, or crushed shadows.
- Always soft-proof your images for print. What looks vibrant on screen can easily look too dark or contrasty in print if not adjusted properly.
Consider making minor exposure or contrast tweaks specifically for album spreads, especially those with white page borders or full-bleed layouts.
4. Shoot RAW + JPEG and Consider Same-Day Previews
Shooting RAW + JPEG gives you flexibility:
- Edit from the RAWs for full quality, but display the JPEGs on a tablet or slideshow during the reception for a wow-factor sneak peek.
- Guests and couples love seeing highlights of the ceremony or portraits right away, it’s a great way to create emotional connection and generate future bookings.
Use a tablet, projector, or laptop to make a quick slideshow to show during the reception. Even 10–15 lightly edited images can have a big impact when presented live.
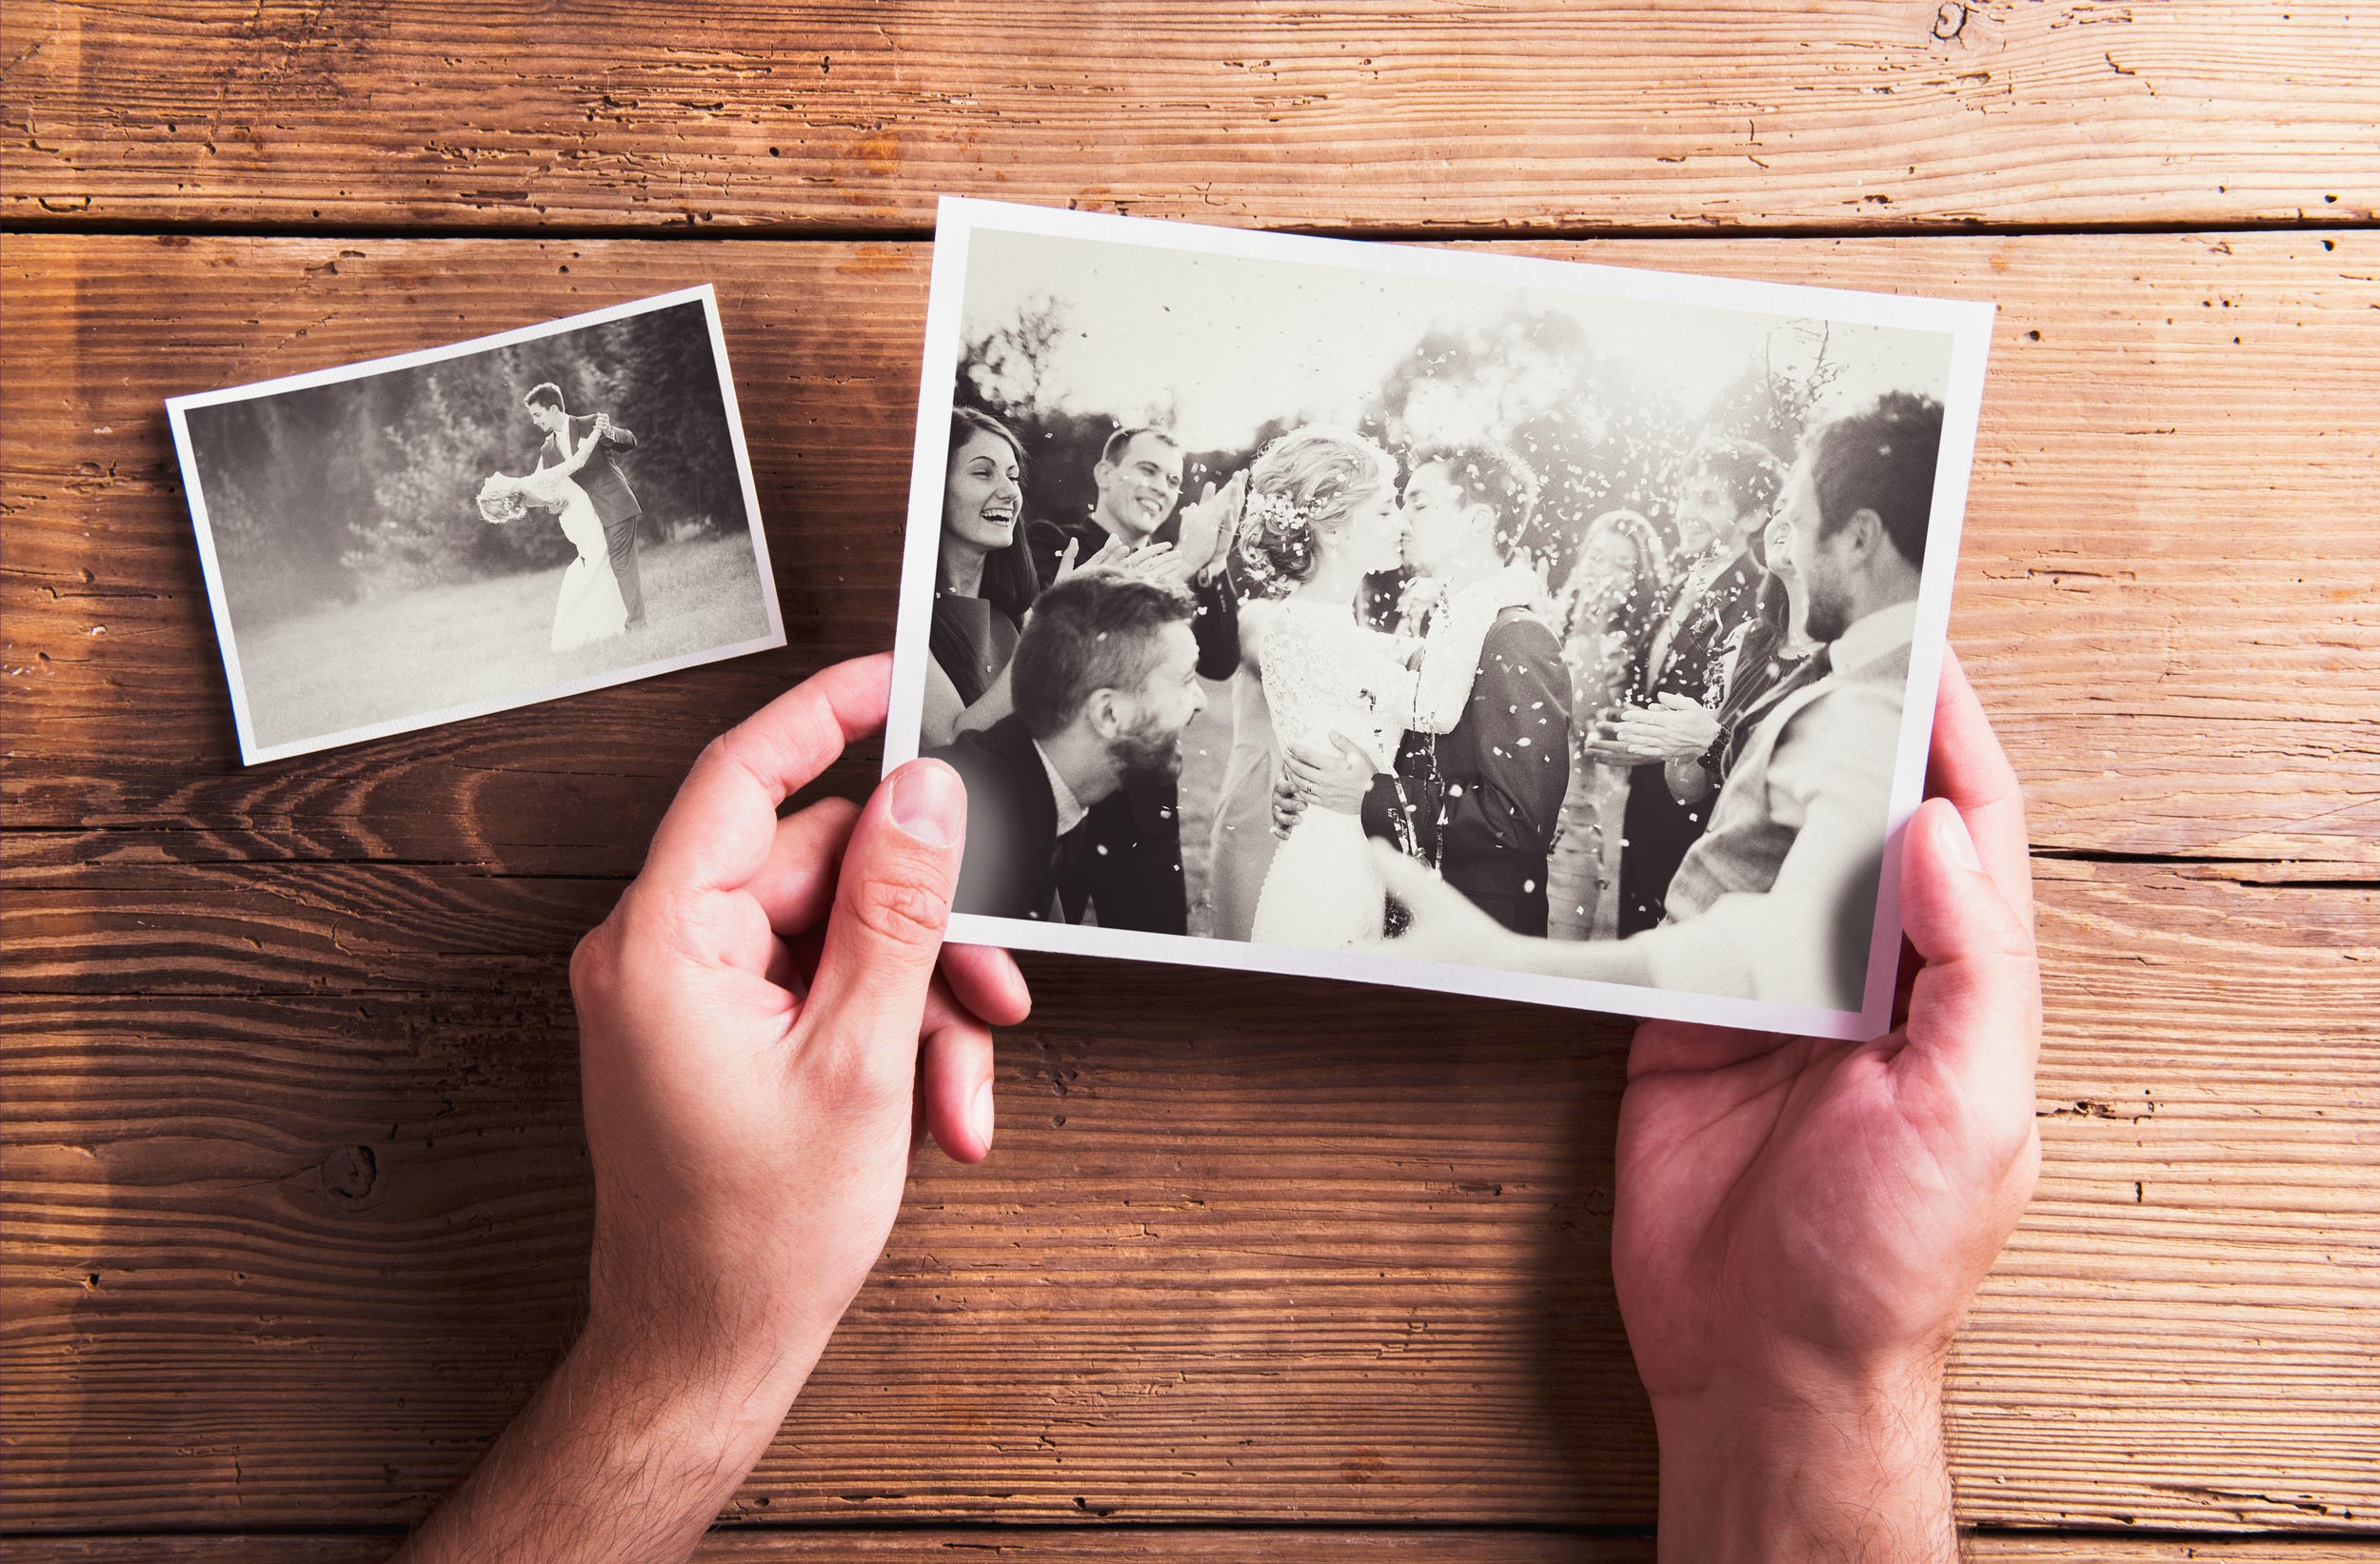
5. Black & White vs. Colour? Use Both Strategically
- Colour is ideal for showcasing decor, outfits, and the vibrancy of the day.
- Black and white can be powerful for emotional moments, removing distractions and highlighting expression, mood, or light.
Convert select images that benefit from the timeless, classic feel, such as first looks, emotional hugs, or moody reception lighting. But don’t overdo it; give couples both versions when appropriate, but let the emotion guide the edit.
6. Consider Outsourcing When Needed
Outsourcing your editing can be a game-changer for your workload and sanity. Editing is important but so is sustainability in your business. Consistency and quality is important with editing large batches so make sure you’ve tried out whoever is doing it well in advance. You can either train up someone specifically for your own style, or use a retouching service.
- Ideal if you’re overwhelmed, handling multiple weddings per month, or struggling to maintain turnaround times.
- You can provide sample edits or presets to maintain brand consistency while freeing up time for shooting, client care, or marketing.
Final Tip
Always keep a backup of your original files and edits, and deliver galleries with a cohesive, polished look that reflects your style and the couple’s personality. Whether you edit everything yourself or use modern tools to help, the goal is the same: timeless, emotional, high-quality images your clients will treasure for a lifetime.
How to Get Started in Wedding Photography
Breaking into wedding photography can feel a little overwhelming. It’s a high-stakes, high-pressure environment where there’s little room for mistakes. But with the right preparation and gradual exposure, you can build experience, confidence, and a portfolio without diving in too deep too soon.
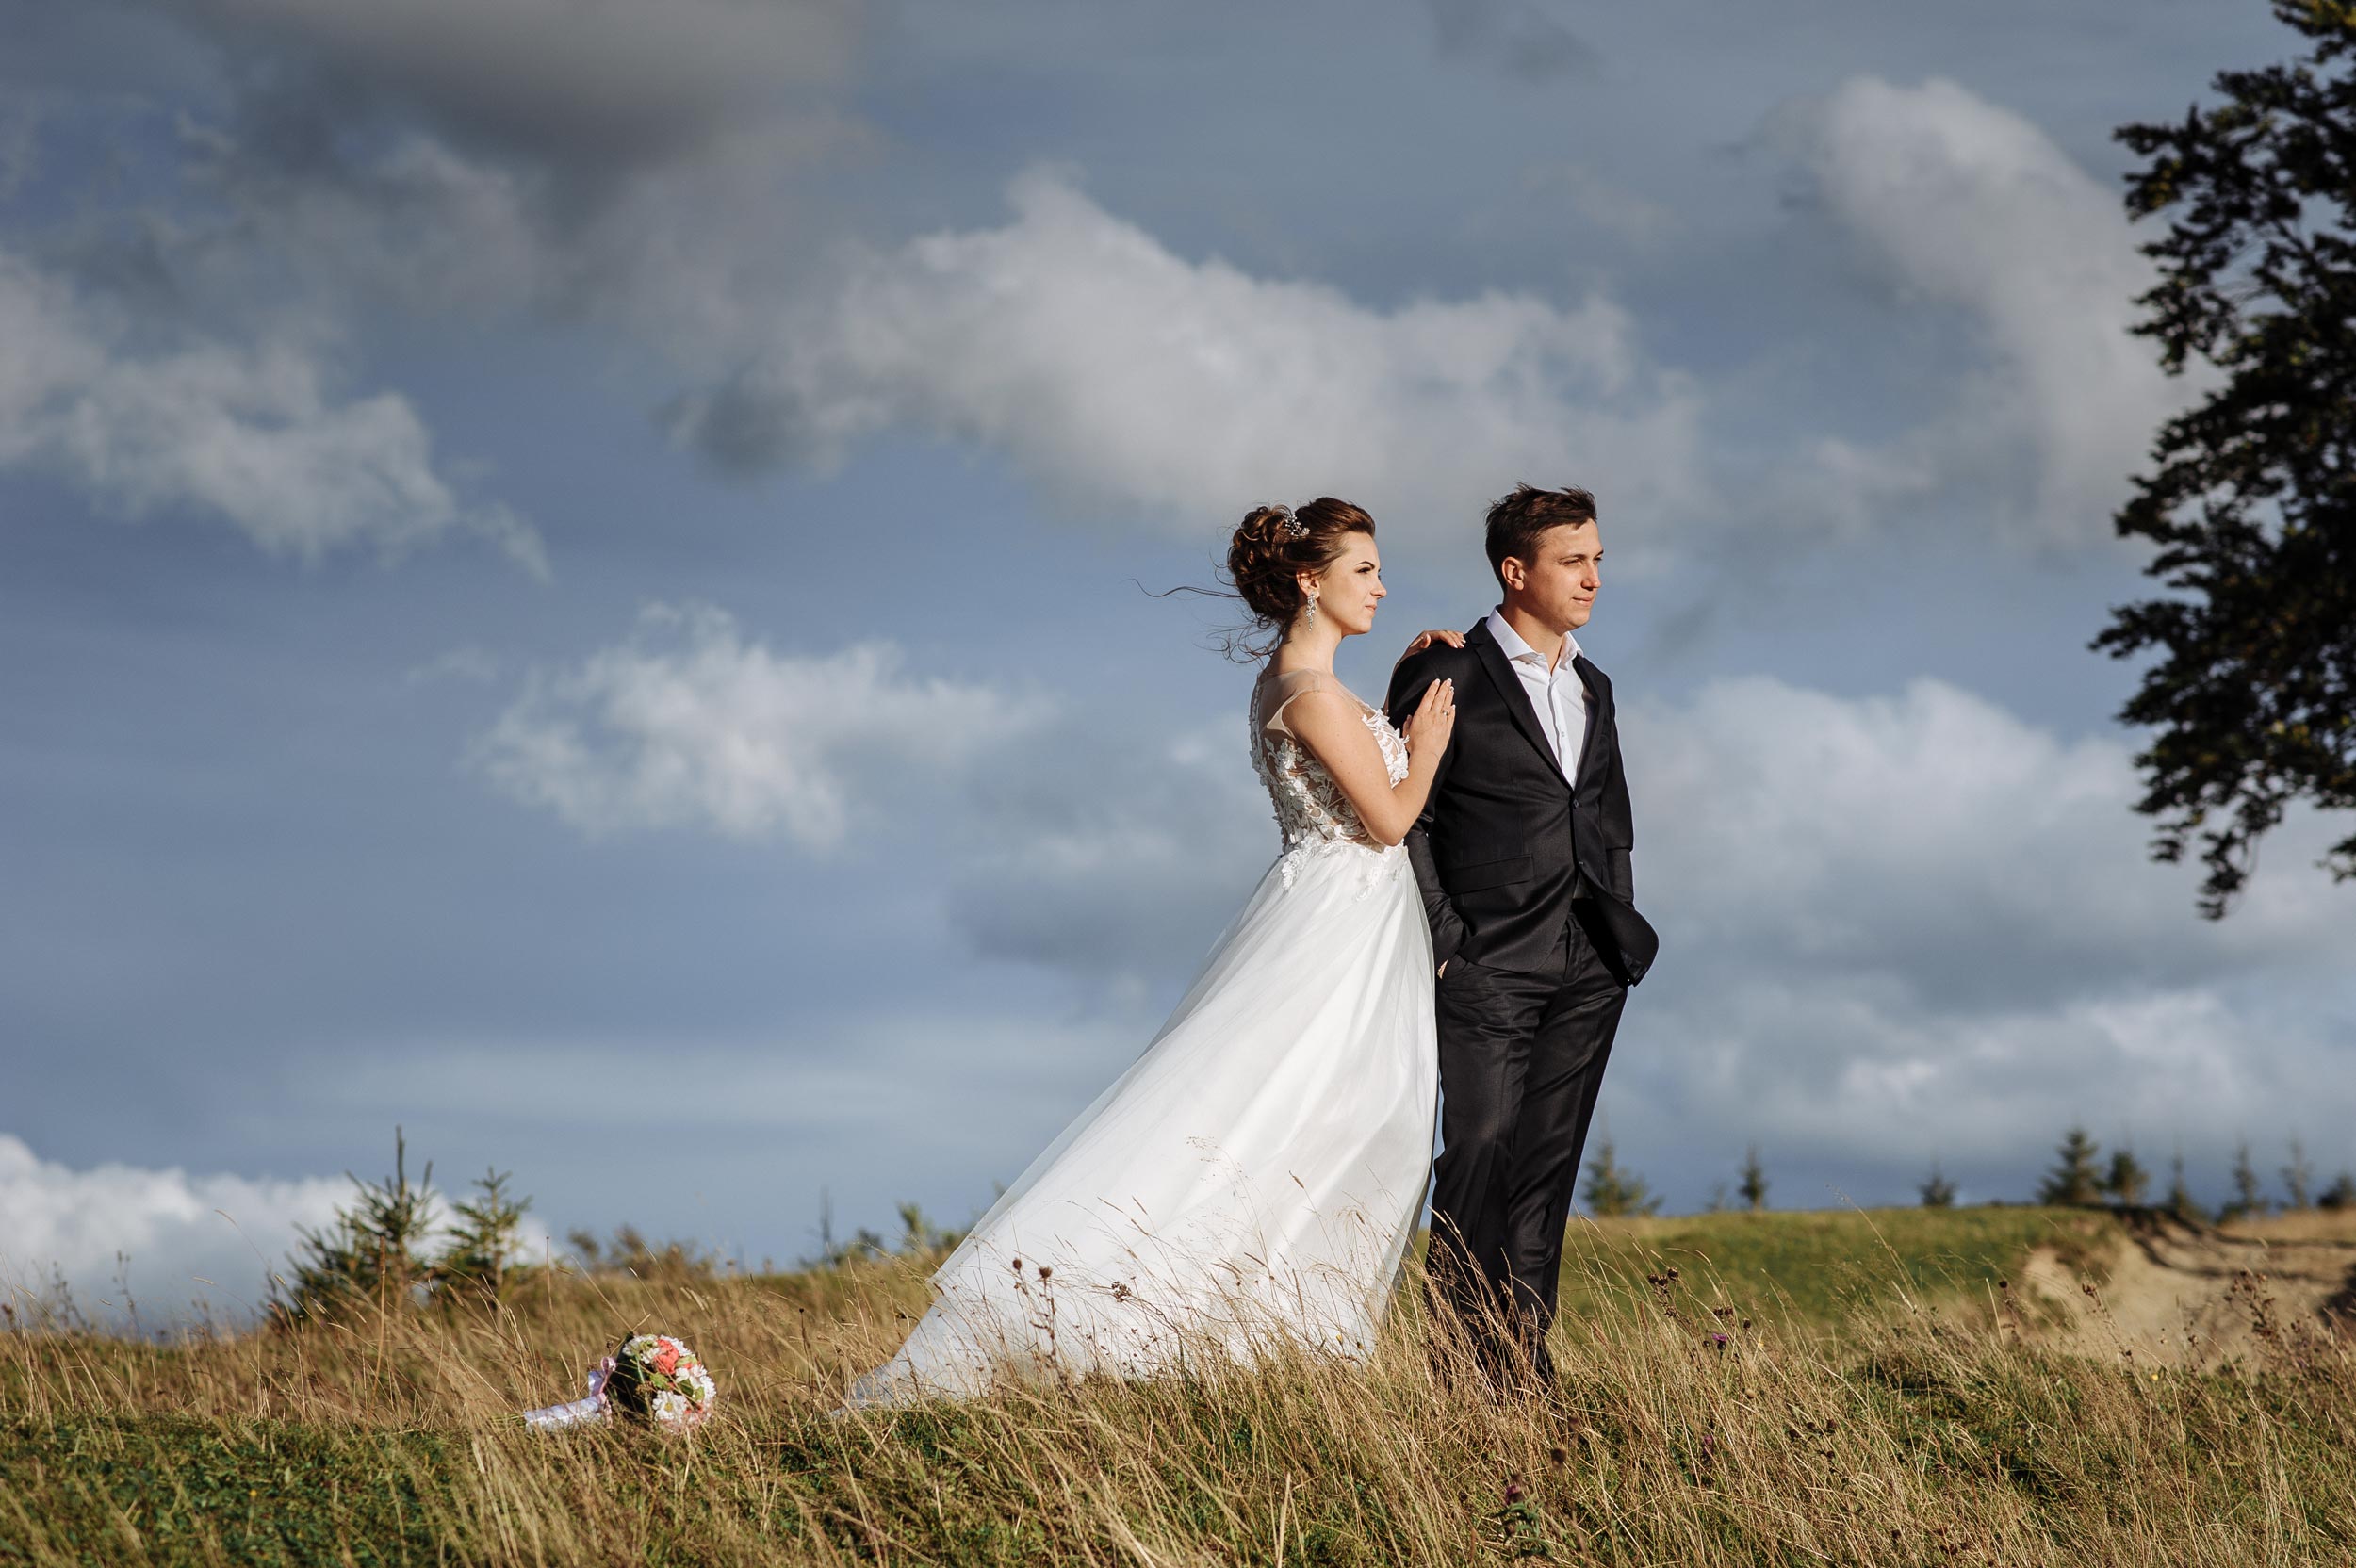
1. Start as a Second Shooter
One of the best ways to learn is by assisting an experienced wedding photographer as a second shooter. This lets you:
- Observe how a wedding day flows without full responsibility.
- Practice capturing candid moments, guest reactions, and alternative angles while the lead focuses on key shots.
- Learn about posing, lighting, gear management, and timeline coordination in real time.
2. Begin with Low-Pressure Events
Before taking on full weddings, start with:
- Engagement sessions, anniversary shoots, or vow renewals.
- Intimate weddings, elopements, or second marriages, where expectations and guest counts are typically more relaxed.
- Close friends or family who are happy for you to document their day in a less formal or backup role.
These smaller, more manageable settings give you valuable experience without the intense pressure of a large, traditional wedding.
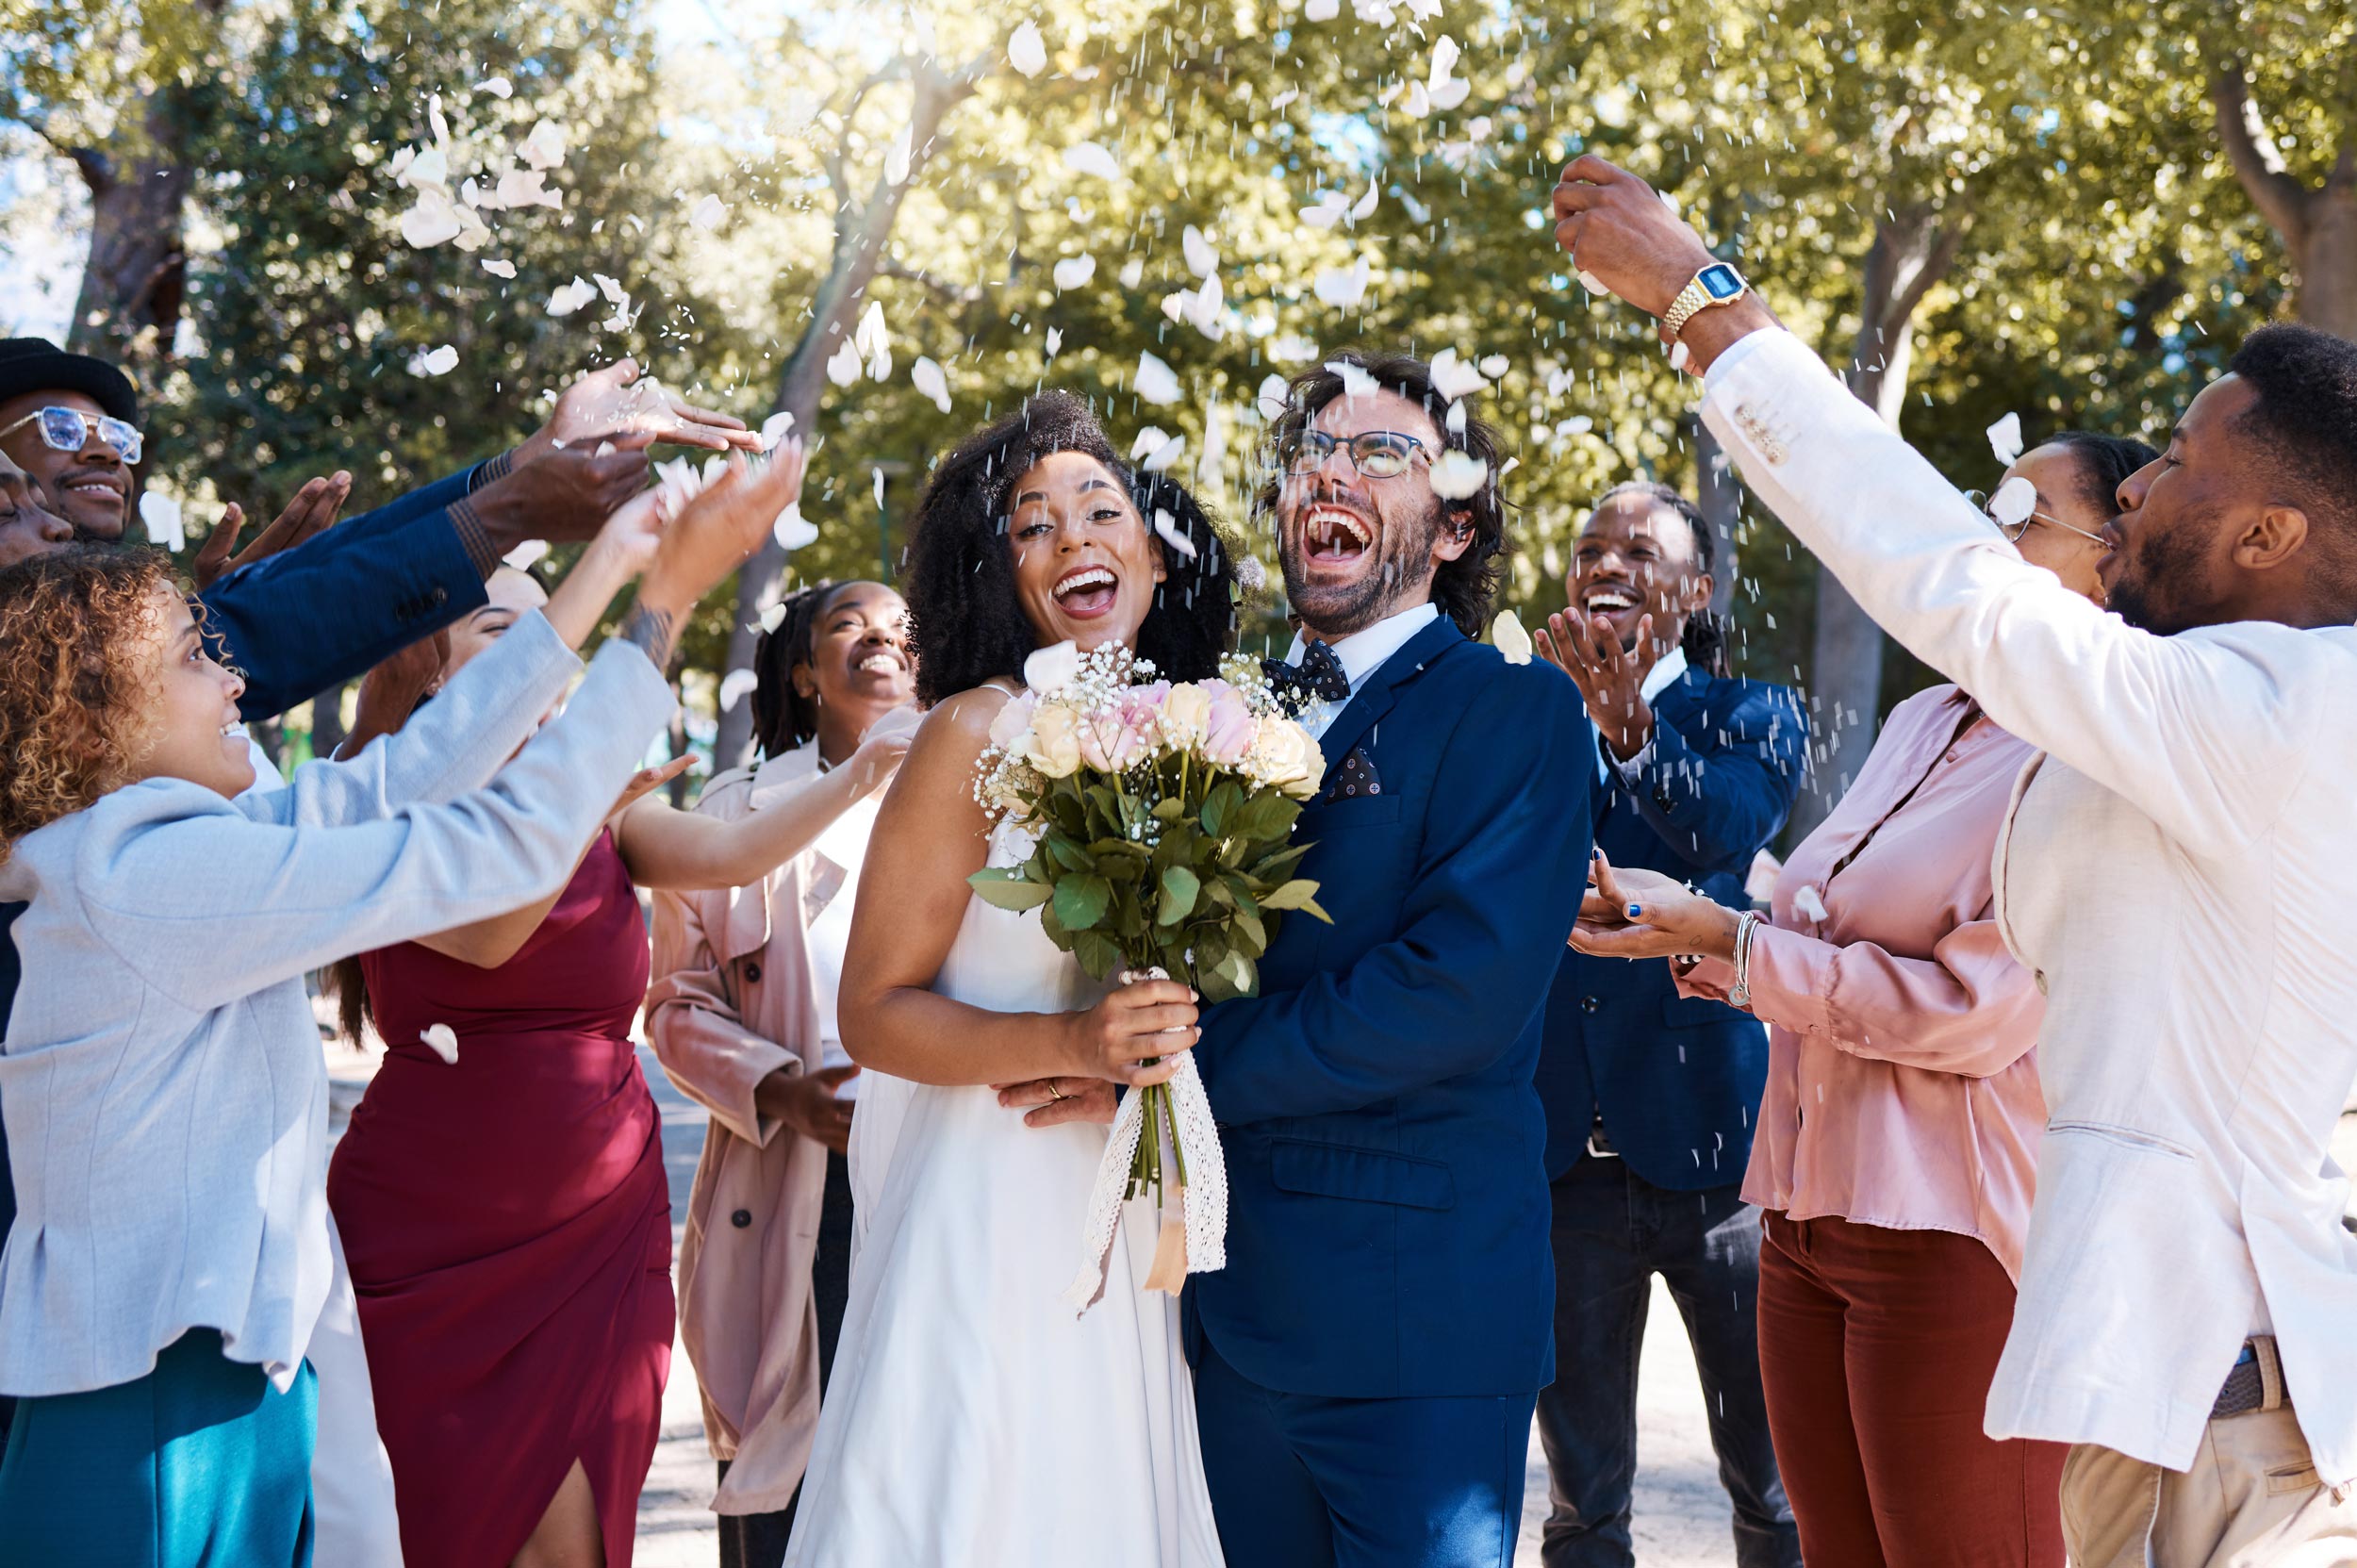
3. Build a Portfolio with Styled or Practice Shoots
- Set up mock wedding shoots with friends, or participate in styled shoots organized by other creatives (planners, florists, venues).
- Focus on building images of details (rings, decor, bouquet), couple portraits, and ceremony-style shots to begin attracting real clients.
Use these images to craft a clean, cohesive portfolio that reflects your intended style, even if it’s not from paid weddings yet (but be transparent about that).
4. Know Your Camera Inside and Out
Weddings are fast-paced and unpredictable; you won’t have time to fumble with settings. You need to be able to shoot confidently, adjust to different lighting conditions, and troubleshoot gear on the fly.
- Practice in various environments: bright sun, low indoor light, mixed lighting, candlelit dinners.
- Learn to quickly change lenses, swap batteries, and backup cards.
- Be comfortable with using external flash or off-camera lighting if needed.
This technical mastery is non-negotiable. It’s what allows you to focus on moments and emotion instead of fiddling with your gear. If you’ve only just bought your first mirrorless or DSLR camera in the last year, you have no business charging for any shoots, let alone shooting a wedding. Learn how to be a good photographer first, then start your business.
Starting in wedding photography doesn’t mean saying “yes” to the first big gig. It means building your skills step by step, gaining experience in controlled environments, and understanding the rhythm of a wedding day before taking full responsibility. With patience and preparation, you’ll be ready to capture a couple’s most important moments with confidence and care.
[Related Reading: Documentary wedding photography 101 – A guide for photographers]
What to Charge for Wedding Photography
Pricing your wedding photography services can be one of the most challenging and important parts of running your business. It’s essential to understand that wedding photography is more than just one day of work. It involves extensive time, skill, gear, planning, and pre- and post-production. Here’s how to approach your pricing confidently and fairly.

1. Don’t Undervalue Yourself, Even as a Beginner
It’s tempting to charge low rates when you’re starting out, but undercharging not only devalues your work, it underestimates the time and effort involved. A full wedding can require 30–60+ hours of your time across:
- Pre-wedding planning and communication
- Scouting the venue
- Shooting on the day (often 8–12+ hours)
- Editing, backing up, and gallery delivery
- Album design, print coordination, and client support
Even at an entry-level, your rate should reflect your time, professionalism, and the unique responsibility of capturing once-in-a-lifetime moments.
2. Factor in Hidden Costs
Your rate needs to cover more than just your time:
- Second shooter fees (if included)
- Post-processing time (culling, editing, retouching)
- Delivery tools: Client galleries, USB drives, hard drives, and cloud storage (tools like Pixieset, ShootProof, or Dropbox may have monthly fees)
- Album design (time + cost of goods)
- Print orders (are you fulfilling them or letting clients print themselves?)
- Travel expenses, parking, meals, and accommodation, if required
- Long-term costs of doing business (gear, software subscriptions, insurance)
- Don’t forget that you have to pay tax! What you earn from the wedding isn’t your final take-home.
Make sure your pricing isn’t just what feels fair, it should reflect all your business costs and time invested.
3. Flat Fee or Tiered Packages?
You’ll need to decide whether to offer:
- One all-inclusive package (e.g. 10 hours, second shooter, digital gallery, album, and engagement session)
- Or tiered pricing with add-ons (e.g. base package + optional extras like albums, additional hours, or rehearsal dinner coverage)
Clear communication is key. Let clients know exactly what’s included: How many hours of coverage? Are albums or engagement sessions optional or built in? What’s your policy on extra time?
4. Be Specific About Coverage
Clearly define how many hours you offer, and what those hours include. For example:
- “Up to 8 consecutive hours of coverage”
- “Includes 1-hour couple session prior to wedding”
- “Coverage begins at prep and ends after the first dance”
If extra hours are available, outline your hourly rate and how you handle overtime requests. Specificity protects you and manages expectations.
5. Always Have a Contract
No matter how casual the arrangement may feel, never shoot a wedding without a signed contract. It should include:
- Scope of services (hours, deliverables, what’s included)
- Payment terms and deposit requirements
- Cancellation/rescheduling policy
- Image usage rights
- Backup contingencies (what happens if you or the couple cancels or there’s an emergency)
A contract protects both you and the couple and keeps everything clear from the start.
6. Get a Deposit Before the Wedding
To secure the date, always require a non-refundable retainer or deposit, typically 25–50% of the total fee. This helps cover initial planning time, reserves the date, and ensures the couple is committed.
Final payment should be due before the wedding, not after. Make this clear in your contract and payment schedule.
Pricing wedding photography is about valuing your work, covering your costs, and delivering a professional experience from start to finish. As your experience grows, your pricing should evolve too. Start with a foundation that respects your time and effort, and build from there.
[Related Reading: Photographing your first wedding? Here’s all you need to know]
(I) Do’s and Don’ts of Wedding Photography
- Do consider a 2nd shooter
- If there’s a videographer/video team work together, don’t get in each other’s way, communicate and help each other get the shots you both need.
- Don’t get annoyed by Uncle Bob telling you he has a Leica (he definitely only shoots on Auto, fyi) or by everyone getting in the way with their iPhones.
- Do enlist the help of a family member/friend who knows everyone to herd everyone up for the group photos
- Do arrange in advance that you will be fed a meal, the same as the guests at your own table
- Don’t photograph people eating unless specifically requested
- Do bring water and snacks, and take toilet breaks
- Do have a clear timeline of the day. Liaise with the planner (if there is one) or plan it yourself.
- Do wear comfortable clothes/footwear that still look formal enough to be professional
- Do look after your back
- Do watch your exposure, especially going between outdoors white dress and indoors
- Be discreet when you need to be, the ceremony isn’t all about you, don’t use the loud motor drive on the camera
TL;DR Wedding Photography Essentials at a Glance
- Start small: Build experience by second shooting, covering small events, or shooting for friends before taking on full weddings.
- Gear up and know it: Master your camera and lenses. Know how to adapt in any lighting situation, fast.
- A Shot list is key: Prep, ceremony, reception, and portraits. Plan your must-have shots in advance and communicate with your couple.
- Nail the portraits: Scout locations, get the safe shots first, use natural light, and give direction with confidence and kindness.
- Group photos: Work from largest to smallest, prep a list, and have help wrangling guests.
- Edit smart: Use tools like Lightroom/Photoshop, or AI assistance to speed up workflow. Tailor edits for both screen and print.
- Price fairly: Don’t undercharge. Factor in ALL your time, gear, editing, second shooters, and delivery costs. Always use a contract and take a deposit.
- Be professional: Communicate clearly, deliver on time, and always back up your work.
Wedding photography is fast-paced, emotional, and incredibly rewarding. With the right planning and mindset, you can capture moments couples will treasure for a lifetime.
See more from DIYPhotography.net on Google
Add DIYPhotography.net as a trusted source. This makes
our stories more likely to appear in your Google Search results.
 Add as a preferred source on Google
Alex Baker
Alex Baker is a portrait and lifestyle driven photographer based in Valencia, Spain. She works on a range of projects from commercial to fine art and has had work featured in publications such as The Daily Mail, Conde Nast Traveller and El Mundo, and has exhibited work across Europe




Join the Discussion
DIYP Comment Policy
Be nice, be on-topic, no personal information or flames.