


The Ultimate Food Photography Guide: Tips, Techniques, and Gear
Jun 29, 2026
Darlene Lleno
Darlene Lleno brings a unique perspective to DIY Photography as someone who grew up surrounded by camera gear but chose words over lenses. With five years of writing experience, she specializes in photography content that’s both technically informed and genuinely passionate. Growing up with a photographer twin brother meant camera talk was everyday conversation in her household. While he mastered capturing moments, Darlene discovered she preferred being the subject and the storyteller behind the scenes. As a travel enthusiast and mother of two, she understands the importance of preserving life’s precious moments. When not exploring new destinations or writing for DIY Photography, you’ll find her reading or tending to her garden. Her approach to photography writing is refreshingly authentic, she may not be behind the camera, but she knows exactly what it takes to help others capture the shots that matter most.
Share:
Food photography is the art of capturing food in a way that makes it look appetizing, combining lighting, styling, and composition to trigger appetite appeal. The keys to good food photography are soft directional light (ideally from the side or behind), simple styling that keeps the dish the star, shooting at apertures around f/5.6 to f/8 to keep the food sharp, and working fast before the food deteriorates.
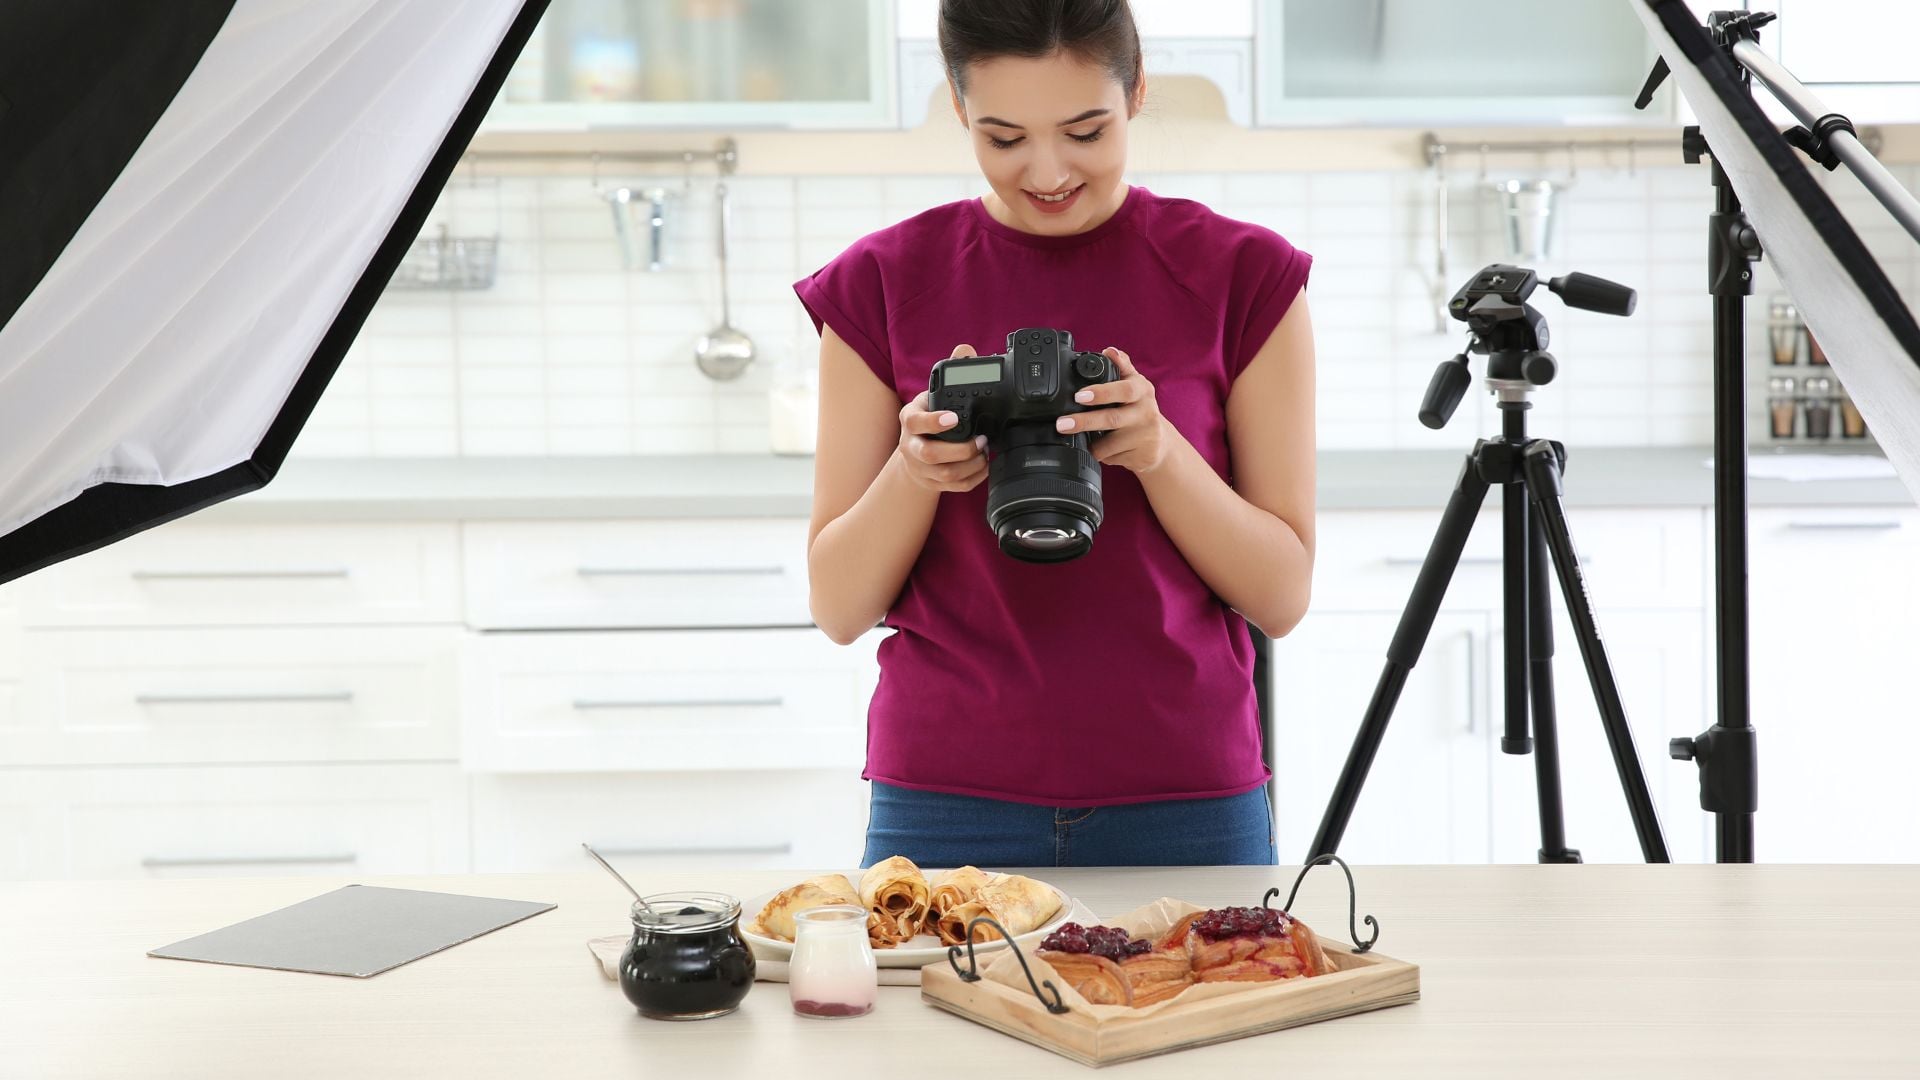
Food photography has evolved from simple meal documentation into a sophisticated art form that drives sales, engagement, and appetite across digital platforms. Professional food photographers understand that creating images that make viewers hungry requires more than pointing a camera at a plate of food.
The difference between amateur snapshots and magazine-quality food photography lies in learning how light interacts with different textures, why certain compositions make food look more appetizing, and how to work within the tight time constraints that come with perishable subjects. Most importantly, successful food photographers know the technical tricks that keep ice cream from melting under hot lights and steam visible in the final shot.
Food Photography 101
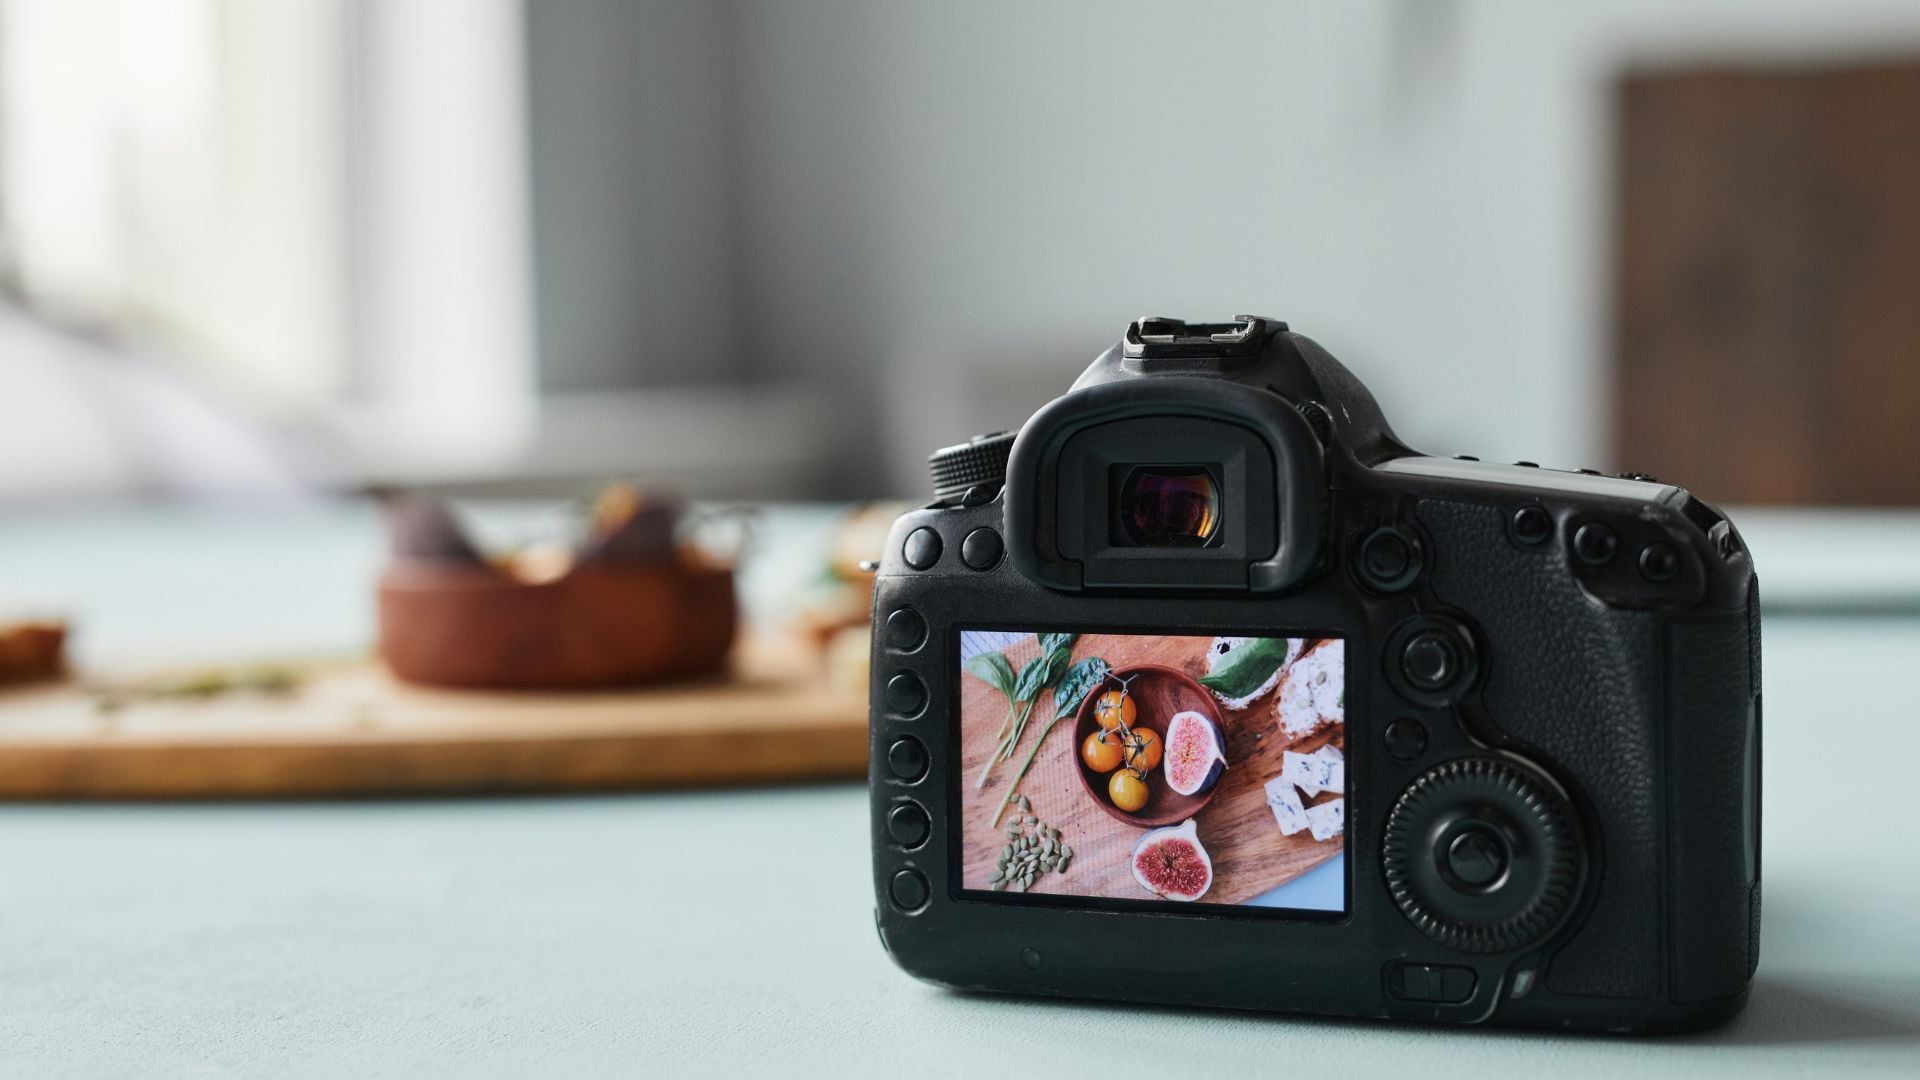
What is food photography, beyond simply snapping shots of grub? It’s a specialized field that combines technical camera skills with food styling knowledge and an understanding of consumer psychology. Professional food photography requires mastering techniques that don’t apply to other subjects.
Food presents unique challenges that landscape or portrait photographers never face. A perfectly plated dish starts deteriorating the moment it leaves the kitchen. Steam dissipates within minutes. Lettuce wilts under studio lights. Ice cream melts before you can get the shot. These time pressures force different approaches to lighting, composition, and workflow.
The Psychology Behind Effective Food Images
Successful food photography taps into psychological triggers that make viewers want to eat what they see. Research from food marketing studies shows that people make eating decisions within three seconds of seeing food images. Colors, textures, and composition elements all influence these judgments.
Understanding these psychological triggers helps photographers make strategic decisions during every shoot. These subtle visual cues work on a subconscious level to increase appetite appeal:
- Steam and condensation – Suggest freshness and ideal serving temperature
- Bite marks or partially eaten items – Imply the food tastes good enough to start eating
- Rich, saturated colors – Trigger hunger responses, especially reds and oranges
- Visible textures – Communicate mouthfeel like crispy, creamy, and juicy surfaces
- Golden-brown surfaces – Signal proper cooking and caramelization
Commercial vs. Editorial Food Photography
Commercial food photography focuses on making products look as appealing as possible to drive sales. Editorial food photography tells stories about recipes, cooking processes, or food culture. Each requires different techniques and priorities.
Commercial work demands technical perfection because any flaw might hurt brand perception. Product recognition becomes paramount, brand elements must be clearly visible and appetizing. Every element in the frame should make viewers hungry while ensuring the image has enough impact to grab attention in crowded markets.
Editorial food photography takes a different approach entirely. Storytelling trumps pure appetite appeal, and the styling should look natural and achievable for home cooks.
Environmental context supports the narrative, whether that’s showing the cooking process or highlighting cultural traditions. Technical standards can be more forgiving because authenticity often matters more than perfection.
What Camera Is Best for Food Photography?
In food photography, certain equipment consistently makes a difference in image quality and workflow efficiency.
Camera Bodies
Full-frame cameras offer advantages for food photography that crop sensors can’t match. The larger sensor provides better low-light performance for natural light shooting and shallower depth of field control for background separation. These technical advantages translate directly to better results when working with the challenging lighting conditions common in food photography.
The superior low-light performance proves invaluable when shooting with window light, especially during winter months or overcast days. Better dynamic range helps recover detail in both highlights and shadows, which matters when dealing with the extreme contrast between bright plate surfaces and dark shadow areas. Meanwhile, shallower depth of field at equivalent focal lengths gives photographers more creative control over background separation.
Here are the cameras that consistently deliver excellent results:
- Canon EOS R5 – Exceptional image quality with reliable autofocus, excellent for both stills and video
- Sony A7R IV – High resolution ideal for large commercial prints where detail matters
- Nikon Z7 II – Excellent color reproduction, crucial for accurate food colors
- Fujifilm X-T4 – Outstanding color science specifically tuned for food photography (APS-C option)
Best Lenses for Food Photography
Lens choice affects both image quality and working efficiency. After shooting with various focal lengths, three categories handle 90% of food photography situations effectively.
Macro lenses (90-105mm) become important for detail shots and commercial product photography. True 1:1 macro capability lets photographers fill the frame with texture details that tell the quality story. The longer focal length keeps photographers at a comfortable working distance from hot dishes, preventing lens fogging and giving room to work around styling equipment.
Standard lenses (50mm) serve as the workhorse focal length for most food photography situations. The natural perspective matches human vision, making photos feel familiar and approachable to viewers. Fast maximum apertures of f/1.4 or f/1.8 provide excellent background separation while maintaining enough depth of field to keep the entire dish sharp.
Short telephoto lenses (85-135mm) create beautiful background compression while maintaining comfortable working distances. This focal length range proves particularly useful in busy kitchens where photographers need space to work around chefs and styling equipment without getting in the way of food preparation.
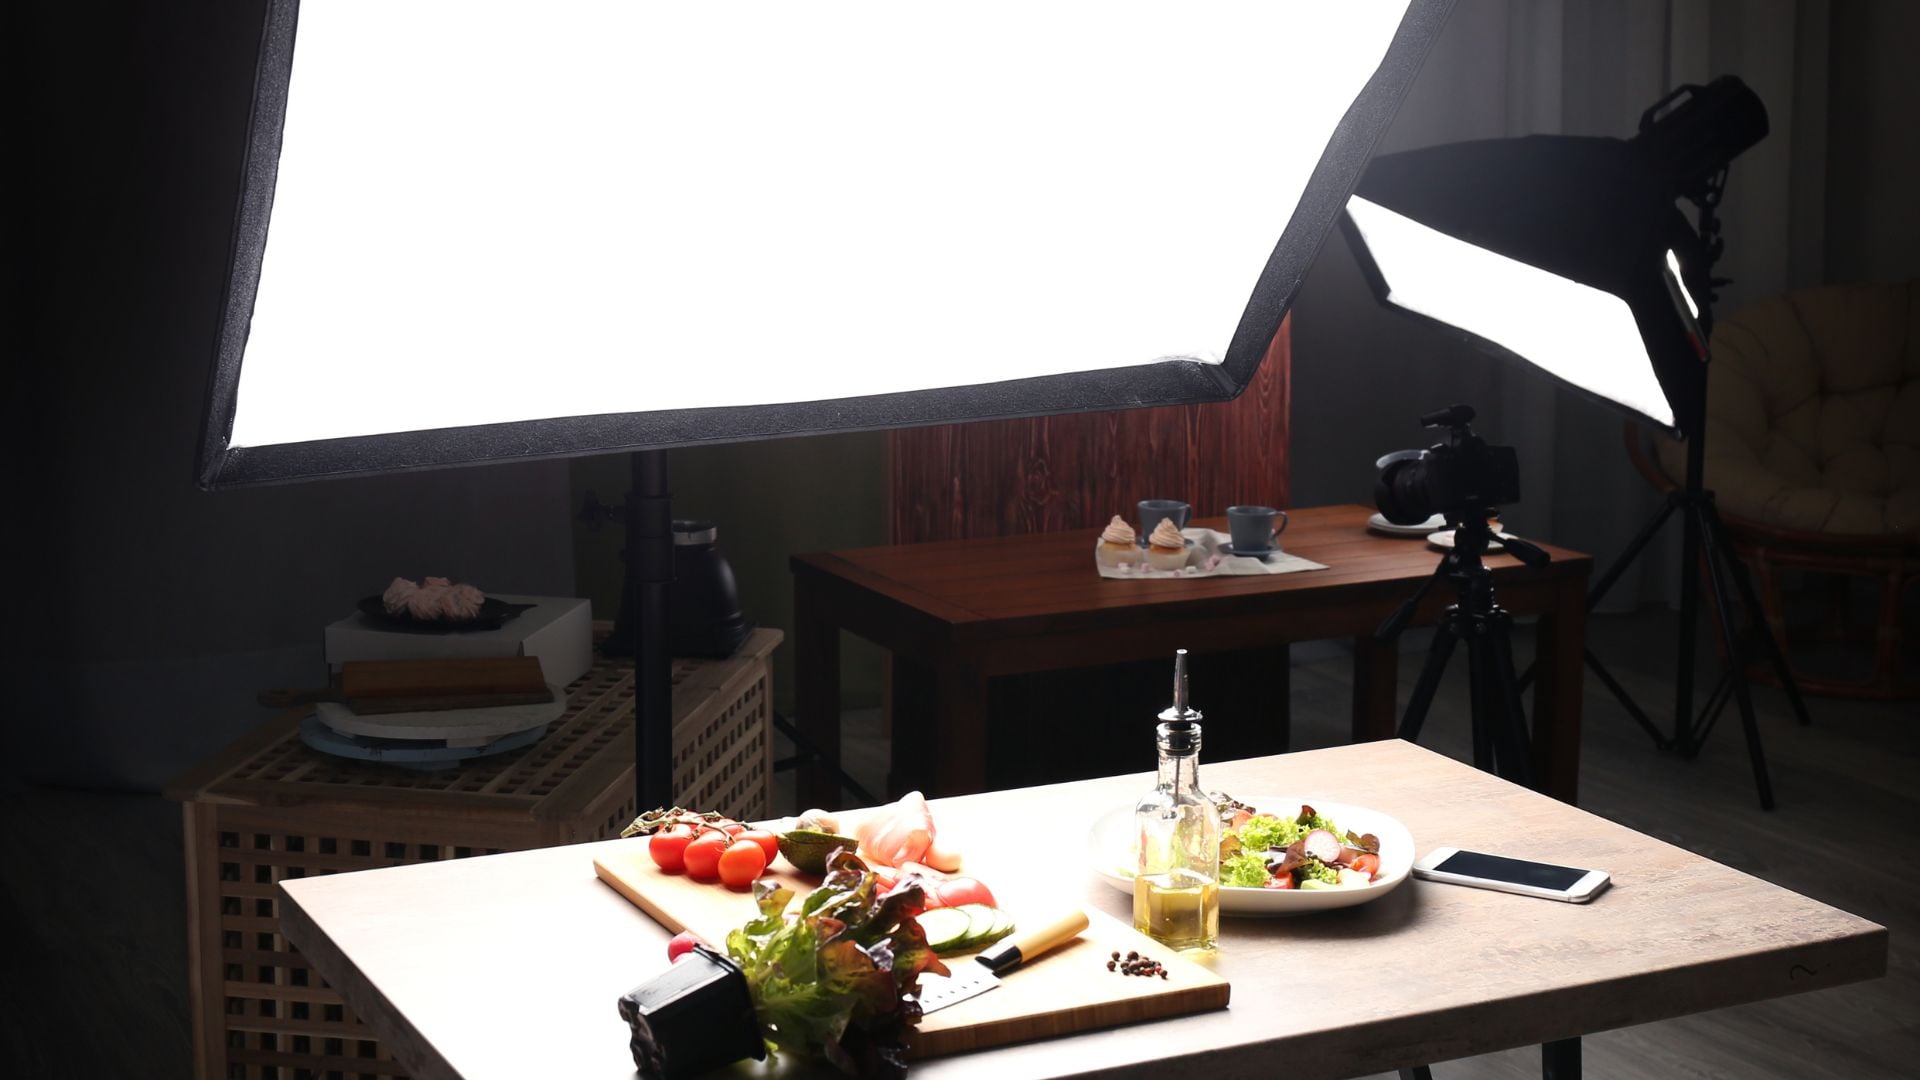
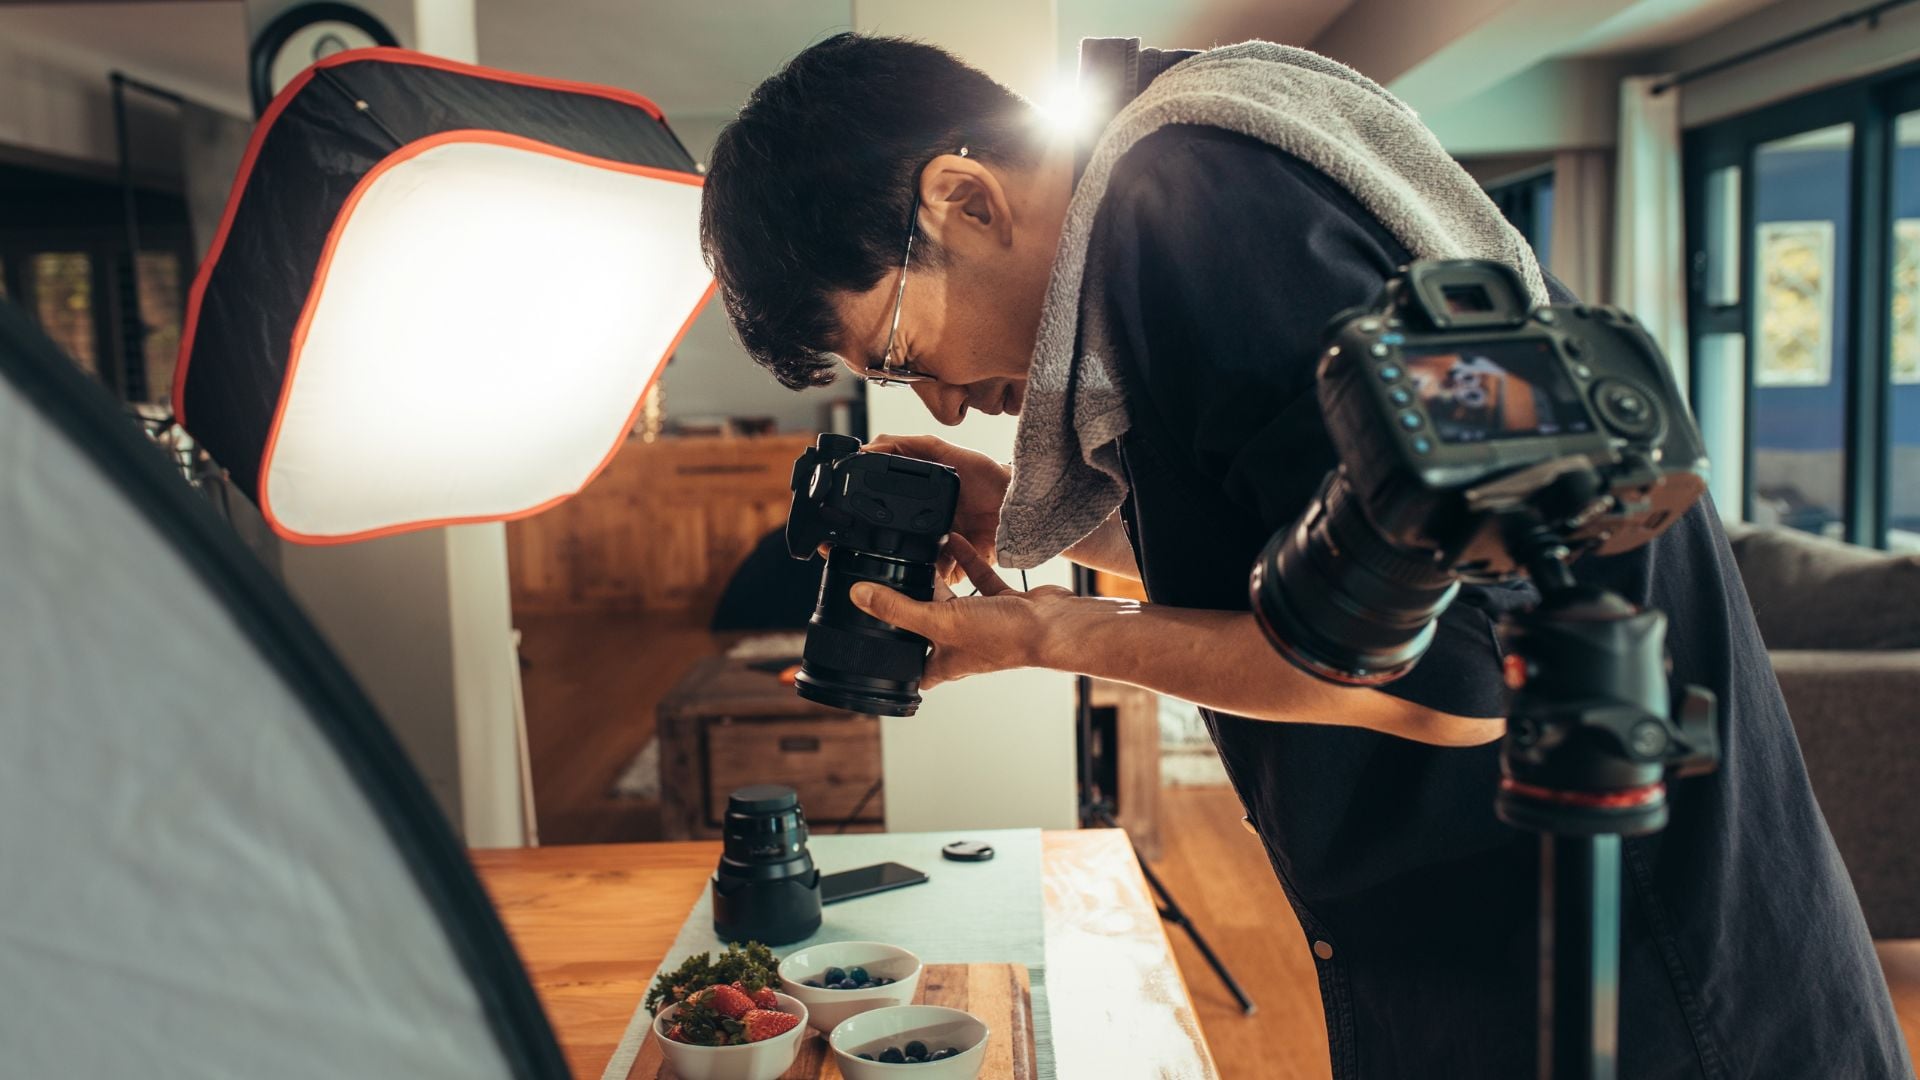
Lighting Equipment
Natural light provides the most flattering illumination for food, but professional work requires consistent, controllable lighting. Testing various setups in different shooting environments shows what actually works.
LED panels have revolutionized food photography by solving the heat problem that plagued traditional tungsten lighting. The consistent color temperature removes white balance issues that can make food look unappetizing.
Moreover, low heat output prevents food from wilting or melting during longer styling sessions. The what-you-see-is-what-you-get nature eliminates exposure guesswork, while dimmer controls allow fine exposure adjustments without changing camera settings.
For photographers starting their food photography journey, here’s a proven starter kit that covers all essential needs:
- Two 500W LED panels with daylight color temperature for consistent results
- Large softbox (36″ x 48″) for main light diffusion
- White foam core reflectors for fill lighting
- C-stands with arms for precise light positioning and easy adjustment
Light Modifiers
Here are three different light modifiers that create 95% of successful food lighting setups.
Large softboxes with a minimum size of 24″ x 36″ create the broad, soft light that makes food look appetizing. Smaller light sources produce harsh shadows that emphasize imperfections and make textures look unpleasant. The size relationship between light source and subject determines shadow quality, bigger lights relative to the subject create softer, more flattering illumination.
White foam core boards measuring 32″ x 40″ provide the most cost-effective fill light solution available. Position them opposite the main light to reduce shadow density without eliminating dimension entirely. These simple tools often work better than expensive electronic fill lights because they create natural-looking illumination.
Diffusion panels become essential for controlling harsh window light during bright days. Professional diffusion fabric works best and lasts longer, but white shower curtains provide acceptable results at much lower cost for photographers just starting out.

Lighting Techniques for Food Photography
Proper lighting distinguishes professional food photography from amateur attempts. In fact, certain techniques consistently produce appetizing results that make viewers hungry.
Creating Appetizing Light Quality
Food looks most appealing under soft, directional lighting that shows texture without harsh shadows. The key is using light sources large enough relative to the subject to wrap around edges and fill in details naturally.
The relationship between light size and subject distance determines everything about shadow quality and overall appeal. The light source should appear at least twice as large as the main subject to create the soft shadows that flatter food textures.
Closer lights create softer shadows with gradual transitions that look natural. Multiple small lights create confusing shadow patterns that distract from the food itself. A single large light source usually looks more natural and appealing than complex multi-light setups.
Working with Natural Window Light
North-facing windows provide consistent, soft natural light throughout the day without harsh directional changes. This stability lets photographers shoot for hours without constantly adjusting exposure or white balance settings, which becomes crucial when working with multiple dishes or complex styling setups.
Different positioning techniques relative to the window create distinct moods and textures in the final images:
- 45-degree angle – Creates dimensional lighting with soft shadows that show texture beautifully
- Straight-on positioning – Produces even, shadowless lighting for bright, cheerful images
- Side lighting – Emphasizes surface textures through more dramatic shadows
- Backlighting – Creates rim lighting effects perfect for translucent subjects like beverages
When window light becomes too harsh during bright days, several diffusion methods can effectively control intensity without losing the natural quality. Sheer curtains provide gentle diffusion for moderately bright conditions while maintaining some directionality.
White bedsheets work as emergency diffusion and actually produce surprisingly good results for casual shooting. Professional diffusion panels offer the most control but come at higher cost. Reflectors can bounce window light to fill shadow areas without adding artificial light sources.
Advanced Artificial Lighting Setups
When natural light isn’t sufficient or consistent enough, artificial lighting patterns can consistently produce professional results that rival the best window light.
Three-point lighting adapted for food photography starts with a key light providing main lighting at a 45-degree angle while heavily diffused through a large softbox. Fill light reduces shadow contrast and typically runs at about one-quarter the intensity of the key light. An optional rim light positioned behind or to the side of the subject separates it from the background and adds visual interest.
Lighting ratios directly affect the mood and appeal of food photography in these predictable ways:
- 2:1 ratio – Creates subtle shadows, ideal for delicate foods
- 3:1 ratio – Produces more dramatic shadows that emphasize texture
- 4:1 ratio – Creates strong contrast, perfect for rustic or artisanal foods
Food Styling and Composition Techniques
Food styling requires understanding both visual design principles and the practical limitations of working with perishable subjects.
Color Theory
Colors directly influence appetite and perception of freshness in ways that food photographers can exploit to create more effective images. Understanding color relationships helps photographers make styling decisions that enhance rather than compete with the main subject.
Warm colors including red, orange, and yellow increase hunger and suggest warmth in ways that directly translate to viewer response. Green implies freshness and health when used as accents but can overwhelm if it dominates the composition. Brown and golden tones suggest proper cooking and caramelization, which signals flavor development to viewers.
These successful color combinations work consistently across different food types:
- Complementary schemes – Orange with blue or red with green create visual pop
- Analogous schemes – Neighboring colors create harmony and sophistication
- Monochromatic schemes – Different shades of the same color create elegance
- Neutral backgrounds – Let colorful foods become the focal point without competition
Professional Food Styling Techniques
Real food styling goes beyond making ingredients look pretty. It’s about communicating texture, temperature, and freshness within the constraints of photography and time limitations.
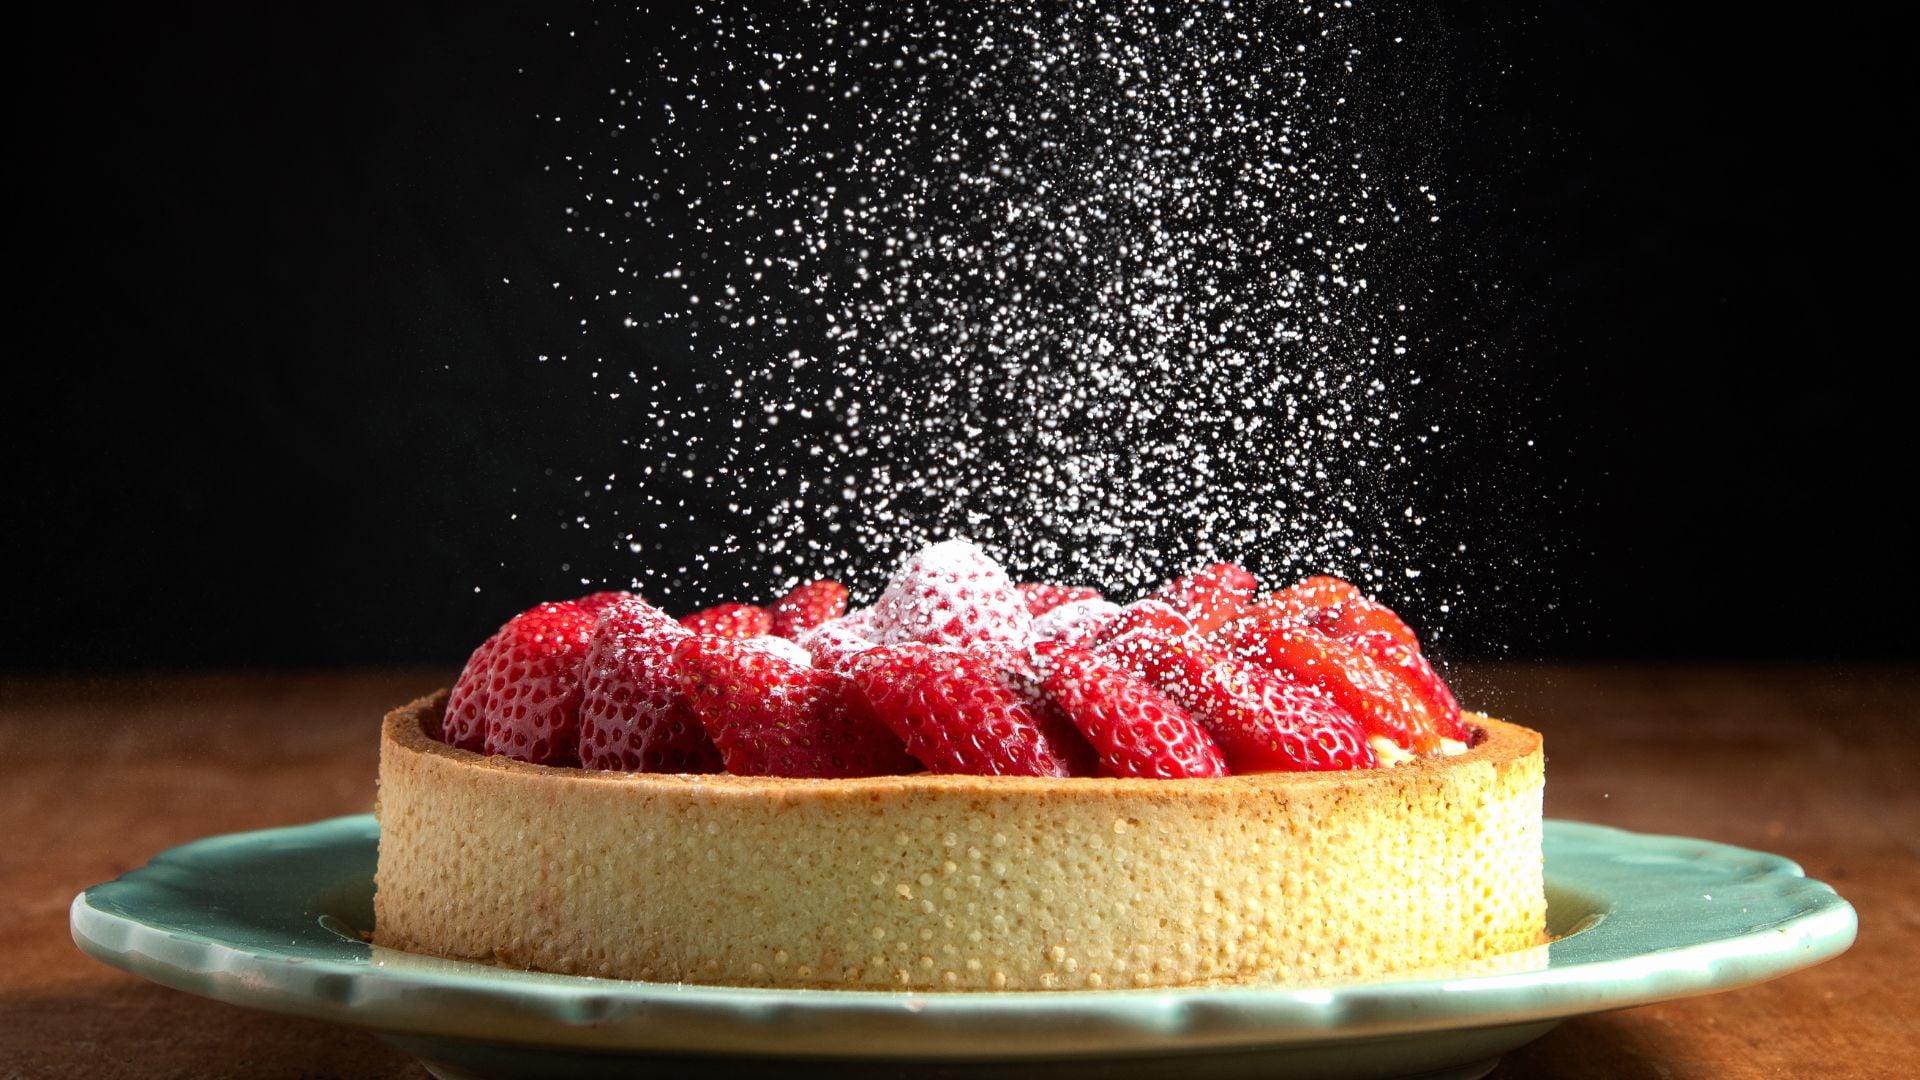
Texture enhancement becomes critical because cameras can’t capture the tactile qualities that make food appealing in person. Oil or cooking spray adds shine and prevents drying under lights while maintaining the fresh appearance that suggests quality.
Water droplets on produce and beverages suggest freshness and proper storage. Also, visible steam implies ideal serving temperature for hot dishes and adds life to static compositions. Strategic garnish placement guides eye movement through the composition toward the most important elements.
Height and layering strategies prevent flat, boring compositions that fail to engage viewers. Creating multiple levels using serving pieces of different heights adds visual interest without cluttering the frame.
Additionally, stacking or layering ingredients shows internal components and communicates value. Props that add vertical elements should enhance without cluttering the composition. Most importantly, everything must maintain stability because food still needs to look edible and achievable.
Composition Rules
Standard photography composition principles work for food but require adaptation for the unique shapes and visual flow of culinary subjects.
The rule of thirds adapts to food photography by placing key elements along intersection points where the eye naturally looks first. Leading lines from utensils or plate edges can guide attention toward the hero ingredient.
Visual weight should balance across the frame to create stability. And negative space around the main subject prevents cluttered compositions that confuse the viewer’s eye.
Creating visual flow requires deliberate arrangement throughout the composition. Here are the techniques that work best for guiding the viewer’s eye:
- Arrange garnishes to guide the eye toward the hero ingredient
- Use odd numbers of garnish elements (3 berries look more natural than 4)
- Create triangular arrangements that feel organic rather than forced
- Include adequate negative space to let the composition breathe
What Are the Best Camera Settings for Food Photography?
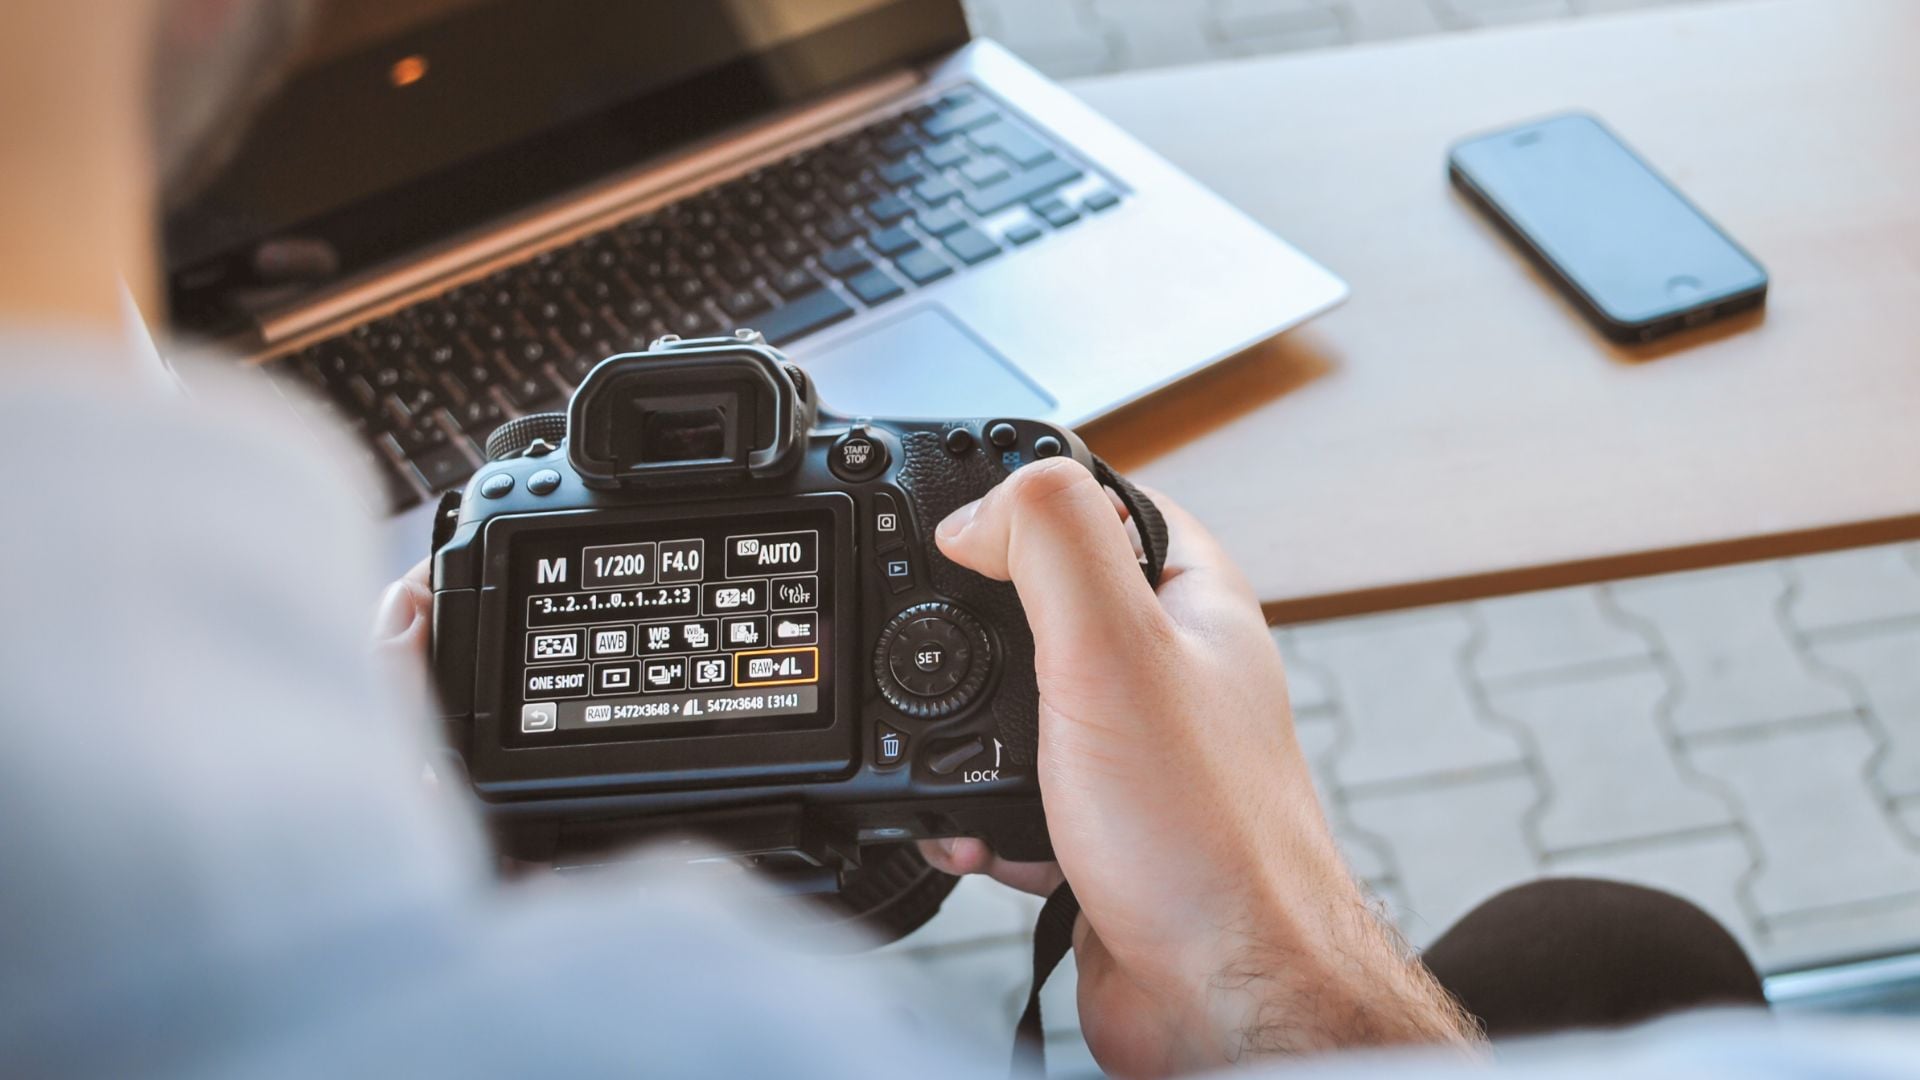
Proper camera settings provide the technical foundation for successful food photography. These settings result from shooting thousands of commercial food images across different lighting conditions and subject types.
Aperture Settings
Aperture choice affects both depth of field and overall image sharpness in ways that directly impact the final image’s commercial viability. Food photography typically requires keeping the entire dish in acceptable focus while separating it from the background through selective focus.
Different situations call for these specific aperture ranges that balance sharpness with visual appeal:
- f/5.6 to f/8 – Individual dishes, keeps food sharp with background separation
- f/8 to f/11 – Table settings and multiple dishes requiring extended depth of field
- f/11 to f/16 – Overhead shots where everything needs sharp focus
- f/2.8 to f/4 – Artistic shots emphasizing single ingredients with dramatic blur
Depth of field considerations require balancing sharpness with visual appeal in practical ways. Always make sure critical elements remain in focus even if supporting elements can fall off into blur. Use focus stacking for extreme close-ups when single-shot depth of field isn’t adequate.
Consider the viewing distance of the final image when choosing apertures because images viewed on phones can tolerate less sharpness than large prints. You should also test depth of field at actual shooting distance rather than relying on the camera’s LCD, which can be misleading.
Exposure and Metering
Food photographs typically look best when slightly overexposed compared to standard metering suggestions. This creates the bright, appetizing look that performs well in commercial applications where the goal is maximum appetite appeal.
Exposure compensation varies depending on the mood and intended use of the images:
- +1/3 to +2/3 stops – Most food photography situations for bright, appetizing results
- Even exposure – Dark, moody styling or low-key lighting setups
- +1 stop – Bright, cheerful images for social media platforms
- Spot metering – Precise control over key highlight areas in challenging lighting
Proper histogram management ensures maximum image quality and commercial viability. Keep highlights just below the clipping point to maintain detail in important areas like plate surfaces and bright garnishes.
Make sure adequate shadow detail for post-processing flexibility because clients often request adjustments. Make sure to also watch for color channel clipping in saturated reds and oranges, which are common in food photography. Use exposure bracketing for challenging lighting situations where a single exposure can’t capture the full tonal range.
Focus Techniques
Manual focus provides more precision than autofocus systems, especially in challenging conditions common to food photography like steam, moisture, or low contrast situations that can confuse autofocus sensors.
Focus placement strategies ensure critical areas remain sharp while supporting elements can fall into attractive blur. You should focus on the closest important element to the camera because this draws the viewer’s eye into the image naturally.
Use hyperfocal distance techniques for maximum depth of field when shooting table settings or multiple dishes. Focus stack when single-shot focus isn’t adequate for macro work or complex compositions. Then, consider the final viewing size when determining acceptable sharpness levels because different output sizes have different requirements.
Advanced Food Photography Techniques
These specialized techniques separate professional food photography from basic documentation. They require more technical skill and planning but create images that command attention and justify higher rates in commercial markets.
Motion and Action Food Photography
Capturing movement in food photography requires precise timing and technical setup, but these action shots communicate freshness, process, and craftsmanship that static images simply can’t convey.
Setting up for high-speed photography demands these specific technical preparations for success:
- Pre-focus on where the action will occur (autofocus often can’t keep up)
- Use burst mode for multiple capture opportunities
- Fast shutter speeds (minimum 1/500 second) to freeze motion
- Adequate lighting to support fast shutter speeds without high ISO
- Multiple attempts – perfect timing requires practice and patience
Popular action shots that consistently perform well in commercial applications include liquid pours like honey, syrup, oil, or wine that create elegant curves and suggest flow. Meanwhile, ingredient additions showing salt, herbs, or spices being added communicate the cooking process and craftsmanship.
Steam rising from hot dishes suggests optimal serving temperature and freshness. Also, cutting or slicing motions show the food’s texture and invite viewers to imagine the eating experience. Flour clouds from baking processes create drama and communicate the handmade quality that appeals to many consumers.
Steam Photography Techniques
Visible steam suggests optimal serving temperature and freshness, but natural steam dissipates quickly and can be difficult to control during longer shooting sessions. Professional food photographers develop techniques to capture steam effectively regardless of timing constraints.
Natural steam techniques work best when photographers can shoot quickly and efficiently. Work rapidly with everything else pre-set so focus can remain entirely on capturing the steam when it appears.
Shoot immediately after plating hot foods because steam production drops rapidly as food cools. You can also use continuous autofocus to track steam movement as it rises and disperses. Position lights to make steam visible against darker backgrounds because steam often becomes invisible against light backgrounds.
For longer shooting sessions where natural steam isn’t practical, here are artificial methods that provide more control over the final result:
- Hidden steam generators – Commercial devices designed for photography
- Hot water containers – Positioned just outside the frame for on-demand steam
- Wet cotton or towels – Heated in microwave and placed strategically
- Dry ice effects – Creates dramatic fog (requires proper ventilation and safety)
Splash and Pour Photography
Liquid interaction shots create dynamic energy and suggest the sensory experience of food preparation and consumption. These techniques require specific setups and timing to capture the perfect moment when liquids interact in visually appealing ways.
Splash photography demands these specific technical requirements for consistent success:
- High shutter speeds of 1/1000 second or faster freeze motion with sharp detail.
- Continuous lighting helps photographers see exactly where splashes occur, making timing more predictable.
- Manual focus should be set to the interaction point before the action begins.
Make sure to use protective equipment for camera and lighting gear to prevent damage from inevitable spills. Easy cleanup setup with towels and protective surfaces lets photographers attempt multiple shots without major disruption.
Moreover, timing techniques can dramatically increase success rates for perfect splash captures. Practice pour height and speed before actual shooting to understand how the liquid behaves.
Use countdown timing for coordinated action when working with assistants. Shoot slightly wide and crop later to allow for movement variations in splash patterns. Plan multiple setup variations to increase chances of getting the perfect shot because liquid behavior can be unpredictable.
Focus Stacking for Extended Sharpness
When depth of field limitations prevent single-shot sharpness throughout the subject, focus stacking combines multiple images at different focus distances to create one perfectly sharp final image.
The focus stacking workflow requires these methodical execution steps for best results:
- Mount camera on sturdy tripod to prevent any movement between shots
- Use manual focus and exposure to maintain consistency across all frames
- Take 5-15 shots with slight focus adjustments between each frame
- Process in specialized software (Photoshop, Helicon Focus, Zerene Stacker)
- Fine-tune final composite for natural-looking results without blending artifacts
This technique works particularly well for macro food photography where shallow depth of field would normally leave important areas out of focus. Complex compositions with multiple depth levels also benefit from focus stacking when everything needs to be sharp for commercial applications.
Professional Food Photography Workflows
Efficient workflows become critical when working with perishable subjects and client deadlines. These systems developed through years of commercial food photography ensure consistent results while minimizing waste and maximizing efficiency.
Pre-Production Planning
Successful food photography starts long before the camera comes out. Detailed planning prevents expensive mistakes and ensures smooth shooting sessions that respect both food quality and client budgets.
Pre-production planning should cover these essential elements that can make or break a shoot:
- Shot list creation – Prioritize images by importance and food stability
- Lighting tests – Verify setup works before food preparation begins
- Prop selection – Choose backgrounds and styling elements in advance
- Equipment checks – Test all gear, charge batteries, format memory cards
- Timeline development – Account for food preparation and deterioration rates
Food Preparation Timing
Different foods maintain their photogenic qualities for varying lengths of time, and understanding these limitations helps photographers plan shooting sequences that maximize quality while minimize waste.
Food stability determines shooting priorities and workflow planning in these predictable categories:
- Immediate shooting required (under 2 minutes) – Ice cream, whipped cream, hot steam
- Quick shooting needed (2-10 minutes) – Leafy greens, fresh herbs, hot dishes
- Moderate stability (10-30 minutes) – Most cooked foods, bread, fruit
- Extended stability (30+ minutes) – Dry ingredients, hard cheeses, dense baked goods
Team Coordination
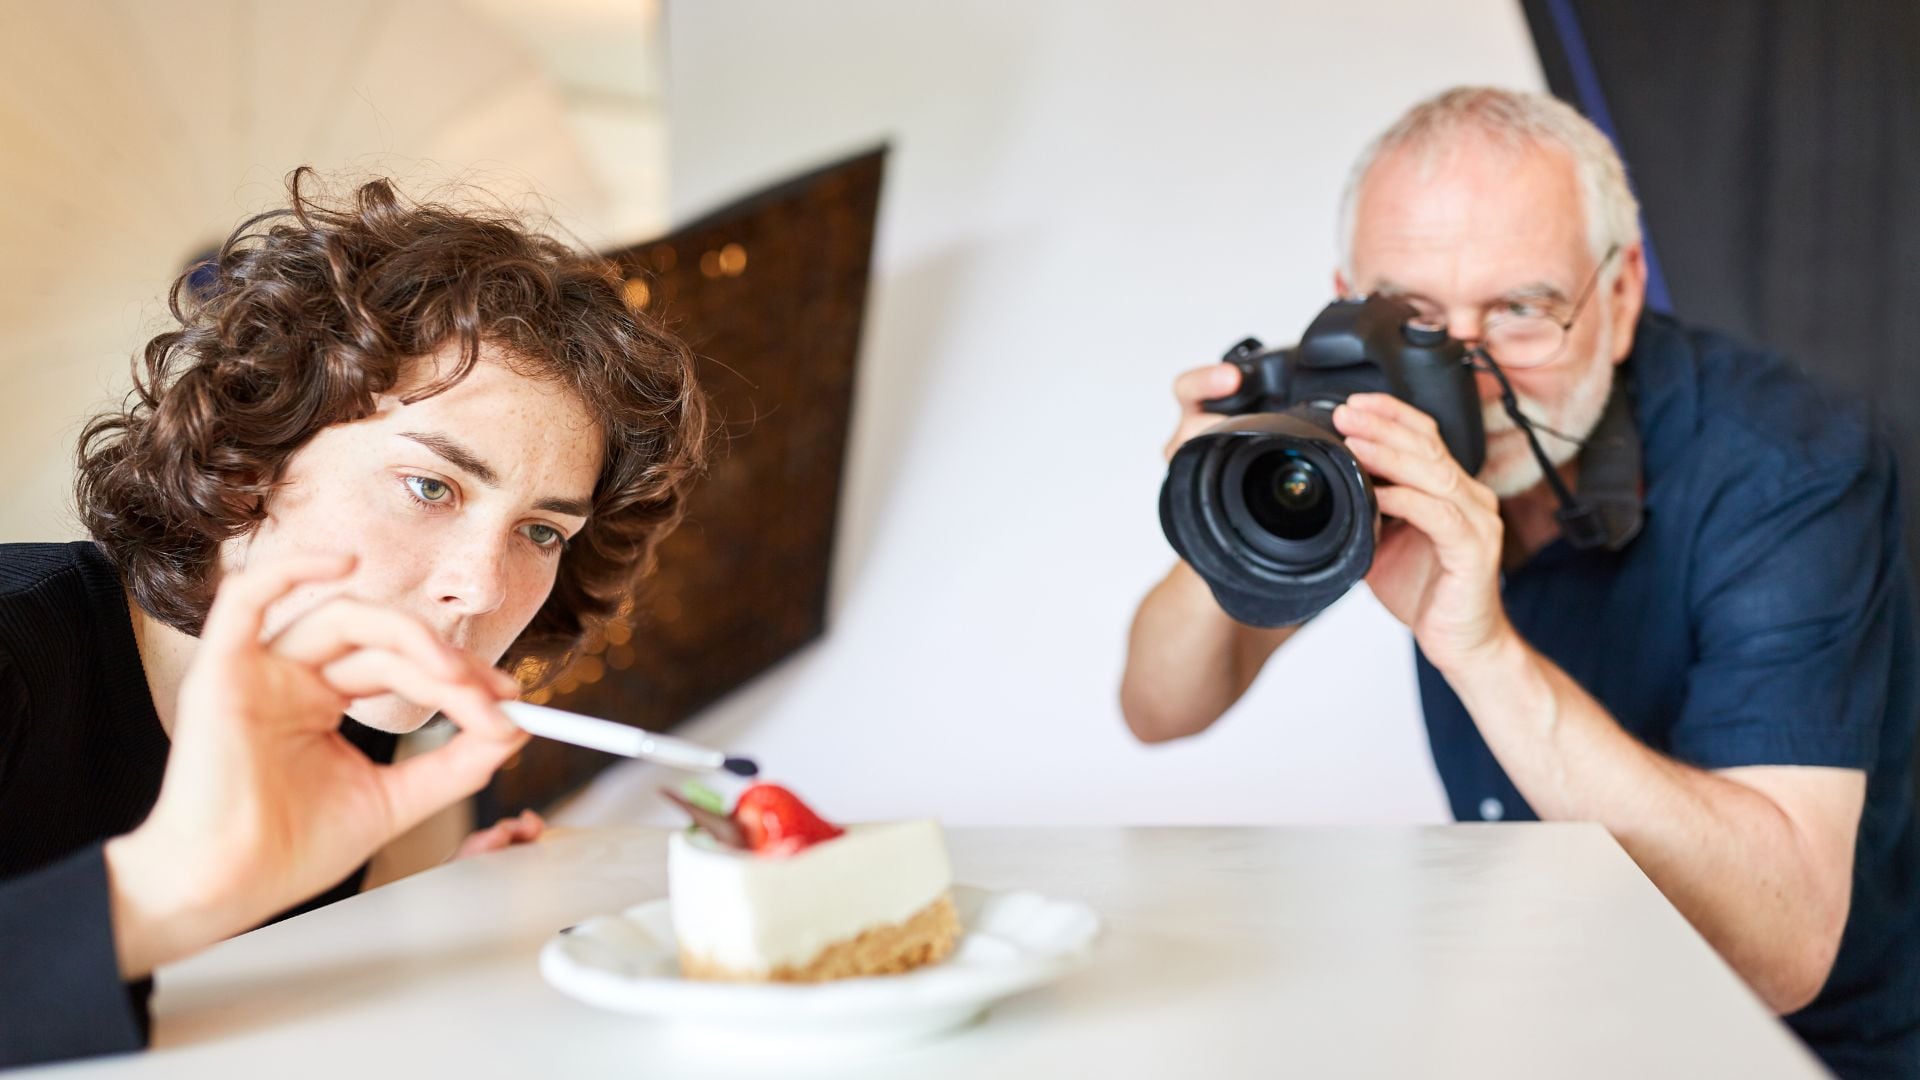
Commercial food photography often involves multiple specialists working together under time pressure. Clear communication and defined roles facilitates efficient use of limited shooting time while maintaining high quality standards.
Team roles must be clearly defined to prevent confusion during critical moments. The food stylist handles all food preparation and presentation, ensuring dishes look their best when they reach the camera.
The photographer manages lighting, composition, and technical capture while monitoring food quality throughout the shoot. While the prop stylist manages backgrounds, surfaces, and non-food elements that support the overall visual story. Then the client representative makes final approval decisions and ensures the images meet brand requirements and commercial objectives.
Here are effective communication protocols that prevent delays and confusion during time-critical moments:
- Establish hand signals for quiet communication during shooting
- Define who handles what tasks during time-critical moments
- Plan backup strategies for equipment failures or styling issues
- Set clear approval processes to avoid delays when food quality deteriorates
Building a Professional Food Photography Portfolio
A strong portfolio demonstrates technical competence, creative vision, and commercial viability to potential clients. Certain elements consistently separate professional work from amateur attempts.
Portfolio Content Strategy
A photographer’s portfolio should tell a clear story about their capabilities while showcasing versatility across different food types and commercial applications. The goal is proving they can handle whatever assignment comes their way while maintaining consistently high standards.
A comprehensive food photography portfolio needs these essential categories to demonstrate complete capabilities:
- Hero shots – Single dish images showcasing technical and creative skills
- Action shots – Movement and process photography with advanced techniques
- Styling variety – Different moods from casual to elegant presentations
- Client work samples – Real commercial projects showing practical experience
- Technical challenges – Steam, splash, macro, and specialized techniques
Technical Quality Standards in Food Photography
Every image in a portfolio must meet professional technical standards because clients judge entire capabilities based on the weakest image. One poorly executed photograph can undermine otherwise strong work and cost potential assignments.
Every portfolio image must pass this comprehensive technical checklist:
- Perfect focus on all critical elements with no exceptions
- Proper exposure with detail in both highlights and shadows
- Accurate color reproduction that makes food look appetizing
- Clean compositions free of distracting elements
- Consistent processing style that feels cohesive across the body of work
Demonstrating Commercial Viability
Potential clients need to see that photographers understand commercial requirements and can deliver results that serve business objectives rather than just creating pretty pictures. For instance, commercial portfolio elements should include images that clearly show products or dishes in ways that support sales objectives. Styling must match target market expectations and demonstrate understanding of different demographic appeals.
Technical quality should be suitable for large format printing and various commercial applications. Show variety in lighting conditions and environments to prove adaptability. Include examples of working within brand guidelines and creative briefs that demonstrate professionalism and collaborative skills.
Putting Food Photography Skills into Practice
Food photography success comes down to three essential elements: mastering your camera techniques, understanding how food behaves under lights, and working efficiently when timing matters most. Unlike portrait photography where subjects can hold poses indefinitely, food starts deteriorating quickly once studio lights are turned on.
Professional photographers learn through experience that real ice cream melts before you can capture the perfect shot, which is why many use substitutes during longer sessions. Steam from hot dishes dissipates within minutes of plating. Fresh greens wilt under hot lights much faster than heartier vegetables. These insights come from hands-on experience and learning from early mistakes.
The commercial opportunities keep expanding because visual content drives most purchasing decisions today. Social media platforms determine where people choose to eat. Food delivery apps succeed or fail based on their photography quality. Even grocery shopping increasingly happens online, where product images must look appealing enough to trigger purchases.
Success requires more than creating beautiful images. It means making everyday food look worth its price point through proper lighting and styling. It involves making healthy options appear exciting to health-conscious consumers. The goal is always creating images that look fresh and appetizing rather than flat or uninviting.
Food Photography FAQ
What is the best camera setting for food photography?
An aperture of f/5.6 to f/8 keeps the whole dish sharp while softly separating it from the background. Use a low ISO and adjust shutter speed to taste, or slightly overexpose (around +1/3 to +2/3 stops) for a bright, appetizing look.
What lighting is best for food photography?
Soft, directional light from the side or behind the food brings out texture and makes it look appetizing. Natural window light is the easiest place to start; direct front light flattens the food and should be avoided.
What lens is best for food photography?
A 50mm works as an everyday workhorse, a 90–105mm macro is ideal for detail shots, and an 85–135mm gives flattering compression with a comfortable working distance.
Do you need an expensive camera for food photography?
No. While full-frame cameras offer advantages, good food photography depends far more on light, styling, and composition than on gear.

Darlene Lleno
Darlene Lleno brings a unique perspective to DIY Photography as someone who grew up surrounded by camera gear but chose words over lenses. With five years of writing experience, she specializes in photography content that’s both technically informed and genuinely passionate. Growing up with a photographer twin brother meant camera talk was everyday conversation in her household. While he mastered capturing moments, Darlene discovered she preferred being the subject and the storyteller behind the scenes. As a travel enthusiast and mother of two, she understands the importance of preserving life’s precious moments. When not exploring new destinations or writing for DIY Photography, you’ll find her reading or tending to her garden. Her approach to photography writing is refreshingly authentic, she may not be behind the camera, but she knows exactly what it takes to help others capture the shots that matter most.


Join the Discussion
DIYP Comment Policy
Be nice, be on-topic, no personal information or flames.