


Smartphone Manual Mode: A Complete Beginner’s Guide
Jan 11, 2026
Darlene Lleno
Darlene Lleno brings a unique perspective to DIY Photography as someone who grew up surrounded by camera gear but chose words over lenses. With five years of writing experience, she specializes in photography content that’s both technically informed and genuinely passionate. Growing up with a photographer twin brother meant camera talk was everyday conversation in her household. While he mastered capturing moments, Darlene discovered she preferred being the subject and the storyteller behind the scenes. As a travel enthusiast and mother of two, she understands the importance of preserving life’s precious moments. When not exploring new destinations or writing for DIY Photography, you’ll find her reading or tending to her garden. Her approach to photography writing is refreshingly authentic, she may not be behind the camera, but she knows exactly what it takes to help others capture the shots that matter most.
Share:

Smartphone manual mode gives you complete camera control. Your phone stops making decisions for you. You choose how every photo looks instead.
Most phones call this Pro mode or Expert mode in 2026. The name doesn’t matter. What matters is taking control of your photography.
Why Manual Mode Changes Everything
Auto mode works fine for quick snapshots. It fails when lighting gets tricky or you want creative control. Your phone guesses what you want. Sometimes it guesses wrong.
Manual mode lets you control four key settings. ISO, shutter speed, focus, and white balance. These settings work exactly like professional cameras. Master them on your phone and you understand all cameras.
The difference shows up instantly in your photos. Silky waterfalls, frozen action shots, perfect night scenes. Your phone can do all this. You just need to tell it how.
The Four Settings You Need to Know
Every smartphone manual mode includes these core controls. Learn them and you unlock creative possibilities you didn’t know existed.
ISO Controls Your Sensor Sensitivity
ISO determines how your camera sensor responds to light. Lower numbers need bright conditions. Higher numbers work in darkness.
Low ISO between 50 and 200 creates clean, sharp images. Use these settings in daylight. Your photos will have zero grain or noise.
High ISO above 800 works when light gets scarce. The sensor amplifies light to create usable images. But this amplification adds visible grain.
Here’s how to pick the right ISO:
- ISO 100: Bright outdoor conditions and well-lit spaces
- ISO 400: Cloudy days or indoor spaces with good lighting
- ISO 800-1600: Dim environments or night photography
- ISO 3200+: Very dark situations where you need every bit of light
Your phone’s auto mode often picks ISO poorly. It cranks up the sensor when slower shutter speed would work better. Manual control prevents this mistake.
Shutter Speed Freezes or Blurs Motion
Shutter speed controls how long your sensor collects light. Fast speeds freeze action completely. Slow speeds create intentional motion blur.
Fast shutter speeds like 1/1000 second stop moving subjects cold. Athletes mid-jump, splashing water, flying birds. Everything appears frozen in time.
Slow shutter speeds from one second to several seconds blur movement beautifully. Waterfalls turn silky. Car lights become trails. Stars rotate across the sky.
Anything slower than 1/60 second needs stabilization. Your hands shake too much for sharp images. Use a tripod or solid surface.
Manual shutter control creates effects impossible in auto mode. Your phone’s AI never chooses long exposures on purpose. You have to tell it.
Manual Focus Gives You Precision
Autofocus works most of the time. It fails with tricky subjects like close-ups or shooting through glass. Manual focus solves these problems instantly.
Tap your screen and slide the focus control. Your subject sharpens or softens exactly where you point. This precision matters for macro photography.
Shooting flowers, insects, or tiny objects requires exact focus. Auto mode hunts around trying to figure things out. Manual focus goes exactly where you want.
Windows and fences confuse autofocus systems. Your phone focuses on the glass instead of the scene beyond. Manual focus ignores these obstacles.
Low light challenges all autofocus systems. They hunt back and forth without locking on. Manual focus just goes to the right spot.
White Balance Creates Natural Colors
White balance adjusts color temperature so whites look actually white. Different light sources cast different color tints. Cameras need help that your eyes do automatically.
Sunlight appears neutral and balanced. Fluorescent lights look greenish. Regular bulbs cast orange warmth. Shade creates blue coolness.
Your phone offers presets for common situations:
- Daylight: Neutral color for outdoor shooting
- Cloudy: Adds warmth to compensate for blue overcast light
- Fluorescent: Removes green tints from office lighting
- Tungsten: Cools down warm indoor bulb light
Advanced users set Kelvin values manually. Numbers around 5500K match daylight. Lower numbers add warmth. Higher numbers create coolness.
Auto white balance guesses based on the scene. Mixed lighting confuses it completely. Manual mode locks in your choice.
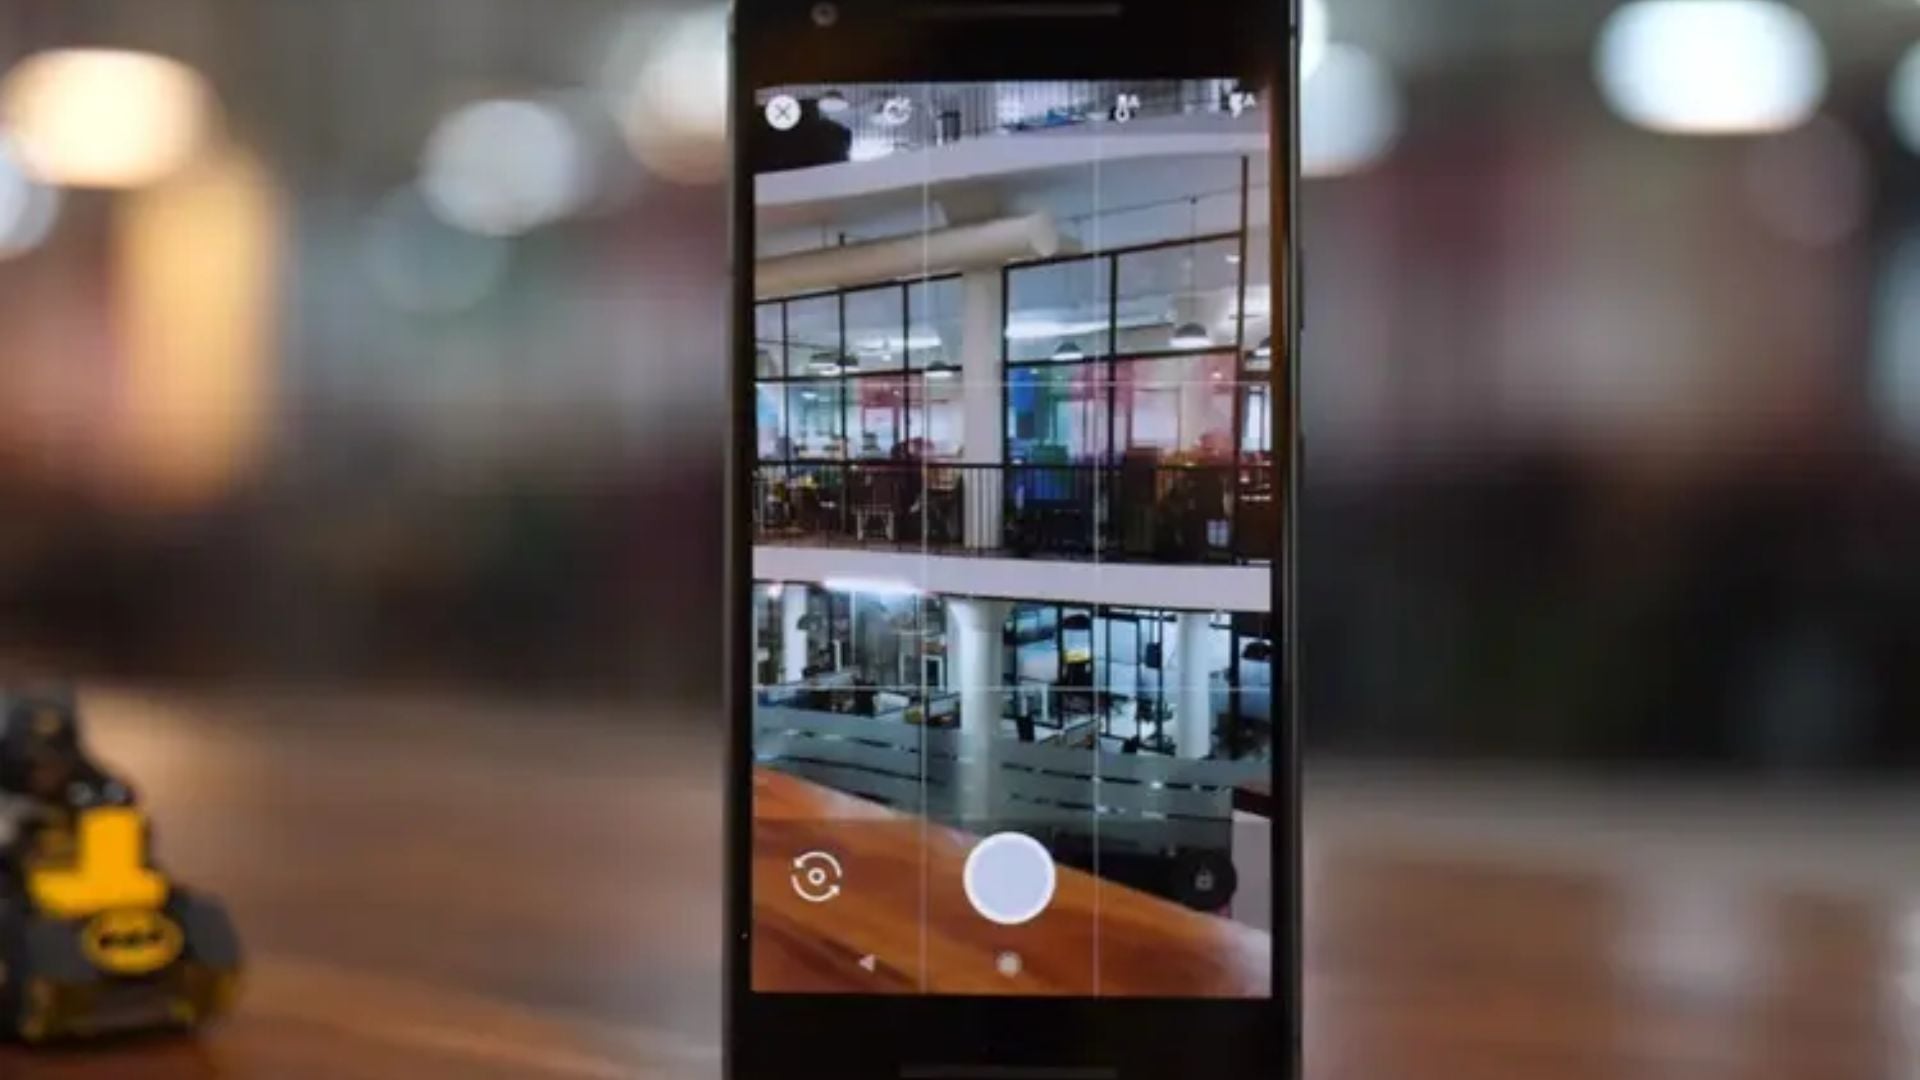
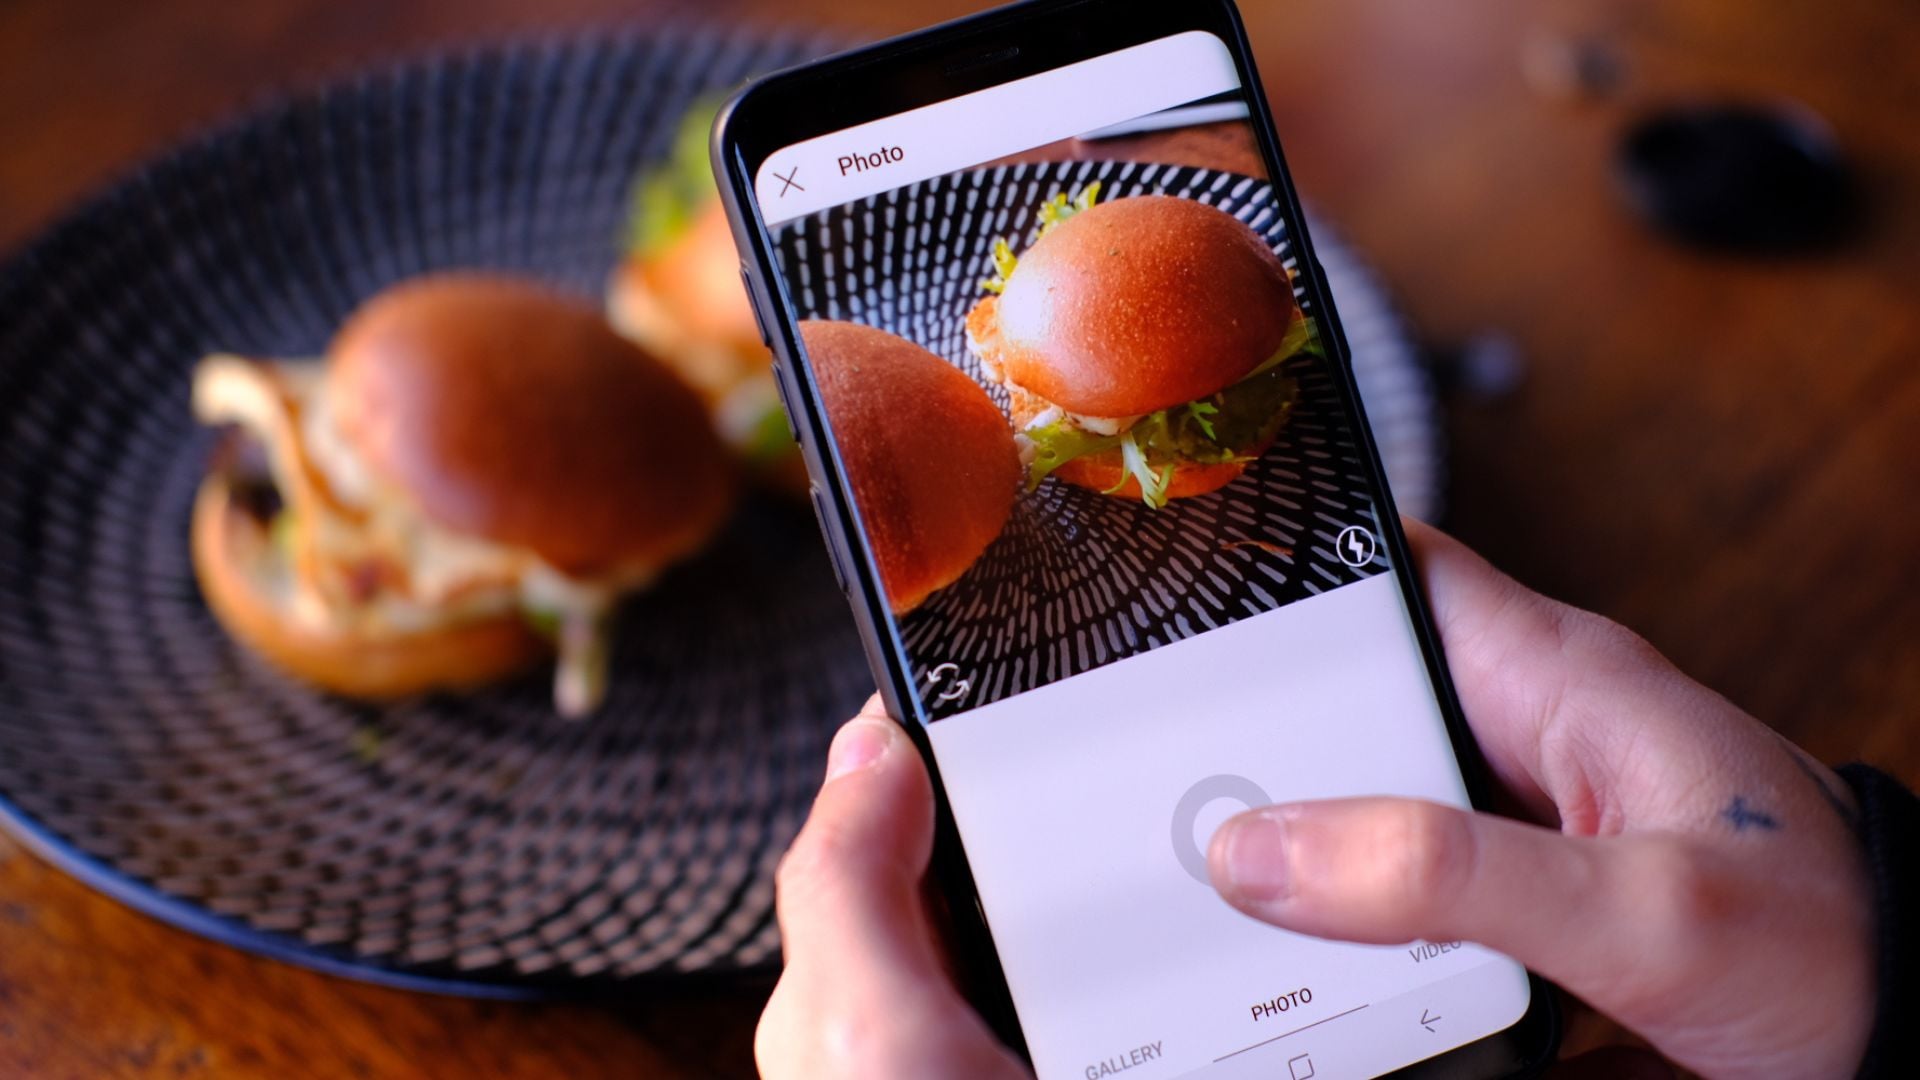
Setting Up Smartphone Manual Mode
Finding and activating manual mode takes seconds. The interface looks scary at first but becomes familiar fast.
Find Pro Mode on Your Phone
Open your camera app and look for More or Pro. Most Android phones place it beside Photo and Video modes.
Samsung calls it Pro mode. OnePlus and Xiaomi label it Expert mode. The name varies but features stay similar.
Google Pixel phones lack native manual controls in basic models. iPhone users need third-party apps. The stock camera skips manual features.
Turn On RAW Capture First
RAW files preserve all sensor data without compression. This gives maximum editing flexibility. JPEG files bake in processing decisions permanently.
Find RAW or ProRAW in your camera settings. Toggle it on before shooting anything important. Files get much larger but editing power increases dramatically.
Edit RAW files in Adobe Lightroom or Snapseed. These apps access all the data your sensor captured. Digital Photography School offers tutorials on RAW editing workflows.
Some phones limit RAW to specific lenses. Check which cameras support it before shooting.

Pick Your Lens
Flagship phones in 2026 pack multiple cameras. Ultra-wide, main wide, and telephoto lenses each serve different purposes. Manual mode now works with all of them.
Main wide lenses work for most situations. Ultra-wide captures expansive scenes. Telephoto brings distant subjects closer without losing quality.
Switch lenses before adjusting settings. Each camera has different capabilities. Test them all to learn their strengths.
Budget phones might limit manual mode to the main camera only. Check your specs if some lenses don’t offer manual controls.
Third-Party Apps for More Control
Stock camera apps skip manual controls on some phones. Third-party apps unlock power hiding in your hardware.
Blackmagic Camera for Pro Results
Blackmagic Camera brings cinema-grade controls to smartphones for free. Video shooters love it but photo mode works brilliantly too.
The interface looks professional because it copies broadcast cameras. This intimidates beginners but rewards learning with incredible control.
Download it for both iOS and Android. The app works identically across platforms. Settings transfer if you switch phone brands.
Open Camera for Android Power
Open Camera gives full manual control on any Android phone. The developer releases it open-source and completely free.
Every setting becomes adjustable. ISO, shutter speed, focus, white balance. Even exposure compensation works manually.
The interface looks plain compared to stock apps. Function beats beauty here. Photographers who want power choose Open Camera.
Halide Mark II for iPhone Users
iPhone shooters consider Halide Mark II the gold standard. It costs money but delivers professional manual controls Apple skips.
The interface feels native to iOS. Everything works smoothly and intuitively. You forget you’re using a third-party app quickly.
RAW capture works flawlessly through Halide. Editing workflows integrate seamlessly. FilterGrade reviewed it as essential for serious iPhone photography.
Mastering the Exposure Triangle
ISO, shutter speed, and aperture work together controlling exposure. Smartphones fix aperture so you balance ISO and shutter speed only.
How Settings Work Together
Bright scenes need low ISO and fast shutter speeds. Your sensor doesn’t need much light amplification. Quick exposures prevent overexposure.
Dim scenes require higher ISO or slower shutter speeds. You need more light reaching the sensor somehow. Pick whether you want grain or motion blur.
Action photography demands fast shutter speeds always. Bump ISO up to maintain brightness. Accept some grain to freeze motion perfectly.
Still subjects allow slower shutter speeds freely. Keep ISO low for maximum quality. Use tripods for sharpest results.
Finding the Right Balance
Start by setting your most important value first. Freezing motion requires fast shutter speed. Set that then adjust ISO for brightness.
Controlling grain means picking ISO first. Choose the lowest value that creates proper exposure. Adjust shutter speed to compensate.
Practice reveals patterns quickly. Outdoor sports need ISO 400 and 1/500 second typically. Indoor scenes might want ISO 1600 and 1/125 second.
Your phone’s light meter guides you. Adjust settings until the meter shows proper exposure. This takes practice but becomes automatic.
Real-World Shooting Techniques
Theory means nothing without application. These techniques work immediately for common situations.
Shooting Silky Waterfalls
Slow shutter speeds turn rushing water silky smooth. This classic effect looks magical but requires manual control.
Set ISO to 100 for maximum quality. Choose shutter speed between one and four seconds. Your phone absolutely needs a tripod.
Bright sunlight overexposes long exposures easily. Shoot in shade or during cloudy conditions. Morning and evening light work best.
This silky water effect separates amateur from professional looking images. Auto mode never creates this deliberately.
Capturing Star Trails
Stars rotate slowly across the sky all night. Long exposures capture this movement as curved light trails.
Mount your phone completely still on a tripod. Set ISO around 800 to balance quality and sensitivity. Choose shutter speed of 30 seconds or longer.
Longer exposures create longer trails. Try exposures from one minute to several hours. Battery life limits how long you can shoot.
Stack multiple shorter exposures in editing for best results. This reduces noise problems long exposures create.
Freezing Fast Action
Sports, wildlife, and active kids need frozen motion. Fast shutter speeds stop everything mid-movement perfectly.
Set shutter speed to 1/500 second minimum. Go faster for really quick action. Bump ISO higher if images look too dark.
Continuous burst mode helps catch perfect moments. Hold the shutter and your phone fires rapidly. Pick the sharpest frame later.
Track moving subjects with manual focus if autofocus struggles. This takes practice but works better for predictable movement.
Low Light Photography
Dim environments challenge smartphone cameras severely. Manual control produces better results than auto mode struggling.
Increase ISO to 1600 or 3200 as needed. Yes, grain increases but proper exposure matters more. Dark, unusable images help nobody.
Slow shutter speed down to 1/30 second if you can hold steady. Any slower absolutely needs stabilization.
Look for stationary light sources to focus on. Streetlights, signs, and windows give focus systems targets. Manual focus works even better.
Mistakes Beginners Always Make
Everyone makes these errors learning smartphone manual mode. Recognizing them speeds your improvement dramatically.
Cranking ISO Too High
New manual shooters bump ISO way up immediately. They assume higher numbers always help. This creates grainy images when lower ISO works fine.
Start with ISO 100 always. Increase only when images look too dark. Go up in small steps rather than huge jumps.
Test your phone’s ISO performance. Shoot the same scene at every ISO value. Find where grain becomes unacceptable to your eyes.
Remember that some grain beats a blurry image. Prioritize shutter speed for sharp photos over grain-free quality.
Forgetting About Stability
Slow shutter speeds reveal every tiny hand shake. Photos blur even when you think you held perfectly still.
Anything slower than 1/60 second needs extra support. Lean against walls, rest on railings, or use actual tripods.
Cheap phone tripods cost less than ten dollars. They transform long exposure capability completely. Buy one before attempting night photography.
Enable your phone’s self-timer for important shots. This eliminates shake from pressing the shutter button.
Ignoring White Balance
Photos with weird color casts look unprofessional instantly. Orange faces under warm lights or blue skin in shade ruins otherwise good images.
Check white balance before every new location. Lighting changes constantly as you move around. Update settings to match conditions.
Take test shots and review them immediately. Your screen shows color problems clearly. Adjust white balance until whites actually look white.
Shoot RAW to fix white balance later in editing. This saves photos when you forget to check during shooting.
Mixing Auto and Manual
Most camera apps let you manually control some settings while leaving others on auto. This creates unpredictable results.
Commit fully to smartphone manual mode when learning. Control all four settings yourself. This teaches how they interact together.
Auto ISO particularly sabotages manual shooting. Your phone changes sensitivity constantly. Lock it down manually for consistent results.
Return to full auto only after mastering manual completely. Then you’ll know exactly when manual control helps.
Building Your Skills Fast
Smartphone manual mode expertise develops through deliberate practice. These exercises accelerate your learning.
Focus on One Setting Weekly
Pick one setting and spend a week focusing on it exclusively. Shoot everything at different ISO values one week. Experiment with shutter speeds the next.
This focused approach builds intuition about each control. You’ll predict settings needed for scenes before measuring.
Document your settings with each photo. Review later to see which combinations worked best. Patterns emerge quickly.
Recreate Professional Photos
Find professional photos you admire and try recreating them. Analyze the lighting and settings needed. Attempt matching the look using smartphone manual mode.
This teaches you to see light like professionals do. You learn which settings create specific effects. Having goals accelerates improvement.
Most famous photos used traditional cameras but principles transfer directly. Exposure rules work identically across all cameras.
Challenge Yourself Deliberately
Seek out scenarios that challenge your skills on purpose. Bright midday sun, deep shadows, mixed lighting. Each difficulty teaches different lessons.
Don’t avoid hard situations because results might disappoint. These exact scenarios teach more than comfortable shooting ever could.
Review failed attempts carefully. Figure out what went wrong and why. Try again until you solve each challenge.
Join Photography Communities
Share your smartphone manual mode journey online. Photography forums and social media groups offer feedback and encouragement.
Ask specific questions about problems you’re experiencing. Photographers love helping others learn because someone helped them too.
Study others’ manual mode techniques. Look for their shared settings and approaches. Adapt successful strategies to your shooting style.

When to Use Manual Mode
Smartphone manual mode isn’t always the right choice. Knowing when to use it matters just as much.
Use manual control for challenging light situations. Sunsets, concerts, night scenes. These fool auto modes constantly but manual handles them easily.
Choose manual for creative effects. Light trails, silky water, star trails. Auto mode can’t create these effects on purpose.
Stick with auto mode for fast, changing scenes. Street photography, events with varying light, quick snapshots. Manual adjustments take time you might not have.
Document important settings that work well. Save combinations for repeated situations. This builds your personal reference library.
Master Your Phone Camera Now
Smartphone manual mode transforms your phone from point-and-shoot to creative tool. Four core settings unlock photography possibilities auto mode hides forever.
Start by practicing one setting at a time. Master ISO before moving to shutter speed. Learn focus control before white balance complexity.
Shoot deliberately rather than constantly. Think about settings before each photo. This conscious practice builds skills faster than mindless shooting.
Your phone camera already has professional capability built in. Smartphone manual mode just unlocks what’s always been there. Take control and create images that match your vision perfectly.

Darlene Lleno
Darlene Lleno brings a unique perspective to DIY Photography as someone who grew up surrounded by camera gear but chose words over lenses. With five years of writing experience, she specializes in photography content that’s both technically informed and genuinely passionate. Growing up with a photographer twin brother meant camera talk was everyday conversation in her household. While he mastered capturing moments, Darlene discovered she preferred being the subject and the storyteller behind the scenes. As a travel enthusiast and mother of two, she understands the importance of preserving life’s precious moments. When not exploring new destinations or writing for DIY Photography, you’ll find her reading or tending to her garden. Her approach to photography writing is refreshingly authentic, she may not be behind the camera, but she knows exactly what it takes to help others capture the shots that matter most.


Join the Discussion
DIYP Comment Policy
Be nice, be on-topic, no personal information or flames.