


Panning Photography Technique: Capturing Sharp Subjects with Motion Blur
Nov 28, 2025
Darlene Lleno
Darlene Lleno brings a unique perspective to DIY Photography as someone who grew up surrounded by camera gear but chose words over lenses. With five years of writing experience, she specializes in photography content that’s both technically informed and genuinely passionate. Growing up with a photographer twin brother meant camera talk was everyday conversation in her household. While he mastered capturing moments, Darlene discovered she preferred being the subject and the storyteller behind the scenes. As a travel enthusiast and mother of two, she understands the importance of preserving life’s precious moments. When not exploring new destinations or writing for DIY Photography, you’ll find her reading or tending to her garden. Her approach to photography writing is refreshingly authentic, she may not be behind the camera, but she knows exactly what it takes to help others capture the shots that matter most.
Share:

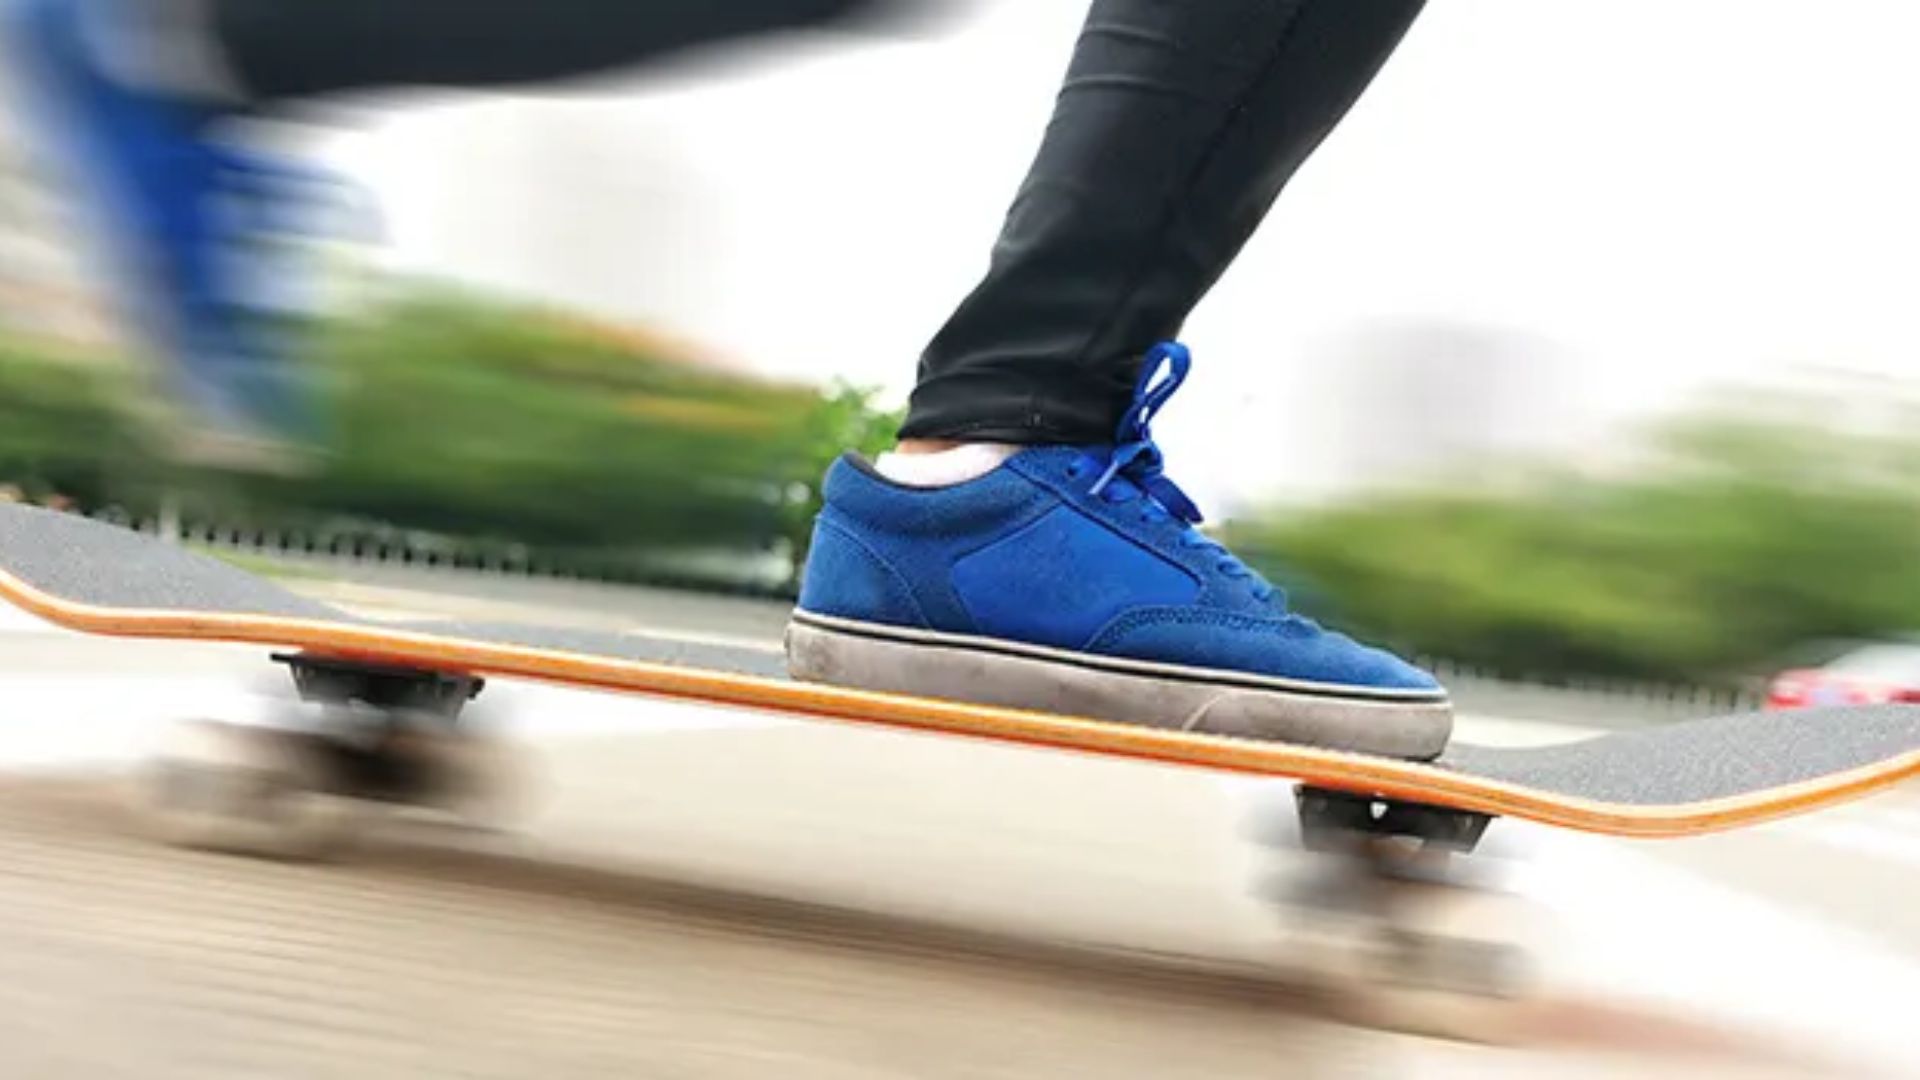
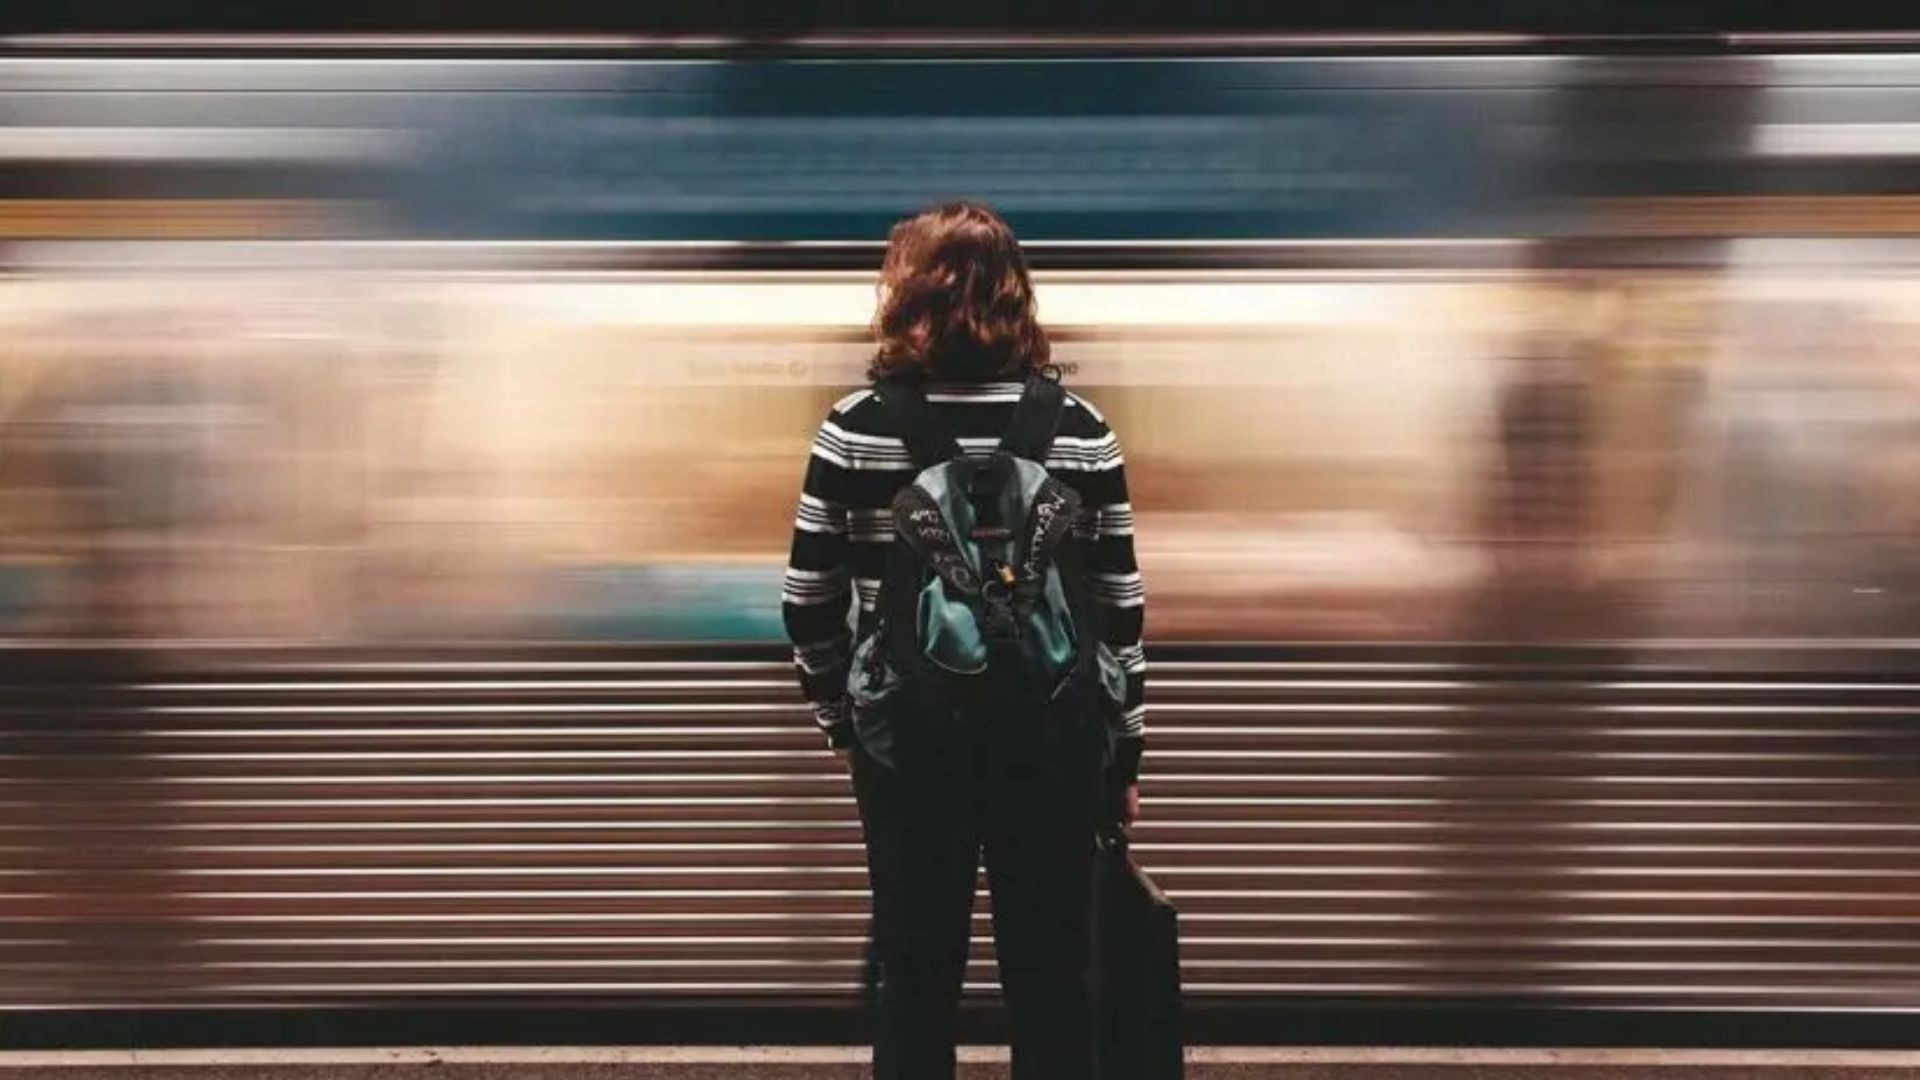
Panning photography turns moving subjects into powerful shots that show real speed and energy. Your subject stays tack sharp. Everything else blurs into beautiful streaks around them. Frozen images can’t create this same feeling of motion. You’ll need some patience to nail this technique. But trust me, the results make every practice shot worthwhile.
What is Panning Photography
You track your subject horizontally as you shoot. That’s the basic idea behind panning photography. Your camera follows along at the same speed as your subject moves. The shutter speed stays slow enough to blur the background. Your subject looks sharp because you’re moving right along with it.
This technique fights against what your camera wants to do naturally. Cameras try their hardest to make everything perfectly sharp. They hate blur. You need to basically trick your equipment to get this cool effect. The whole point is overriding what your camera thinks is a good photo.

How Motion Blur Creates Dynamic Images
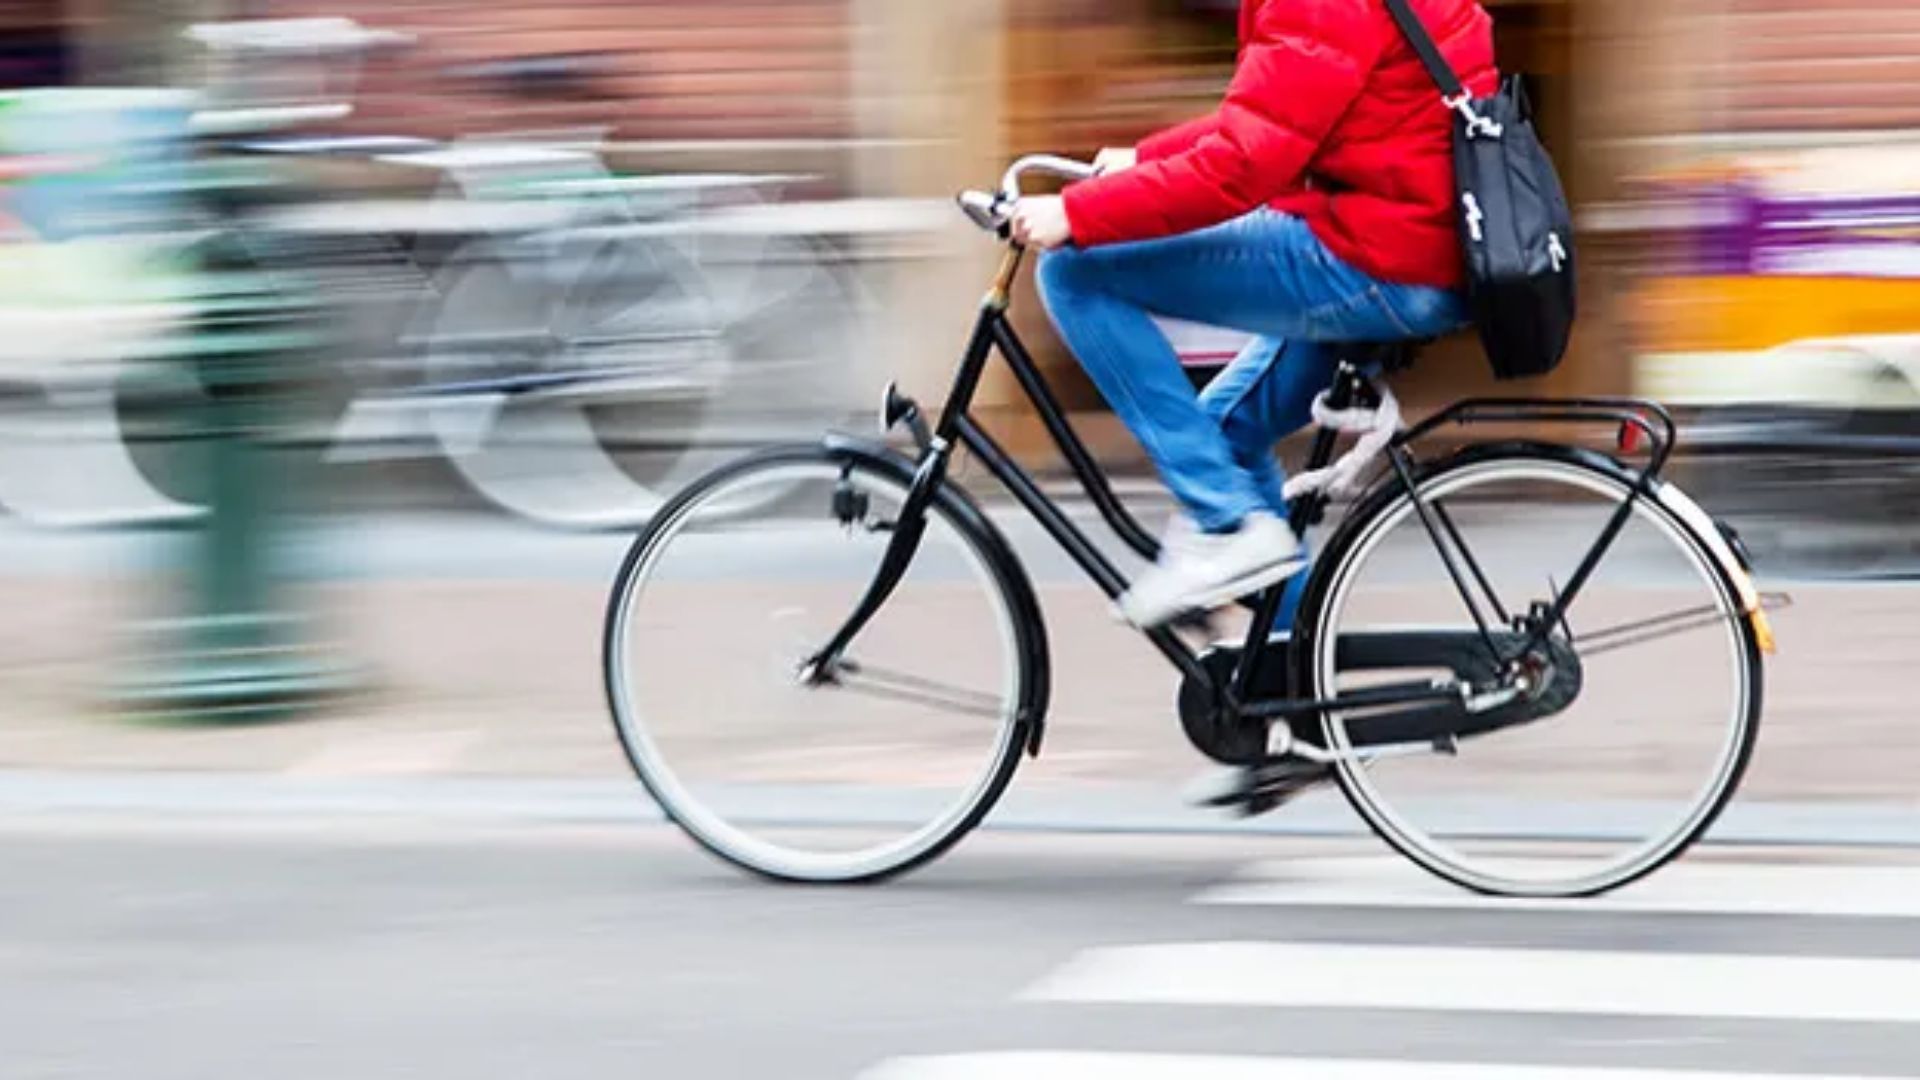
Motion blur does all the heavy lifting in separating your subject from everything else. The blurred background instantly tells viewers something is moving fast. Your eye gets it right away. A cyclist stops being just someone on a bike. They become pure speed.
This is actually how we see fast stuff in real life. We never see perfectly frozen moments when cars zoom past us. Things blur together naturally. Motion blur photography just captures what our eyes already know. That’s why these images feel so real and alive.
When to Use the Panning Technique
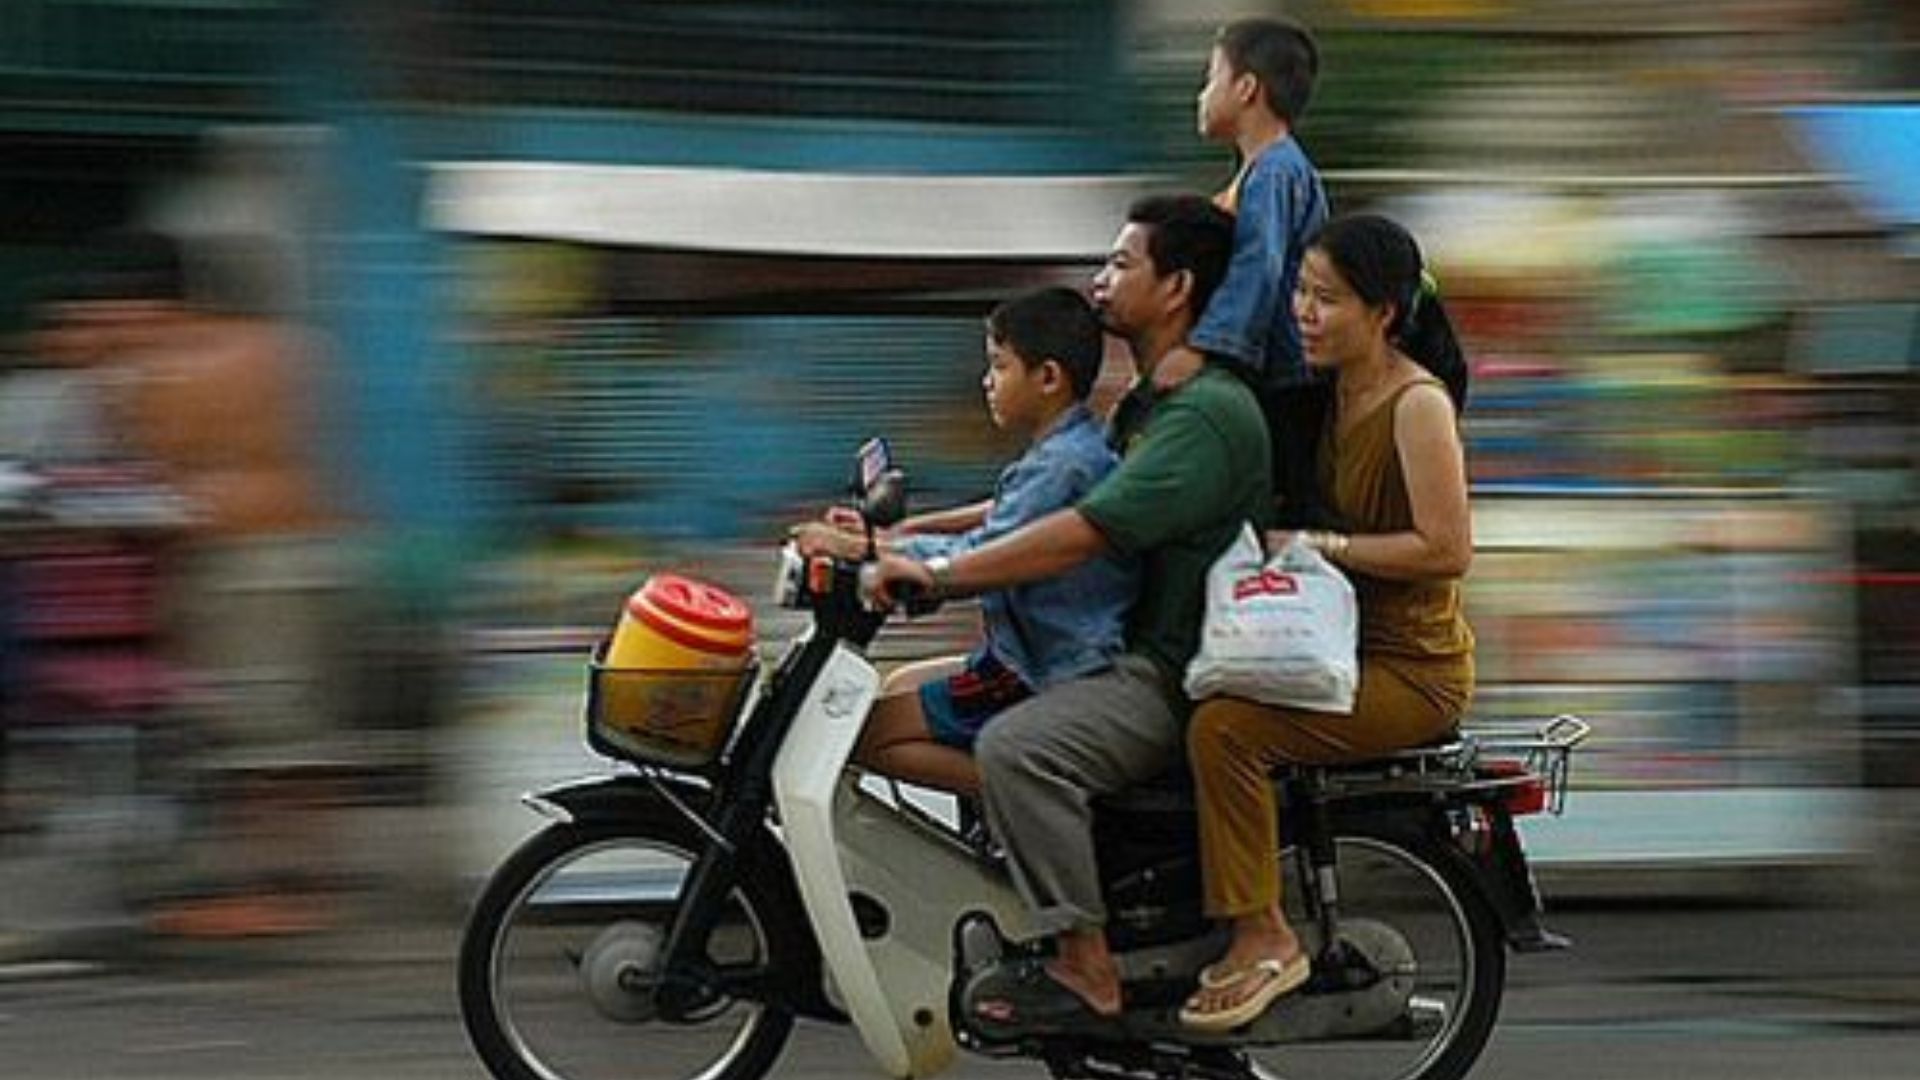
Sports photographers absolutely love panning shots. Basketball players driving to the hoop look with motion blur behind them. Race cars flying past tell stories you can almost hear. Regular everyday scenes work great too. Even a dog running through a park turns into something special.
Action photography eats this stuff up. You just need your subject moving sideways across your frame. Walking people, cyclists, motorcycles, low-flying birds, all perfect. The secret is that side-to-side movement. Subjects coming straight at you or moving away won’t give you the same results.
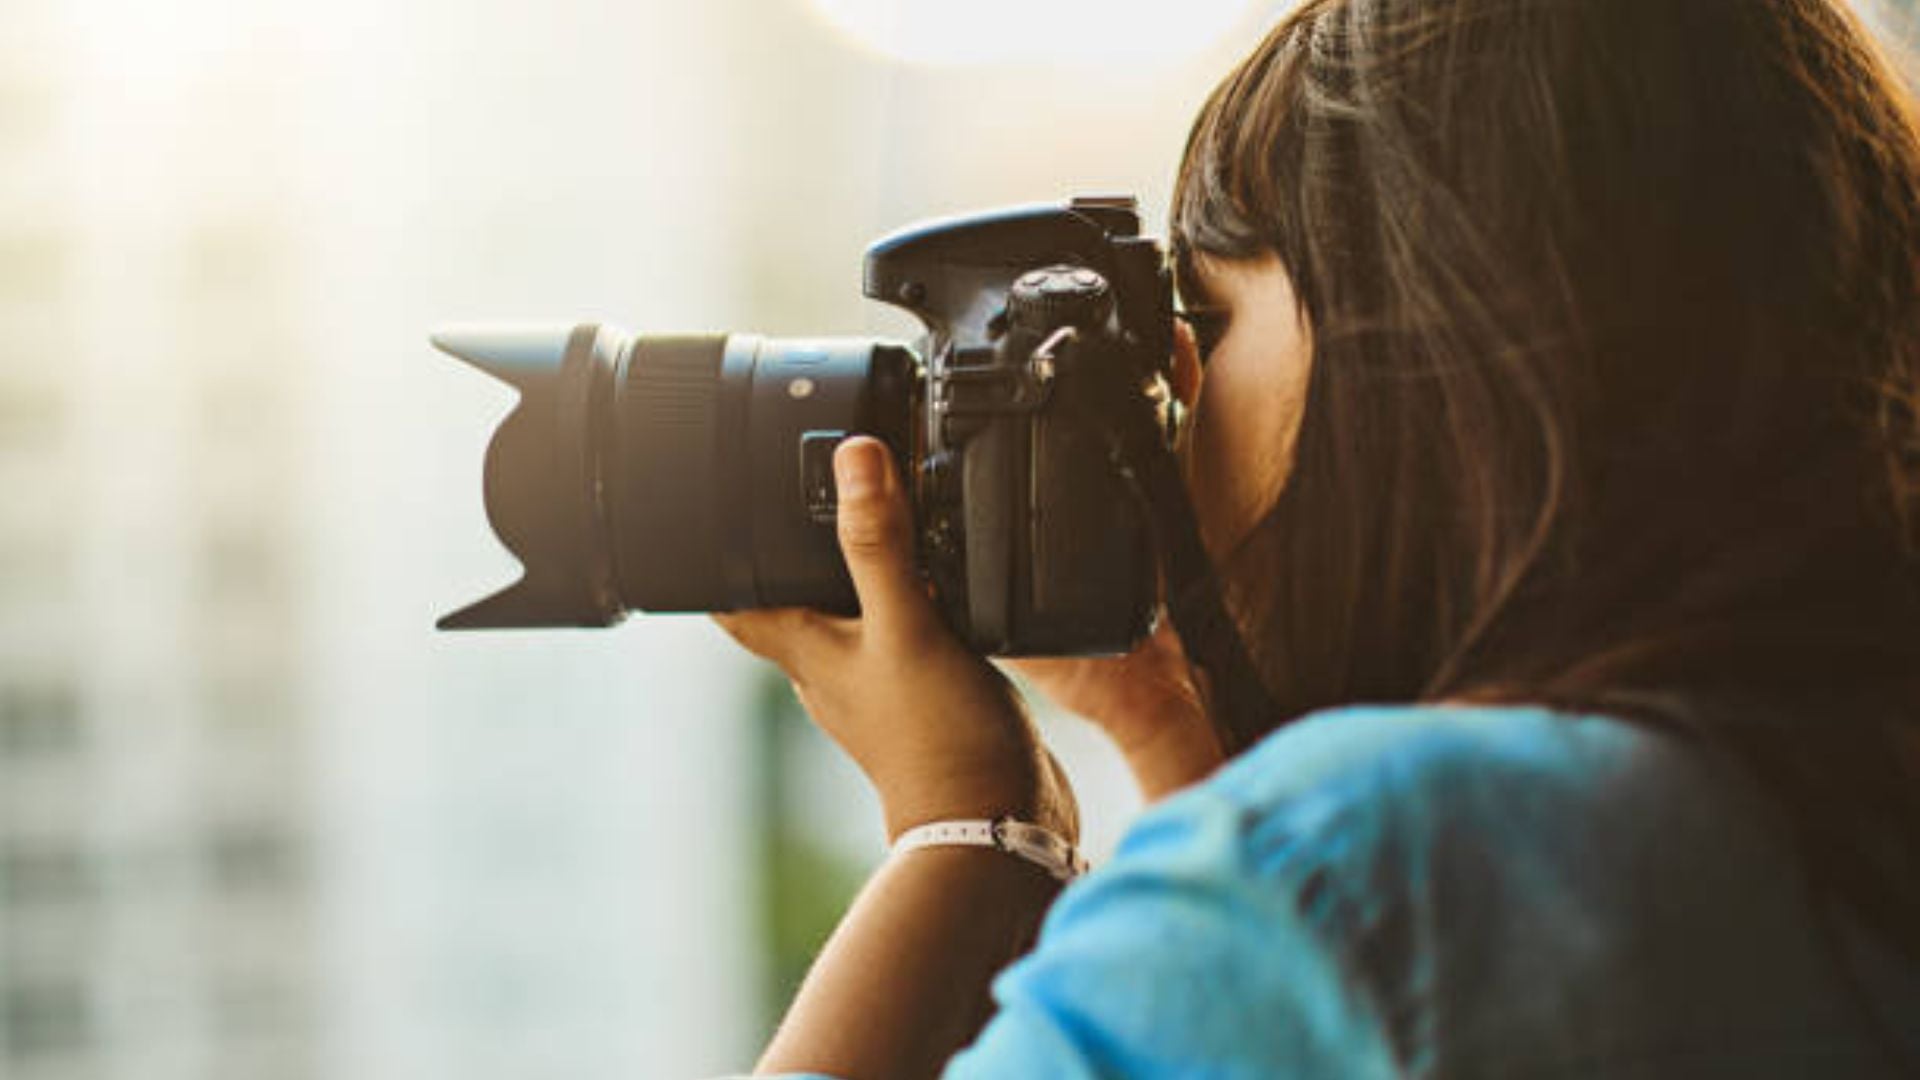
Essential Camera Settings for Panning Success
Getting your settings right makes all the difference here. Wrong settings mean nothing comes out sharp. Right settings create magic. You need to dial in these basic adjustments before you even think about shooting.
Best Shutter Speed for Panning Photography
Slow shutter speeds are absolutely necessary for this to work. Start at 1/30 of a second when you’re learning. This works well for cyclists and people walking by. Faster stuff like cars needs quicker speeds around 1/60 to 1/80. Really slow subjects might need 1/15 or even 1/8 of a second.
Your shutter needs enough time to stay open. This lets your sensor actually record the movement happening. Too fast means no blur at all. Too slow turns everything into a blurry disaster. Shutter drag techniques work on similar ideas but add flash into the mix.
Here are some starting points for different subjects:
- Sprinting runners: 1/60 to 1/125 second
- Cyclists and joggers: 1/30 to 1/60 second
- Cars and motorcycles: 1/60 to 1/125 second
- Walking people: 1/15 to 1/30 second
Write down what works for each type of subject you shoot. A sprinter needs way different settings than someone jogging. Race cars demand totally different speeds than regular street traffic.
Aperture and ISO Adjustments
Keep your aperture somewhere between f/4 and f/12. Go wider and your background might stay too sharp. You want that background completely blurred out. A bit narrower helps keep good depth of field on your subject.
Set your ISO as low as you can get away with. ISO 100 or 200 works best to start. Higher ISO just adds ugly noise that shows up bad in motion blur. Clean streaky backgrounds look way better than grainy ones. Only bump up ISO when you’re stuck shooting in darker conditions.
Shutter priority mode is perfect when you’re starting out. You pick the shutter speed you want. Your camera figures out the aperture automatically. This lets you focus all your attention on following your subject smoothly.
Focus Settings That Actually Work
Autofocus is your friend for panning photography. Use continuous autofocus mode to track moving stuff. Your camera keeps adjusting focus as things move. This keeps everything sharp right where it matters most.
Put your focus area smack in the center of your frame. Some cameras have tracking focus that follows subjects around. Use that feature if you’ve got it. Manual focus works fine but takes way more skill and practice to pull off.
Pre-focusing helps when your autofocus just can’t keep up. Focus on a spot where you know your subject will pass through. Switch to manual focus to lock it in place. Anything at that exact distance will come out sharp. This trick is gold for predictable paths like race tracks.
Mastering Panning Photography Equipment
Your gear honestly matters way less than you probably think. Basic equipment handles panning totally fine. You don’t need some expensive camera or fancy exotic lenses. Any camera with manual controls and basically any lens will do the job.
Choosing the Right Lens
Wide to mid-range lenses make learning way easier. A 24-70mm zoom gives you flexibility. Start wider while practicing. Telephoto lenses work but they’re tougher to handle smoothly.
Your focal length changes how much blur you create. Wider lenses need slower shutters for visible blur. Telephotos create dramatic blur even at faster speeds. Some lenses have panning modes that stabilize vertical shake while allowing horizontal movement. Adobe’s photography experts recommend checking for this feature.
Tripod or Handheld Shooting
Tripods give you smooth side-to-side movement and kill vertical shake completely. Fluid video heads work great for this. Handheld offers more flexibility for quick position changes. Action sports photography often needs this mobility. Monopods split the difference by reducing vertical movement while letting you rotate freely.
Step-by-Step Panning Technique
Good technique beats expensive gear every single time. Follow these steps consistently and you’ll see way better results. Each part builds on what came before it.
Body Position and Movement
Stand with feet shoulder-width apart. Face where your subject will be when you shoot. Twist back to where it’s coming from. Only your upper body rotates during the shot. Keep hips and legs totally stable.
Practice the motion without taking shots first. Follow pretend subjects across your frame repeatedly. You need muscle memory for consistent results.
Tracking Your Subject Smoothly
Start following before your subject reaches the shooting spot. Track for at least a full second before pressing anything. Keep your subject in the exact same viewfinder spot throughout. The background slides past while your subject stays put.
Keep panning after you press the shutter. Follow-through matters as much as the shot itself. Think of it like a golf swing.
Timing the Shutter Release
Press when your subject hits the perfect position. Use the rule of thirds and place your subject one-third into frame. Leave space showing where they’re headed.
Modern cameras have no delay worth worrying about. Press exactly when you want the shot. Burst mode increases your keeper rate significantly. Fire several shots while following each subject.
Common Panning Photography Mistakes
Everyone screws up when they’re learning this technique. Recognizing these mistakes helps you get better way faster. Here are the problems that trip up most people when they start out.
Camera Shake and Blur Problems
Up and down movement absolutely kills panning shots. Your camera has to move only side to side, nothing else. Any vertical motion at all blurs your subject completely. This is hands down the most common beginner mistake.
Here are the main causes of unwanted shake:
- Gripping your camera way too tight creates jerky movements
- Tense arms and shoulders make smooth panning nearly impossible
- Breathing heavily or holding your breath causes body shake
- Moving your whole body instead of just rotating your torso
Hold your camera firmly but stay relaxed. Tense muscles move in jerks and stutters. Take a breath, let half out slowly, then shoot. This is the same breathing technique for portrait photography that steadies your whole body.
Speed Matching Issues
Your camera speed has to match your subject perfectly. Too fast blurs the subject. Too slow leaves the background sharp. Keep constant velocity from start to finish. Different subjects need different speeds. Cyclists need slower panning than motorcycles.
Focus and Composition Errors
Focus on the most important part of your subject. For cyclists, nail their head or torso. For cars, focus on the driver area. Don’t center subjects without good reason. Leave negative space in their direction of travel.
Pick backgrounds carefully. Busy cluttered areas create messy blur. Plain backgrounds with strong lines like fences or building walls work best.
Creative Applications and Variations
Panning photography goes way beyond just the basic techniques. Creative photographers keep pushing this method in cool new directions. These variations add totally fresh perspectives to your work.
Different Subject Types
Sports give you obvious chances for great panning shots. Basketball, football, track and field all work beautifully. Studio sports photography uses different techniques but the same motion ideas.
Here are some subjects that work great for panning:
- Wildlife like birds in flight or running animals
- Urban scenes with buses, taxis, and cyclists
- Pedestrians walking along busy streets
- Skateboarders and rollerbladers in action
- Pet dogs running at the park
Street photography gains serious drama from motion blur. Color grading techniques pair really well with city panning shots. Even slower animals like turtles can work if you use super slow shutters.
Vertical and Circular Panning
Vertical panning works for subjects moving up or down. Elevators, escalators, or climbing athletes all work. Your camera moves vertically instead of horizontally. Professional cinematographers use this all the time.
Circular panning creates wild abstract effects. Follow a merry-go-round as it spins. The center stays sharp while edges blur into rings. Zoom panning adds explosive radial blur by changing focal length during exposure.
Adding Flash for Extra Effect
Mixing flash with slow shutters creates interesting hybrid shots. Flash freezes your subject while ambient light creates blur. Use rear curtain sync so flash fires at exposure end. This makes blur trail naturally behind your subject. Balance flash power with ambient light carefully.
Practicing and Improving Your Skills
Getting good at panning photography takes real dedicated practice. You absolutely won’t nail it on your first try or even your tenth. Plan on tons of failed shots before you start getting good results.
Here are some practical ways to level up your skills faster:
- Start with slow predictable subjects like friends on bicycles
- Pick locations with super clean backgrounds like walls or fences
- Practice tracking motion without even pressing the shutter button
- Review your shots critically after every single practice session
- Shoot during different times of day to see how light changes things
- Note which shutter speeds worked best for different subjects
Have a friend ride a bicycle past you over and over. This gives you perfect controlled practice conditions. You can repeat the exact same shot until you get it right.
Choose spots with clean backgrounds that create good streak patterns. Fences, walls, and roads all work great. Skip messy areas with mixed colors and weird textures. Simple backgrounds show off your technique way better.
Build that muscle memory by tracking subjects without shooting. Just follow them smoothly with your camera raised. This drill alone improves your success rate.
Advanced Tips for Better Results
Once you nail the basics, these tips separate good shots from great ones. Study professional sports photographers to see positioning and framing choices. Try different shutter speeds on the same subject to see how blur intensity changes.
Pay attention to background elements. Vertical lines create dramatic streaks. Mix panning with other techniques like shooting through foreground objects or using shallow depth of field creatively. Add slight vignetting and contrast in post-processing to make streaks pop.
Your Journey to Better Action Shots
Panning photography pushes you to see motion in completely different ways. The technique demands tons of practice and patience from you. Your first hundred tries might seriously disappoint you. Keep shooting anyway because you get better with every single attempt.
This method adds real energy to subjects that frozen photos just can’t capture. Motion blur tells stories that perfectly sharp images never could. A blurred background transforms boring ordinary subjects into dynamic art.
Go out and start practicing with simple subjects today. Find any street with consistent traffic moving past. Set your camera to 1/30 second and just start shooting. Follow cars as they pass by you. You’ll see yourself improving with every single session you do.

Darlene Lleno
Darlene Lleno brings a unique perspective to DIY Photography as someone who grew up surrounded by camera gear but chose words over lenses. With five years of writing experience, she specializes in photography content that’s both technically informed and genuinely passionate. Growing up with a photographer twin brother meant camera talk was everyday conversation in her household. While he mastered capturing moments, Darlene discovered she preferred being the subject and the storyteller behind the scenes. As a travel enthusiast and mother of two, she understands the importance of preserving life’s precious moments. When not exploring new destinations or writing for DIY Photography, you’ll find her reading or tending to her garden. Her approach to photography writing is refreshingly authentic, she may not be behind the camera, but she knows exactly what it takes to help others capture the shots that matter most.


Join the Discussion
DIYP Comment Policy
Be nice, be on-topic, no personal information or flames.