



















It Was a Red-Eyed, Twin Flashed, Filmin’ Picture Maker
Apr 8, 2026
David Prochnow
Our resident “how-to” project editor, David Prochnow, lives on the Gulf Coast of the United States in Ocean Springs, Mississippi. He brings his expertise at making our photography projects accessible to everyone, from a lengthy stint acting as the Contributing How-To Editor with Popular Science magazine. While you don’t have to actually build each of his projects, reading about these adventures will contribute to your continued overall appreciation of do-it-yourself photography. A collection of David’s best Popular Science projects can be found in the book, “The Big Book of Hacks,” Edited by Doug Cantor.
Share:
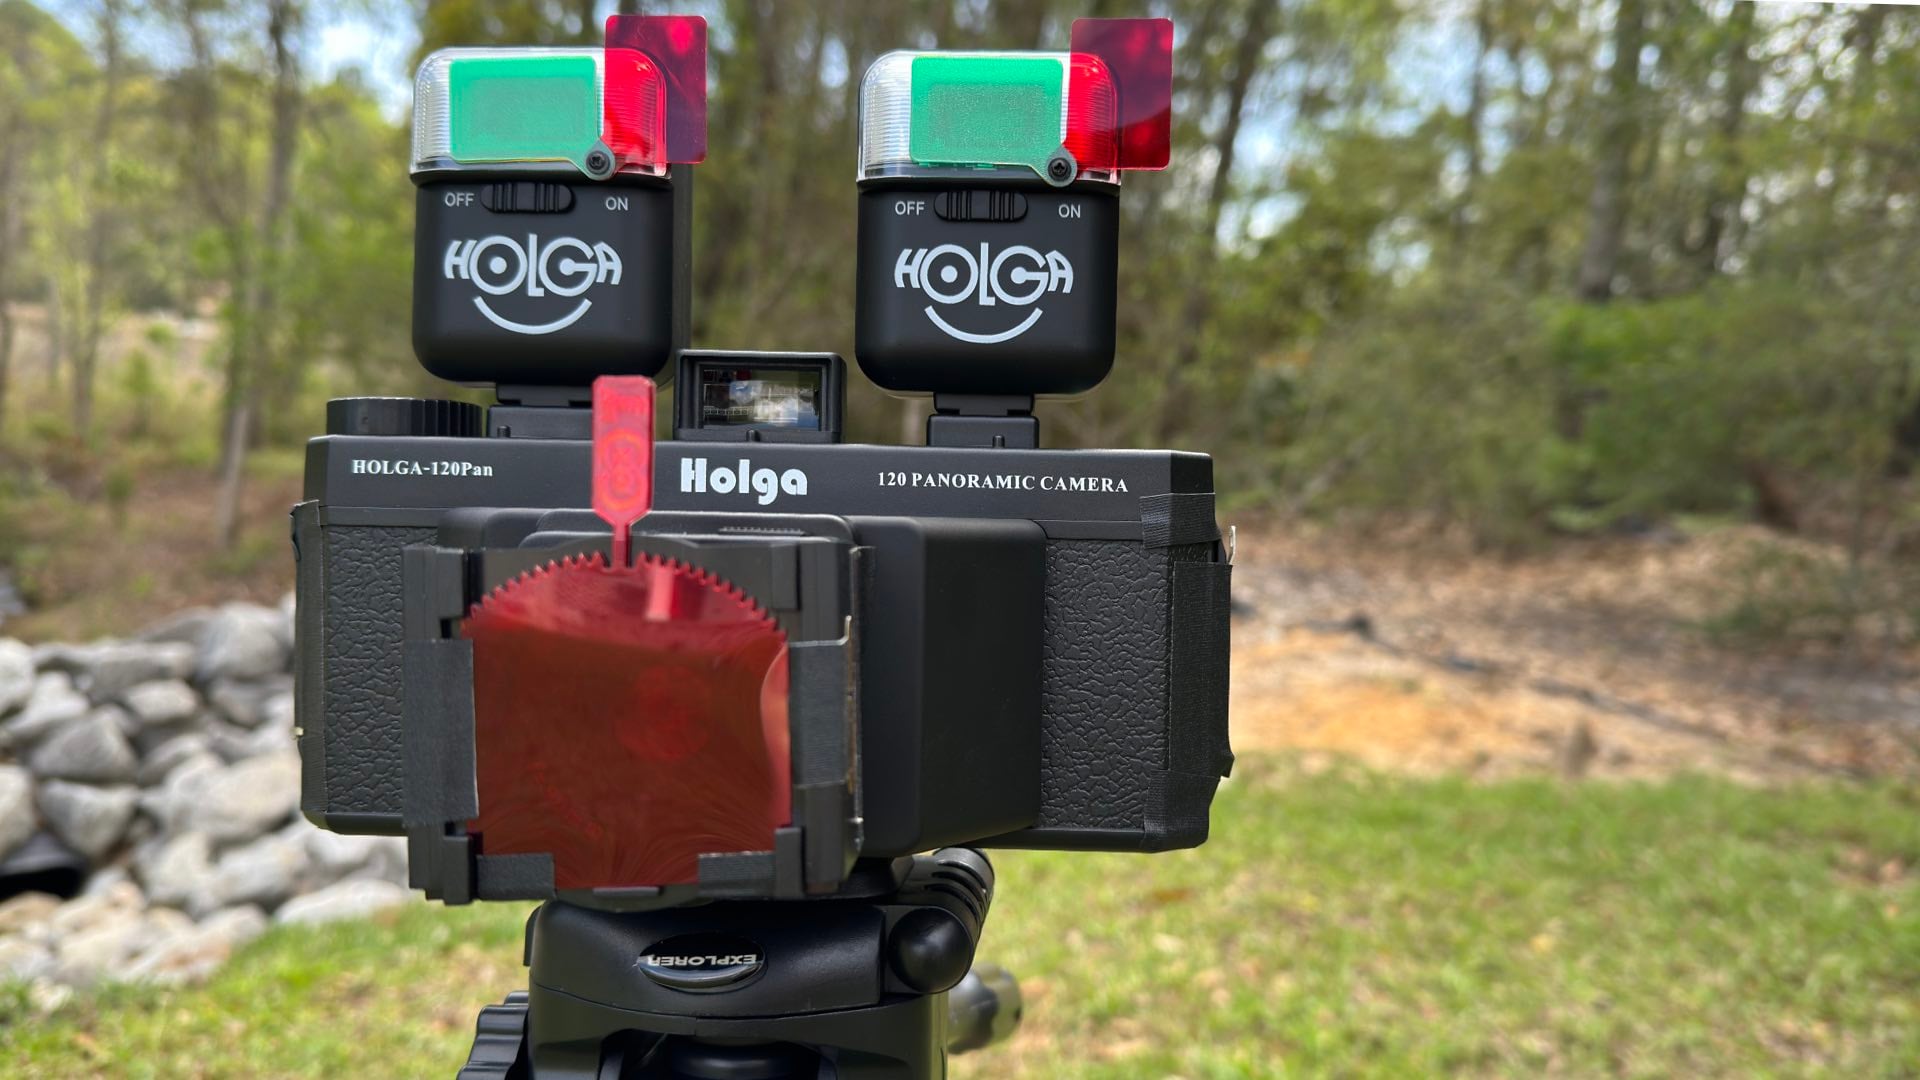
Feel free to hum the tune from the 1958 novelty song, “The Purple People Eater,” by Sheb Wooley while you are building this project. Just like that 1958 song, you’re bound to get at least one comment about this crazy camera from a passerby.
Thankfully, the actual construction of this ‘red-eyed, twin-flashed’ camera beast is dreadfully easy. The actual photographs from this contraption, however, are extraordinary.
Rather than relying on 120 format film that is conventionally used with the Holga 120 Panoramic Camera, this device uses 35mm film. Making this film switch cements the inherent weirdness that is derived from photographs that are approximately 4 1/2-inches long (12cm), combined with the full width of the 35mm frame…including sprocket holes.
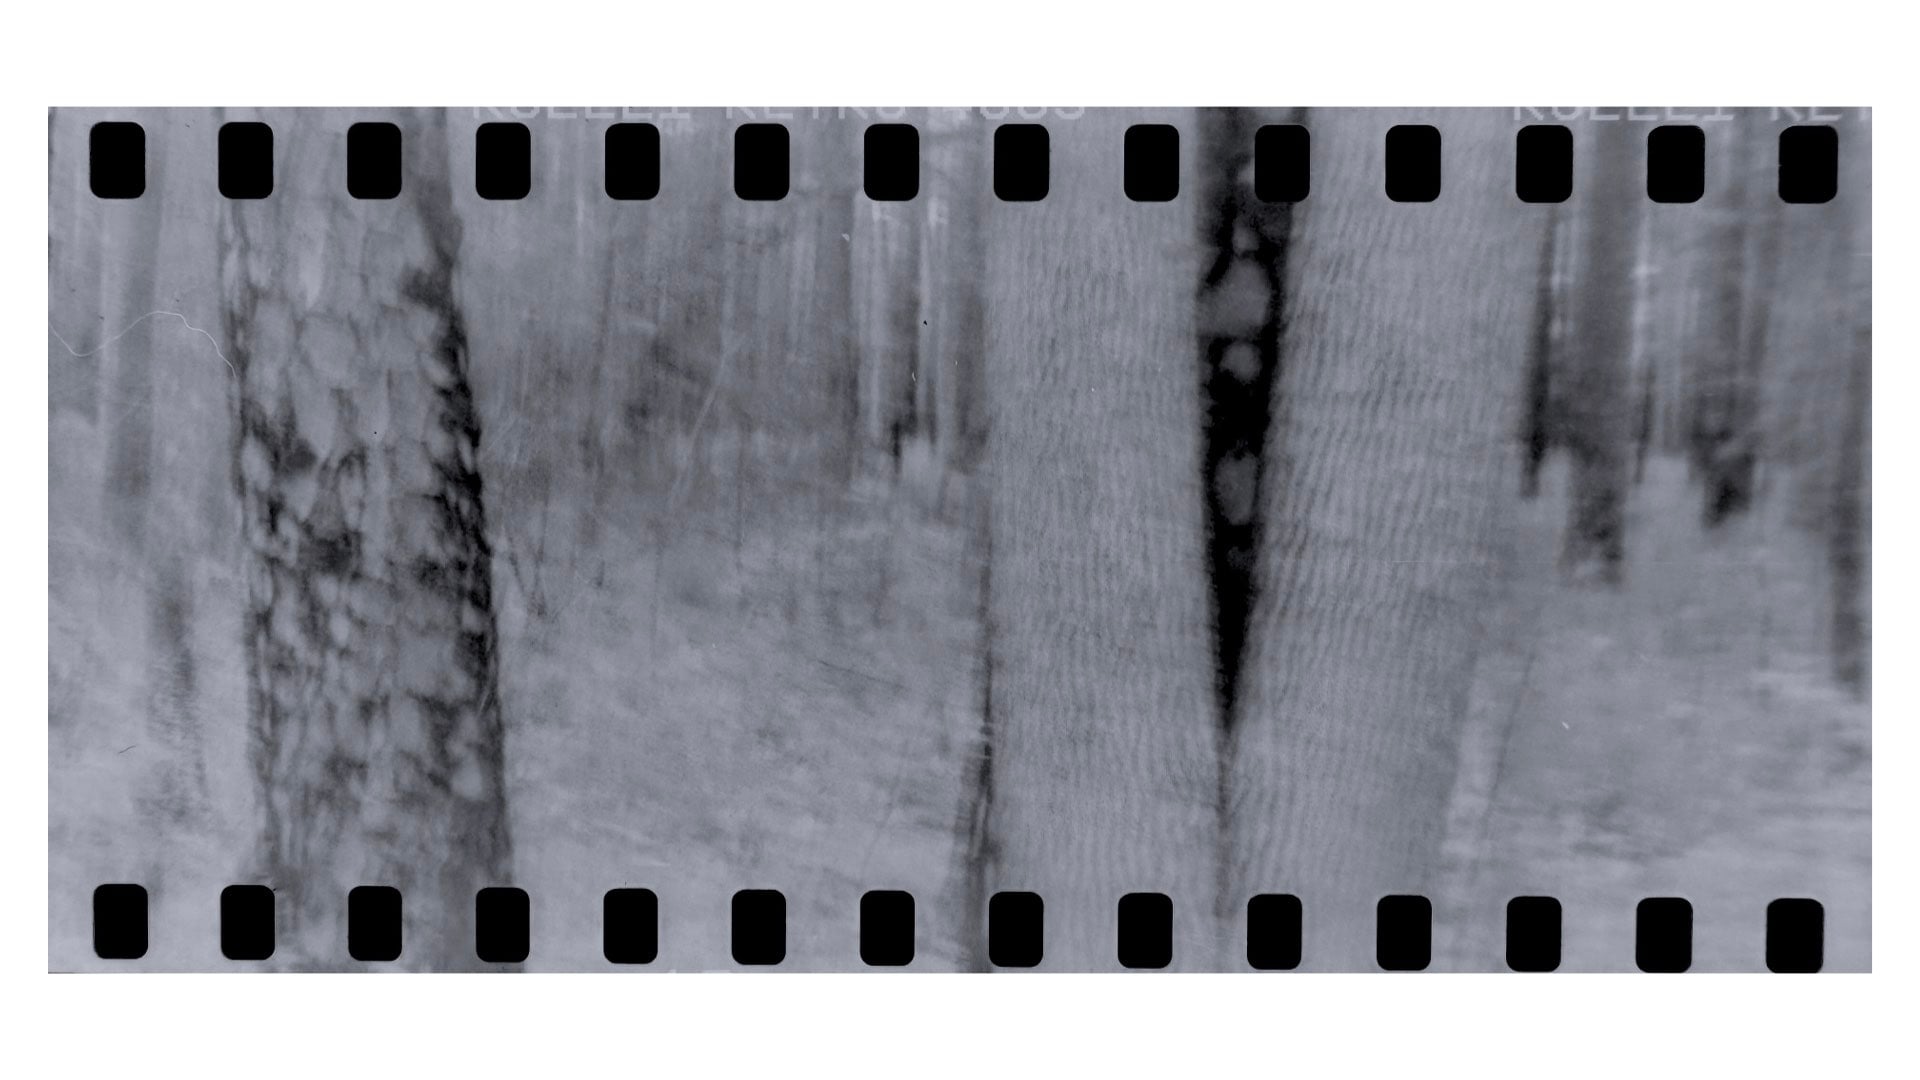
That’s an impressive visual treat. Let’s begin.
Laundry List for a ‘Filmin’ Picture Maker’
- Holga 120 Panoramic Camera for $99.99
- 2x Holga Electronic Flashes for $19.99 each
- 3x ADOX Snap-On Infrared 2x Gelatin Filters Size 77mm for $8.49 each
- Holga Filter Holder for $1.99
- HOLGA 35mm to 120mm Film Spool Adapter for $13; there are two adapters in this box
- Reloadable film cartridge for $7.49
- Your Fave Roll of ISO 400 Film
Oh, and be sure to make Freestyle Photo your one-stop Holga headquarters for all of your future Holga camera purchases.
Included with the purchase of the Holga 120 Panoramic Camera is a 35mm film mask. Open the back of the camera, remove the 120 film mask and set it aside, and clip the 35mm mask into place.
You’ll notice two prongs on one side of the 35mm mask. These prongs help to hold the mask inside the film path, but they also have a fin on each prong.
These fins will prevent the Holga Film Spool Adapter from fitting inside the film chamber. Clip each of these fins off the prongs and reinsert the 35mm mask into the camera.
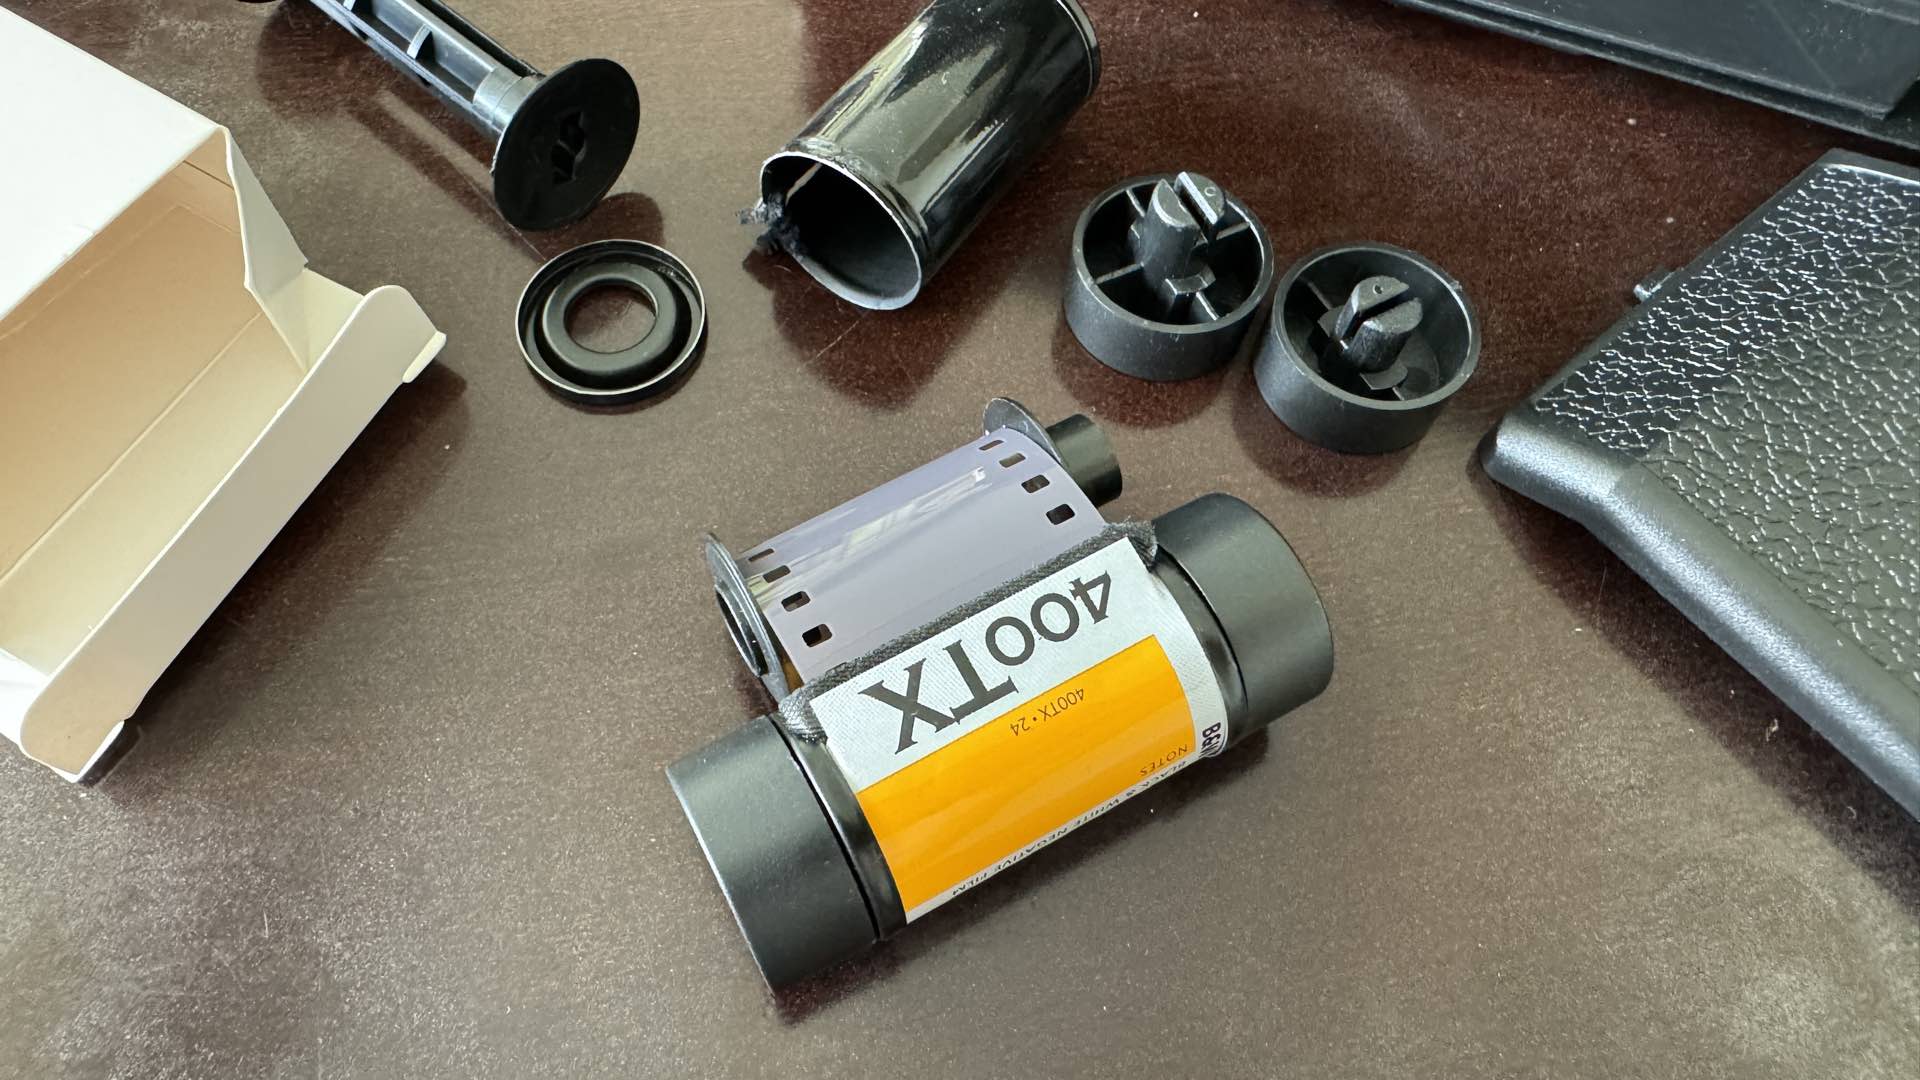
In order to safely use 35mm film inside the Holga 120 Panoramic Camera, you must use an empty 35mm cartridge to receive the exposed film. A reloadable cartridge is used as this receiving film container.
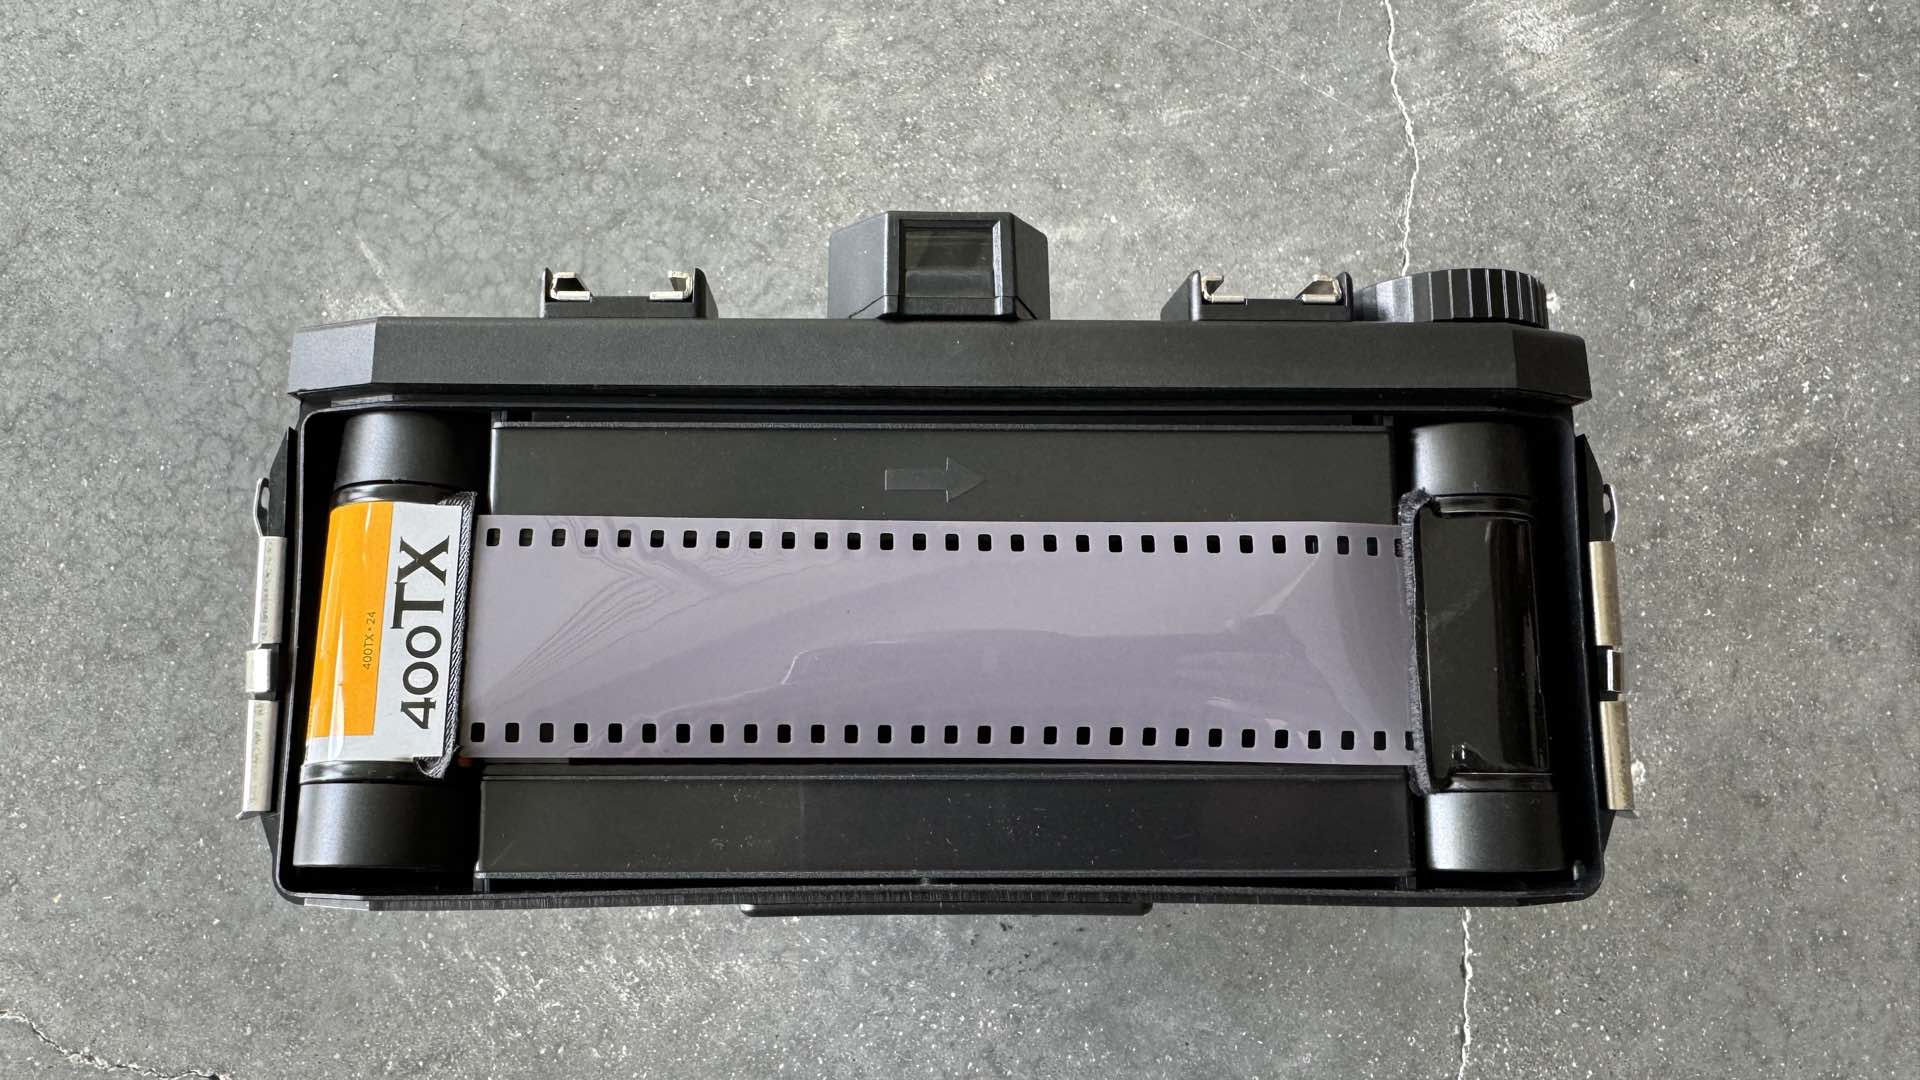
Remove the spool from the reloadable cartridge, tape the film’s leader to the spool, slip the spool back inside the cartridge, and attach the lid onto the open end of the cartridge. Plug one of the Holga Film Spool Adapters into this cartridge and place it in the righthand film chamber (the chamber with the film advance knob), while the 35mm film cartridge, with the other Holga Film Spool Adapter, is inserted into the lefthand chamber.
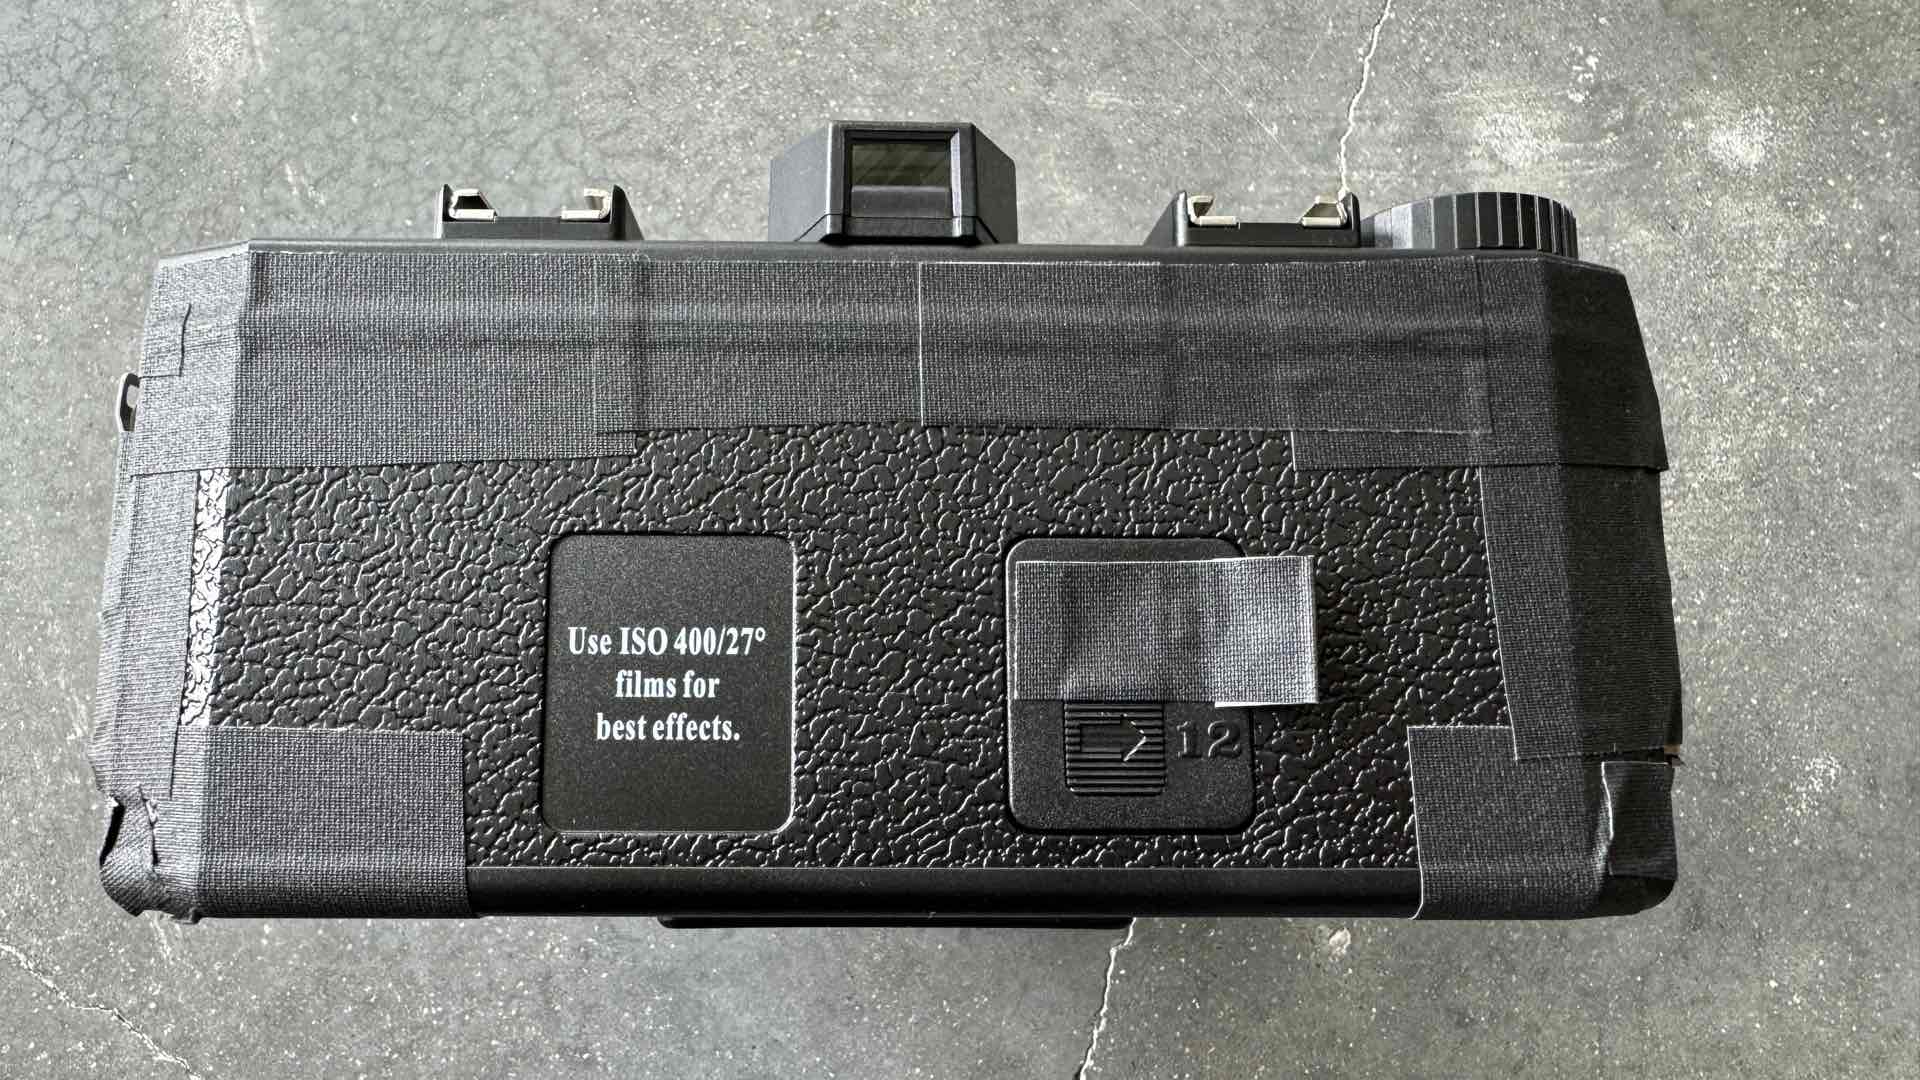
Close the back of the camera and thoroughly tape around the perimeter of the back panel. Also, don’t forget to add some tape over the red film counter window. The 35mm film is advanced by counting revolutions of the film advance knob.
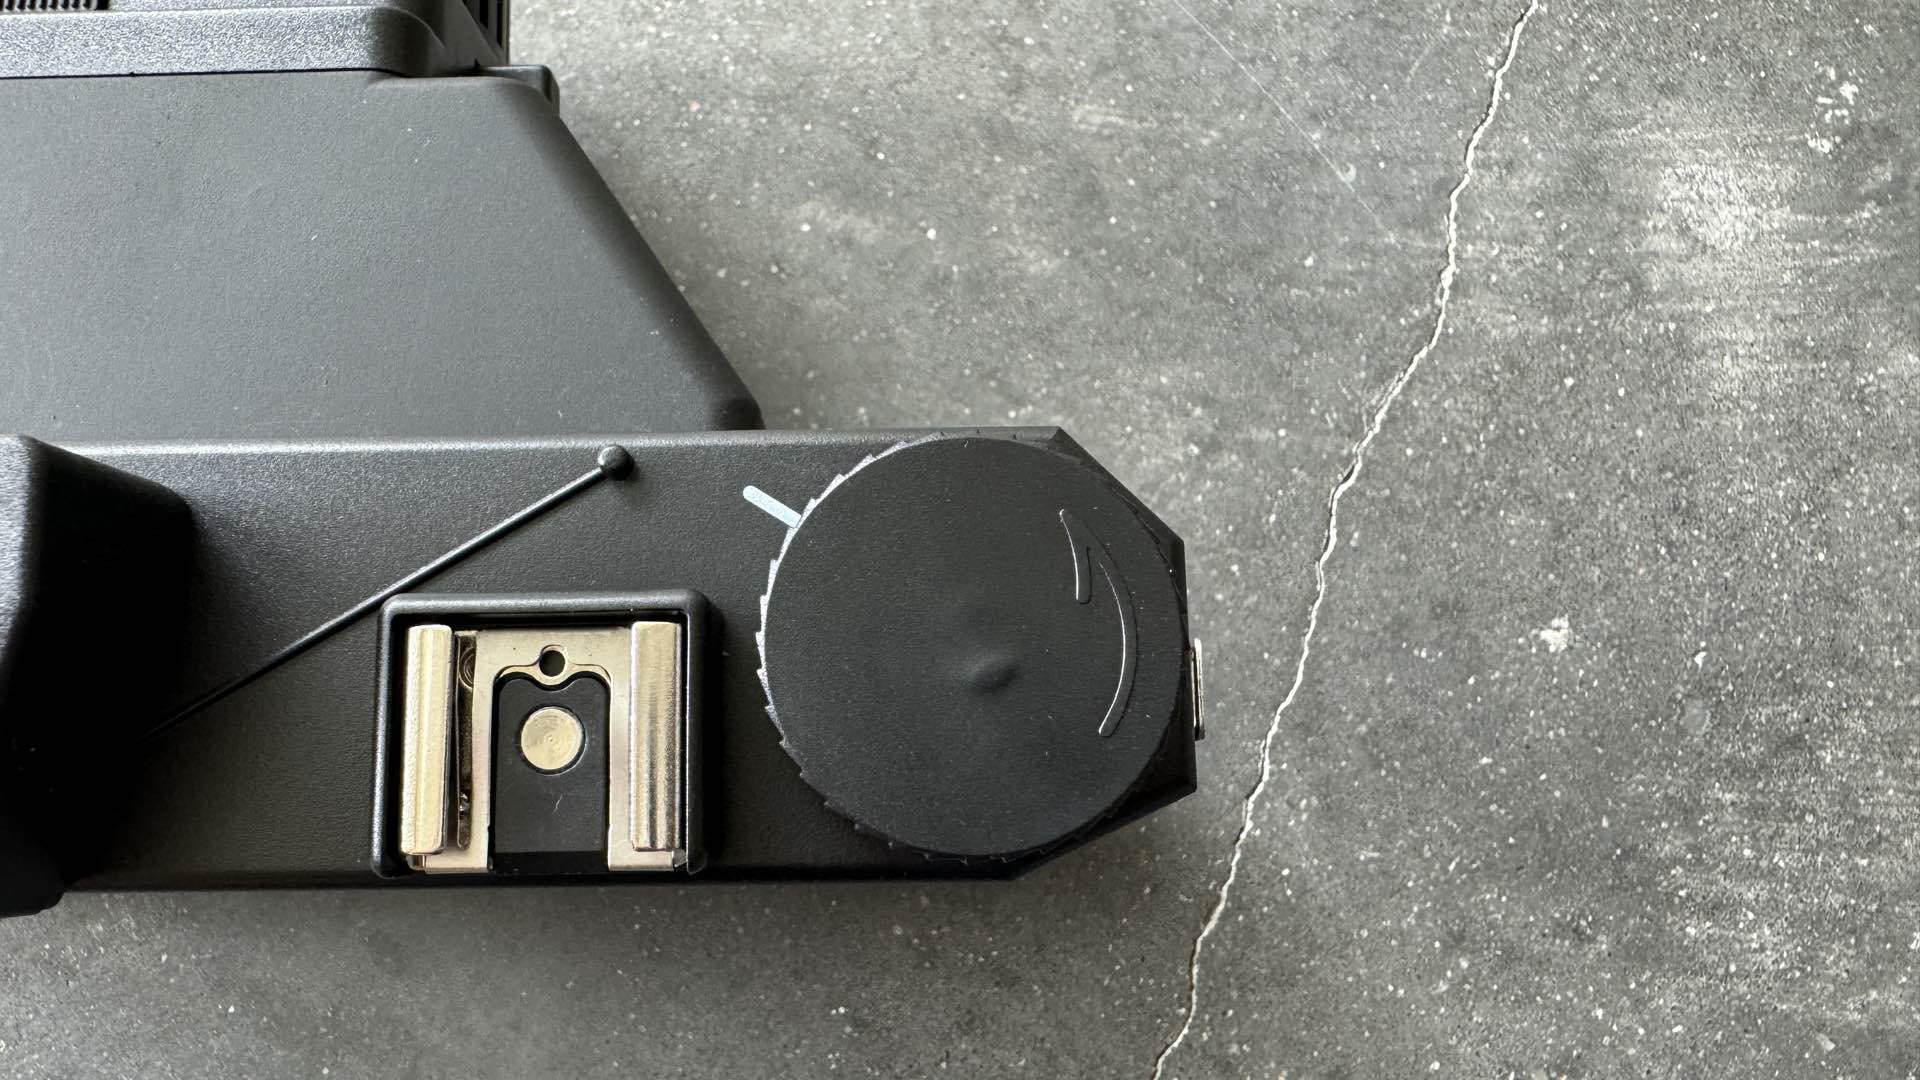
Use this counting method, by aligning the directional arrow on the knob with the white “tick” mark on the camera’s top panel. Now count two and three-fourths revolutions of the knob for each exposure. In other words, rotate the film knob 2 3/4 times after each exposure.
This technique will provide about 10 exposures from a 36 exposure roll of 35mm film. You can test this procedure by advancing the film for preparation of the first exposure. Meaning, the film that you exposed during the loading of the camera must be advanced prior to taking your first photograph.
Set the loaded camera aside and construct the red filter for the lens.
My One Good Red Eye
Using ISO 400 film inside a camera with such a slow shutter speed, coupled with limited aperture control can make for difficult exposures in sunlight. Therefore, a set of three red filters are installed in front of the lens.
These ADOX filters are easily cut and taped inside the Holga Filter Holder. Use the holder as a template for trimming each filter to size. Slip the filters into place and tape the holder to the front of the lens.
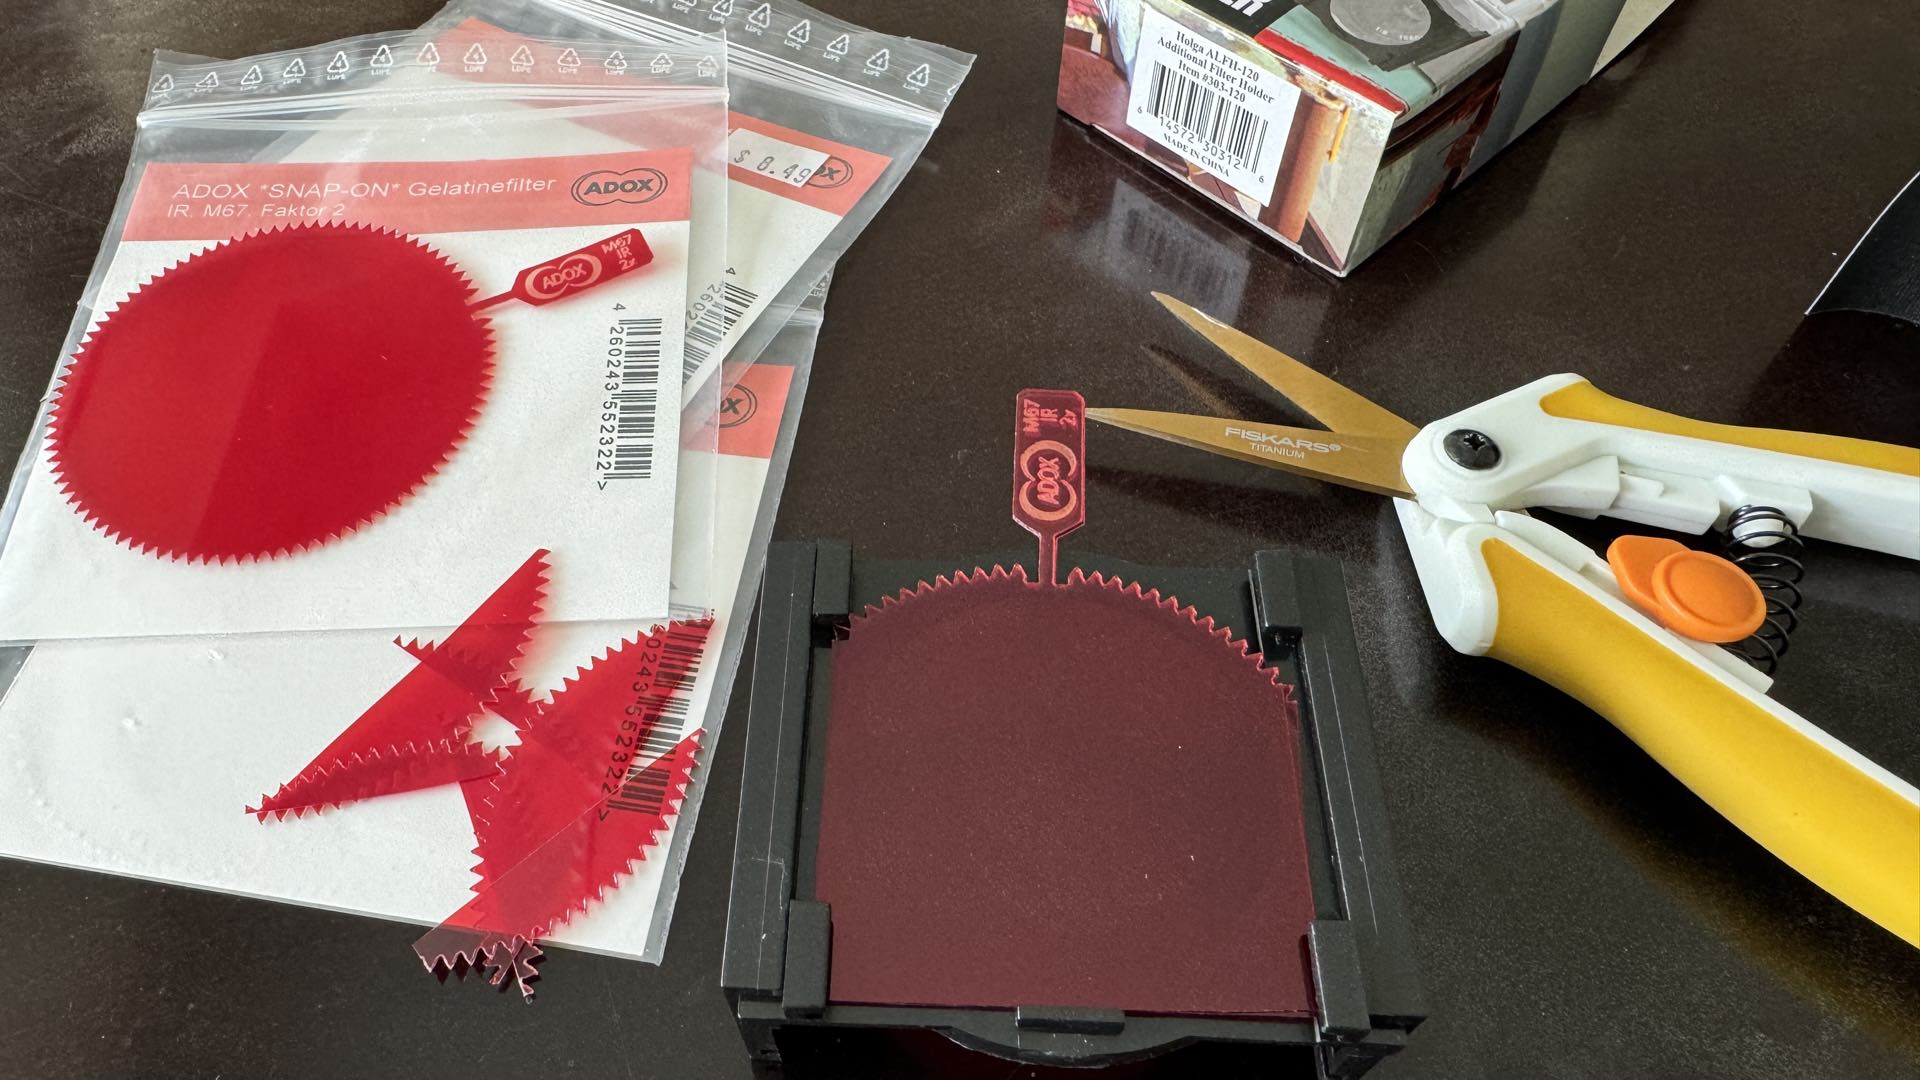
Using this red filter stack introduces a 6-stop exposure factor to the camera. Therefore, a Bulb shutter speed is used with the aperture set for “Cloudy Weather.” The resulting exposure time will range between 1/2 second to 1 second.
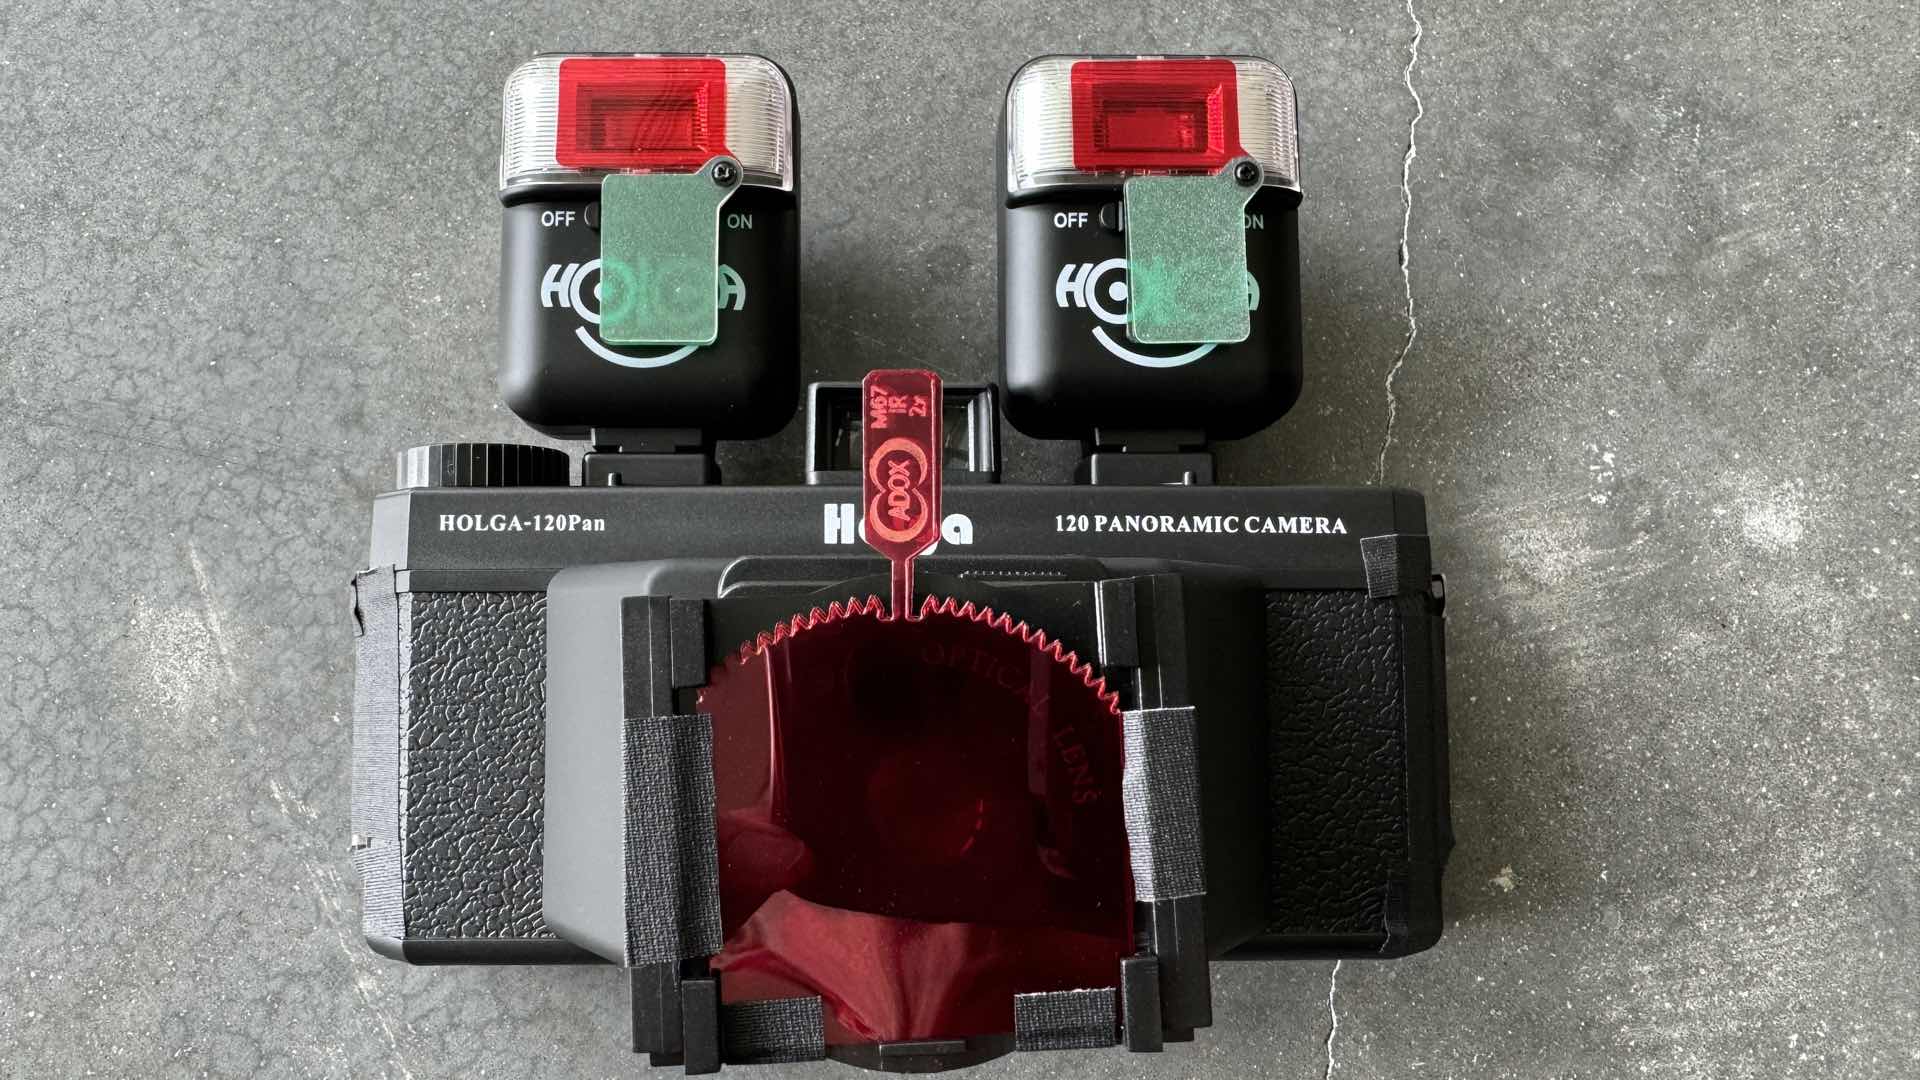
Now adorn the ‘red-eyed’ camera with the two Holga flashes. These flashes have a limited-range output with an optimal exposure distance of 10-13 feet (or, 3-4 meters). Use the various filters on the flashes for changing the light’s color for exposure with the red filtered lens.
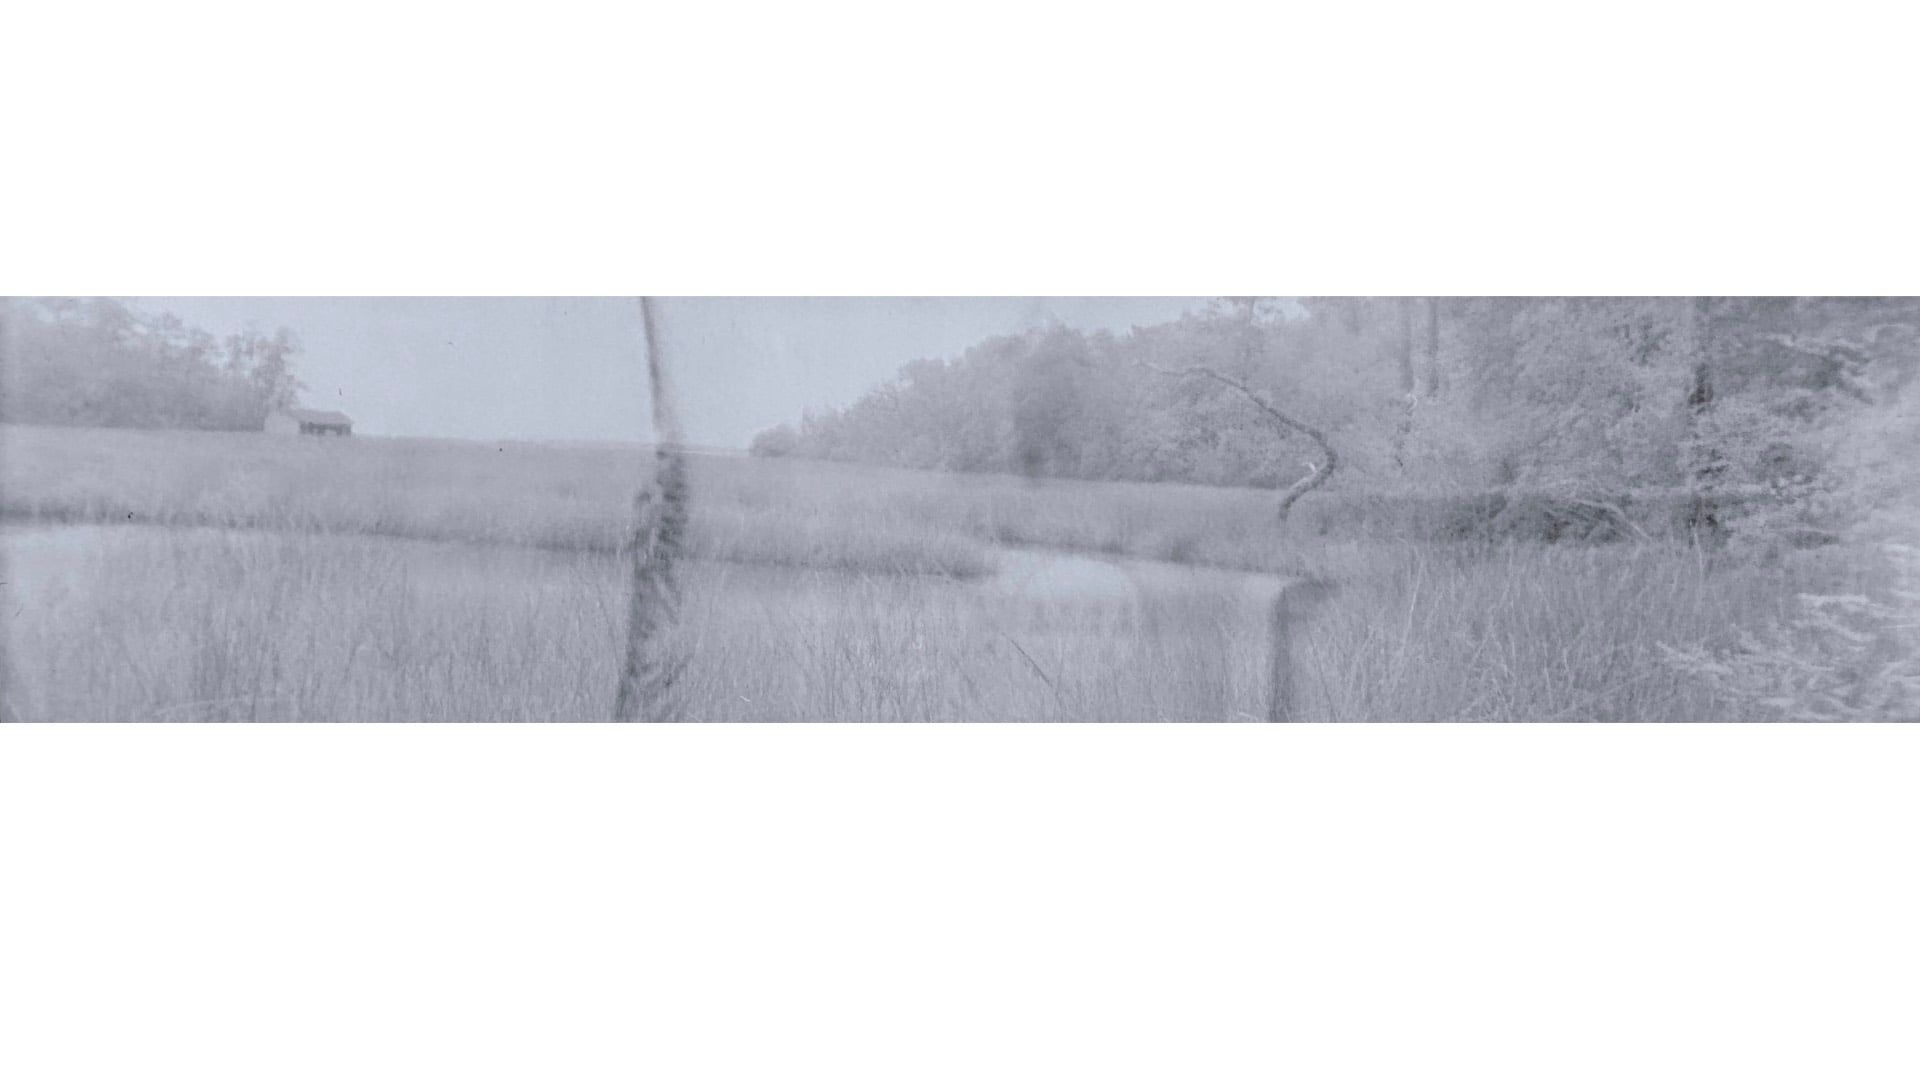
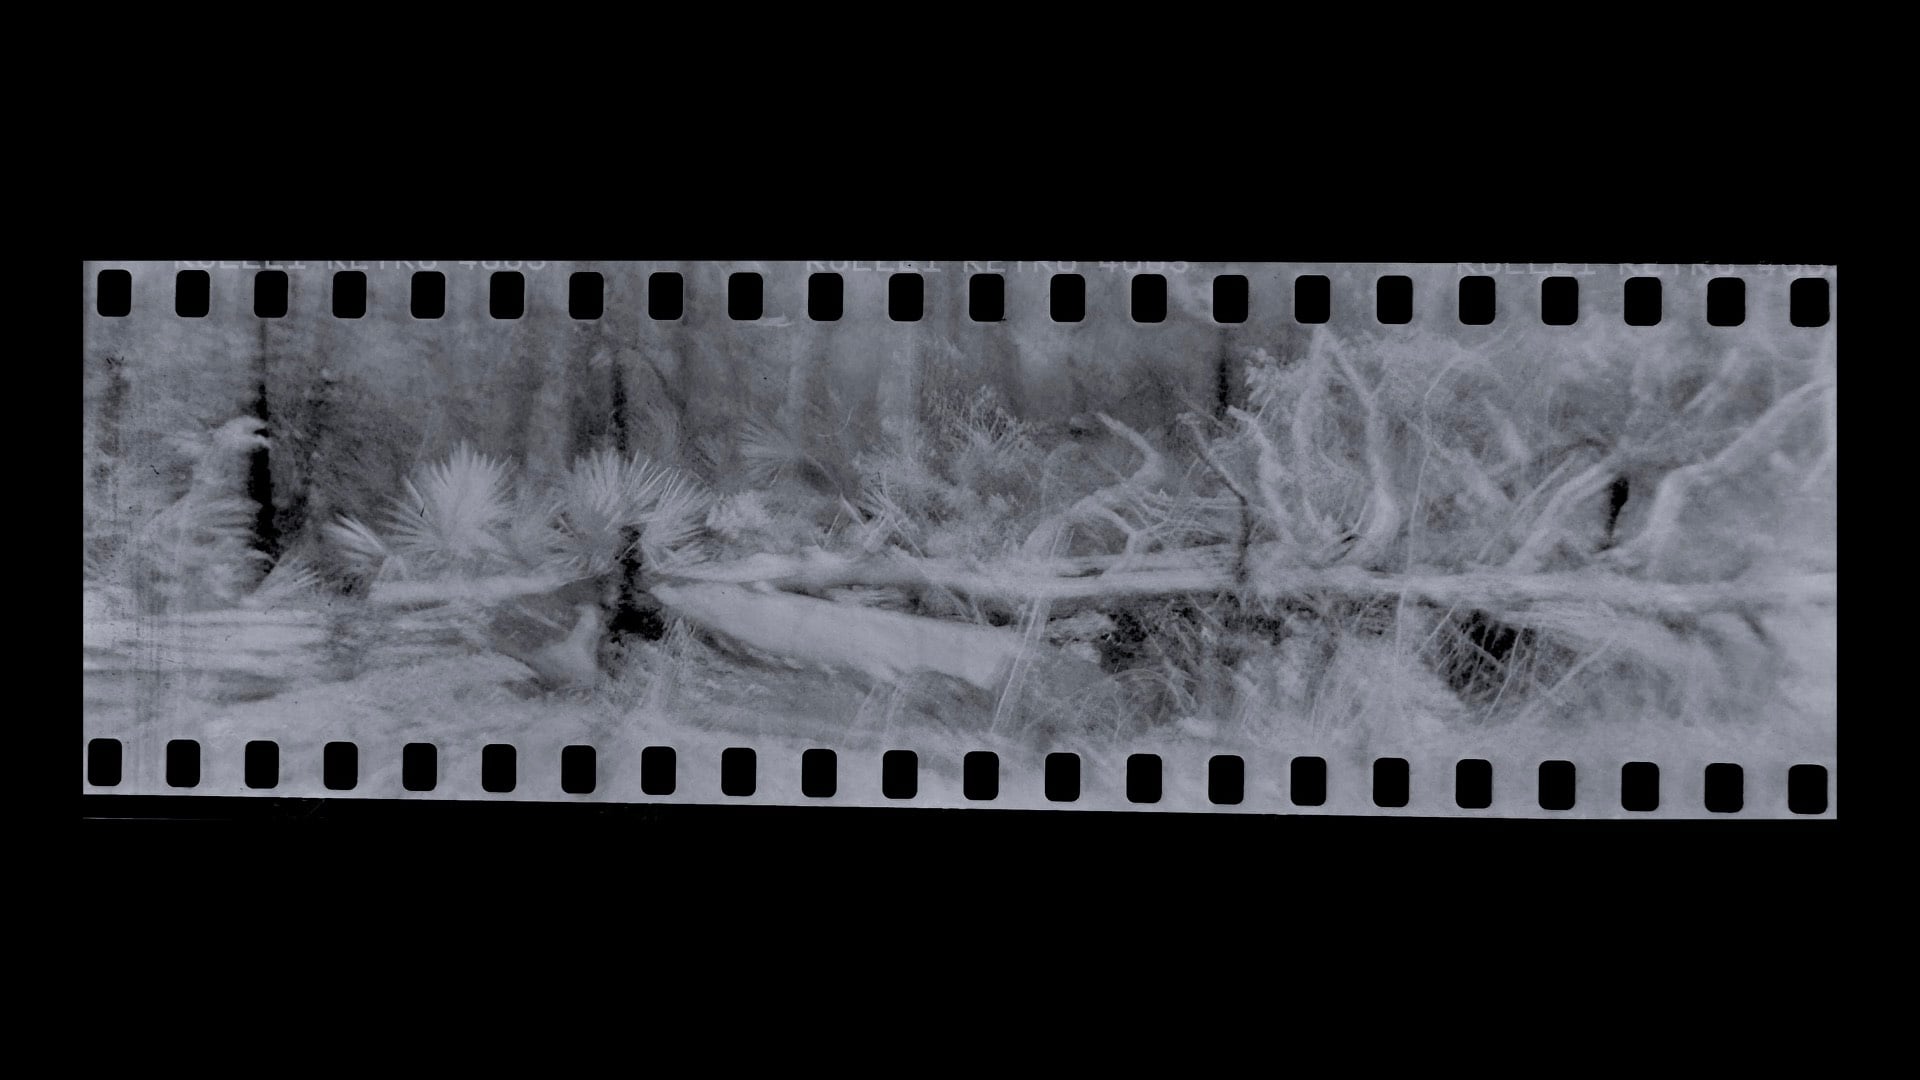
While a tripod should be used for more traditional exposures of landscapes, a handheld camera, using the Bulb exposure in conjunction with the flashes, can produce some otherworldly photographs.
Your photographic results from this ‘red-eyed, twin-flashed’ camera are bound to become your own novelty hit. A hit that’s filled with an enormous amount of creative potential.
Enjoy.
See more from DIYPhotography.net on Google
Add DIYPhotography.net as a trusted source. This makes
our stories more likely to appear in your Google Search results.
 Add as a preferred source on Google

David Prochnow
Our resident “how-to” project editor, David Prochnow, lives on the Gulf Coast of the United States in Ocean Springs, Mississippi. He brings his expertise at making our photography projects accessible to everyone, from a lengthy stint acting as the Contributing How-To Editor with Popular Science magazine. While you don’t have to actually build each of his projects, reading about these adventures will contribute to your continued overall appreciation of do-it-yourself photography. A collection of David’s best Popular Science projects can be found in the book, “The Big Book of Hacks,” Edited by Doug Cantor.

![The first Nikon RED cameras are here - RED V-RAPTOR [X] and V-RAPTOR XL [X]](https://www.diyphotography.net/wp-content/uploads/2024/04/red_raptor_nikon-2-scaled-150x150.jpg)
Join the Discussion
DIYP Comment Policy
Be nice, be on-topic, no personal information or flames.