


How to Photograph the Milky Way: A Beginner’s Guide to Astrophotography
Jun 22, 2026
Leonard Skapp

Alex Baker is a portrait and lifestyle driven photographer based in Valencia, Spain. She works on a range of projects from commercial to fine art and has had work featured in publications such as The Daily Mail, Conde Nast Traveller and El Mundo, and has exhibited work across Europe
Share:
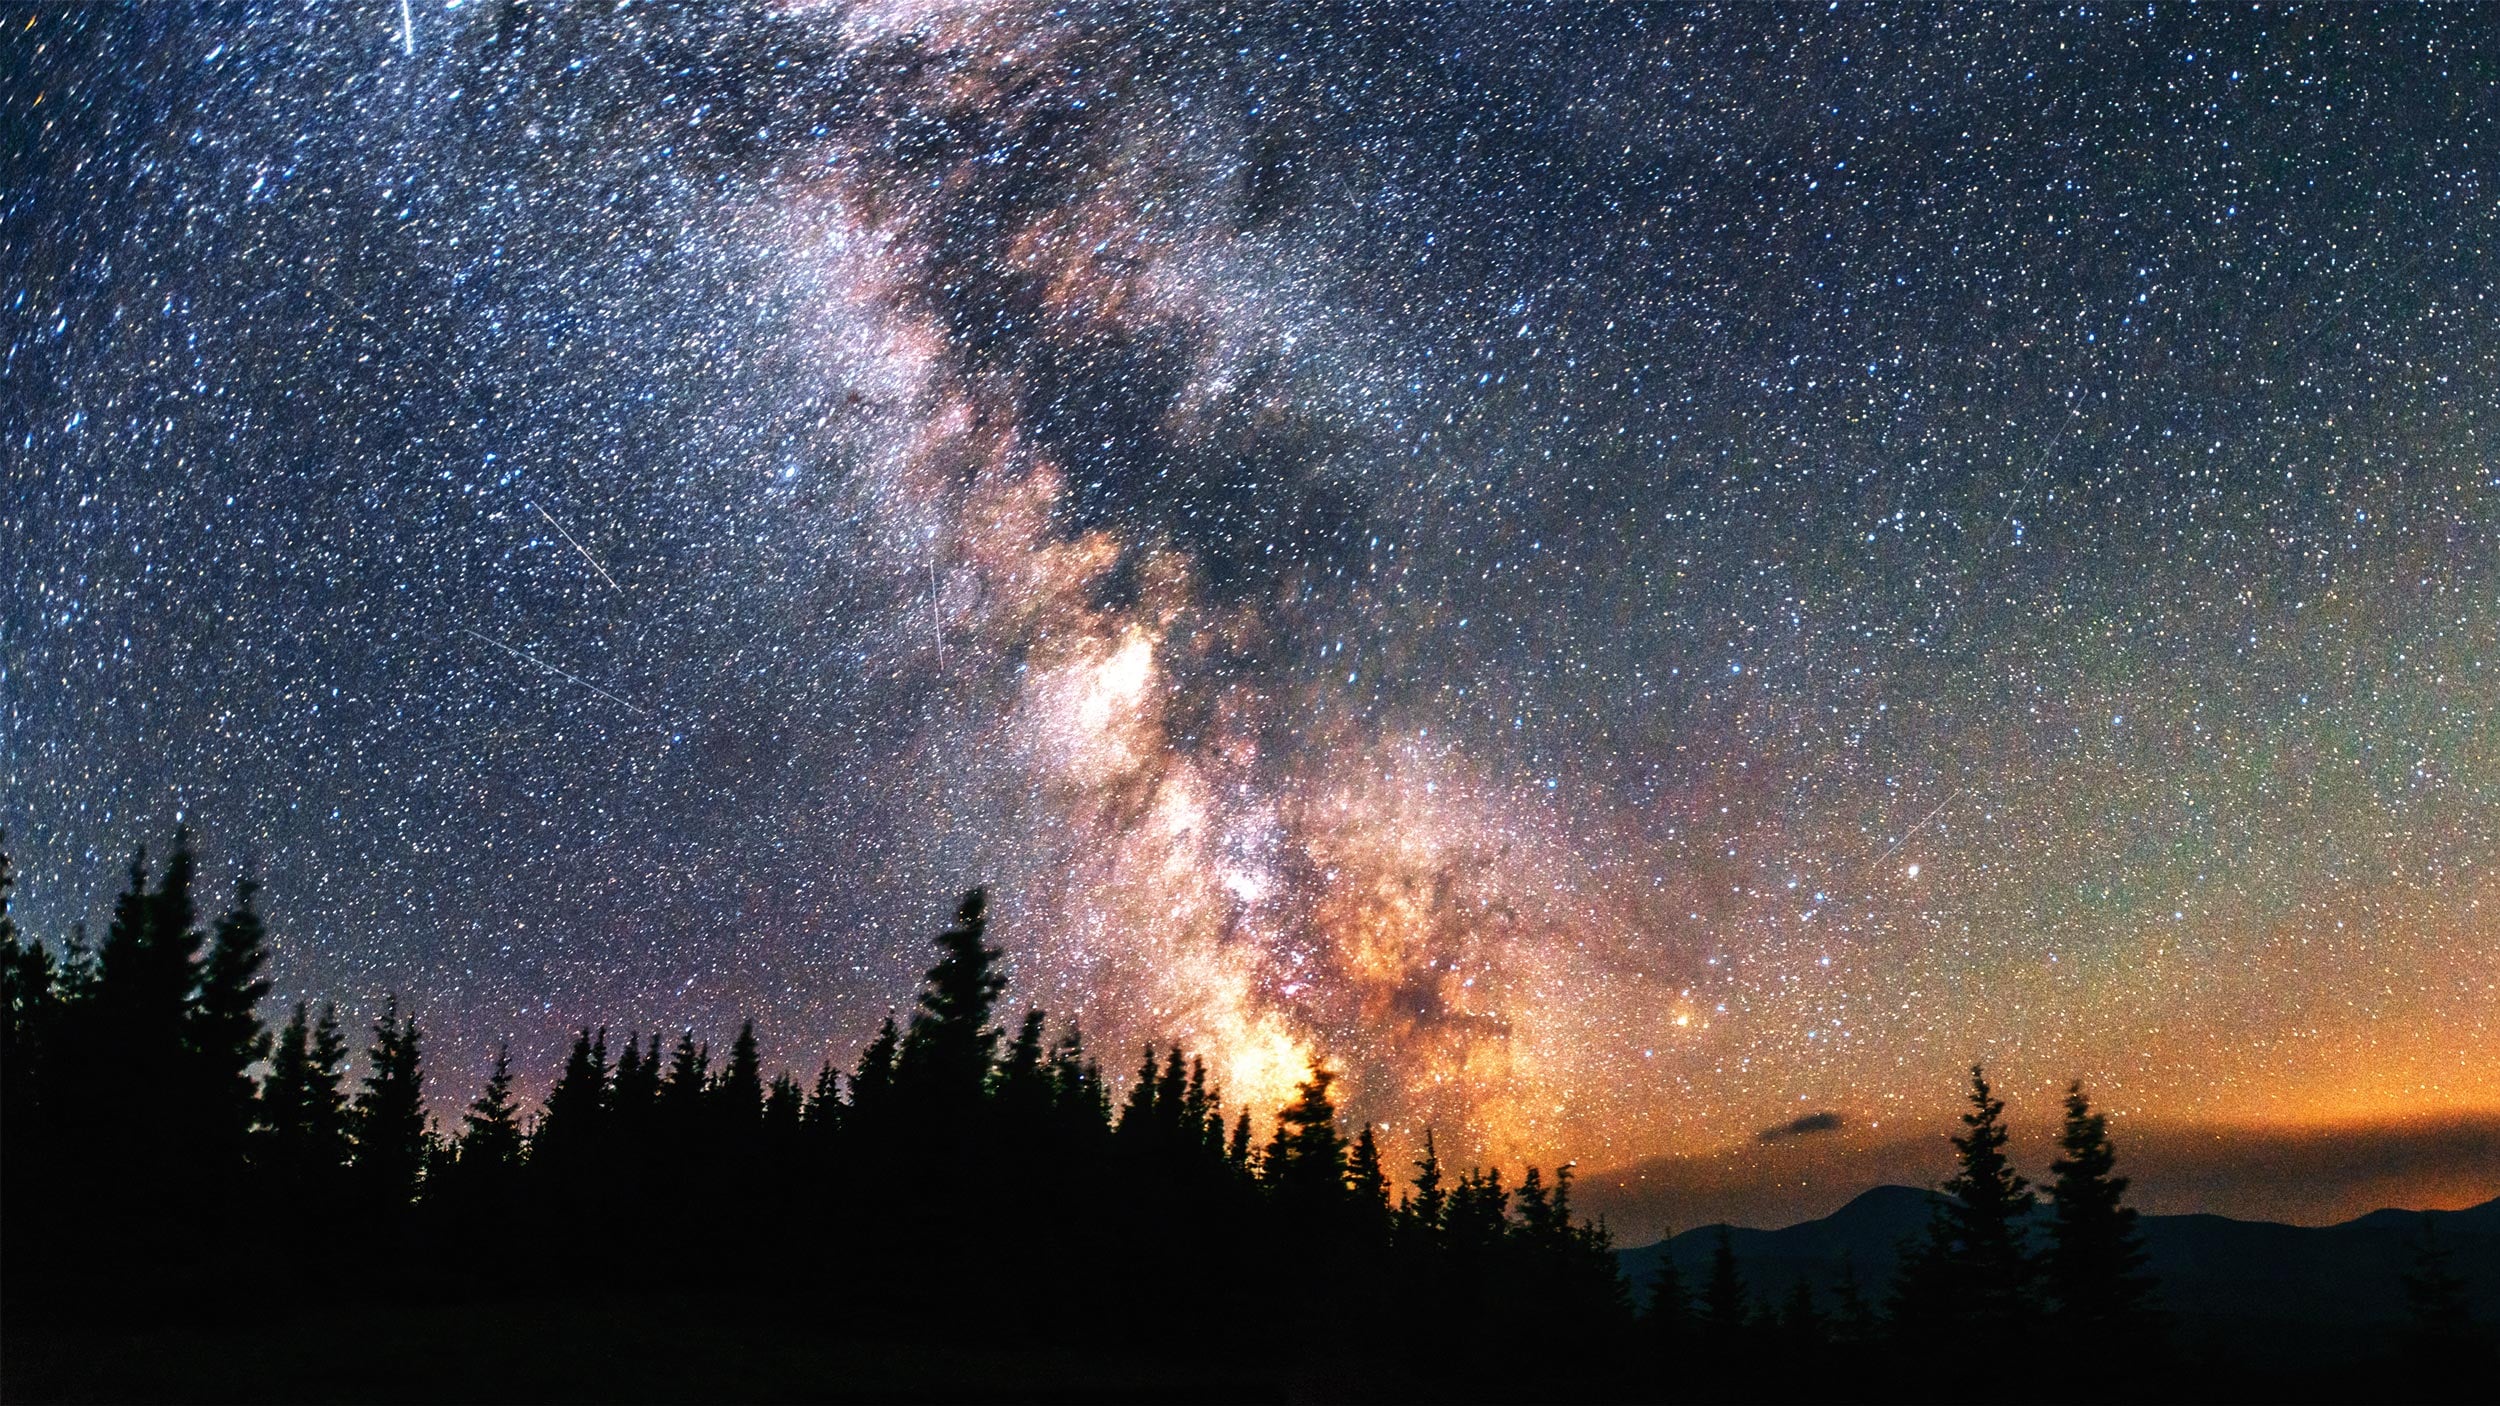
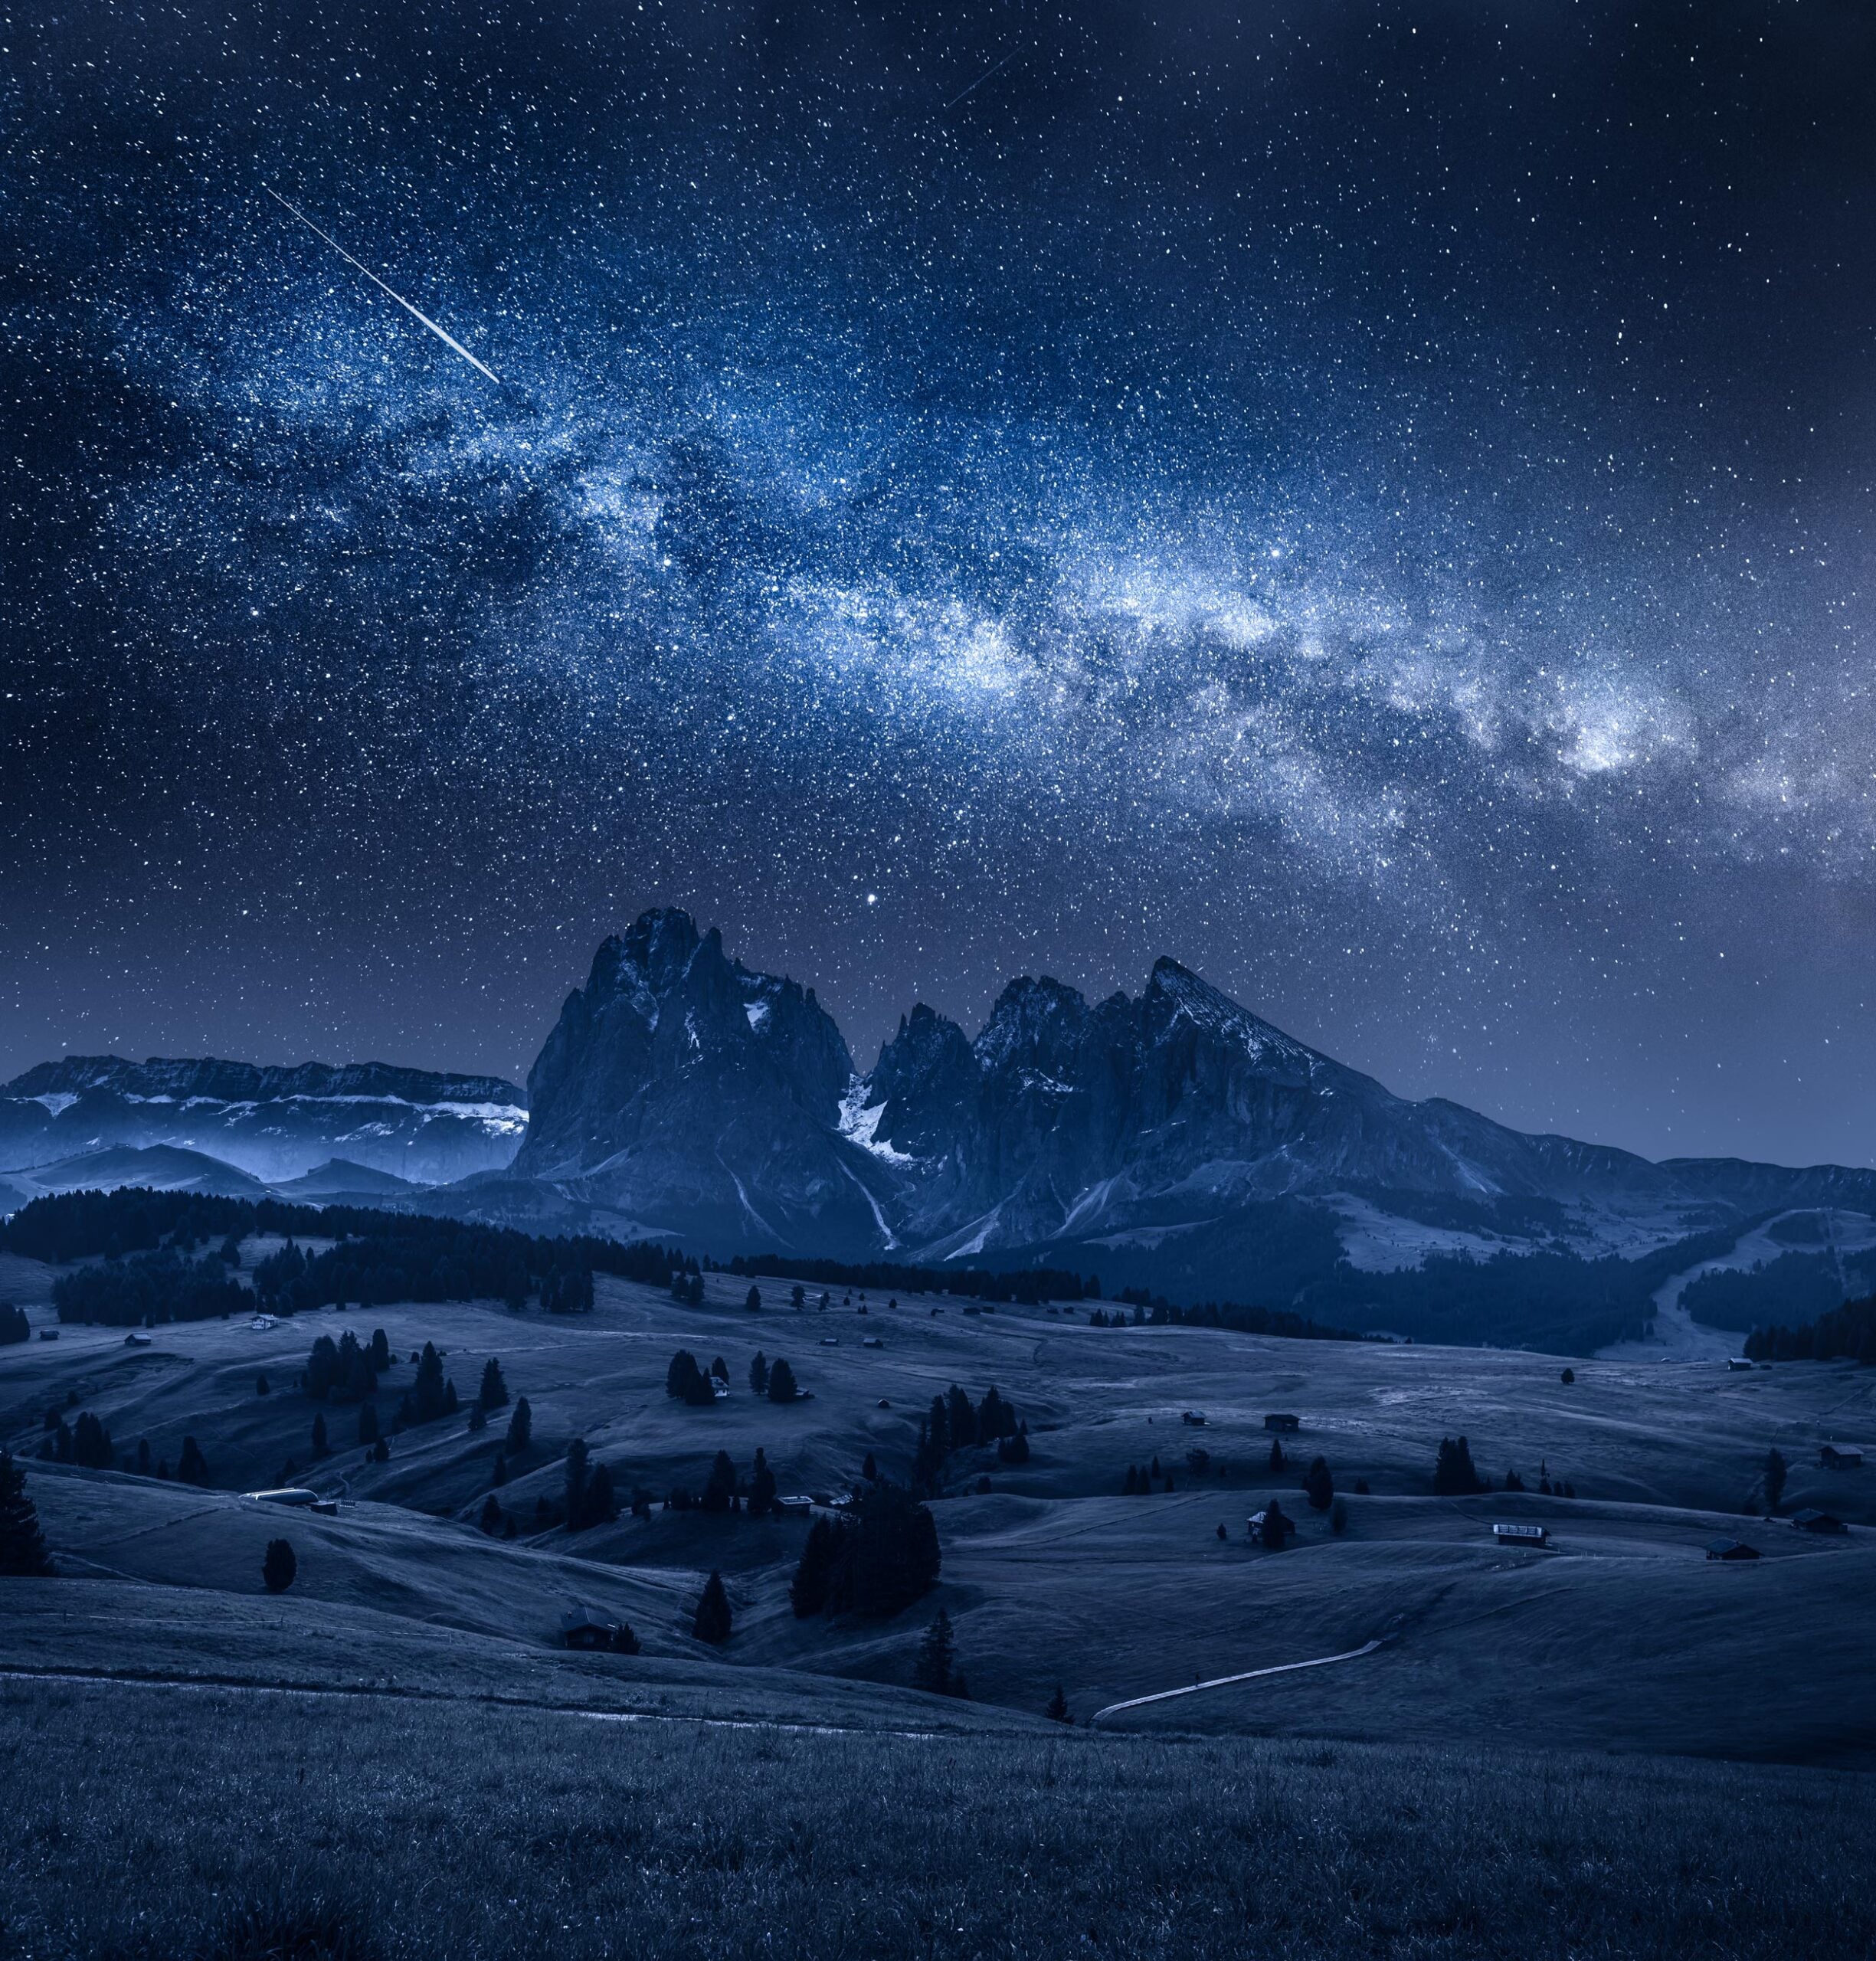
Few photography experiences are quite as rewarding as seeing the Milky Way appear on the back of your camera for the first time. What looked like an ordinary dark sky to the naked eye suddenly reveals clouds of stars, dust lanes, and the bright core of our galaxy stretching across the frame.
The good news is that you don’t need an observatory or a telescope to photograph the Milky Way. With a camera, a tripod, and a basic understanding of the techniques involved, it’s possible to capture surprisingly impressive results. The challenge isn’t usually the equipment, it’s knowing when, where, and how to shoot.
Find a dark location
The biggest obstacle to Milky Way photography isn’t your camera, it’s light pollution. Artificial light from cities, towns, roads, and buildings can wash out the night sky, making it difficult or impossible to see the Milky Way. For the best results, you’ll want to travel to a location with dark skies and minimal artificial lighting.
National parks, mountain regions, rural landscapes, and designated Dark Sky areas are often excellent choices. Even moving thirty or forty minutes away from a city can make a dramatic difference to what you can capture. Before planning a trip, it’s worth checking a light pollution map to find darker locations near you.
Timing is everything
You can only photograph the Milky Way when it’s visible (obviously!). The galactic core, that’s the bright, detailed section that appears in many astrophotography images, is generally visible during specific months of the year, depending on your location. You’ll also want to avoid nights with a bright moon, as moonlight can overwhelm the faint details of the galaxy.
Clear skies are equally important. Even thin cloud cover can hide much of the Milky Way, so checking weather forecasts before heading out is essential. Patience is often just as important as technical skill.
Use the right equipment
While almost any modern camera can photograph the Milky Way, some setups make the job easier than others. A camera with manual controls is essential, as you’ll need to adjust shutter speed, aperture, and ISO yourself. A wide-angle lens with a bright maximum aperture is also highly desirable, allowing you to capture more of the sky while gathering as much light as possible.
Just as importantly, you’ll need a sturdy tripod. Long exposures are the foundation of Milky Way photography, and even slight movement can ruin an image. The good news is that you don’t need the latest flagship camera. Many photographers create excellent Milky Way images using entry-level DSLRs and mirrorless cameras.
Start with these camera settings
Milky Way photography is one of the few situations where photographers often push their equipment to its limits. A good starting point is to use your lens wide open, typically around f/2.8 or wider if available. You’ll then want a shutter speed long enough to gather light but short enough to avoid obvious star trails.
A commonly used guideline is the 500 Rule. To calculate your maximum shutter speed, divide 500 by your focal length (or full-frame equivalent focal length). For example, a 20mm lens on a full-frame camera would allow an exposure of roughly 25 seconds before star movement becomes noticeable.
ISO settings typically fall somewhere between 1600 and 6400 depending on your camera and the darkness of the location. These settings are only starting points. Every scene is different, and experimentation is part of the process.
Take your images further with a star tracker
Once you’ve mastered the basics, one of the biggest upgrades you can make is adding a star tracker to your kit. A star tracker is a motorised mount that slowly rotates to compensate for the Earth’s rotation. Rather than the stars drifting across your frame during long exposures, the tracker keeps them stationary relative to the camera.
This allows for dramatically longer exposures (often measured in minutes rather than seconds) which means your camera can collect far more light. The result is cleaner images, lower noise, richer colours, and significantly more detail in the Milky Way’s dust lanes and star clouds.
The trade-off is that while the tracker follows the stars, the landscape remains fixed. As a result, the foreground may appear blurred. Many astrophotographers solve this by taking separate exposures for the sky and foreground and blending them together during post-processing.
A star tracker isn’t essential for Milky Way photography, but it’s often the next step for photographers who want to capture more advanced and detailed images.
Focus carefully
Autofocus systems generally struggle in near-total darkness. For that reason, most astrophotographers switch to manual focus. A common technique is to focus on a bright star using live view at maximum magnification. Take your time with this step. Slightly inaccurate focus can turn an otherwise excellent image into a disappointing one. In night photography, sharp focus is often more important than almost anything else.
Include an interesting foreground
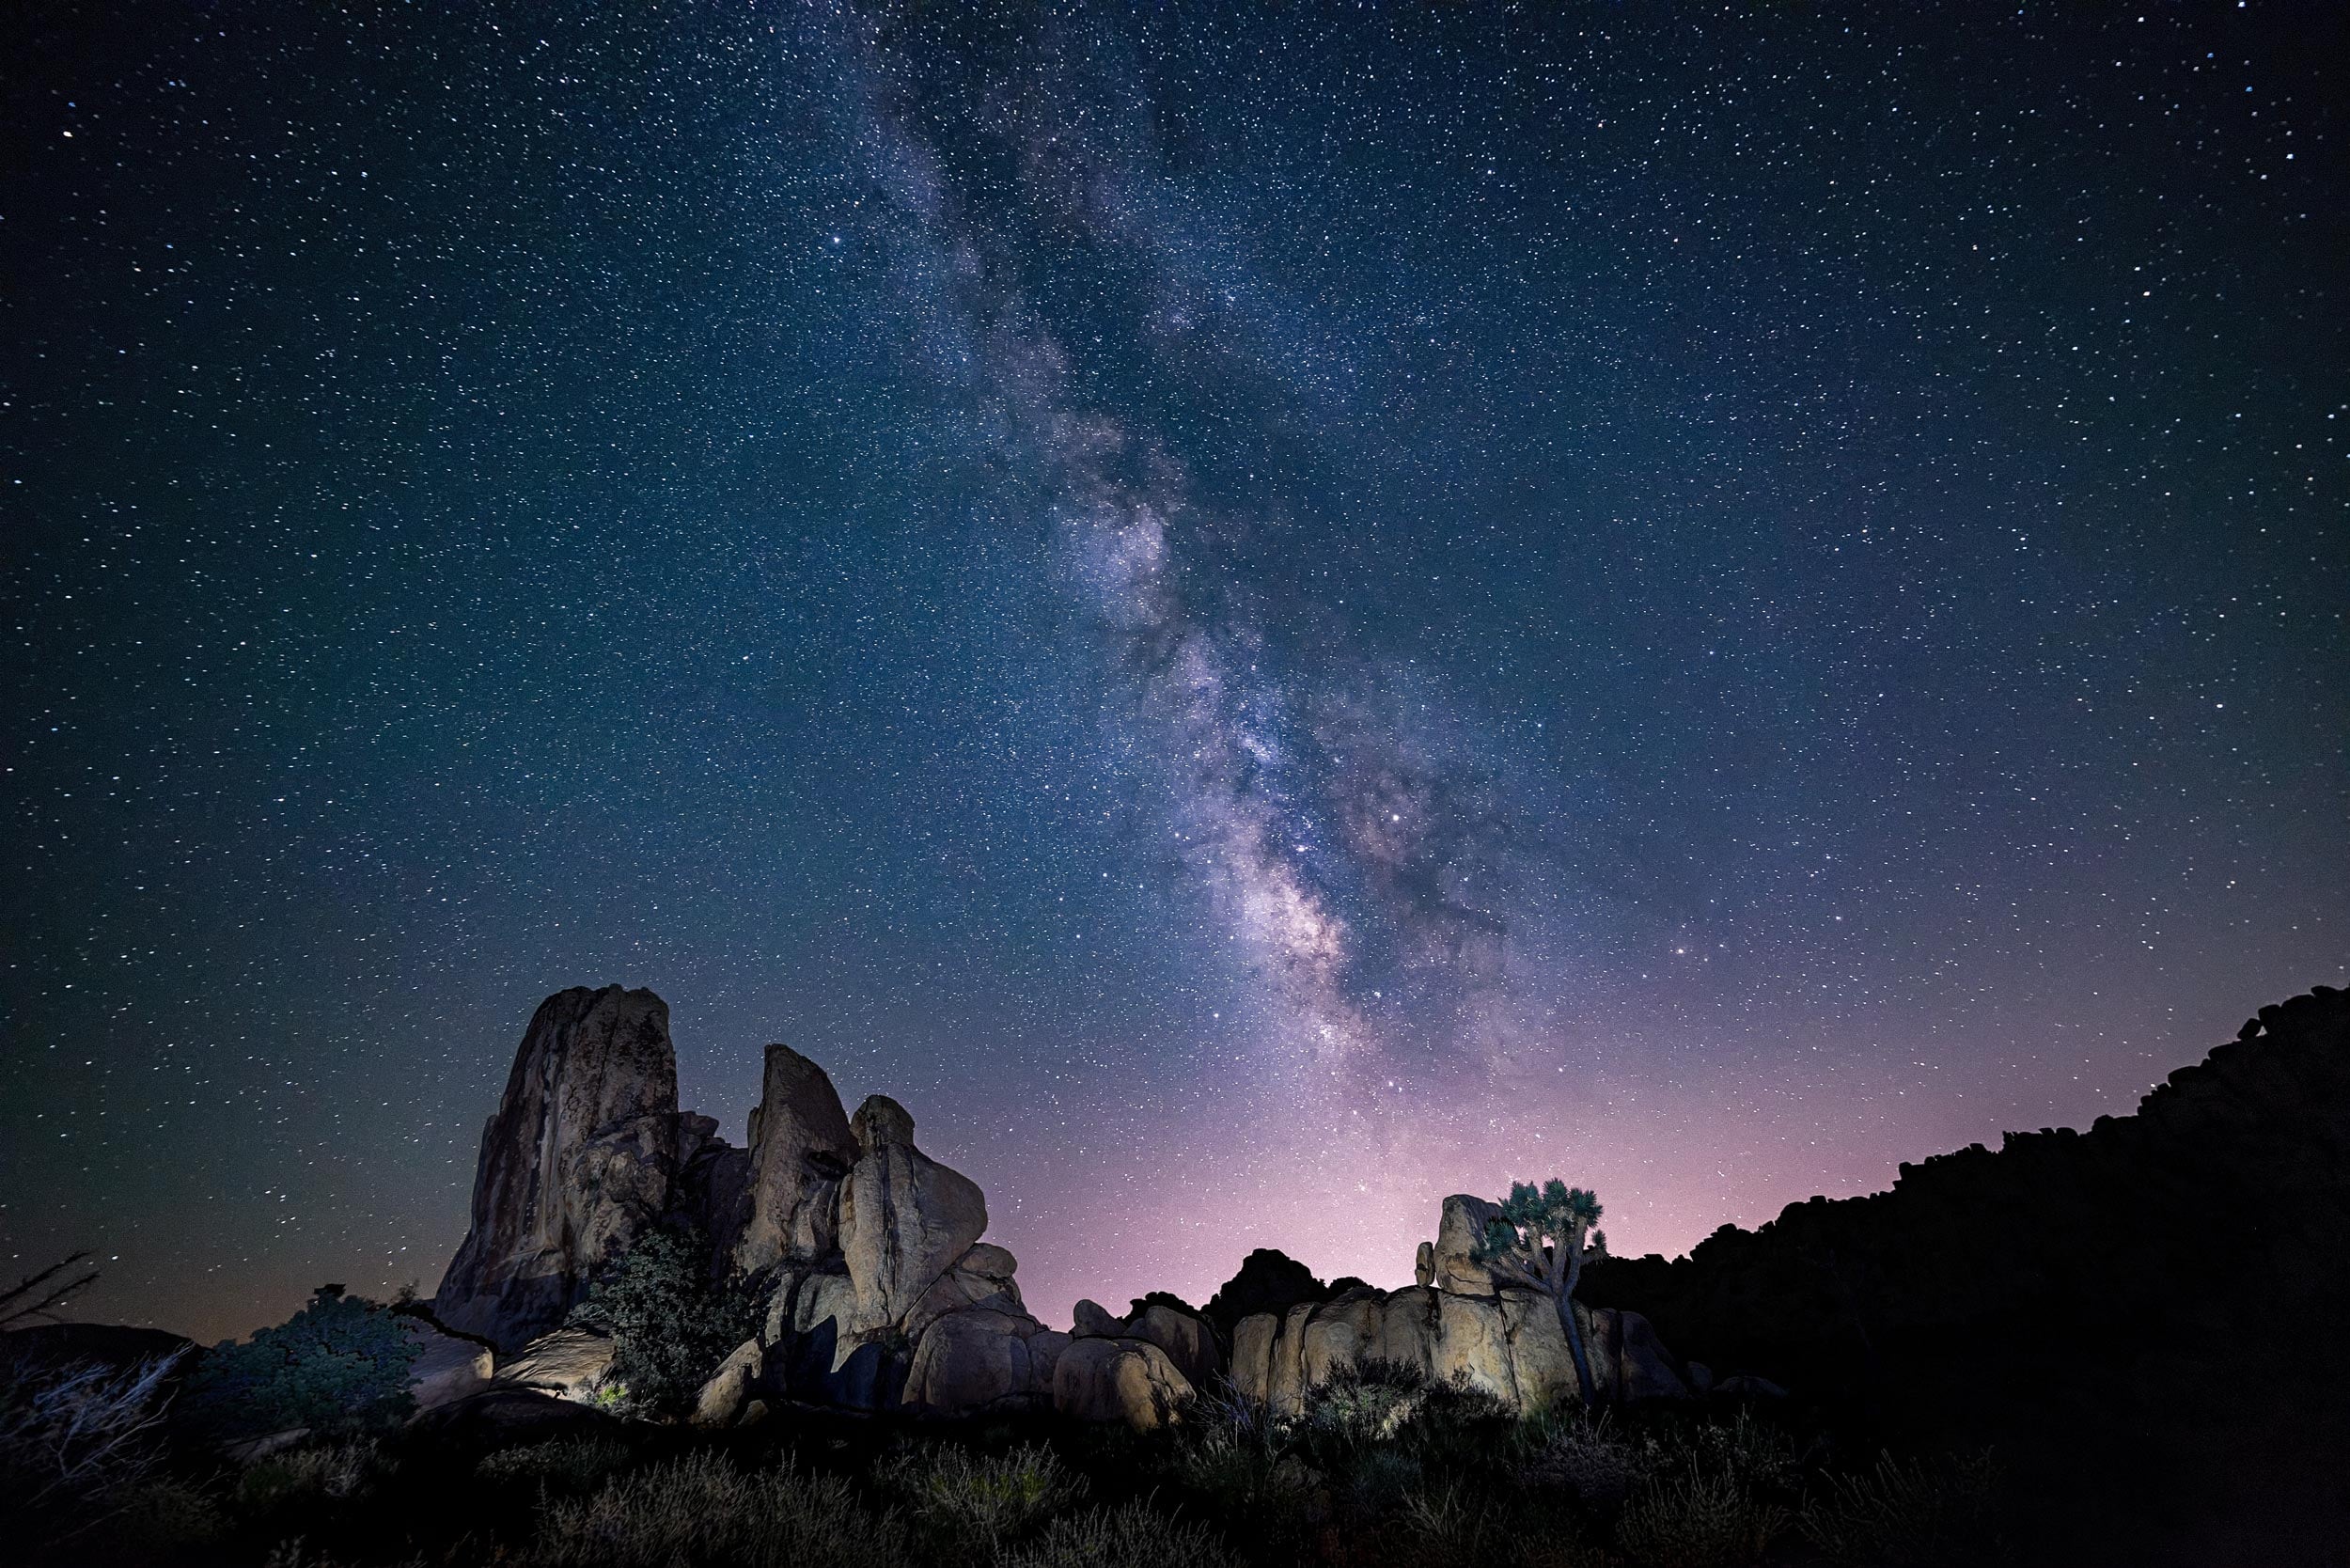
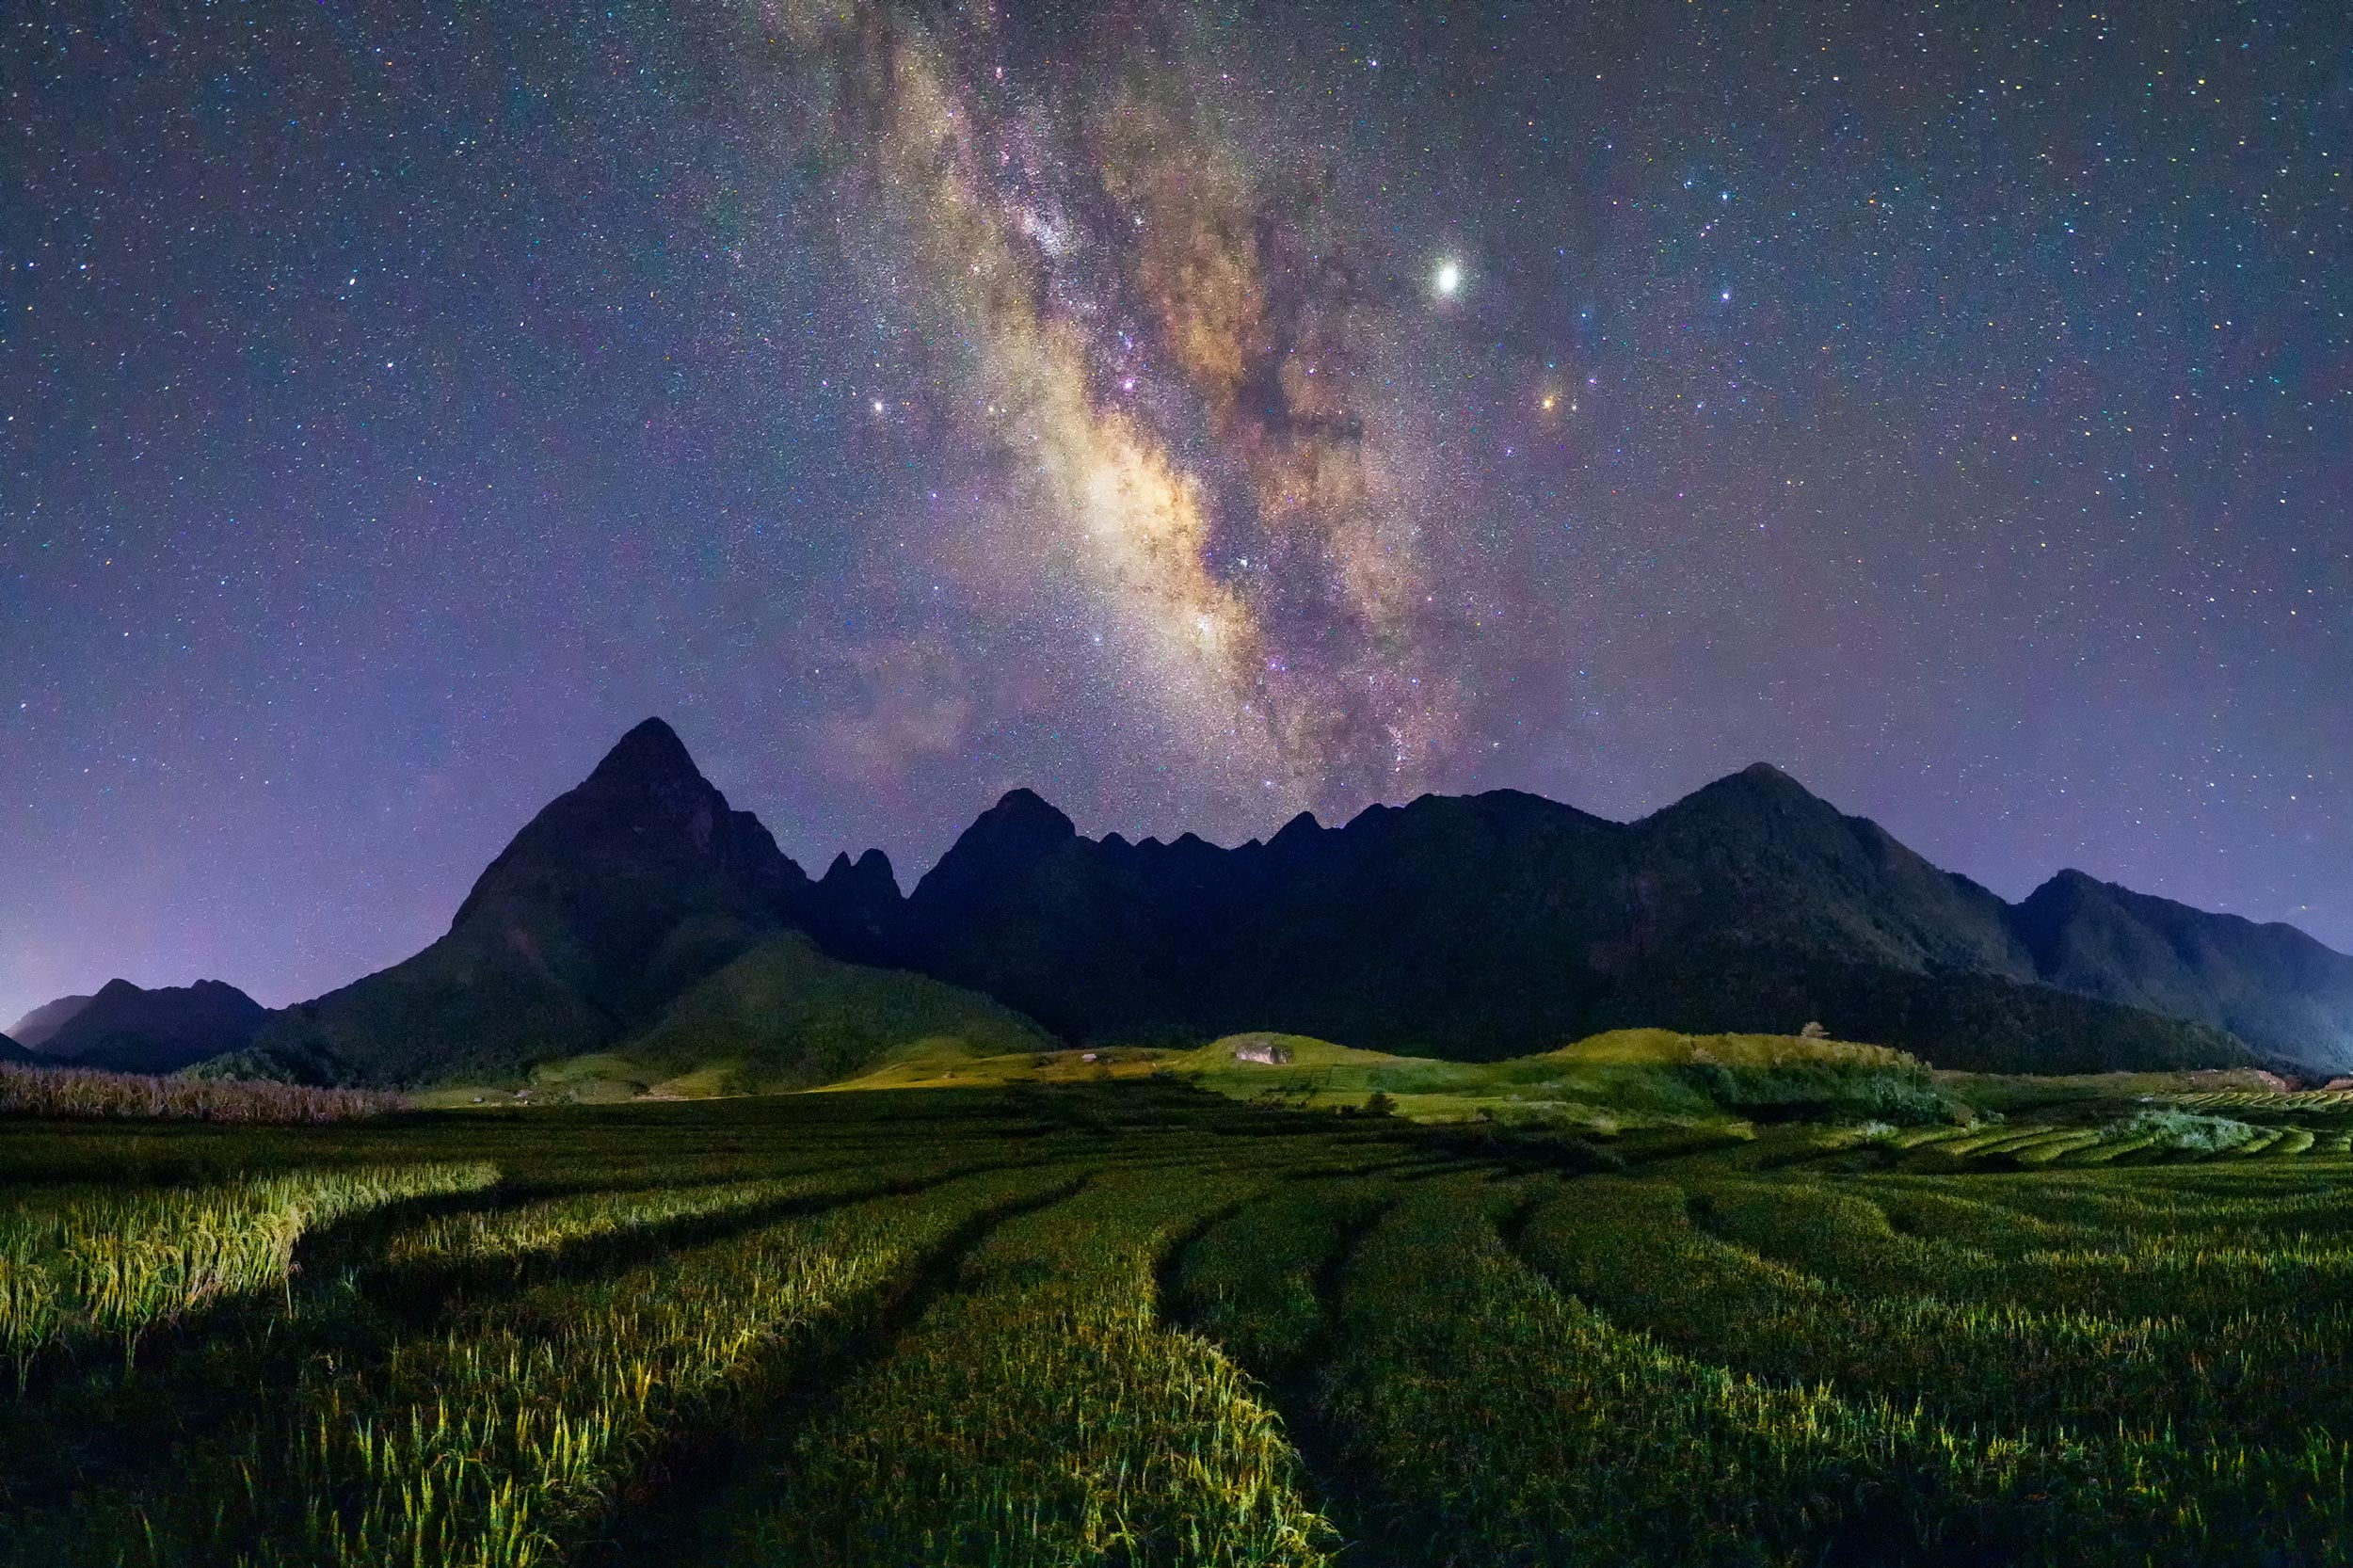
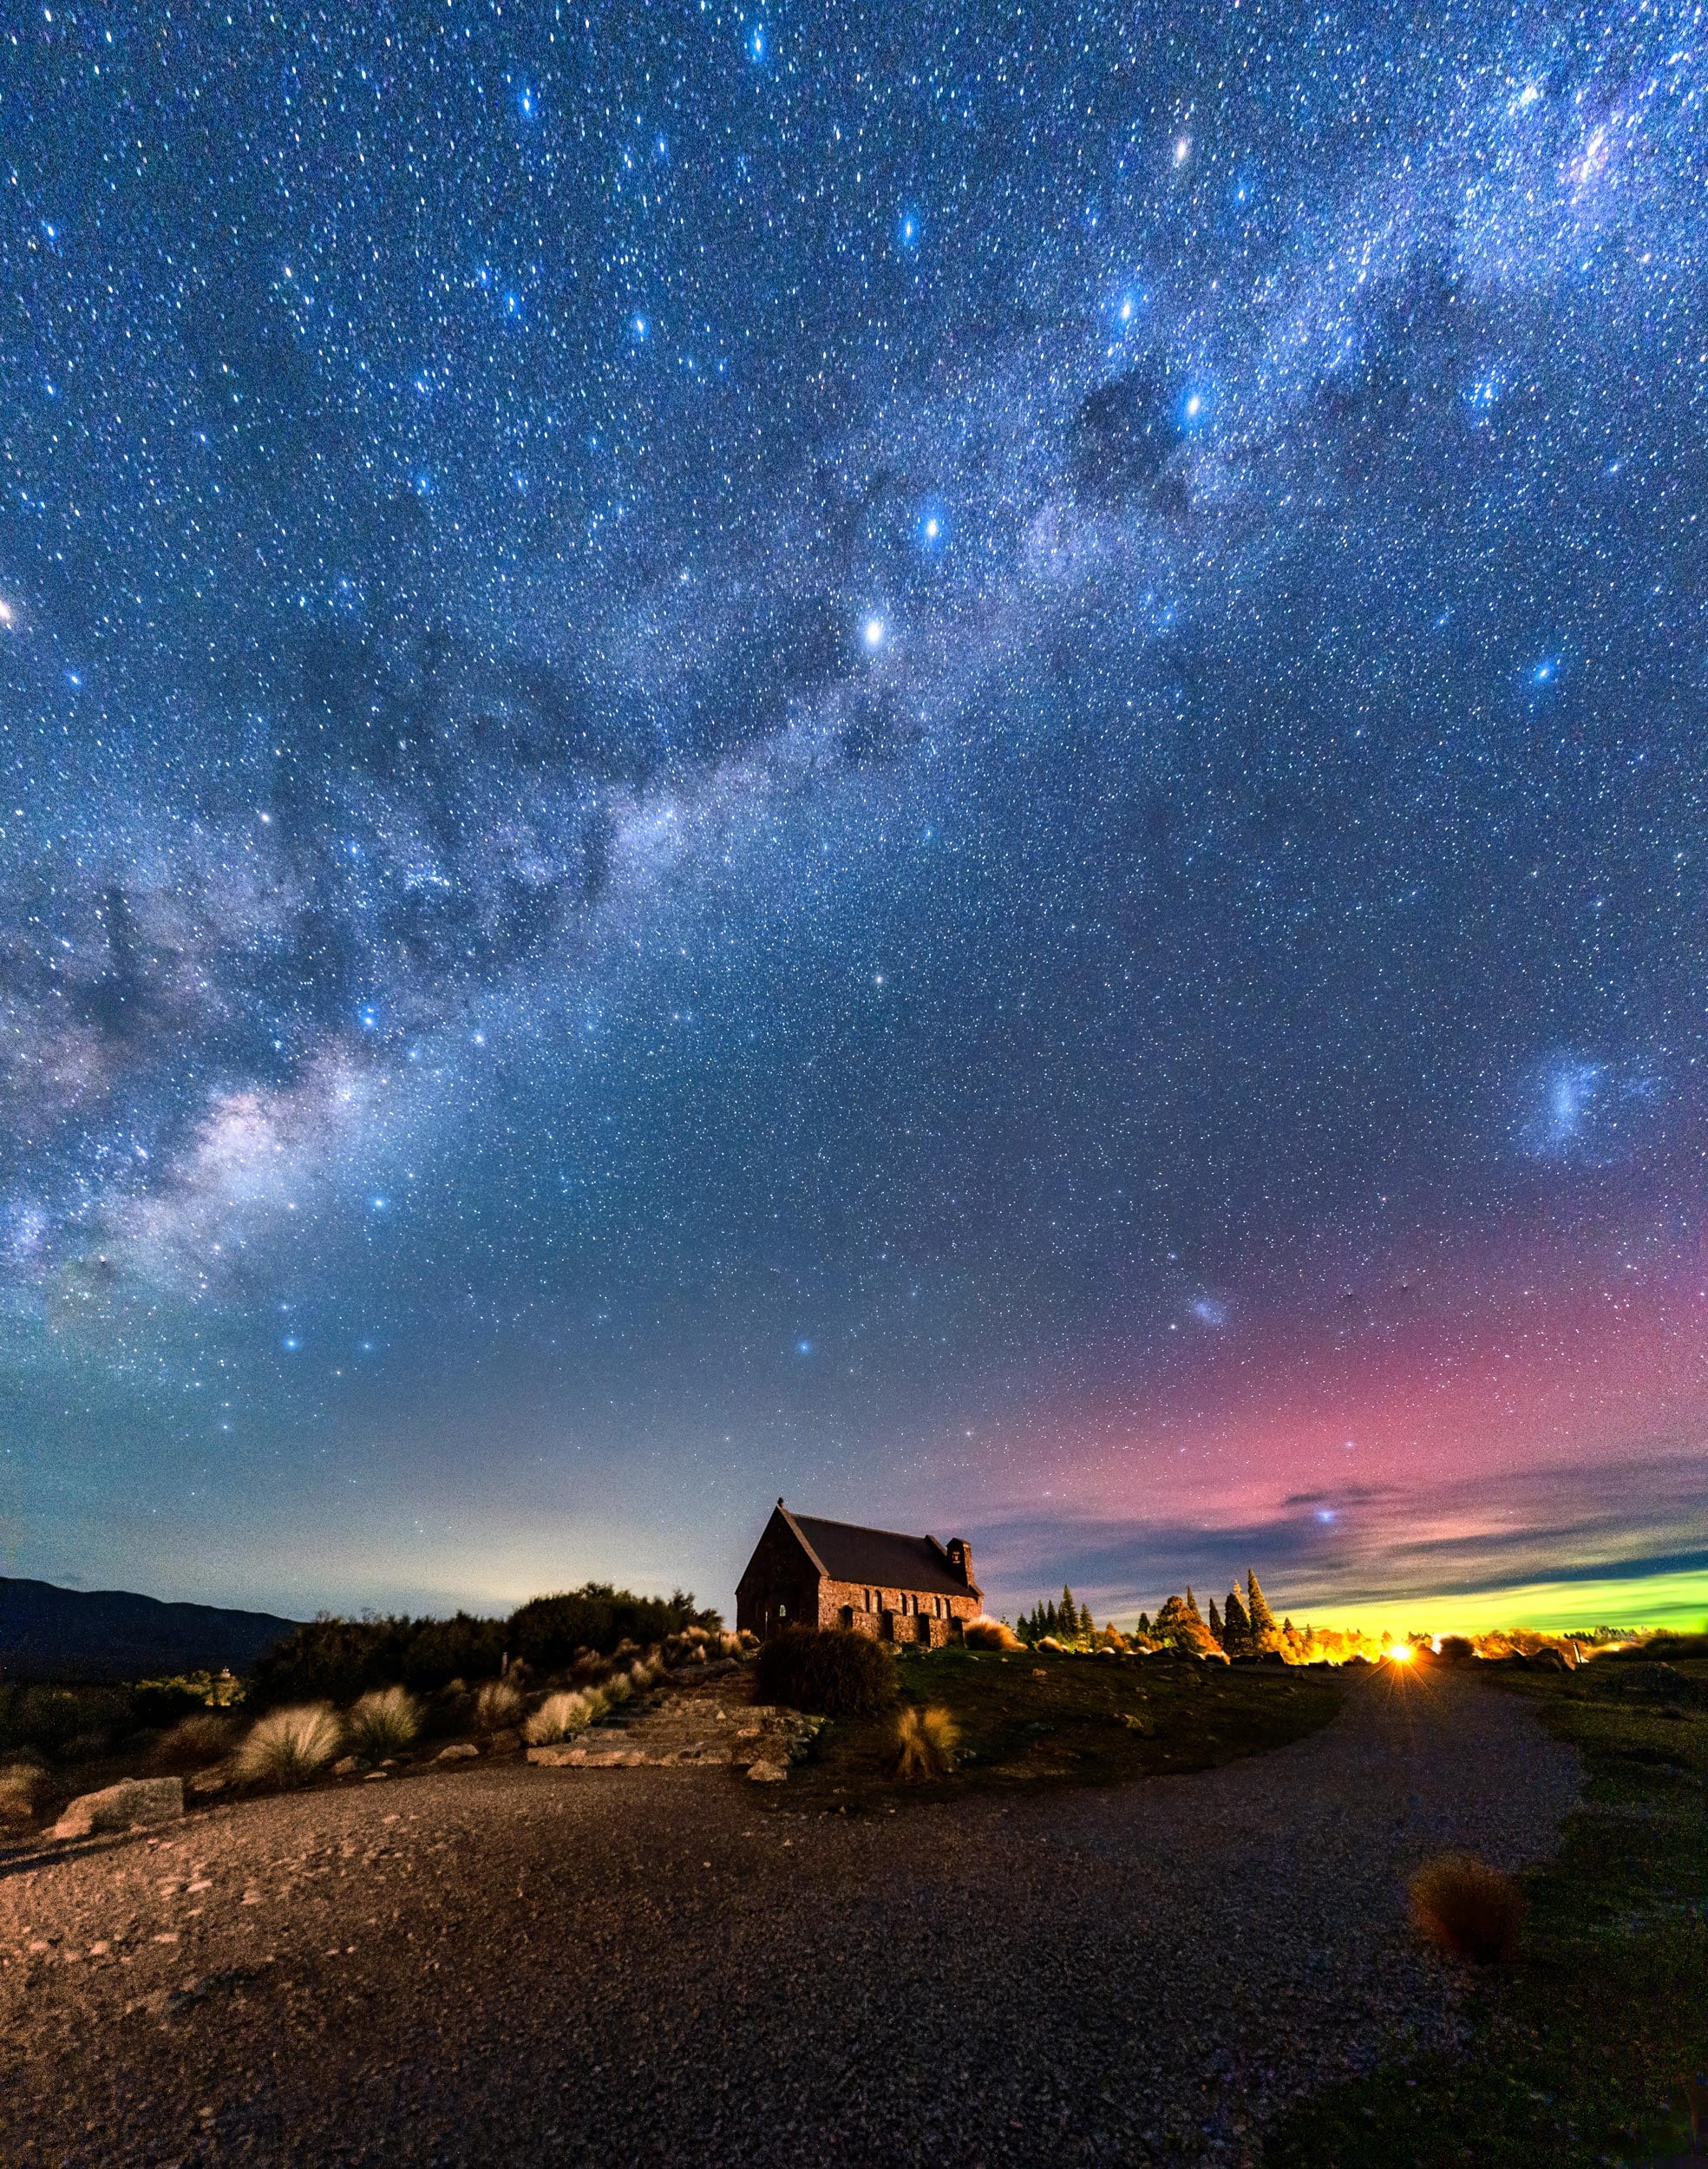
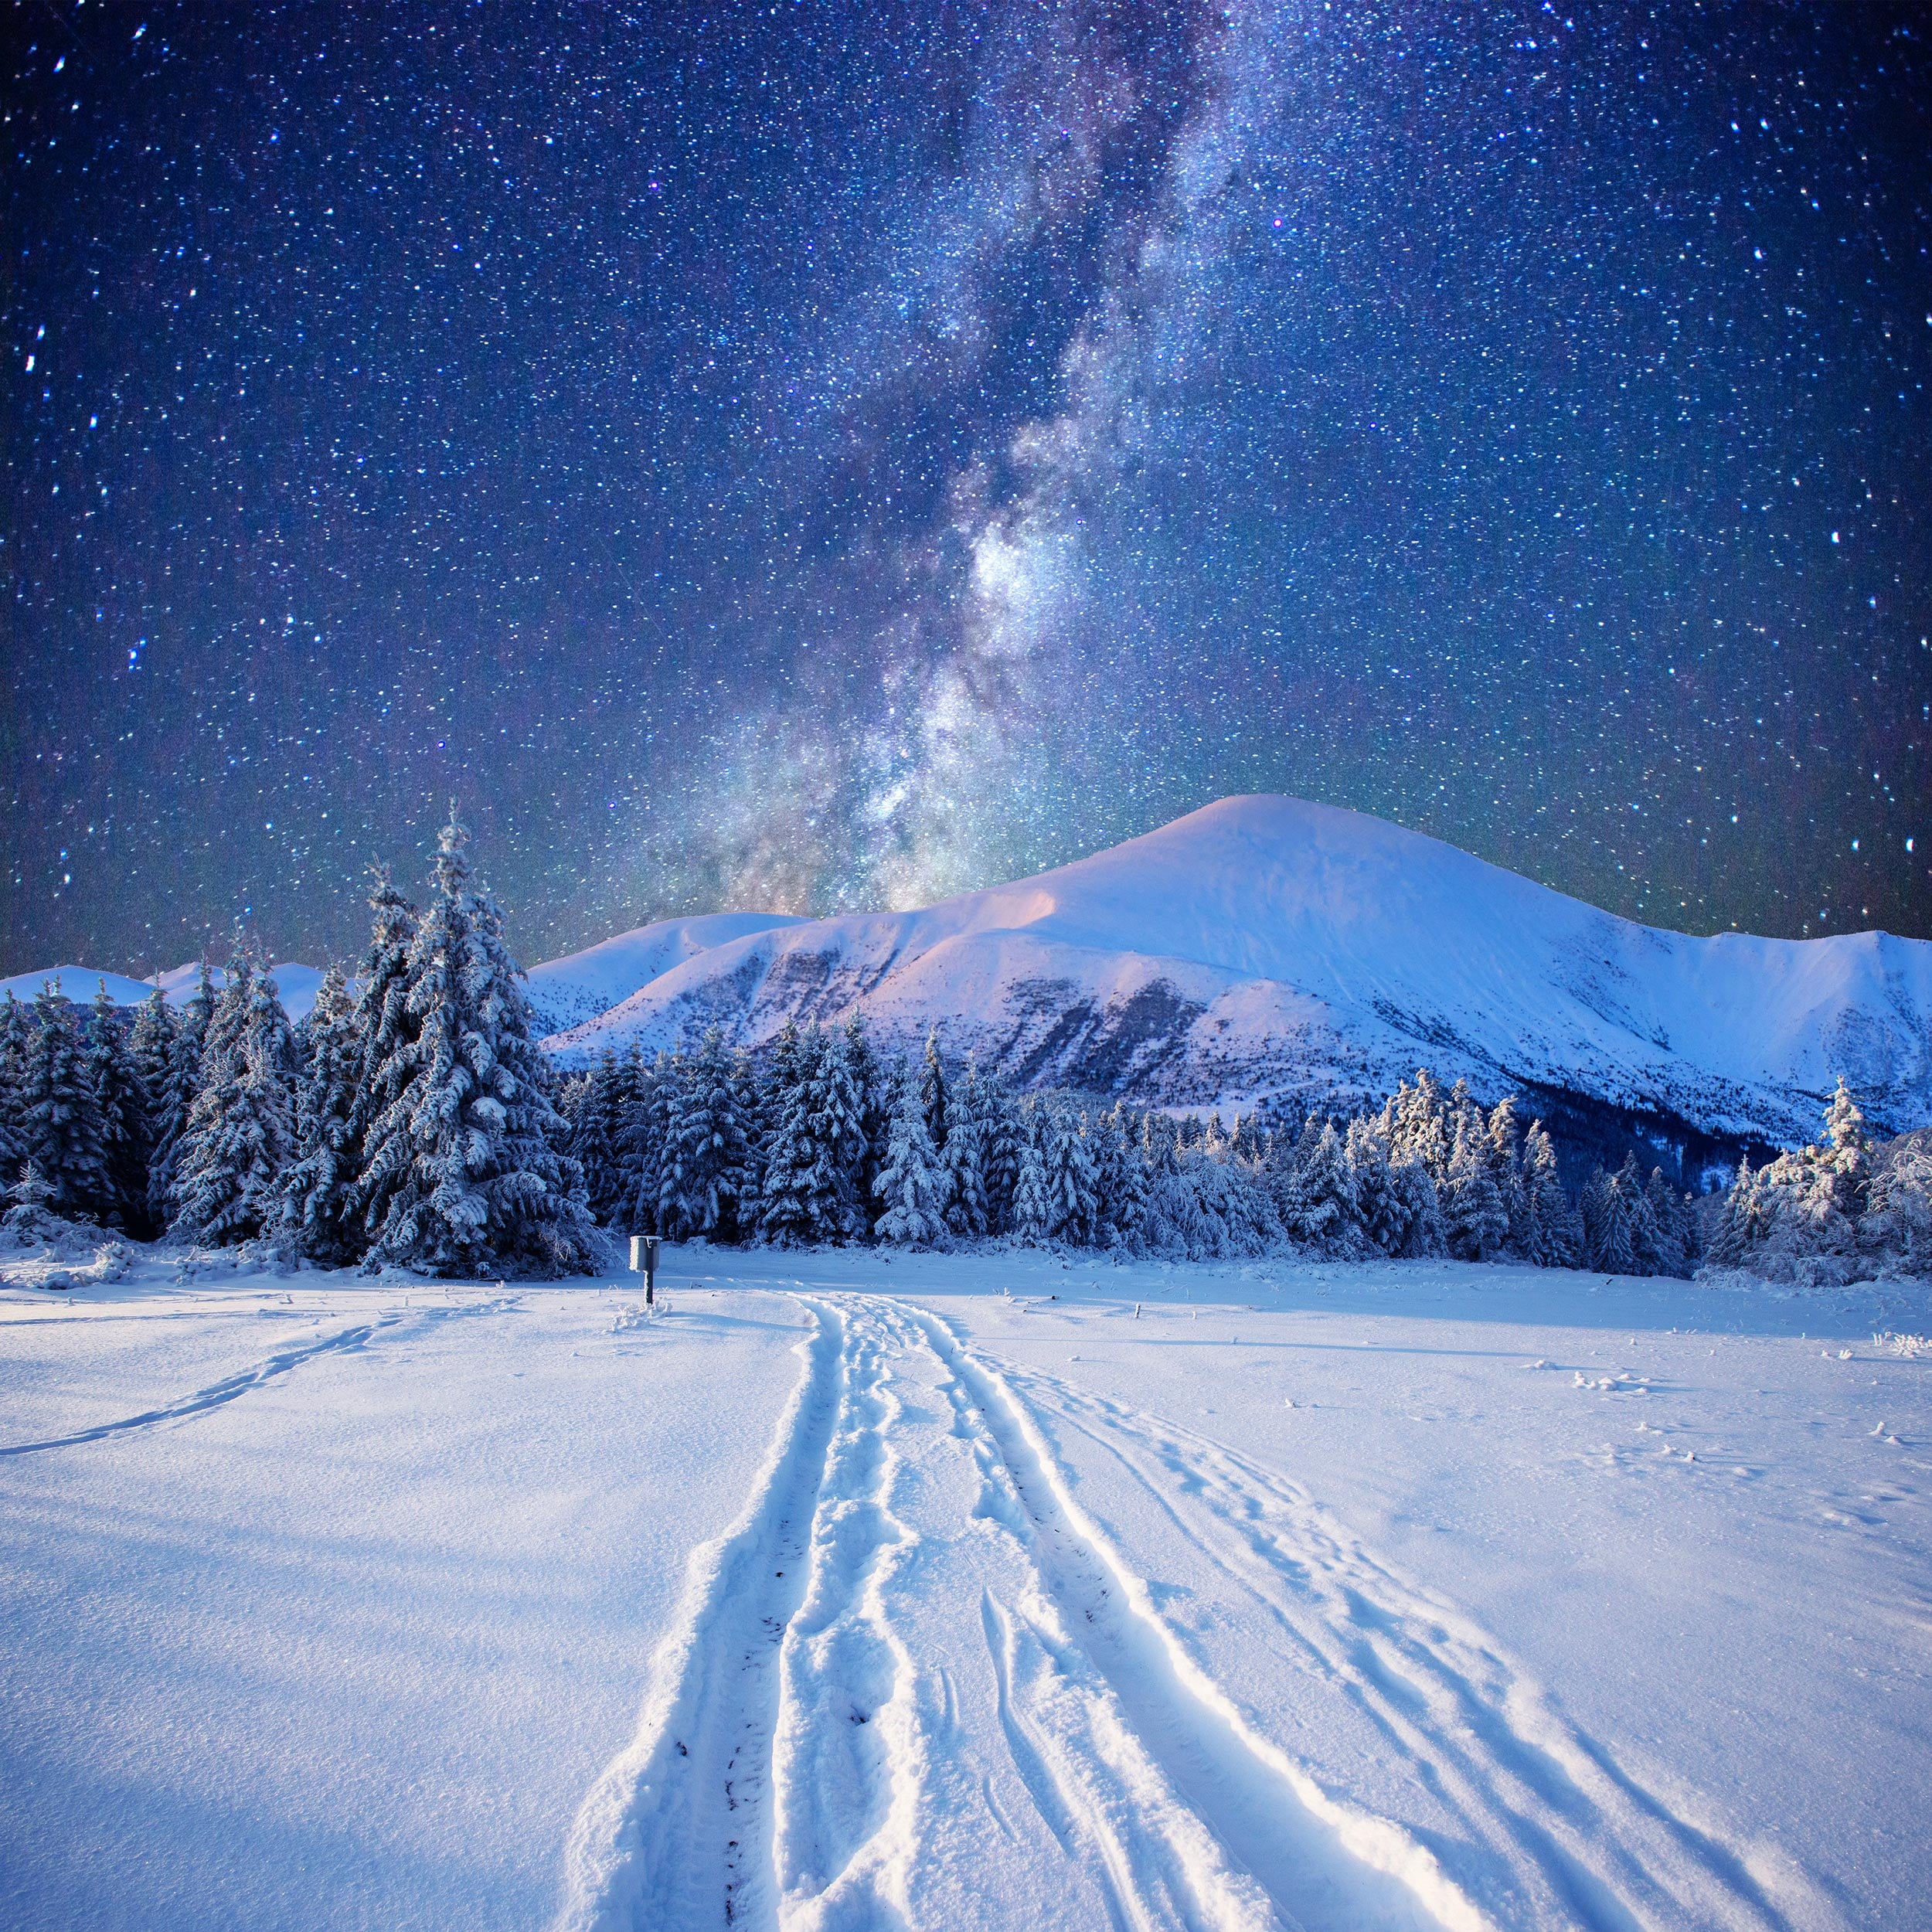
While the Milky Way is impressive on its own, photographs become much stronger when they include something on the ground. Trees, mountains, rock formations, buildings, lakes, and even a person standing beneath the stars can help create scale and context. Without a foreground element, many Milky Way images can feel like records of the sky rather than complete photographs. The best astrophotography often combines landscape photography with astronomy.
Shoot in RAW and edit your images
RAW files are particularly valuable for astrophotography because they retain significantly more information than JPEGs. Editing is a normal part of the process. Most Milky Way photographs require adjustments to contrast, white balance, shadows, and noise reduction to reveal details that are difficult to see straight out of camera. This isn’t cheating, it’s simply part of translating what your camera captured into a finished image.
Improve image quality with stacking
Many of the spectacular Milky Way photographs you see online aren’t single exposures. Instead, they’re often the result of image stacking.
Rather than relying on one photograph, astrophotographers capture multiple identical frames and combine them using specialist software. Because the stars remain consistent between images while digital noise appears randomly, stacking can dramatically reduce noise and reveal additional detail. This is particularly useful when shooting at higher ISO settings or in locations where the Milky Way appears relatively faint.
Some photographers stack a handful of exposures, while others combine dozens or even hundreds of images. The more frames you stack, the cleaner and more detailed the final result can become.
While it adds extra work during editing, stacking is one of the most powerful techniques available to astrophotographers and is often responsible for the exceptionally clean night sky images seen in magazines, competitions, and online galleries.
Conclusion
Learning how to photograph the Milky Way requires a little patience, a willingness to experiment, and a few late nights under the stars. The first attempts may not look like the images you’ve seen online, but that’s perfectly normal.
The key is to focus on the fundamentals: dark skies, careful timing, stable equipment, accurate focus, and thoughtful composition. Once you’ve mastered those basics, techniques such as star tracking and image stacking can help you capture even more detail and produce images that rival those of experienced astrophotographers.
About Leonard Skapp
Leonard “Len” Skapp is a photographer with a particular interest in cameras, lenses, accessories, camera bags, lens filters, tripods, camera straps, and, on rare occasions, photography itself. Equal parts reviewer and enthusiast, he enjoys digging into the technical details behind the latest gear and translating them into plain English for fellow photographers. He maintains that every purchase is a carefully considered investment, although his bank account and overflowing camera cupboard continue to dispute this claim.
We love it when our readers get in touch with us to share their stories. This article was contributed to DIYP by a member of our community. If you would like to contribute an article, please contact us here.


Join the Discussion
DIYP Comment Policy
Be nice, be on-topic, no personal information or flames.