




















Real Estate Photography Tips: How to Take Better Interior Photos
Jul 22, 2026
Leonard Skapp

Alex Baker is a portrait and lifestyle driven photographer based in Valencia, Spain. She works on a range of projects from commercial to fine art and has had work featured in publications such as The Daily Mail, Conde Nast Traveller and El Mundo, and has exhibited work across Europe
Share:
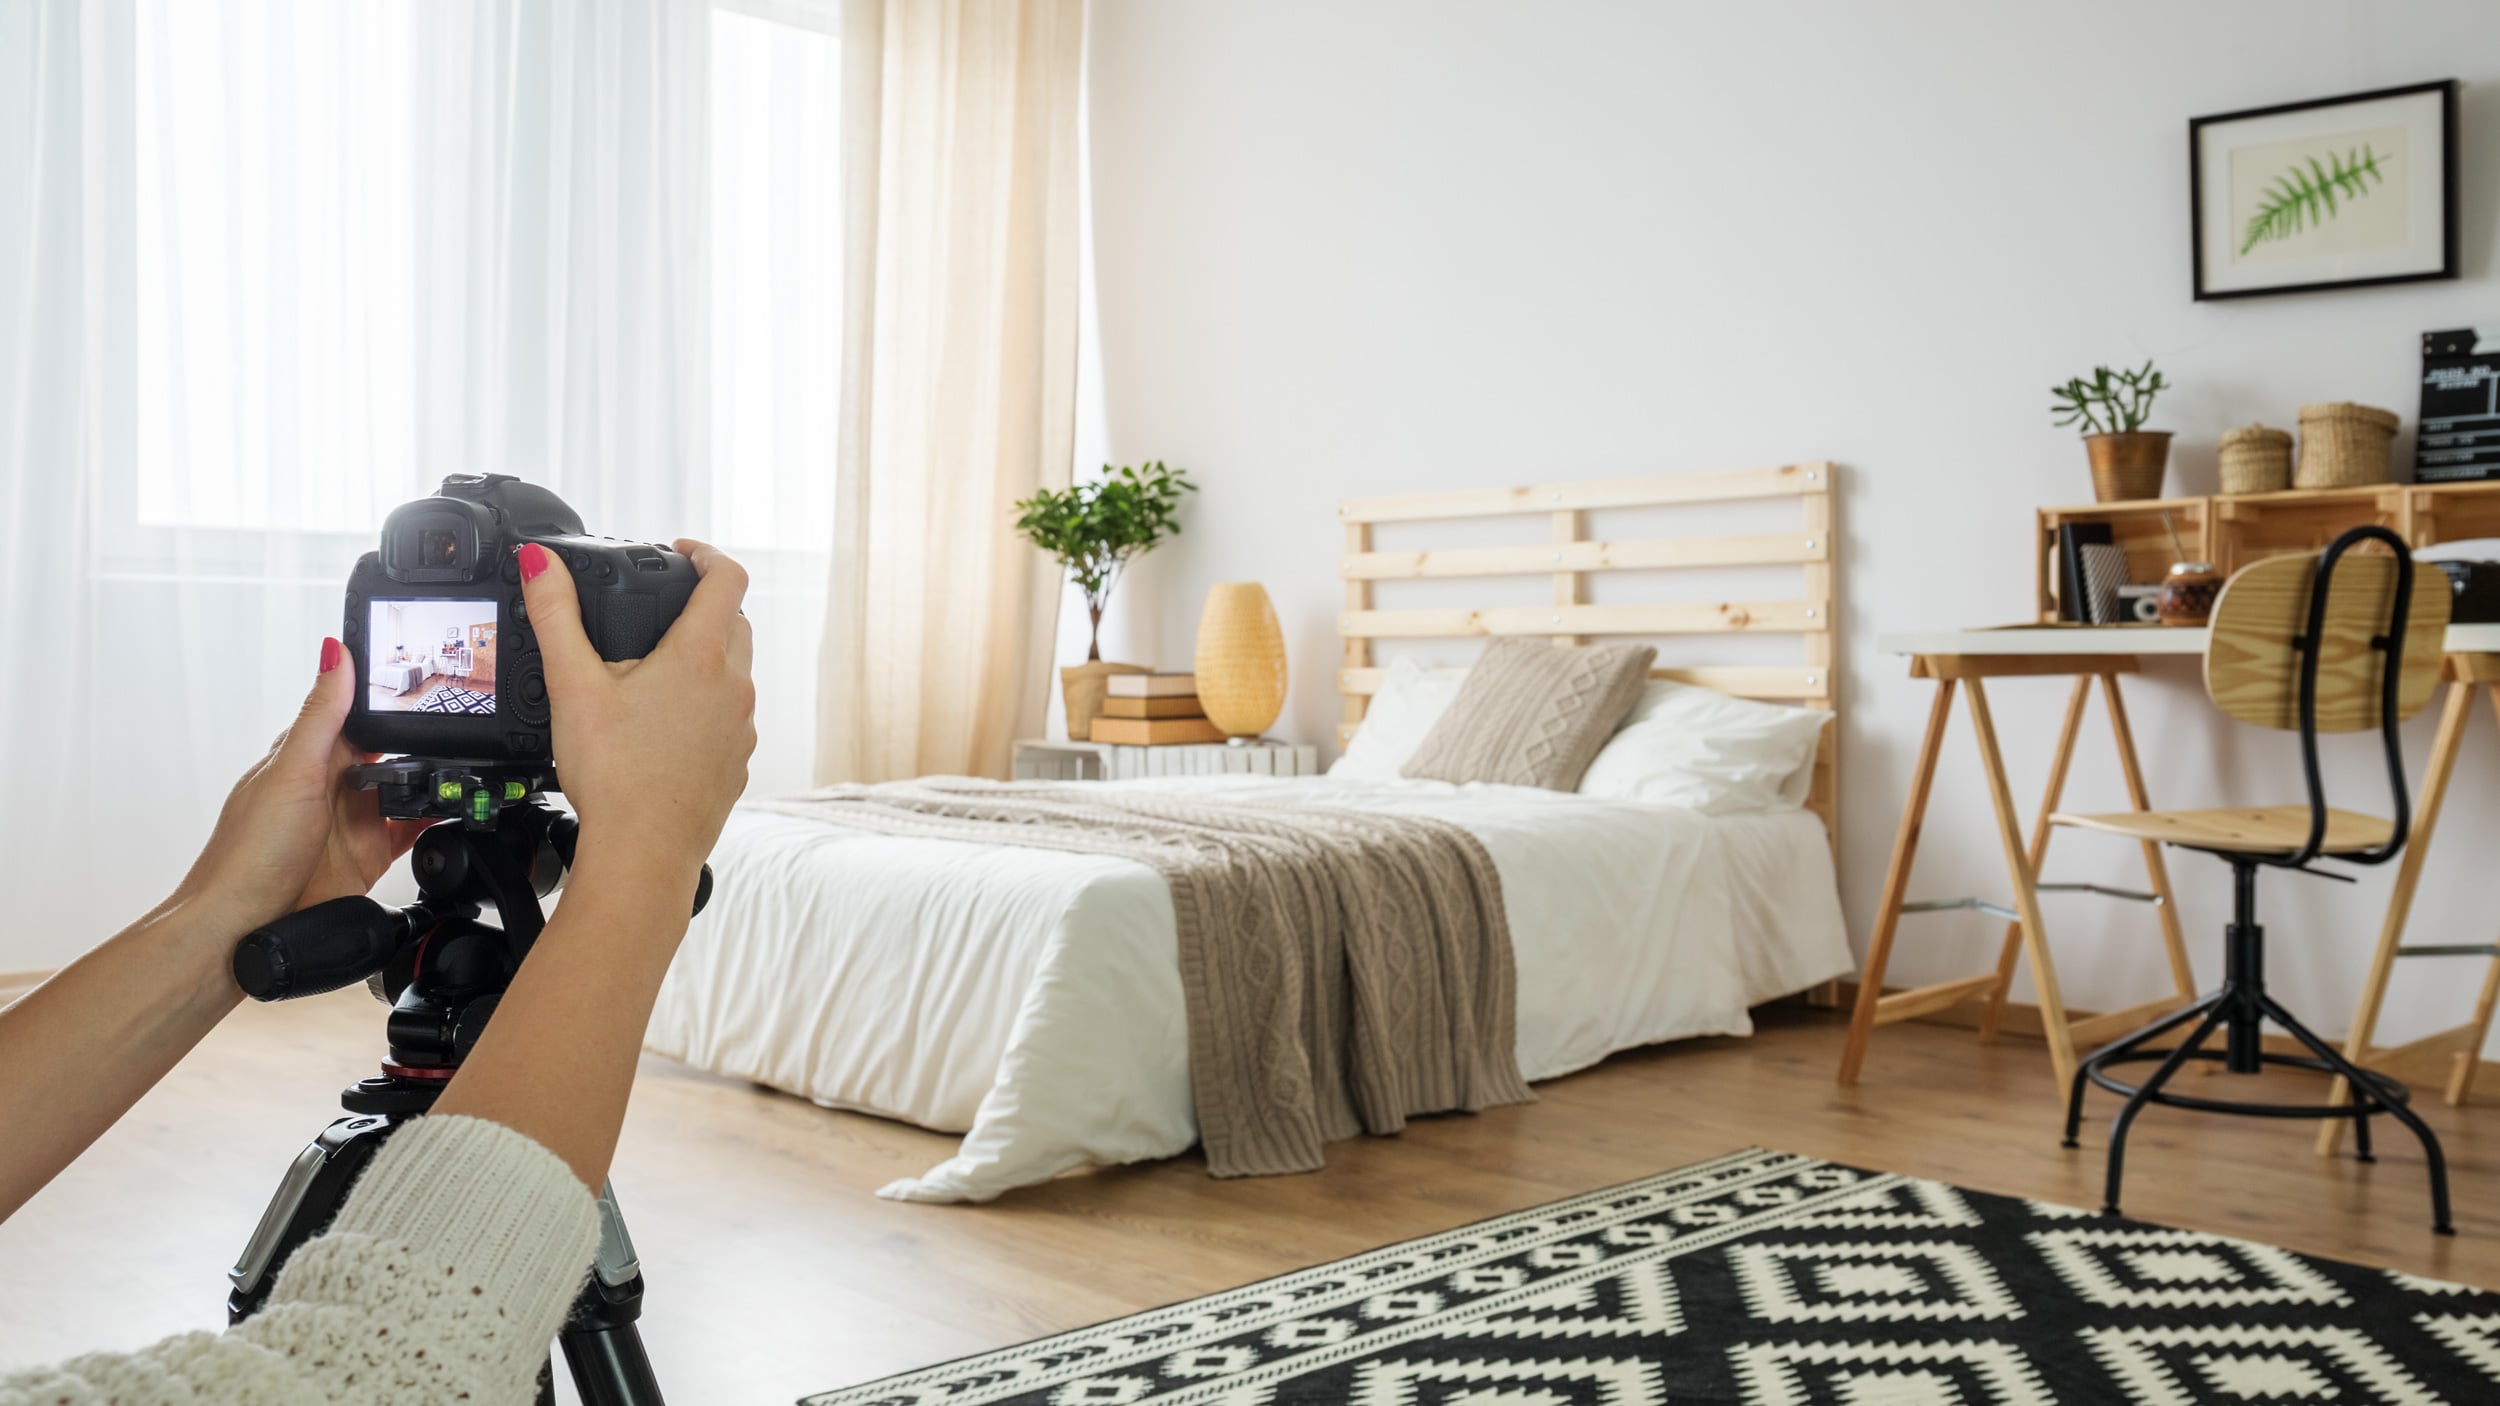
We’ve all seen property listings with dark, wonky photos that make even a beautiful home look unappealing. Great real estate photography does the opposite, showing a property at its very best while still giving an honest impression of the space.
Professional-looking interior photographs don’t necessarily require expensive equipment. With the right camera settings, careful composition, and a few simple techniques, you can create bright, natural-looking images that showcase a property’s best features.
Use a wide-angle lens
One of the biggest challenges in real estate photography is fitting an entire room into the frame. A wide-angle lens allows you to capture more of the space without having to stand in the hallway or squeeze into a corner. Something between 14mm and 24mm on a full-frame camera is a popular choice, although you should avoid going so wide that straight walls begin to curve or rooms appear unrealistically large.
Remember that your goal is to represent the property accurately. Overly distorted images may attract clicks online, but they’ll only disappoint viewers when they visit in person.
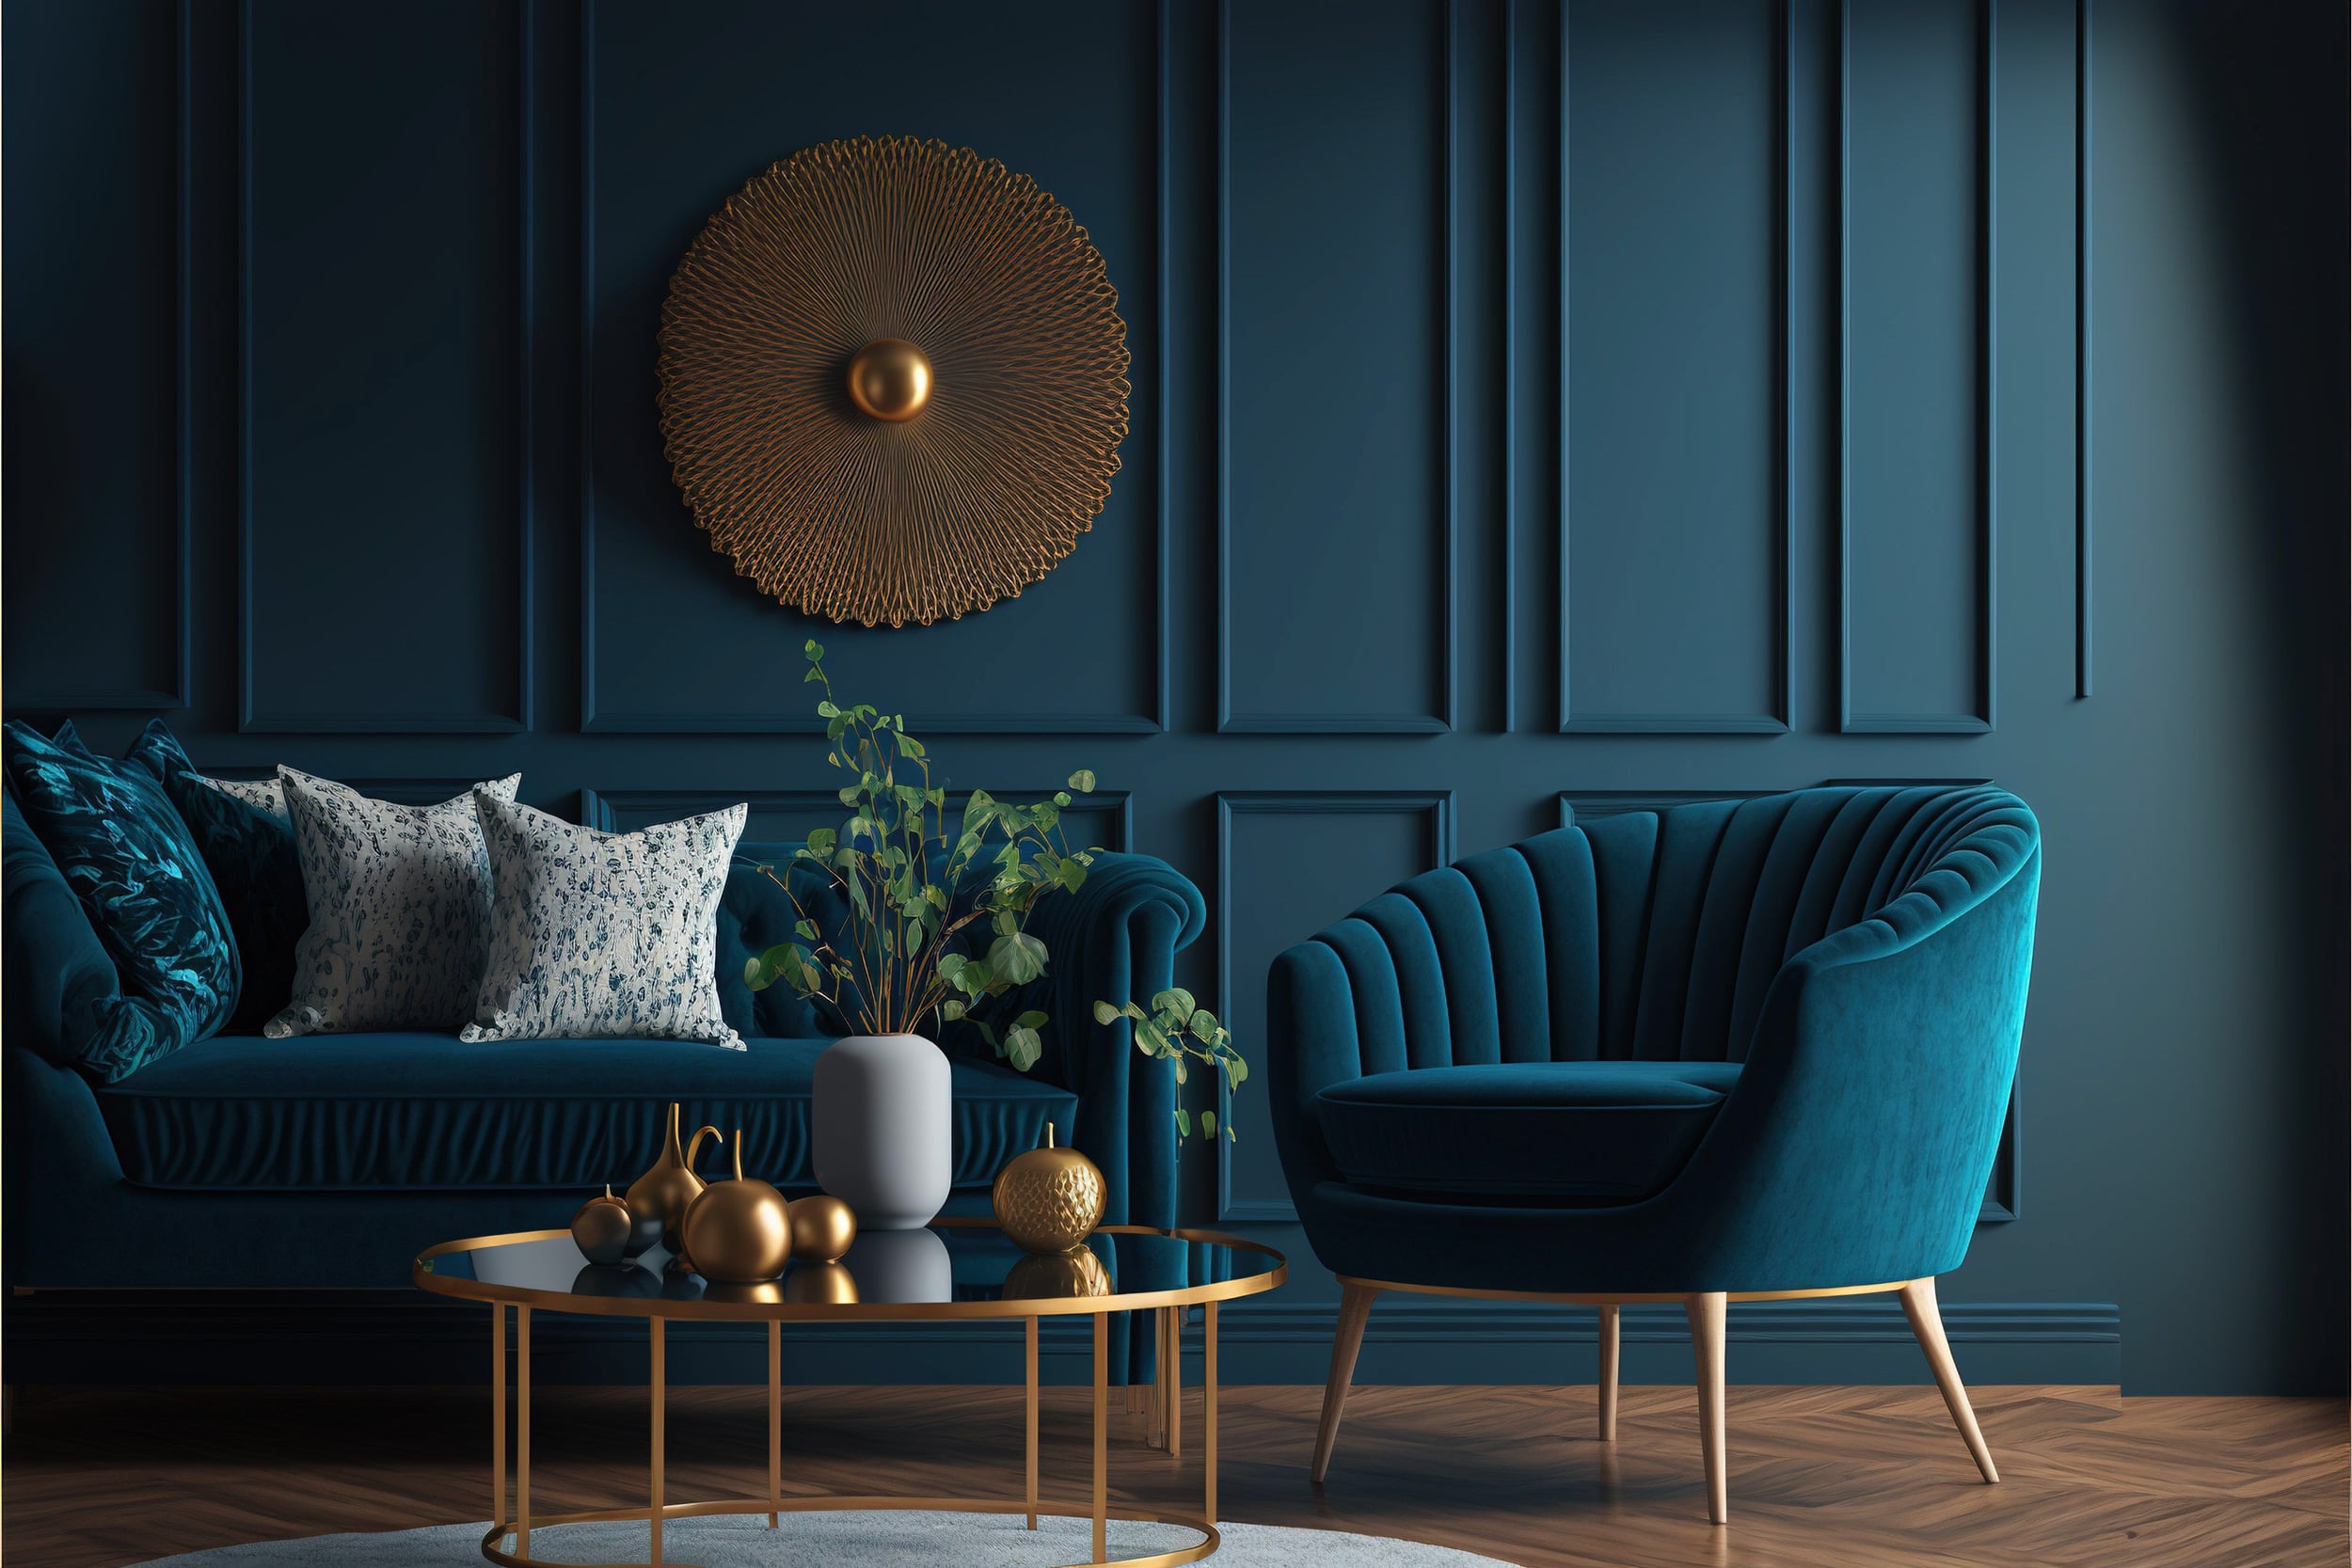
However, you’ll notice that lifestyle magazines rarely try to fit the whole room in the frame. Instead, they will use a 35mm lens and select details and certain angles that highlight the design of the room and what it might feel like to be in the room, rather than trying to impress how large the space is or include everything.
Let in as much natural light as possible
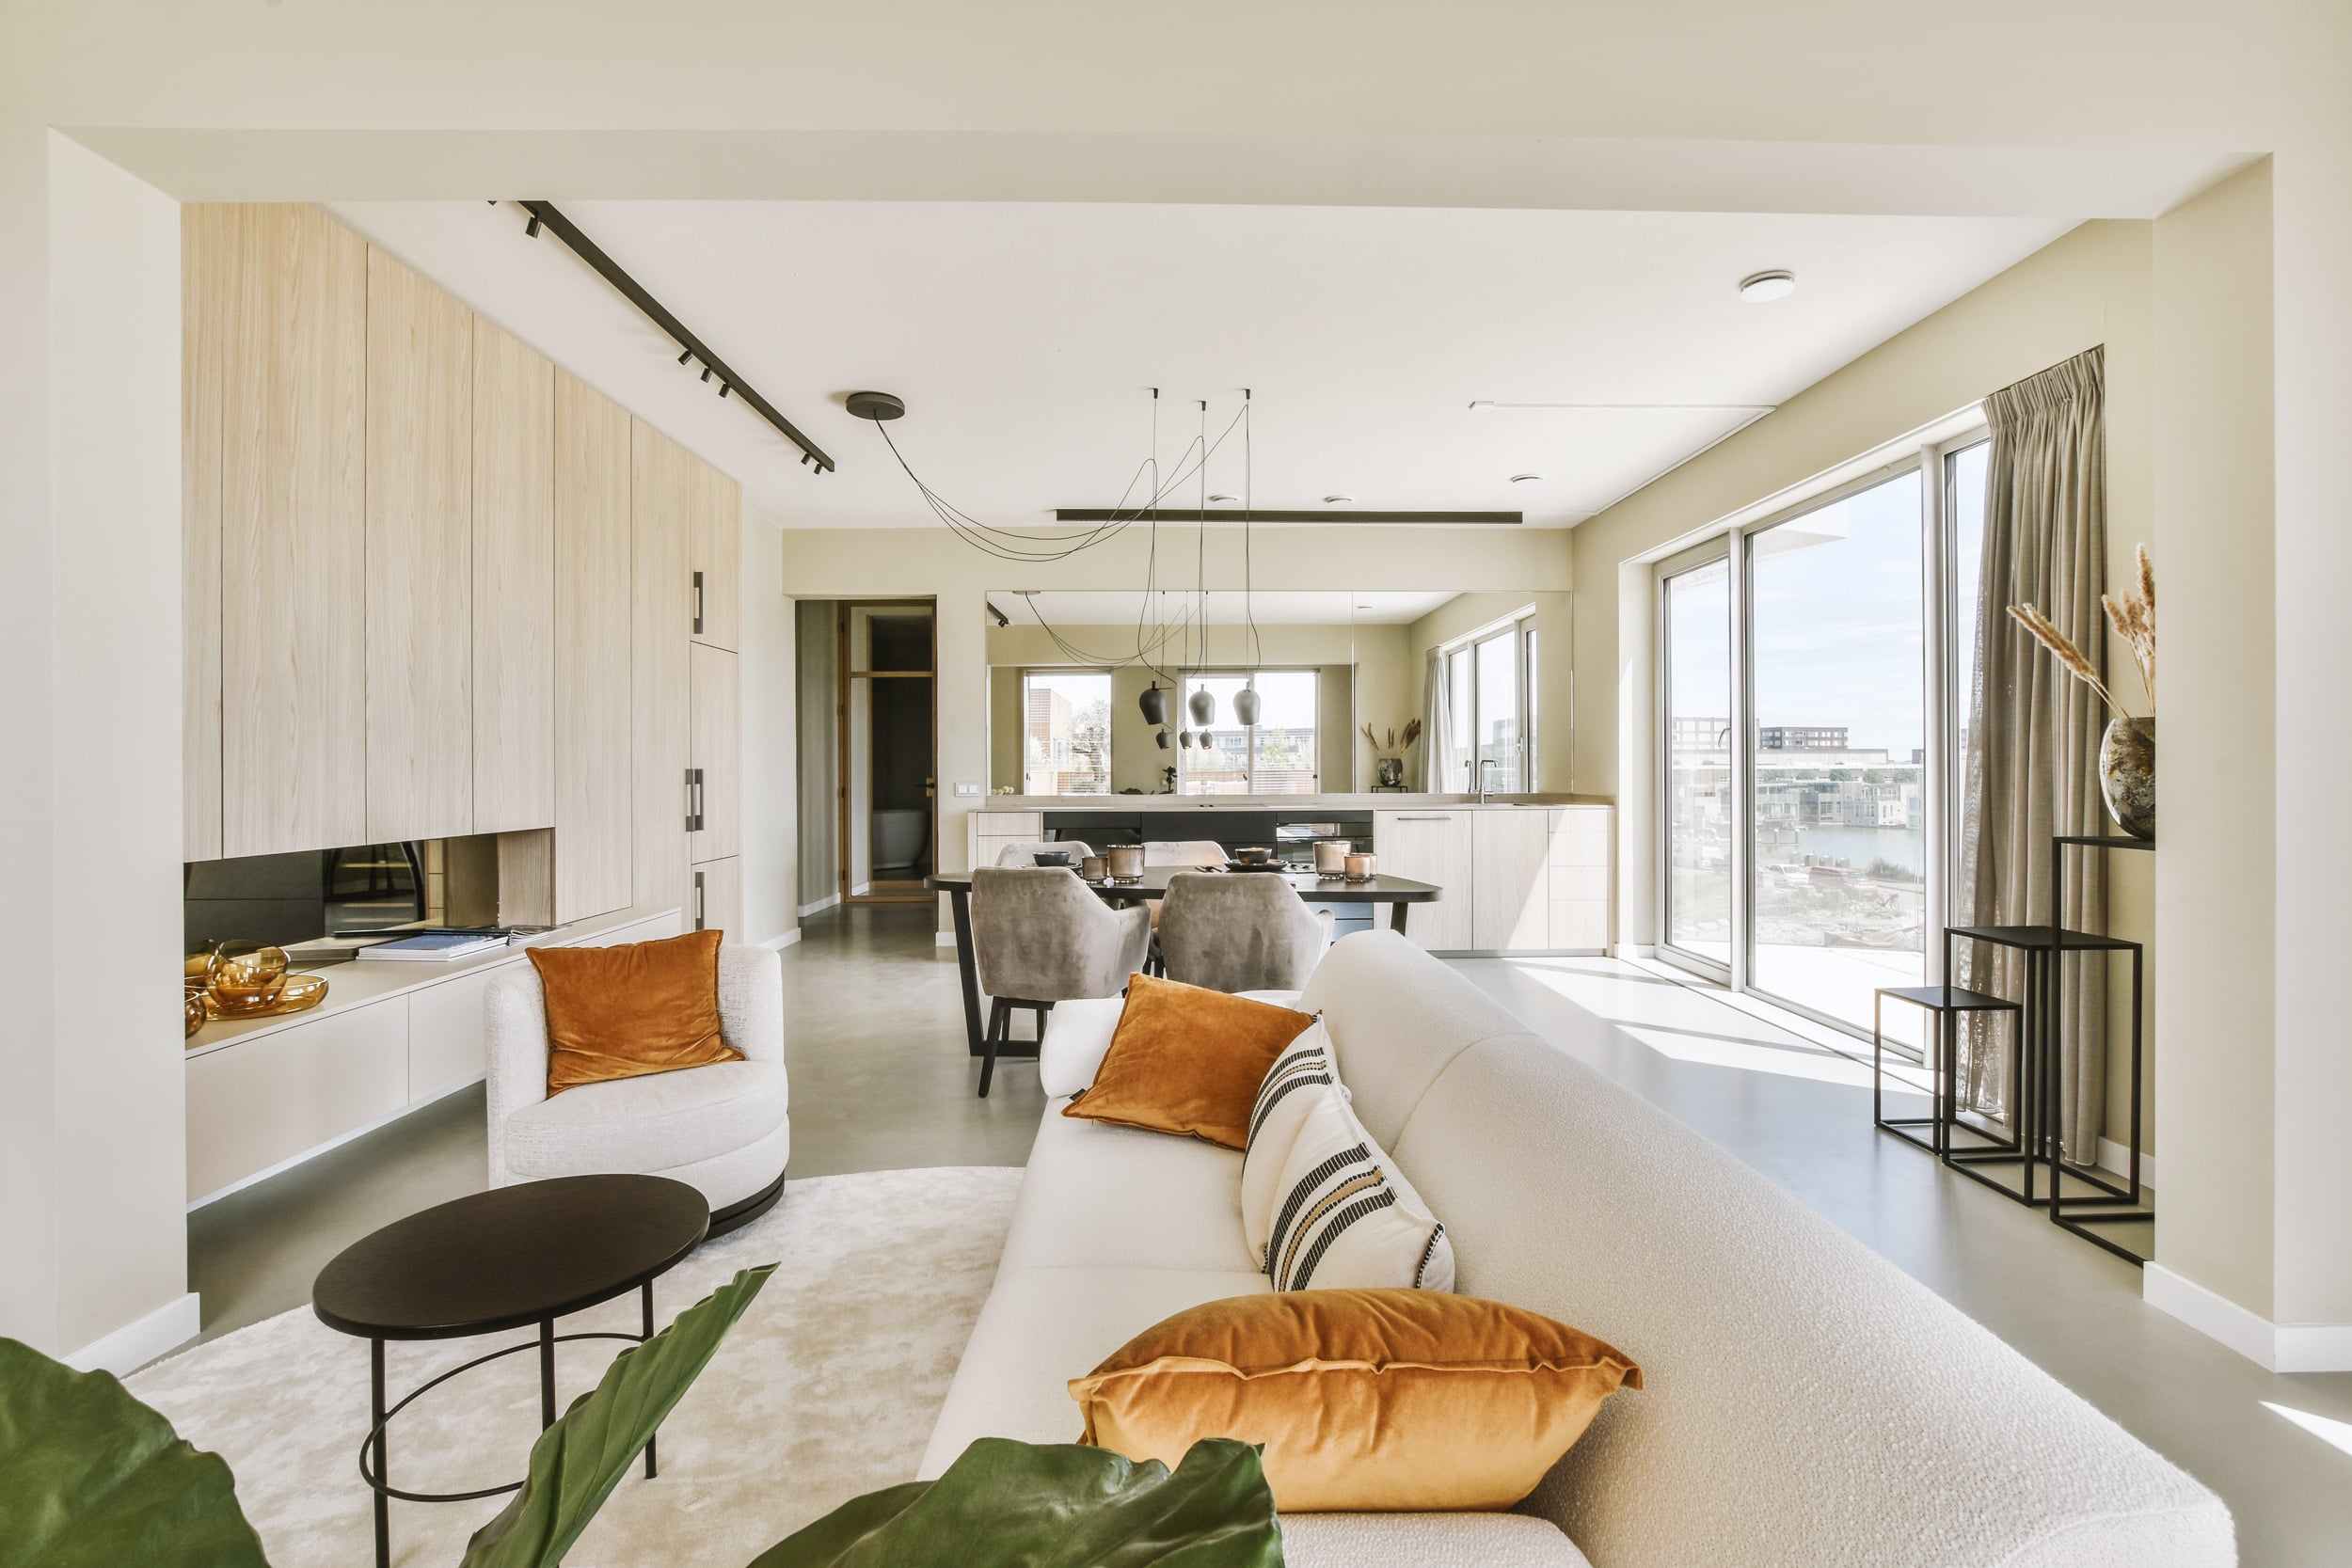
Natural light is one of your best tools. Before you start shooting, open curtains and blinds to let daylight flood into the room. Bright, even lighting helps spaces feel larger and more inviting while reducing the need for very high ISO settings.
It’s also worth turning on lamps and practical lights to create a warm, lived-in atmosphere. Just be aware that mixing daylight with tungsten lighting can produce different colour temperatures, so you’ll want to correct the white balance during editing if necessary.
Keep the camera level
One of the quickest ways to make a room look amateurish is by tilting the camera up or down. Keep your camera level so that vertical lines such as walls, doors, and cupboards remain straight. Tilting the camera introduces converging verticals that can make rooms appear to lean backwards.
If you can’t fit everything into the frame while keeping the camera level, step back if possible or use a slightly wider lens rather than tilting upwards.
Use a tripod
Professional real estate photographers almost always use a tripod. A tripod allows you to shoot at lower ISO settings and slower shutter speeds, producing cleaner images with maximum detail. It also makes it much easier to keep your composition consistent if you’re photographing multiple rooms or planning to blend exposures during editing. Because houses don’t move (usually!), there’s rarely any reason to rush.
Declutter before you shoot
The camera sees everything: kitchen worktops covered in appliances, overflowing bins, tangled charging cables, or piles of washing can distract viewers from the property itself.
Before taking a photograph, spend a few minutes tidying each room. Straighten cushions, smooth bedspreads, remove unnecessary clutter, and close toilet lids. Small changes can make a surprisingly big difference and it’s far easier to fix in camera than in post.
Shoot from the right height
Camera height has a big impact on how a room feels. For most interiors, positioning the camera around chest height works well. This keeps furniture looking natural while showing enough of both the floor and ceiling to give a sense of space.
Avoid shooting from eye level if it feels too high, and don’t place the camera too low unless you have a specific creative reason.
Bracket your exposures
Bright windows and dark interiors can be difficult for any camera to capture in a single exposure. Many photographers use exposure bracketing, taking several images at different exposure levels before blending them together during editing.
This helps preserve detail both inside the room and outside the windows, creating a natural-looking final image. Most modern cameras include automatic exposure bracketing, making the process straightforward.
Pay attention to composition
Try to photograph rooms from corners rather than standing in the middle of a wall. Corner compositions often reveal two or three walls at once, helping viewers understand the layout and making rooms feel more spacious.
Watch for distracting objects around the edges of the frame, and take a moment to ensure pictures on the wall, lamps, and furniture all look neat and level.
Edit with a light touch
Editing is an important part of real estate photography, but it’s important not to overdo it. Adjust exposure, white balance, contrast, and lens corrections to create clean, natural-looking images. Straightening vertical lines and correcting perspective are also common steps.
Avoid excessive HDR effects or heavily saturated colours. Buyers want an accurate representation of the property, not something that looks unrealistic.
Don’t forget the exterior
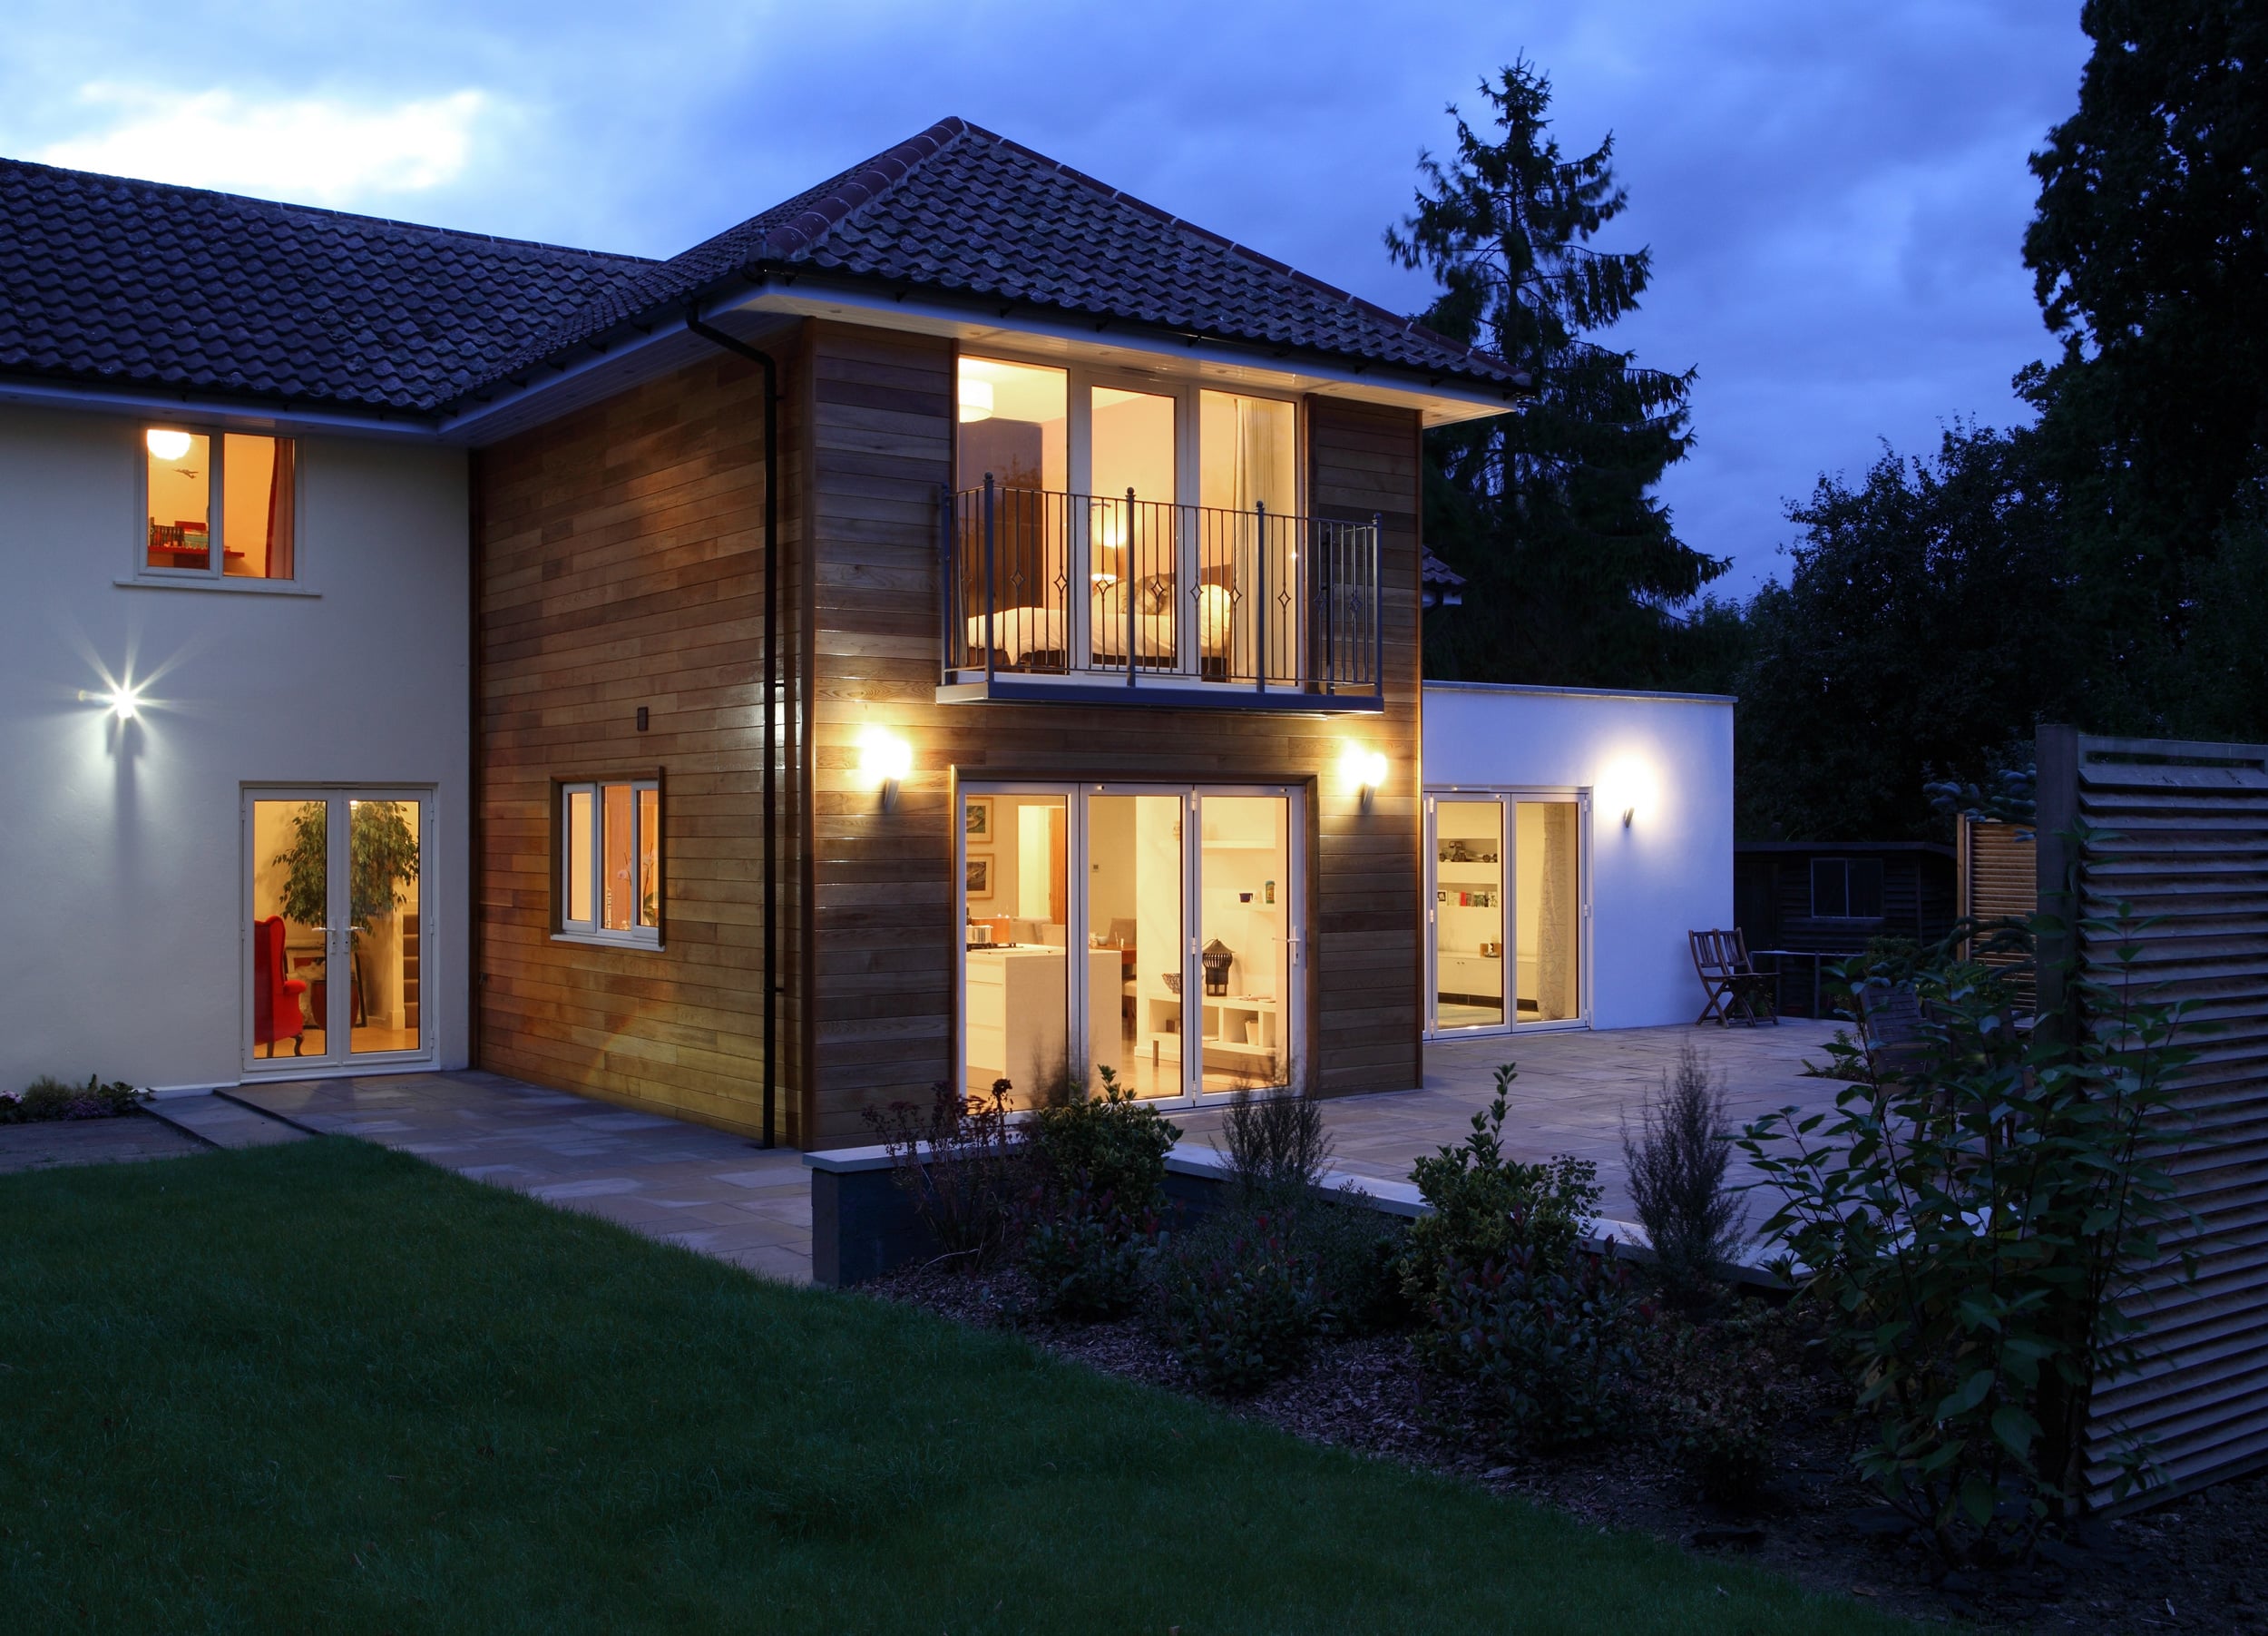
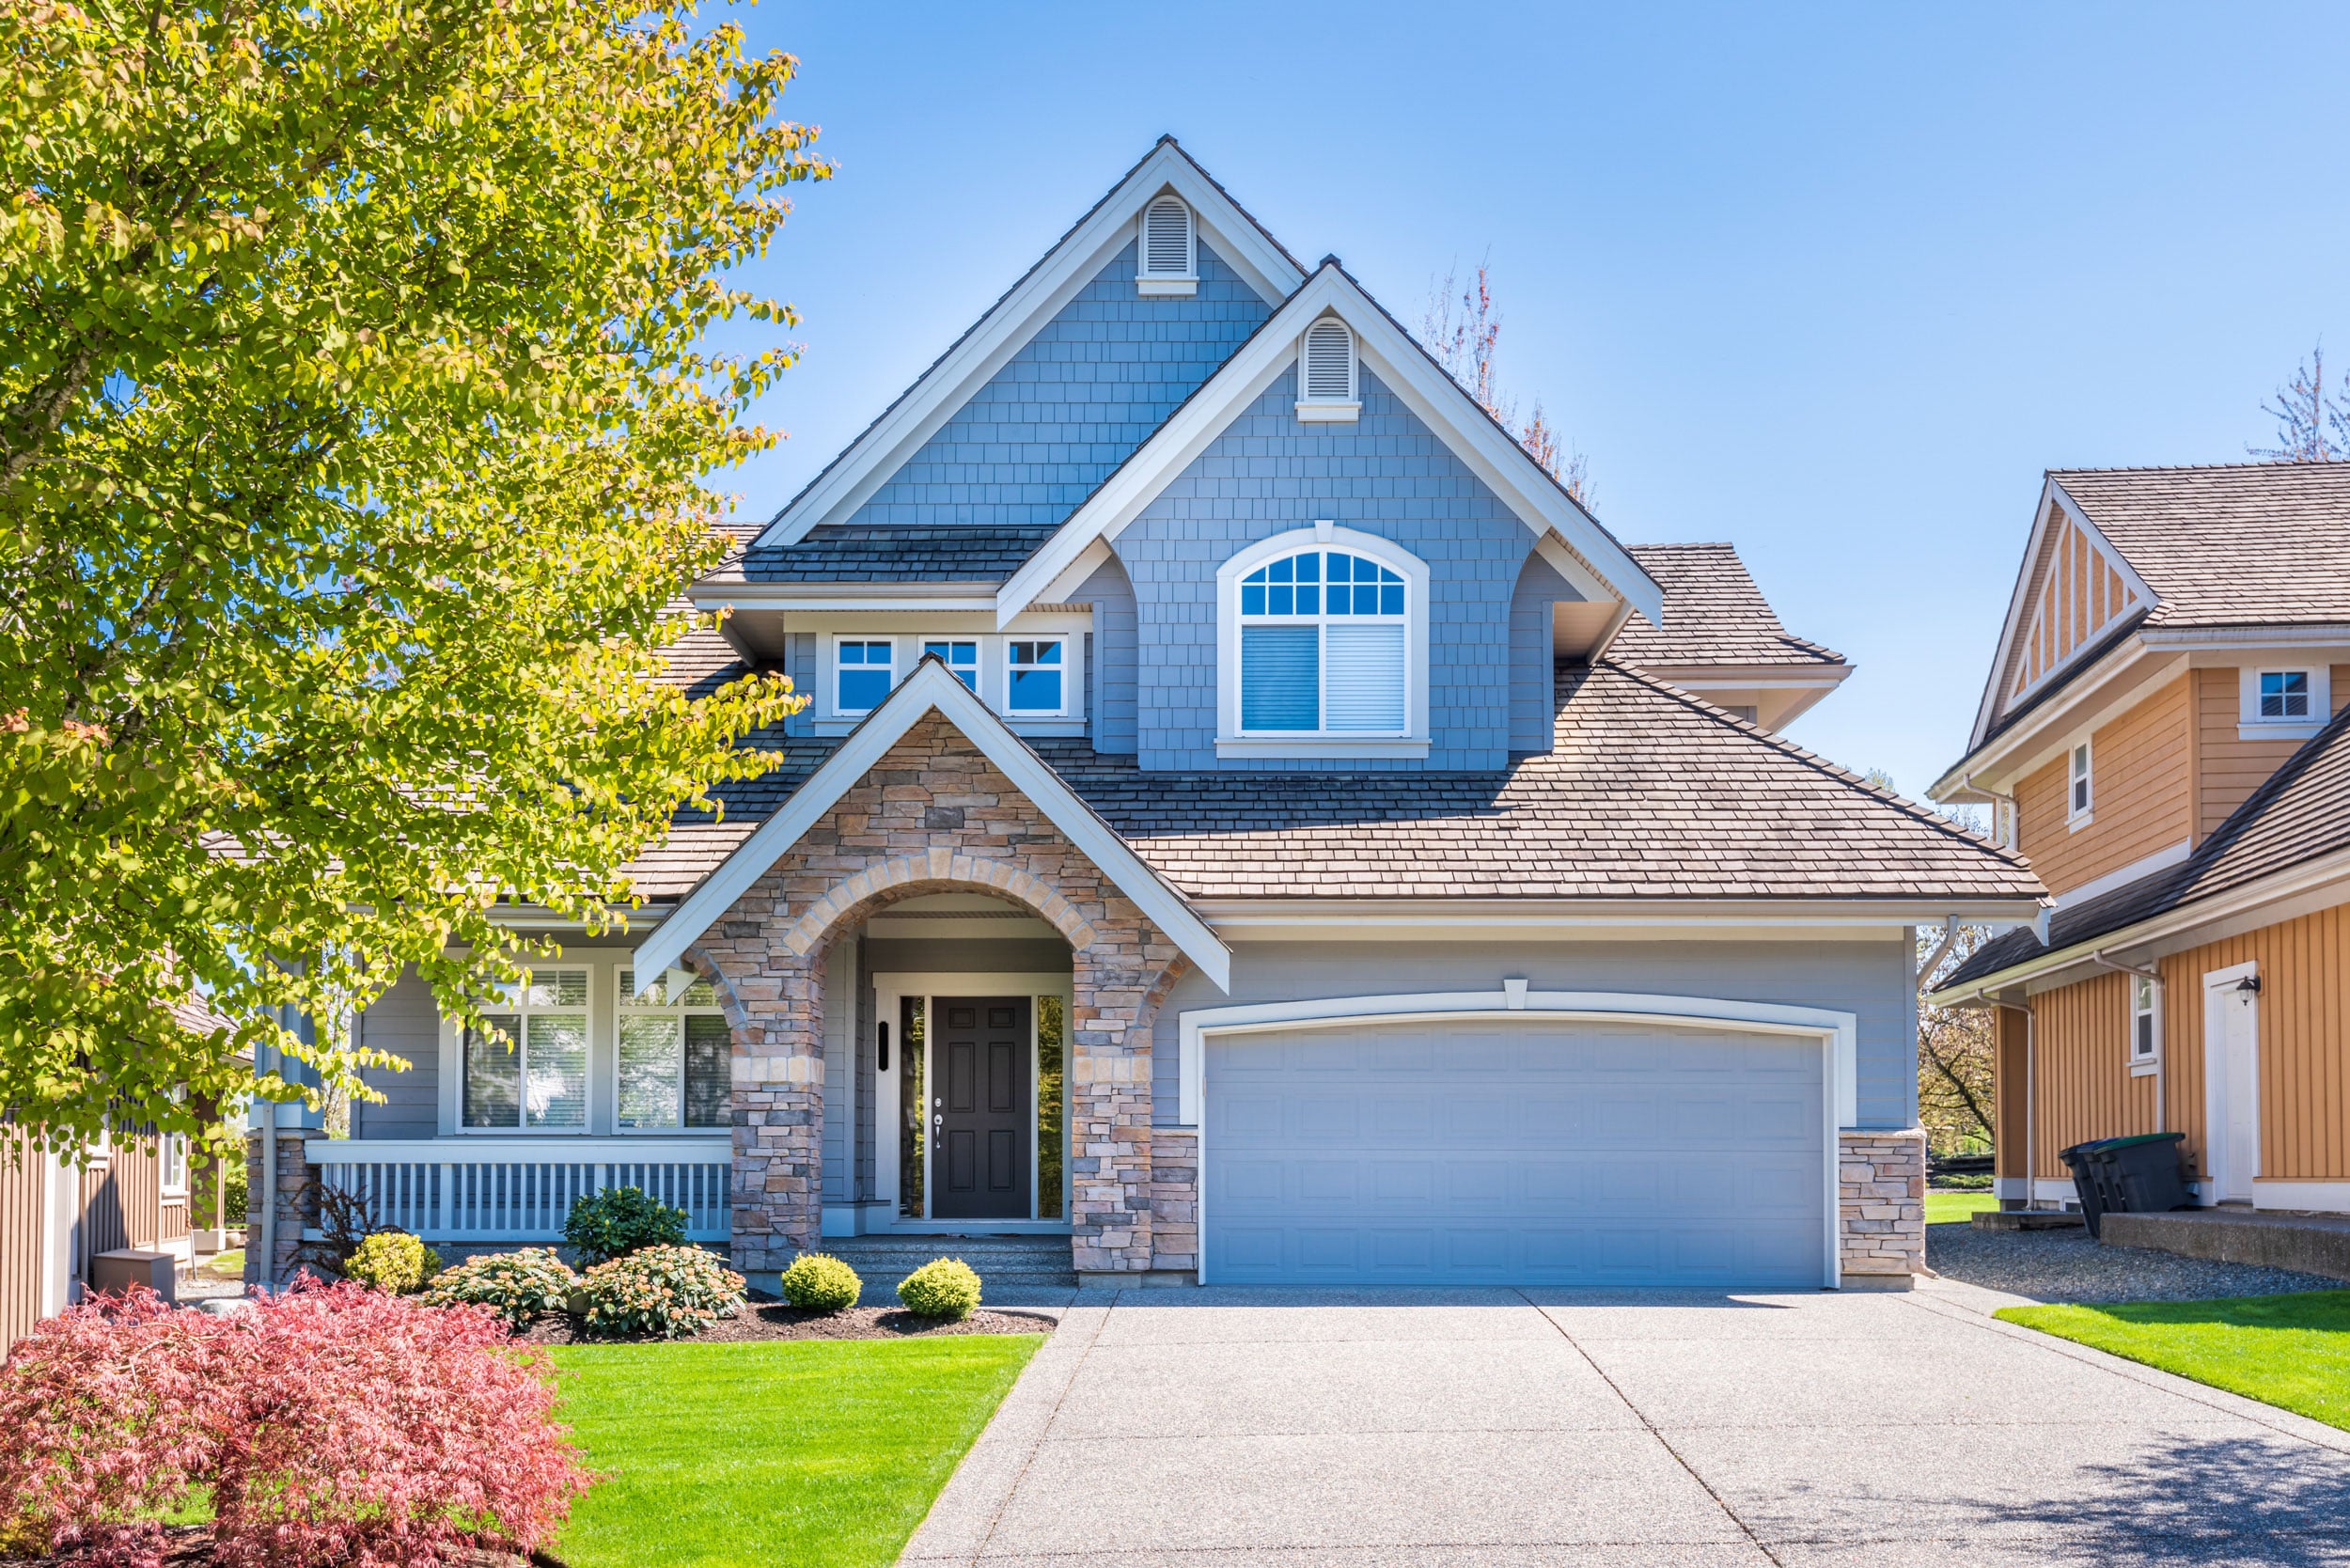
A property’s kerb appeal is just as important as its interior. Photograph the front of the building during good light, tidy away bins or vehicles if possible, and capture gardens, patios, balconies, or outdoor living spaces. If the property has attractive views or interesting architectural details, make sure they’re included in the final gallery. These images help tell the complete story of the home.
Key takeaways
Great real estate photography is about showcasing a property in its best possible light while remaining honest about the space. Use a wide-angle lens, keep your camera level, shoot from a tripod, and take time to prepare each room before pressing the shutter.
Most importantly, remember that you’re not just photographing walls and furniture. You’re helping potential buyers or renters imagine themselves living there, and the best real estate photographs make that vision feel effortless.
See more from DIYPhotography.net on Google
Add DIYPhotography.net as a trusted source. This makes
our stories more likely to appear in your Google Search results.
 Add as a preferred source on Google

About Leonard Skapp
Leonard “Len” Skapp is a photographer with a particular interest in cameras, lenses, accessories, camera bags, lens filters, tripods, camera straps, and, on rare occasions, photography itself. Equal parts reviewer and enthusiast, he enjoys digging into the technical details behind the latest gear and translating them into plain English for fellow photographers. He maintains that every purchase is a carefully considered investment, although his bank account and overflowing camera cupboard continue to dispute this claim.
We love it when our readers get in touch with us to share their stories. This article was contributed to DIYP by a member of our community. If you would like to contribute an article, please contact us here.




Join the Discussion
DIYP Comment Policy
Be nice, be on-topic, no personal information or flames.