


What Camera Settings Work Best for Shooting Real Estate Photography?
Aug 19, 2025
Darlene Lleno
Darlene Lleno brings a unique perspective to DIY Photography as someone who grew up surrounded by camera gear but chose words over lenses. With five years of writing experience, she specializes in photography content that’s both technically informed and genuinely passionate. Growing up with a photographer twin brother meant camera talk was everyday conversation in her household. While he mastered capturing moments, Darlene discovered she preferred being the subject and the storyteller behind the scenes. As a travel enthusiast and mother of two, she understands the importance of preserving life’s precious moments. When not exploring new destinations or writing for DIY Photography, you’ll find her reading or tending to her garden. Her approach to photography writing is refreshingly authentic, she may not be behind the camera, but she knows exactly what it takes to help others capture the shots that matter most.
Share:
Real estate photography gets tricky when you’re trying to nail the right camera settings. You’ve got mixed lighting, tight spaces, and the challenge of making rooms look their best. Getting your settings right can make the difference between a photo that looks cramped and one that makes people want to move in.
Understanding Light in Interior Spaces
Indoor lighting throws curveballs that outdoor photographers never deal with. You’ve got warm lamp light mixing with cool window light. Your camera gets confused trying to figure out what’s what.
Window light usually wins the battle for dominance in most rooms. Set your white balance to daylight around 5600K when natural light fills the space. If lamps are doing most of the work, switch to tungsten at 3200K.
Here’s something most people don’t realize: shooting in RAW format saves you tons of headaches later. You can fix white balance issues during editing instead of trying to get everything perfect in camera.
Mastering Real Estate Photography Aperture Settings
Your aperture choice can make or break your real estate photography shots. Wide apertures like f/2.8 work great for close-up shots of furniture details. But full room shots need everything sharp.
Most rooms look best shot between f/8 and f/11. These settings keep your foreground couch and background wall equally sharp. Going smaller than f/16 actually makes things softer because of diffraction.
Room size matters here too. Tiny bathrooms might only need f/5.6 to get everything in focus. Large living rooms often demand f/11 or smaller to keep everything crisp from front to back.
Shutter Speed Considerations for Static Scenes
Real estate photography gives you one advantage: nothing moves. Your furniture isn’t going anywhere, so you can take your time with slower shutter speeds.
Low light means slower speeds, and slower speeds mean you need a tripod. Any speed below 1/60th second risks camera shake when shooting handheld. Most interior shots work well between 1/15th and 1/4 of a second on a solid tripod.
The tripod lets you frame your shot perfectly and take multiple exposures from the exact same spot. This comes in handy for HDR photography or when you want to blend different exposures later.
Real Estate Photography ISO Guidelines
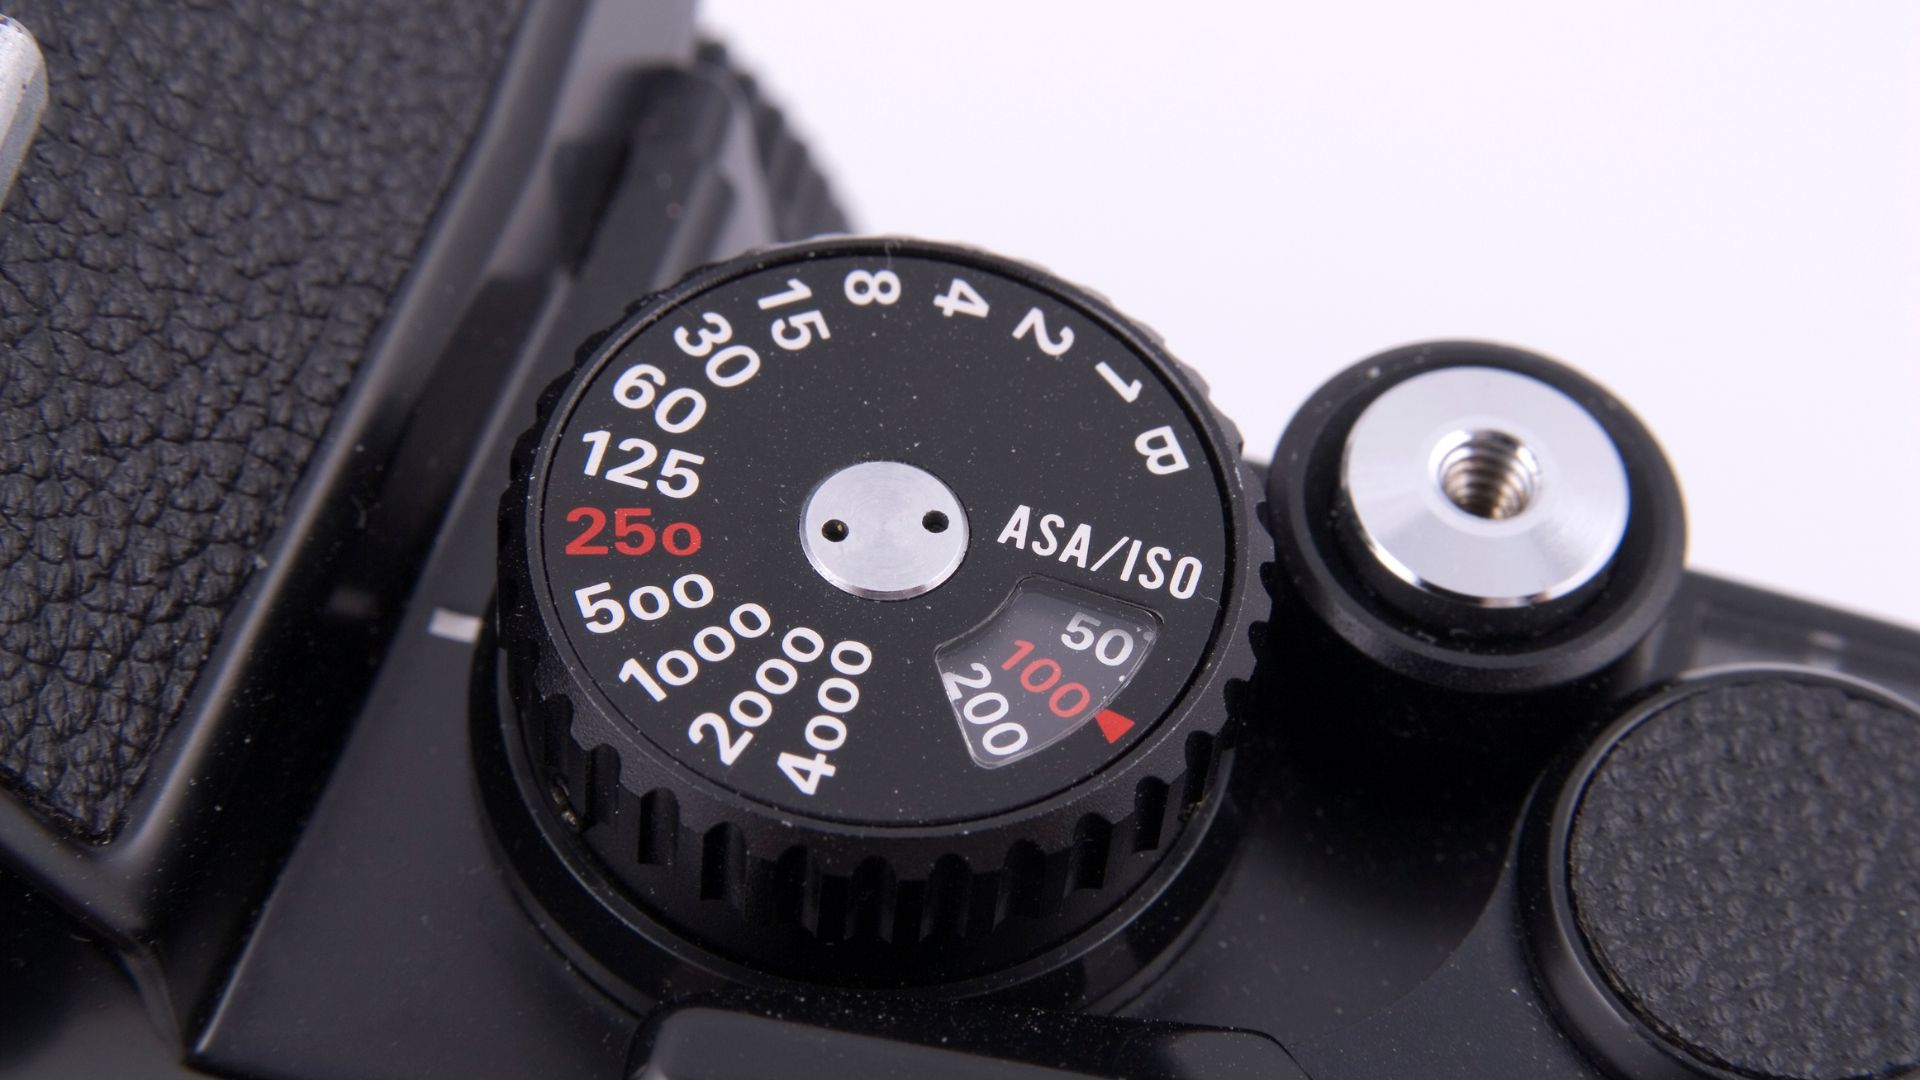
Modern cameras handle higher ISO values better than older models, but real estate photography still benefits from keeping ISO low. Start at ISO 100 when using a tripod for the sharpest, cleanest results.
Since your tripod handles stability, you can use slower shutter speeds instead of raising ISO. A 2-second exposure at ISO 100 beats a quick handheld shot at ISO 800 every time.
Only raise your ISO when shooting handheld becomes necessary. Tight spaces or awkward angles might force you off the tripod. In those cases, ISO 400-800 works, but you’re trading image quality for convenience.
Some photographers deliberately underexpose slightly at lower ISO, then brighten things up in post. This usually gives cleaner results than cranking up the ISO, especially in those dark corners that interior spaces love to hide.
Focus Techniques for Interior Spaces
Single-point autofocus gives you control over where your camera focuses. Put that focus point on the most important thing in the room, whether it’s furniture or an architectural detail.
Hyperfocal distance maximizes sharpness throughout the entire room. Calculate the hyperfocal distance for your aperture and lens combo, then focus at that distance to get everything as sharp as possible.
Live view focusing works wonders for precision. Zoom in on your camera’s screen to check focus on critical details like artwork or decorative pieces.
Manual Mode Benefits for Consistent Results
Manual camera mode puts you in complete control of your real estate photography exposure. Auto modes struggle with the weird lighting situations you’ll find indoors.
Start with these baseline settings for a moderately lit room: f/8, 1/30th second, ISO 400. Adjust from there based on what you’re seeing. Rooms with lots of window light might need faster shutter speeds.
Moreover, exposure bracketing captures the full range of light in interior spaces. Take several shots at different exposures, then blend them during editing for perfect shadow and highlight detail.
The histogram becomes your best friend in manual mode. It shows exactly what your camera captures, helping you avoid blown highlights or blocked shadows.
Composition Settings for Interior Photography Success

Wide-angle lenses between 14mm and 24mm work best for most interior photography situations. These focal lengths capture entire rooms without making everything look distorted.
Avoid going wider than 14mm unless the space absolutely demands it. Ultra-wide lenses make rooms look weird and can turn straight walls into curved lines.
Key composition tools to enable:
- Grid lines for keeping walls straight and level
- Electronic level for perfectly horizontal shots
- Focus peaking for manual focus confirmation
Lens correction settings help fix the slight distortion that wide-angle lenses create. Most cameras can apply these corrections automatically.
Advanced Settings for Professional Results
Shooting in RAW format provides maximum flexibility during editing. For instance, real estate photography often requires significant post-processing work, and RAW files offer much more room to adjust exposure and color without degrading image quality.
On the other hand, mirror lock-up reduces vibration when using a tripod. Even tiny camera movements can soften your images at slower shutter speeds, so ensuring stability is crucial for sharp results.
Professional photographers recommend shooting from waist height rather than standing position to avoid looking down on furniture. This perspective creates more balanced compositions.
Maintaining proper distance from furniture prevents distortion issues that plague many interior photographs. Wide-angle lenses can warp nearby objects, making tables and chairs look unnaturally stretched.
Fine-Tuning Your Real Estate Photography Workflow
Real estate photography takes practice, but nailing these camera settings gives you a solid foundation. Each room presents unique challenges, so adjust these starting points based on what you’re seeing. Understanding how each setting affects your final image helps you make quick adjustments that produce professional results every time.

Darlene Lleno
Darlene Lleno brings a unique perspective to DIY Photography as someone who grew up surrounded by camera gear but chose words over lenses. With five years of writing experience, she specializes in photography content that’s both technically informed and genuinely passionate. Growing up with a photographer twin brother meant camera talk was everyday conversation in her household. While he mastered capturing moments, Darlene discovered she preferred being the subject and the storyteller behind the scenes. As a travel enthusiast and mother of two, she understands the importance of preserving life’s precious moments. When not exploring new destinations or writing for DIY Photography, you’ll find her reading or tending to her garden. Her approach to photography writing is refreshingly authentic, she may not be behind the camera, but she knows exactly what it takes to help others capture the shots that matter most.
Related Posts
 Five ways to use Photoshop’s generative fill for real estate photography
 Real Estate agent caught on camera and fined $15,000 after drinking milk out of client’s fridge
 Arizona Real Estate Photographer Is First To Be Approved By FAA To Use Drones For Aerial Photography
 Real-Time Digital Make Up Alters Real Faces In… Real-Time
Join the Discussion
DIYP Comment Policy
Be nice, be on-topic, no personal information or flames.
One response to “What Camera Settings Work Best for Shooting Real Estate Photography?”
It is very simple, make sure to use a tripod, second use a tilt/shift lens, use the camera on a low ISO, no more than 100, measure the light correctly using your camera on M or a semi-automatic mode, measure the light us8ng a gray card to set the correct WB and that is it. Always communicate with the real state company or arquitec that hire you and make sure you give them the photos EXACTLY the way the want them. As I mentioned, simple!