


Focus Limiter Switch: When to Use It
Dec 15, 2025
Darlene Lleno
Darlene Lleno brings a unique perspective to DIY Photography as someone who grew up surrounded by camera gear but chose words over lenses. With five years of writing experience, she specializes in photography content that’s both technically informed and genuinely passionate. Growing up with a photographer twin brother meant camera talk was everyday conversation in her household. While he mastered capturing moments, Darlene discovered she preferred being the subject and the storyteller behind the scenes. As a travel enthusiast and mother of two, she understands the importance of preserving life’s precious moments. When not exploring new destinations or writing for DIY Photography, you’ll find her reading or tending to her garden. Her approach to photography writing is refreshingly authentic, she may not be behind the camera, but she knows exactly what it takes to help others capture the shots that matter most.
Share:

The focus limiter switch speeds up autofocus by cutting down the search range. This small switch on your lens can make or break fast-action shots. Photographers shooting sports, wildlife, and macro work benefit most from knowing how to use it.
What Your Focus Limiter Switch Actually Does
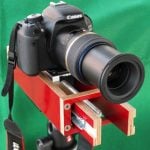
The focus limiter switch sits right on your lens barrel. You’ll find it on most telephoto lenses and macro glass. It tells your lens where to look for focus instead of hunting everywhere.
Think of it like this. Your lens normally searches from super close to infinity. That’s a huge distance to cover. The switch lets you block out ranges you won’t use. Your lens only searches where your subject actually lives.
Most lenses give you two or three switch positions. Full range searches everything from minimum focus to infinity. Limited range options block out specific distances. A sports lens might offer full range plus a distant option starting at 3 meters.
Macro lenses often add a third close-range setting. This locks focus to nearby distances only. The lens ignores distant stuff completely. This prevents that annoying hunt to infinity when you miss focus slightly on small subjects.
How Focus Limiting Actually Works
Your lens moves glass elements around inside to focus at different distances. The full range might span from 1.2 meters all the way to infinity. That’s serious ground to cover for the motor.
Flip the focus limiter switch and you tell the lens to skip certain distances. Set it to 3 meters to infinity and the lens never looks closer. This cuts the search range way down. Less distance means faster focus every time.
The autofocus system wastes zero time checking ranges you don’t need. Your wildlife subject sits 20 feet away. The lens won’t hunt through every inch from minimum distance. It starts at your set limit and works from there. Focus happens way quicker.
When to Actually Use This Switch
Knowing when to flip that focus limiter switch makes all the difference. Different shooting situations need different approaches based on where subjects sit.
Sports Photography Situations
Sports shooters rely on the focus limiter switch constantly. Athletes stay at predictable distances during most plays. Soccer players rarely get within 10 meters of sideline shooters. Set your limiter and forget it.
The faster focus lock captures peak action that happens in split seconds. Your camera tracks moving athletes while the limiter keeps searches efficient. Modern autofocus systems get even better with this feature engaged.
Basketball and volleyball create the same situation. You shoot from court edges. Players might pass close but your main subjects stay mid-court or farther. Lock out close ranges and focus speed improves noticeably.
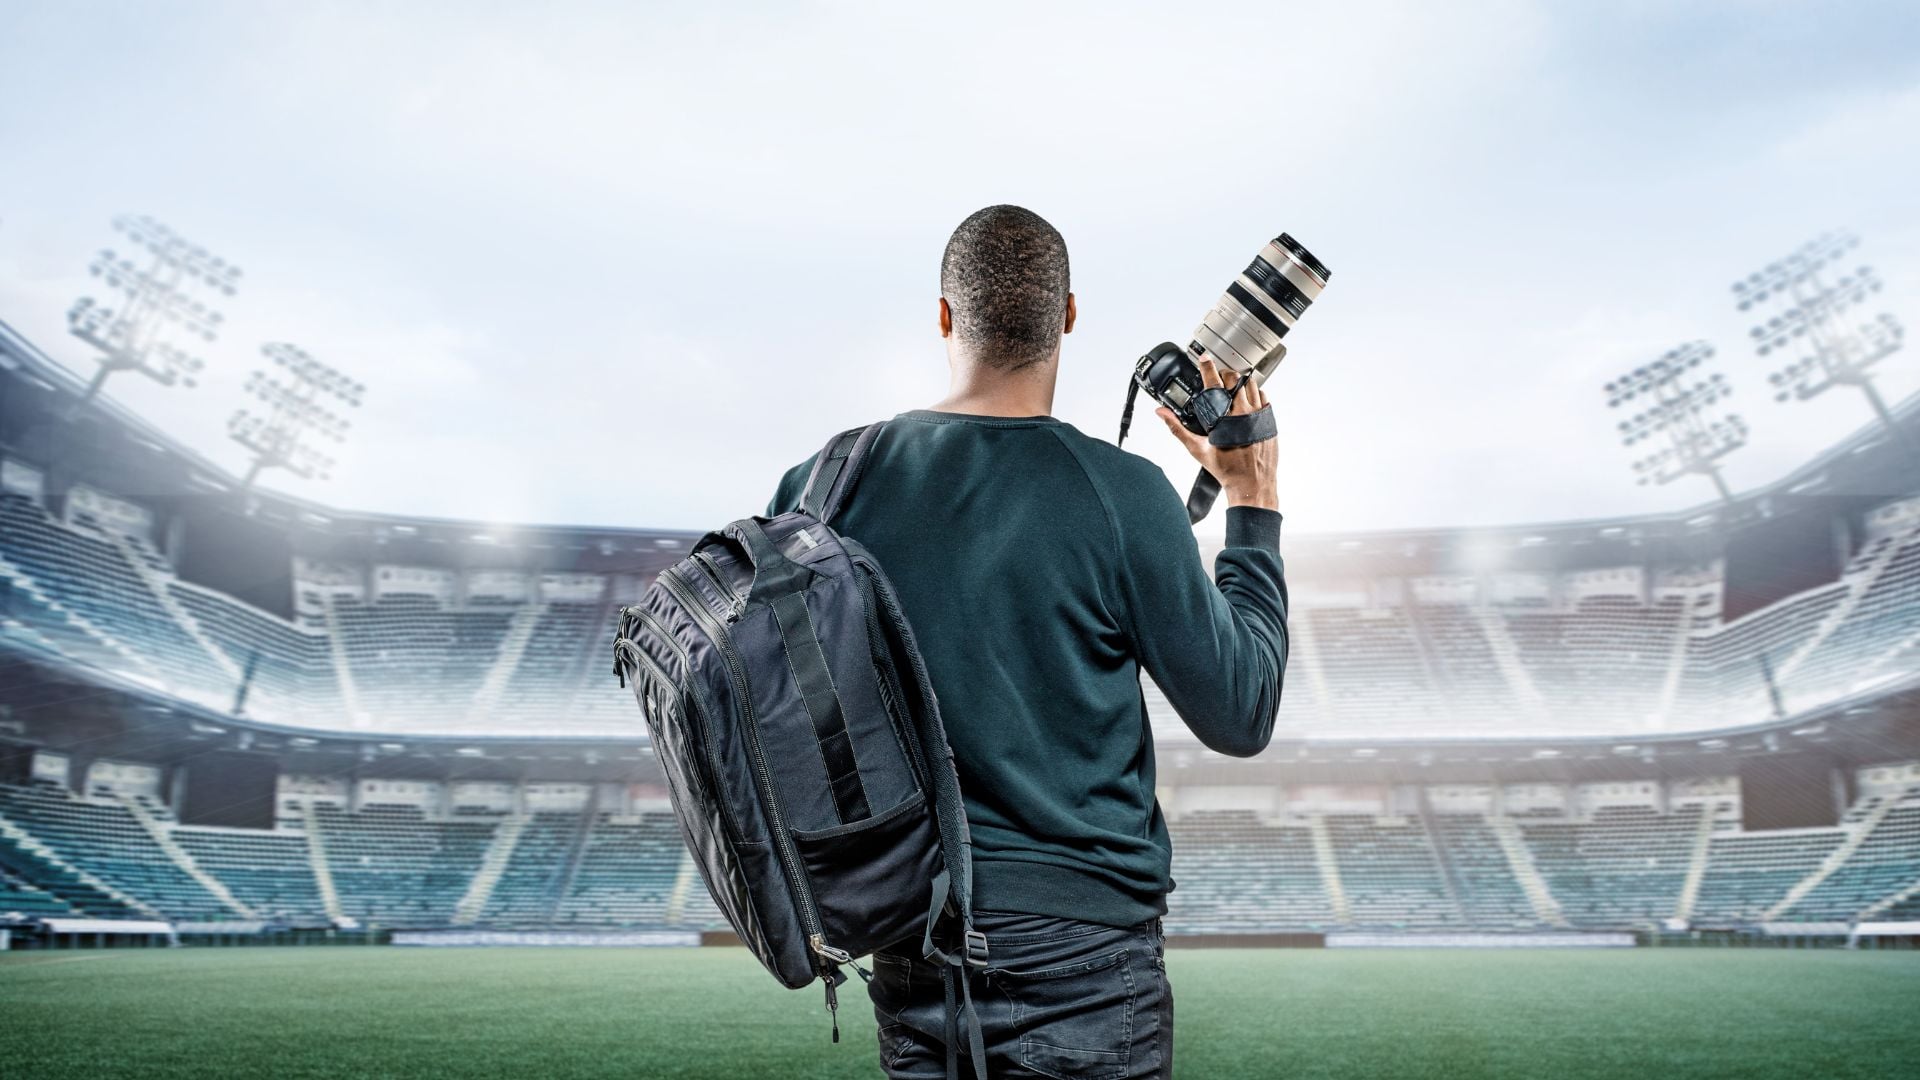
Wildlife Photography Benefits
Bird photography works perfectly with focus limiters. Birds perch in trees 15 to 50 feet away typically. Setting your limiter to ignore close stuff stops the lens from grabbing foreground branches.
This becomes super important when shooting through vegetation. Twigs and leaves sit between you and your subject. Without the limiter, your lens might focus on those distractions. The switch tells it to look past them.
Large wildlife like elk or bears maintain safe distances naturally. Responsible photographers stay far back anyway. Lock out close ranges and focus happens faster on distant animals every single time.
Macro Work Applications
Macro shooting benefits differently from the focus limiter switch. You need the opposite setup. The lens must ignore infinity and focus only super close.
Set the macro range and your lens stops hunting to distant objects. This prevents the annoying focus sweep from close to infinity and back. Macro work demands precision and the limiter delivers it consistently.
Product photography and still life shooting work the same way. Subjects sit at fixed close distances. Tell the lens to search only that range. Focus locks quicker and way more reliably shot after shot.
How the Switch Improves Your Shooting
The focus limiter switch delivers real advantages that you’ll actually feel while shooting. Speed and accuracy both jump when you use it right.
Speed Improvements You’ll Notice
Reduced hunting creates the biggest boost from using the focus limiter switch. Your lens motor travels shorter distances physically. Basic physics says shorter distance equals faster movement. The improvement feels dramatic in real use.
Modern lenses already focus pretty quick. Adding the limiter makes them even faster. The difference matters when milliseconds separate sharp shots from blurry misses. Action photography lives in these tiny time windows.
Pro sports shooters rely on every advantage possible. The focus limiter switch ranks among the most useful features they have. It delivers consistent results without any post work needed.
Better Accuracy Results
Accuracy improves when the switch blocks problem areas from searches. Foreground clutter causes tons of missed focus situations. Branches, fences, or other objects confuse autofocus systems badly.
Telling the lens to ignore these close distractions solves the problem completely. The lens looks only where your subject actually exists. This targeted search finds correct focus way more reliably.
Back-button focus pairs perfectly with the limiter. Together these techniques give you total control over focus behavior. You decide exactly where the lens searches and when it locks according to photography experts.
Common Switch Settings Explained
Different lenses offer different range options on their focus limiter switch. Knowing what each setting actually does helps you pick the right one.
Full Range Position
Full range disables the focus limiter switch completely. Your lens searches from minimum distance to infinity unrestricted. This gives maximum flexibility when subject distances change unpredictably.
Use full range for general shooting where anything might happen. Street work, events, and casual photography benefit from unrestricted autofocus. You never know if your next subject sits three feet away or across the plaza.
Wedding photography often needs full range because situations change constantly. One moment you shoot close ring details. Next you capture the ceremony from way back. The switch stays off for this kind of work.
Distant Range Option
Most telephoto glass includes a distant setting around 3 to 10 meters minimum. Everything closer gets completely ignored. This suits sports, wildlife, and situations where subjects always stay far away.
The exact cutoff varies by lens model. Some start at 3 meters. Others begin at 5 or 10 meters. Check your specific lens markings to know what you’re getting.
This setting delivers the fastest possible autofocus for distant subjects. The lens searches maybe half its full range. That translates to seriously faster focus lock times you can actually feel.
Close Range Setting
Macro lenses typically add a close range option. This might be 1 to 3 meters or similar short distances. Everything beyond gets blocked completely.
Product photographers love this for studio work. Subjects sit at fixed close distances every time. The lens never wastes time hunting to infinity. Focus stays rock solid shot after shot.
Nature macro work benefits too. Flowers, insects, and small subjects stay within predictable close ranges. Set the limiter and your lens finds focus faster in the field.\

When to Skip Using the Switch
The focus limiter switch helps in many scenarios but actually hurts in others. Knowing when to leave it alone matters just as much.
Skip the limiter during general photography where distances vary constantly. Street work puts subjects anywhere from a few feet to way across the street. You need full range flexibility here.
Mixed-distance events create problems with limited ranges. A party might have close conversations and distant dance floor action. Constantly switching the limiter wastes more time than it saves.
Fast-changing situations make the switch impractical to use. Documentary work jumps between close and far subjects unpredictably. Keep full range enabled and rely on your camera’s regular autofocus.
Portrait sessions often involve moving around a lot. You might shoot full-length at 10 feet then move in for tight headshots. The limiter forces manual switching that breaks your shooting flow badly.
Pairing the Switch With Other Techniques
The focus limiter switch works even better when you combine it with other methods. Stack these approaches for maximum control over your results.
Here’s what works well together:
- Camera settings that complement the limiter. Shutter speed selection matters alongside limiter settings. Sports needs fast speeds to freeze action. The limiter ensures sharp focus happens quickly enough to capture frozen moments.
- Aperture choices for better results. Aperture affects focus precision too. Smaller apertures create deeper depth of field. This gives more forgiveness if focus isn’t perfect. Combined with the limiter, you get both speed and margin for error.
- Autofocus modes that pair well. Continuous autofocus modes pair perfectly with the limiter. Your camera tracks moving subjects while the limiter keeps searches efficient. This combination absolutely dominates action photography work.
- Focus point selection strategies. Single-point autofocus lets you target exactly where the limiter will search. Pick your point, set your range limit, and the lens does exactly what you want according to professional photography resources.
Learning Your Specific Lens
Each lens implements the focus limiter switch slightly differently. Take time to learn your specific glass and how it behaves.
Read the lens manual to understand exact distance cutoffs. A distant setting might start at 3 meters on one lens but 5 meters on another. These differences affect how you actually use the feature.
Practice switching settings in the field until it becomes automatic. You shouldn’t need to think about it during fast shooting. Muscle memory lets you adjust quickly when situations change rapidly.
Test your lens with the limiter at different settings. Shoot the same subject from the same spot with full and limited ranges. Feel the focus speed difference yourself. This hands-on experience teaches you when the benefit actually matters.
Some lenses show focus range indicators in the viewfinder or on the barrel. Watch these while practicing to understand what distances you’re actually using. This visual feedback seriously speeds up learning.
Making Smart Field Decisions
Developing good instincts about the focus limiter switch takes practice but follows logical patterns. Ask yourself where your subject will be and lock out ranges you won’t need.
Arriving at a sports venue, check your shooting position and coverage area. Sideline spots at football games mean subjects rarely closer than 5 meters. Set your limiter right away and forget about it.
Wildlife encounters require quick thinking and assessment. That bird just landed 20 meters away. Flip the limiter to distant range before even raising your camera. Your first shots will focus faster because you prepared.
Studio work follows predictable patterns every time. Products sit at the same distance every single shot. Configure your limiter at the start and leave it alone. Consistency improves throughout the entire session.
Event photography presents mixed situations that change. You might leave full range enabled but stay ready to switch. A speaker at the podium creates a distant-range opportunity within general event coverage.
Switch Behavior Across Lens Types
Different lens categories use focus limiters in ways that match their typical jobs. Understanding these patterns helps you work with any glass.
Telephoto Lenses
Long telephoto lenses almost always include focus limiters. These lenses serve sports and wildlife primarily. The feature proves absolutely essential for these applications.
Super-telephoto lenses might offer multiple limited ranges. A 600mm could have settings at 6 meters, 15 meters, and full range. This granular control maximizes performance for different shooting distances.
Some telephoto zooms only add limiters at longer focal lengths. A 100-400mm might activate the limiter only past 200mm. Shorter focal lengths use full range because close subjects become way more common.
Macro Lenses
Macro lenses take a totally different approach to the switch. They prioritize close-range limiting over distant blocking. The typical setup gives you full range and close-only options.
This makes perfect sense for actual macro use. You either shoot normal subjects at any distance or macro subjects super close. The close limiter speeds up macro work dramatically.
Some macro lenses skip the switch entirely. Internal focusing designs move elements so little that limiting provides minimal benefit. Check your specific lens specs to know what you have.
Standard Zooms
Consumer-grade standard zooms rarely include focus limiters. These lenses serve general photography where subjects appear at literally any distance. The flexibility of full-range focus matters more than maximum speed.
Professional-grade standard zooms sometimes add the feature though. These lenses target working pros who might shoot sports or events. The limiter gives them another tool when they need it.
Troubleshooting Common Problems
Sometimes the focus limiter switch doesn’t seem to help or actually causes problems. Understanding common issues helps you use it effectively.
Lens Still Hunts Extensively
Your switch is set but the lens still hunts like amazingly. This usually means your subject falls outside the selected range. Double-check your distance estimation carefully.
Try a broader range setting if your lens offers it. You might be right at the range boundary where the limiter interferes. Moving one setting up often solves the problem immediately.
Consider whether foreground elements still fall within your limited range. That fence might sit at 4 meters with the limiter set at 3 meters. The lens can still grab it unfortunately. Move your shooting position instead.
Focus Won’t Lock At All
The lens searches but never achieves focus lock. Your limiter setting might exclude where your subject actually sits. This happens most when underestimating distances badly.
Switch back to full range temporarily to confirm the lens can focus. If it works, you know the limiter was blocking the correct distance. Adjust your setting or your position.
Low contrast subjects can prevent focus lock regardless of limiter settings anyway. The autofocus system needs something to actually grab onto. Add light or find a higher-contrast area of your subject.
Using the Focus Limiter Switch to Improve Your Shots
The focus limiter switch represents an often-ignored tool that can transform your shooting. Sports and wildlife photographers benefit most from understanding and actually using it regularly.
Start by identifying shots where you consistently know subject distance ranges. These situations represent perfect opportunities to engage the switch. Success in predictable scenarios builds confidence for other uses.
Experiment with different settings during practice sessions without pressure. Shoot the same scene multiple times with various limiter positions. The hands-on experience teaches way more than just reading about it.
Don’t obsess over using the limiter constantly in every situation. Many shooting scenarios work better with full range enabled. The key lies in recognizing scenarios where limiting range helps rather than hurts.
Remember that the focus limiter switch is one tool among many. It works best combined with proper technique, good camera settings, and understanding your subject’s behavior. Master all these elements together for consistently sharp results every time.

Darlene Lleno
Darlene Lleno brings a unique perspective to DIY Photography as someone who grew up surrounded by camera gear but chose words over lenses. With five years of writing experience, she specializes in photography content that’s both technically informed and genuinely passionate. Growing up with a photographer twin brother meant camera talk was everyday conversation in her household. While he mastered capturing moments, Darlene discovered she preferred being the subject and the storyteller behind the scenes. As a travel enthusiast and mother of two, she understands the importance of preserving life’s precious moments. When not exploring new destinations or writing for DIY Photography, you’ll find her reading or tending to her garden. Her approach to photography writing is refreshingly authentic, she may not be behind the camera, but she knows exactly what it takes to help others capture the shots that matter most.


Join the Discussion
DIYP Comment Policy
Be nice, be on-topic, no personal information or flames.