
















The Ultimate Guide to Landscape Photography
Jun 23, 2025
Alex Baker
Alex Baker is a portrait and lifestyle driven photographer based in Valencia, Spain. She works on a range of projects from commercial to fine art and has had work featured in publications such as The Daily Mail, Conde Nast Traveller and El Mundo, and has exhibited work across Europe
Share:

There’s something undeniably captivating about landscape photography. From serene seascapes to dramatic highland peaks, landscape photography invites us to connect with nature, explore new places, and see the world through a more intentional lens. Mastering landscape photography usually takes more than luck. It requires thoughtful planning, technical know-how, and a creative eye to capture nature at its best, often in less-than-ideal conditions.
In this complete guide, we’ll walk you through everything you need to get started with landscape photography. From choosing the right gear and camera settings to crafting compelling compositions, editing your images, and applying advanced techniques, this guide is your roadmap to capturing the world’s beauty with clarity and intention.
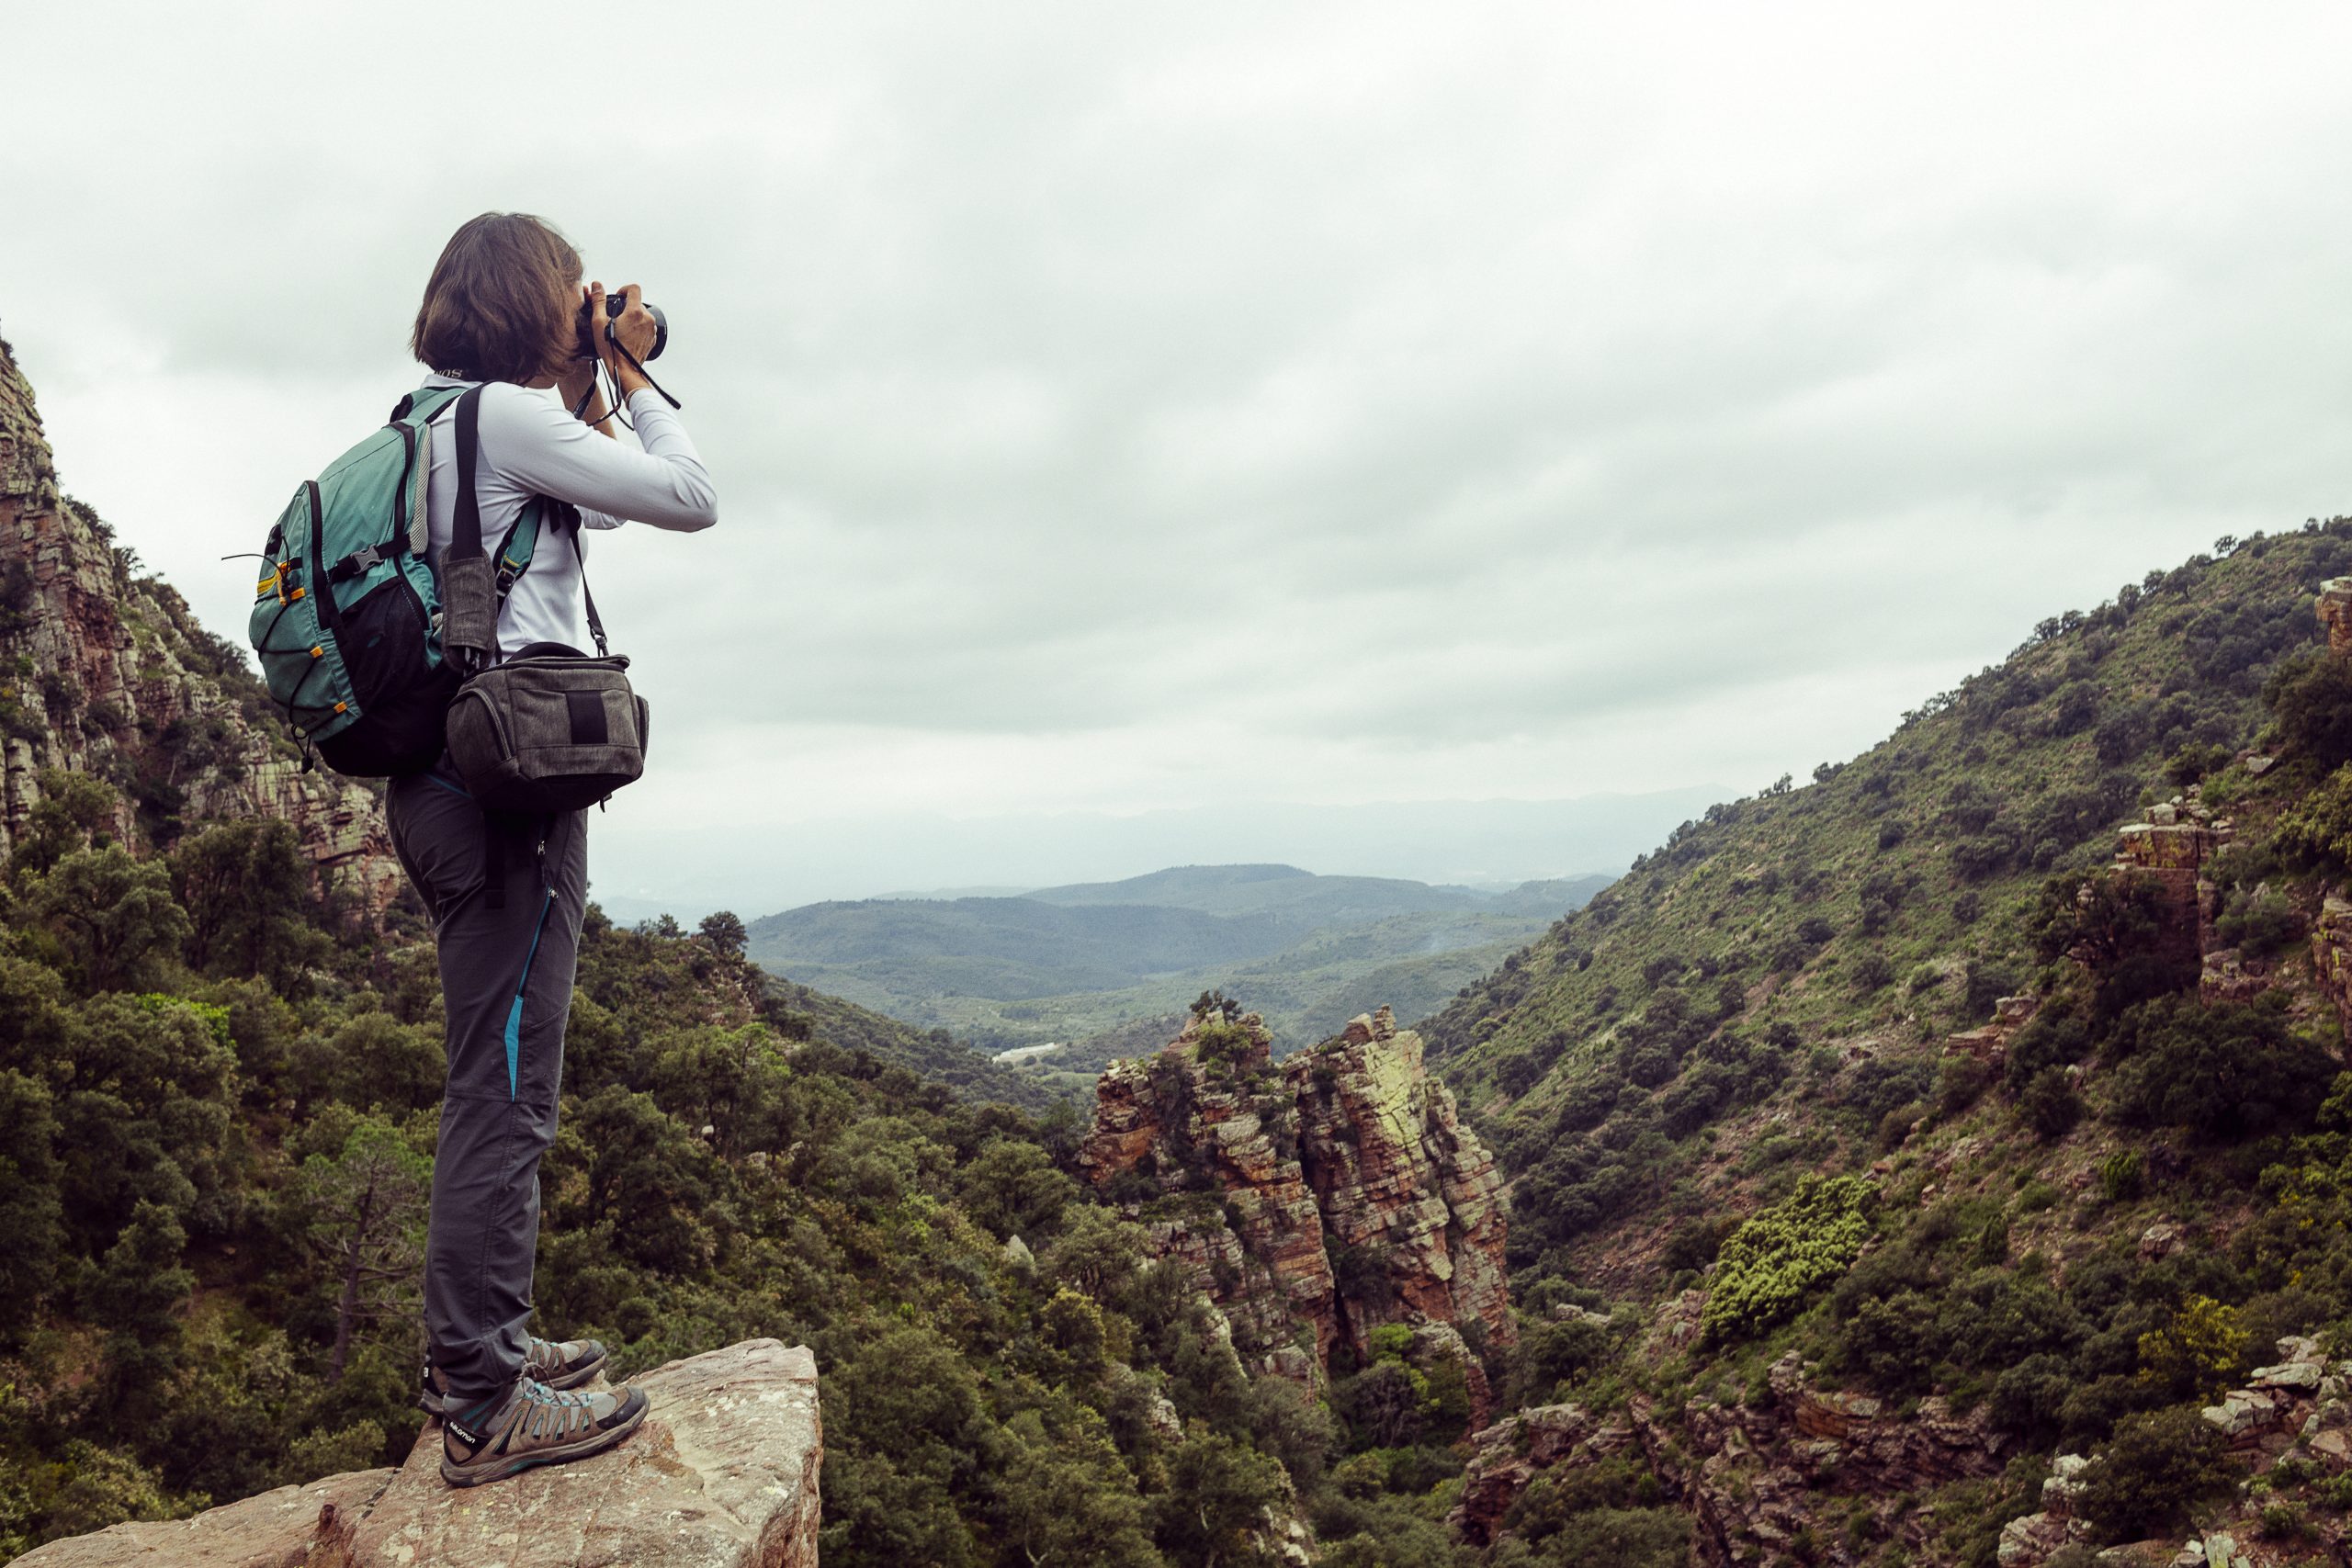
Landscape Photography: How to Capture Stunning Landscapes with the Right Gear, Settings, and Techniques
What Is Landscape Photography?
Landscape photography is all about showcasing the world around us, from sweeping mountain ranges and misty forests to coastlines at sunset and desert sand dunes stretching into the distance. However, it’s about more than just snapping pretty views, it’s the craft of using light, composition, and timing to tell a story about a place.
At its best, a great landscape photo doesn’t just show you what a place looks like, it makes you feel something about it. Calm, awe, mystery, isolation; whatever emotion the scene evokes is what should aim to capture.

How Landscape Differs from Nature and Travel Photography
It’s easy to mix up landscape, nature, and travel photography, and even some adventure photography. While there are some similarities, they each have their own focus:
- Landscape photography zooms out to show the bigger picture, landforms, weather, light, and space.
- Nature photography might include wildlife, macro shots, or plants. Think in more detail, less scenery.
- Travel photography often mixes everything: landscapes, people, culture, architecture, all to tell the story of a journey.
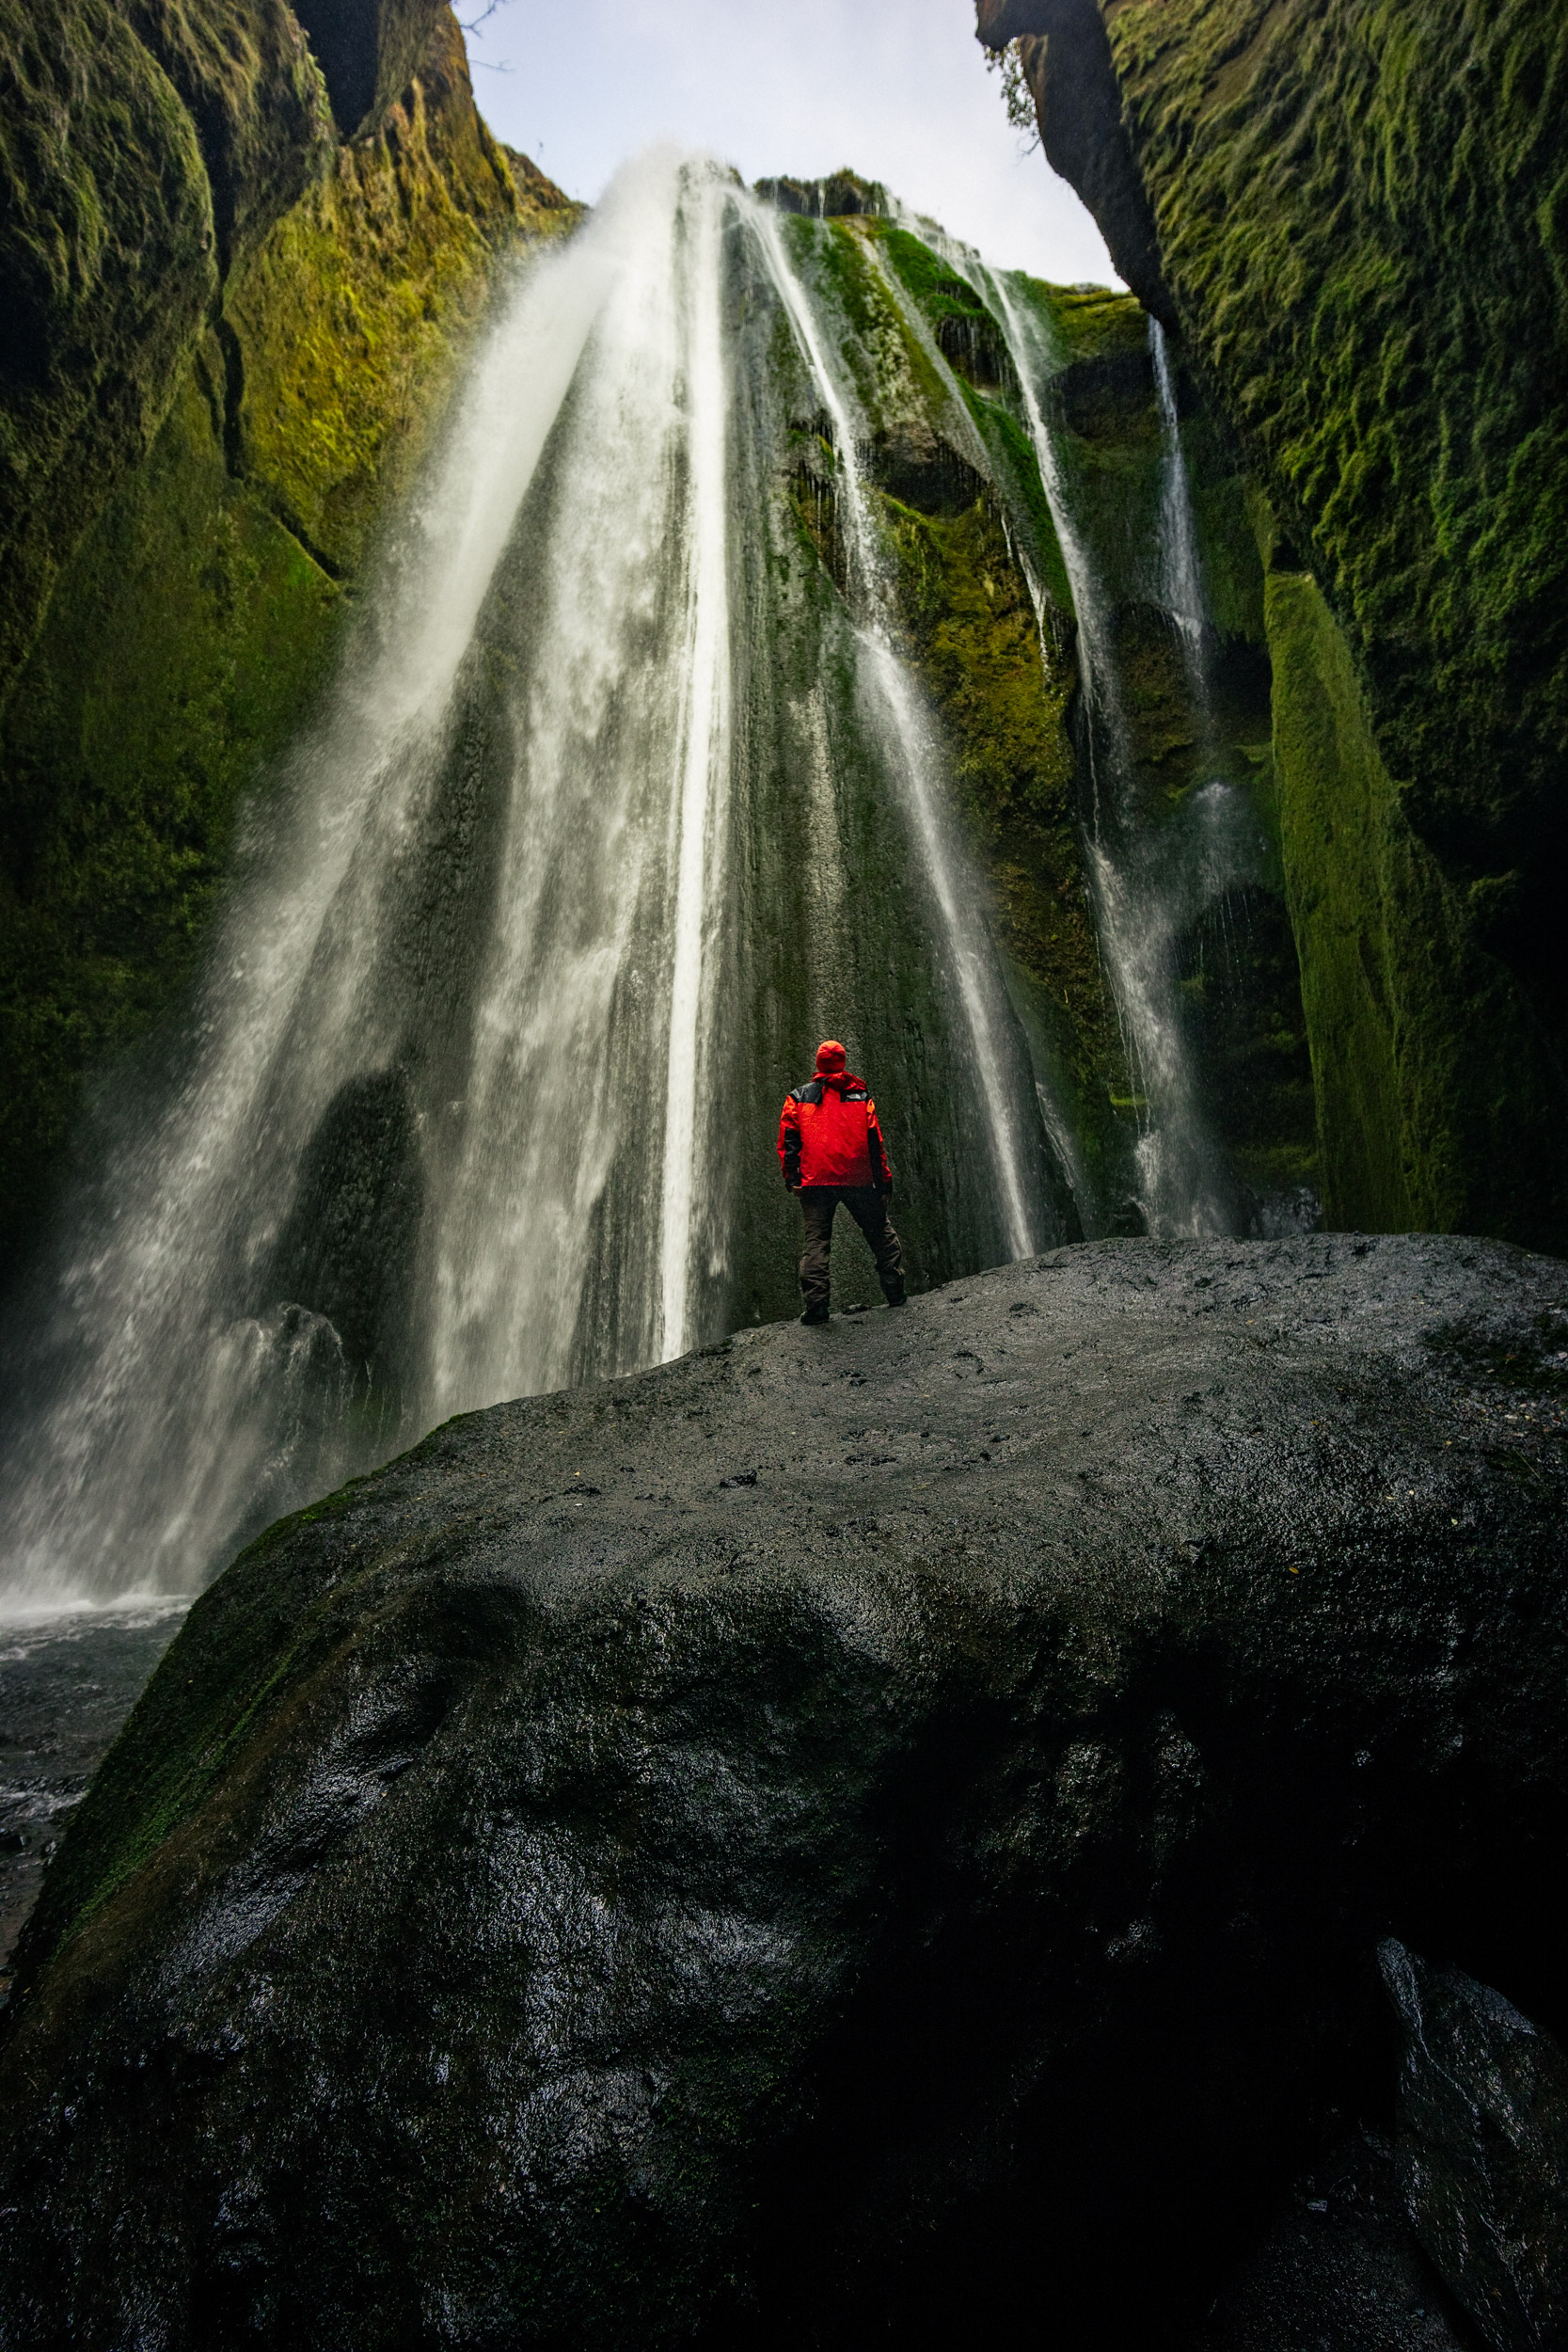
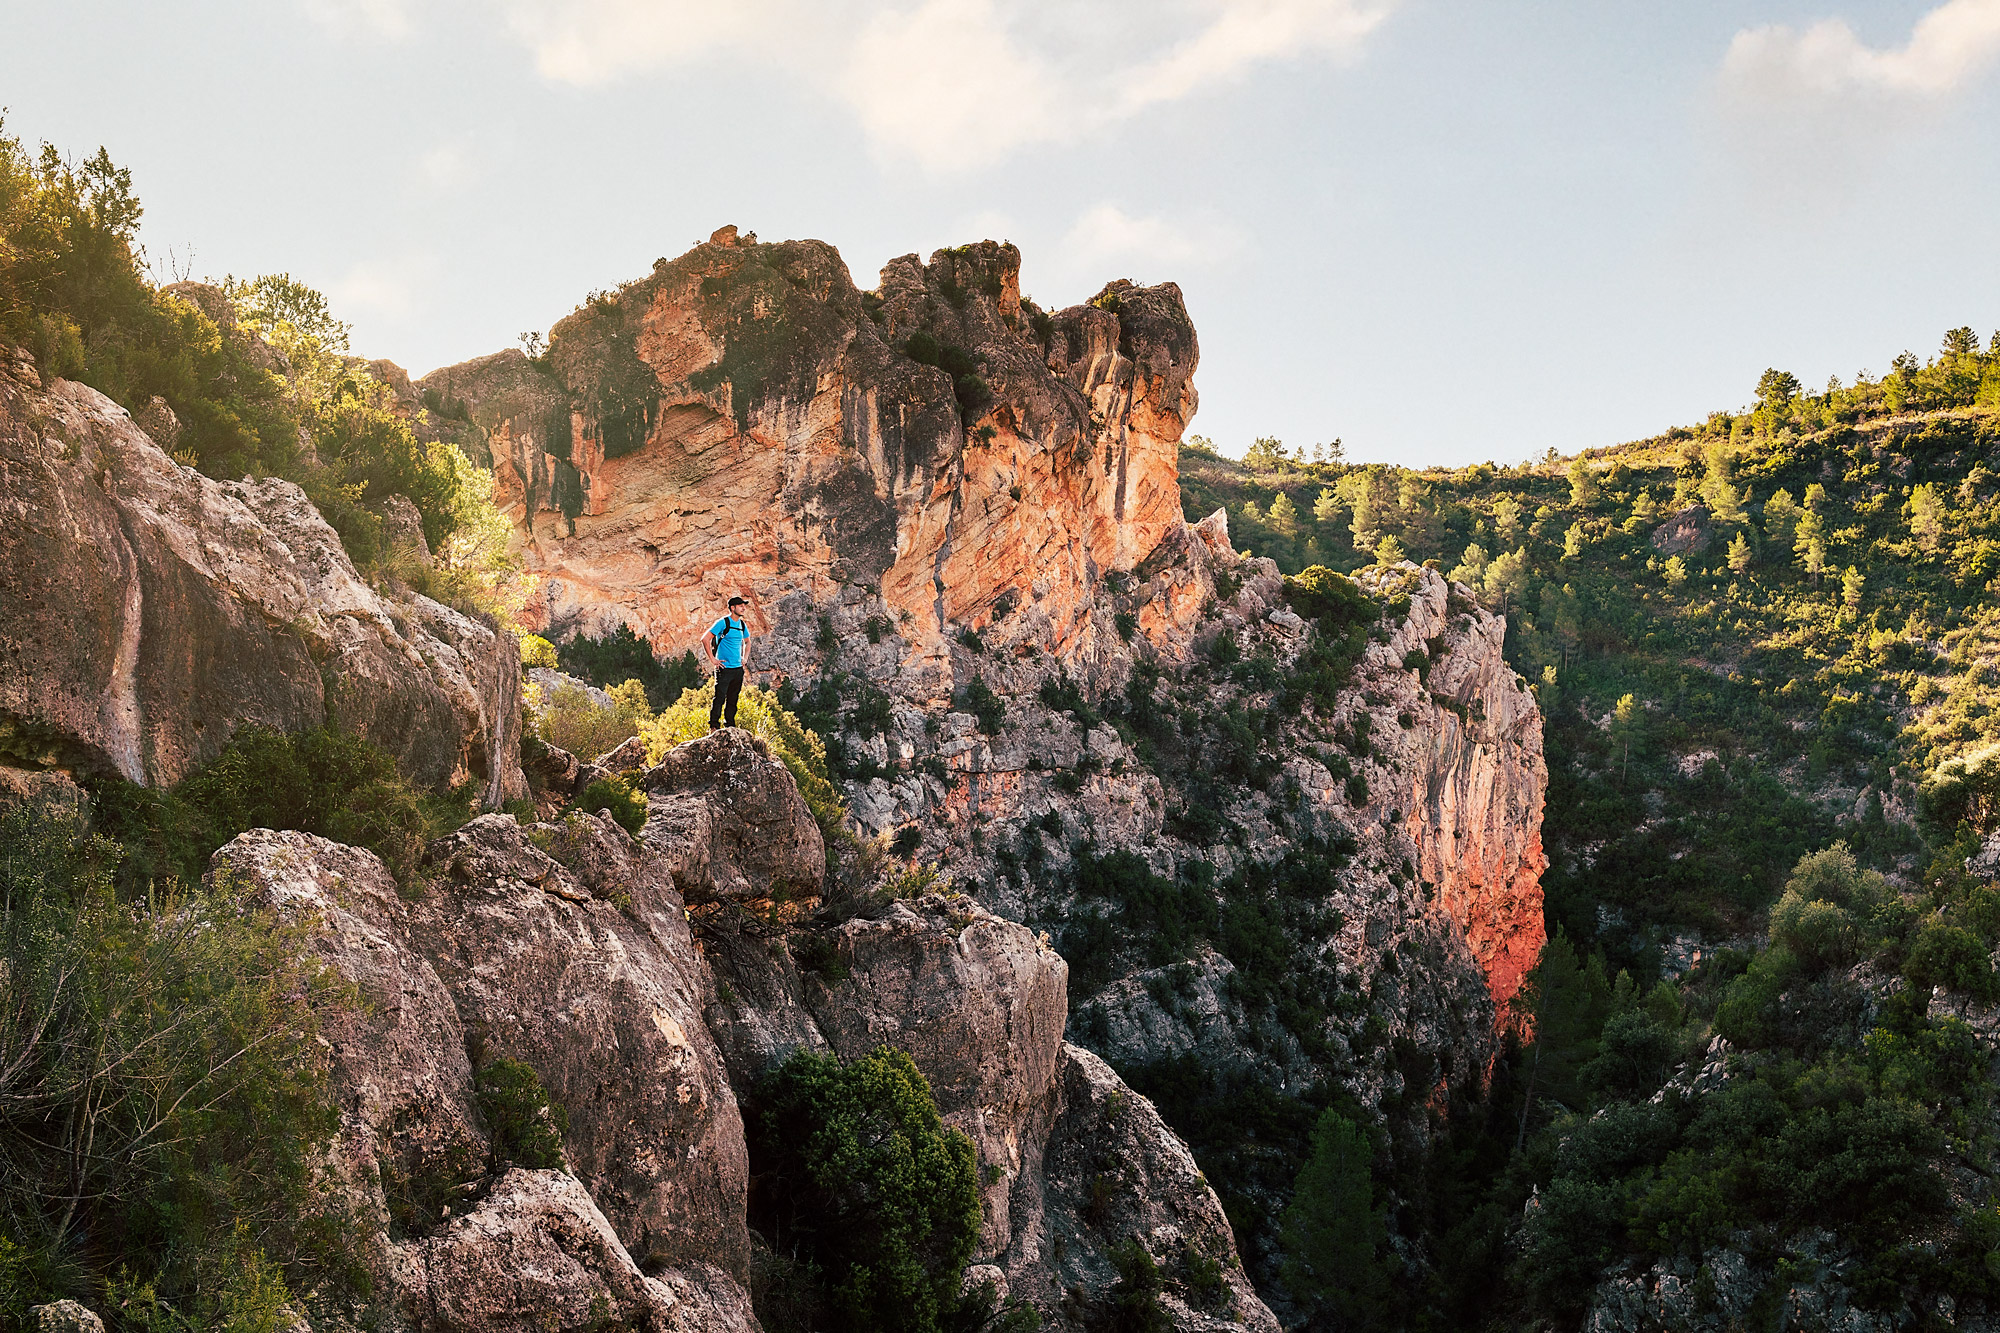
- Adventure photography shows a human doing an activity and interacting with the landscape, even if they are just a tiny figure, they can add scale to an epic image.
While they often overlap (you might shoot a landscape while travelling), landscape photography is unique in its focus on the environment itself as the subject.
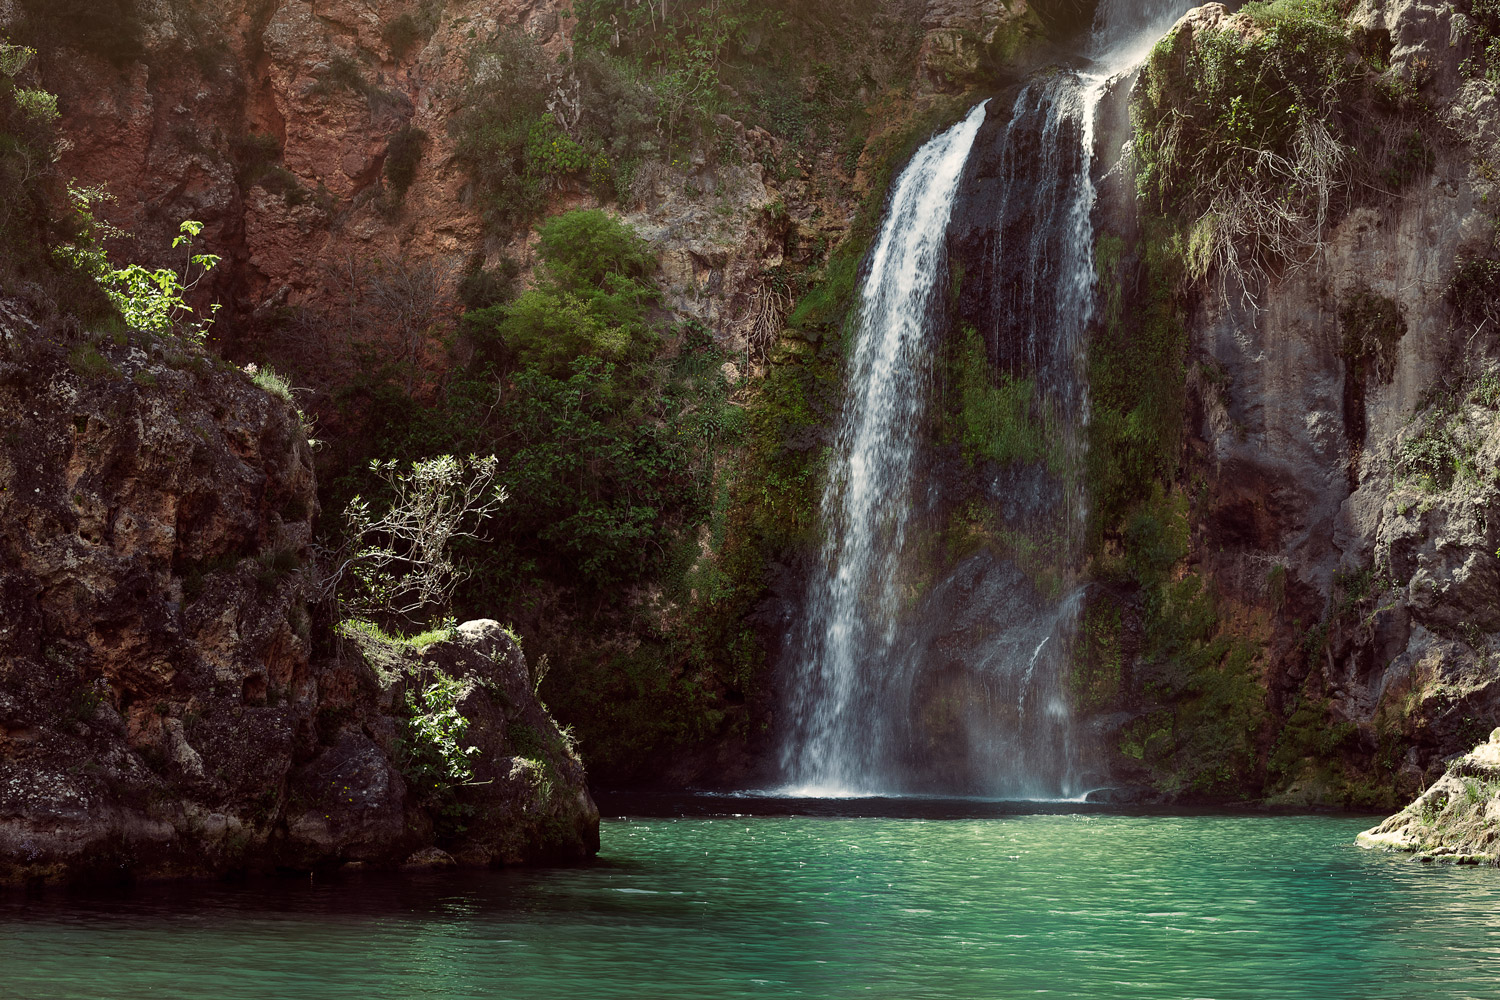
Why People Shoot Landscapes (and What They Do with the Photos)
People get into landscape photography for all kinds of reasons. Some love the solitude and creativity; others do it as a career or side hustle. Some people just love to be in the great outdoors. Common uses include:
- Fine art: Print your work to sell or display
- Commercial use: Licensing for ads, calendars, or wall art
- Stock photography: Selling images through stock libraries
- Social media: Sharing your best shots to grow a following or inspire others
- Personal projects: Documenting travels, seasons, or local beauty
Whatever your reason, landscape photography is a rewarding way to spend time outdoors, sharpen your creative eye, and maybe even make a little money along the way.
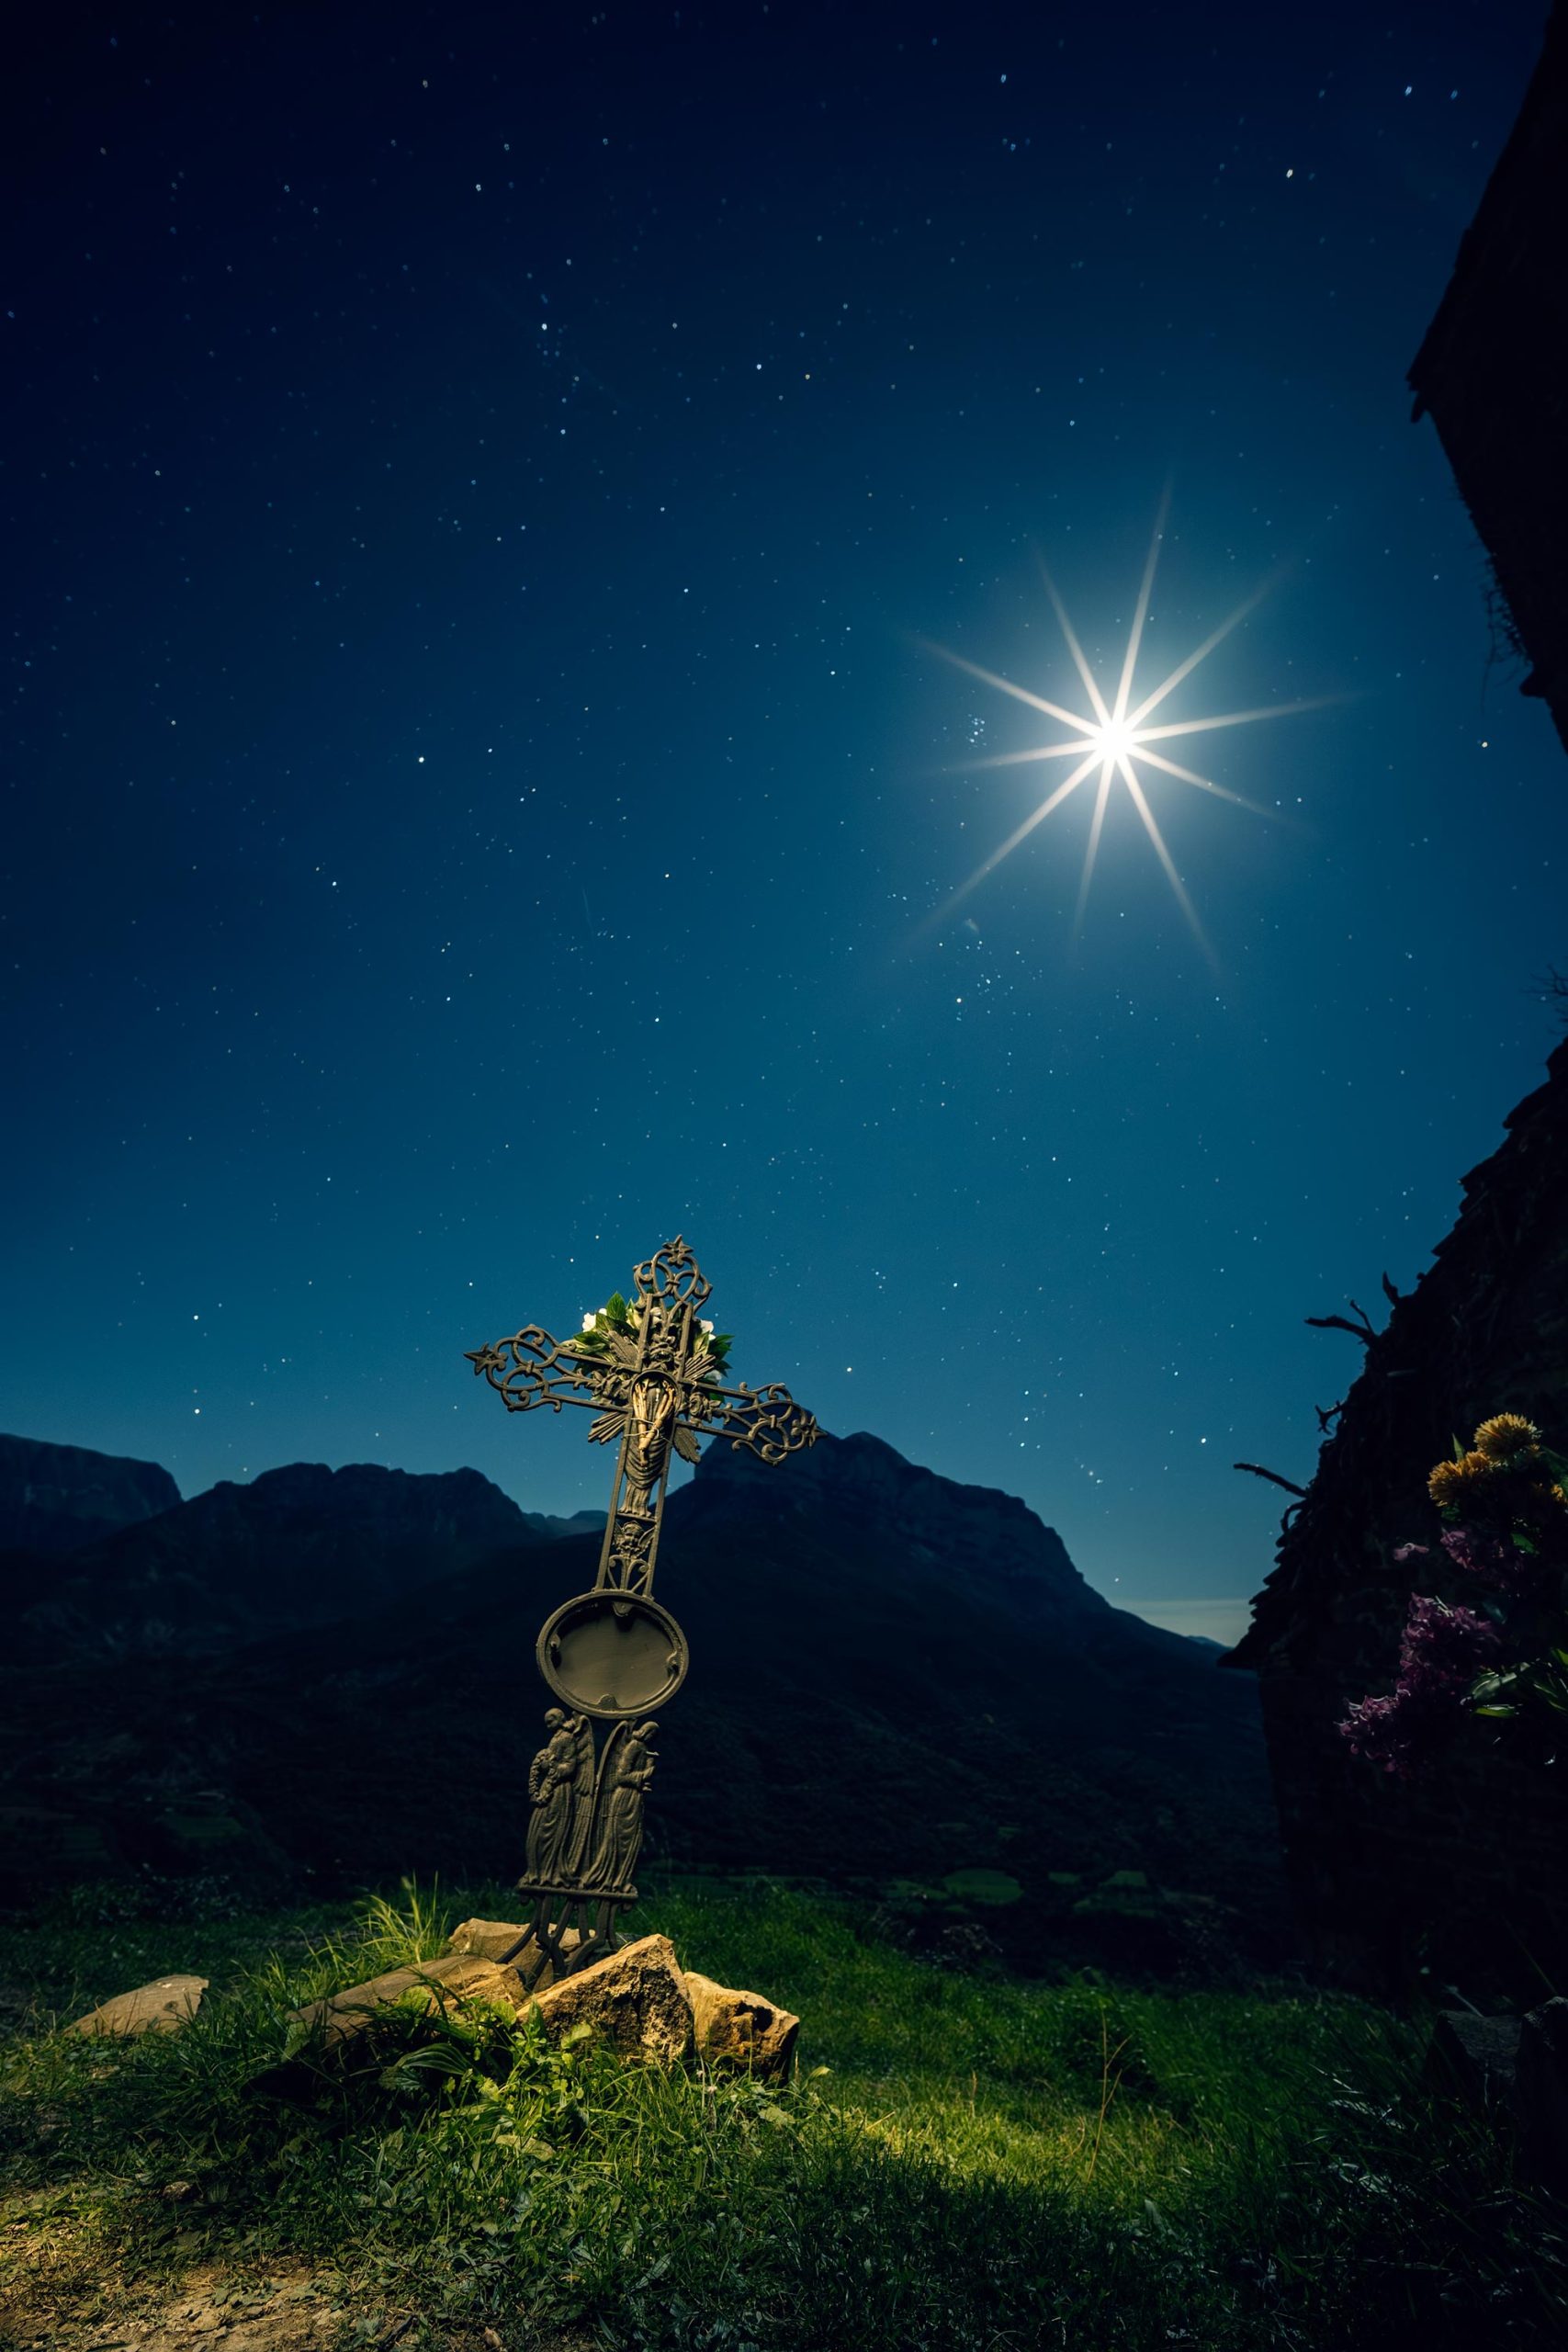
Types of Landscape Photography
Landscape photography isn’t a one-size-fits-all genre; it’s actually a whole mix of styles and environments, each with its own unique challenges and creative opportunities.
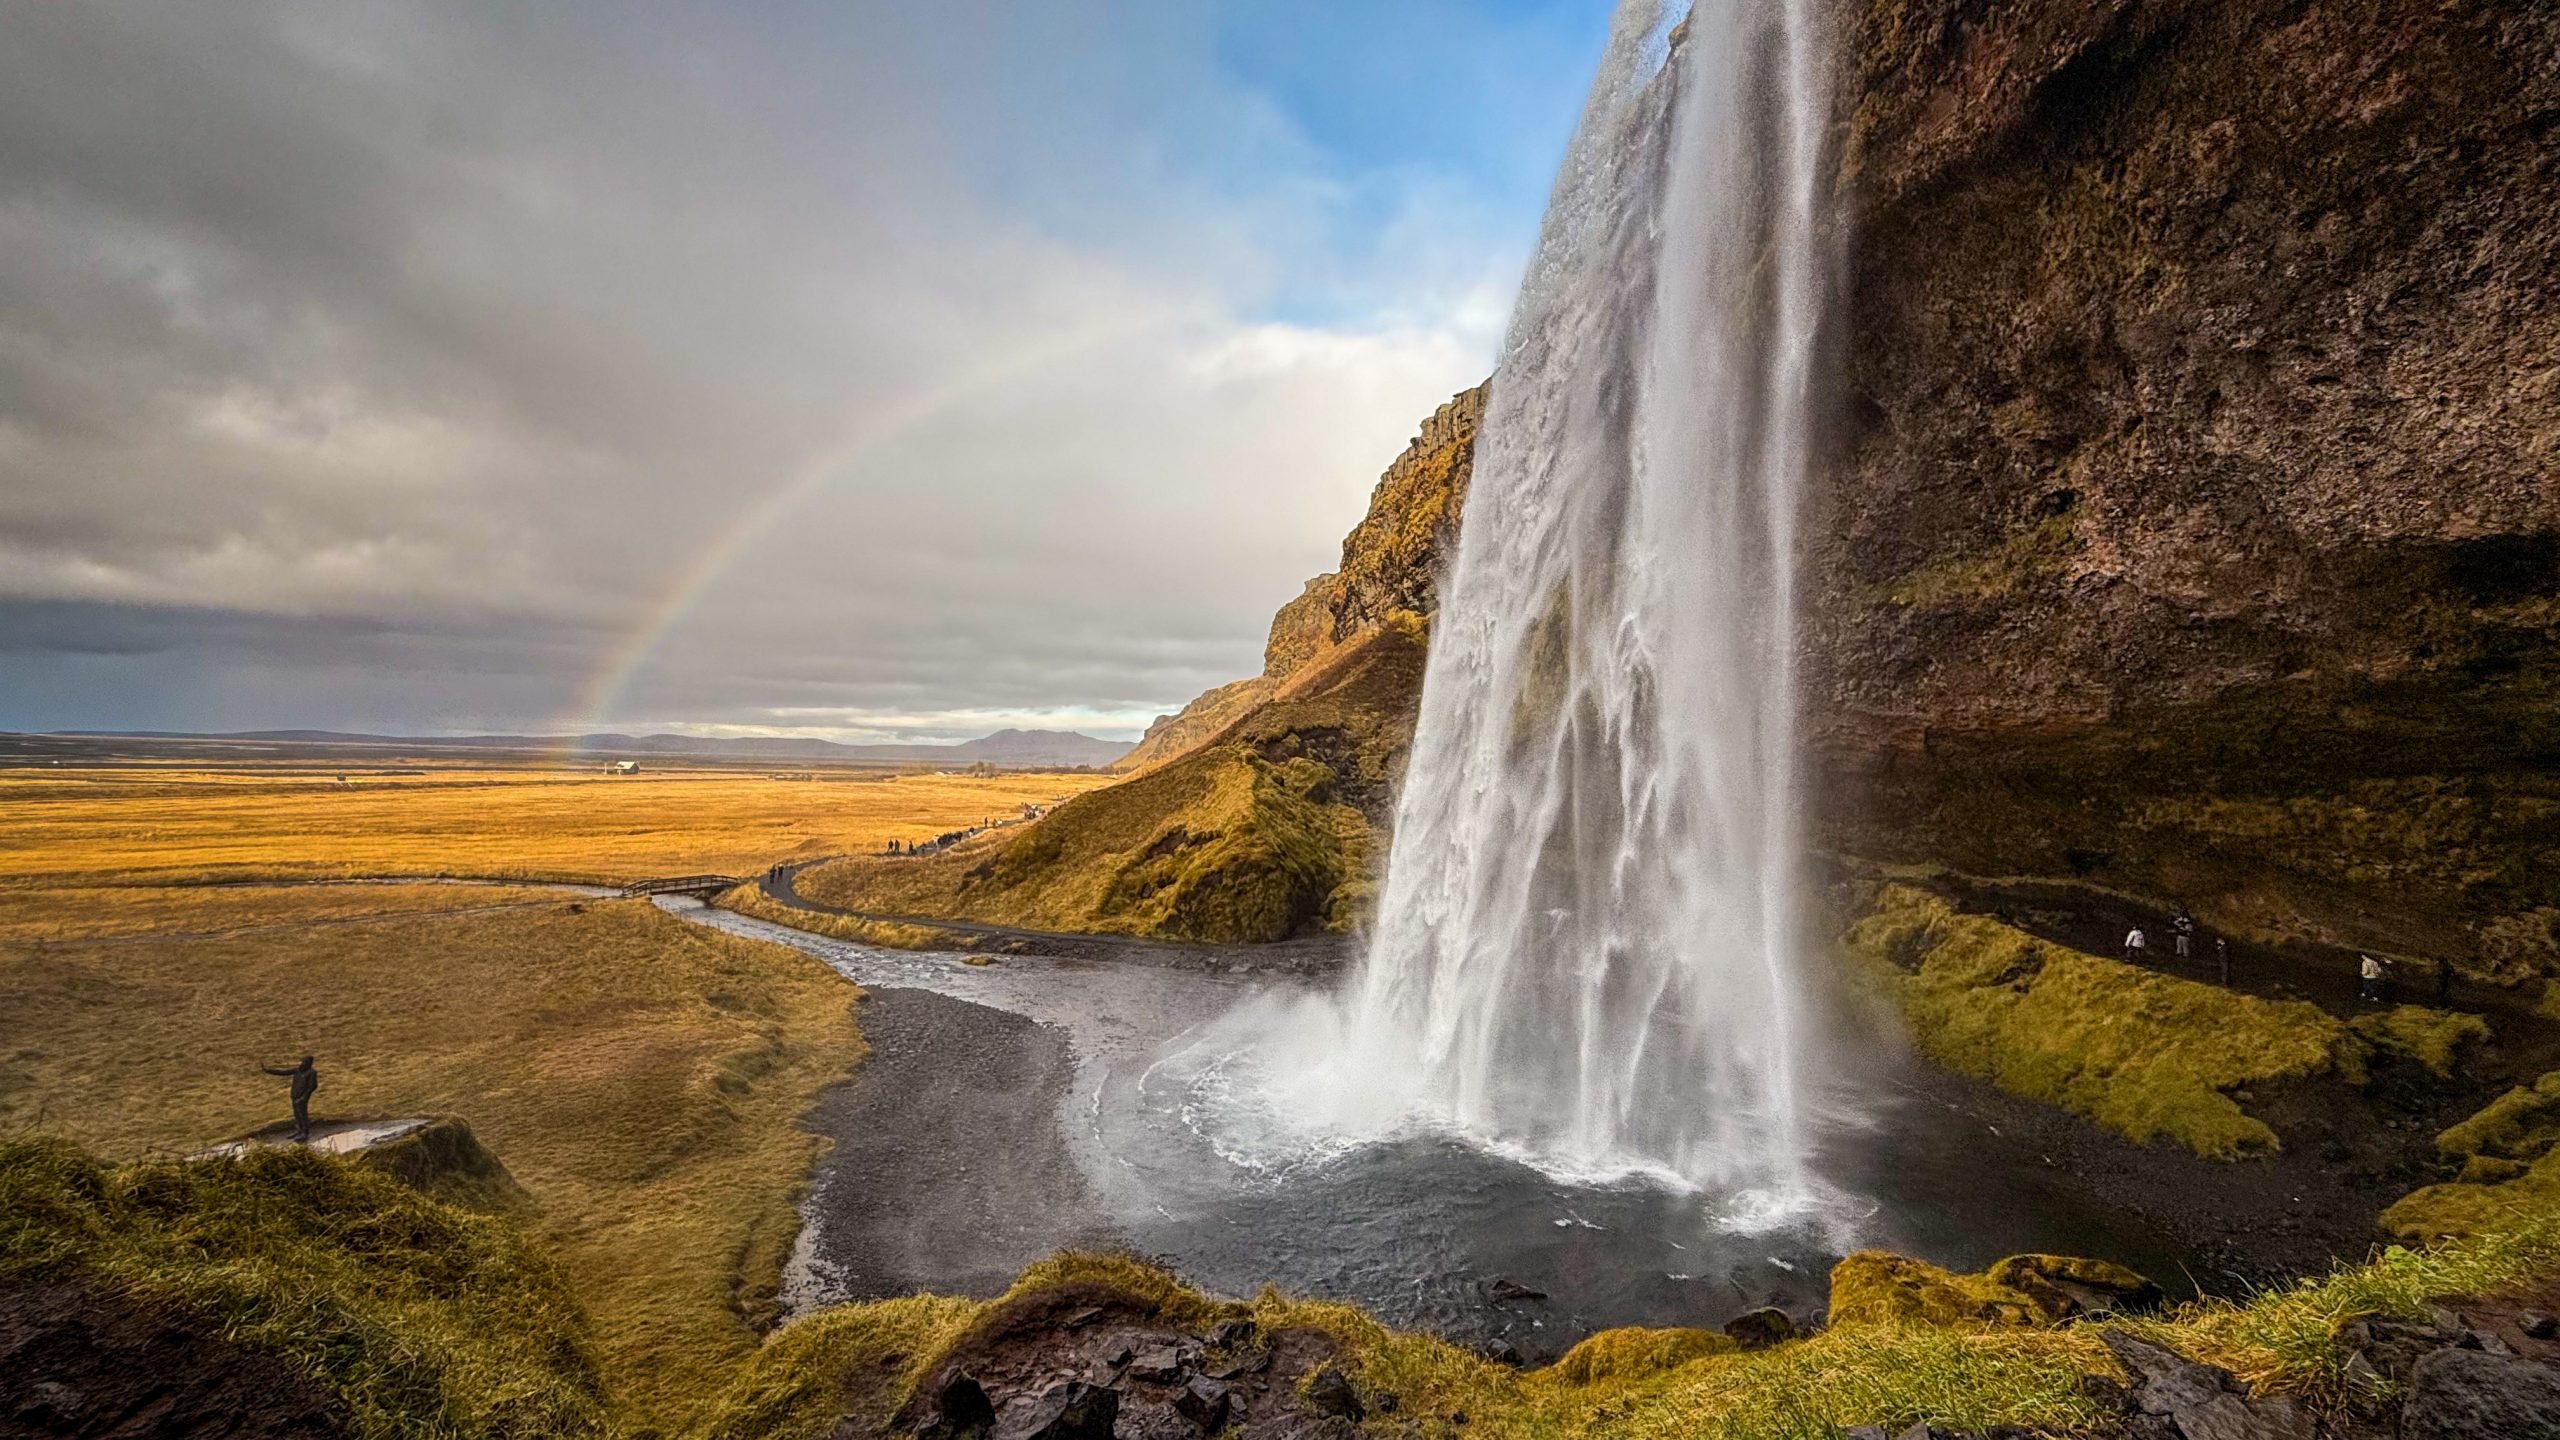
Popular Landscape Styles by Environment:
- Mountain Landscapes: Rugged peaks, alpine lakes, and dramatic light. These shots are all about scale and atmosphere, often made better with some early morning mist or golden hour glow.
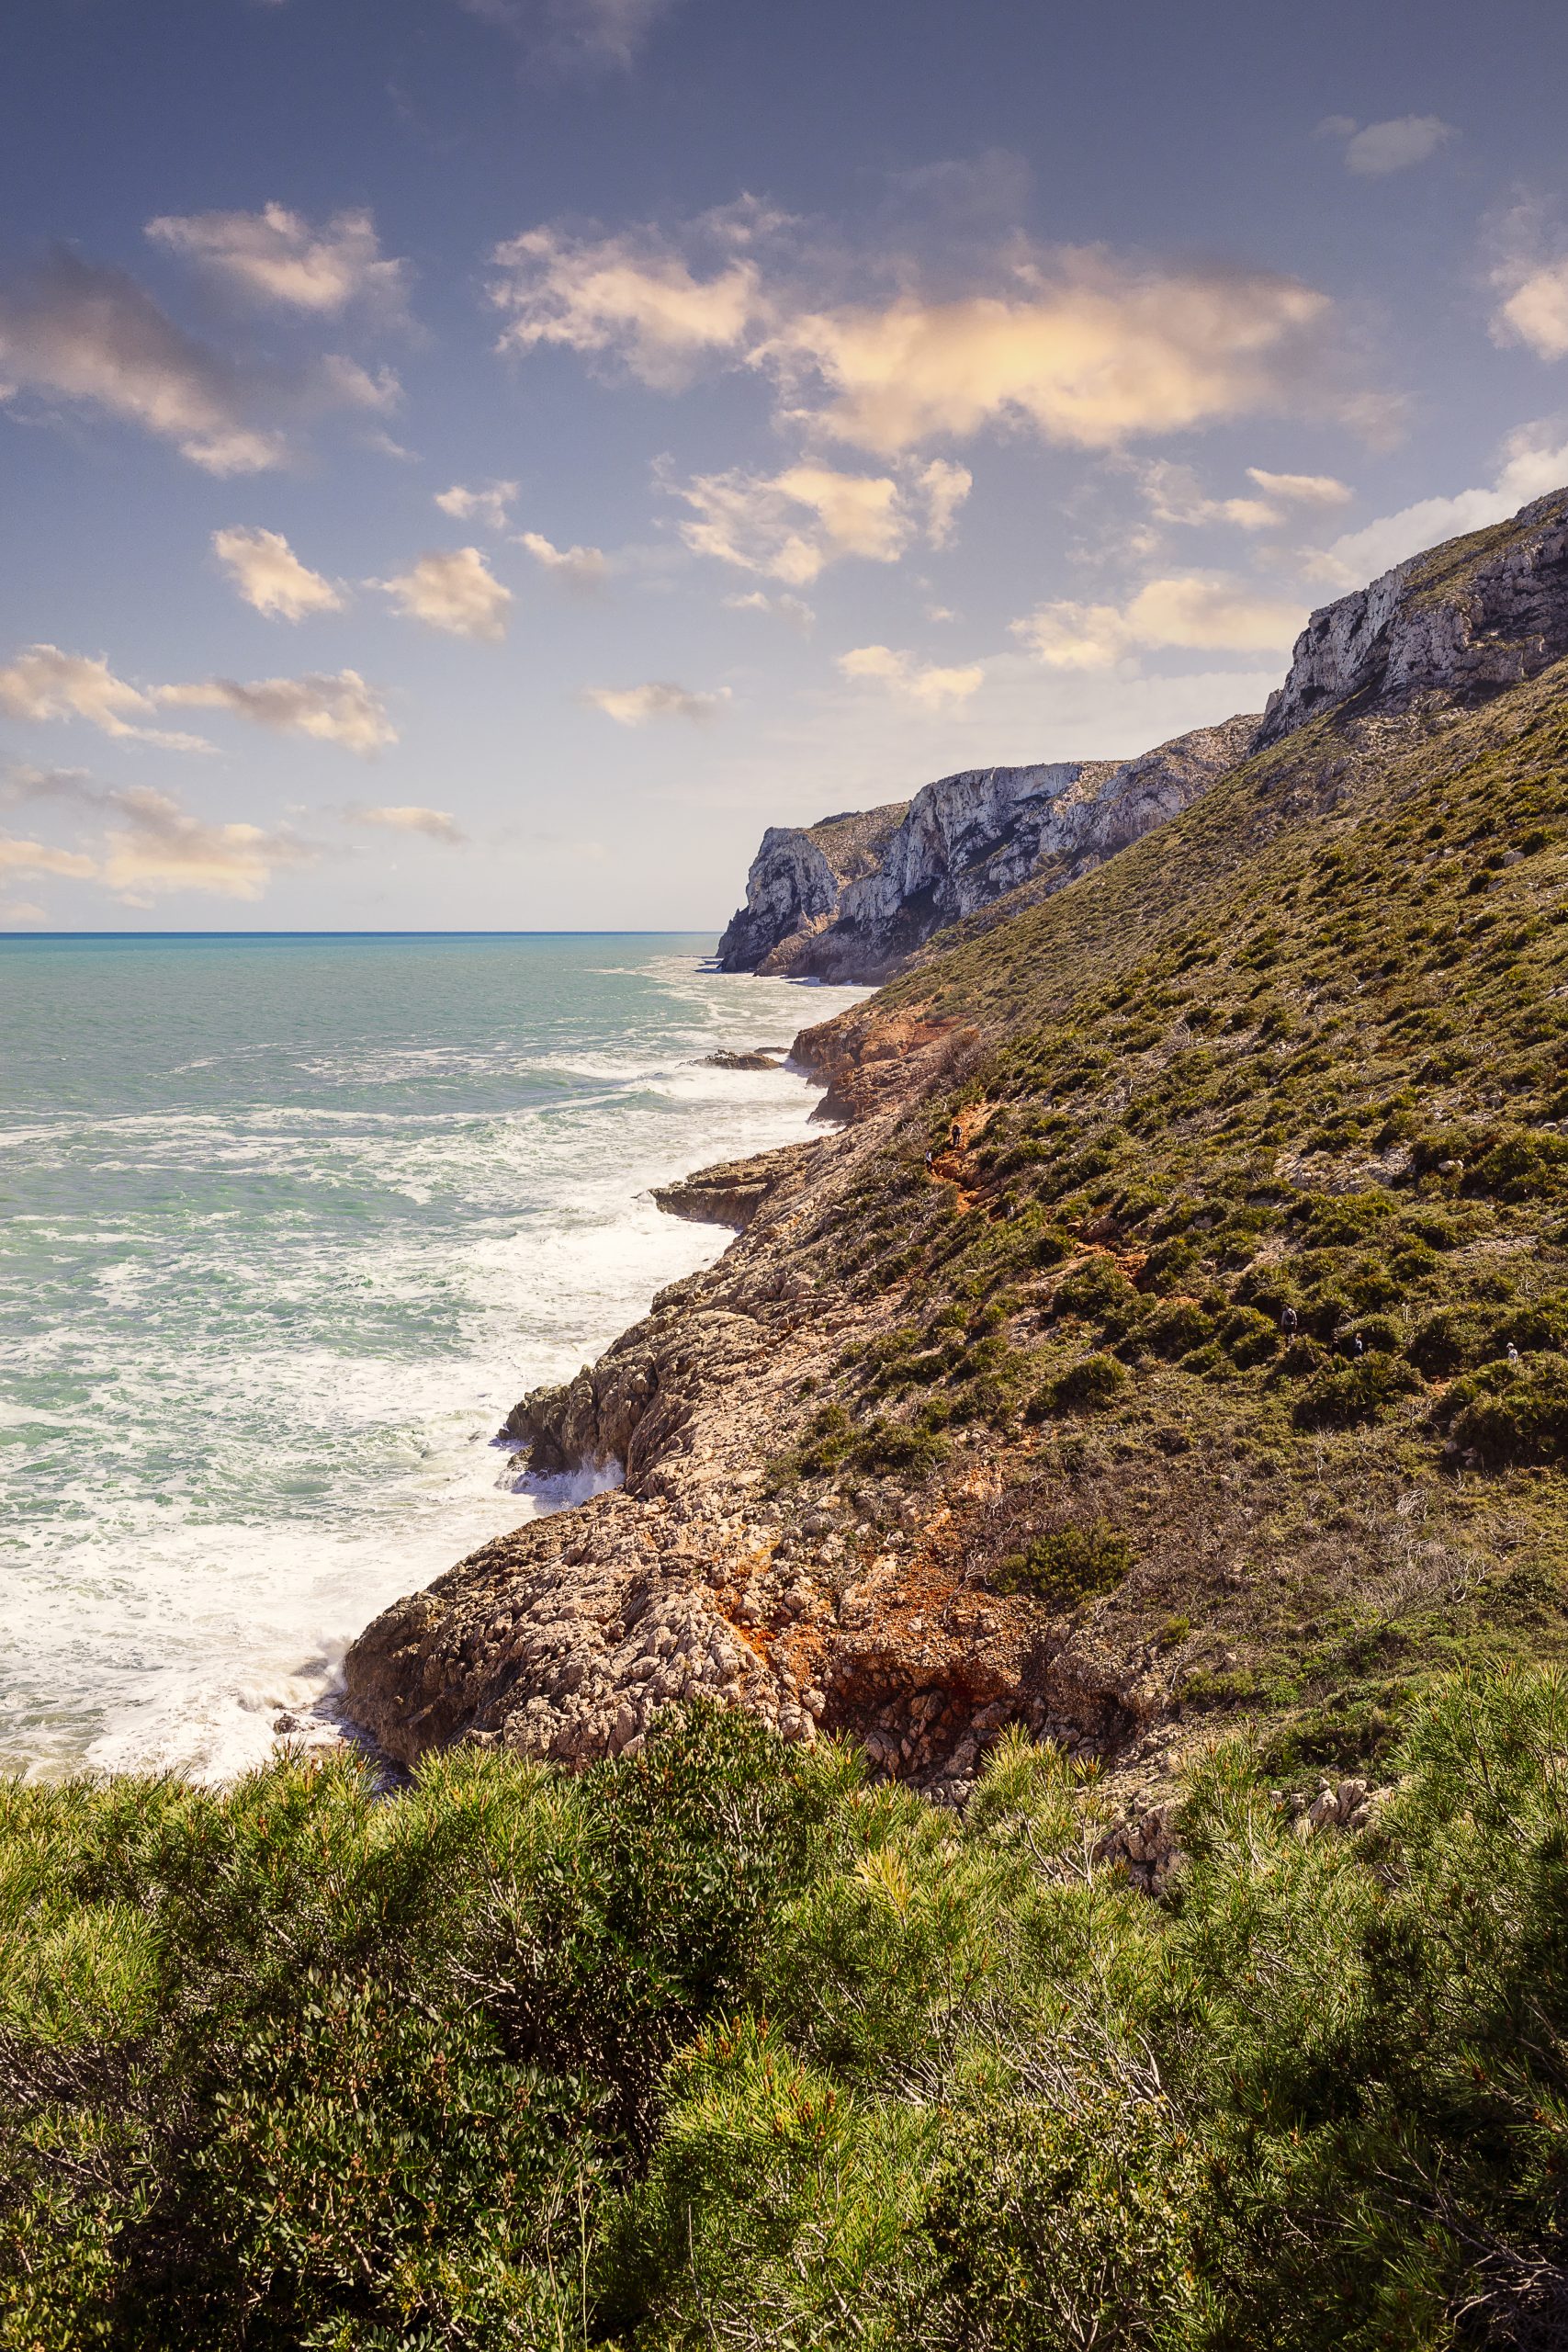
- Seascapes: Long exposures of waves, reflections at sunset, rocky shorelines, it’s all about movement, texture, and timing. Just don’t forget your tripod (and maybe a waterproof bag). Long exposures are a popular technique for coastal landscapes.
- Desert Landscapes: Wide open spaces, sand dunes, bold light, and beautiful minimalism. Golden hour works wonders here. Midday sun? Well, never say never!
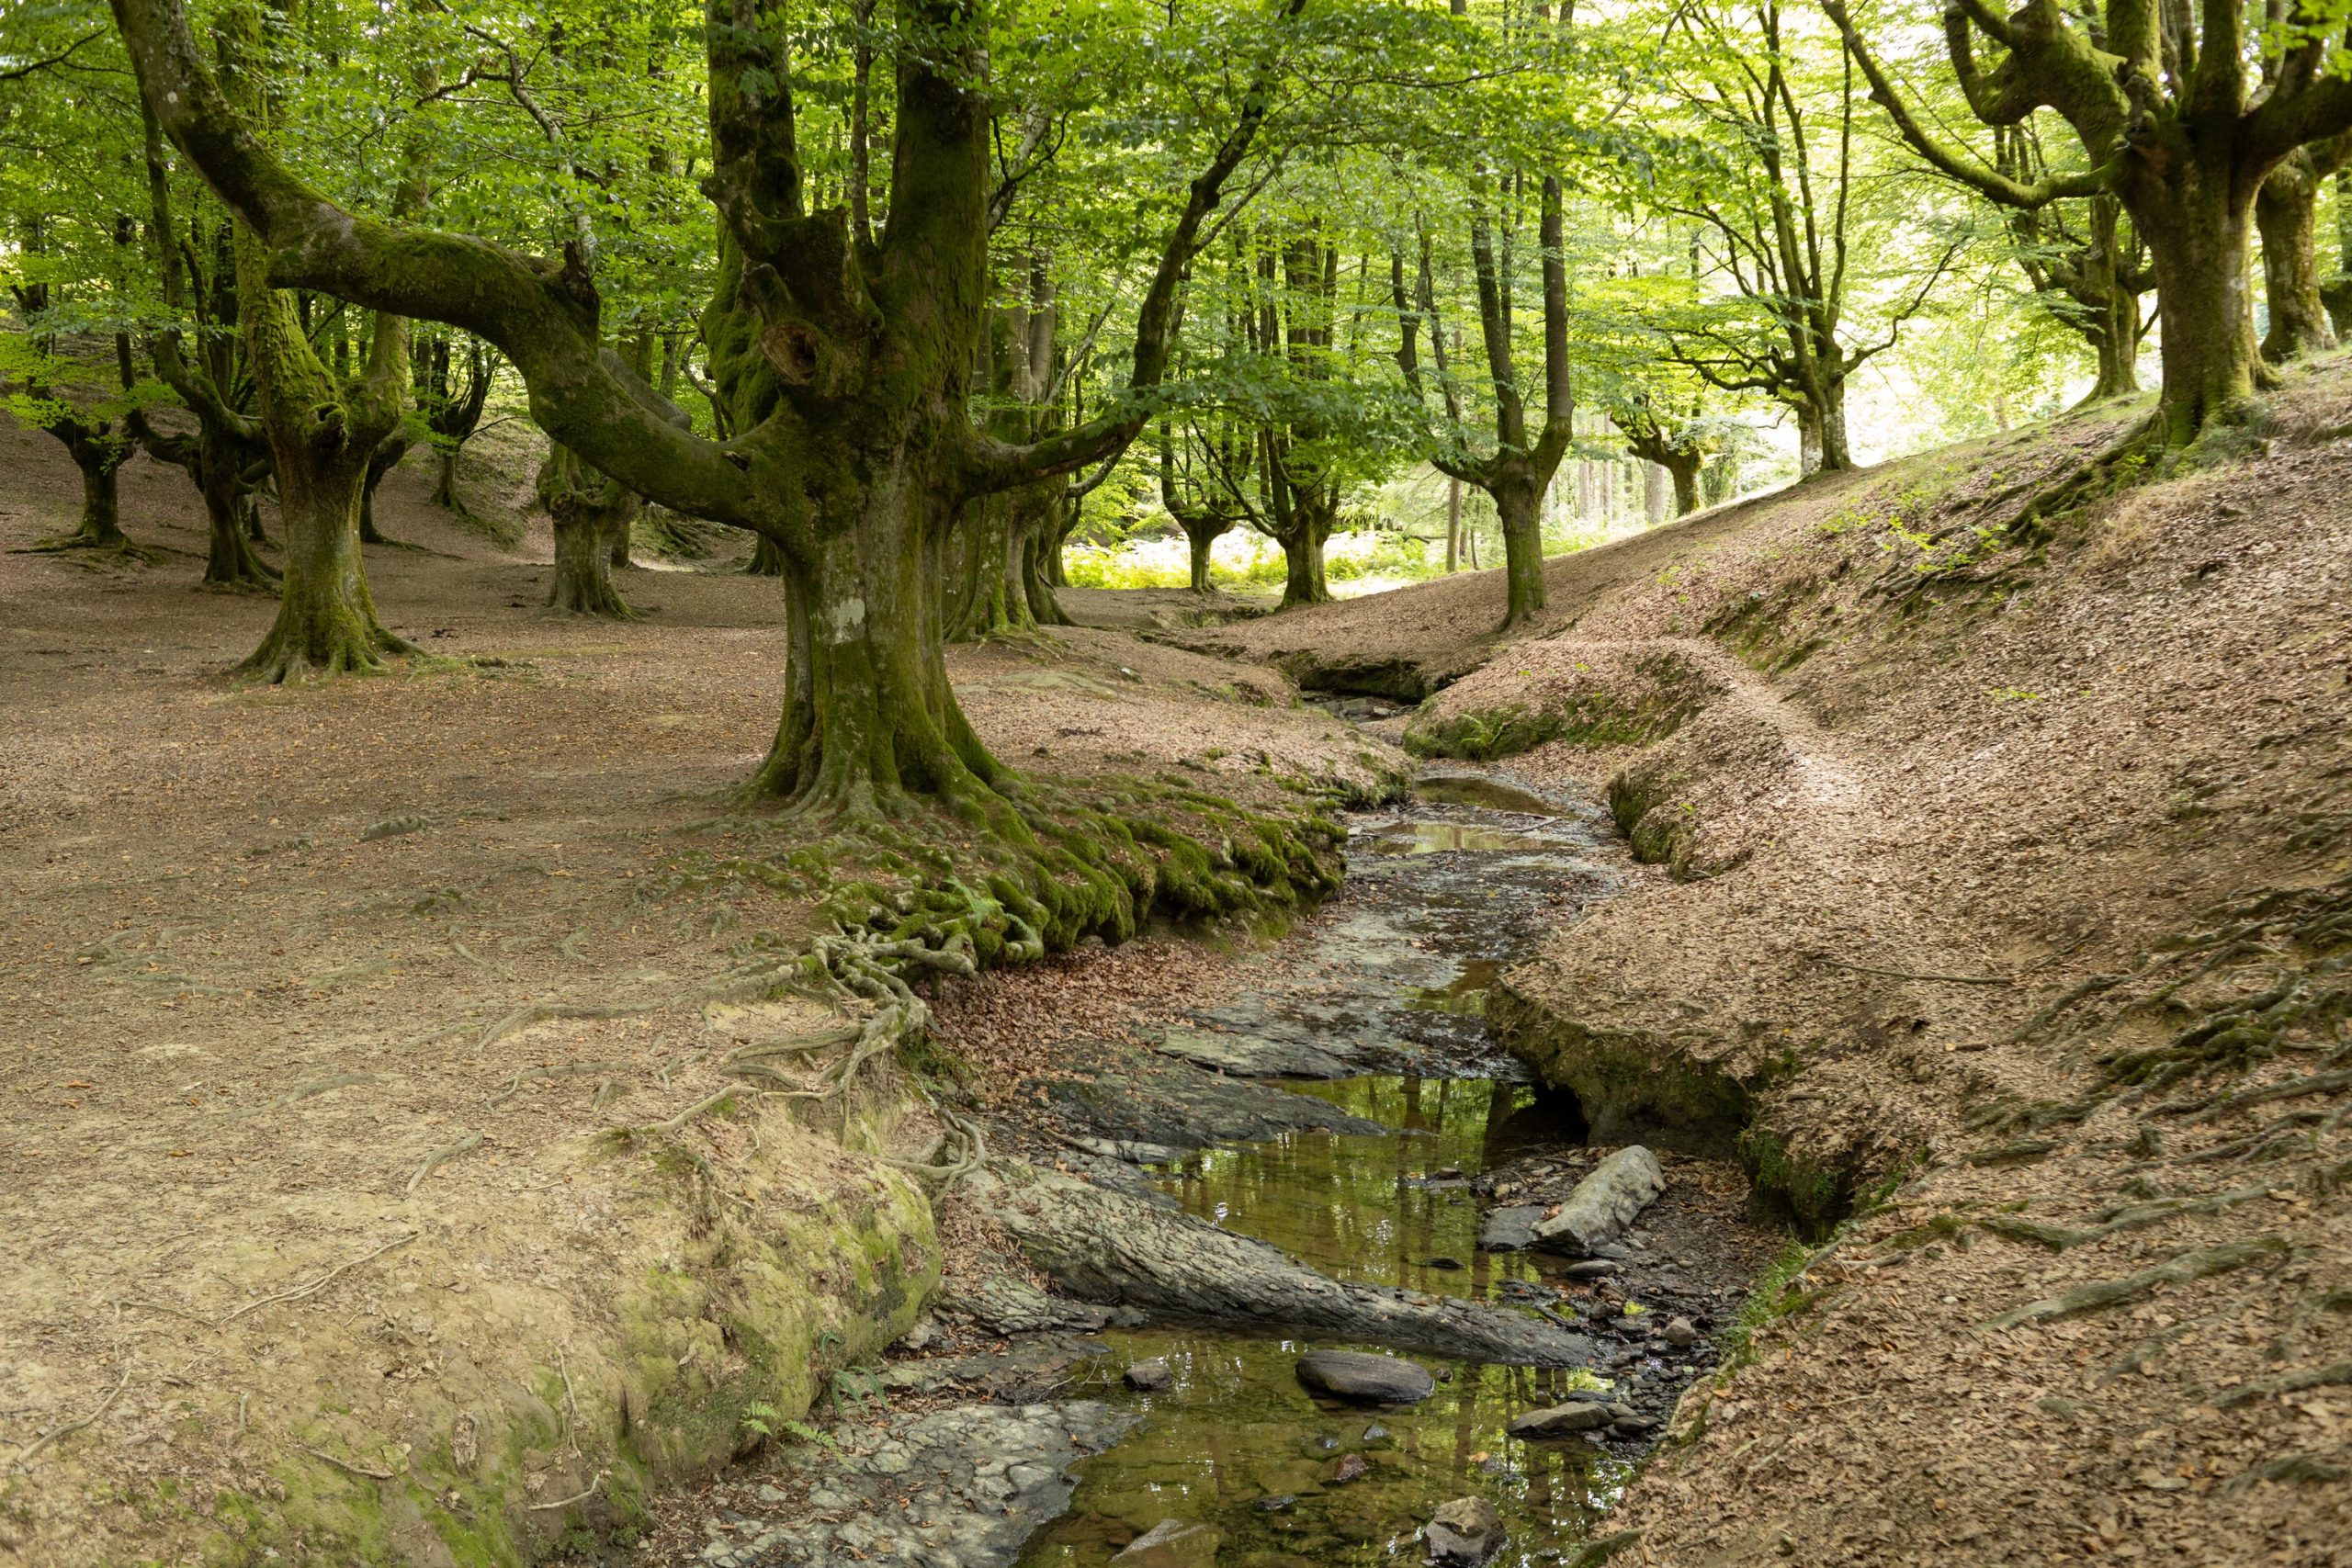
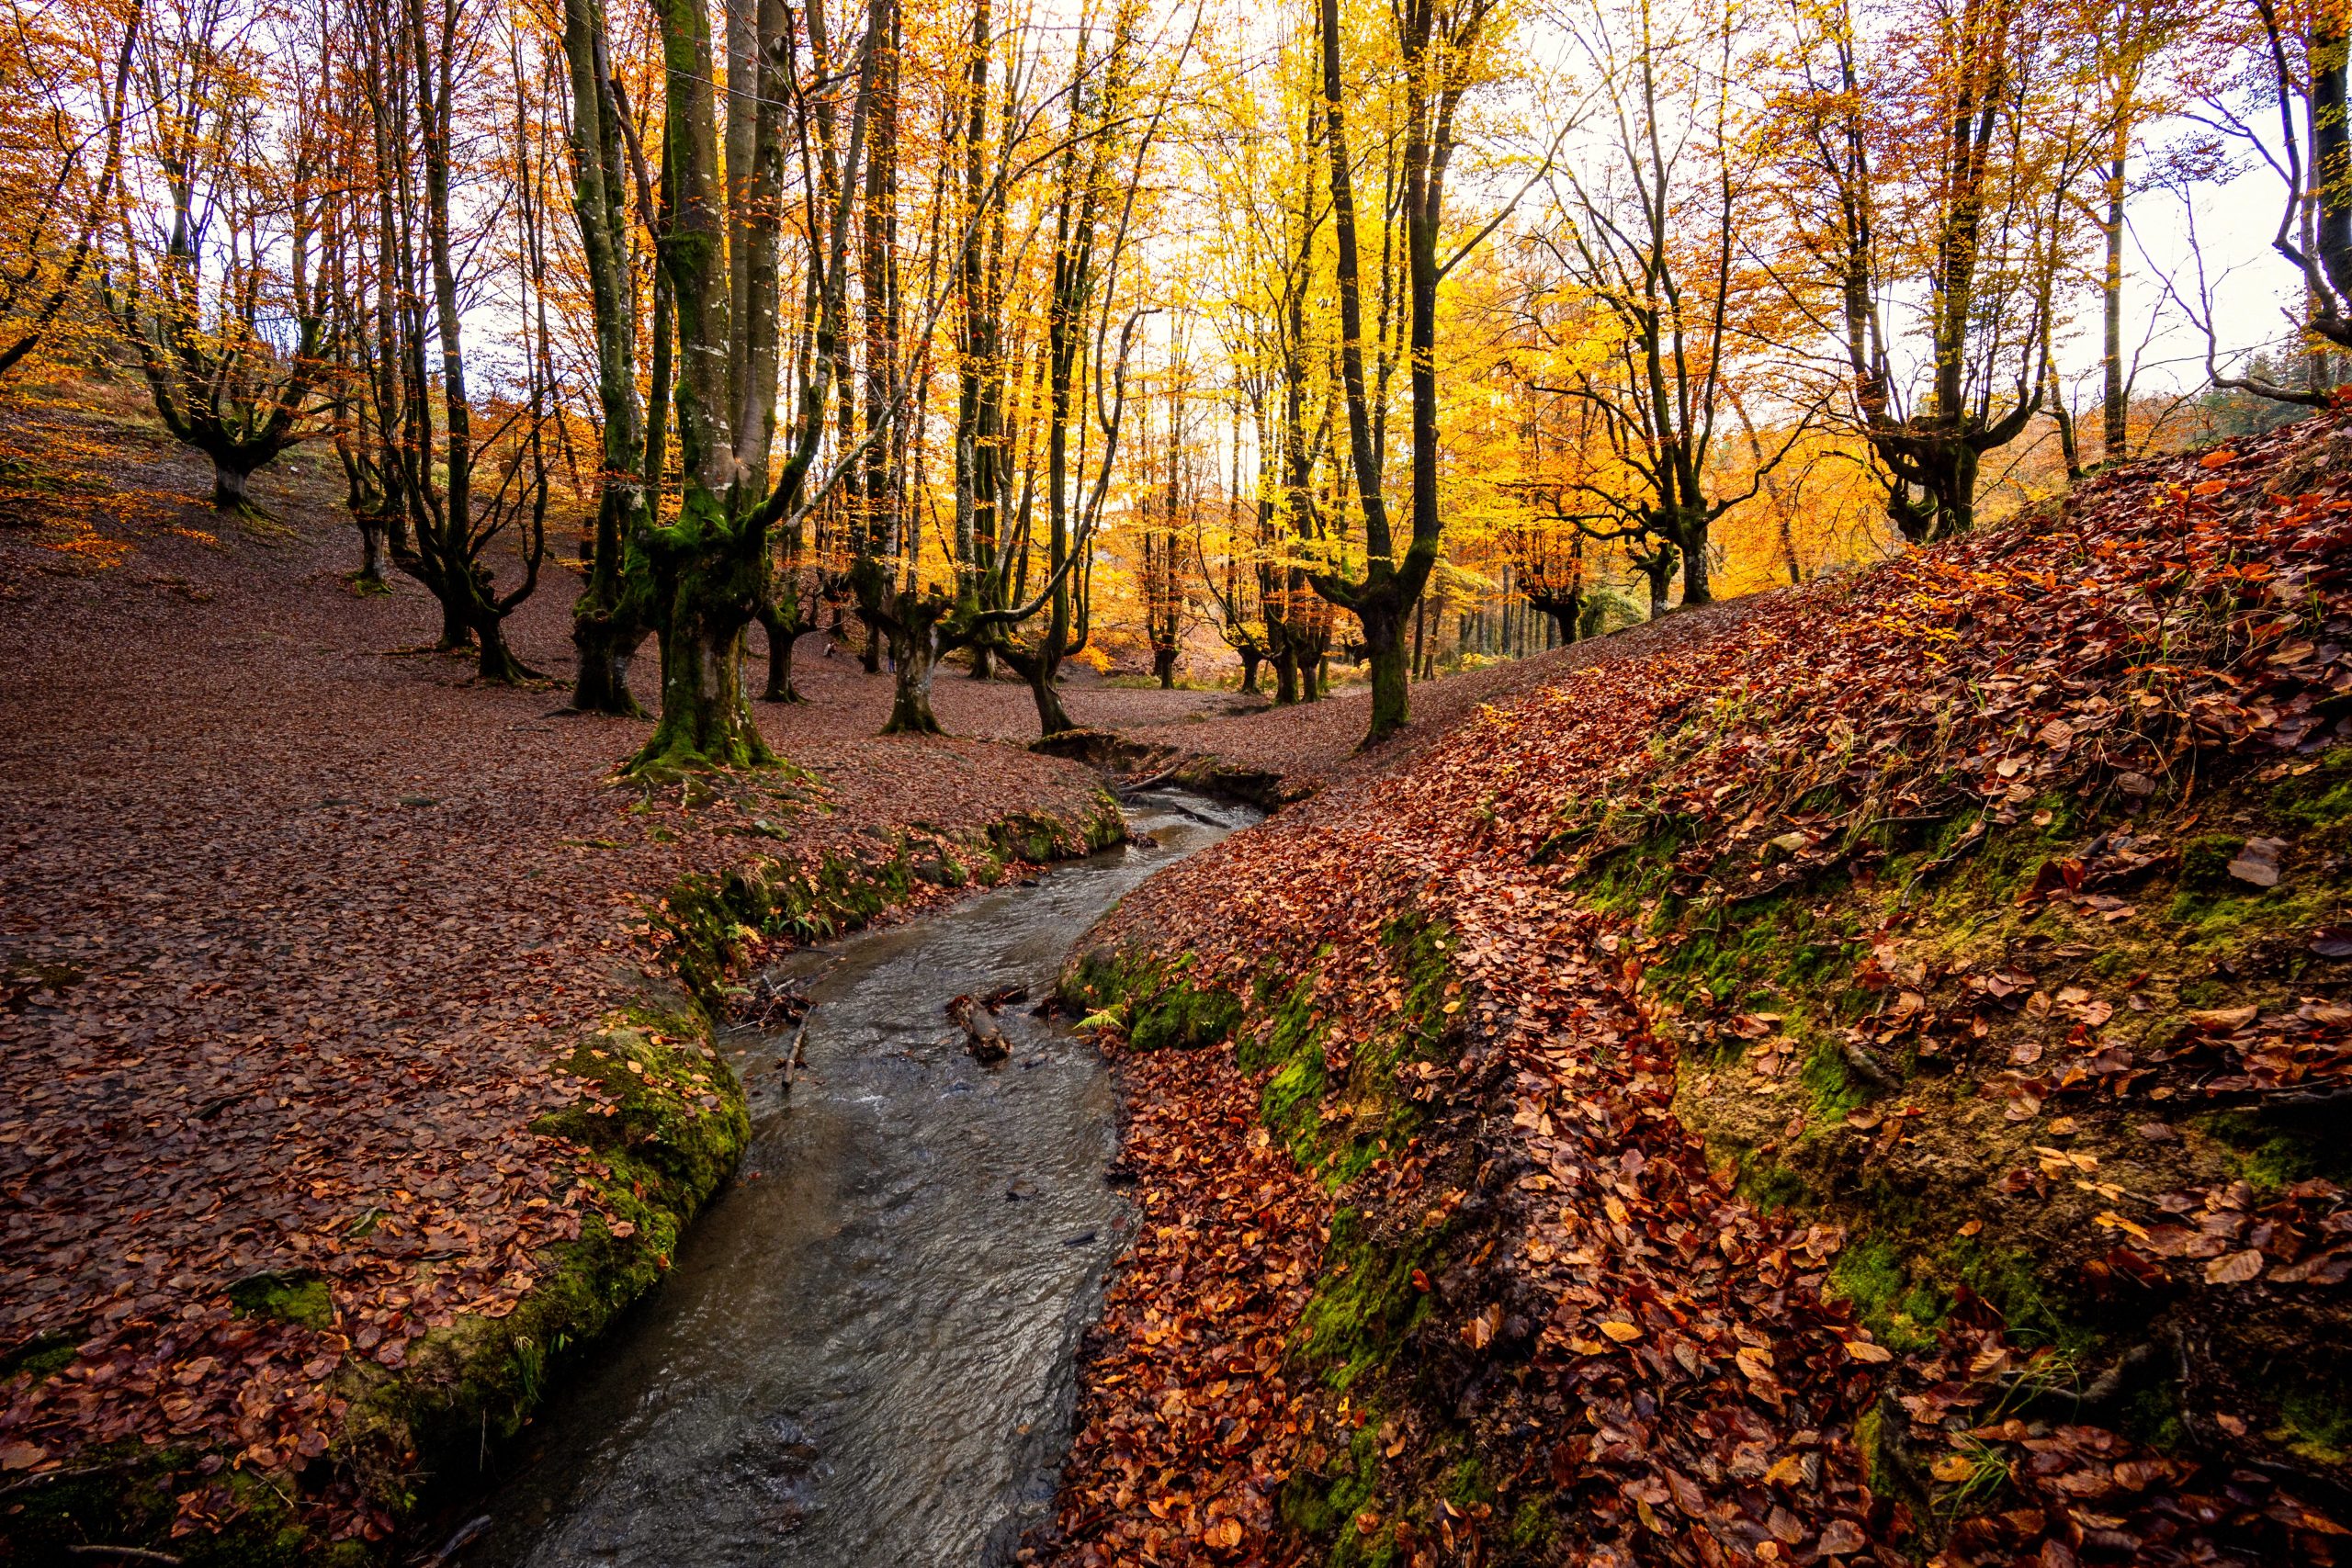
- Forests and Woodlands: More intimate and moody, with dappled light, strong verticals, and seasonal colour. Fog and rain can make forest scenes especially magical. Look out for bluebell woods or mossy glades.
- Urban Landscapes: Cities, skylines, and architecture. Urban landscape photography blends structure with atmosphere, especially great at night or during blue hour.
- Aerial Landscapes: Whether shot with drones or from planes or even hot air balloons, aerials give you a whole new way to view familiar places. Composition is key here, look for lines, patterns, and symmetry.
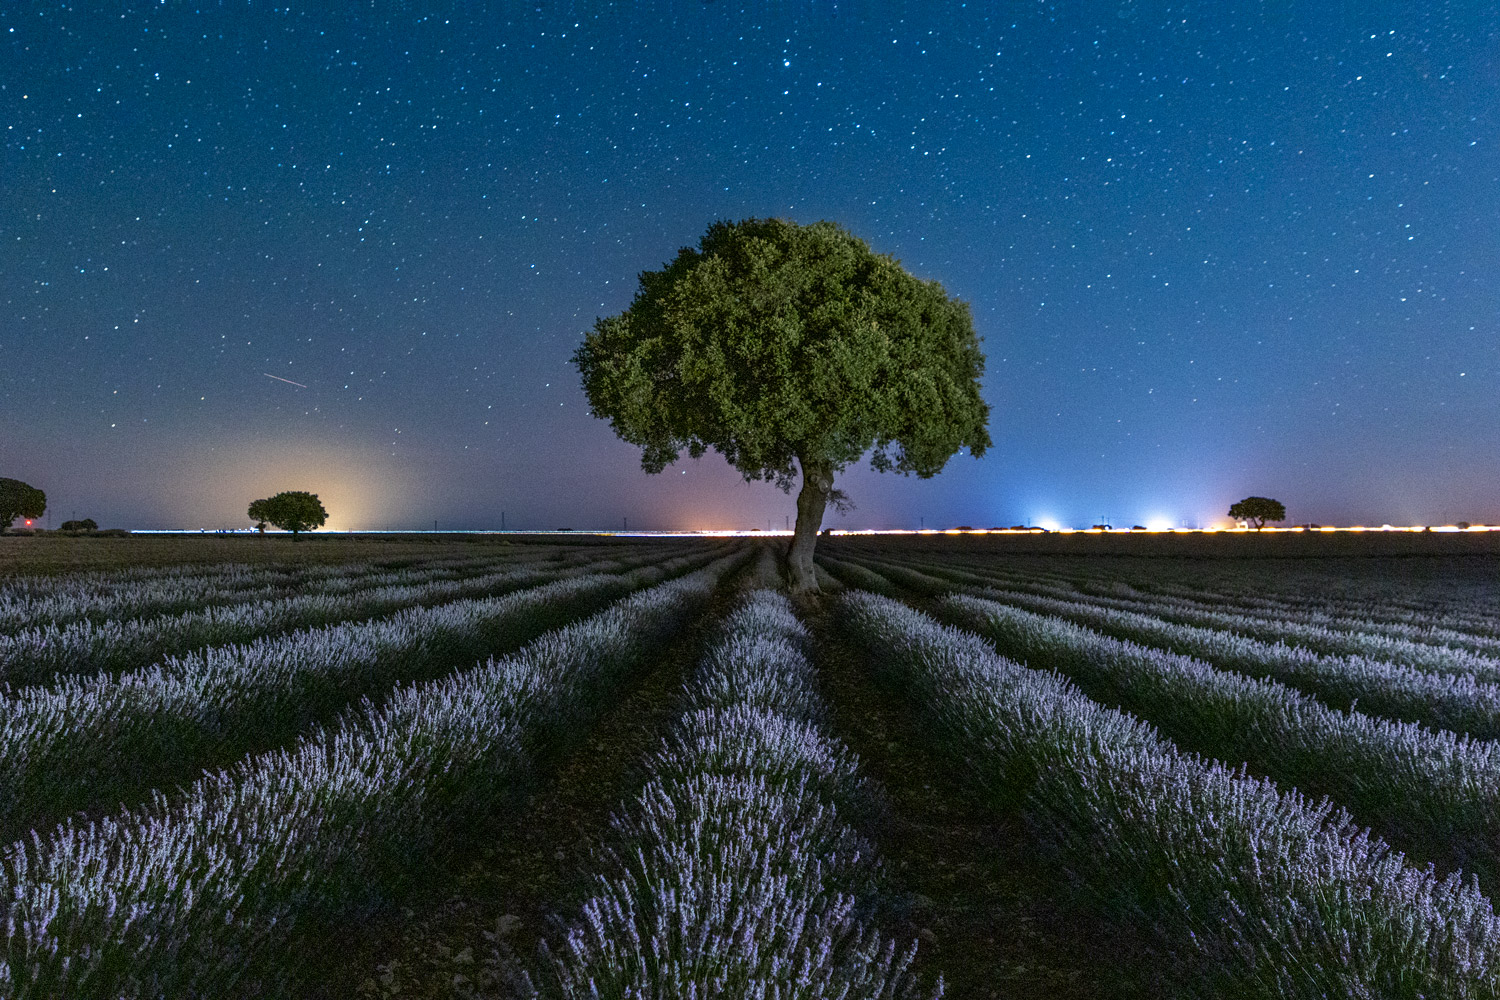
- Night & Astro Landscapes: From star trails to the Milky Way over dramatic terrain, this is where art meets science. You’ll need long exposures, fast lenses, and some patience (plus warm socks). Light painting can also be a fun technique to draw attention to foreground features.
Seasonal Landscape Photography
Different seasons bring out different moods in a scene, and changing weather and light can make even a familiar location feel brand new. You’ll also need to prepare differently for the different seasons, both in your camera gear and the rest of your equipment.
- Winter: Snow-covered scenes, frozen lakes, and soft, diffused light. Bonus: fewer tourists.
- Autumn/Fall: Rich colours, morning mist, and crunchy leaves. An absolute favourite for many landscape shooters.
- Spring: Blooming flowers, rushing rivers, and fresh greens make everything feel alive again.
- Monsoon/Summer: Storms and moody skies, rain-drenched landscapes, and dramatic light, perfect for more expressive or emotional shots. Midnight sun close to the poles.
Minimalist vs Grand Scenic
Your style matters just as much as your subject. Two popular approaches in landscape photography:
- Grand Scenic: The classic epic view. Big foregrounds, deep depth of field, dramatic clouds. Think national parks and postcard shots.
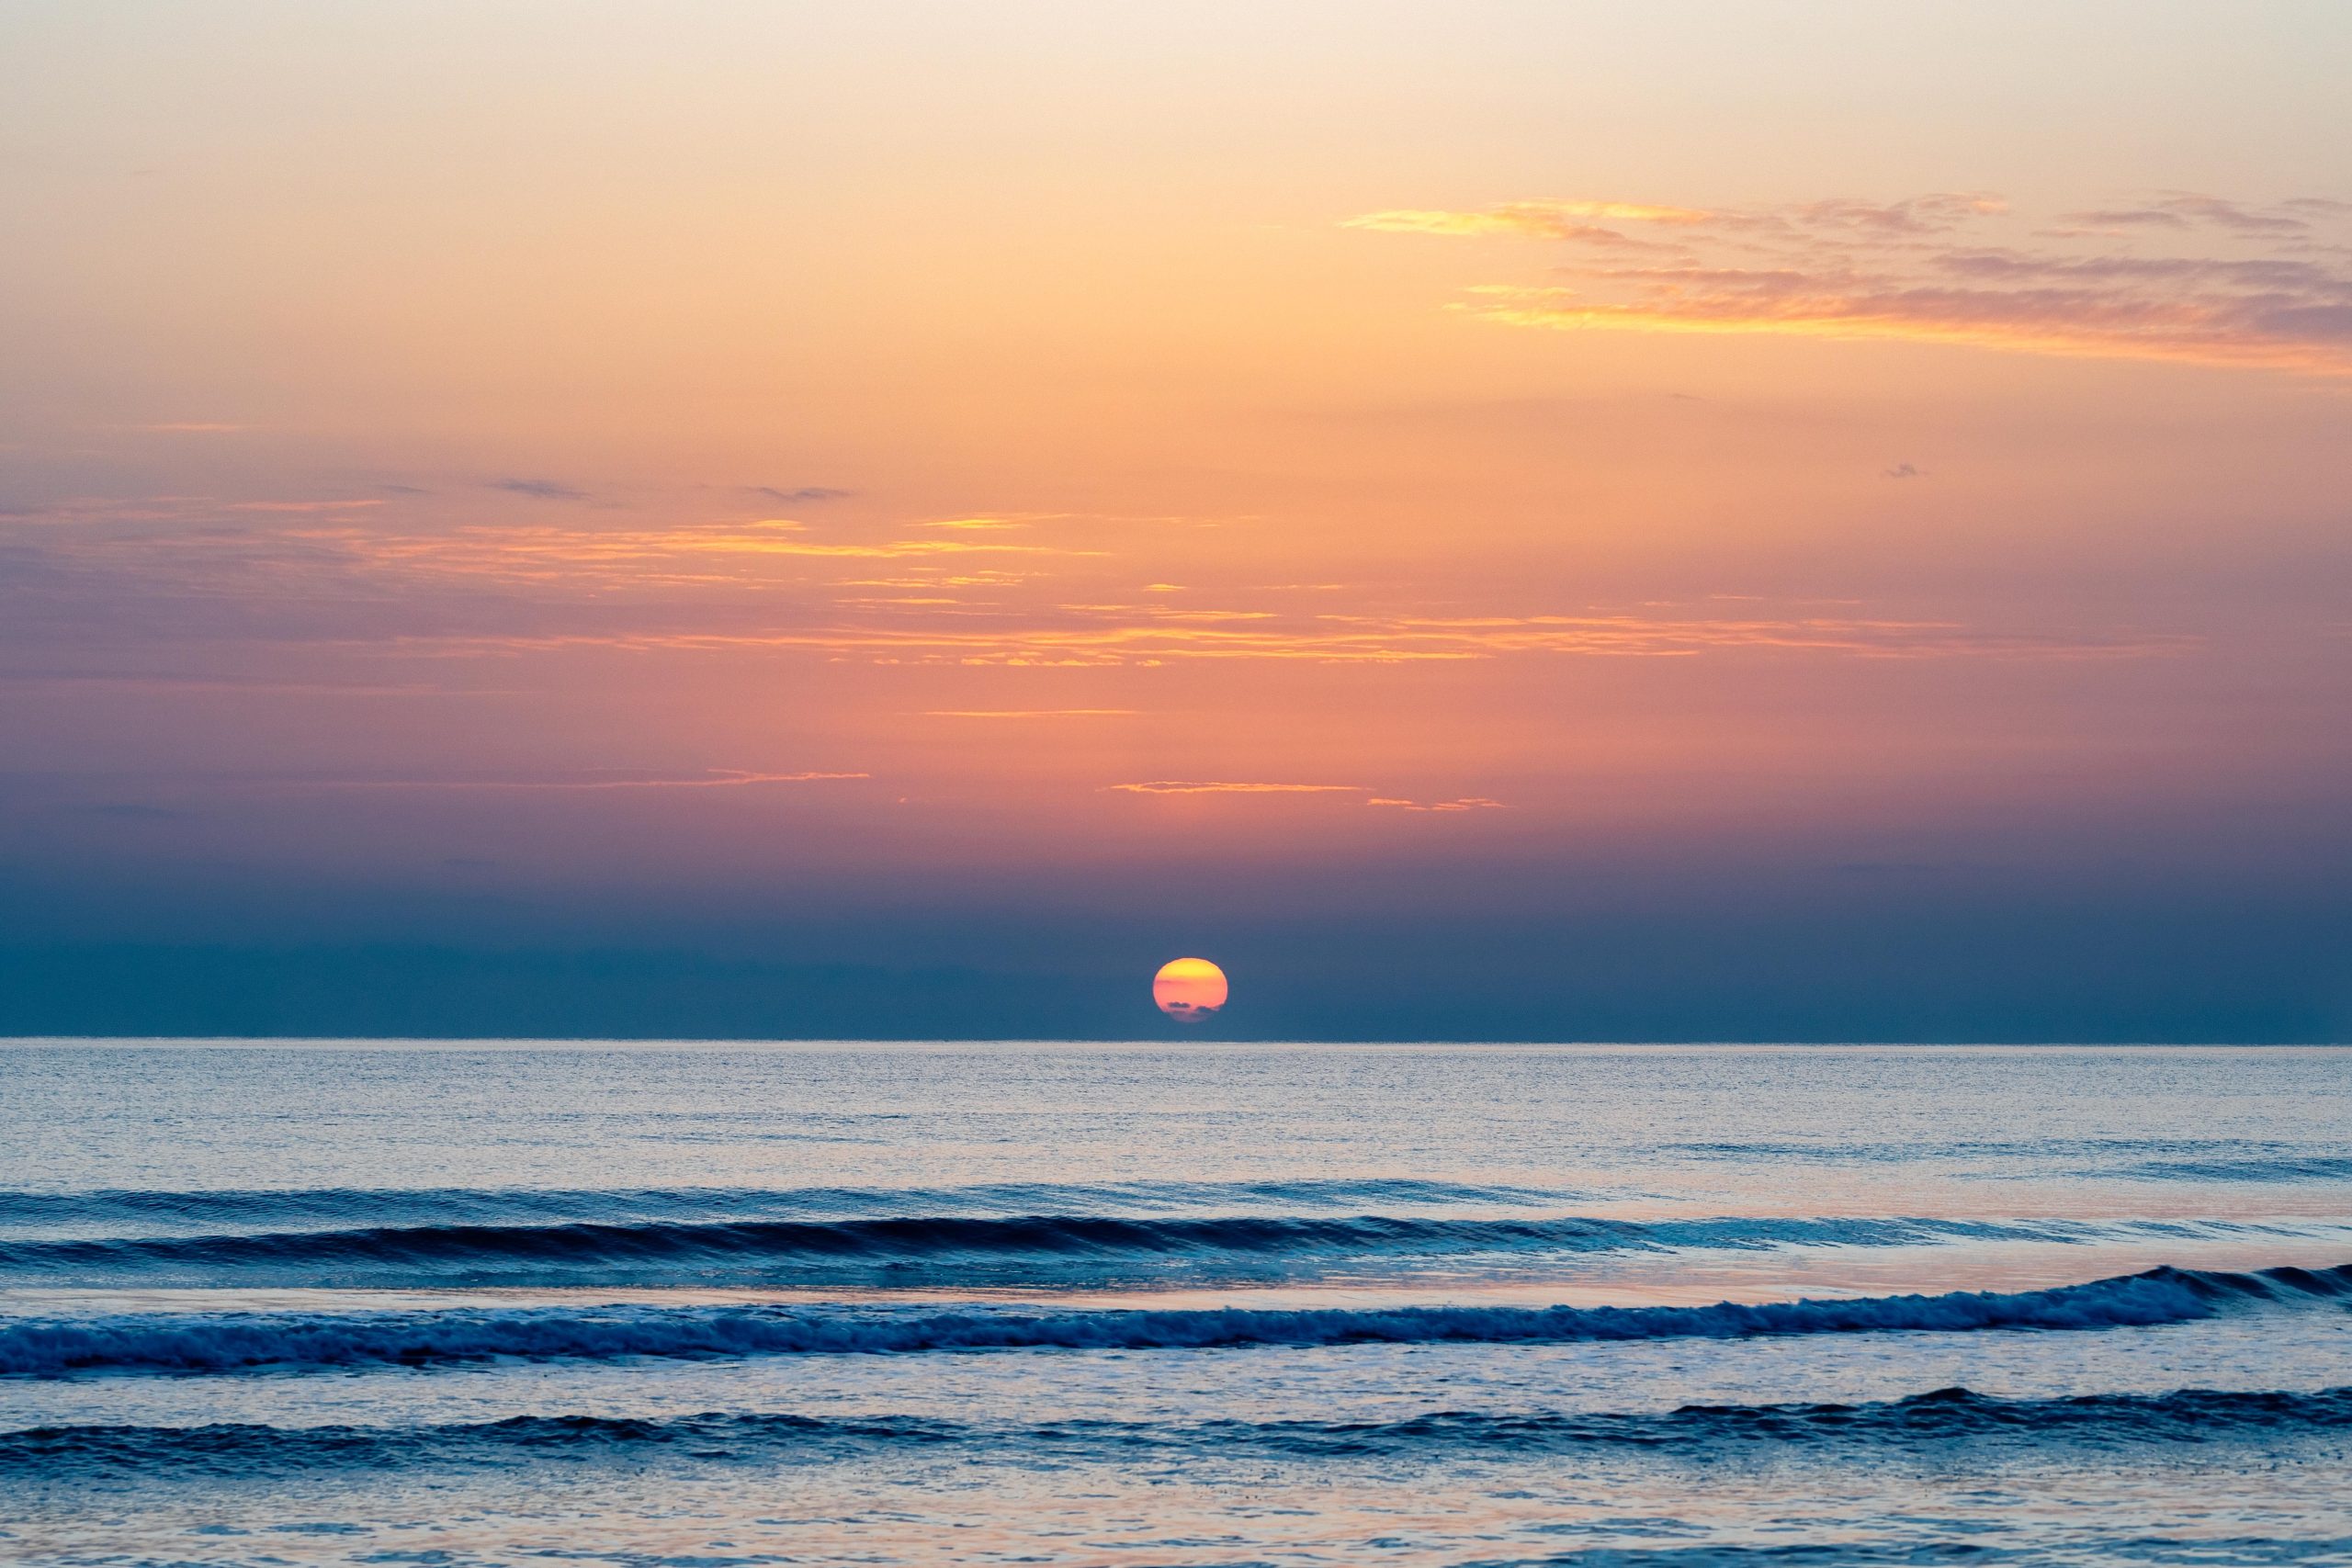
- Minimalist Landscapes: Focused, quiet compositions. Negative space, soft tones, and simple shapes. Often more emotional and abstract.
Getting Started with Landscape Photography
If you’re just starting out, don’t worry, you don’t need a truckload of expensive gear to shoot great landscapes. What matters most is knowing how to use what you have. That said, a few essentials can go a long way:
- Camera: Any camera that lets you shoot in manual mode (DSLR, mirrorless, or even some smartphones)
- Lens: A wide-angle lens is ideal (e.g., 16–35mm), but a kit lens can still do the job. You also might want a telephoto lens for shooting more distant objects, isolating subjects, and creating different compositions.
- Tripod: Crucial for sharp images, long exposures, or low-light conditions
- Filters: Start with a polariser to cut glare and boost skies, and a basic ND filter for long exposures.
- Spare batteries and memory cards: It’s always good to carry spares, especially if shooting in cold or wet conditions.
Pro tip: If you’re on a budget, buy used gear. Landscapes don’t move, so you don’t need the latest kit to start making great images.
How to Find Great Locations (Without Going Around the World)
You don’t have to travel to Iceland or Patagonia to shoot beautiful landscapes (though that’s nice too). Scenic spots are everywhere if you know where to look:
- Use photo apps like PhotoPills or The Photographer’s Ephemeris to scout locations and track light
- Google Earth and Instagram can help you find interesting compositions near you
- Explore local parks, coasts, hills, or urban edges: great landscapes aren’t always far from home
- Return often, the same scene can look totally different in different seasons or light
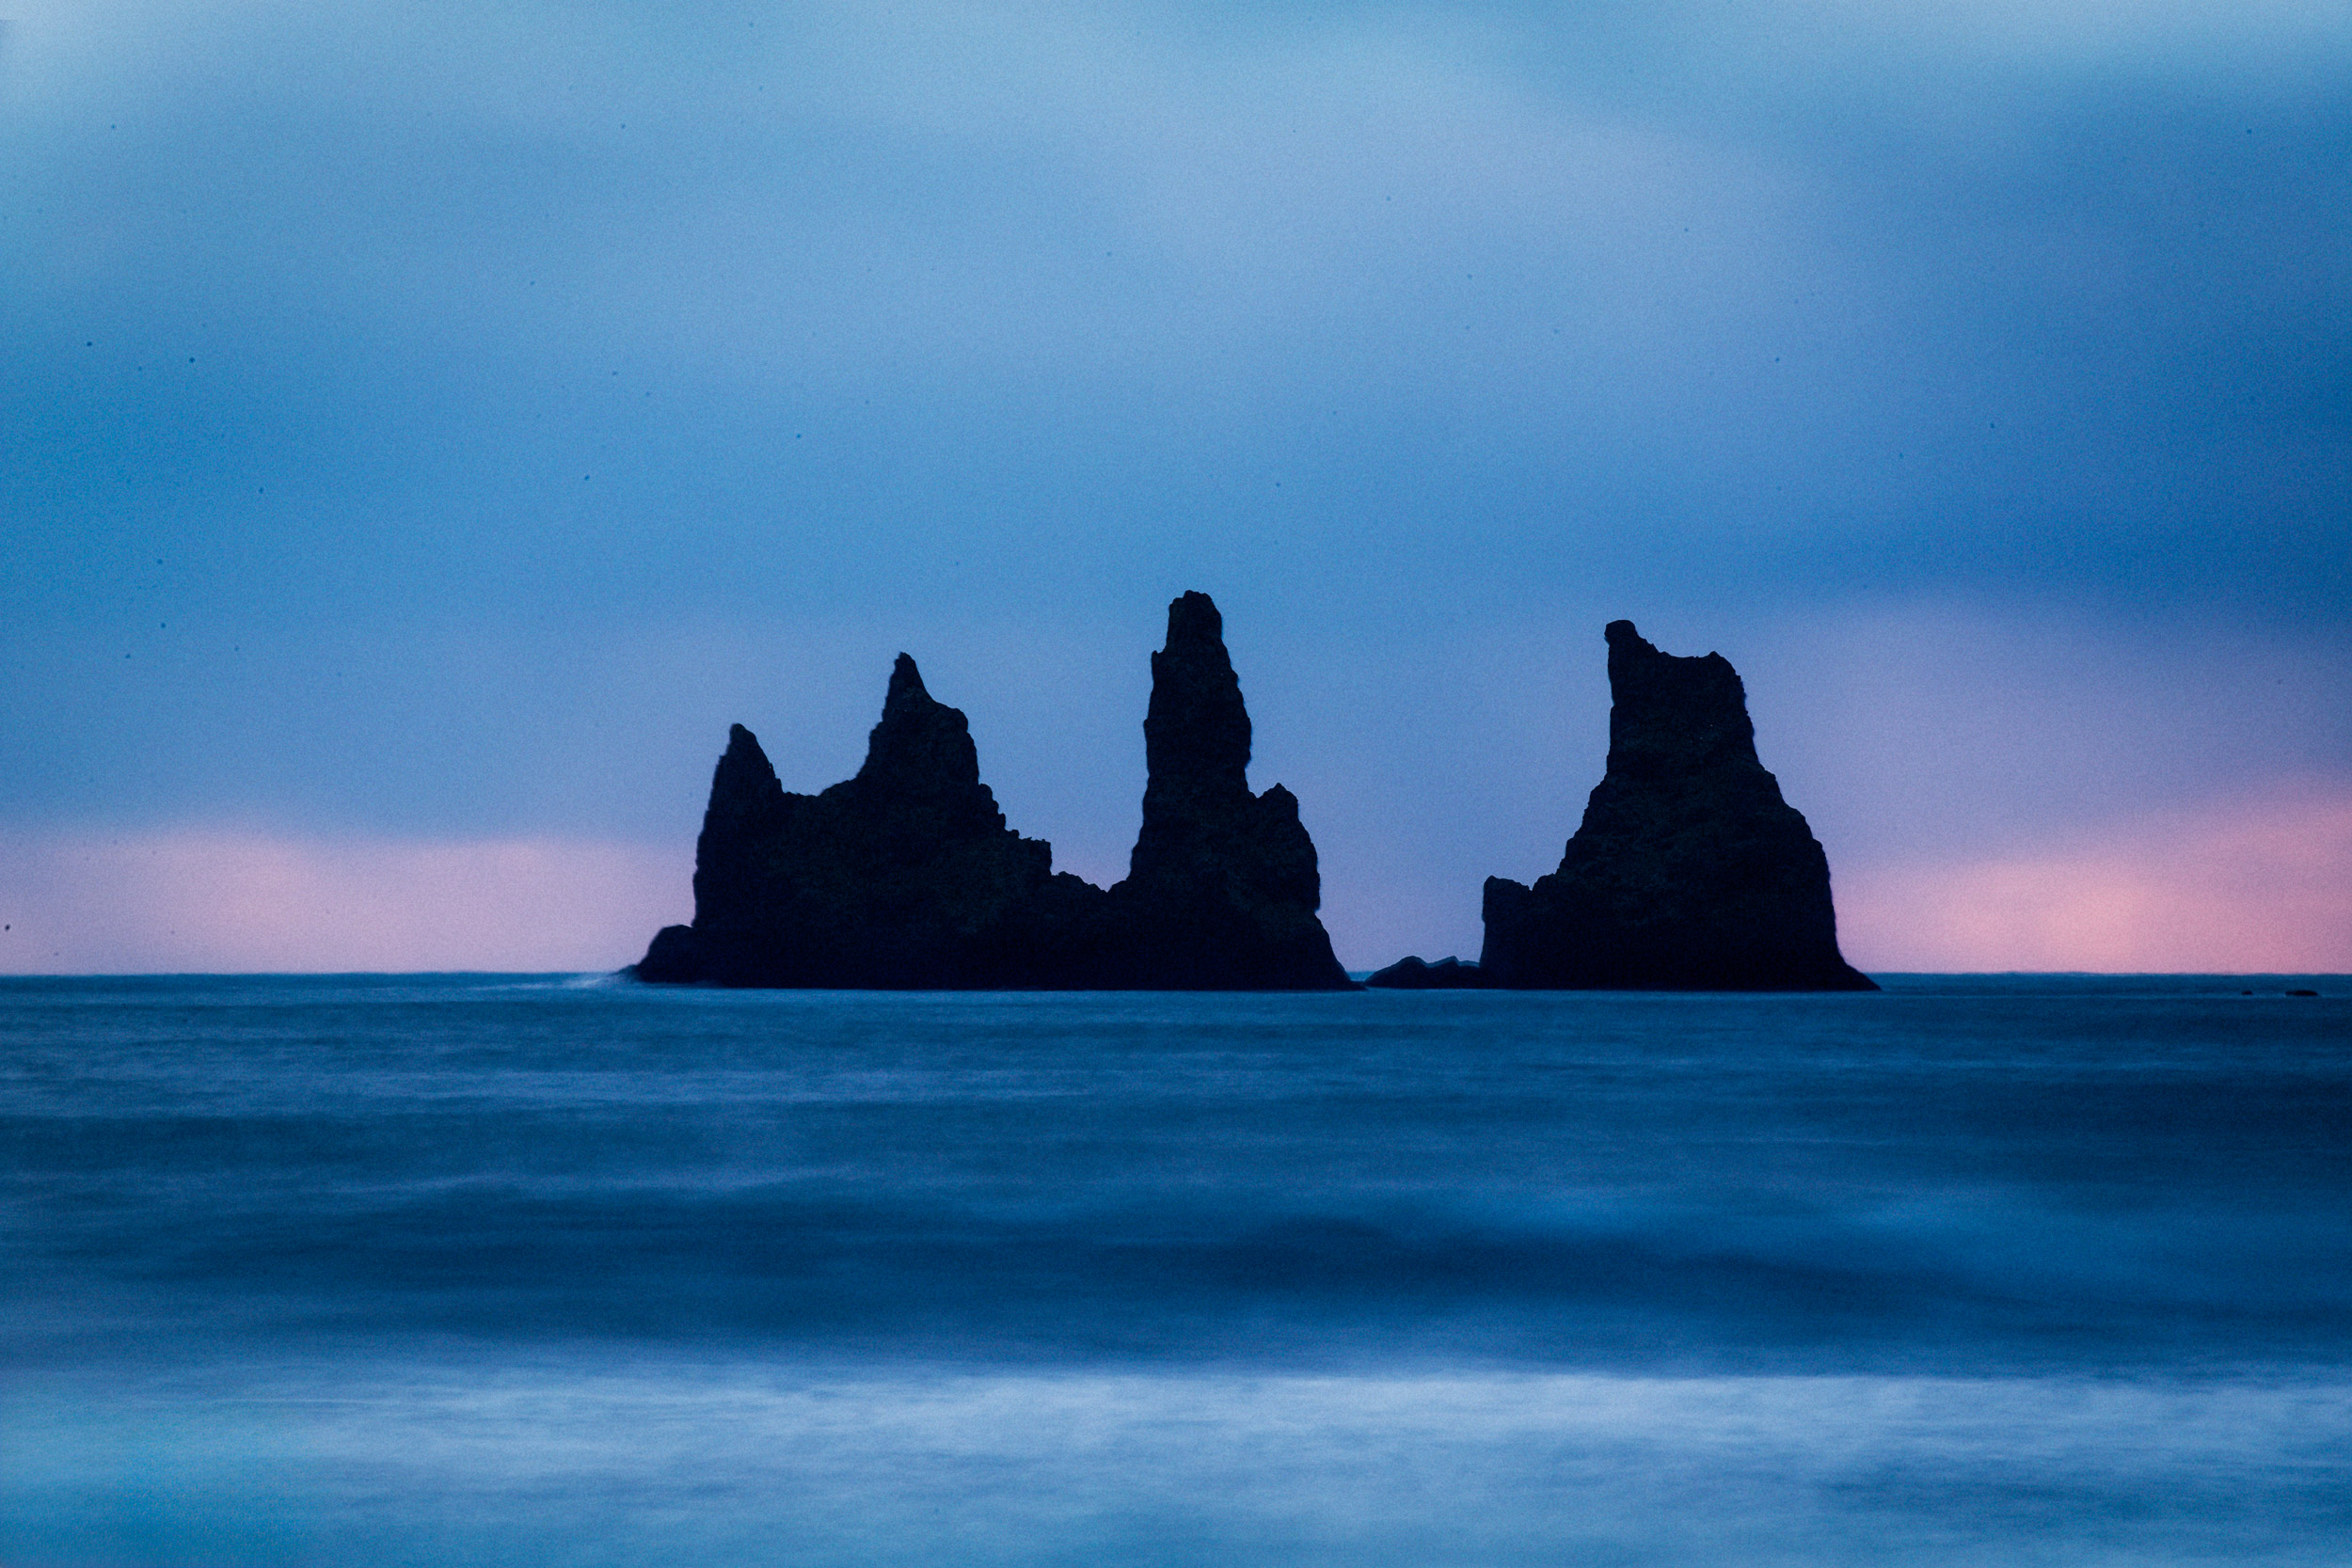
Early morning and late evening (golden hour) are usually the best times to shoot. The light is softer, shadows are longer, and everything looks way more cinematic.
Beginner Mistakes to Watch Out For
Everyone makes mistakes at the start—it’s part of the learning curve. But if you can dodge these common ones, you’ll get better shots a lot faster:
- Shooting at midday: Harsh light flattens your scene; aim for early or late light
- Ignoring the sky: A dull sky can ruin a shot. Wait for clouds or colour. Don’t pack your camera away and head home just because it starts raining. Sometimes, waiting 20 minutes is all you need for conditions to improve.
- Leaving your tripod at home: Even if it’s annoying to carry, you’ll want it
- Over-editing: Boosting colours too much can make a shot look fake fast
- Rushing the shot: Great landscapes often take patience (and a few hours of waiting)
- Taking unnecessary risks: No photograph is worth risking your life for. Never go into the wilderness alone, carry a map and GPS, and tell someone where you’ll be and what time you expect to return. Take emergency equipment and clothing suitable for the time of year, weather and terrain.
Start simple, shoot often, and don’t worry about perfection. The more time you spend in the field, the more your eye (and your images) will improve.
Choosing the Right Gear for Landscape Photography
You don’t need the most expensive kit on the market to take great landscape photos, but having the right gear can make a big difference. Landscape photography often means dealing with changing light, tricky weather, and long hikes, so your equipment needs to be up for the job.
Cameras: DSLR, Mirrorless, or Even Your Phone
Each camera type has its pros and cons, but all can be used for landscape photography:
- DSLRs are rugged and reliable with great battery life. They are still a solid choice, especially if you already have a lens collection.
- Mirrorless cameras are lighter, more compact, and packed with features like electronic viewfinders and in-body stabilisation. They are ideal for hikers and travellers and often have built-in intervalometers, which cuts down on extra gear.
- Smartphones are seriously underrated. Newer models (especially with wide-angle lenses and RAW support) can produce impressive landscape shots, perfect for scouting or casual shoots.
The best camera is the one you’ll actually carry!
[Read more: https://www.diyphotography.net/what-gear-do-you-really-need-for-landscape-photography/]
Lenses: It’s Not Just About Going As Wide As Possible
While wide-angle lenses are the go-to for landscapes, don’t ignore the creative power of other focal lengths. You might want to consider a couple of zoom lenses that cover a wide range of focal lengths rather than having to carry multiple prime lenses around and keep having to switch lenses. Changing lenses in windy or cold conditions isn’t easy, especially at night time if you’re doing astrophotography!
- Wide-angle (14–35mm) – Captures the whole scene and adds drama to the sky and foreground. Essential for sweeping vistas.
- Ultra-wide (under 16mm) – Great for exaggerating perspective and capturing tight spaces or massive skies.
- Standard zoom (24–70mm) – A versatile everyday choice, perfect if you want to shoot without constantly swapping lenses.
- Telephoto (70–200mm or more) – Excellent for compressing space, isolating details, or capturing layers of mountains or hills.
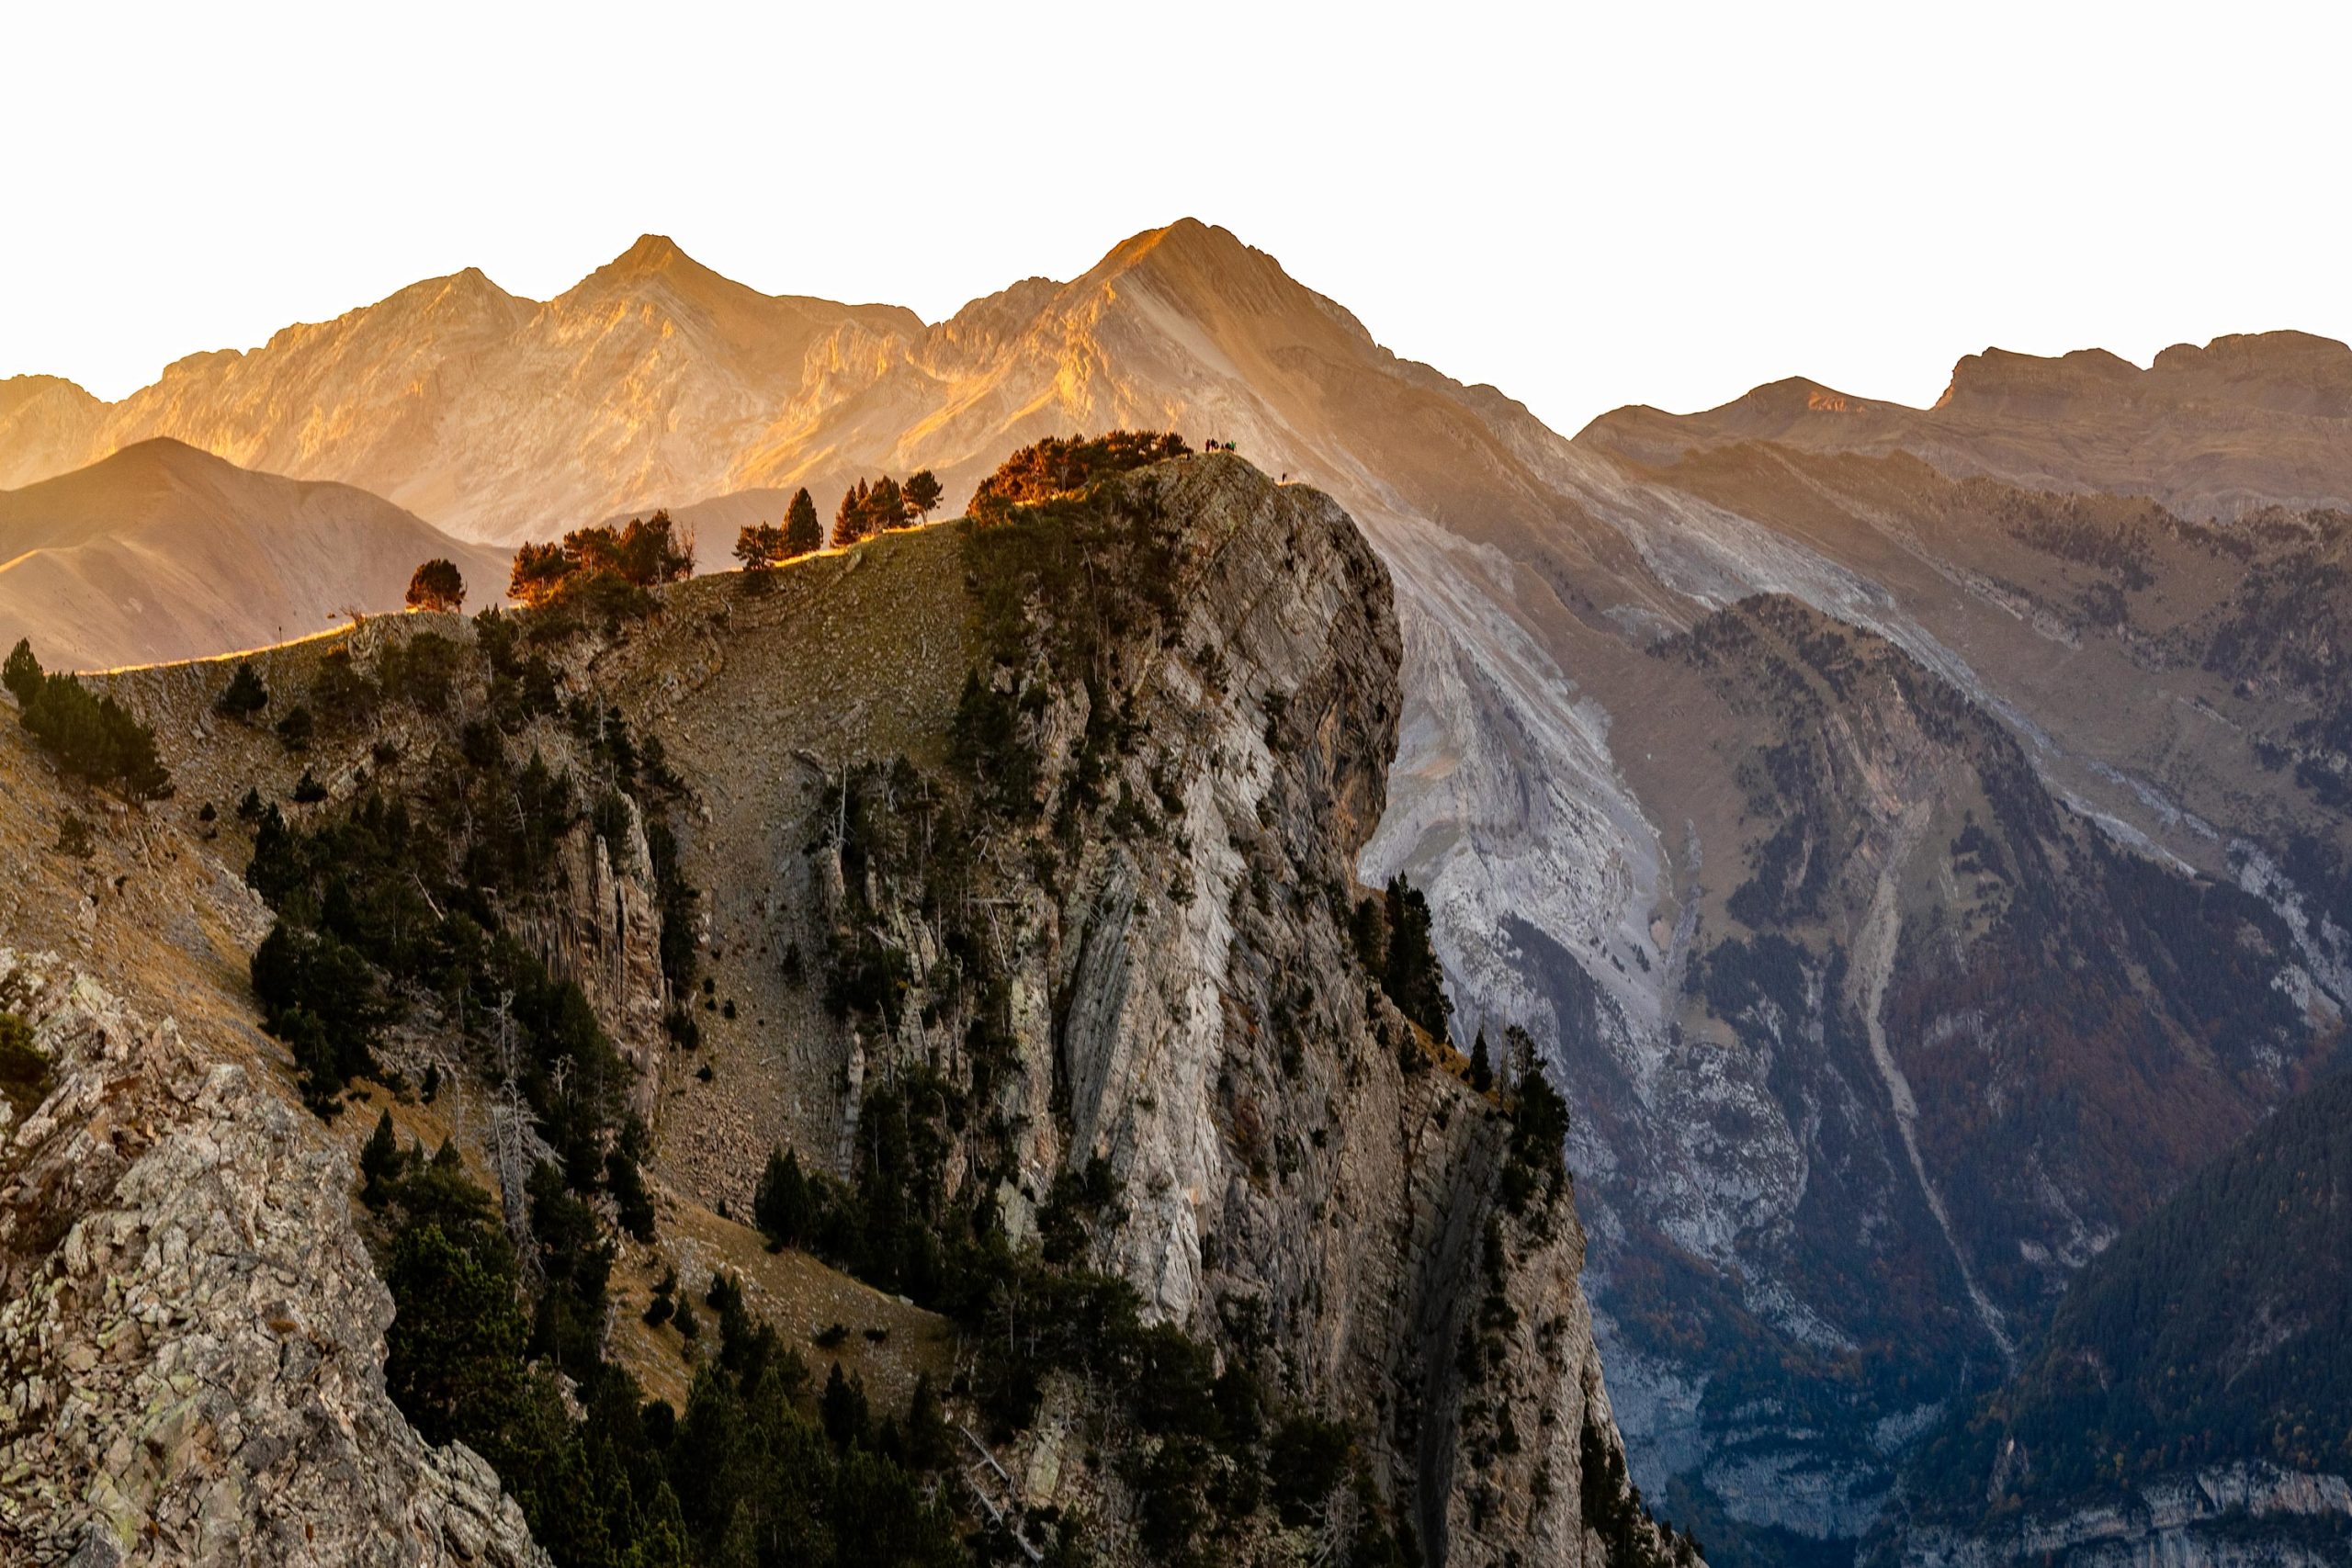
Switching lenses can completely change the way a location looks, so don’t be afraid to experiment.
Essential Extras: Tripods, Filters & More
Once you have the basics down, a few extra key accessories will help take your landscape photography to the next level:
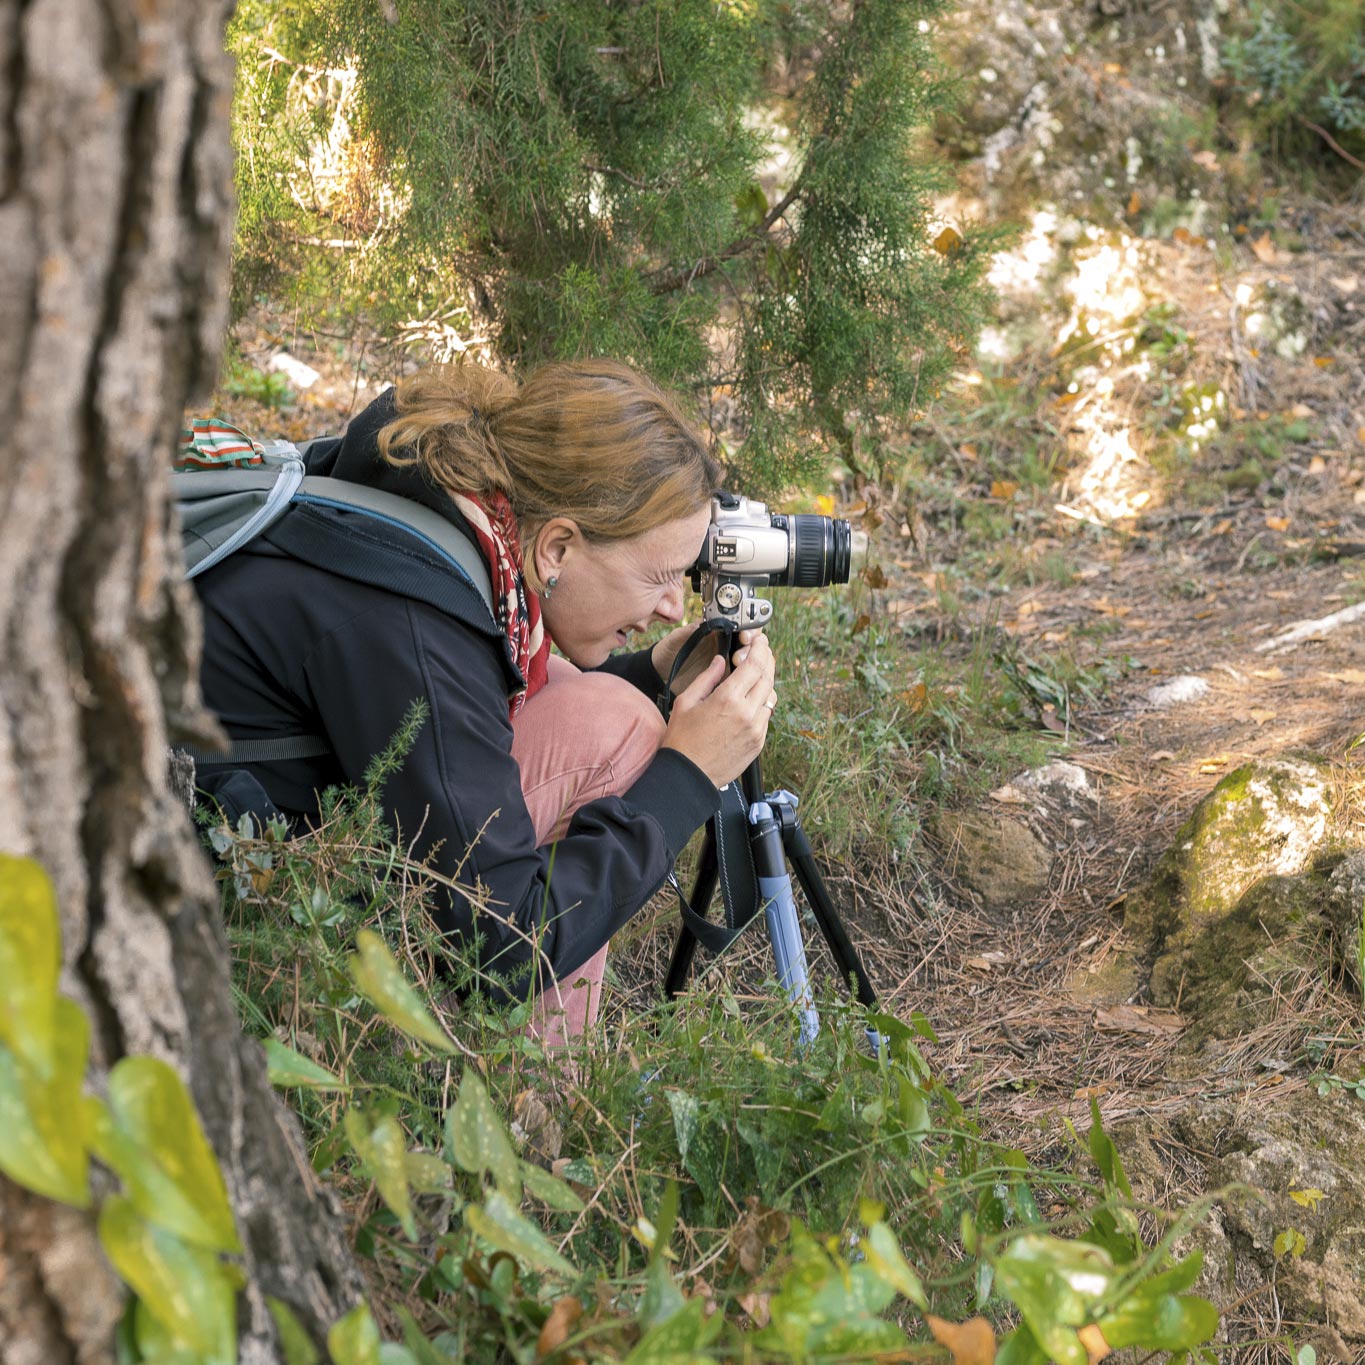
- Tripod – A must-have for sharp shots, especially in low light or for long exposures (sunsets, waterfalls, night skies).
- ND filters – Let you slow down your shutter speed to blur water or clouds, even in bright daylight.
- Polarizing filters – Cut glare, deepen skies, and reduce reflections. One of the first filters worth owning.
- Backpack – Get something weatherproof with padded compartments. You’ll thank yourself after your first uphill hike.
- Remote shutter release (or a 2-second timer) – Helps avoid camera shake when using a tripod.
Bonus tip: Always pack spare batteries, a microfiber cloth, and a lens hood. They’re not glamorous, but they’ll save your shoot more often than you think. After a mishap in Iceland recently, I would also carry a large ziplock bag and silica gel sachet just in case you need to dry out a camera or lens while you’re on the road.
Essential Non-Camera Gear To Take
Once you’ve got your core kit sorted (camera, lens, tripod, filters), it’s time to think about the gear that can really level up your landscape photography experience, especially when you’re venturing off the beaten path. The right tools help you stay safe, scout smarter, and get shots others might miss.
Tech Tools That Make a Big Difference
A few extras can massively improve your shooting workflow and location planning:
- GPS-enabled devices: Great for geotagging your photos, retracing your steps, or marking killer compositions to revisit later. Some higher-end cameras and apps include this by default.
- Smartphone apps: These are gold for planning and reacting to the weather and light:
- PhotoPills – Track sun/moon paths, find Milky Way alignment, and plan compositions down to the minute.
- The Photographer’s Ephemeris (TPE) – See how light hits landscapes in real-world terrain.
- Windy, AccuWeather, or MeteoBlue – Accurate weather forecasts for sunrise missions or avoiding sketchy storms.
- AllTrails or Gaia GPS – Navigate trails, find viewpoints, and stay safe in the wild.
Drones: Know the Local Regulations
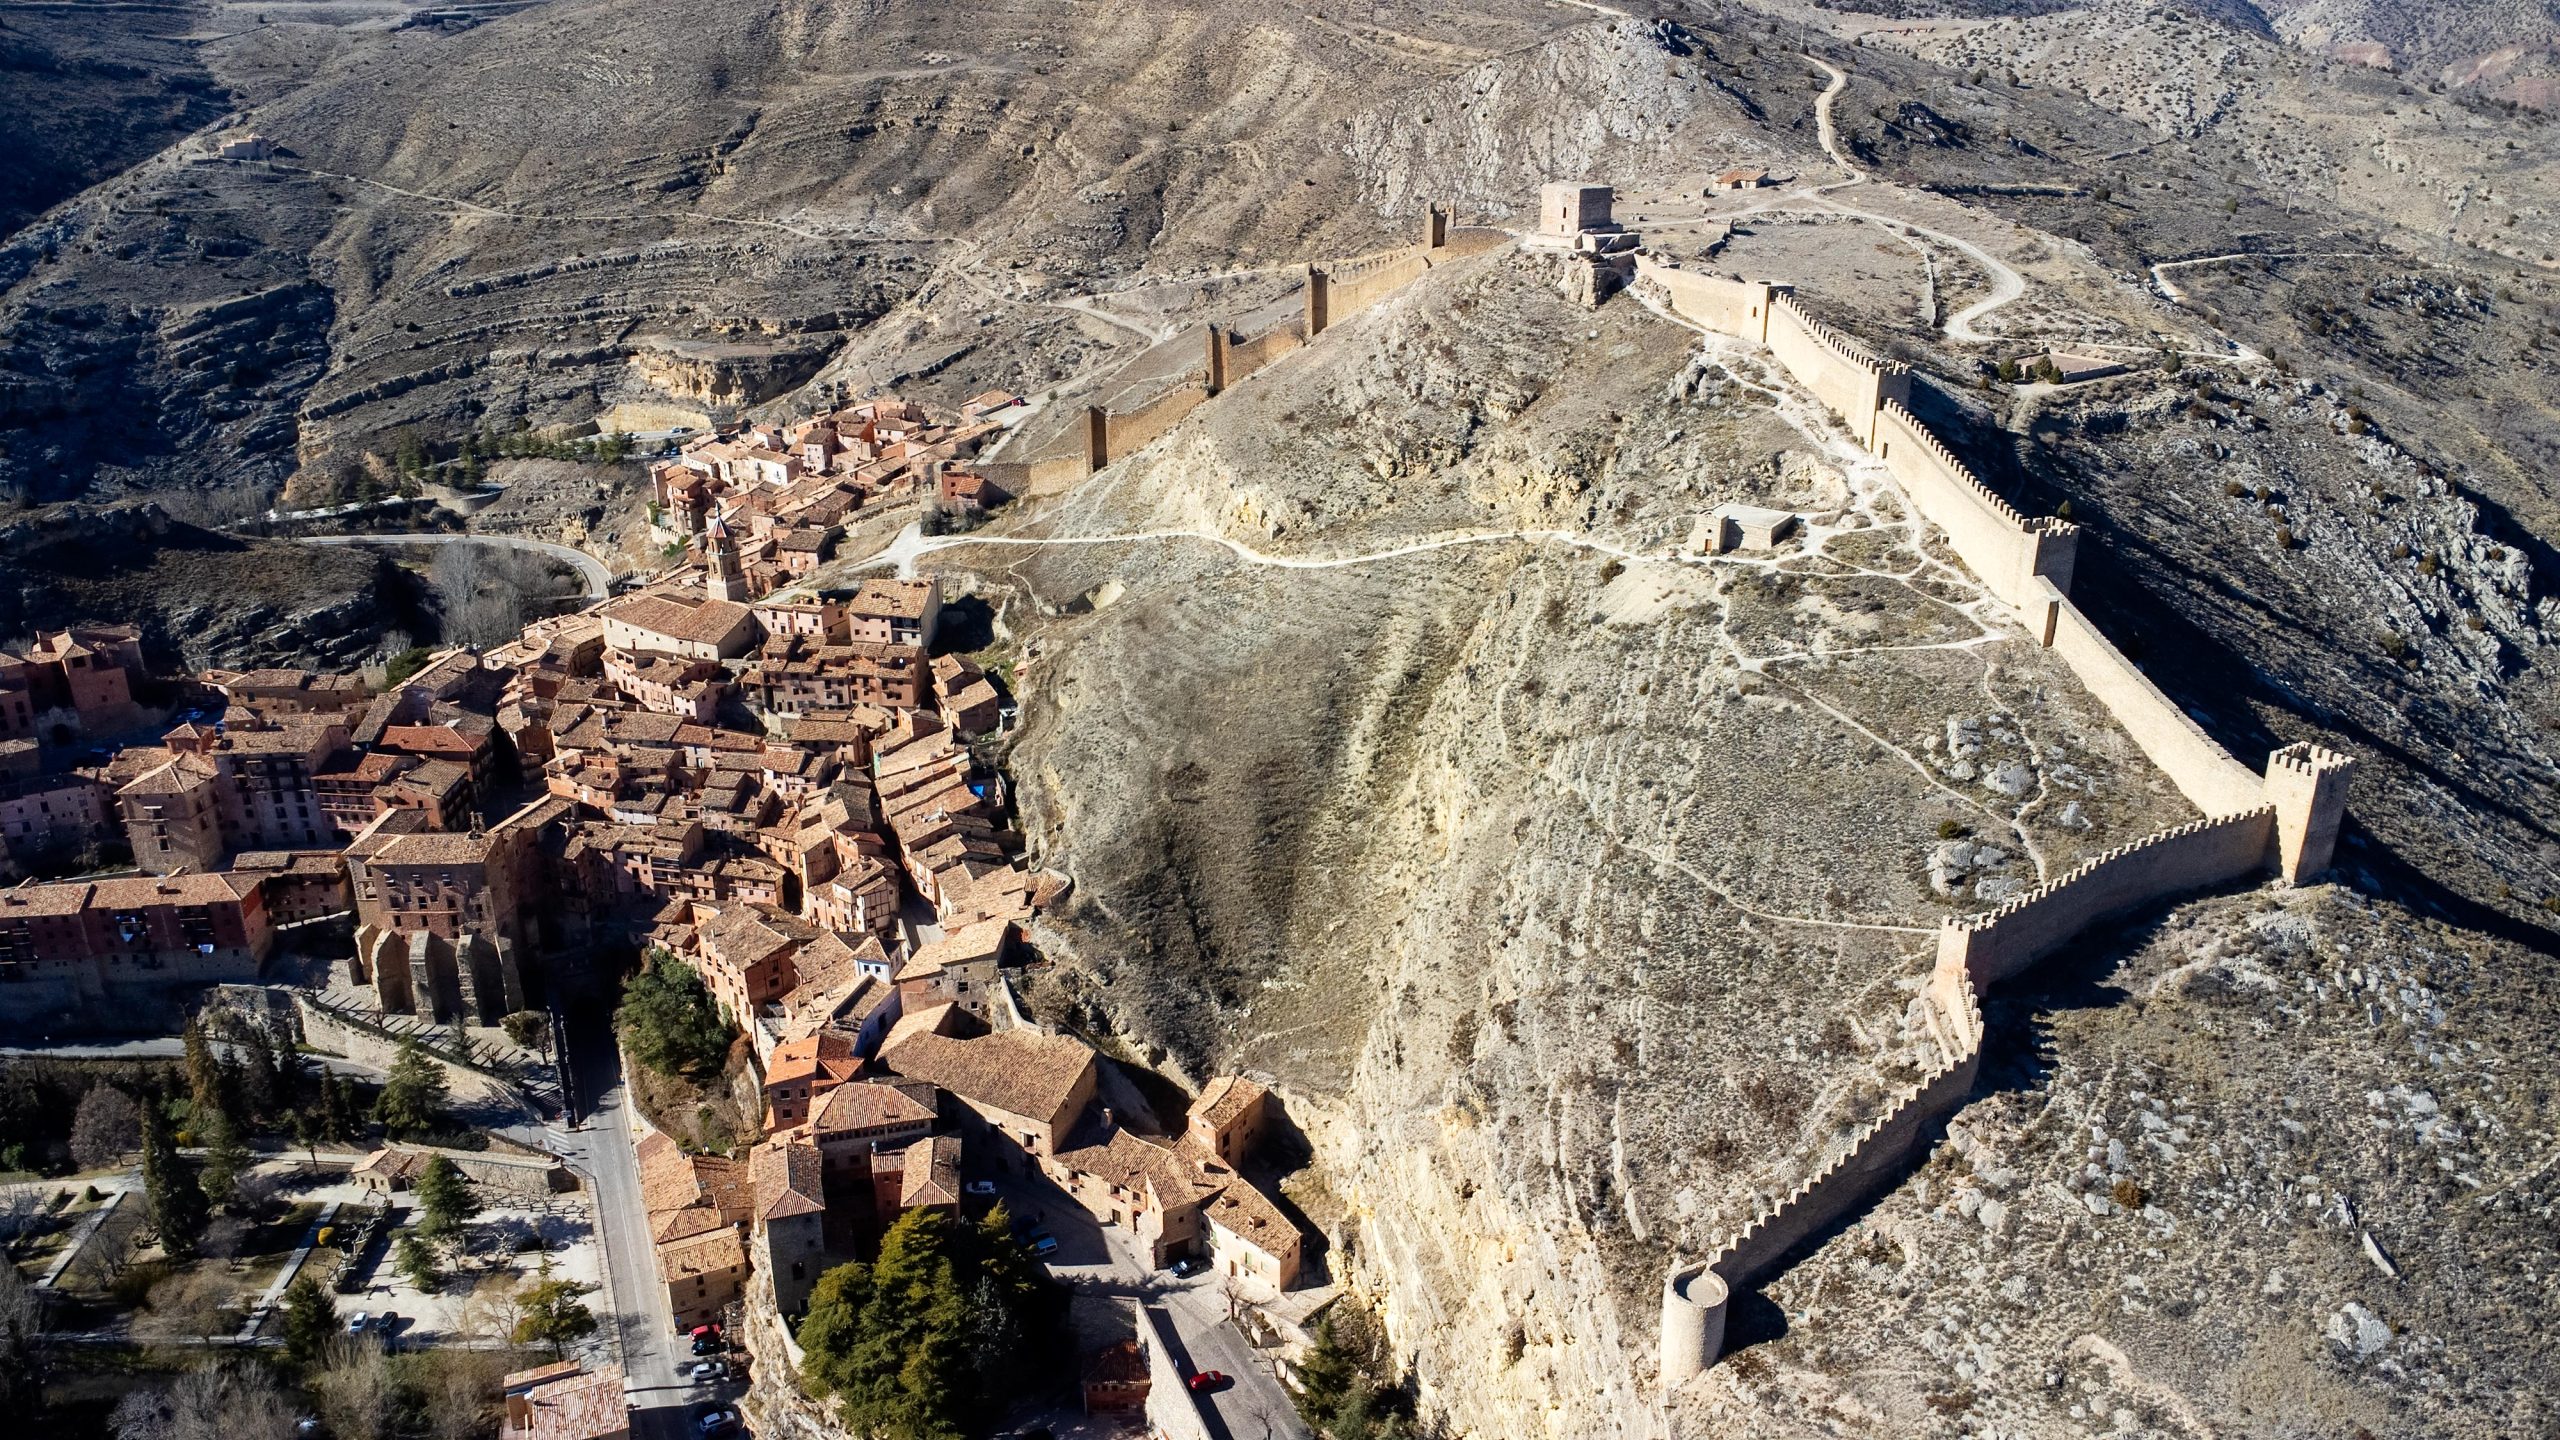
Aerial photography unlocks angles that just aren’t possible from the ground, and it’s a growing part of landscape photography. But there are a few things to know before you launch:
- Choose the right drone: Look for one with a gimbal-stabilised camera, RAW image capture, and solid flight time (like DJI Air or Mavic models).
- Shoot with intention: A drone isn’t just about flying high, it’s about using altitude for strong compositions (leading lines, symmetry, patterns).
- Know the rules: Most countries require registration, flight restrictions, and no-fly zones, especially near national parks, airports, or protected sites. Check local laws before takeoff. Even within Europe, the rules vary wildly between countries. For example, Iceland has few drone restrictions while Spain has incredibly strict rules and expensive fines of up to €200,000.
- Watch the weather: Wind and rain can end your flight (or your drone) fast. Always check the conditions before you fly.
Outdoor Clothing and Safety Gear
If you’re serious about landscape photography, you’ll spend a lot of time outside and often far from your car or cell signal. It’s important to keep yourself safe, warm and dry as much as possible.
- Layered clothing: Stay dry and regulate your temperature. Think moisture-wicking base layers, insulating mid-layers, and a waterproof shell.
- Sturdy boots: You’ll be scrambling, hiking, or walking through mud. Ankle support and grip matter.
- Headlamp or flashlight: You’ll often be out before sunrise or after sunset. Don’t rely on your phone torch.
- First-aid kit: Compact and essential. Bonus: throw in some blister pads and paracord.
- Power bank: Your phone is your GPS, weather tracker, and sometimes camera. Keep it charged.
- Snacks + water: Because hangry photographers don’t make great creative decisions.
- Paper map: We are very dependent on digital apps for navigation these days, however, you don’t have to go far off the beaten track to lose signal. It’s always a good idea to have a paper map as a back up just in case (and know how to read it!).
Optional but awesome: trekking poles, a sit pad, microspikes for icy trails, or Sunscreen and insect repellent for summer shoots.
Ethics and Environmental Responsibility
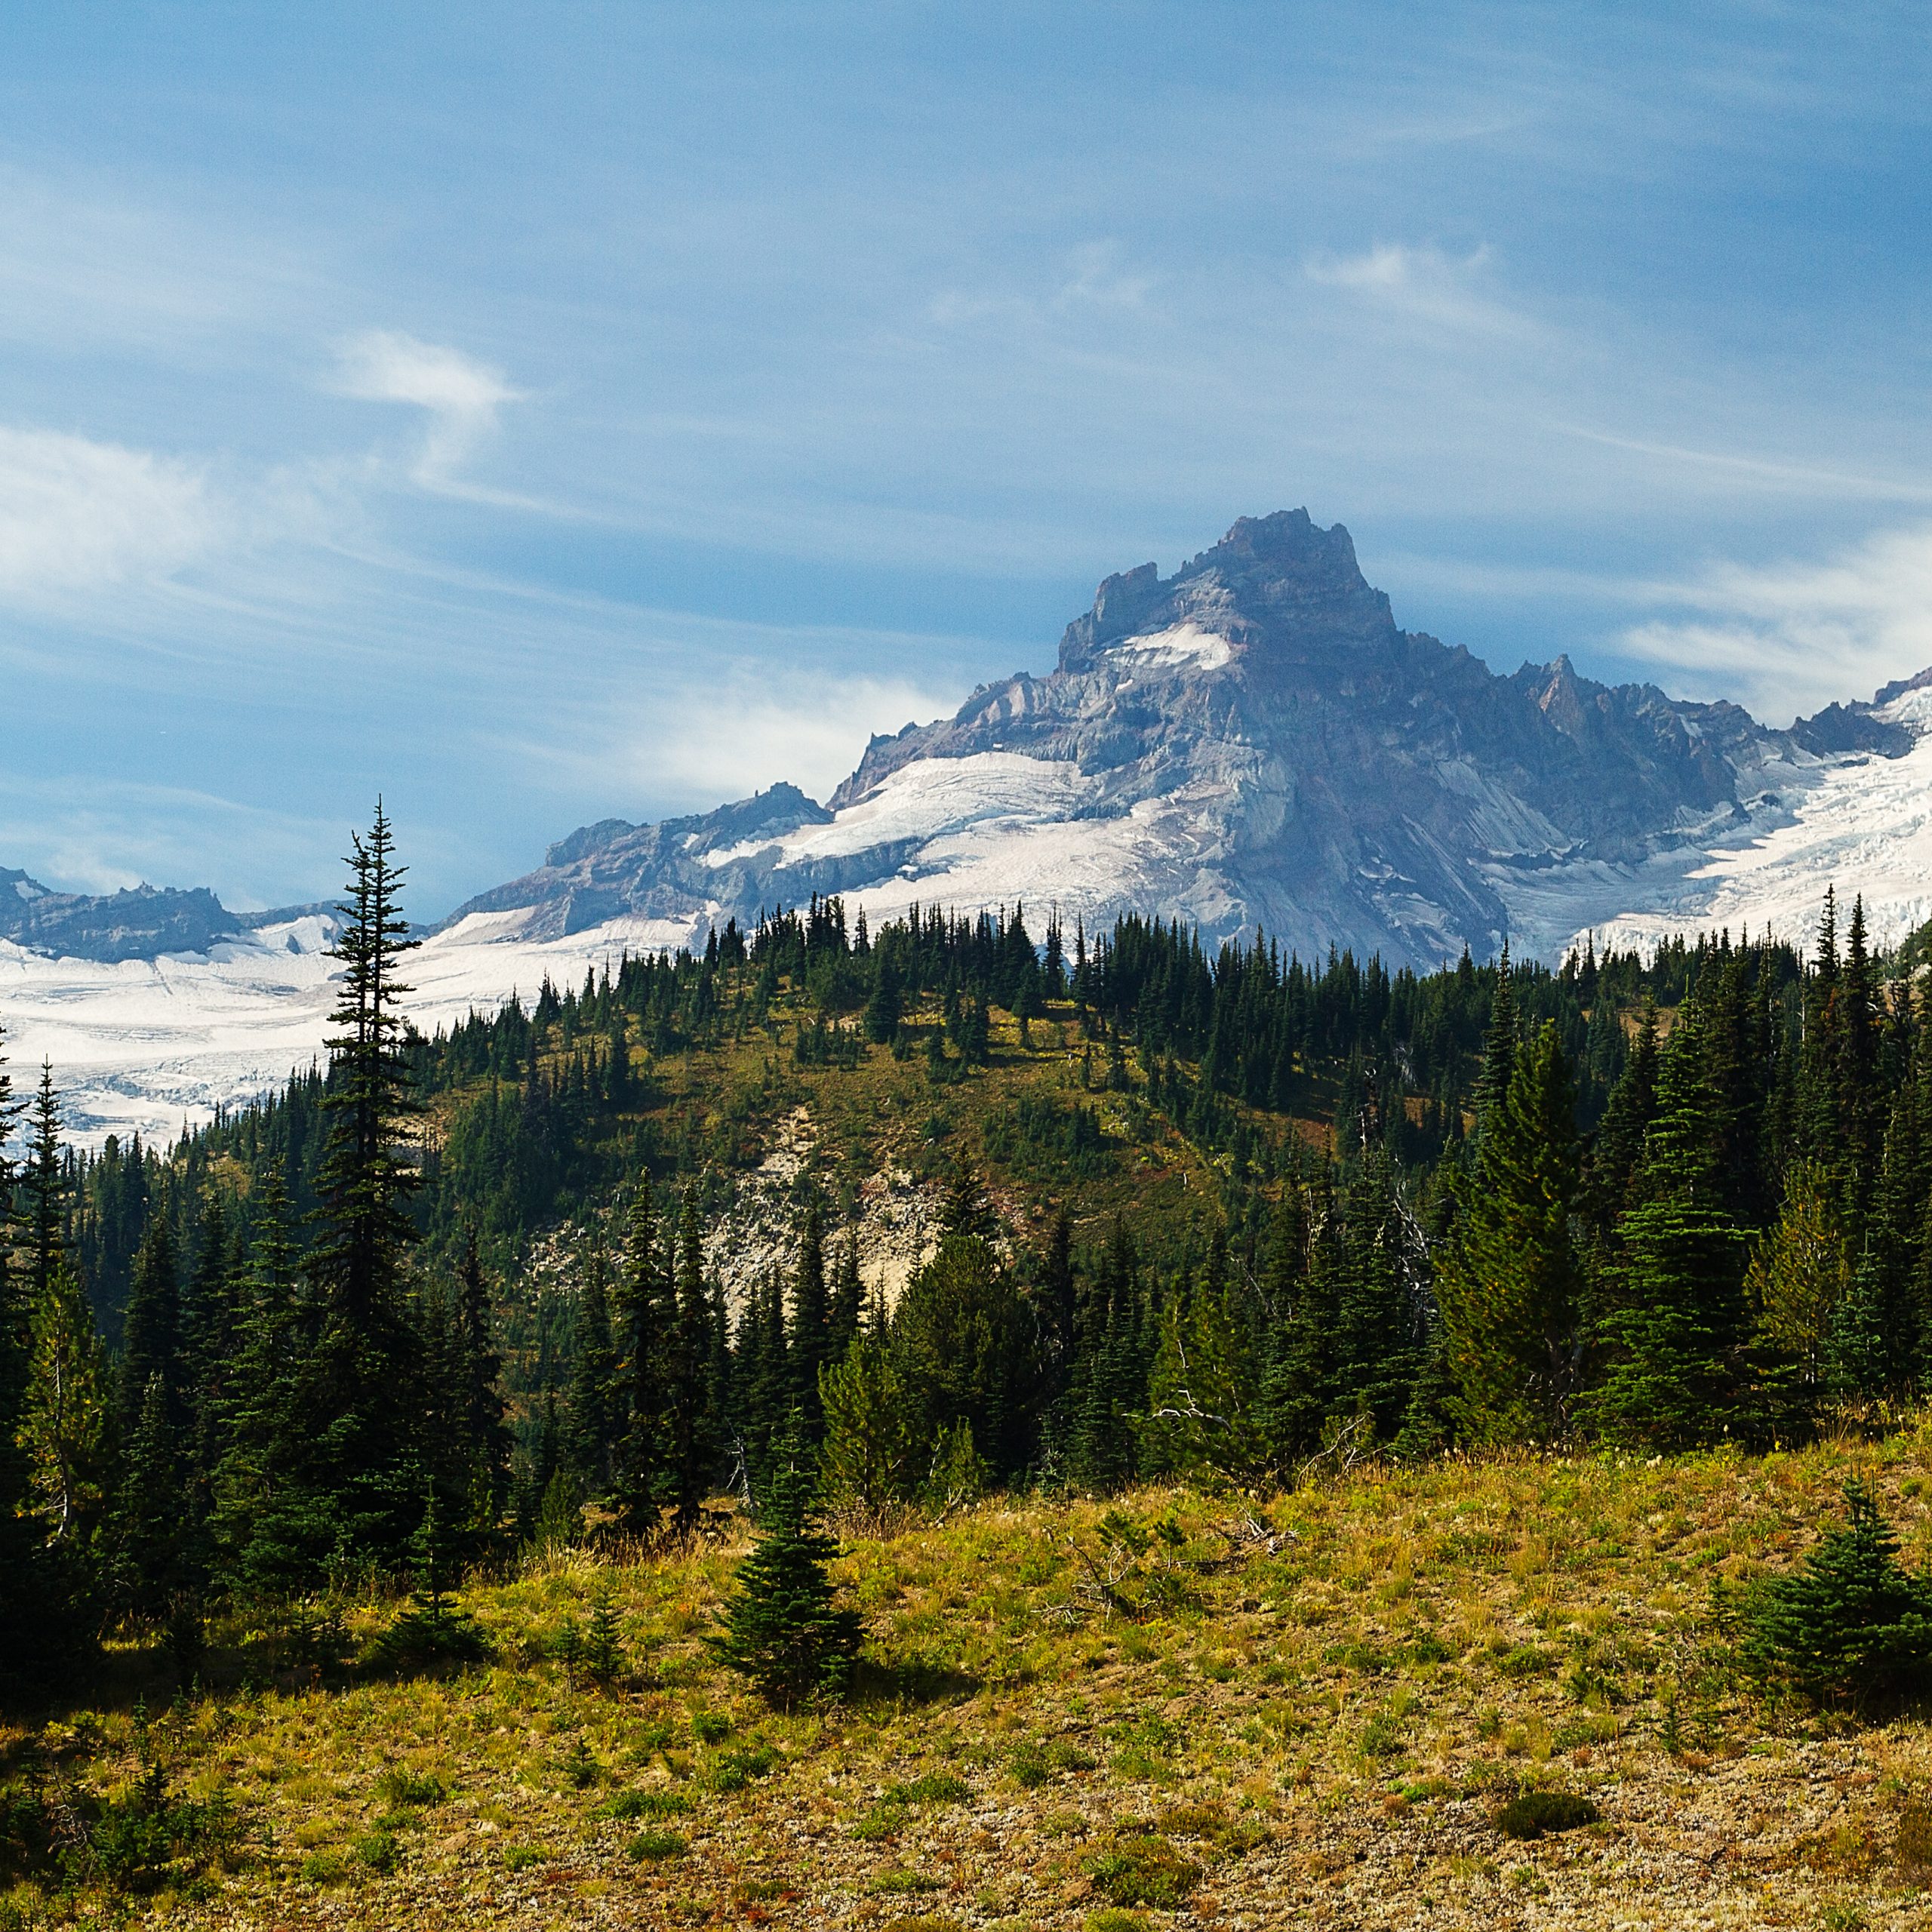
Landscape photographers have a front-row seat to some of the world’s most incredible places. But with that privilege comes a responsibility: to leave those places better than we found them.
Stick to the Leave No Trace Principles
The Leave No Trace philosophy isn’t just for hardcore hikers, it’s a mindset every photographer should adopt. Here’s the short version:
- Stay on marked trails: Shortcutting or trampling fragile terrain can destroy plants or cause erosion. It can even be fatal in some places, such as Yellowstone National Park.
- Pack it in, pack it out: No one wants to clone out your protein bar wrapper in post.
- Respect wildlife: Don’t bait animals or get too close for “the shot.” Use a telephoto instead.
- Leave what you find: That wildflower or cool rock? Better to photograph it than pocket it.
- Minimise campfire and noise impact: Keep things peaceful for other visitors and the local wildlife. And be careful of starting campfires, many drier places have fire bans during the summer months because of wild fire risk.
Respect Protected Areas and Private Land
We get it, fences can ruin a composition, and that perfect shot might be just beyond a “No Trespassing” sign. But crossing the line (literally) isn’t worth it:
- Always research access rules before heading out. Some spots may look public but are actually on private or indigenous land.
- Use legal and marked access routes, especially in national parks, nature reserves, or conservation areas.
- If you’re not sure? Don’t go. Instead, look for nearby public land or trails that offer a similar view.
And when you do get permission to shoot on private land be grateful, respectful, and maybe even send a photo as a thank-you. Photography is all about building relationships, even landscape photography.
Drone Ethics: Don’t Be That Pilot
Drones are awesome for landscape photography, but they’re also super easy to misuse. A few key rules of thumb:
- Respect no-fly zones: That includes national parks in many countries, as well as areas with sensitive wildlife.
- Don’t fly over people or wildlife: It’s loud, invasive, and can cause real harm (especially during nesting or mating seasons).
- Keep it low-key – No buzzing hikers or ruining the silence at sunrise. Think of your drone like a guest at a wedding: stay discreet, be respectful, and don’t hog the spotlight.
Remember: if drone users ruin the experience for others, restrictions get tighter for all of us.
How to Plan a Landscape Photography Shoot
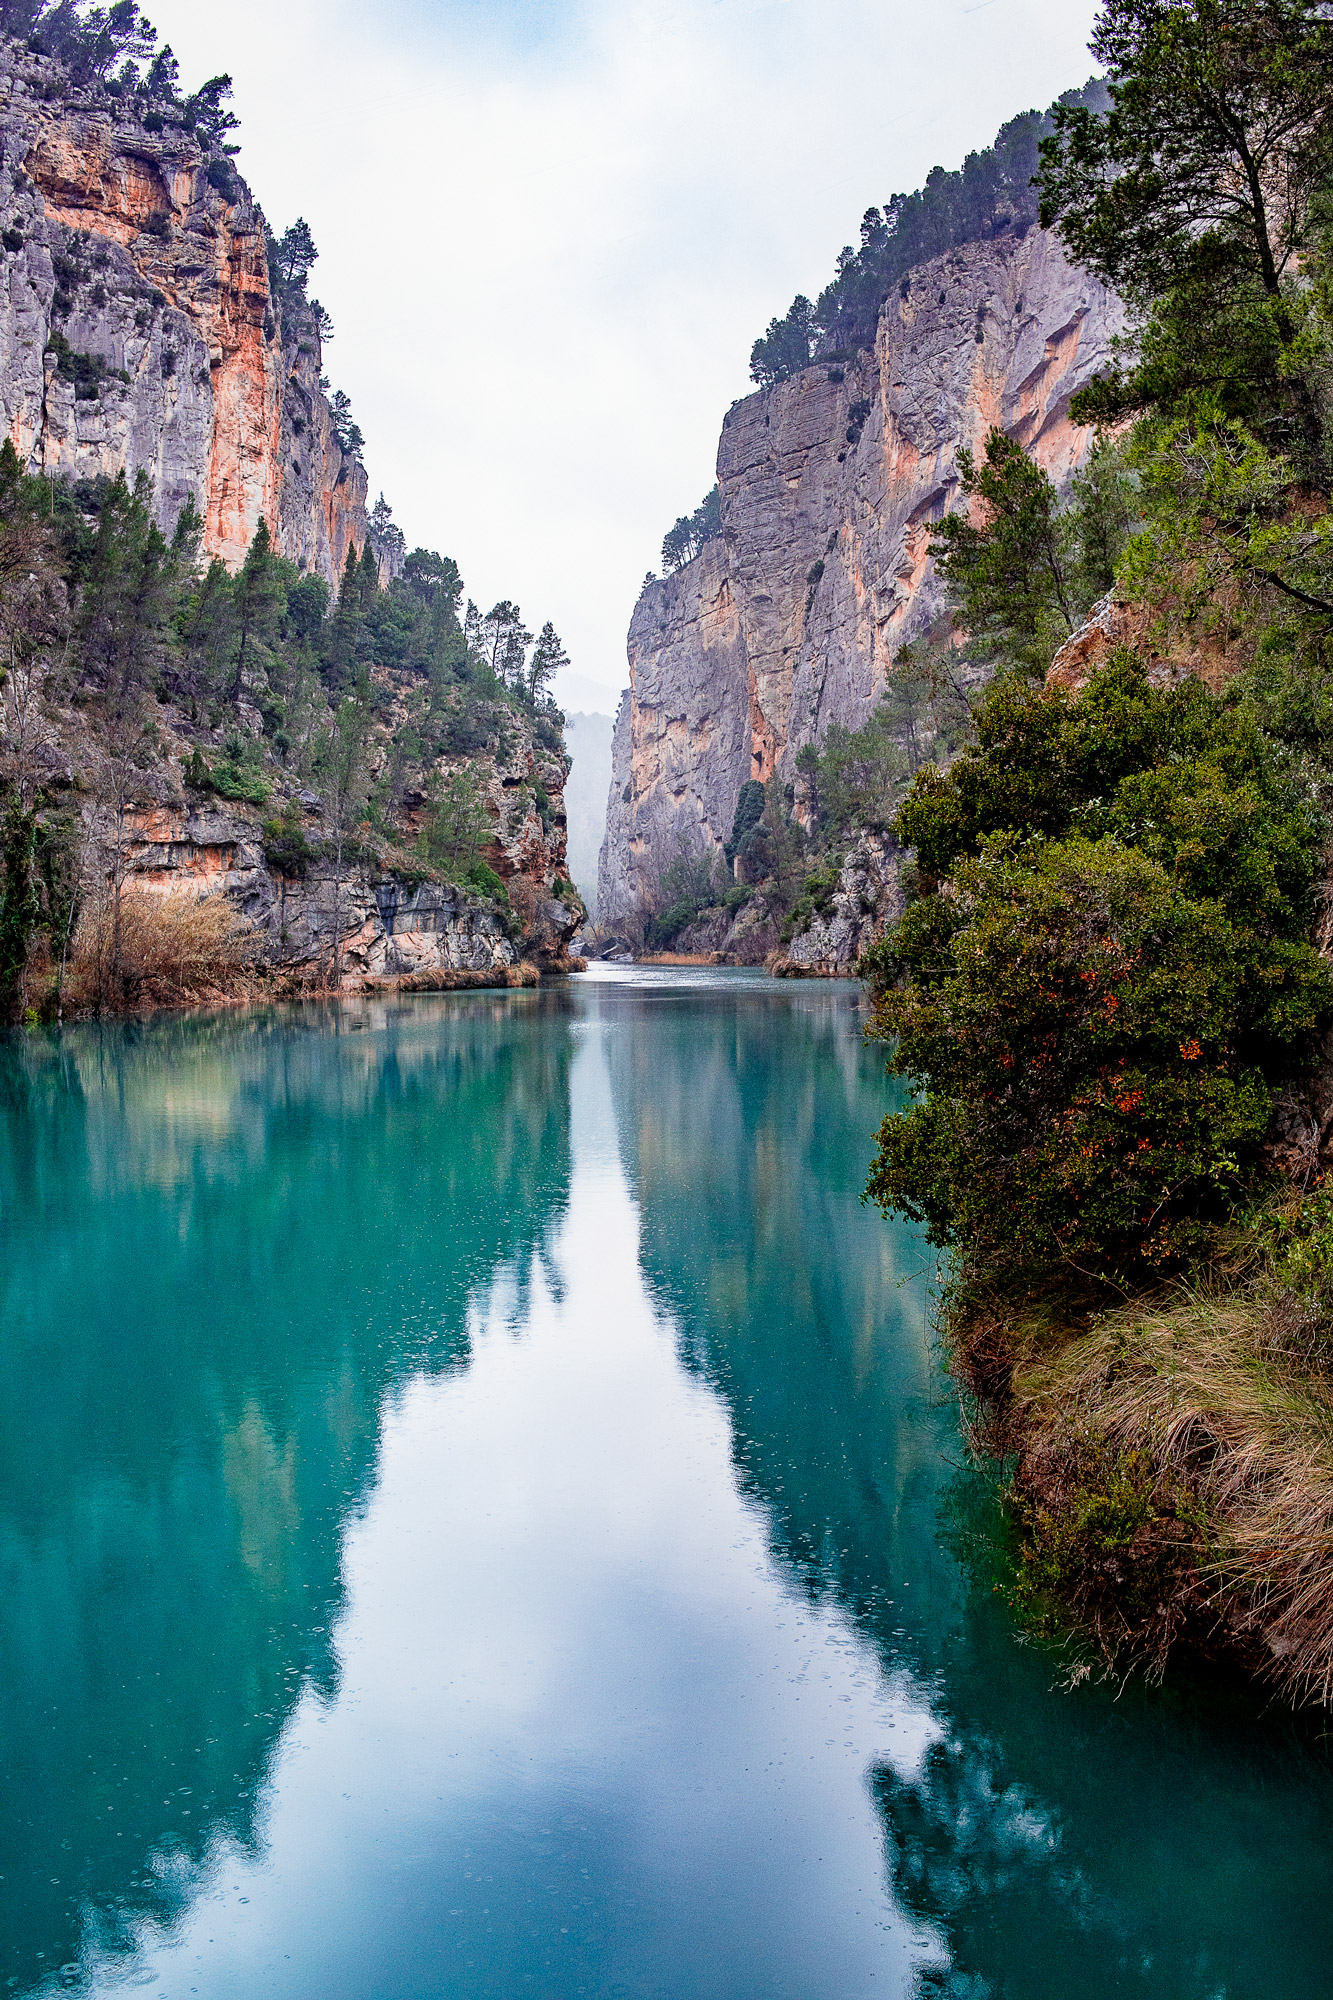
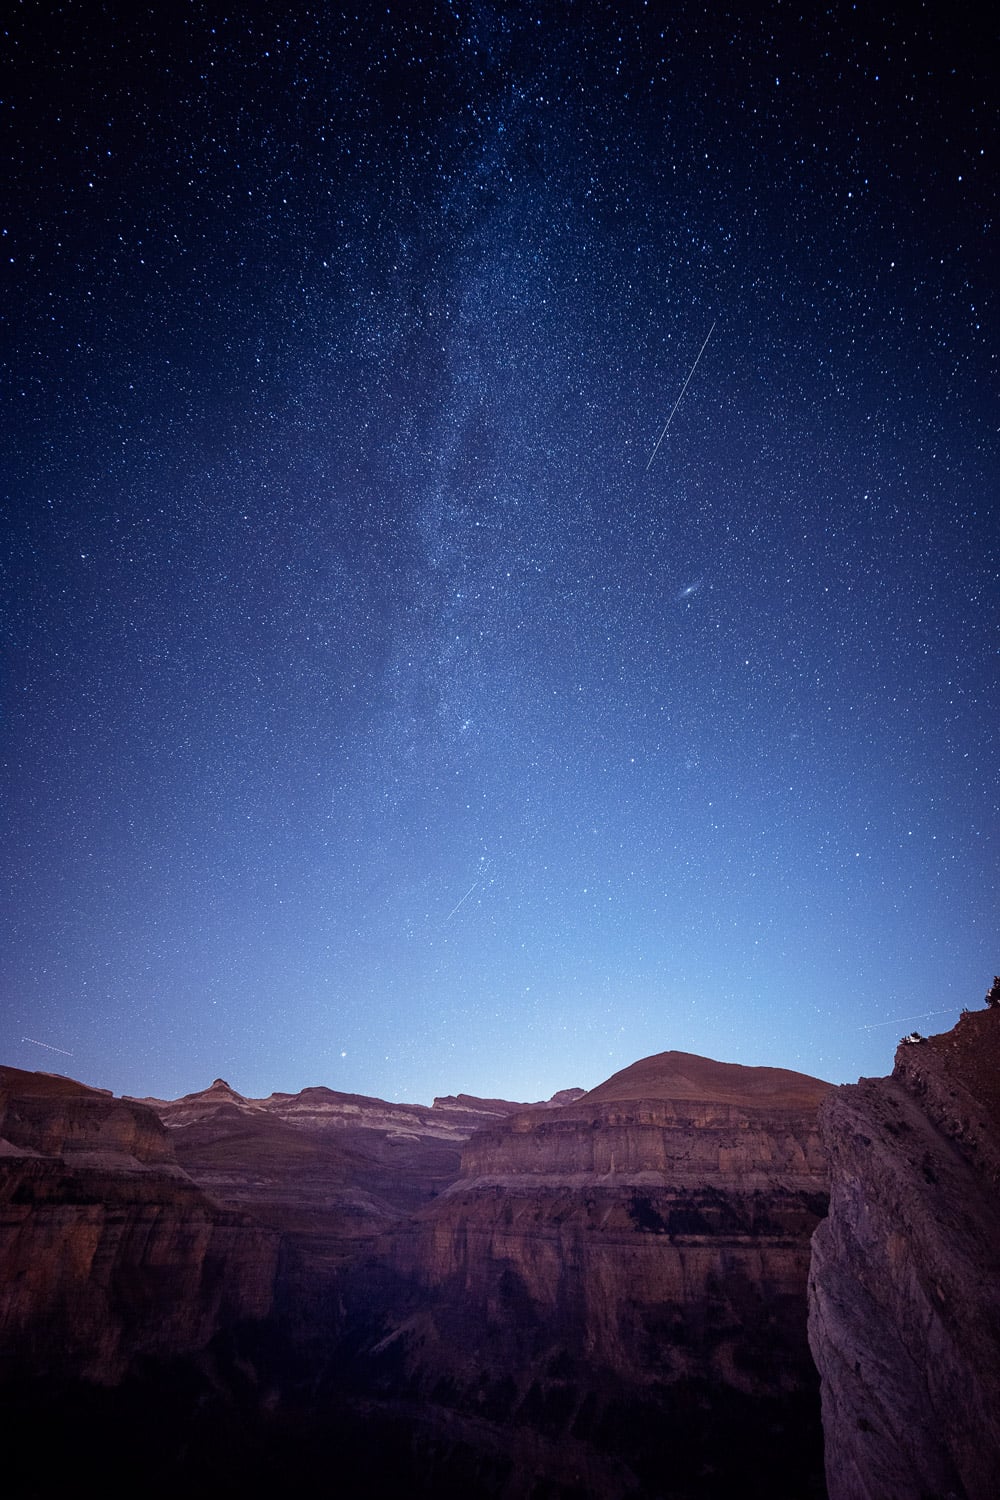
Great landscape photos don’t just happen by luck. Behind every stunning sunrise or perfectly lit mountain shot is a bit of smart planning, a few handy tools, and some good old-fashioned patience. The magic of landscape photography often lies in being in the right place at the right time, and that takes intention. The better your plan, the more creative freedom you’ll have once you’re on location. Remember: Failing to plan is planning to fail.
Scout Locations
- Google Earth / Maps: This tool gives you a bird’s eye view of terrain, access routes, and potential compositions. It is great for scoping out elevation and sun angles.
- PhotoPills / The Photographer’s Ephemeris (TPE): These apps show you exactly where the sun, moon, and Milky Way will be at any time and place, ideal for planning dramatic light.
- Social media (Instagram, Flickr, 500px): Browse hashtags and geotags to get a feel for what others have shot in the area, and how you might do it differently.
- Local knowledge: Guidebooks, blogs, forums, and even ranger stations can clue you in on trail conditions, hidden gems, or seasonal highlights.
Pro tip: Save locations to a digital map (Google Maps custom layers, Gaia GPS) so you can access them offline later.
Know the Light and Weather
Landscape photography is all about the light. Understanding how it changes throughout the day is key to planning your timing:
- Golden Hour (just after sunrise or before sunset): Warm, soft light and long shadows, perfect for most landscapes.
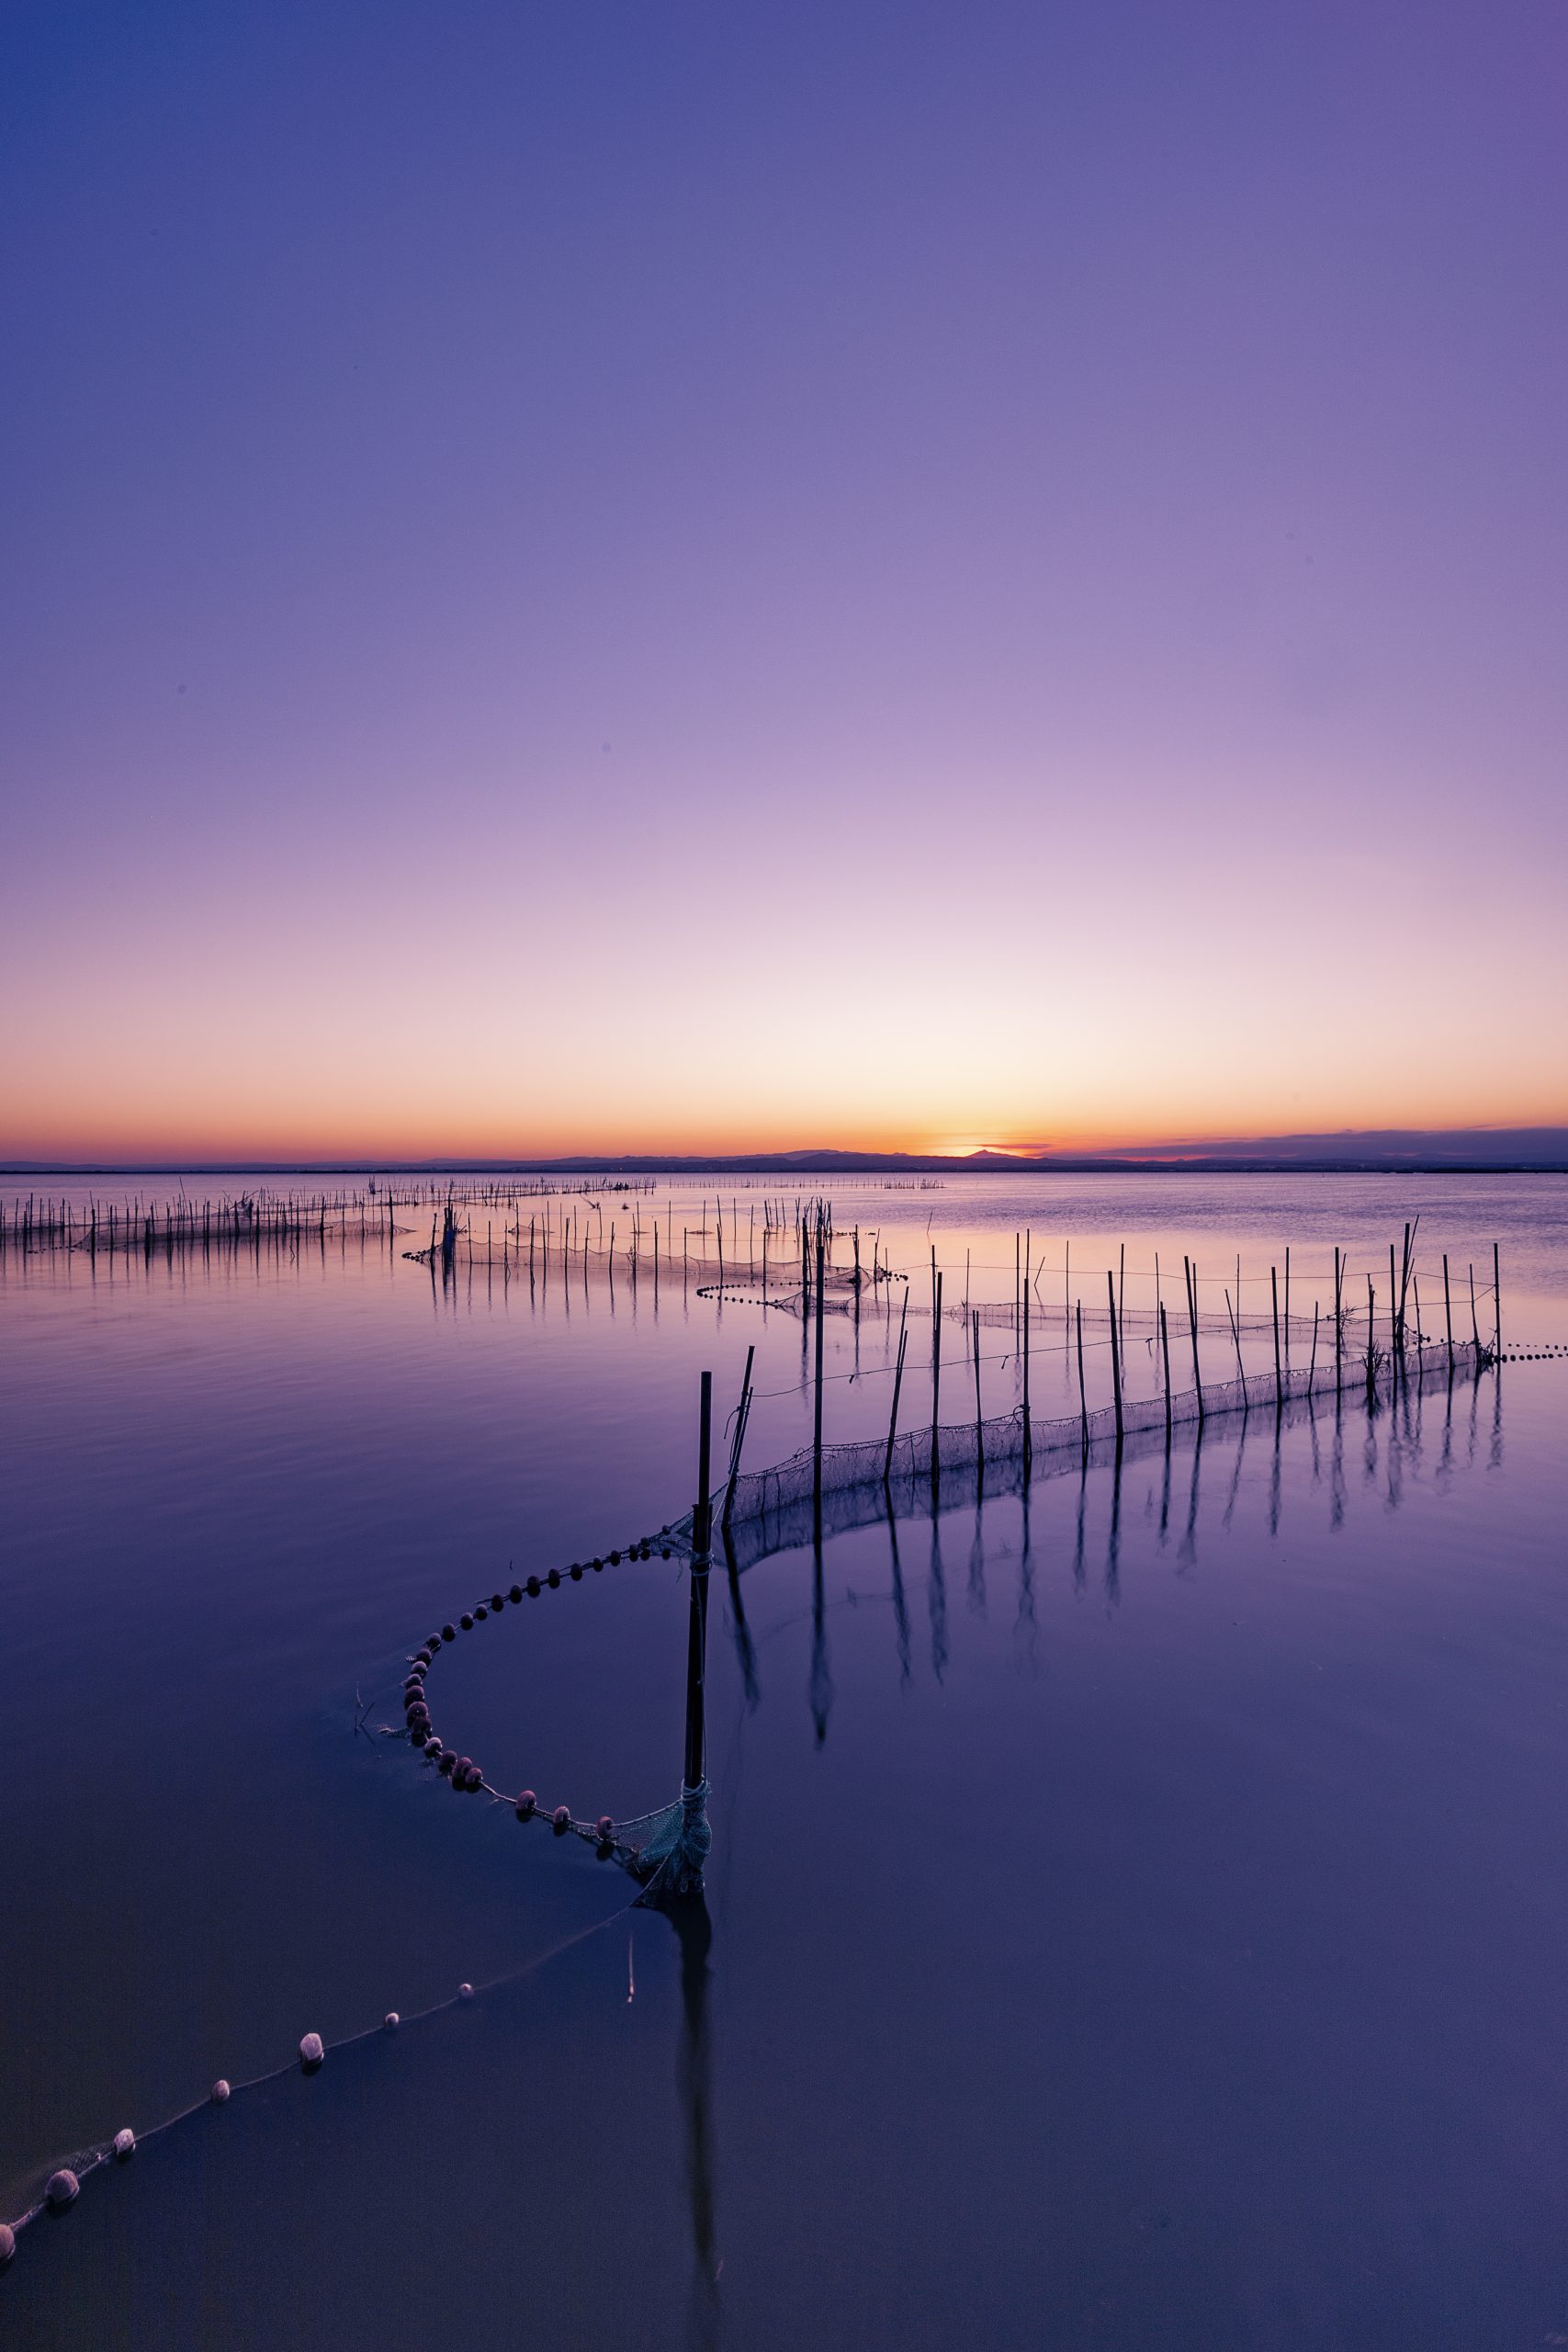
- Blue Hour (just before sunrise or after sunset): Cool, moody tones, and soft contrast—great for minimalist or cityscapes.
- Midday: Harsh and flat light. Tricky for most scenes unless you’re going for dramatic shadows or shooting in overcast conditions (like forests or waterfalls).
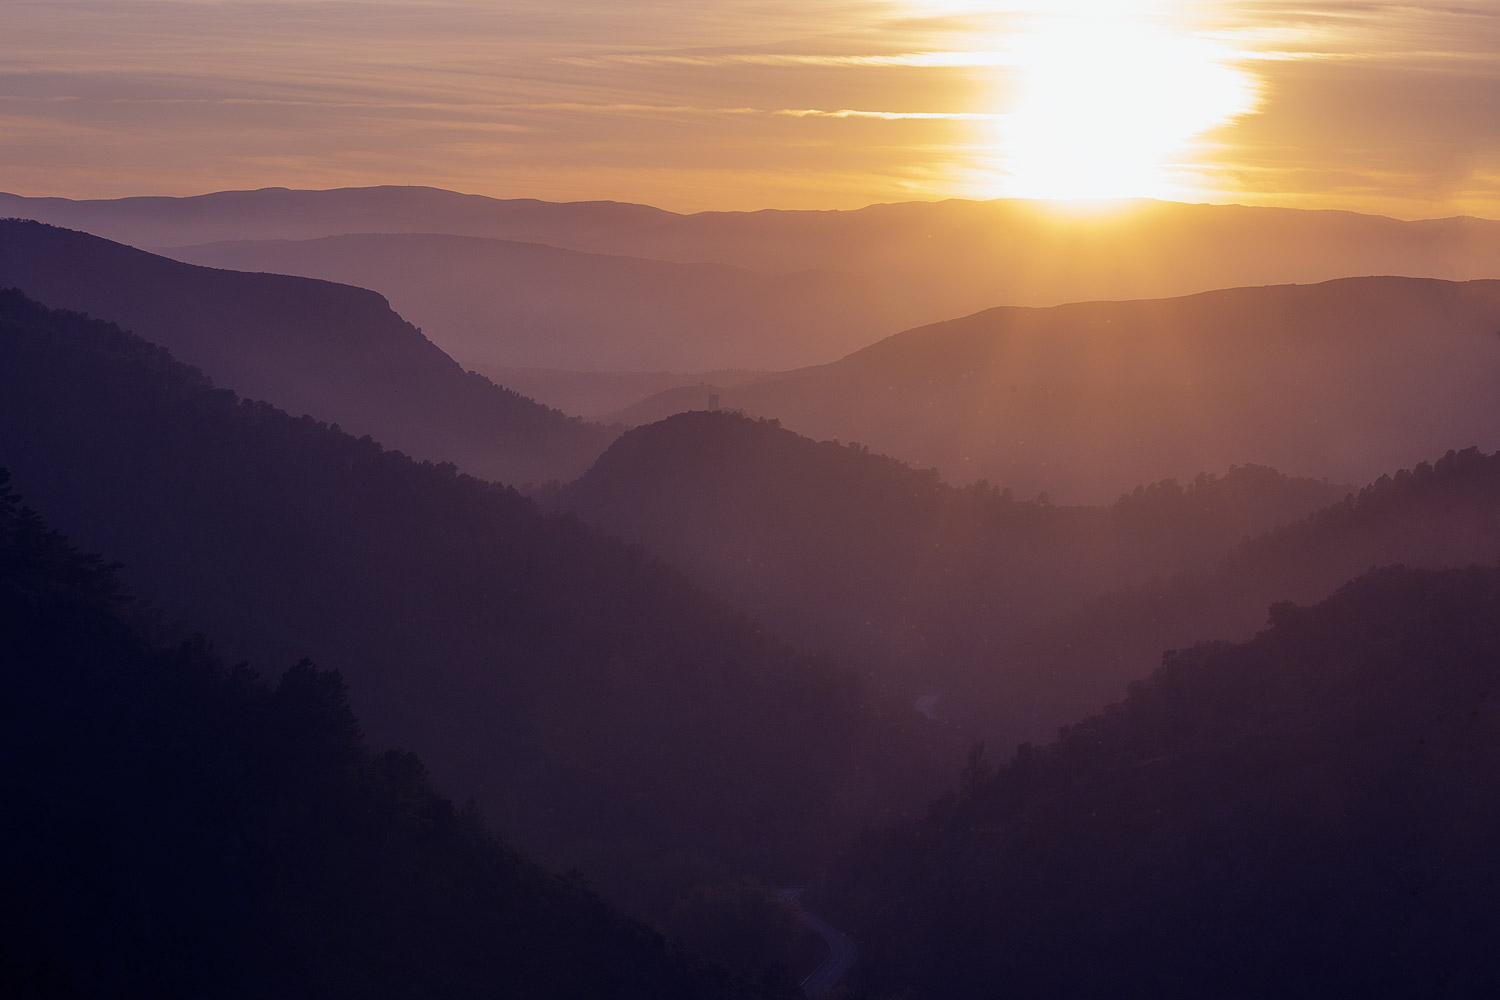
Also, always check weather conditions before heading out. Cloud cover, fog, rain, or snow can make or break a shot.
Use tools like:
- MeteoBlue or Windy: For high-detail forecasts
- Clear Outside: To check cloud cover and star visibility
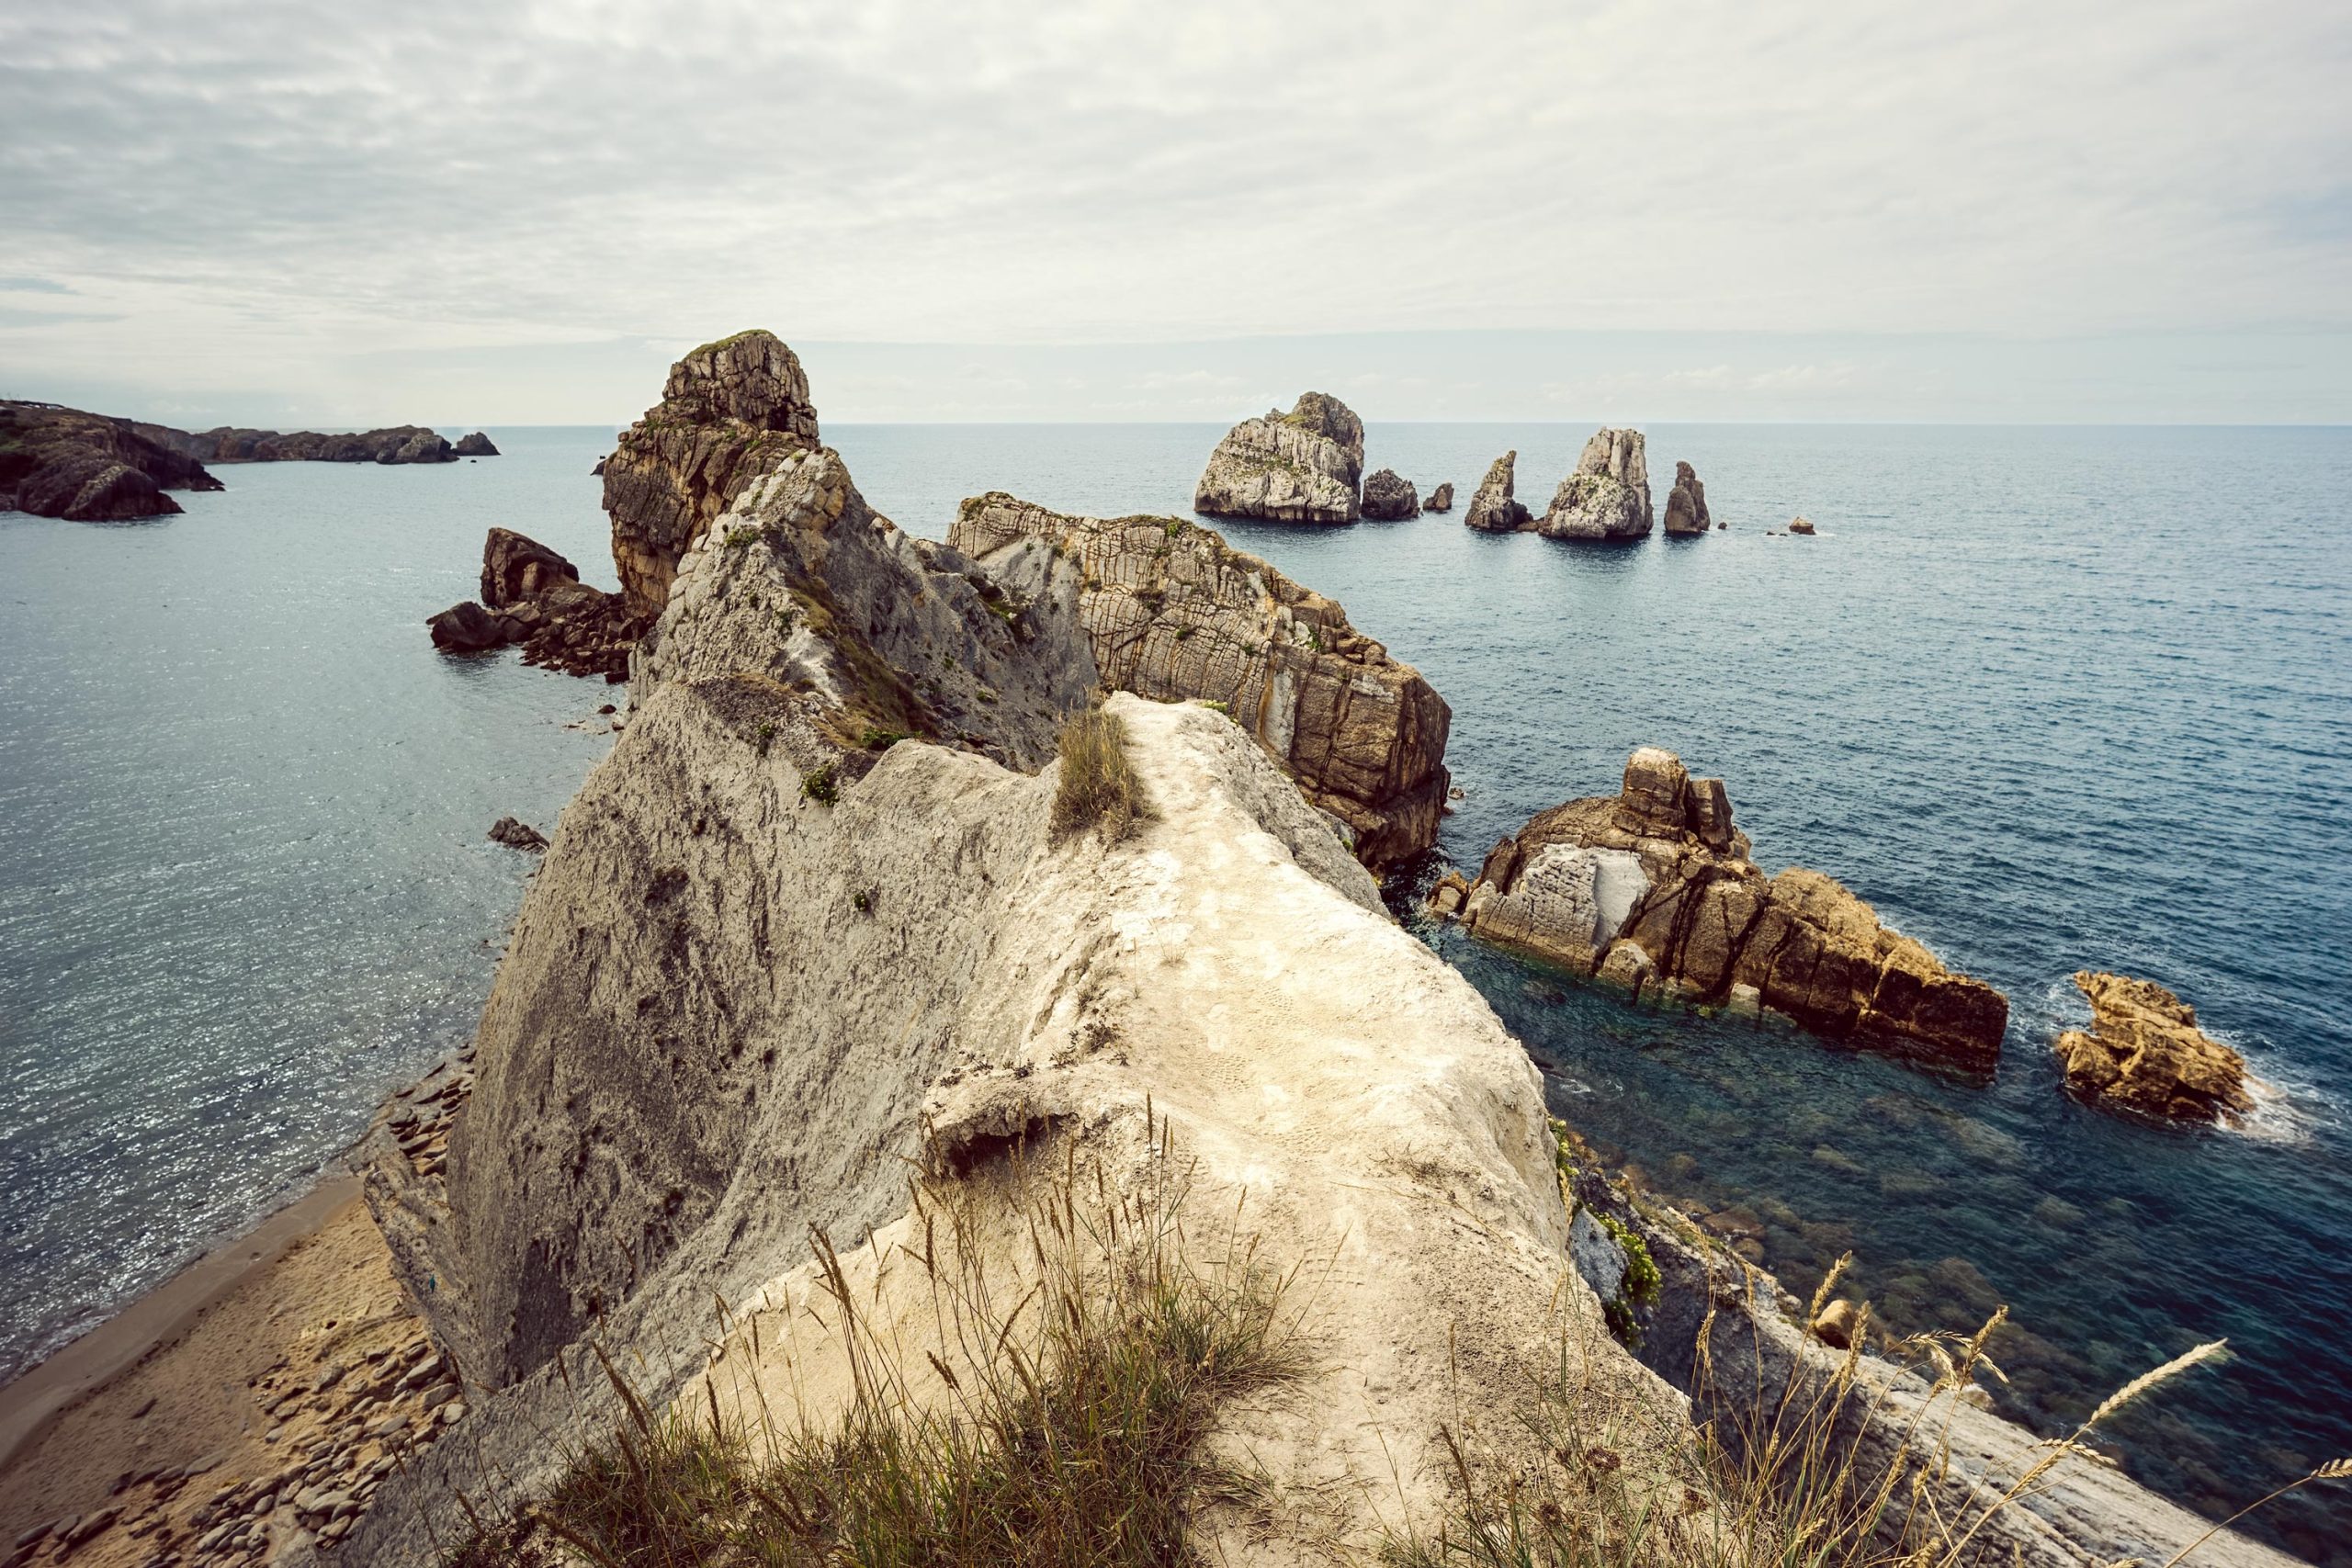
- Tide charts: If you’re shooting seascapes
Sort the Logistics (and Stay Safe)
Planning your shoot also means being smart about the not-so-glamorous stuff:
- Permits: Some locations (especially national parks or conservation areas) require permits for photography, drones, or commercial use. Always check ahead.
- Terrain and trail info: Know the difficulty level, how long the hike is, and whether it’s safe in current conditions. Apps like AllTrails can help.
- Emergency prep: Let someone know where you’re going. Bring a headlamp, power bank, offline maps, and extra snacks and water. In remote areas, consider a satellite communicator like a Garmin InReach.
- Clothing and timing: Dress in layers and arrive early. Hiking in the dark is often part of the game if you want that first light. Take a headlamp-style flashlight with you for hands-free lighting on the trail.
[Related Reading: https://www.diyphotography.net/how-to-plan-a-landscape-photography-shoot/]
Landscape Photography Locations and Inspiration
Some landscapes are so iconic they’re practically on every photographer’s bucket list. Others are hidden gems you stumble across on a weekend hike or road trip. The best ones, though, are the local ones you can easily revisit and keep going back to at different times of day and in different seasons and weather. That’s when you really begin to hone your craft.
World-Renowned Landscape Spots (by Continent)
If you’re after the big hitters (and let’s face it, these are famous for a reason), here are some of the most legendary locations for landscape photography:
- North America
- Yosemite National Park (USA): Granite cliffs, waterfalls, foggy mornings. Classic Ansel Adams territory.
- Banff & Jasper (Canada): Emerald lakes, glaciers, and mountain ranges straight out of a dream.
- Monument Valley: Iconic red rock formations and endless desert skies.
- Europe
- Dolomites (Italy): Rugged peaks with dramatic light, ideal for sunrises and long lenses.
- Iceland: Waterfalls, black sand beaches, lava fields, and auroras. It’s like another planet.
- Scottish Highlands: Moody skies, ancient landscapes, and lochs for days.
- Asia
- Guilin (China): Misty mountains and winding rivers. A photographer’s dream.
- Hokkaido (Japan): Winter landscapes with clean lines and minimalist beauty.
- Himalayas: Epic mountain drama, from Nepal to northern India.
- South America
- Patagonia (Argentina/Chile): Jagged peaks, blue glaciers, and windswept valleys.
- Atacama Desert (Chile): One of the driest places on Earth, perfect for astro and minimalism.
- Africa
- Namib Desert (Namibia): Giant dunes, fossil trees, and stark contrast.
- Drakensberg Mountains (South Africa): Dramatic ridges and hidden waterfalls.
- Oceania
- New Zealand: Pretty much everything: glaciers, beaches, volcanoes, fjords.
- Tasmania: Often overlooked, but home to some of Australia’s best wilderness.
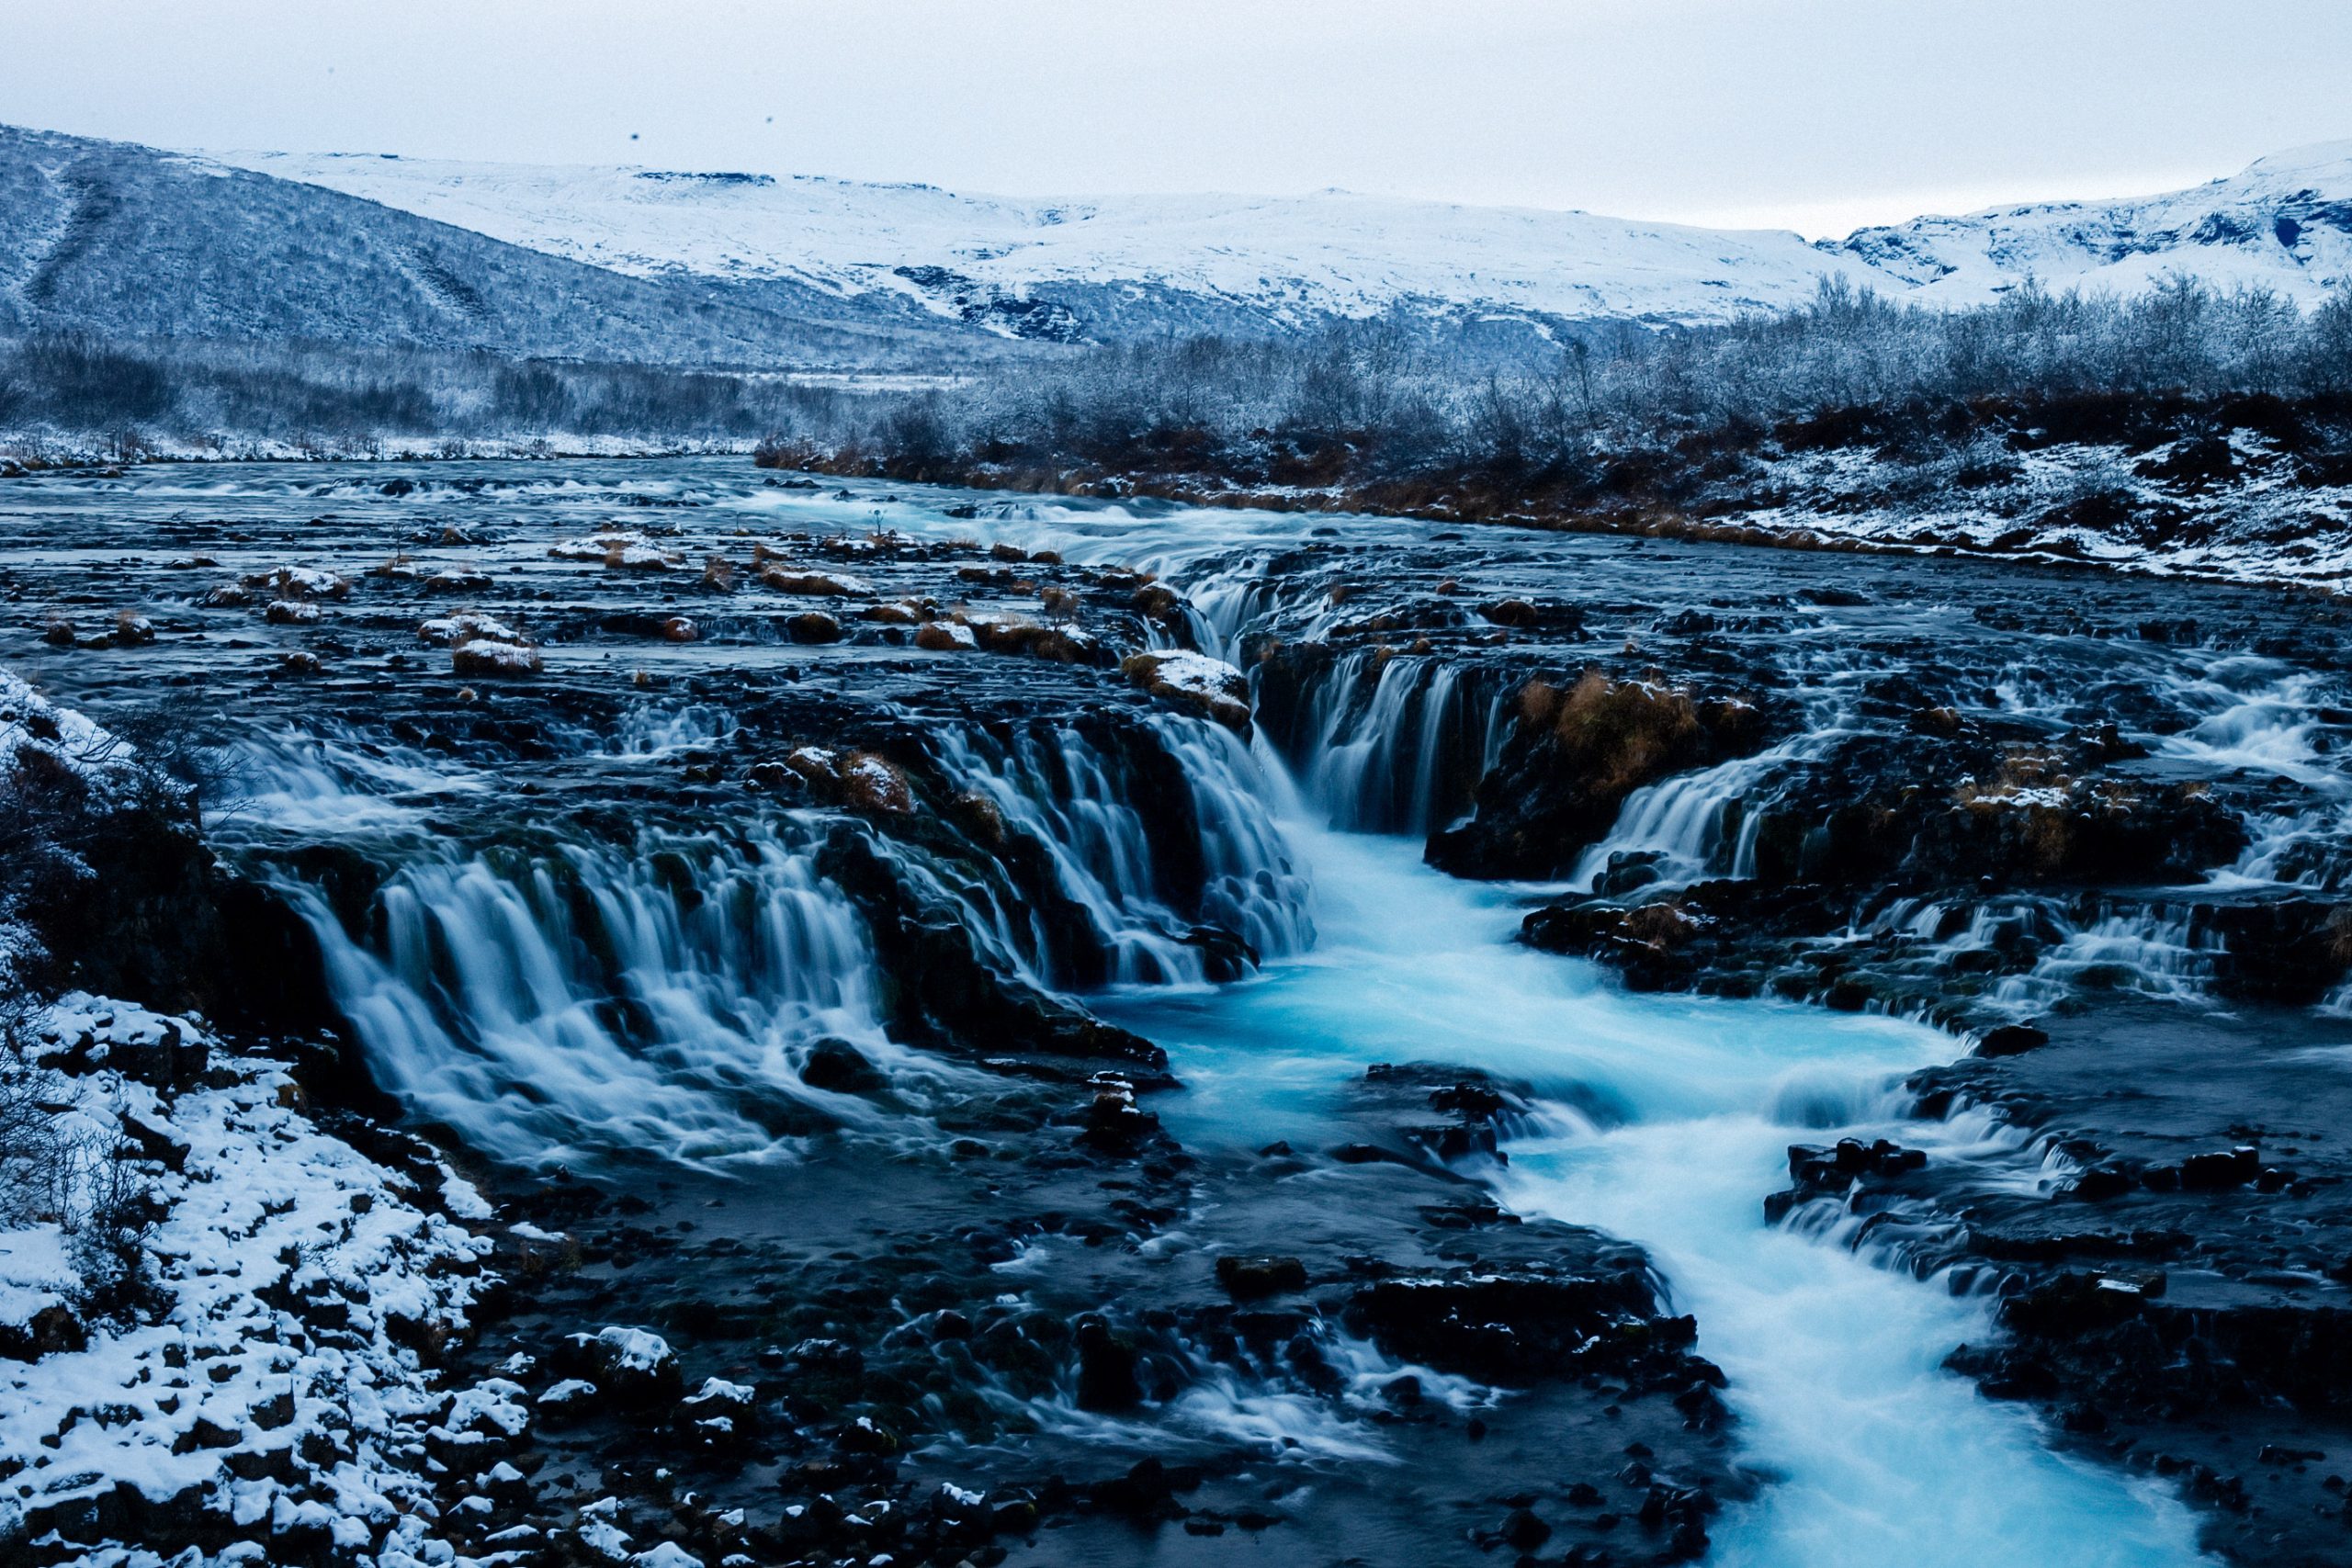
Finding Local Gems and Underrated Spots
You don’t have to travel halfway across the world to find inspiring landscapes. Some of the best scenes are probably within a couple of hours from where you live, you just need to train your eye:
- Use Google Maps + satellite view to look for lakes, forests, cliffs, or coastal zones.
- Hike local trails at different times of day. Sunset on a familiar hill can feel completely new.
- Explore backroads and lesser-known viewpoints. Quiet locations often offer more creative freedom (and fewer crowds).
- Ask around: Local photographers or hiking groups often know the best spots that don’t show up on Instagram.
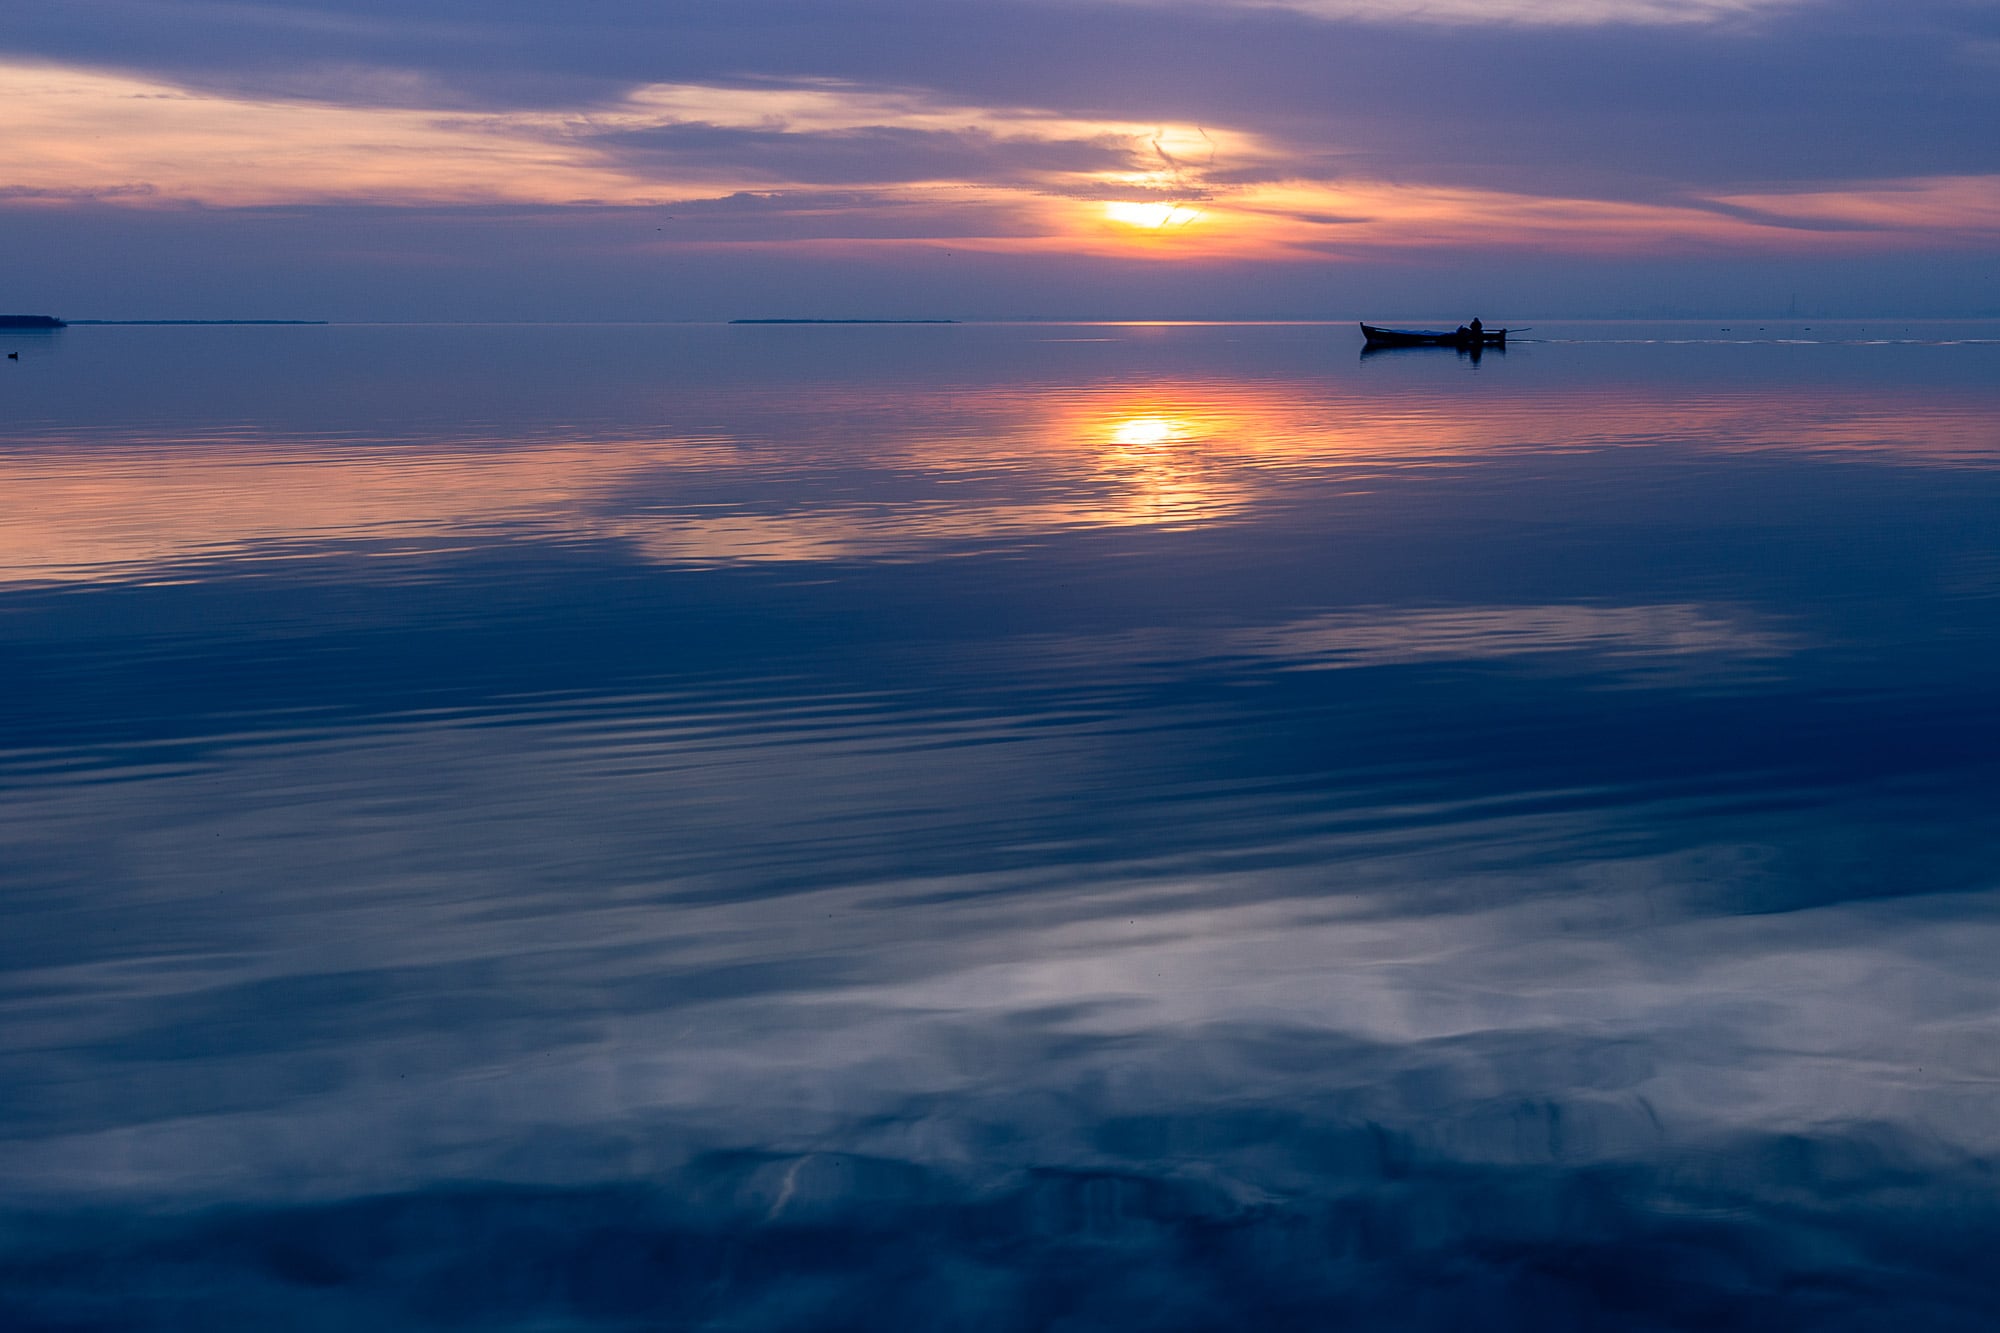
Iconic vs. Original: Developing Your Own Style
It’s tempting to chase the same shots you’ve seen online, and there’s nothing wrong with ticking off a few bucket-list classics. But the real joy of landscape photography often comes from discovering your own version of a place.
- Shoot familiar scenes differently: Try unusual weather, shoot from a new angle, or use a longer lens for compression.
- Focus on mood, not just location: Mist, snow, harsh shadows, or storm light can make even simple places magical.
- Let your interests guide you: If you love solitude you could explore minimalism. If you like more complicated compositions, try going wide.
Don’t worry too much about being “original”, just be honest. The more you shoot what genuinely excites you, the more your style will naturally emerge.
Best Camera Settings for Landscape Photography
Obviously, your camera settings will vary depending on the light, the scene, and what you’re trying to achieve. However, there are a few starting points to help that are applicable for most situations. Of course, like with everything photography, once you learn the rules, you can start to break them!
[Related Reading: Use These Camera Settings to Nail Your Landscape Photos, A Beginner’s Guide]
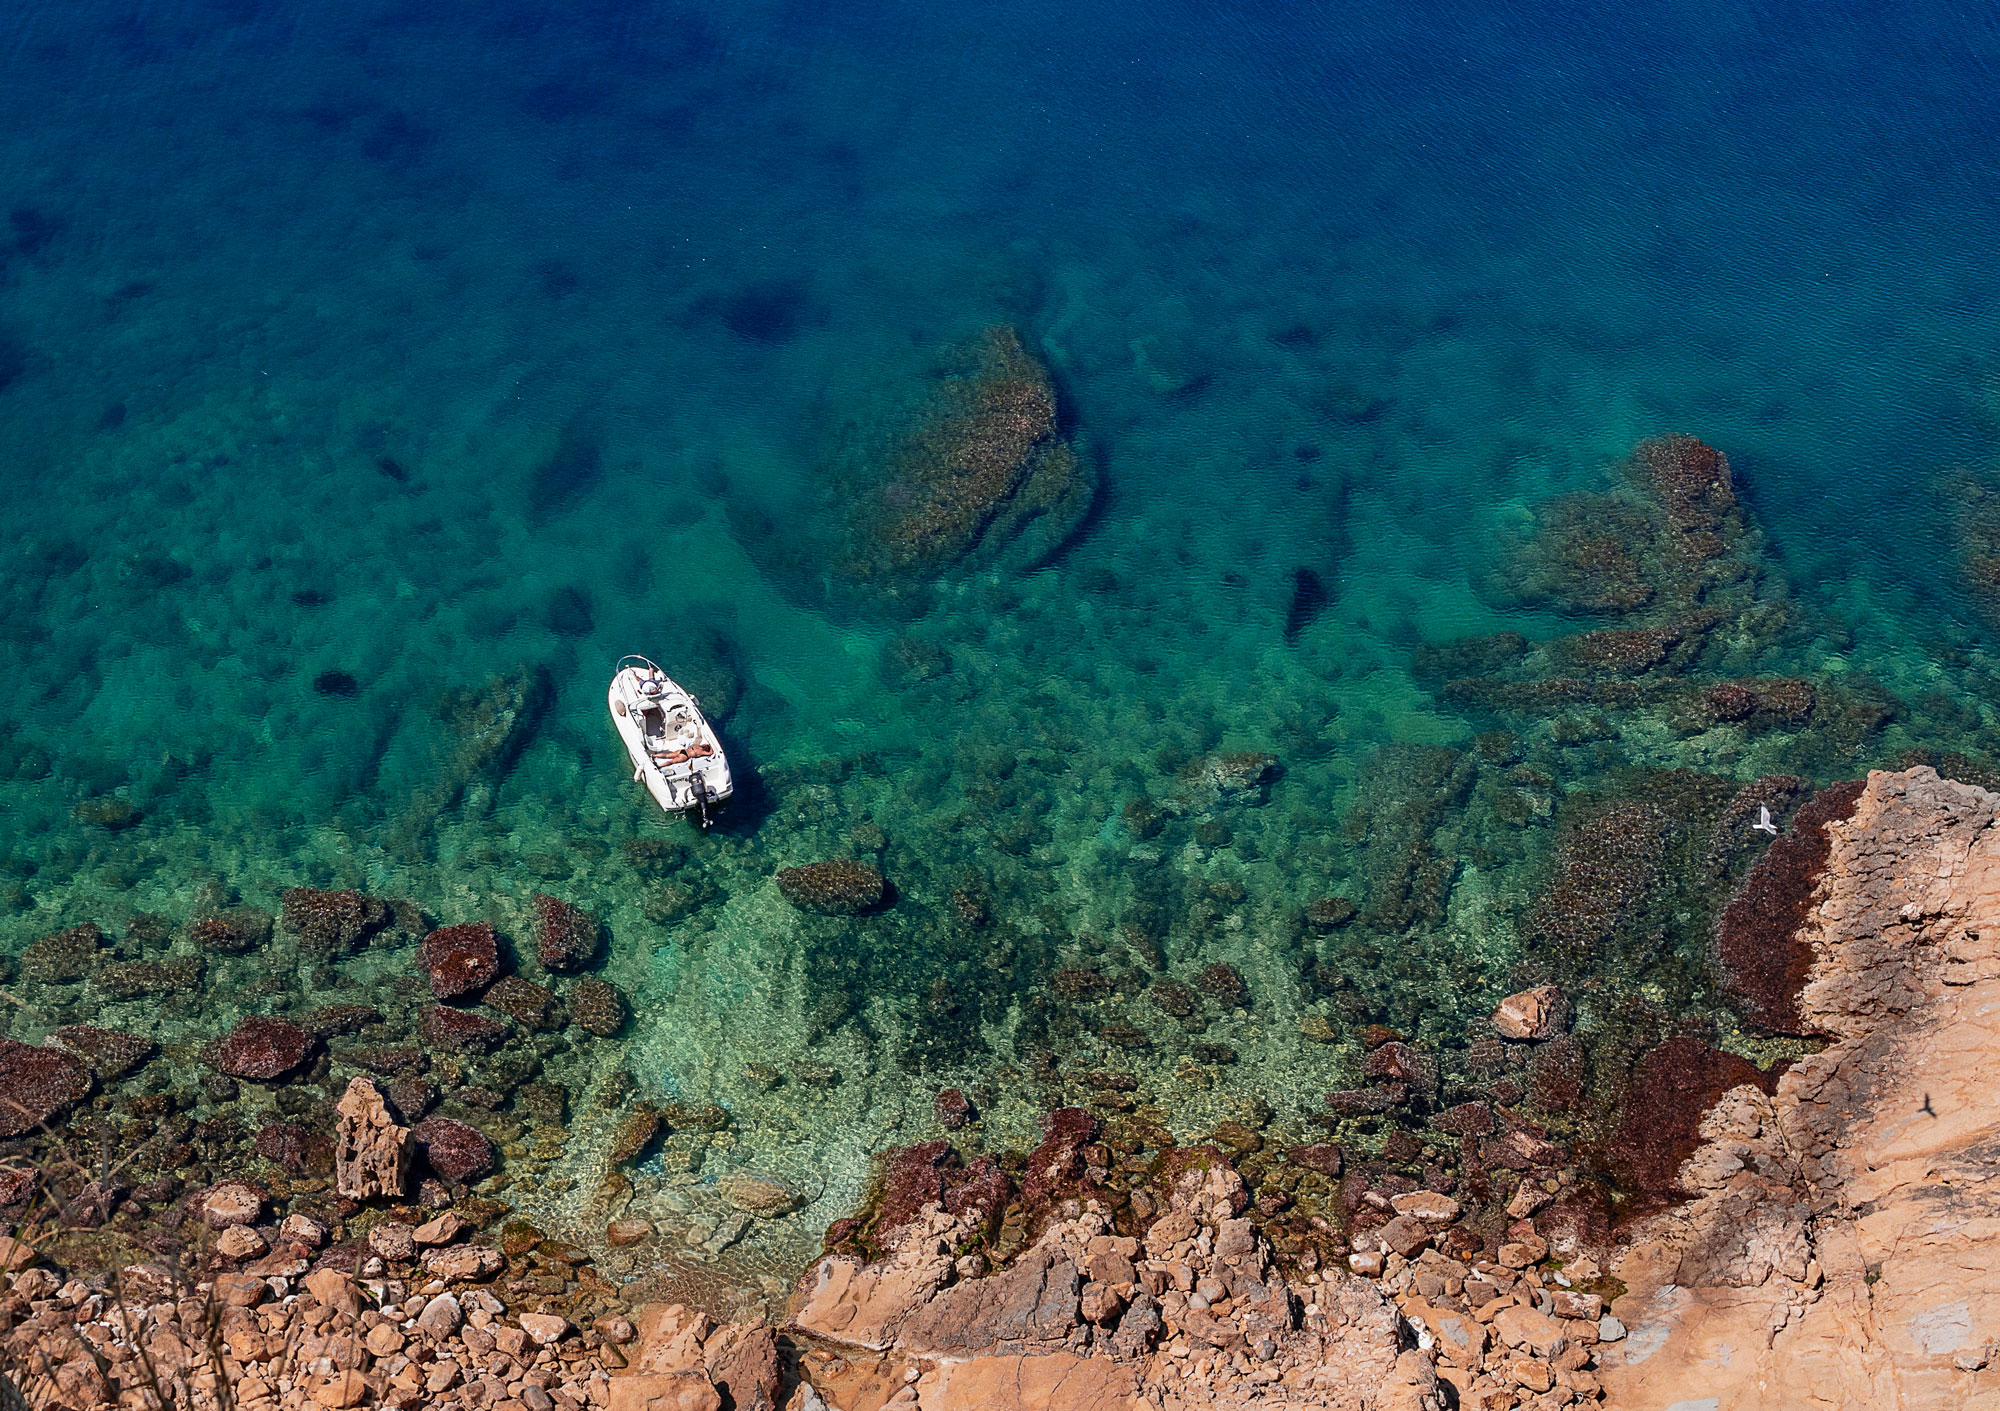
The Exposure Triangle: Aperture, ISO & Shutter Speed
These three settings work together to control the overall exposure:
Editor’s note: yes we know, purists will tell you that ISO doesn’t control exposure, and they are correct. However, for simplicity’s sake, we will treat ISO as if it does, because essentially the outcome is the same!
- Aperture (f-stop)
- For landscapes, you often want everything in focus, from foreground rocks to distant mountains.
- Use f/8 to f/16 for sharp, deep depth of field.
- Watch out for going too high (like f/22) as it can cause softness due to diffraction.
- ISO
- Keep this as low as possible, ISO 100–200 is ideal, to avoid noise and preserve detail.
- A slightly noisy image is better than a blurry image so don’t be afraid to push up the ISO, especially as mirrorless cameras can handle high ISOs easily.
- Shutter Speed
- Fast enough to avoid blur if handheld, but if you use a tripod, you can go slower. These days, camera bodies and lenses have excellent Image Stabilisation and often allow you to shoot 5. to8 stops slower than you would be able to otherwise.
- If you want silky water or cloud streaks, use a slow shutter (1/4 sec to 30 sec) with an ND filter if necessary.
- For astrophotography shoot up to 15 seconds with a 15mm lens to avoid blur from star trails. ISo around 3600 is often a good place to begin, at aperture f/2 (or as wide as your lens goes).
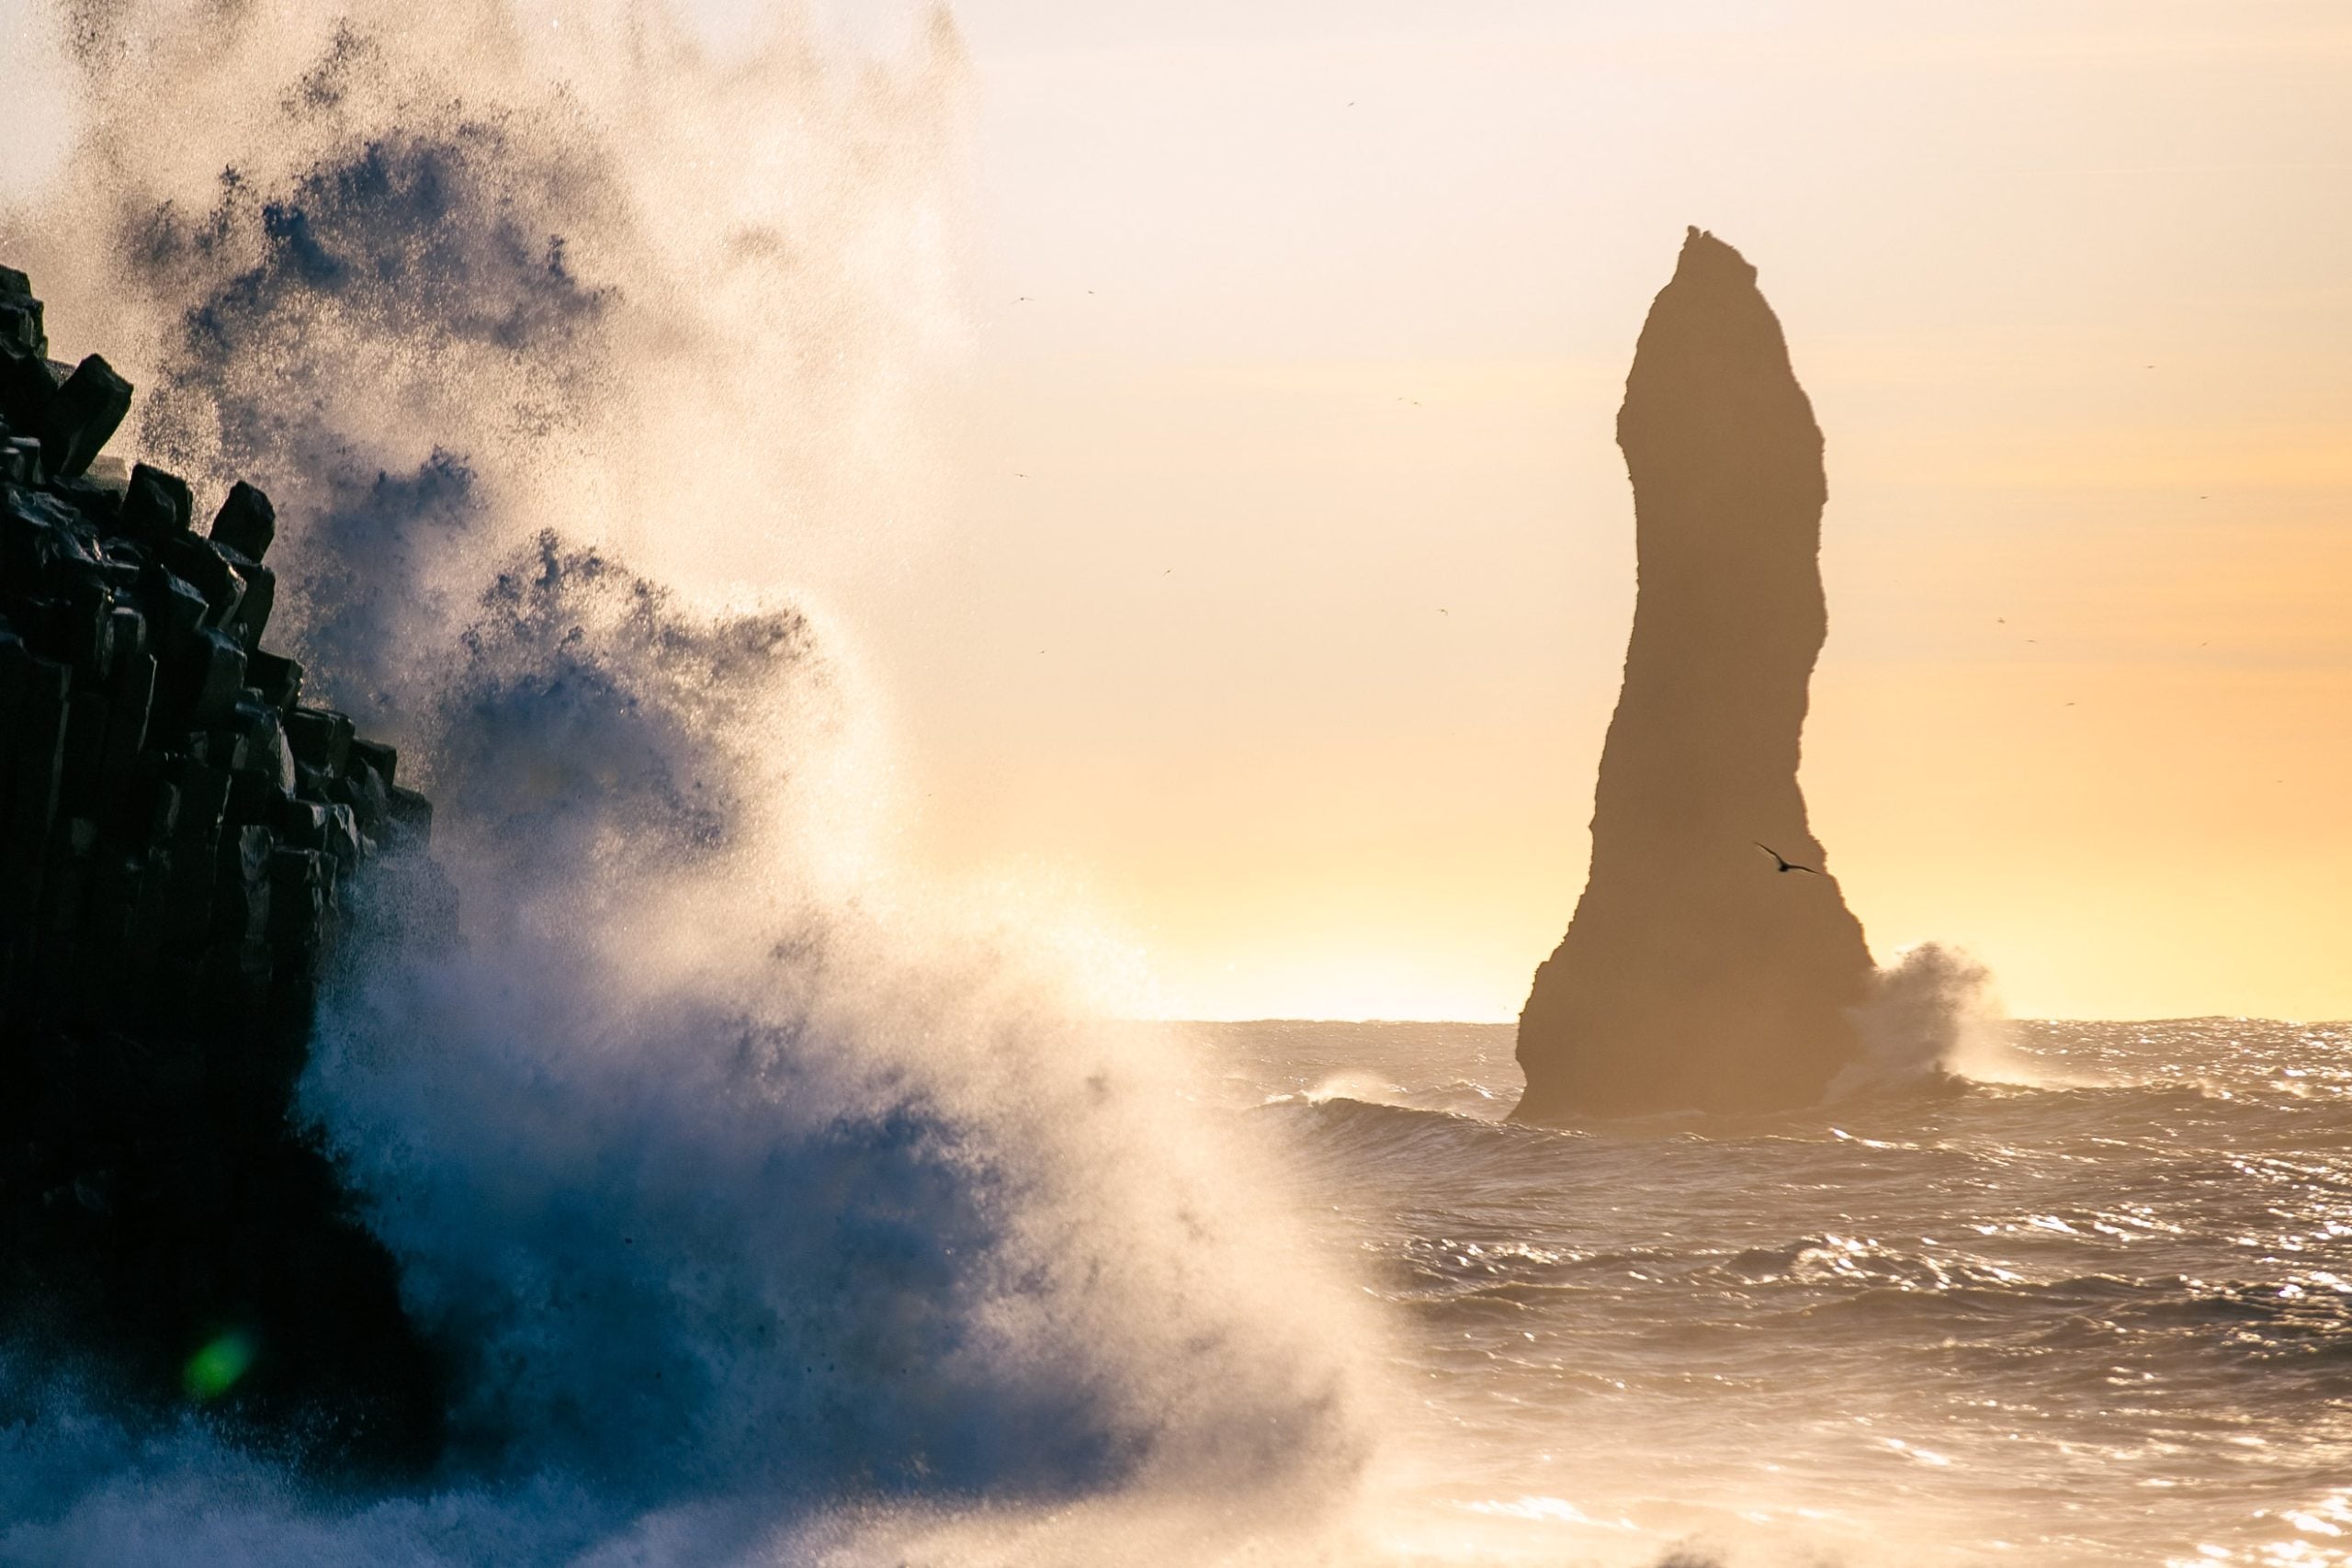
Manual Mode vs Aperture Priority (A/Av) or Shutter Priority (S/Tv)
Both have their place, don’t feel like you have to shoot full manual all the time.
- Aperture Priority Mode (A/Av)
- You set the aperture, and the camera handles shutter speed.
- Great for quick light changes (sunrise/sunset) or when hiking and shooting on the go.
- Shutter Priority Mode
- You choose the shutter speed, and the camera sorts out the aperture and ISO
- Great for fast-moving subjects like sports or kids and pets, or for subjects where you want to blur motion with longer exposures
- Manual Mode (M)
- Full control, which is ideal when you want consistent exposure, like for HDR brackets, long exposures, or astro work.
- Pair with Live View and your histogram to dial in the perfect balance.
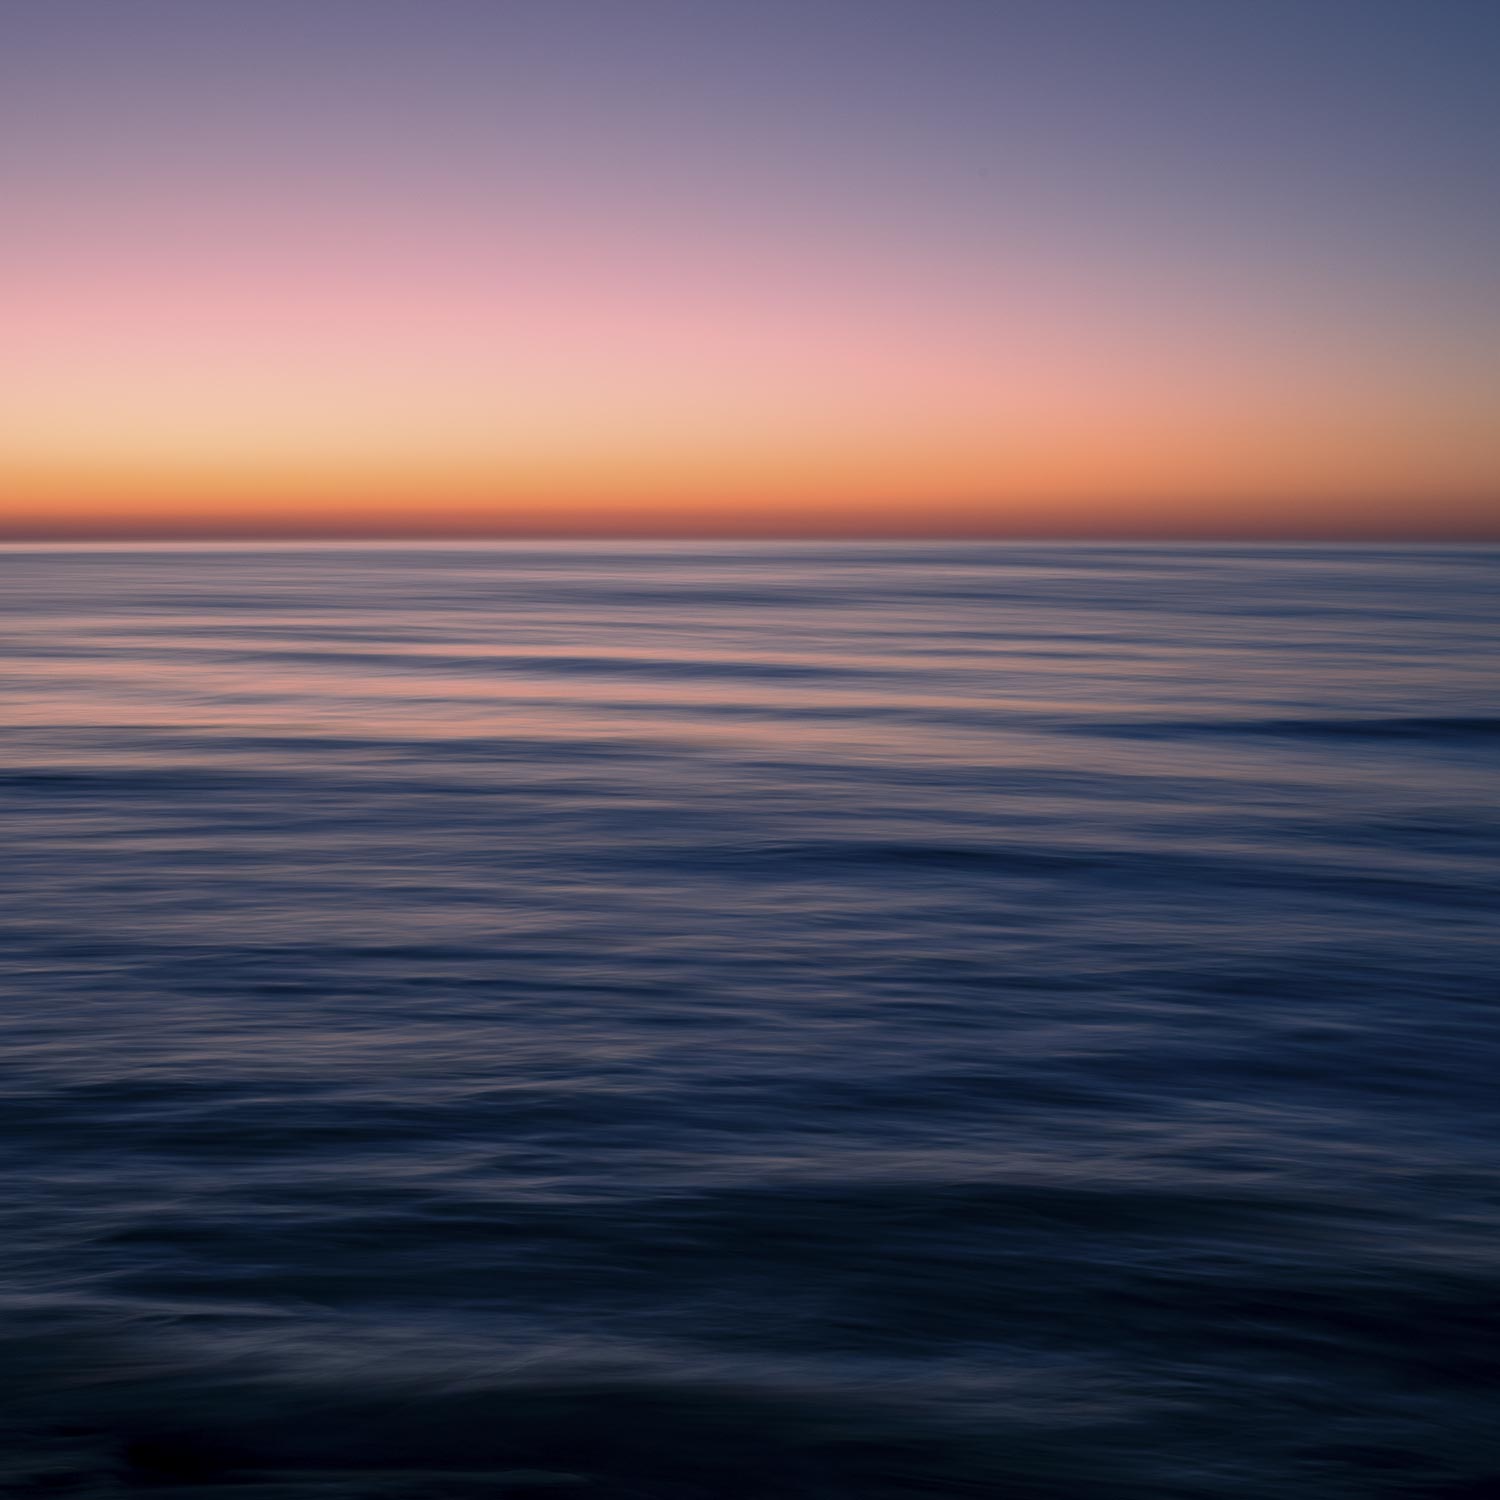
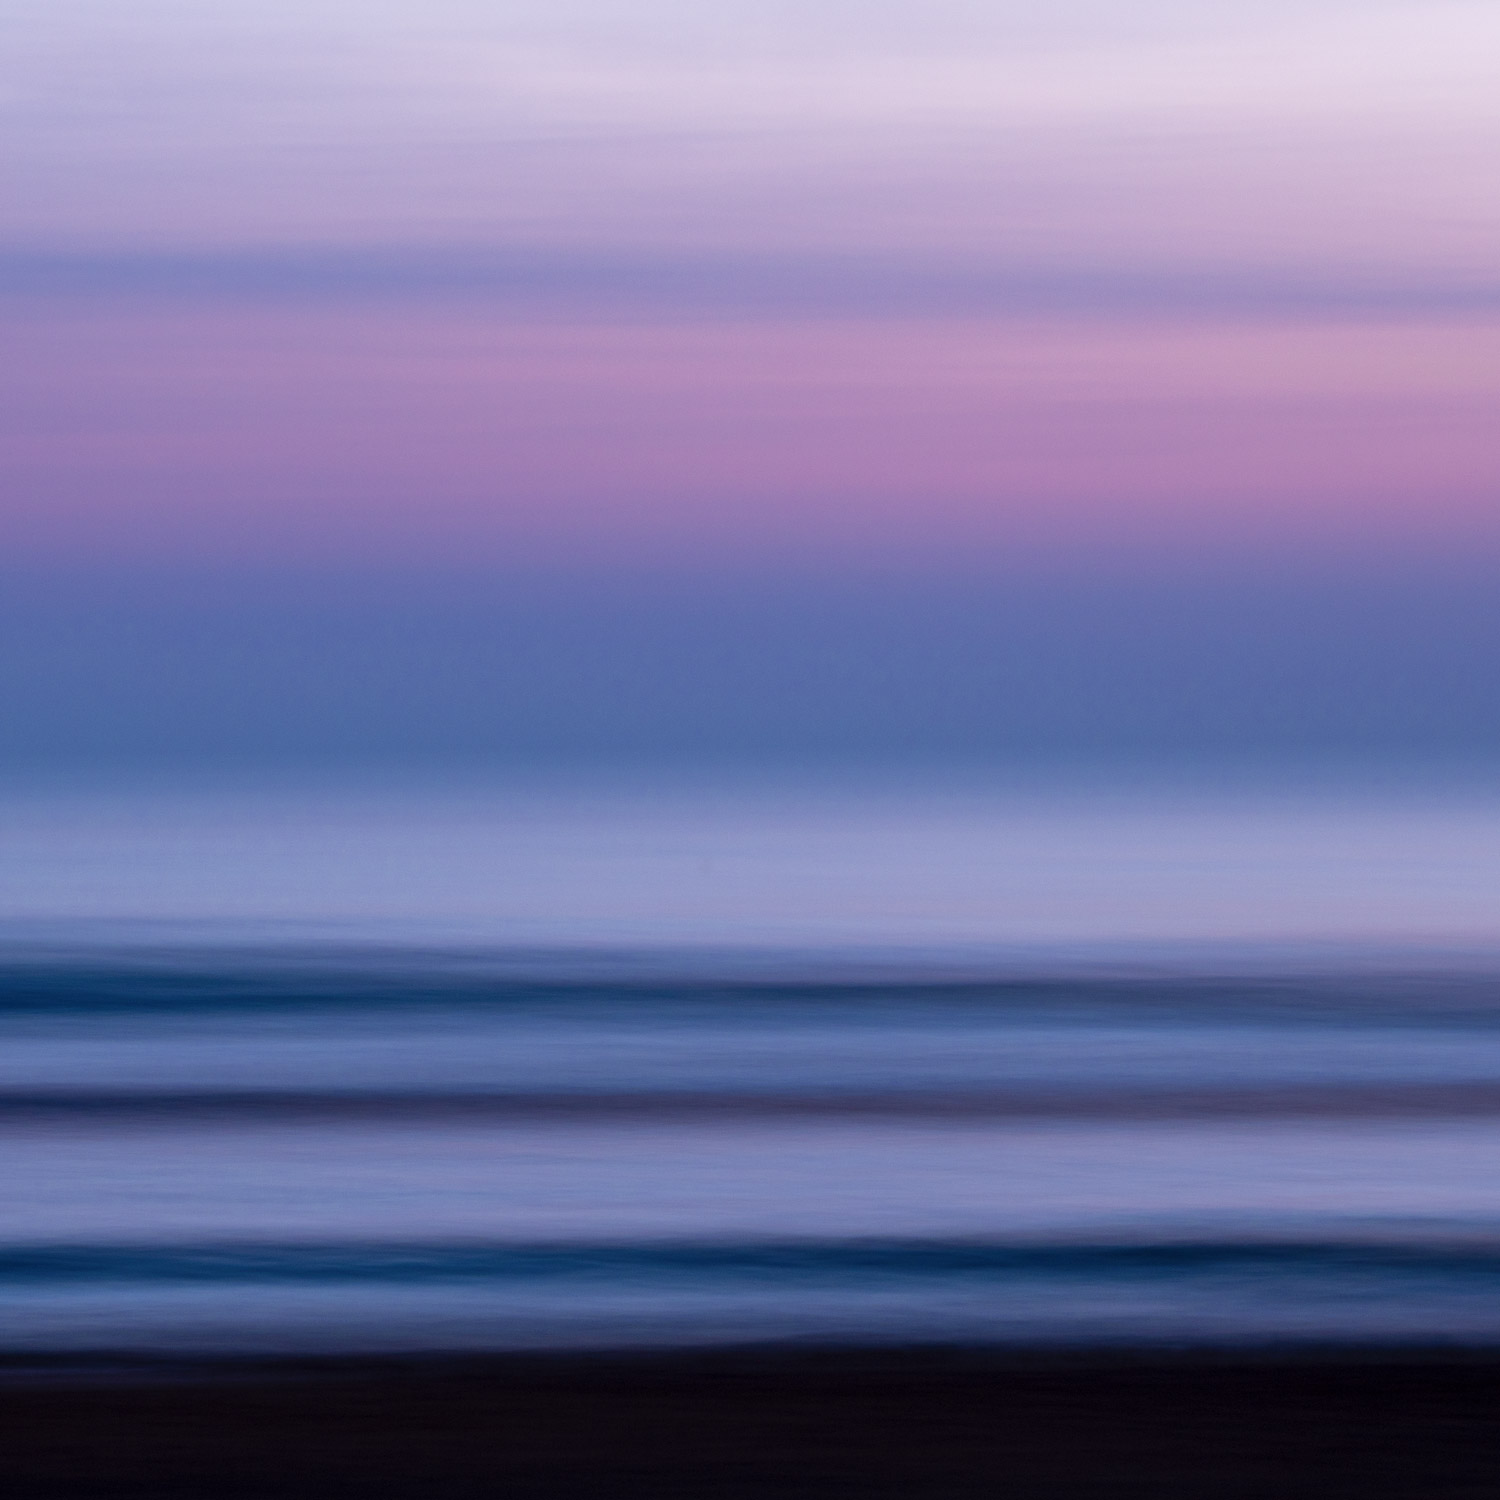
Pro tip: Use exposure compensation (+/–) in Aperture or Shutter Priority to fine-tune brightness without switching modes.
Focus Settings: Get Everything Sharp
Focus can be tricky in wide scenes, but it’s also one of the most important pieces of the puzzle.
- Use Single-Shot Focus (AF-S or One Shot) for static landscapes.
- Focus about 1/3 into the frame (not on the horizon), this gives you the best front-to-back sharpness.
- For next-level sharpness, use hyperfocal distance:
- Use a chart or an app like PhotoPills.
- Set your focus at the measured distance so that everything from a specific distance to infinity is in acceptable focus.
- Works well at apertures like f/8 to take advantage of the sharpest point of your lens, and with wide lenses.
Shoot in RAW
If you’re still shooting JPEGs for landscapes… stop. Now. Here’s why:
- RAW files preserve all the detail, colour, and dynamic range from your sensor.
- You’ll have way more control in post, especially for recovering highlights or bringing out shadows.
- JPEGs are fine for quick snaps, but for serious edits and print-worthy images, RAW is the way.
Composition Tips for Landscape Photography
While light is perhaps the most important aspect of landscape photography, composition comes a c
lose second, especially when you’re shooting with wide-angle lenses. Of course, the rules are always meant to be broken, but when you’re starting out it’s good to learn them and practice them first. They are rules for a good reason and taking a little time to plan a thoughtful composition will always make your photography better.
Start with the Basics: Rule of Thirds, Leading Lines & Foregrounds
These are your bread and butter for strong, balanced compositions.
- Rule of Thirds
- Imagine your frame divided into a 3×3 grid.
- Place key elements (like the horizon, a mountain peak, or the sun) along those lines or at their intersections.
- Helps avoid the dreaded “dead center” shot (unless you’re going for symmetry, more on that below).
- Leading Lines
- Use natural elements like rivers, trails, fences, or shorelines to guide the viewer’s eye into the image.
- Curved or diagonal lines tend to add a sense of movement or depth.
- Foreground Interest
- Don’t just shoot the distant view, add something up close!
- Rocks, flowers, driftwood, puddles, anything to give the image layers and pull the viewer in.
- Use a wide-angle lens to exaggerate perspective and make that foreground pop.
- Person of Interest
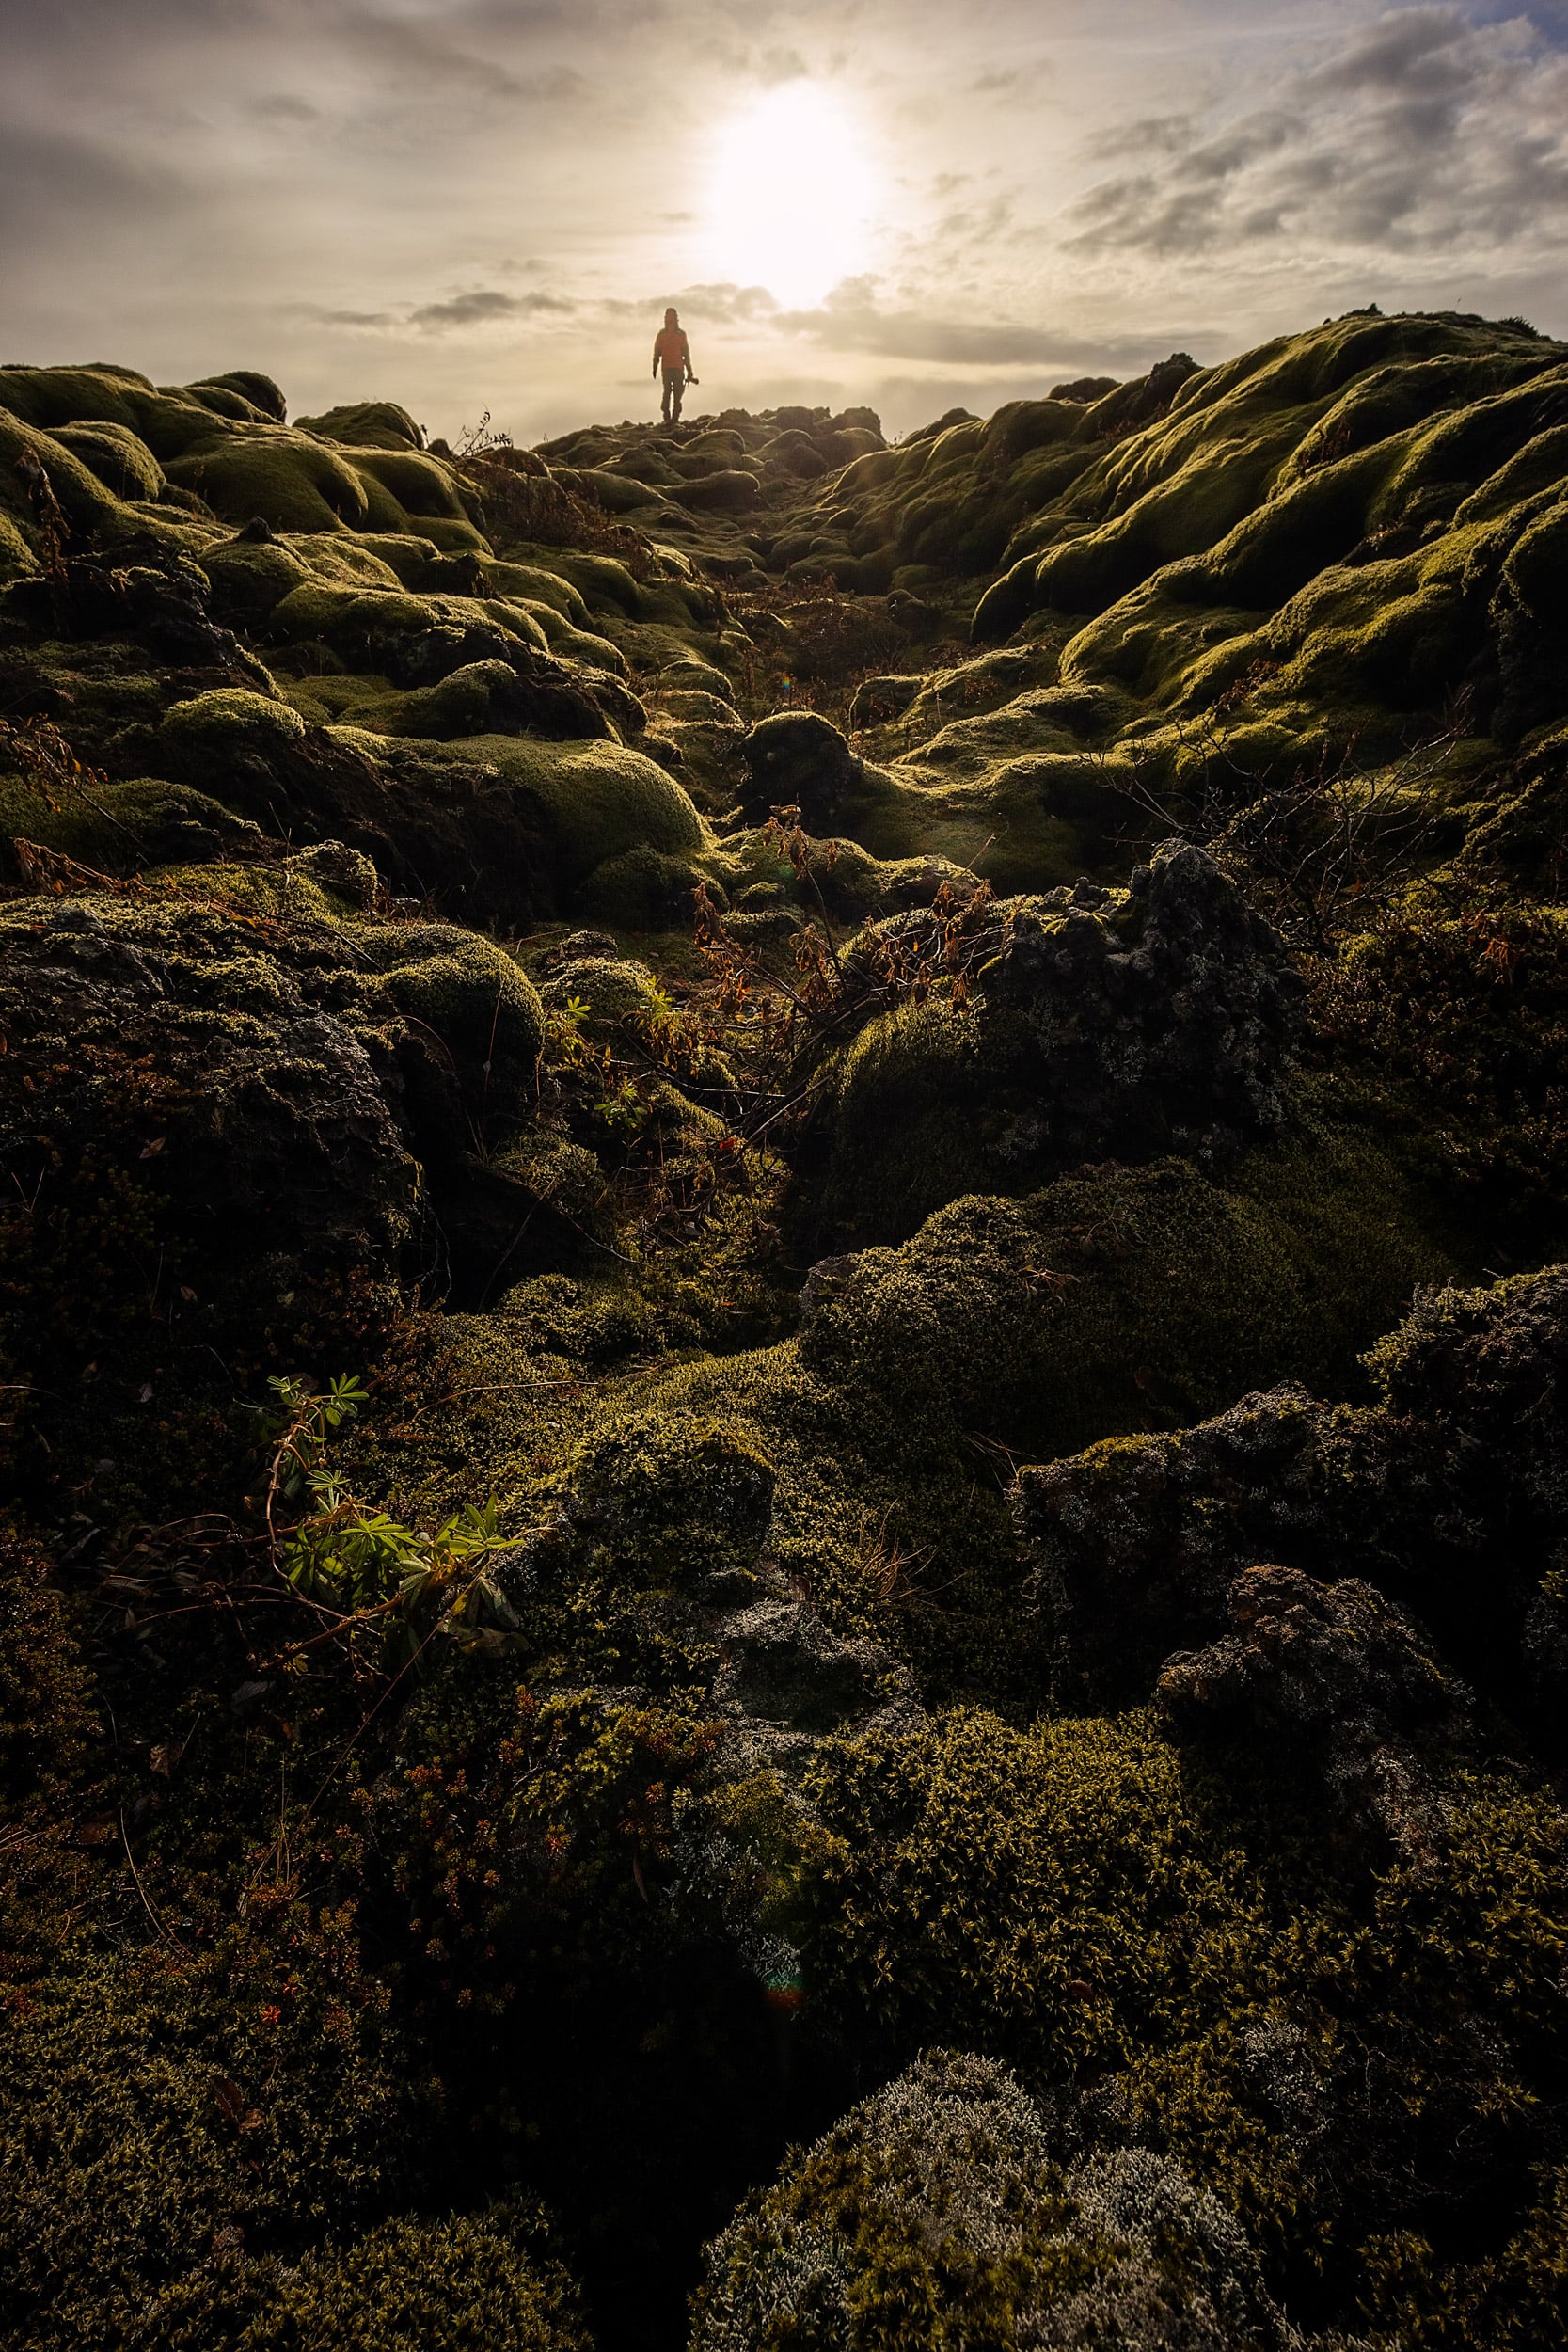
- If you want to show scale you can place a person in the scene. It really makes the most of nature’s grandeur.
Balance Light and Shadow for Visual Flow
Landscapes are often high-contrast, with bright skies, dark trees, and patchy sunlight. Composing with that in mind can add drama and keep your exposure manageable.
- Expose for the highlights, especially during sunrise/sunset, blown-out skies are hard to recover.
- Use shadows creatively to add mood or contrast.
- Try shooting during golden hour when light is softer and naturally more balanced.
Bonus tip: Bracket exposures for tricky scenes and blend them later in post (HDR-style).
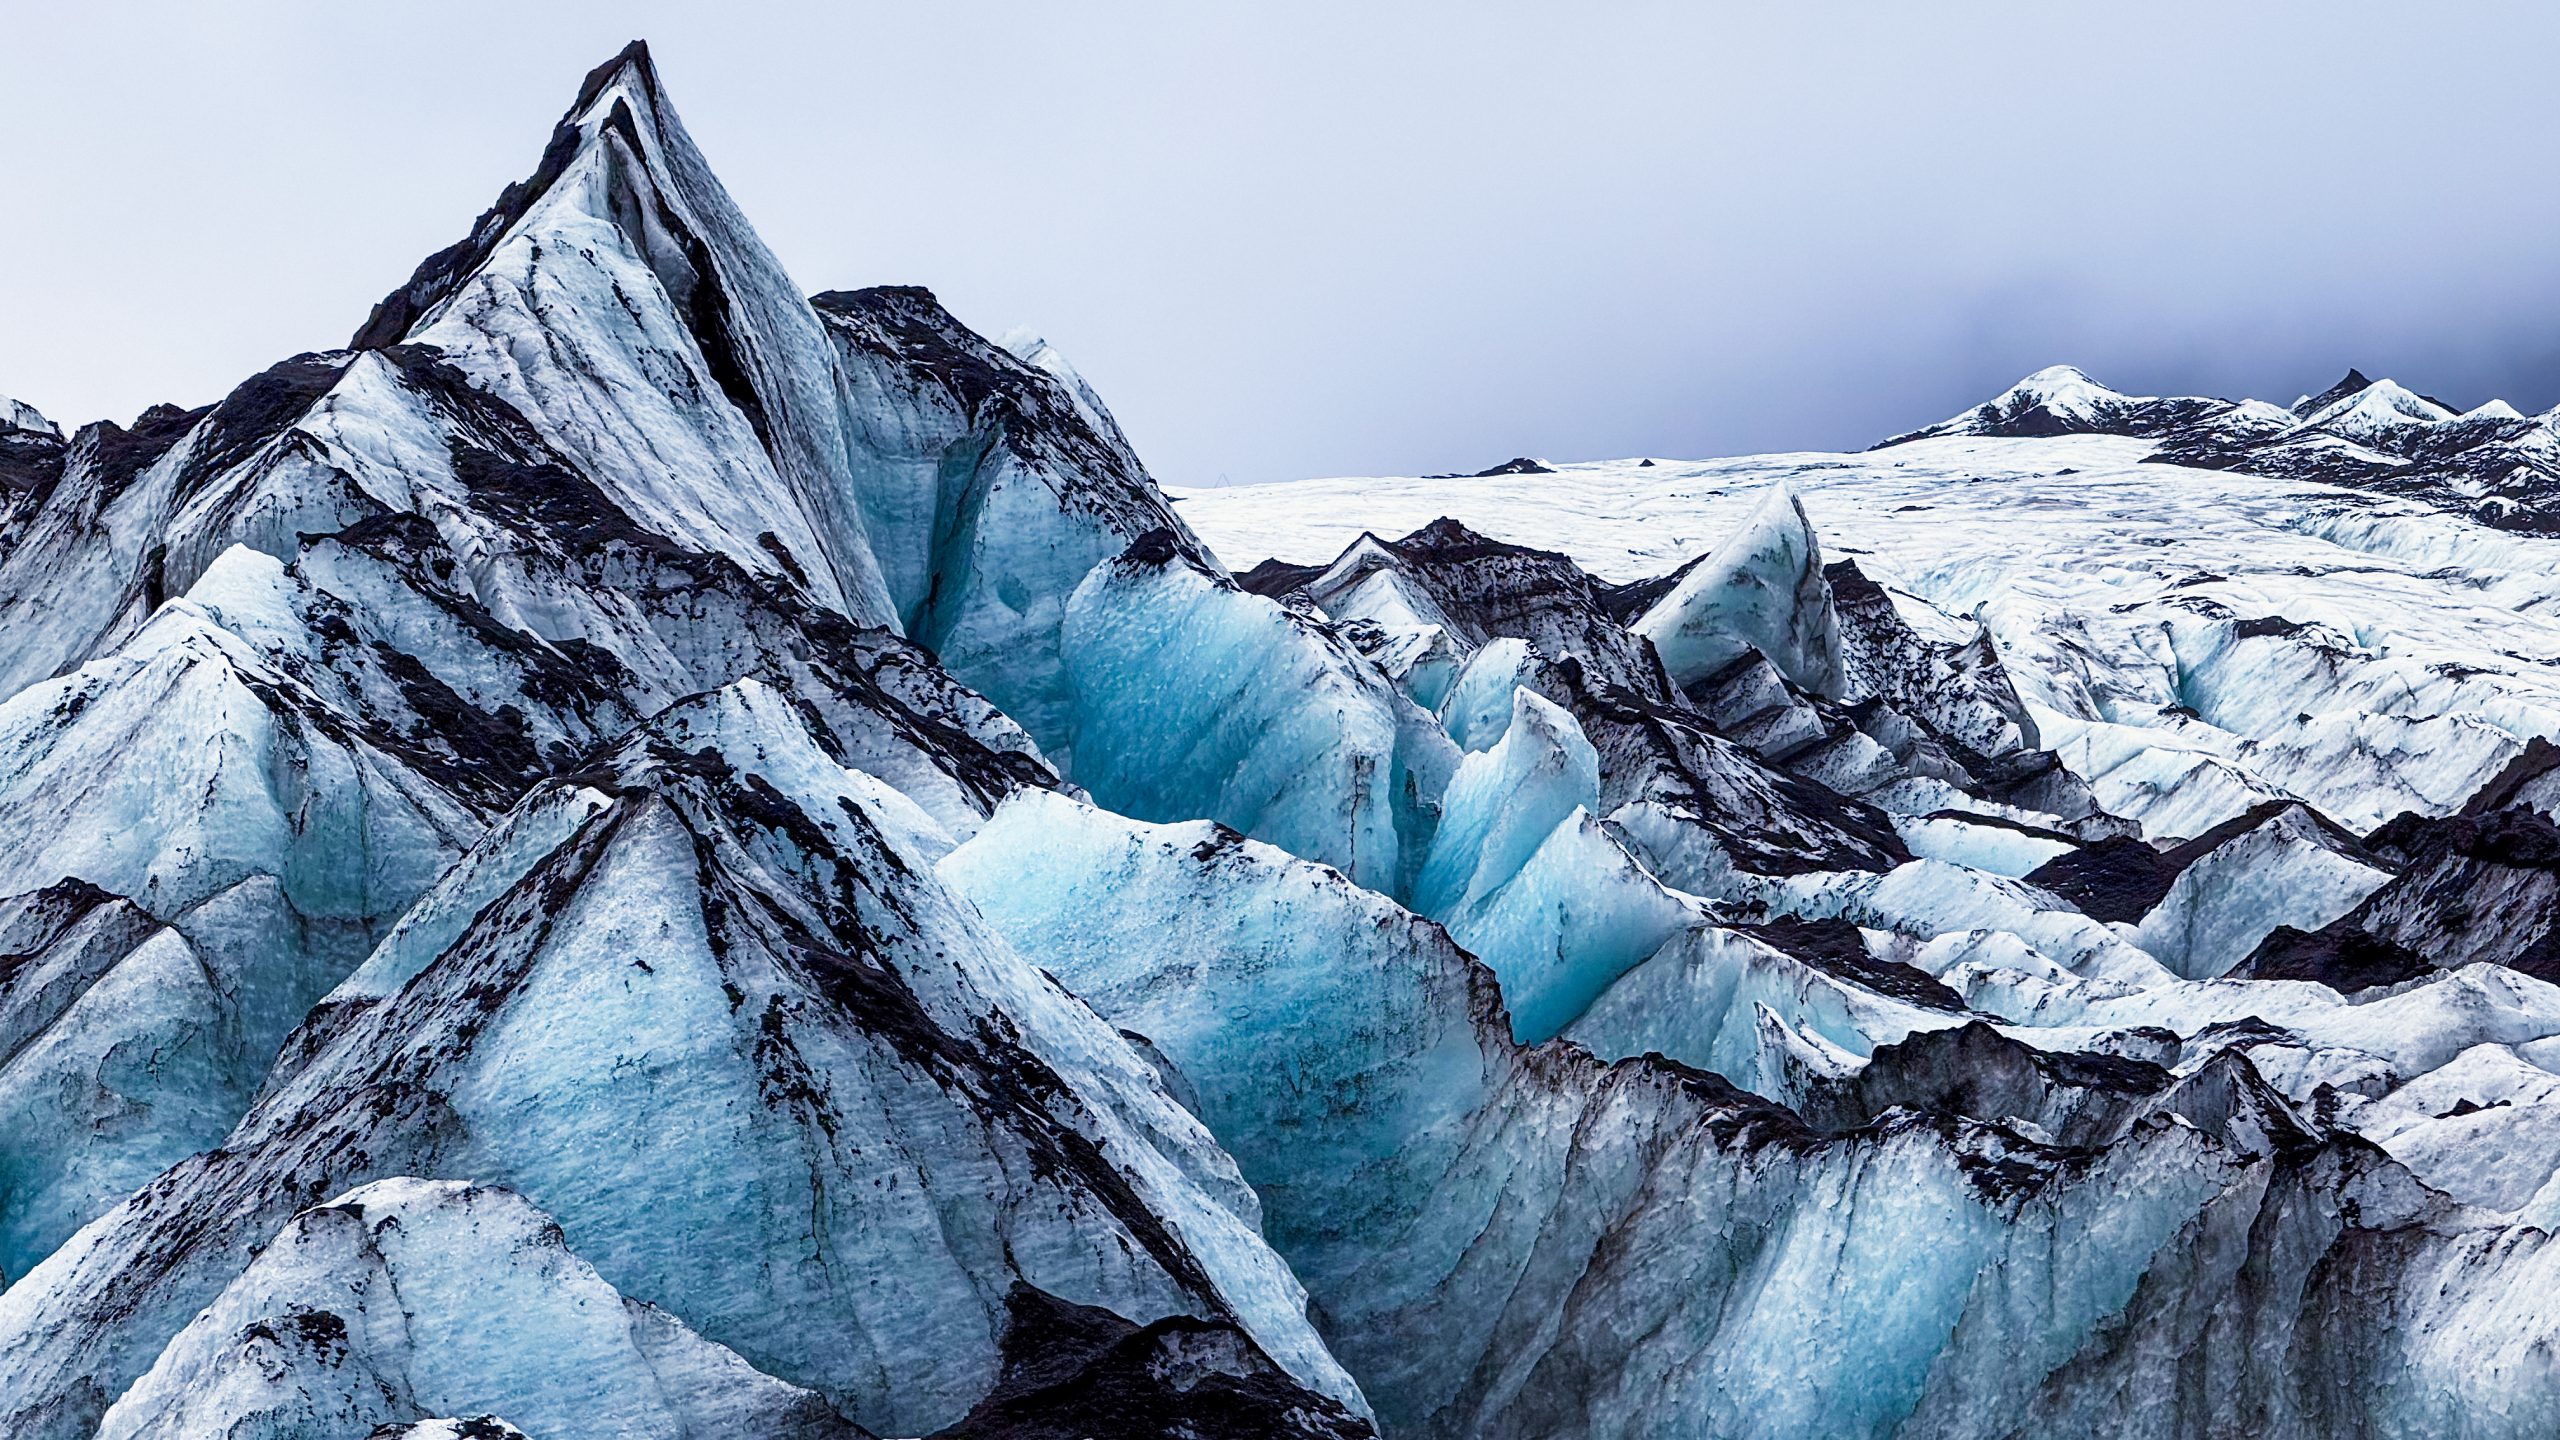
Play with Natural Frames and Scale
Framing and scale give your image context and a sense of place, and they’re especially powerful in big, open landscapes.
- Natural frames:
- Use trees, cave openings, archways, or overhanging rocks to frame the scene.
- Adds depth and draws the eye toward the subject.
- Scale:
- Include a person, a tent, an animal, or even a backpack to show the true size of the landscape.
- Works great in vast scenes like mountains or deserts, makes the viewer feel small (in the best way).
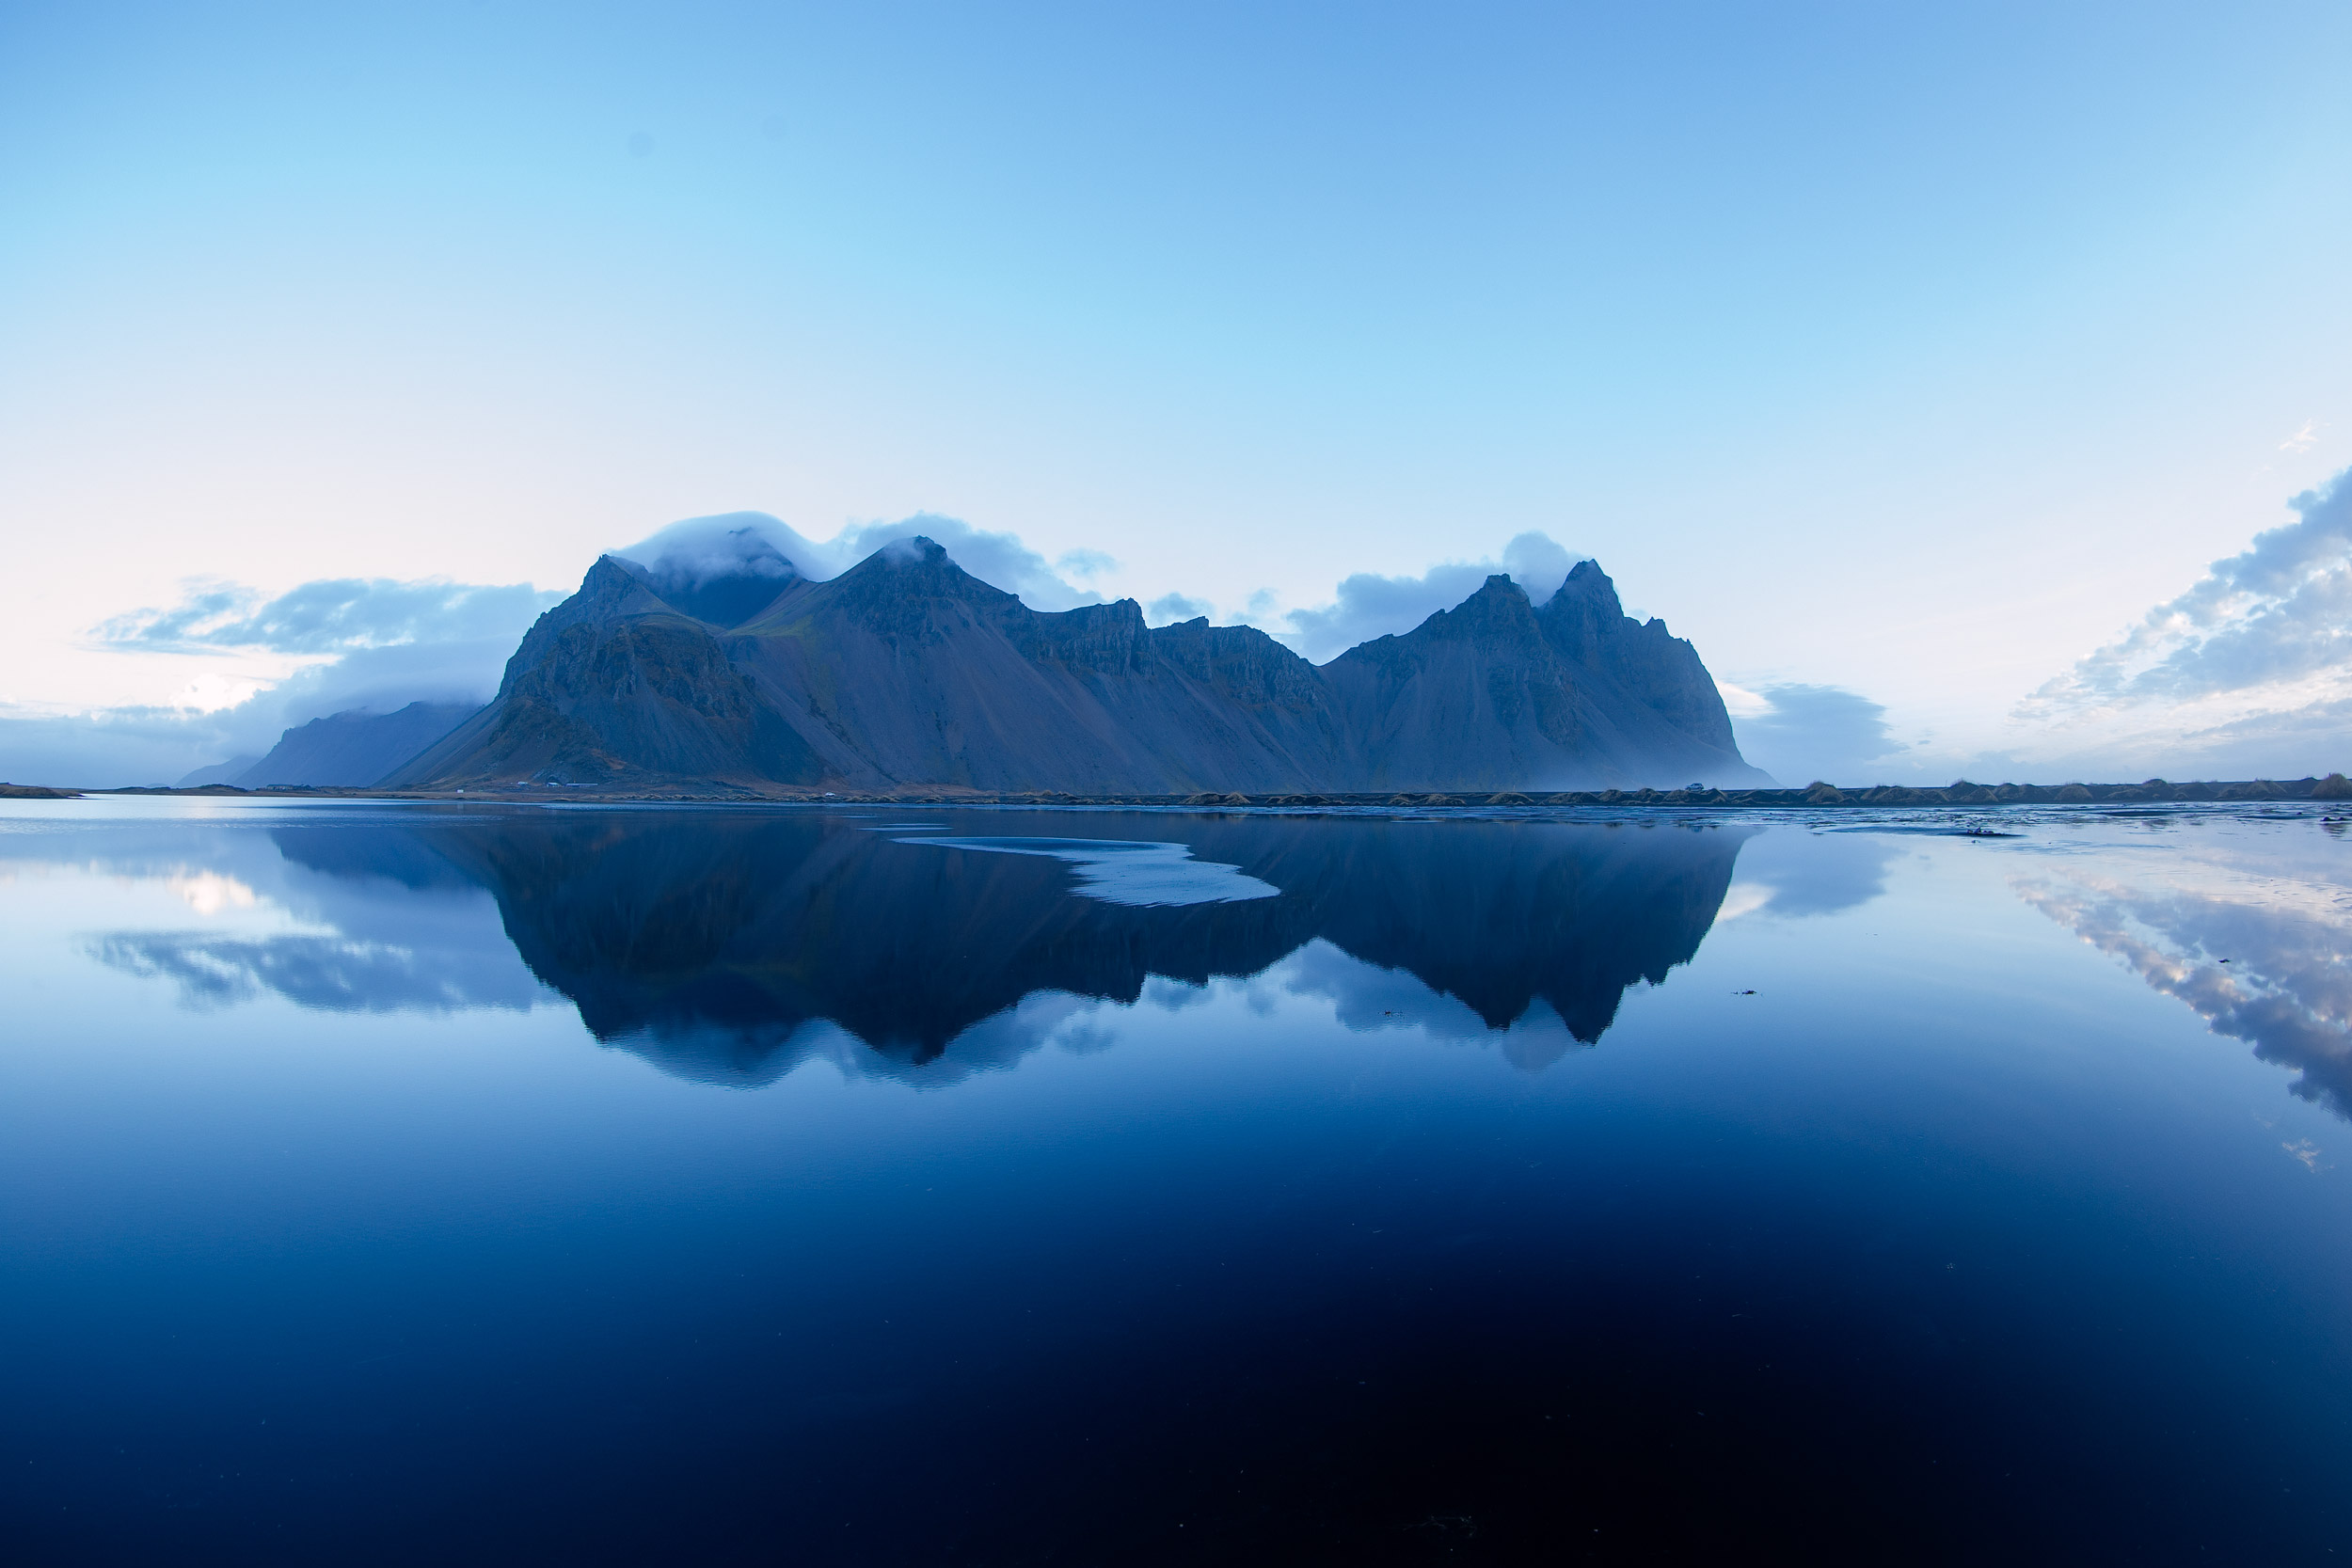
Use Reflections & Symmetry When They Appear
Reflections are like landscape photography cheat codes, if you find still water, use it!
- Look for lakes, ponds, puddles, or wet sand after a tide.
- Centred compositions work really well here; symmetry is the one time it’s okay (even powerful) to break the rule of thirds.
- Just make sure the horizon is perfectly level, it’s super noticeable if it’s off (but you can always straighten it in post!)
[Related Reading: https://www.diyphotography.net/this-is-why-we-need-composition-rules-in-landscape-photography/]
Advanced Techniques for Landscape Photography
Once you’ve nailed the basics (good light, sharp focus, solid composition), it’s time to push things further. These advanced techniques let you tackle more challenging scenes, maximise detail, and create images that stand out from the crowd.
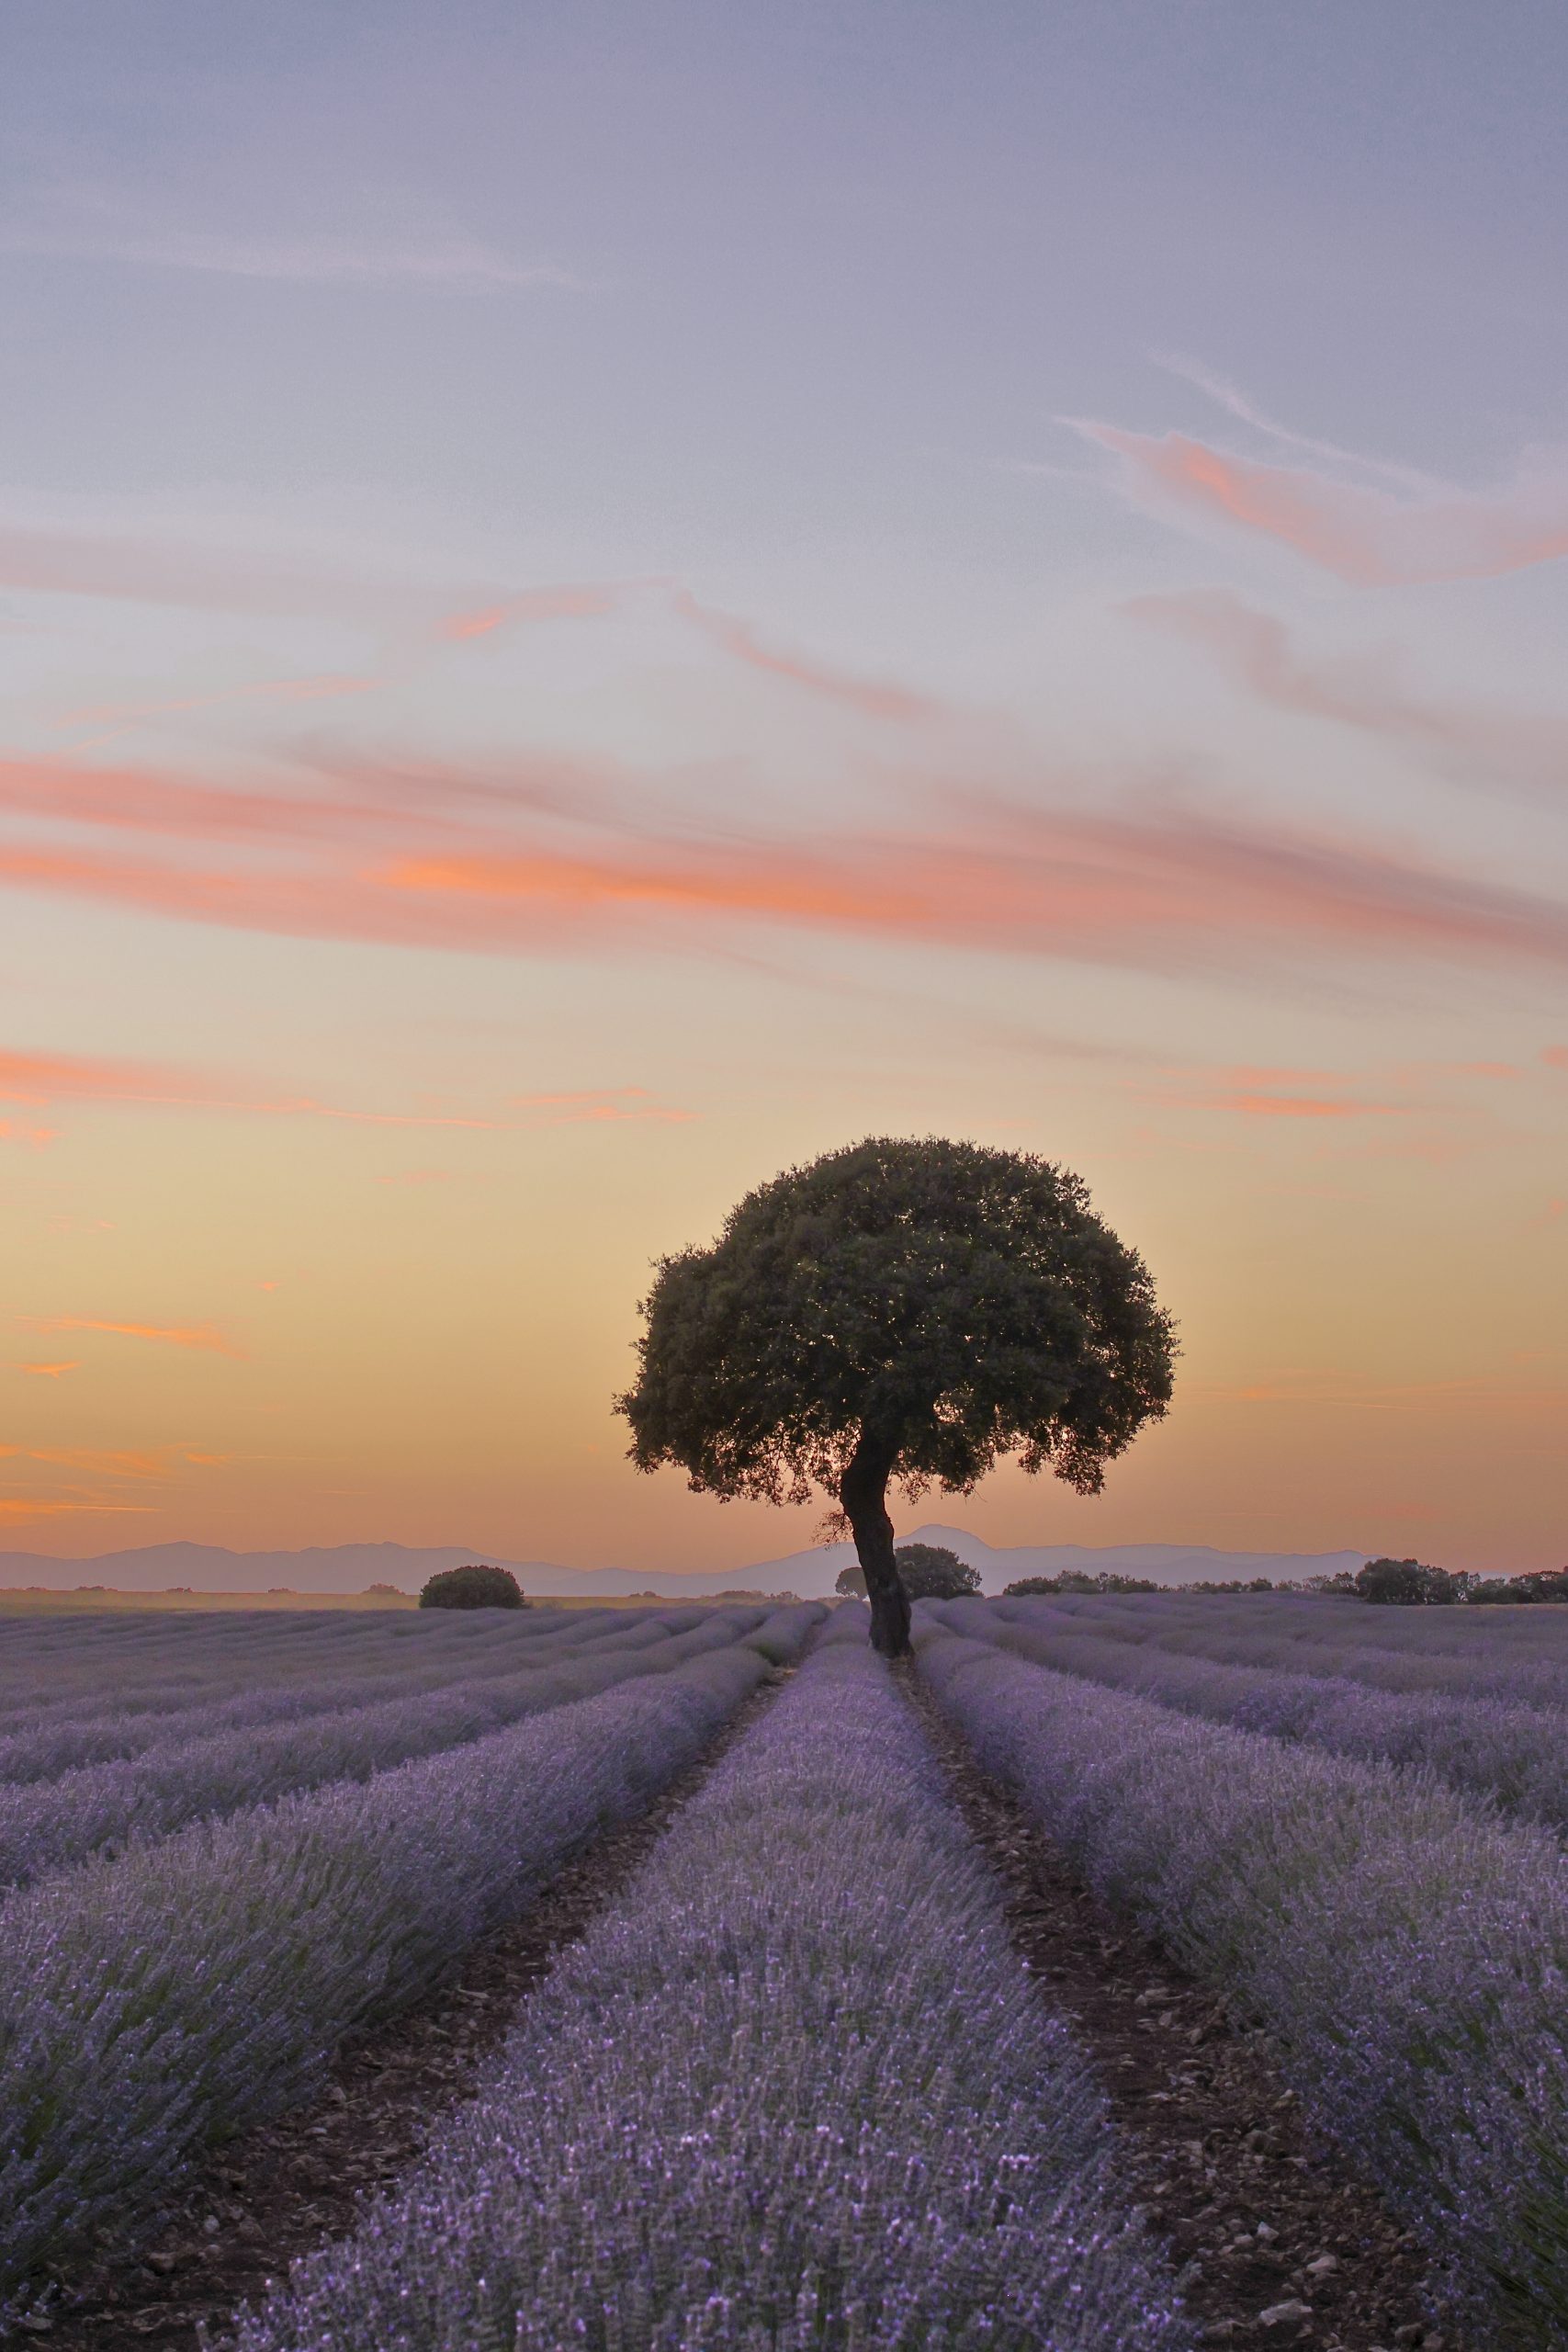
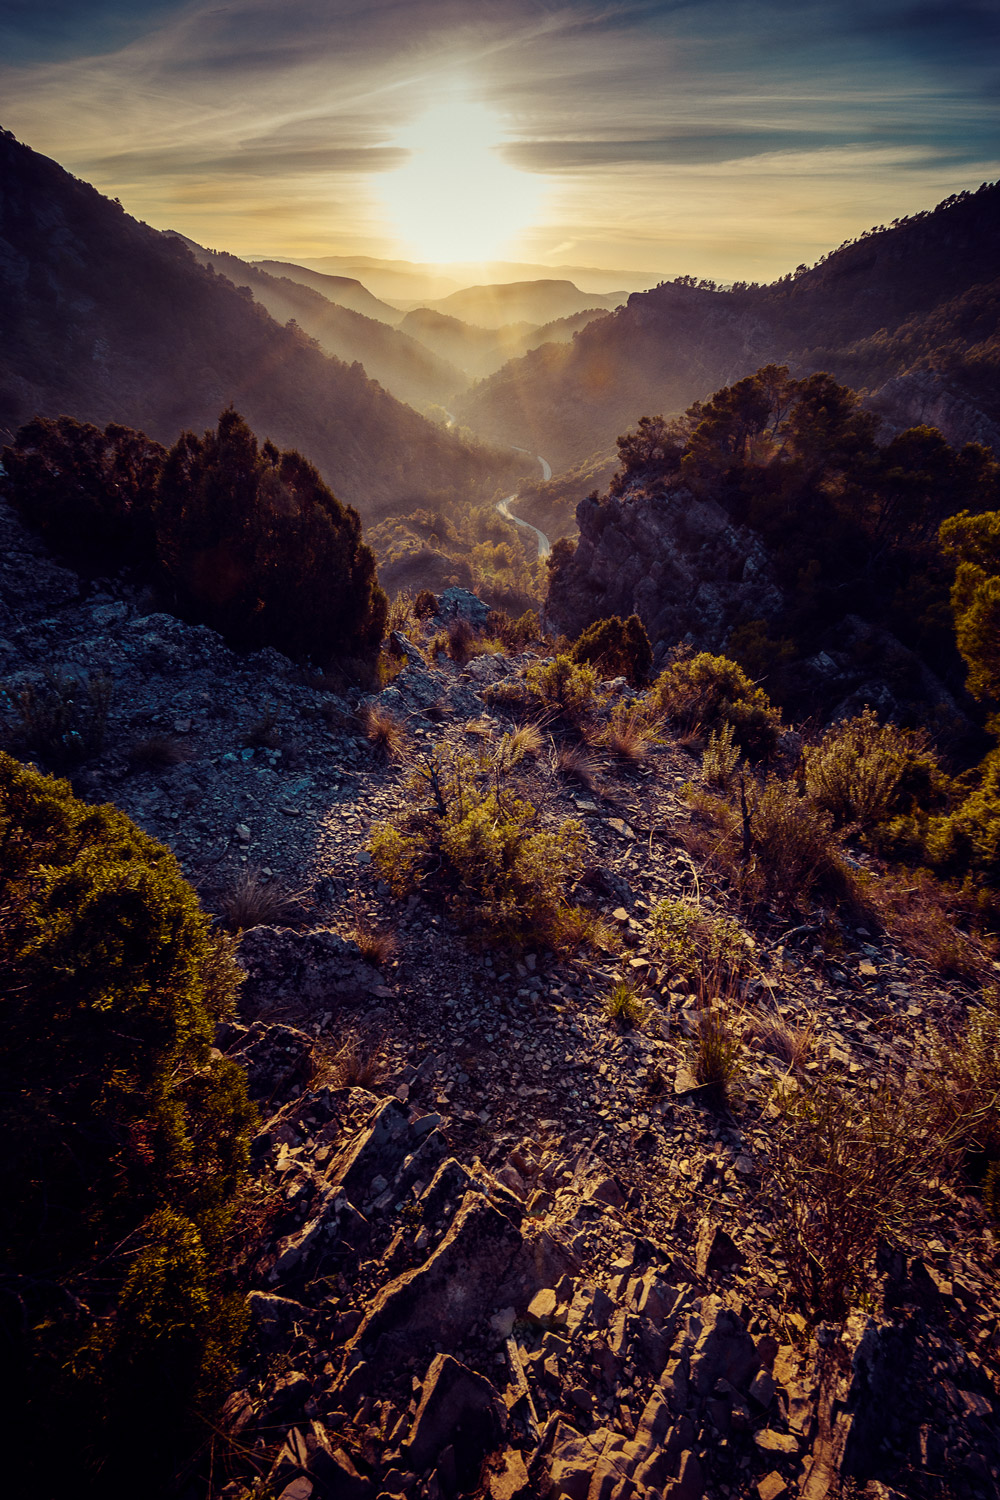
Focus Stacking: Everything Sharp, Front to Back
Ever had a killer foreground and background, but couldn’t get both in perfect focus? That’s where focus stacking comes in. Of course, if you get your hyperfocal distance correct, you might not need to use this, but it’s a great tool to have up your sleeve just in case.
- What it is: Taking multiple shots of the same scene, each focused at a different point (foreground, midground, background).
- How to do it:
- Use a tripod so nothing shifts.
- Start by focusing close, then slowly adjust focus deeper into the frame.
- Blend the images later using Photoshop or software like Helicon Focus.
Exposure Blending & HDR: Balance Tricky Light
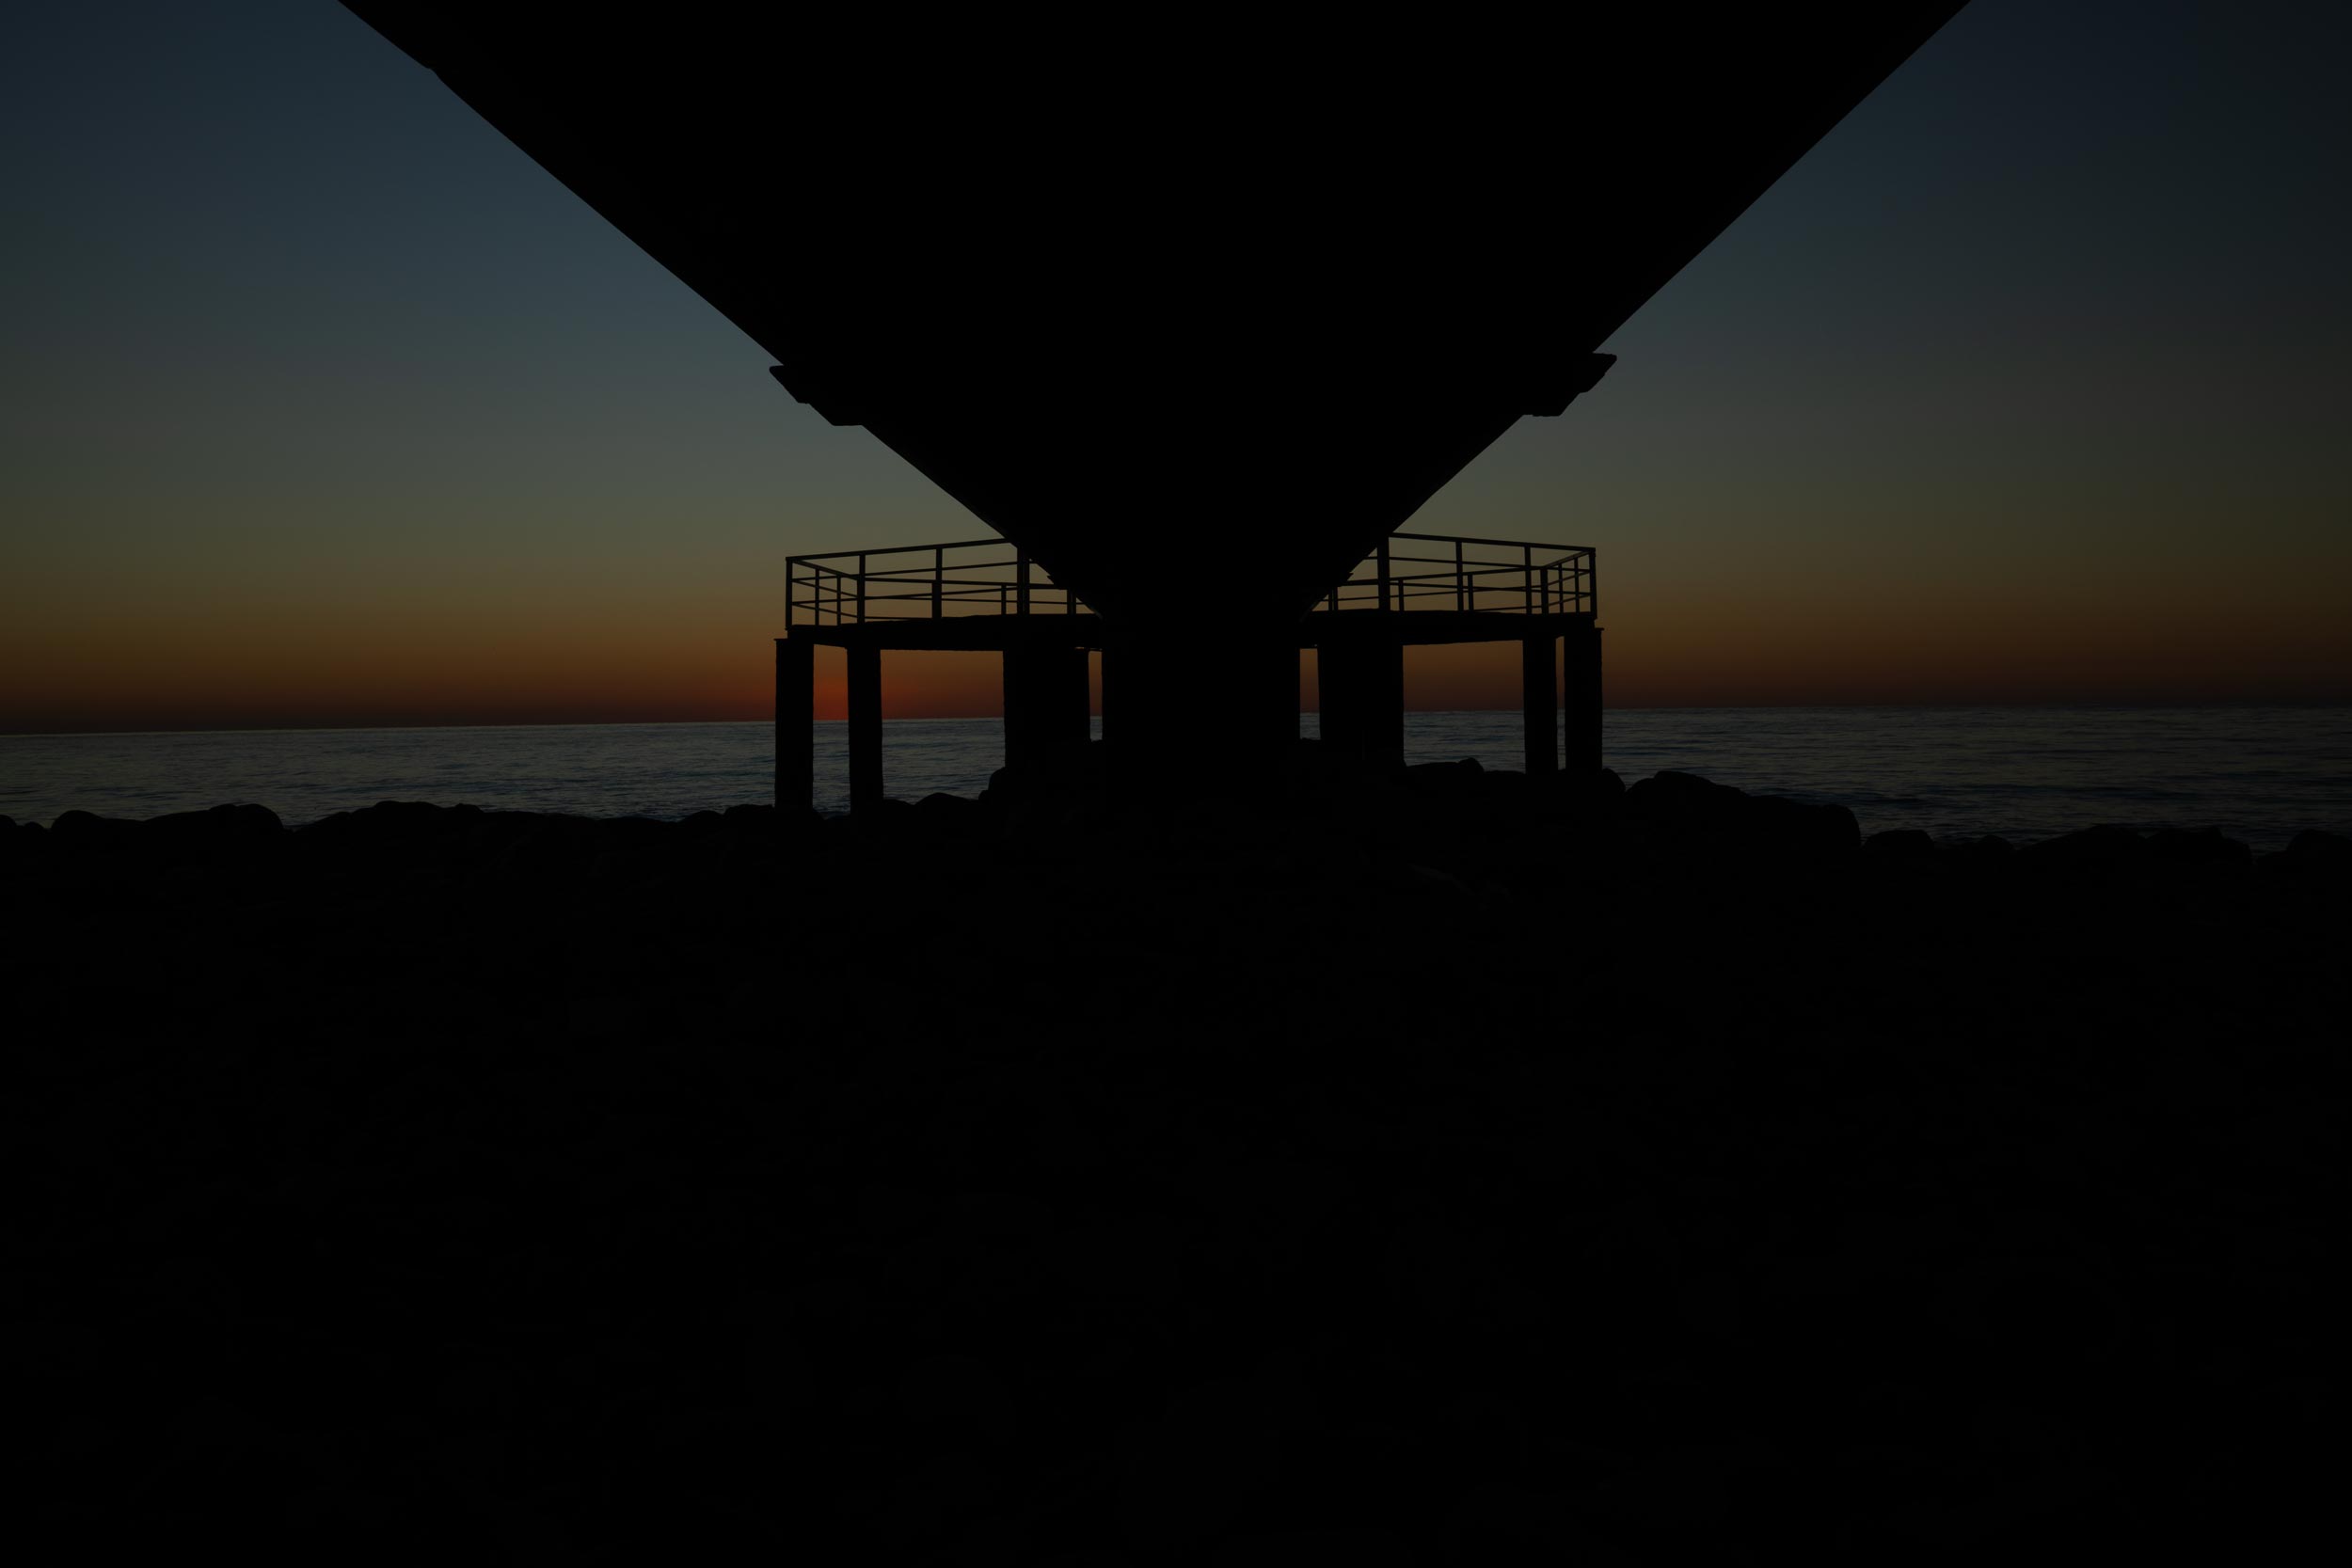
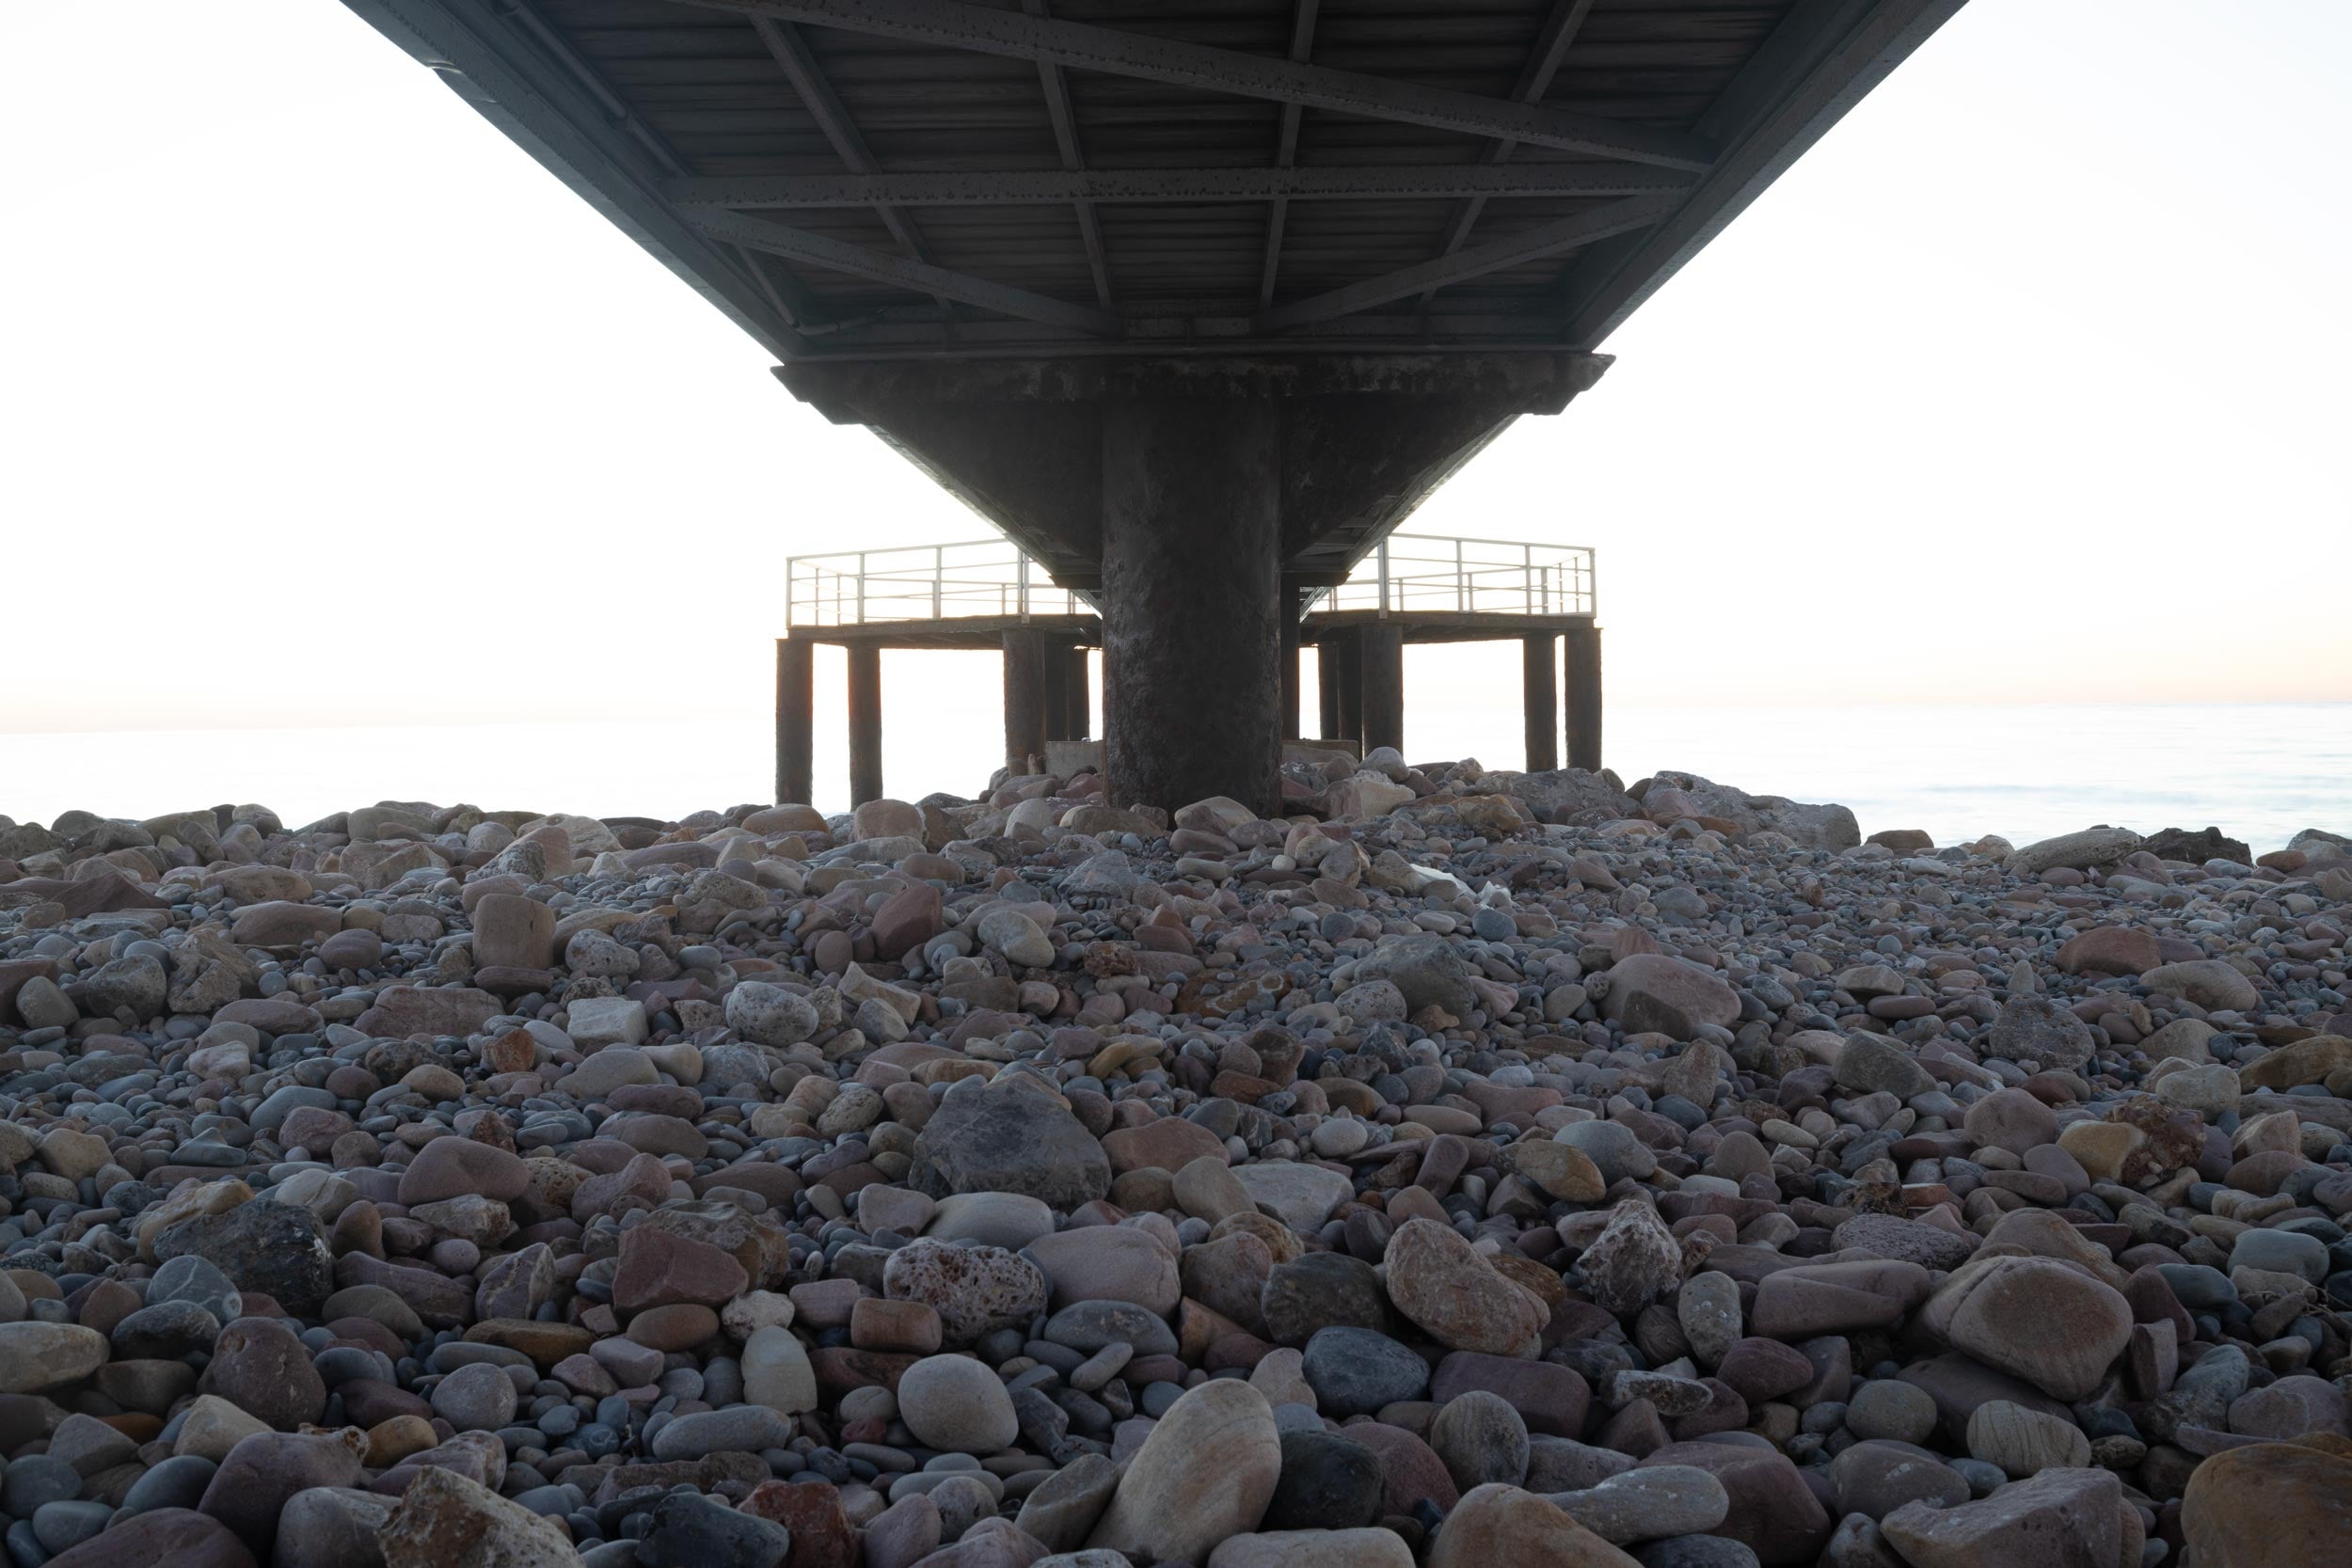
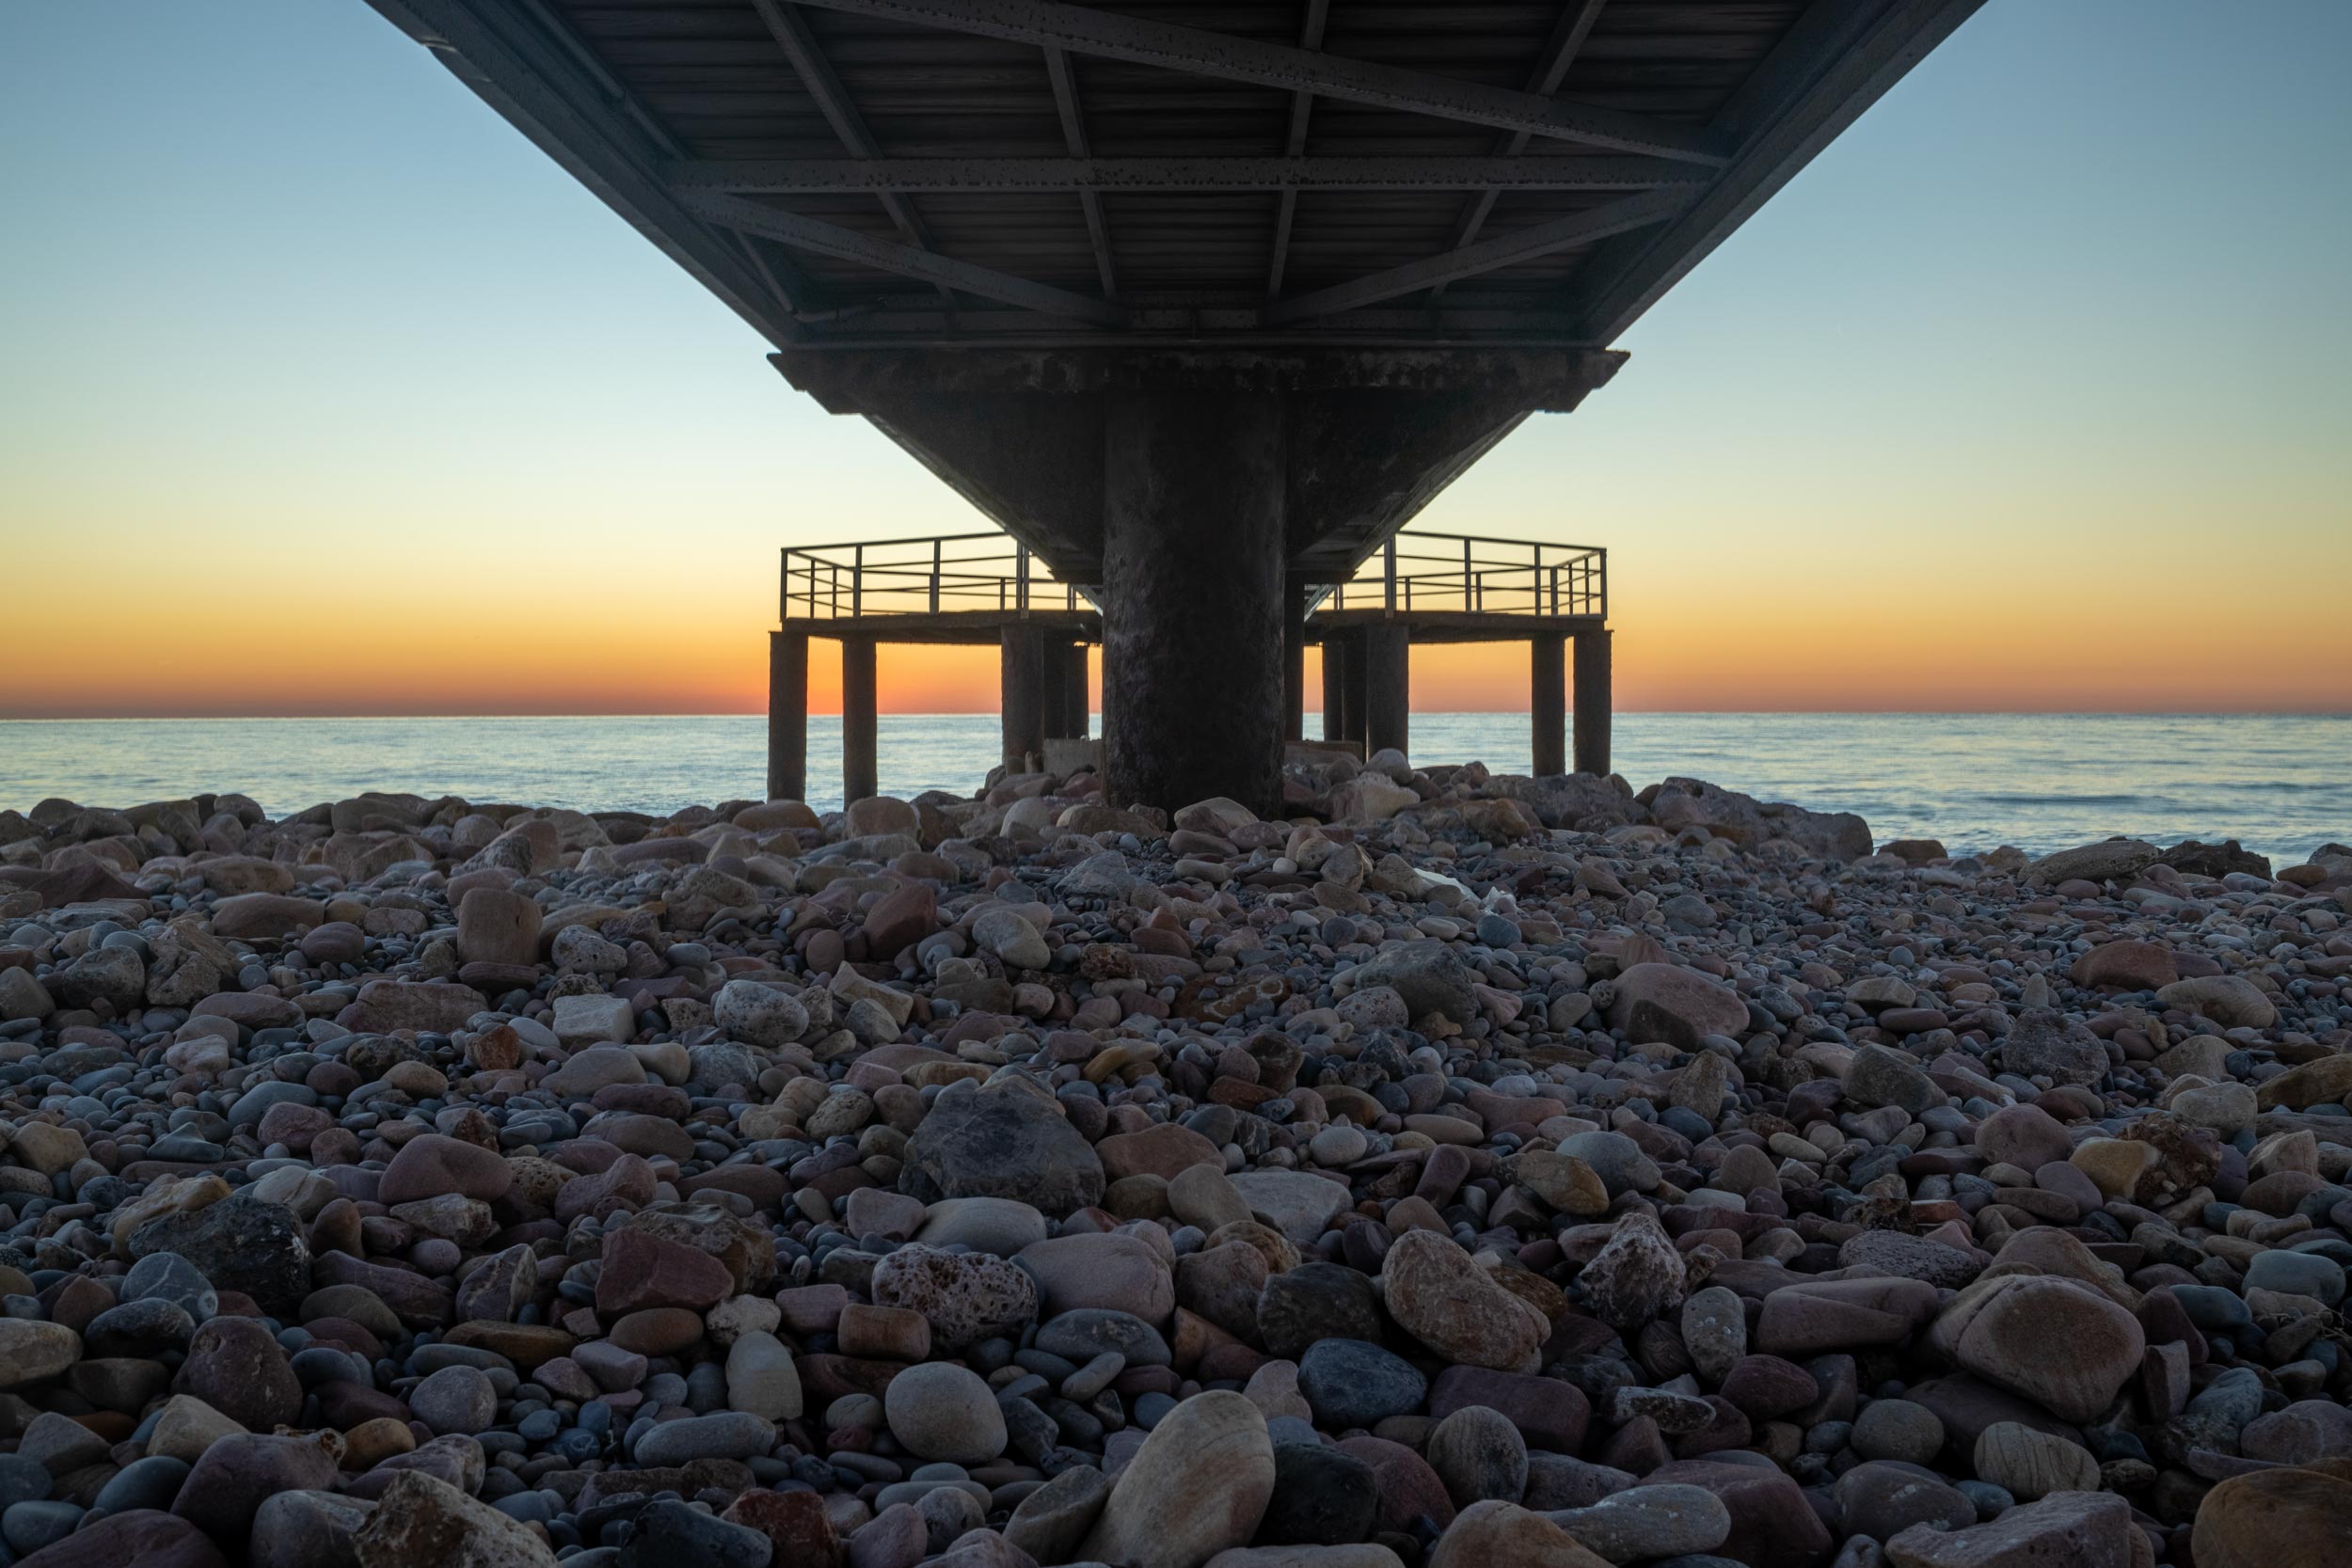
Is HDR a little too much for you? If your highlights are blown out or shadows are crushed, try exposure blending. It’s like a soft version of HDR without the neon.
- Bracket your exposures (e.g., -2 / 0 / +2 EV).
- Blend them manually in Photoshop using masks, or let Lightroom’s HDR merge do the heavy lifting.
- This keeps skies from blowing out and retains foreground detail, especially useful during sunrise/sunset or when shooting toward the light.
Pro tip: Always shoot in RAW, it gives you more wiggle room even without bracketing.
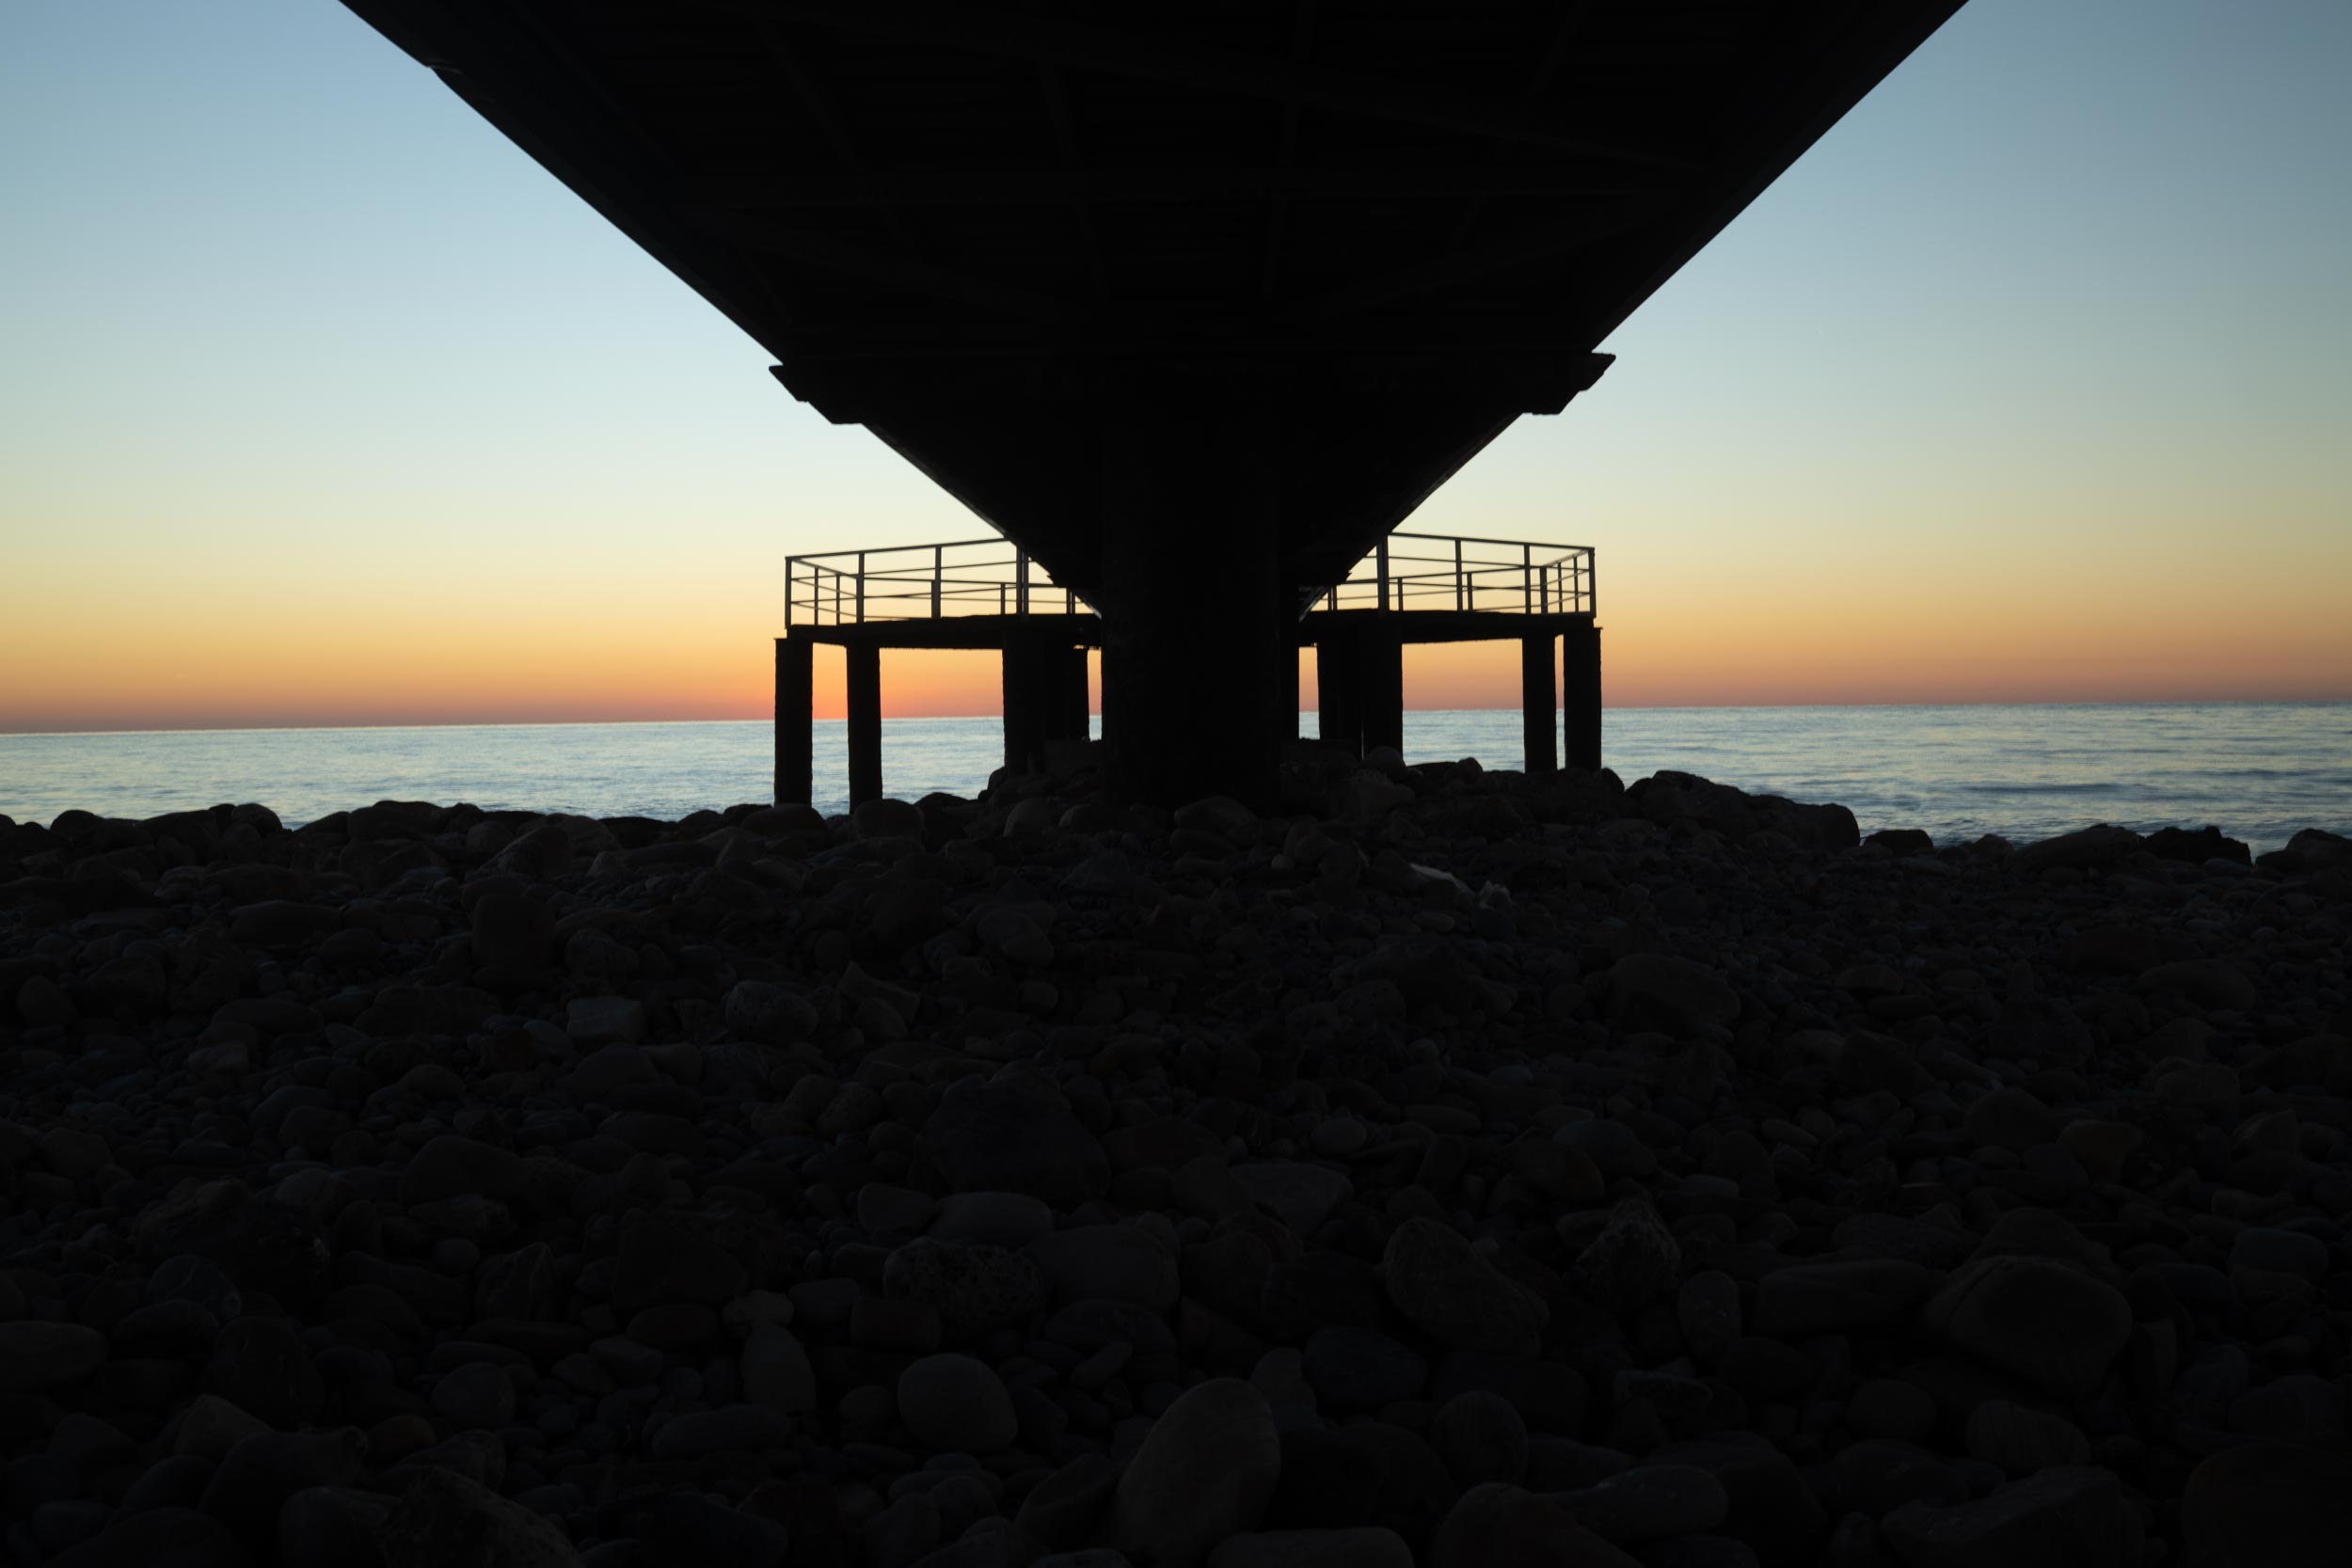
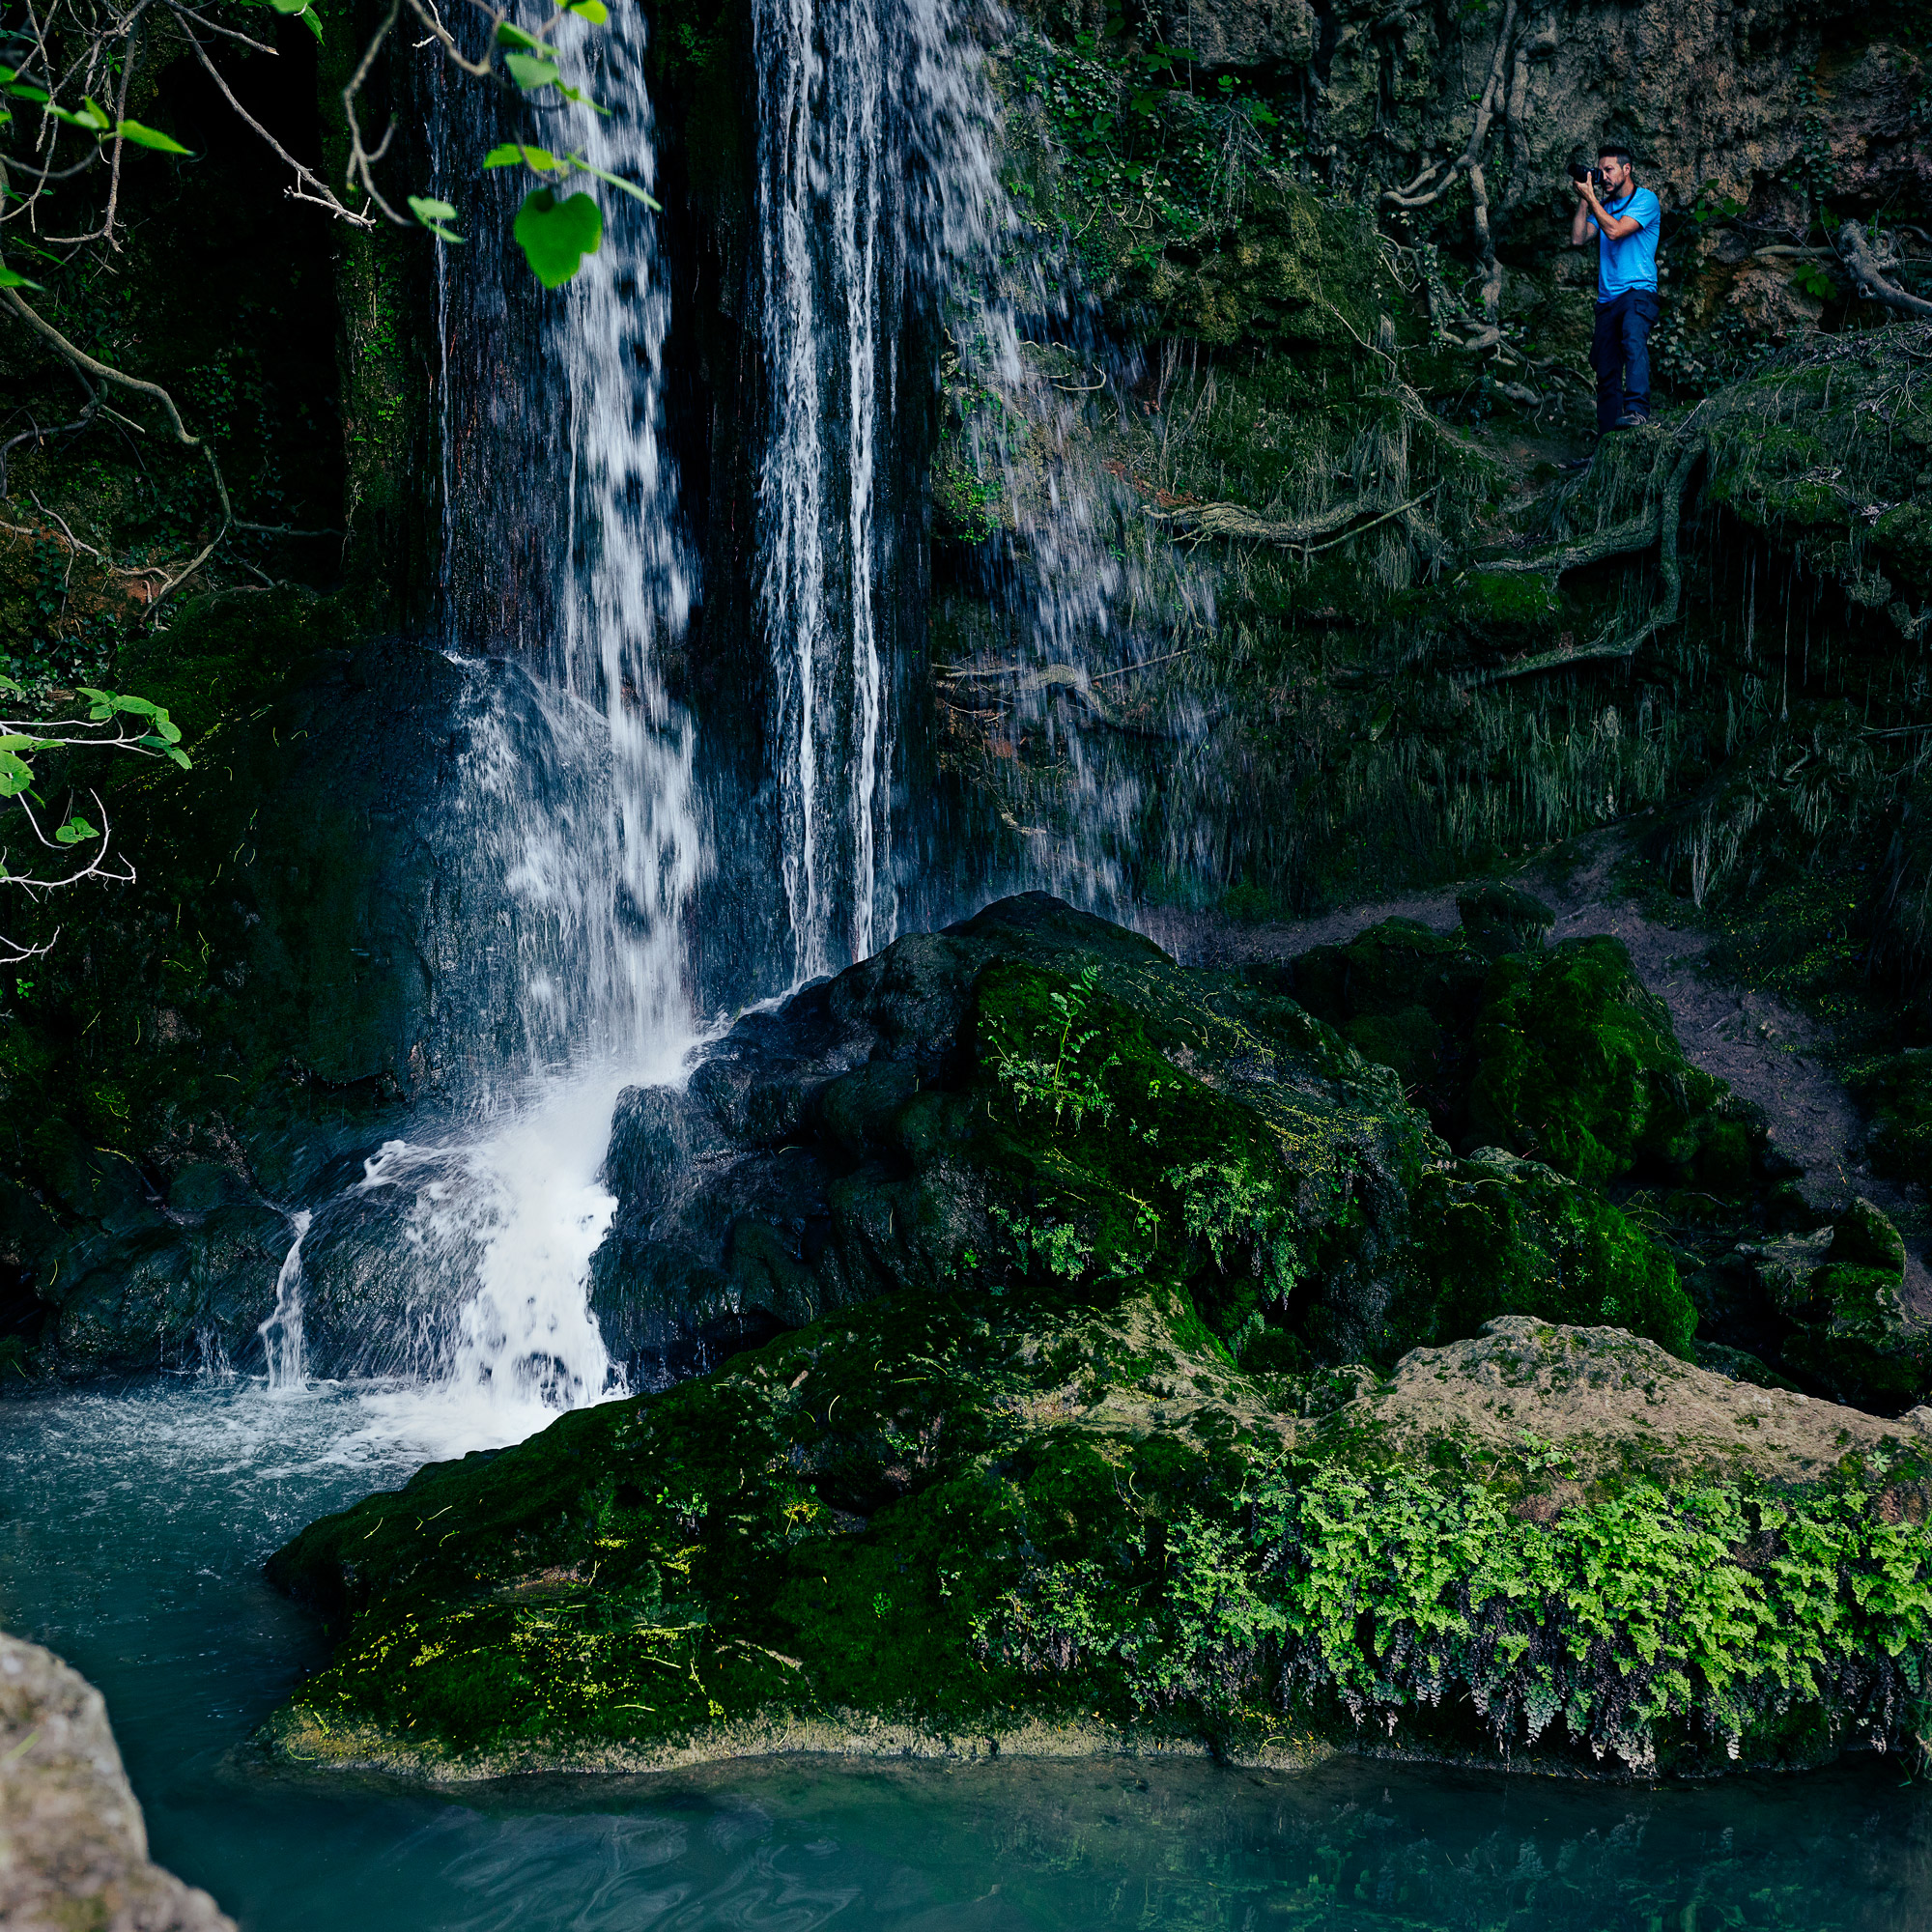
Long Exposures
Long exposures can add drama, atmosphere, or surreal calm to a scene.
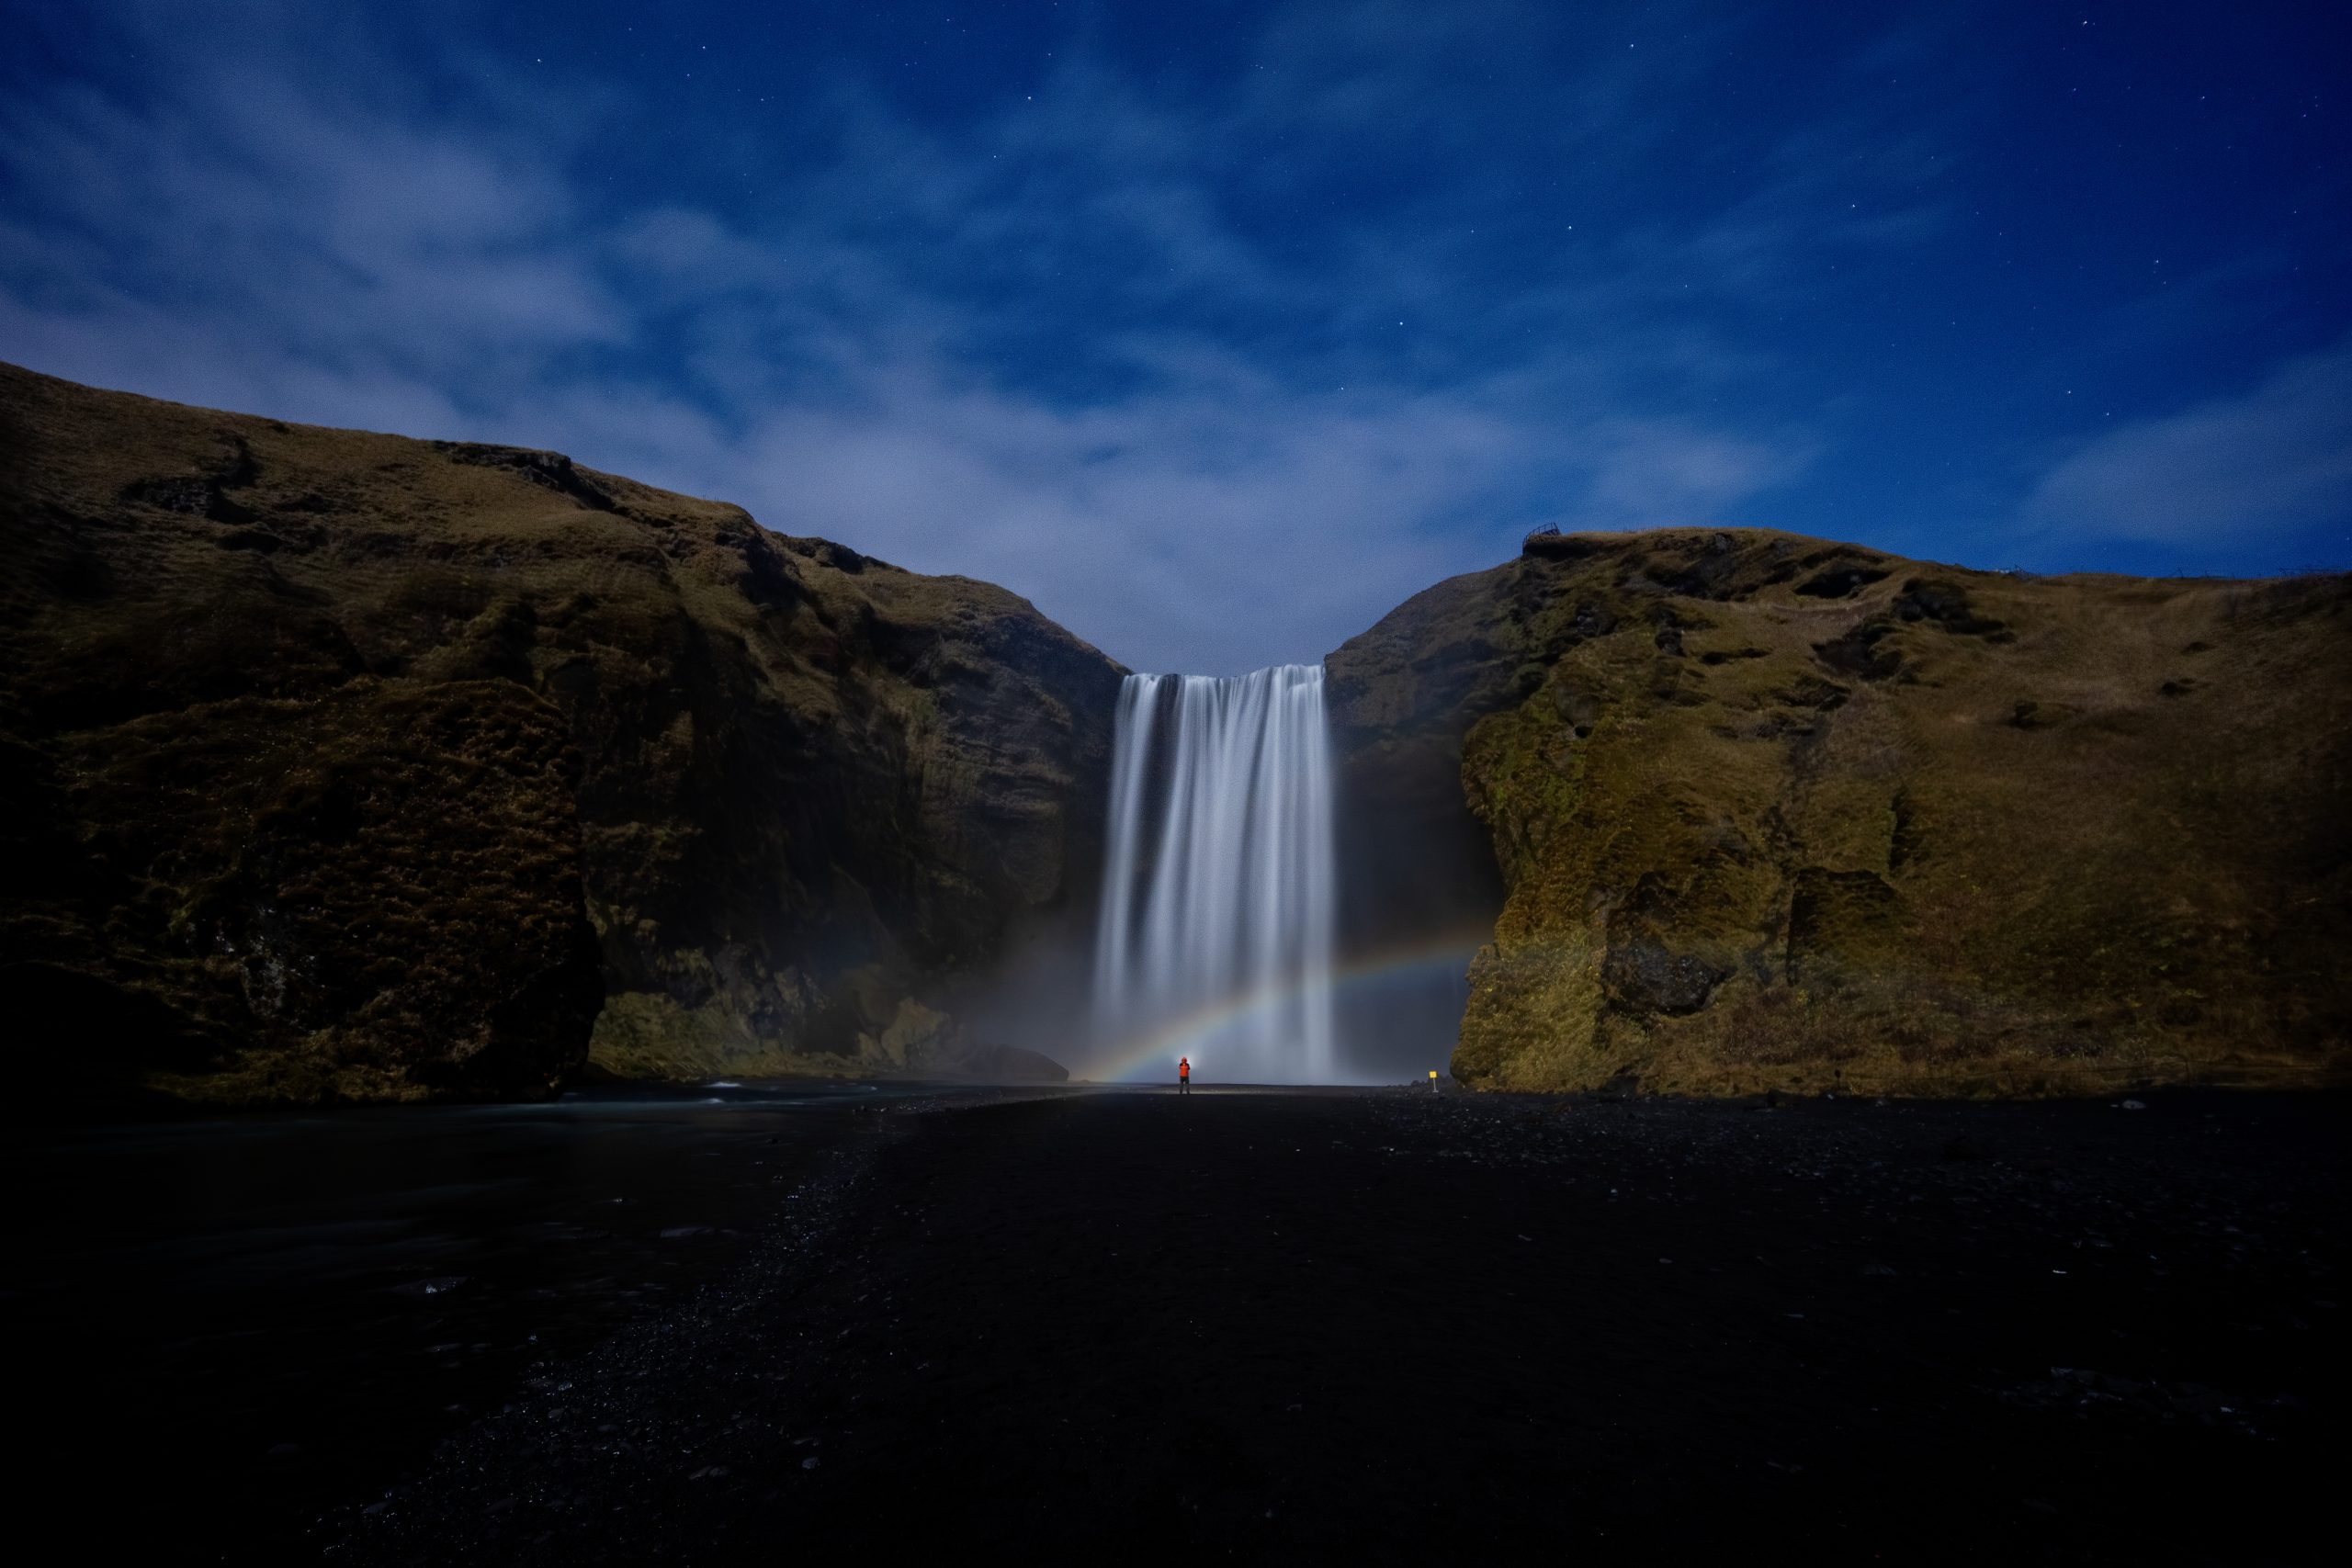
- Waterfalls & rivers: Slow shutter (~0.5 to 2+ seconds) turns moving water silky.
- Cloud streaks: Try 30 seconds to several minutes for epic sky movement.
- Night skies: 10–30 second exposures for stars; much longer for star trails (use stacking to reduce noise).
You’ll need:
- A tripod
- A remote shutter or a 2-second timer
- ND filters (neutral density) to cut light for longer daytime exposures
Time-Lapse & Panoramas: Capture More Than a Moment
- Time-lapse:
- Set your camera to interval shooting (every few seconds or minutes).
- Combine the frames in software like Lightroom, LRTimelapse, or Premiere Pro.
- Amazing for moving clouds, tides, or shifting light over mountains.
- Panoramic Stitching:
- Rotate your camera horizontally (ideally with a pano head, but handheld can work).
- Overlap each frame by ~30%.
- Stitch the shots together in Lightroom or Photoshop for ultra-wide scenes.
Tip: Shoot vertically for panos, it gives you more height in the final crop.
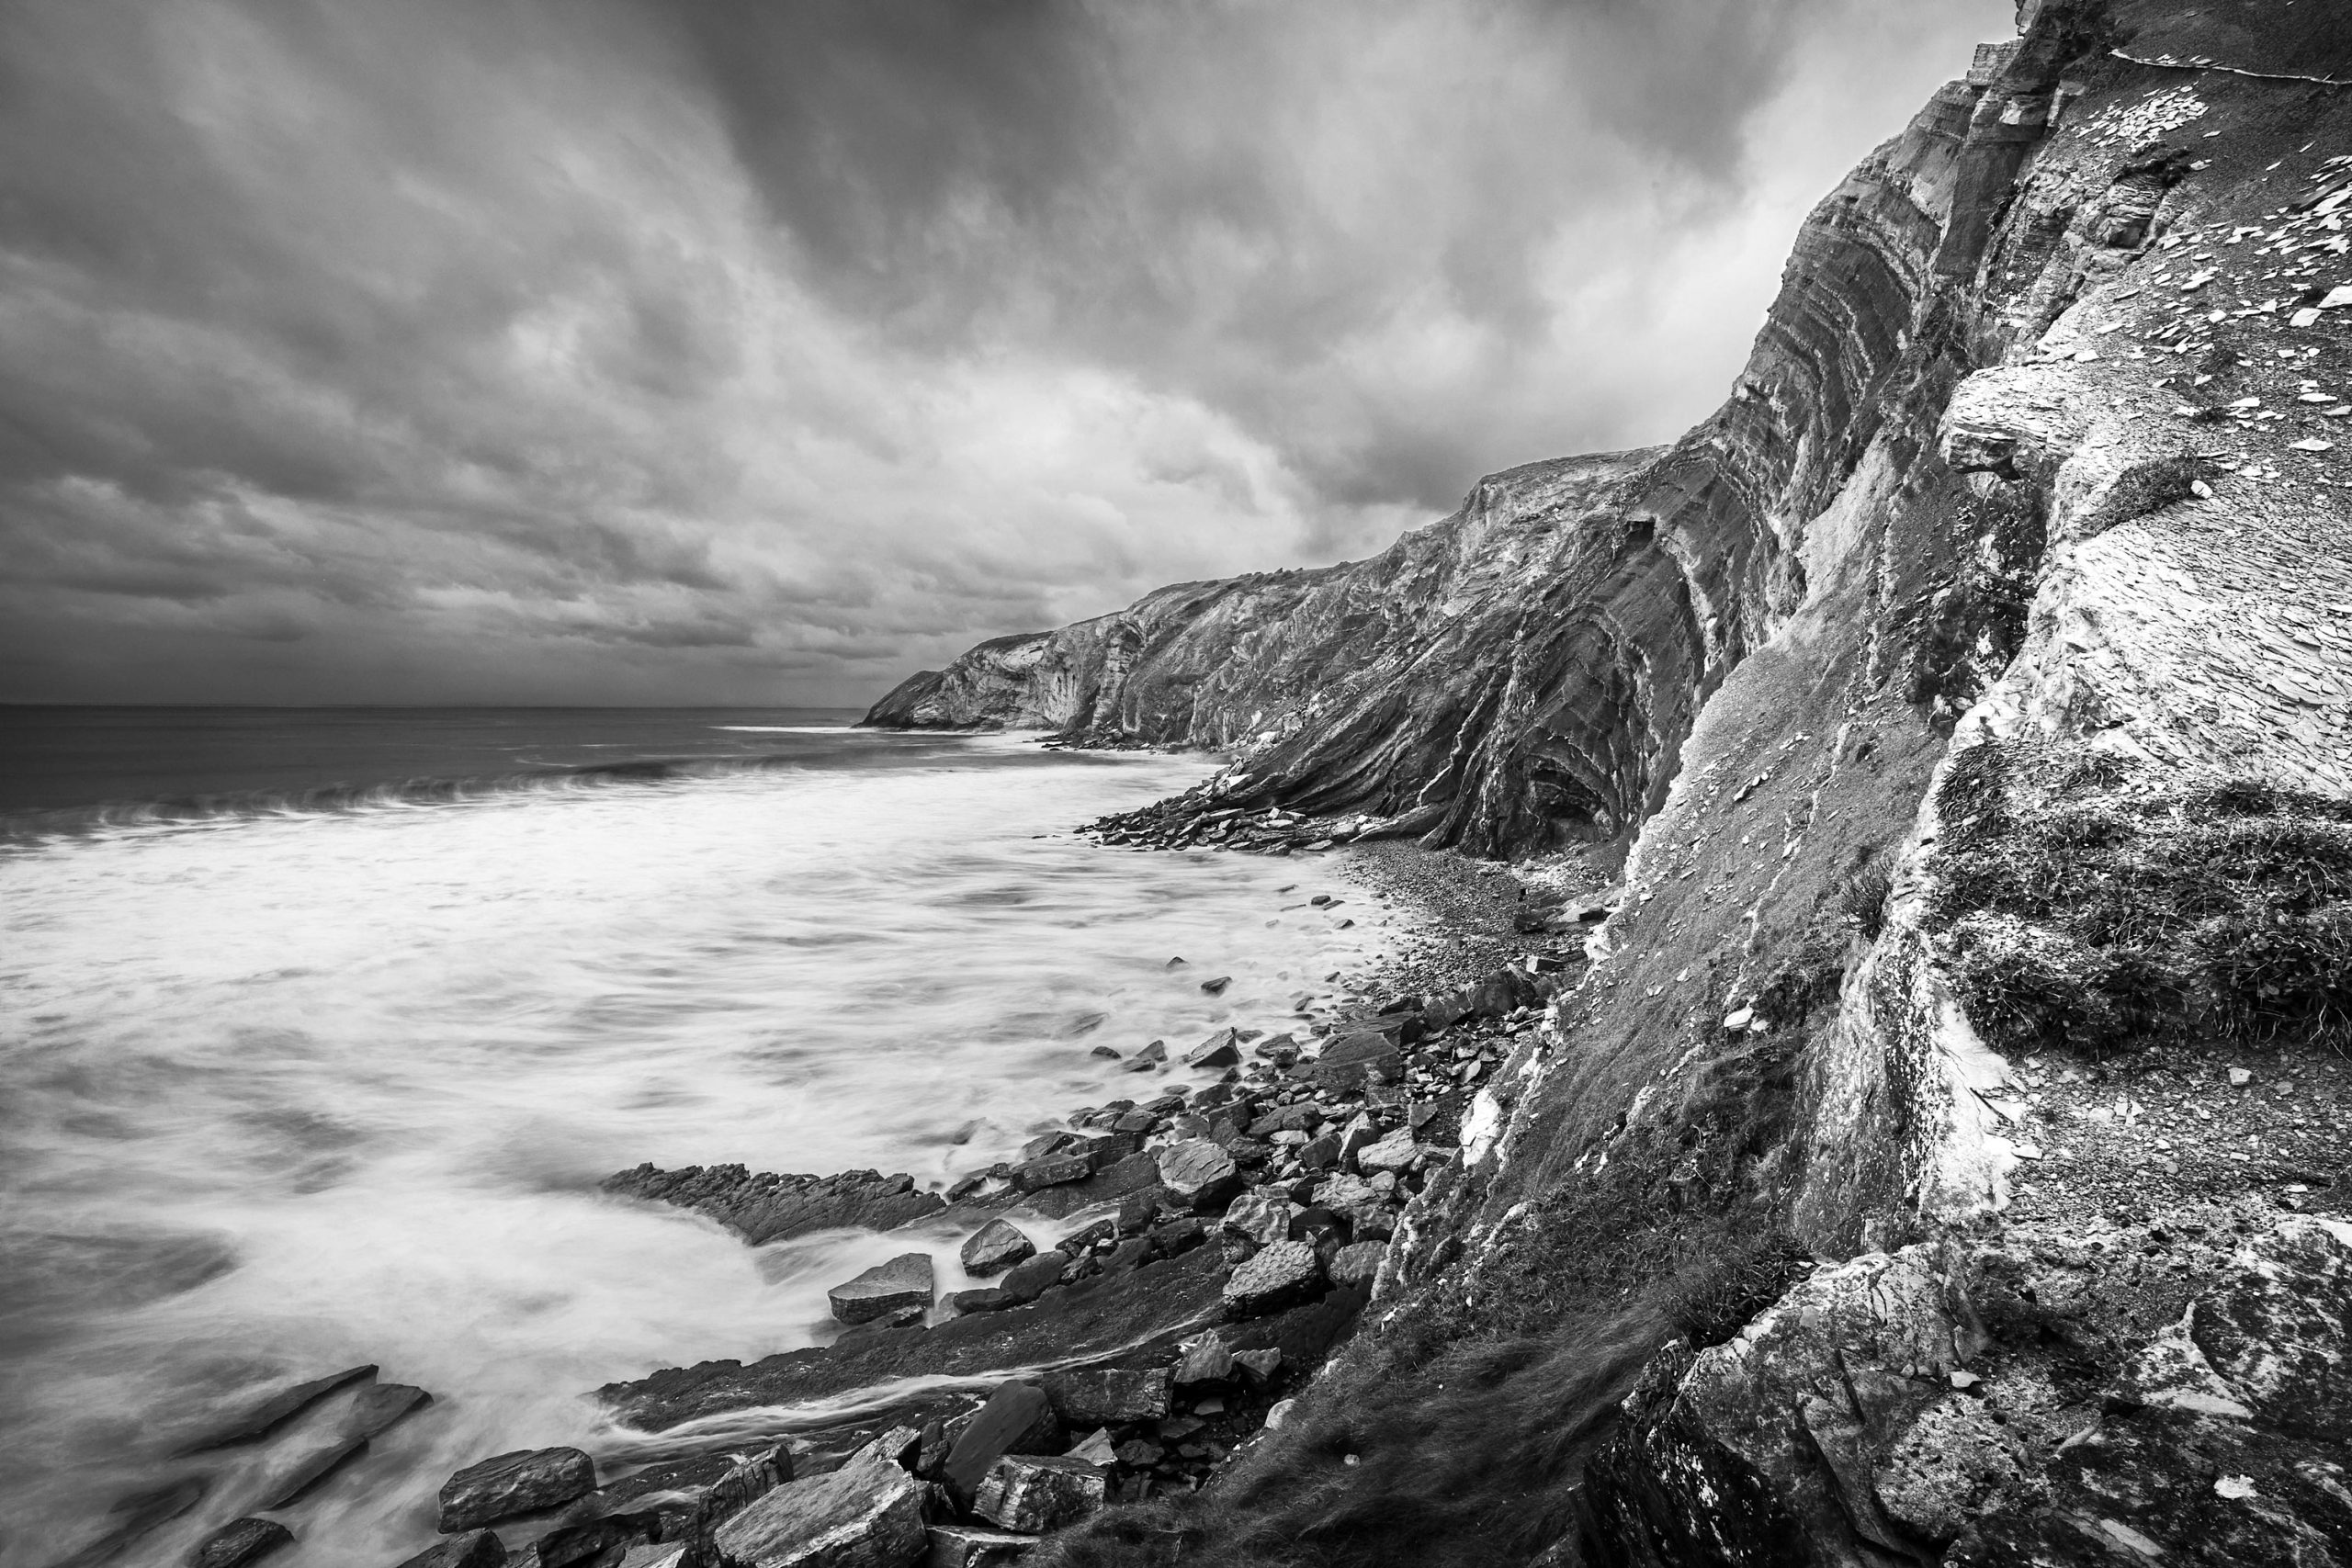
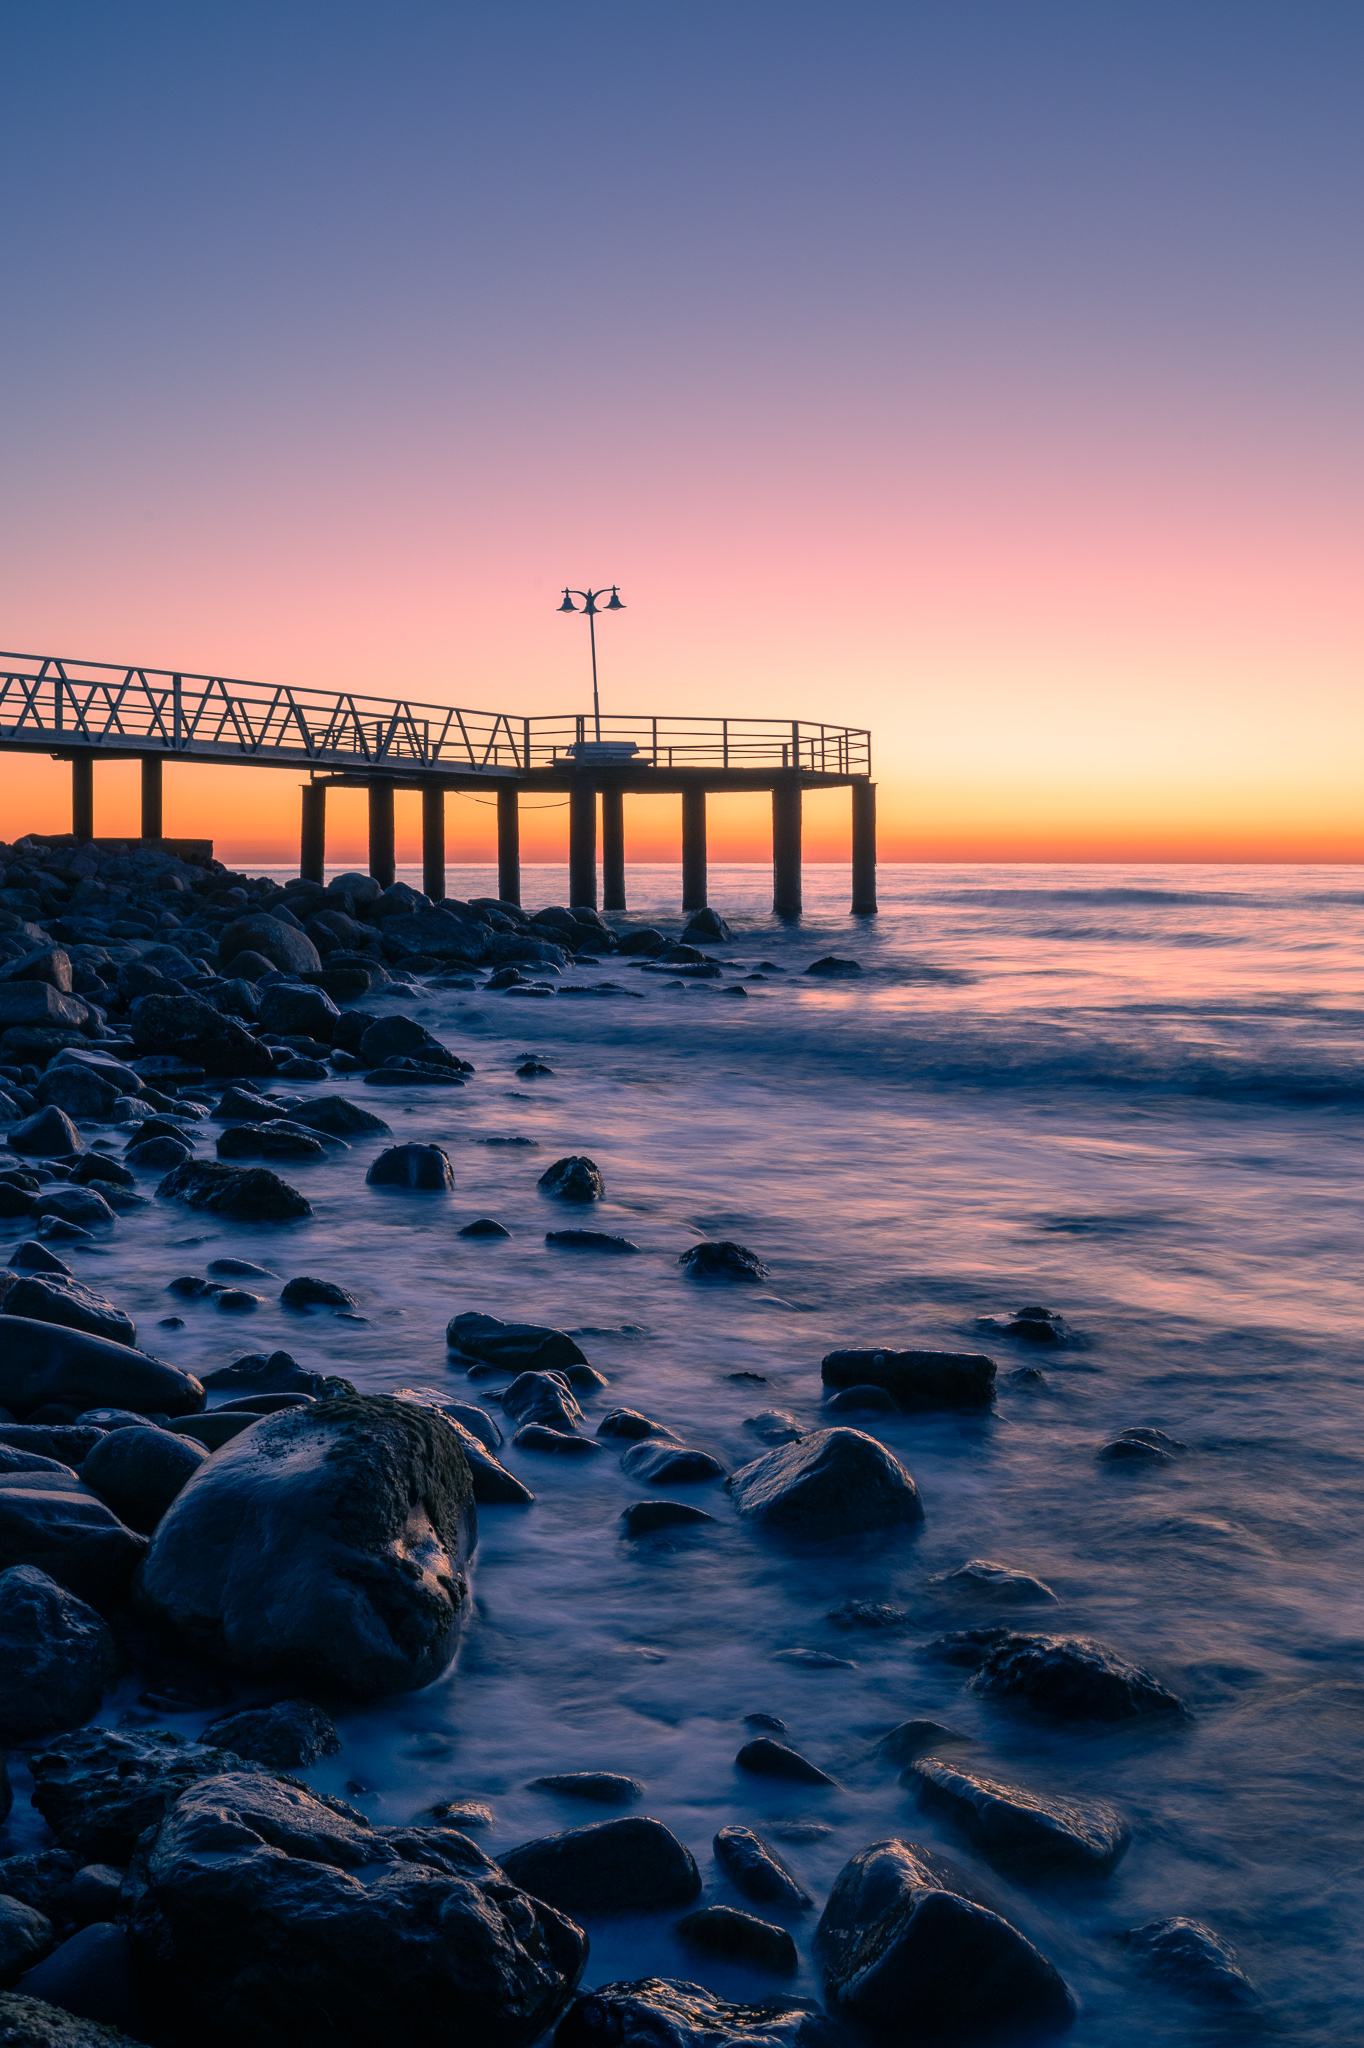
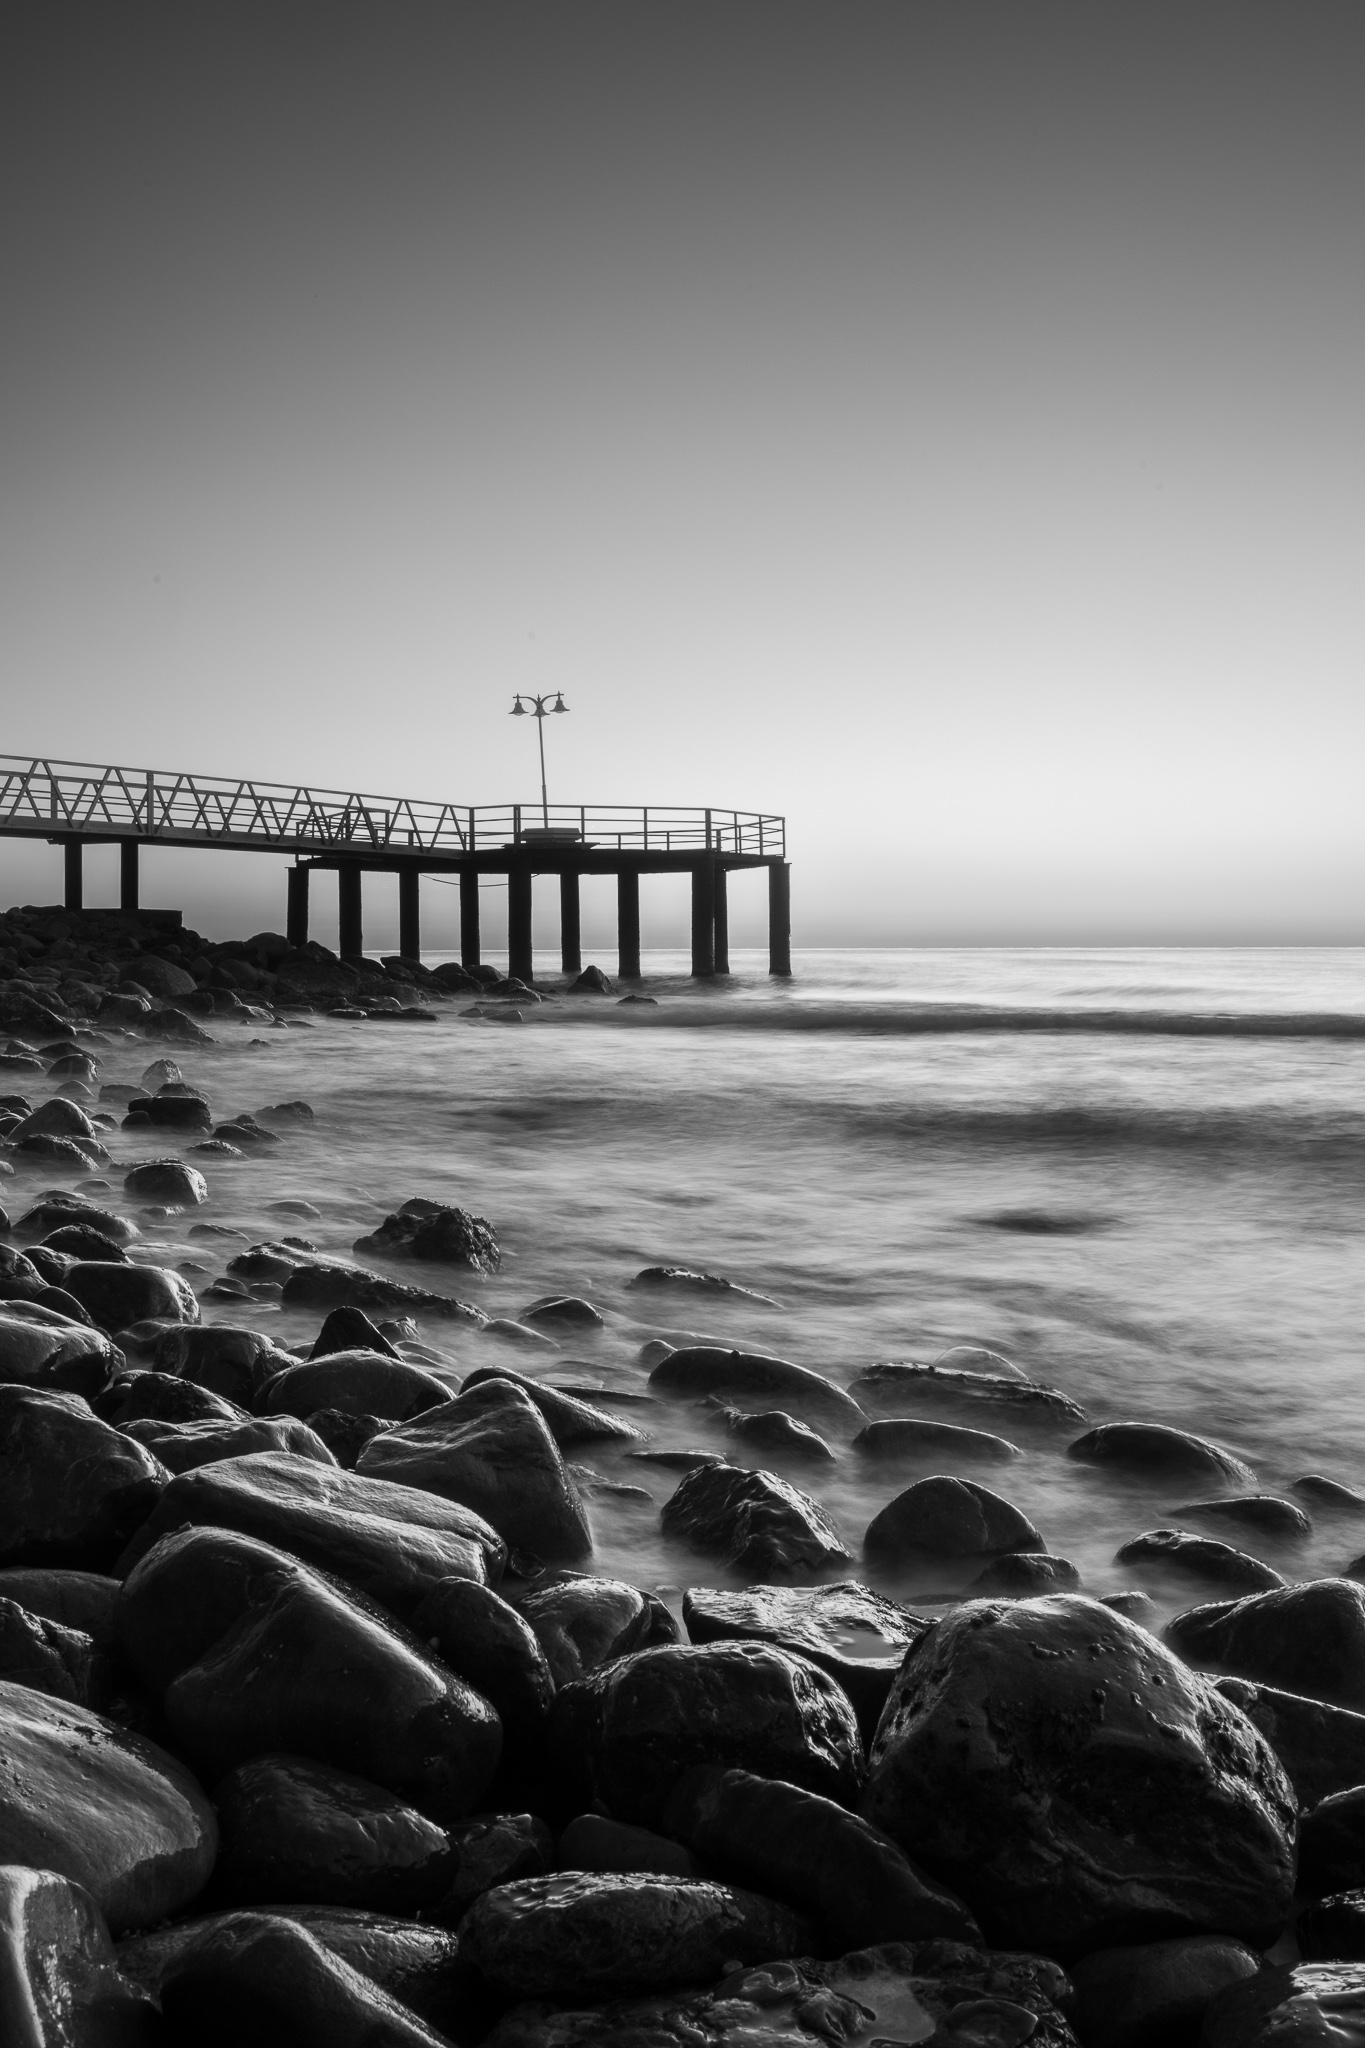
Bonus Technique: Neutral-Toned Black & White
Sometimes colour distracts from texture, light, and contrast. Try converting select shots to black & white, especially when:
- The light is dramatic (think stormy skies or high contrast scenes)
- The landscape is all about shape and form
[Related Reading: https://www.diyphotography.net/17-game-changing-tips-to-drastically-improve-your-landscape-photography/]
Editing Landscape Photos
Editing isn’t about “fixing” bad photos, it’s about revealing what made the scene special when you were standing there. Keep it subtle, keep it intentional, and don’t be afraid to develop your own style.
Step 1: Import & Organise
Before you dive into sliders, get your files sorted. It’ll save you tons of time later.
- Shoot in RAW: More detail, better colours, and way more flexibility than JPEG.
- Use Lightroom (Classic or CC) for importing
- Create folders by location or date, and add keywords/tags if you’re shooting lots of similar scenes.
- Back up your shots, ideally to an external drive and a cloud service (just in case).
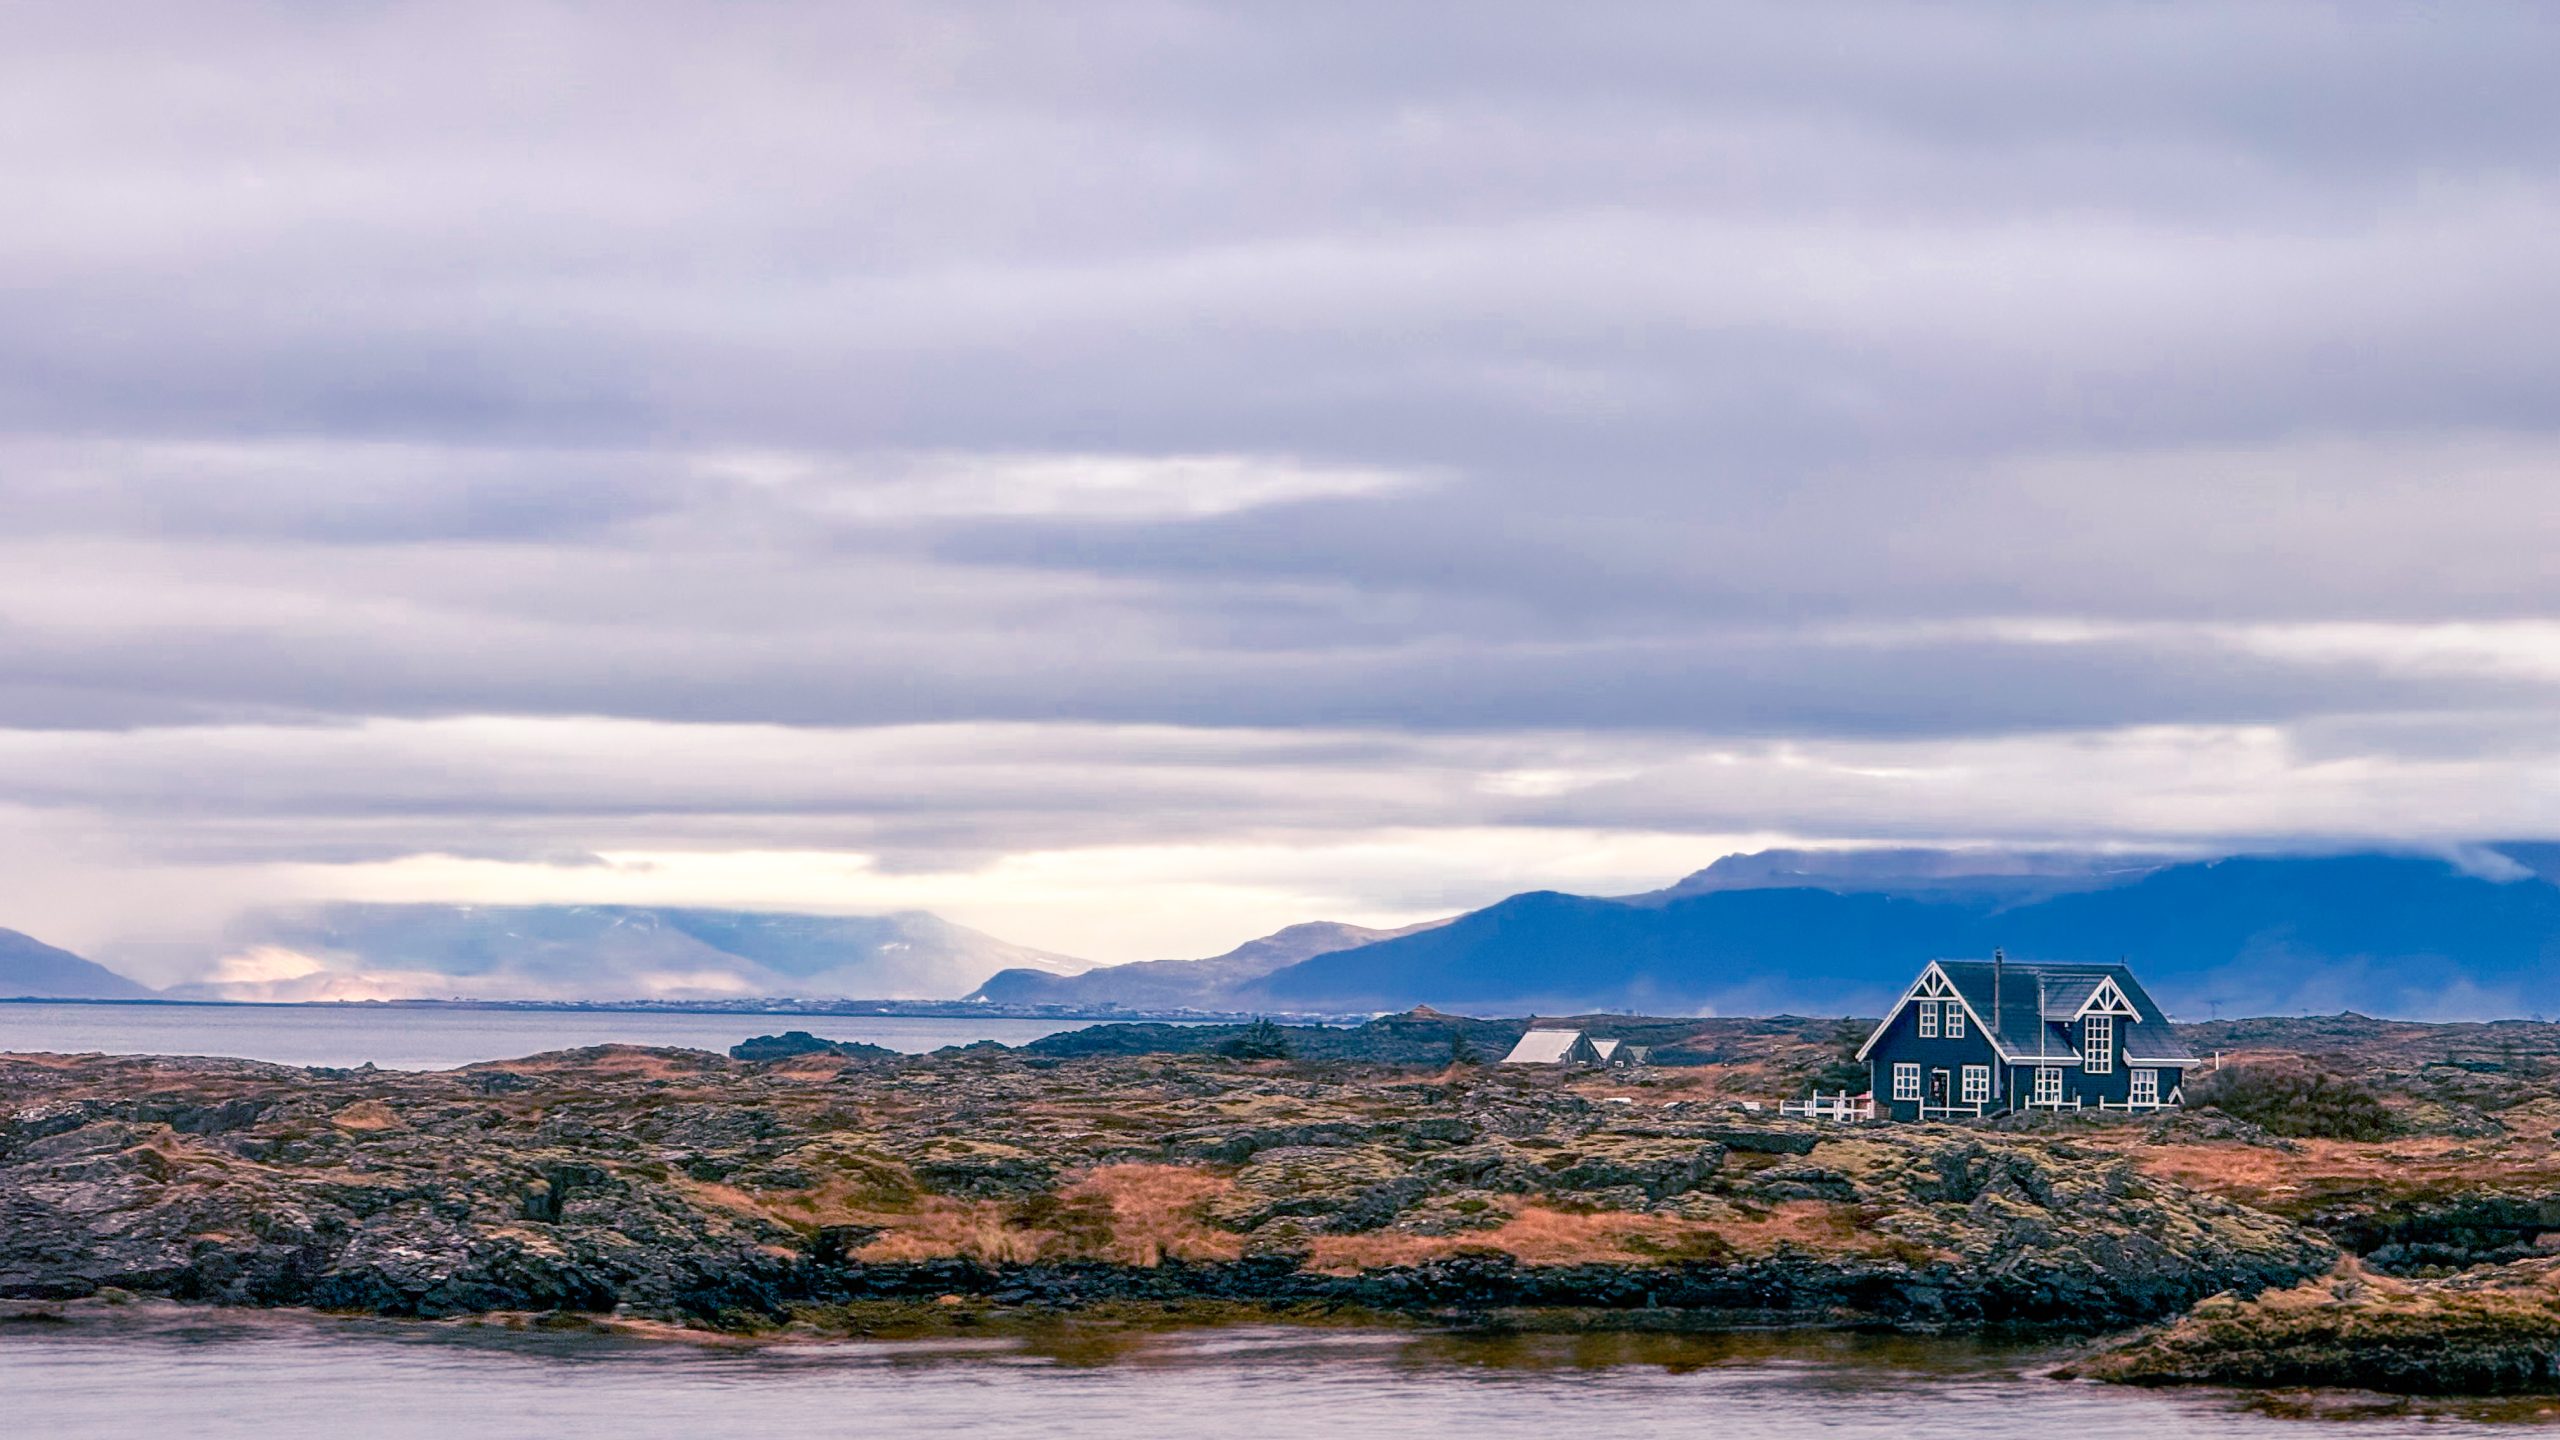
Step 2: Start with Basic Adjustments
Most landscapes need a few core tweaks right off the bat. Think of this as your digital darkroom cleanup.
- Exposure: Make sure nothing’s too dark or blown out. Use the histogram to double-check.
- White Balance: Cooler for misty mountains, warmer for golden hour. Trust your eyes over the auto setting.
- Contrast & Clarity: Add a bit to give your photo punch, but go easy, especially with Clarity or Texture.
- Shadows & Highlights: Pull up shadows for detail, and tame the highlights to bring back the sky.
- Crop & Straighten: A crooked horizon is an instant mood killer. Fix it early!
Tool tip: Lightroom’s Auto Tone can be a decent starting point, but tweak it to taste.
Step 3: Advanced Edits
Now we’re into the fun stuff: creative edits that enhance your vision without going overboard.
- Color Grading
- Shift tones for mood: cooler blues for alpine scenes, warm oranges for sunset dunes.
- Use split toning (now in Lightroom’s Colour Grading panel) to tint shadows/highlights separately.
- Dodging & Burning
- Brighten (dodge) or darken (burn) specific areas to guide the viewer’s eye.
- Add depth by subtly enhancing the natural light already in the image.
- Gradient & Radial Filters
- Darken the sky or add warmth to a sunlit mountain. These tools help shape your light naturally.
- Dehaze
- Useful for misty conditions or flat midday shots, just don’t overdo it, or things look gritty.
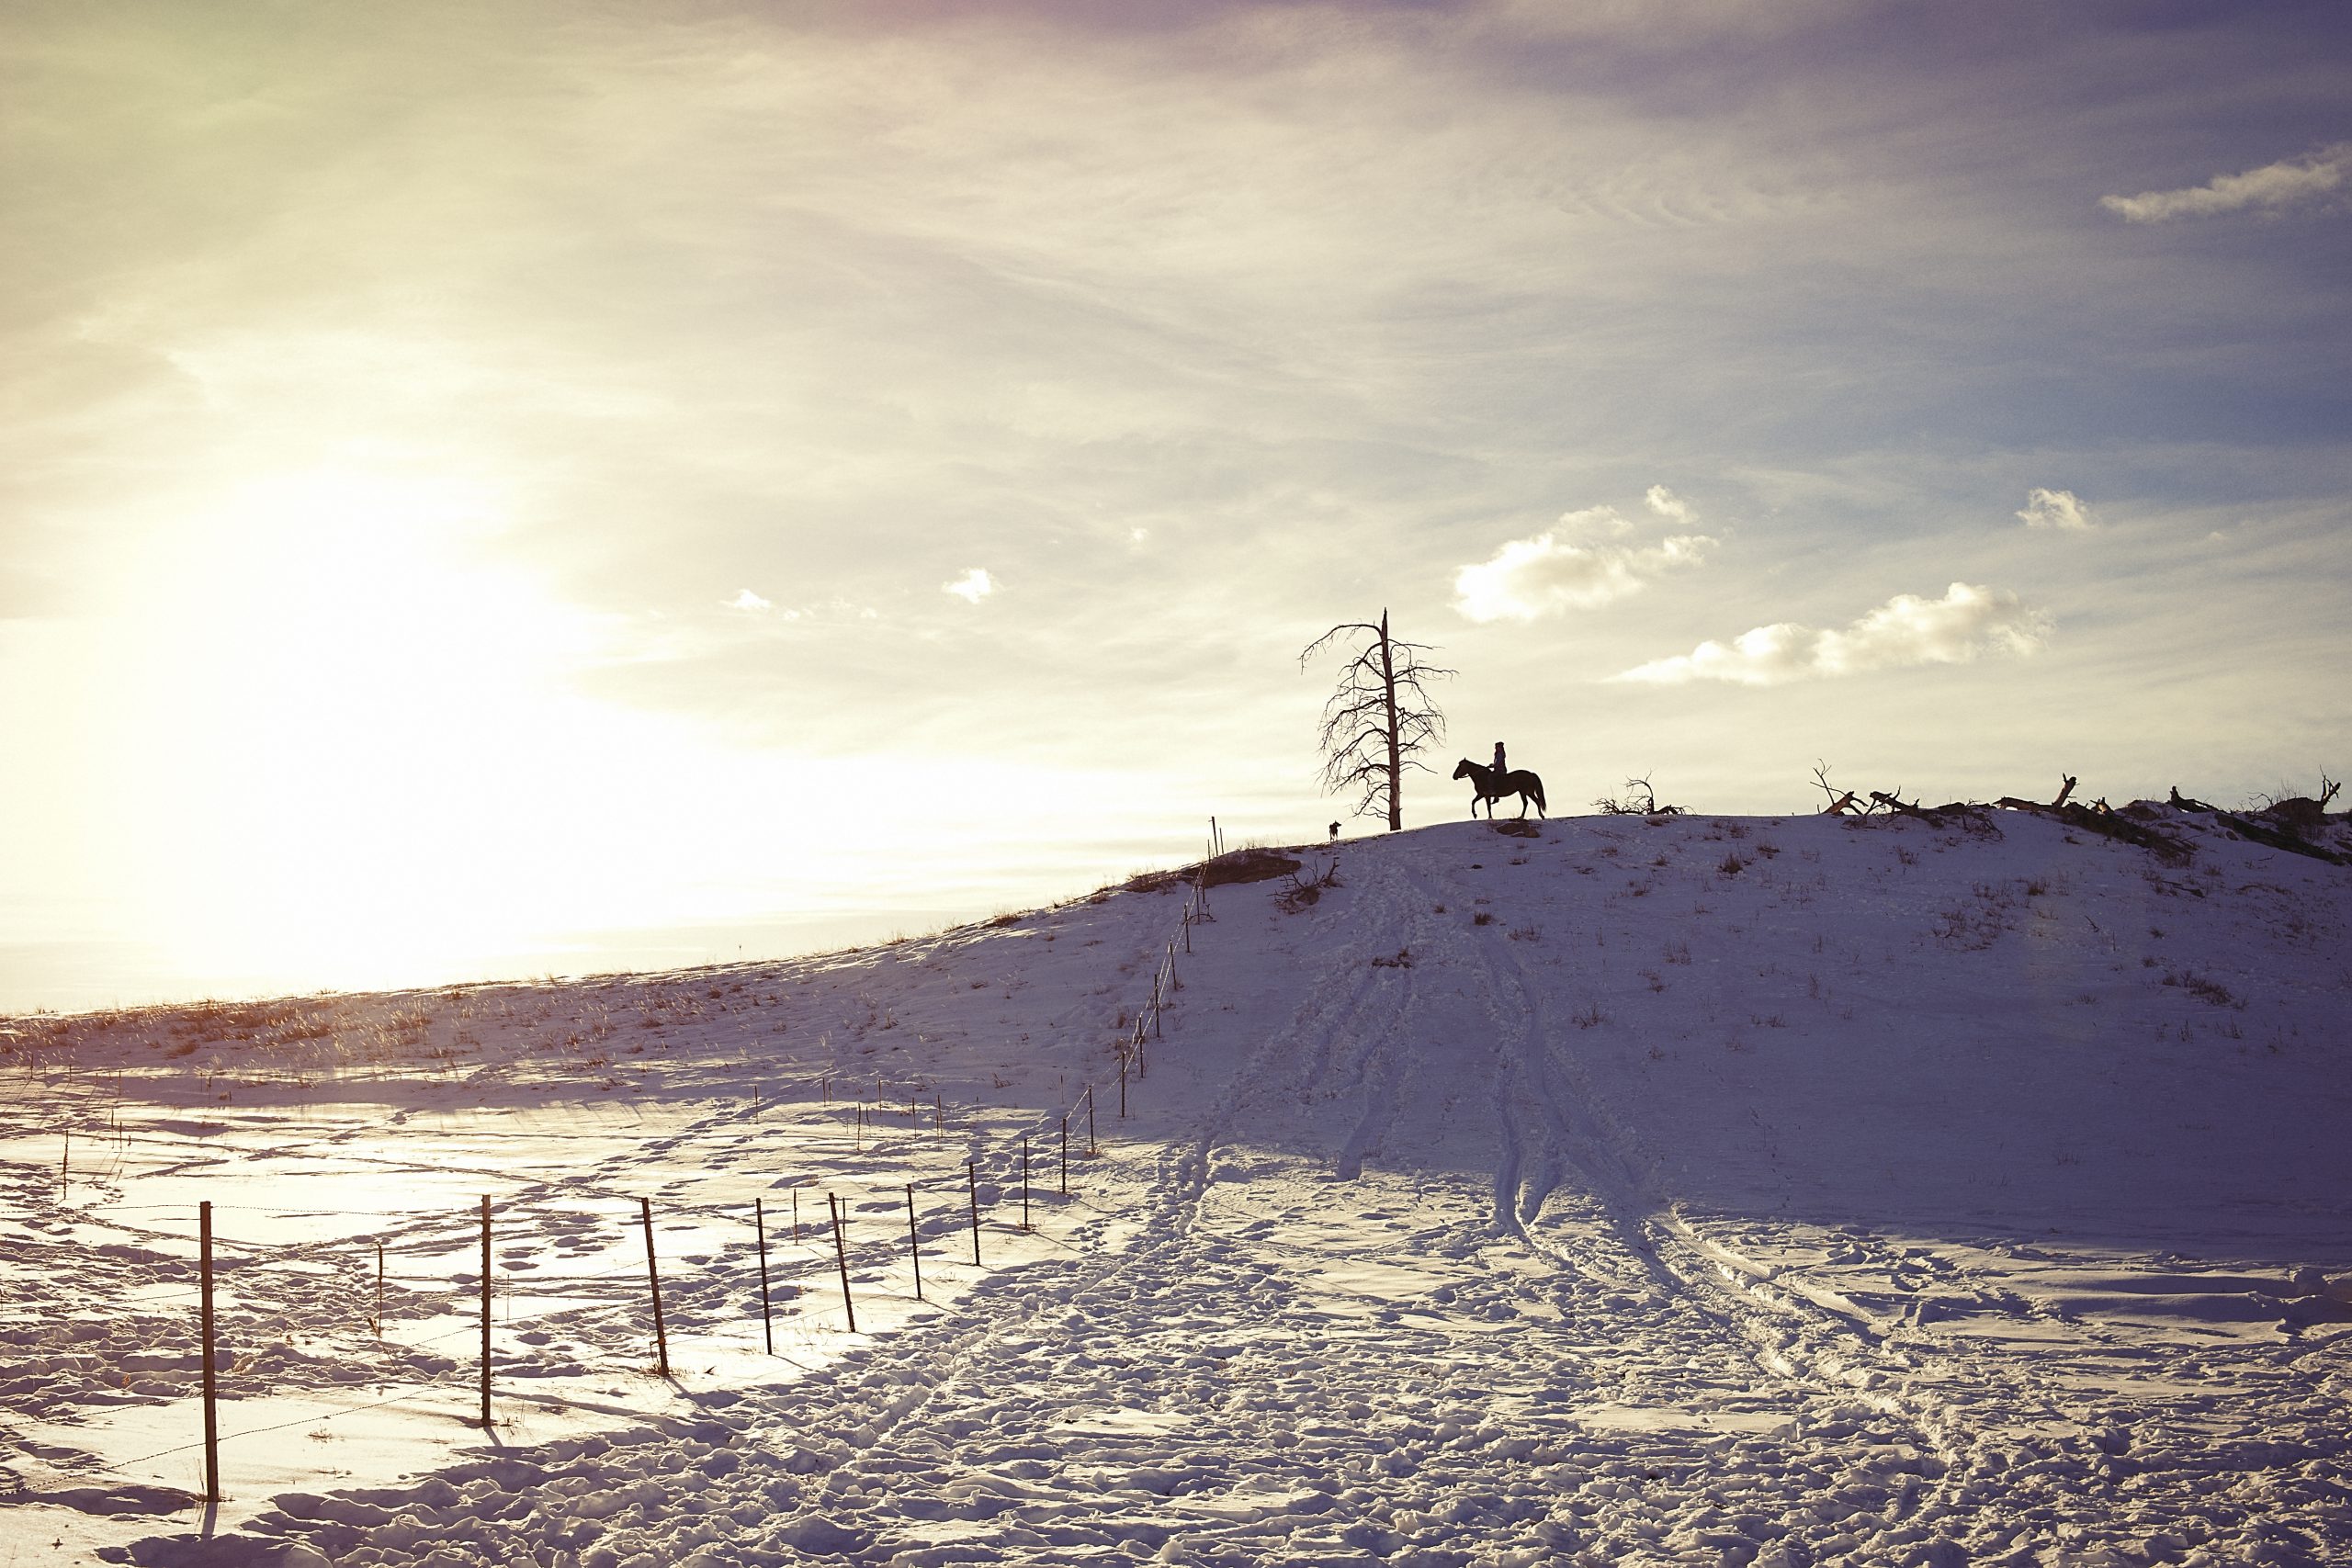
Bonus: Try masking in Lightroom (or layers in Photoshop) to edit parts of the image selectively.
Best Tools for the Job
- Lightroom: Ideal for RAW processing, cataloguing, and most edits from start to finish.
- Photoshop: Great for advanced retouching, composites, focus stacking, and fine-tuned local edits.
- Luminar Neo: AI-powered and beginner-friendly. Nice for quick edits or sky replacements (if you’re into that).
[Related Reading: https://www.diyphotography.net/take-your-landscape-photos-from-0-to-100-with-this-lightroom-editing-process/]
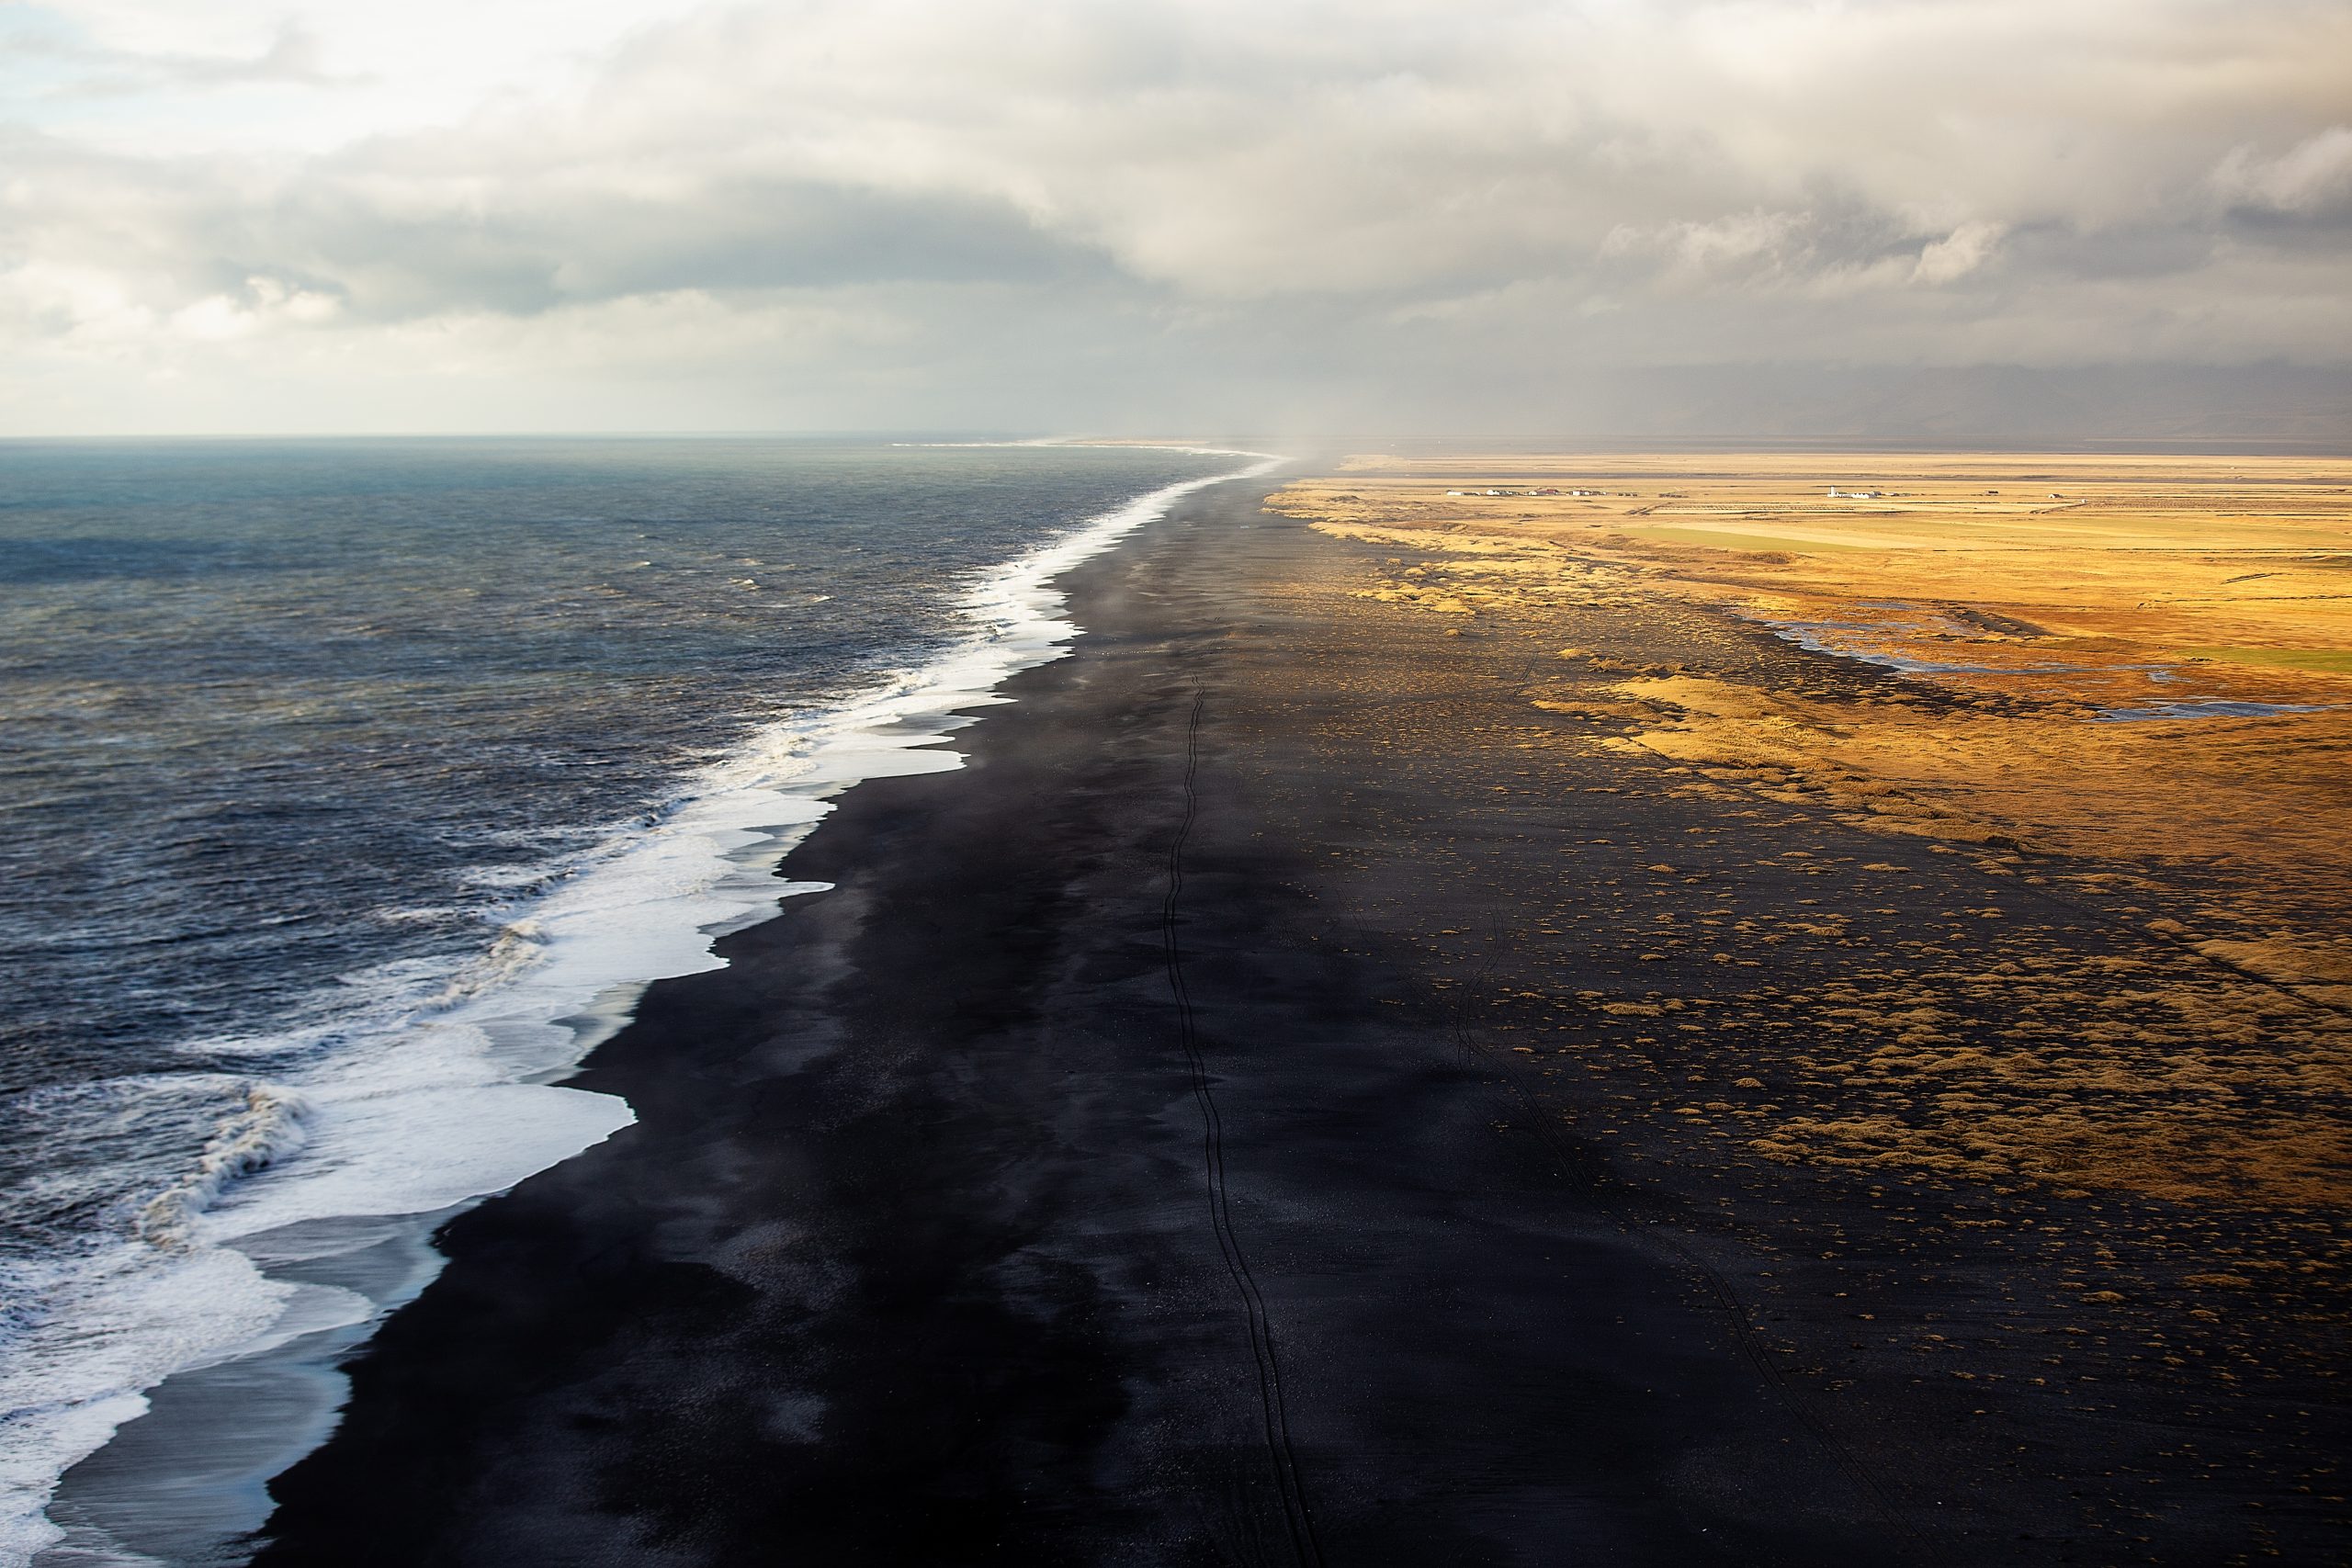
Common Challenges in Landscape Photography
Landscape photography might look peaceful, but behind every epic shot is a bit of chaos, like bad weather, frozen fingers, or mud-covered tripods. Every landscape photographer has had their plans wrecked at some point by things out of their control. The key is rolling with it and learning from each outing. Eventually, you’ll develop the instincts to turn those “bad” conditions into brilliant opportunities.
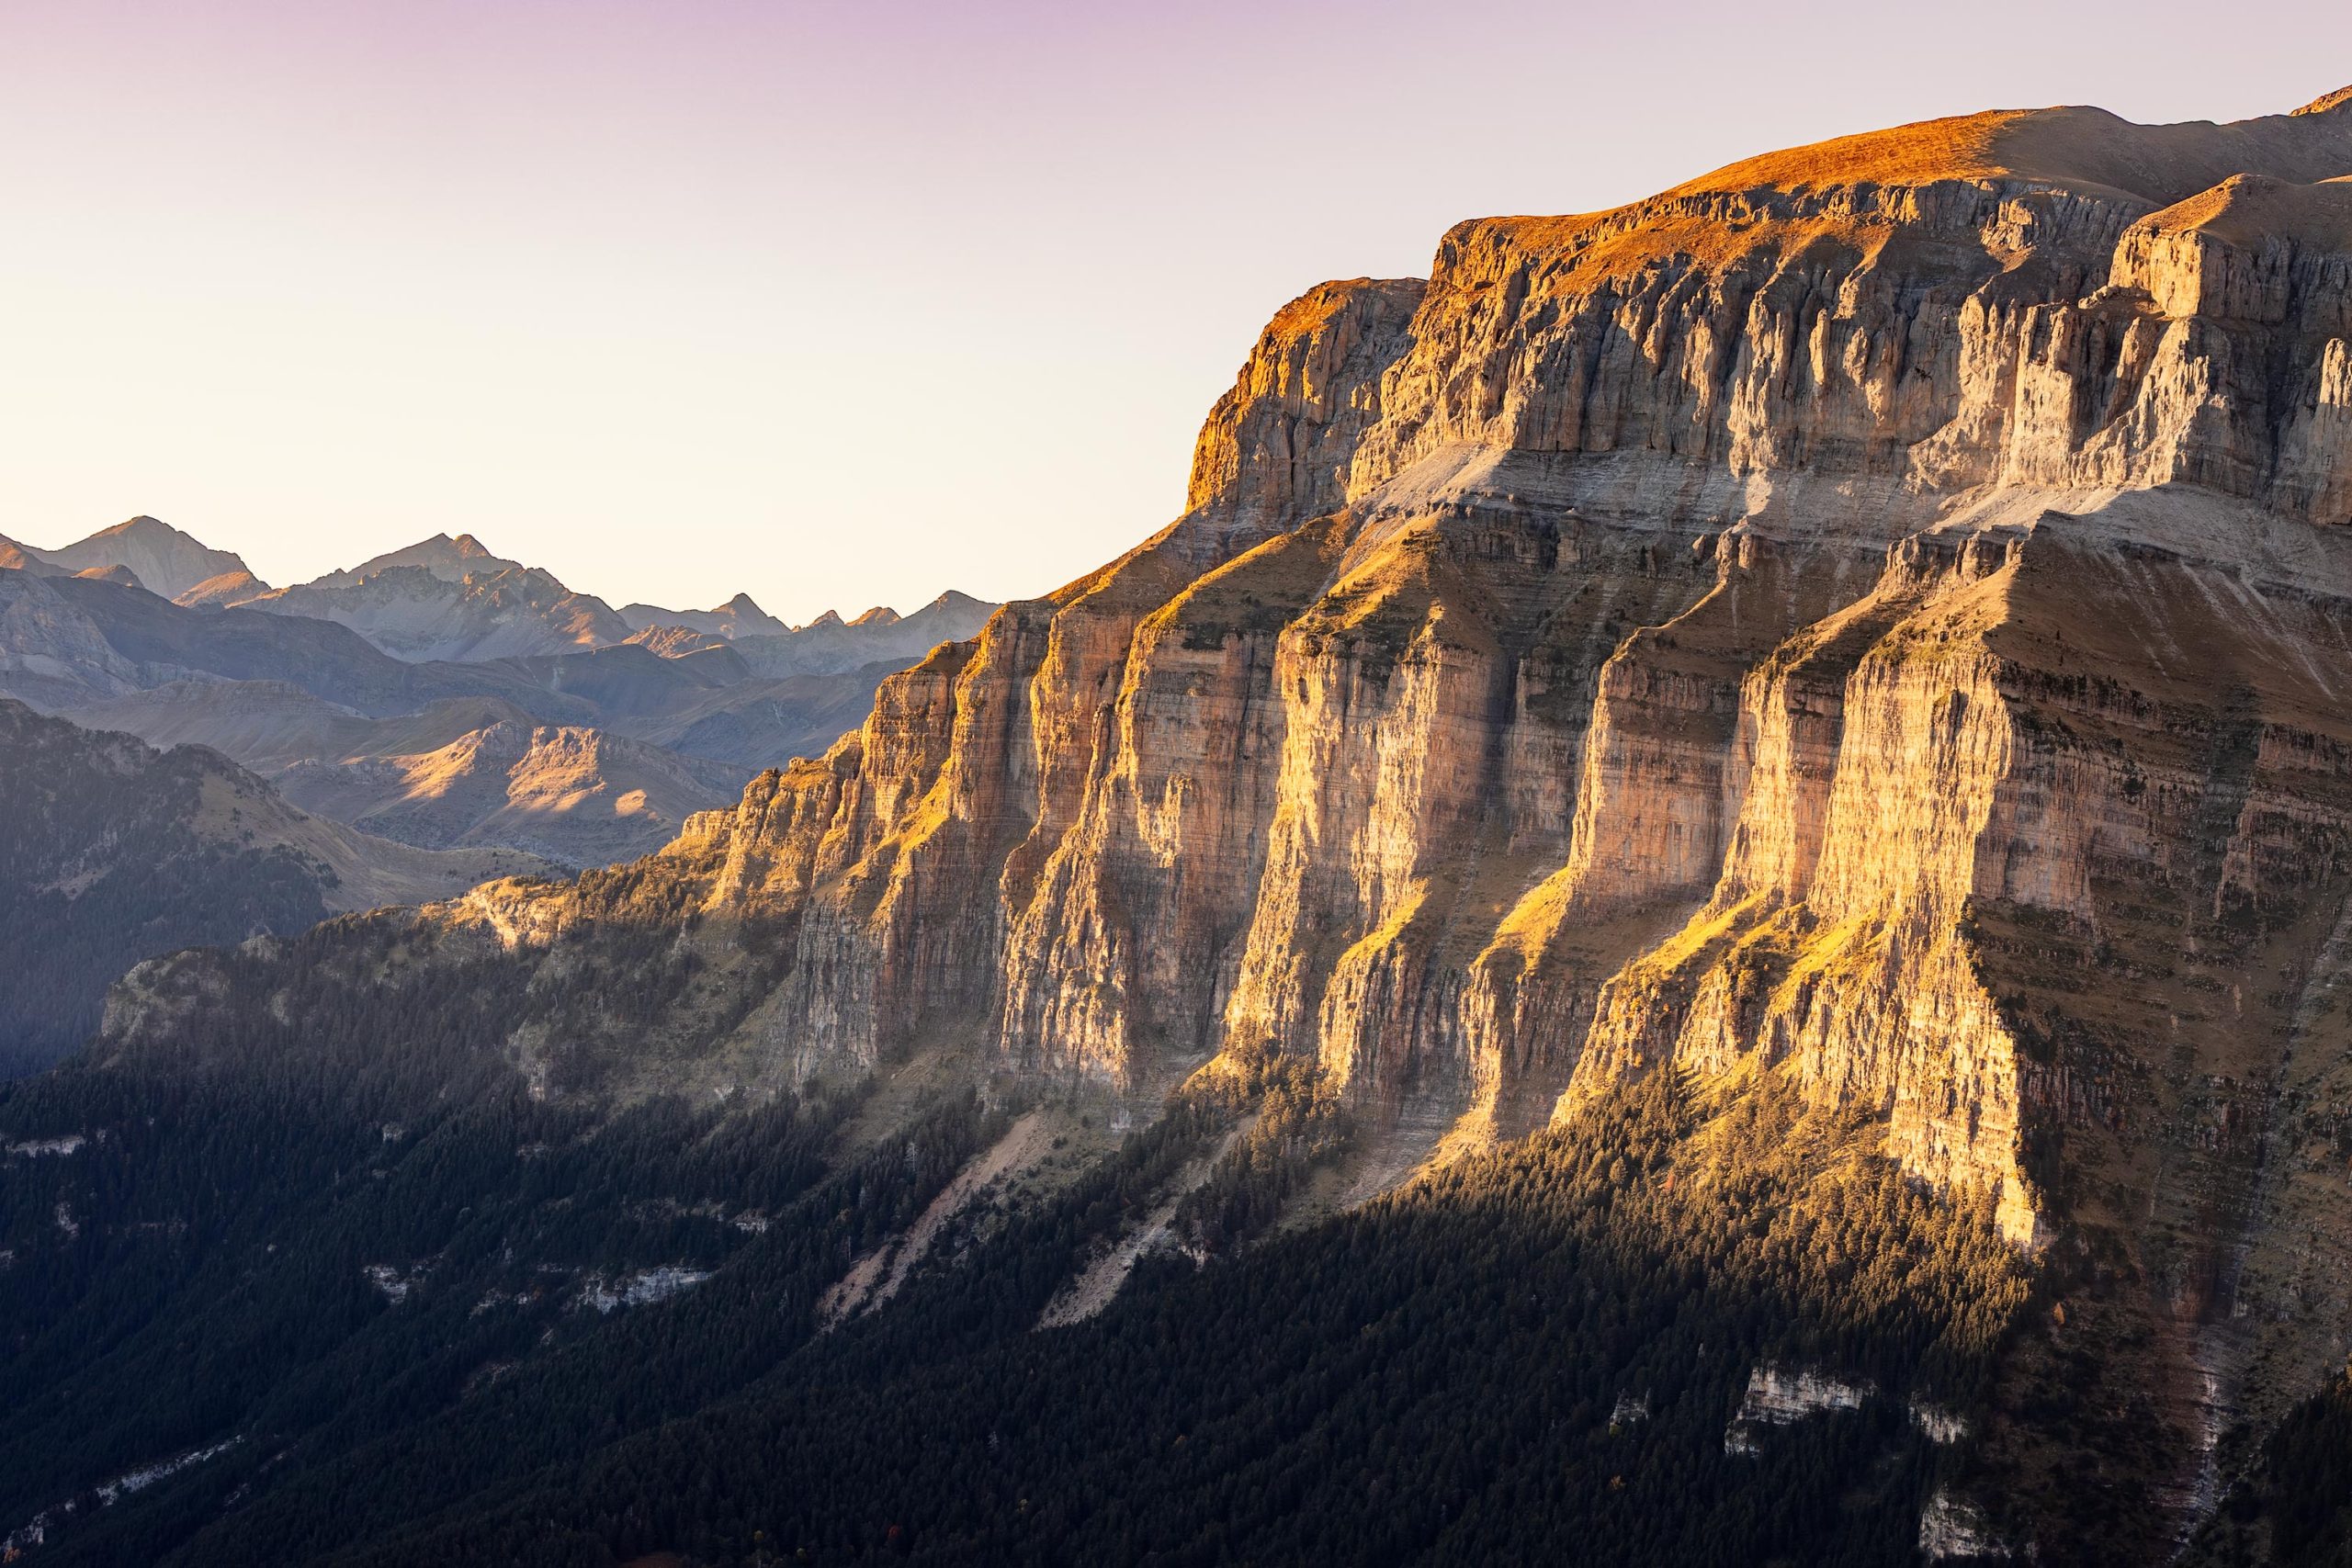
1. Make Bad Weather Work for You, Not Against You
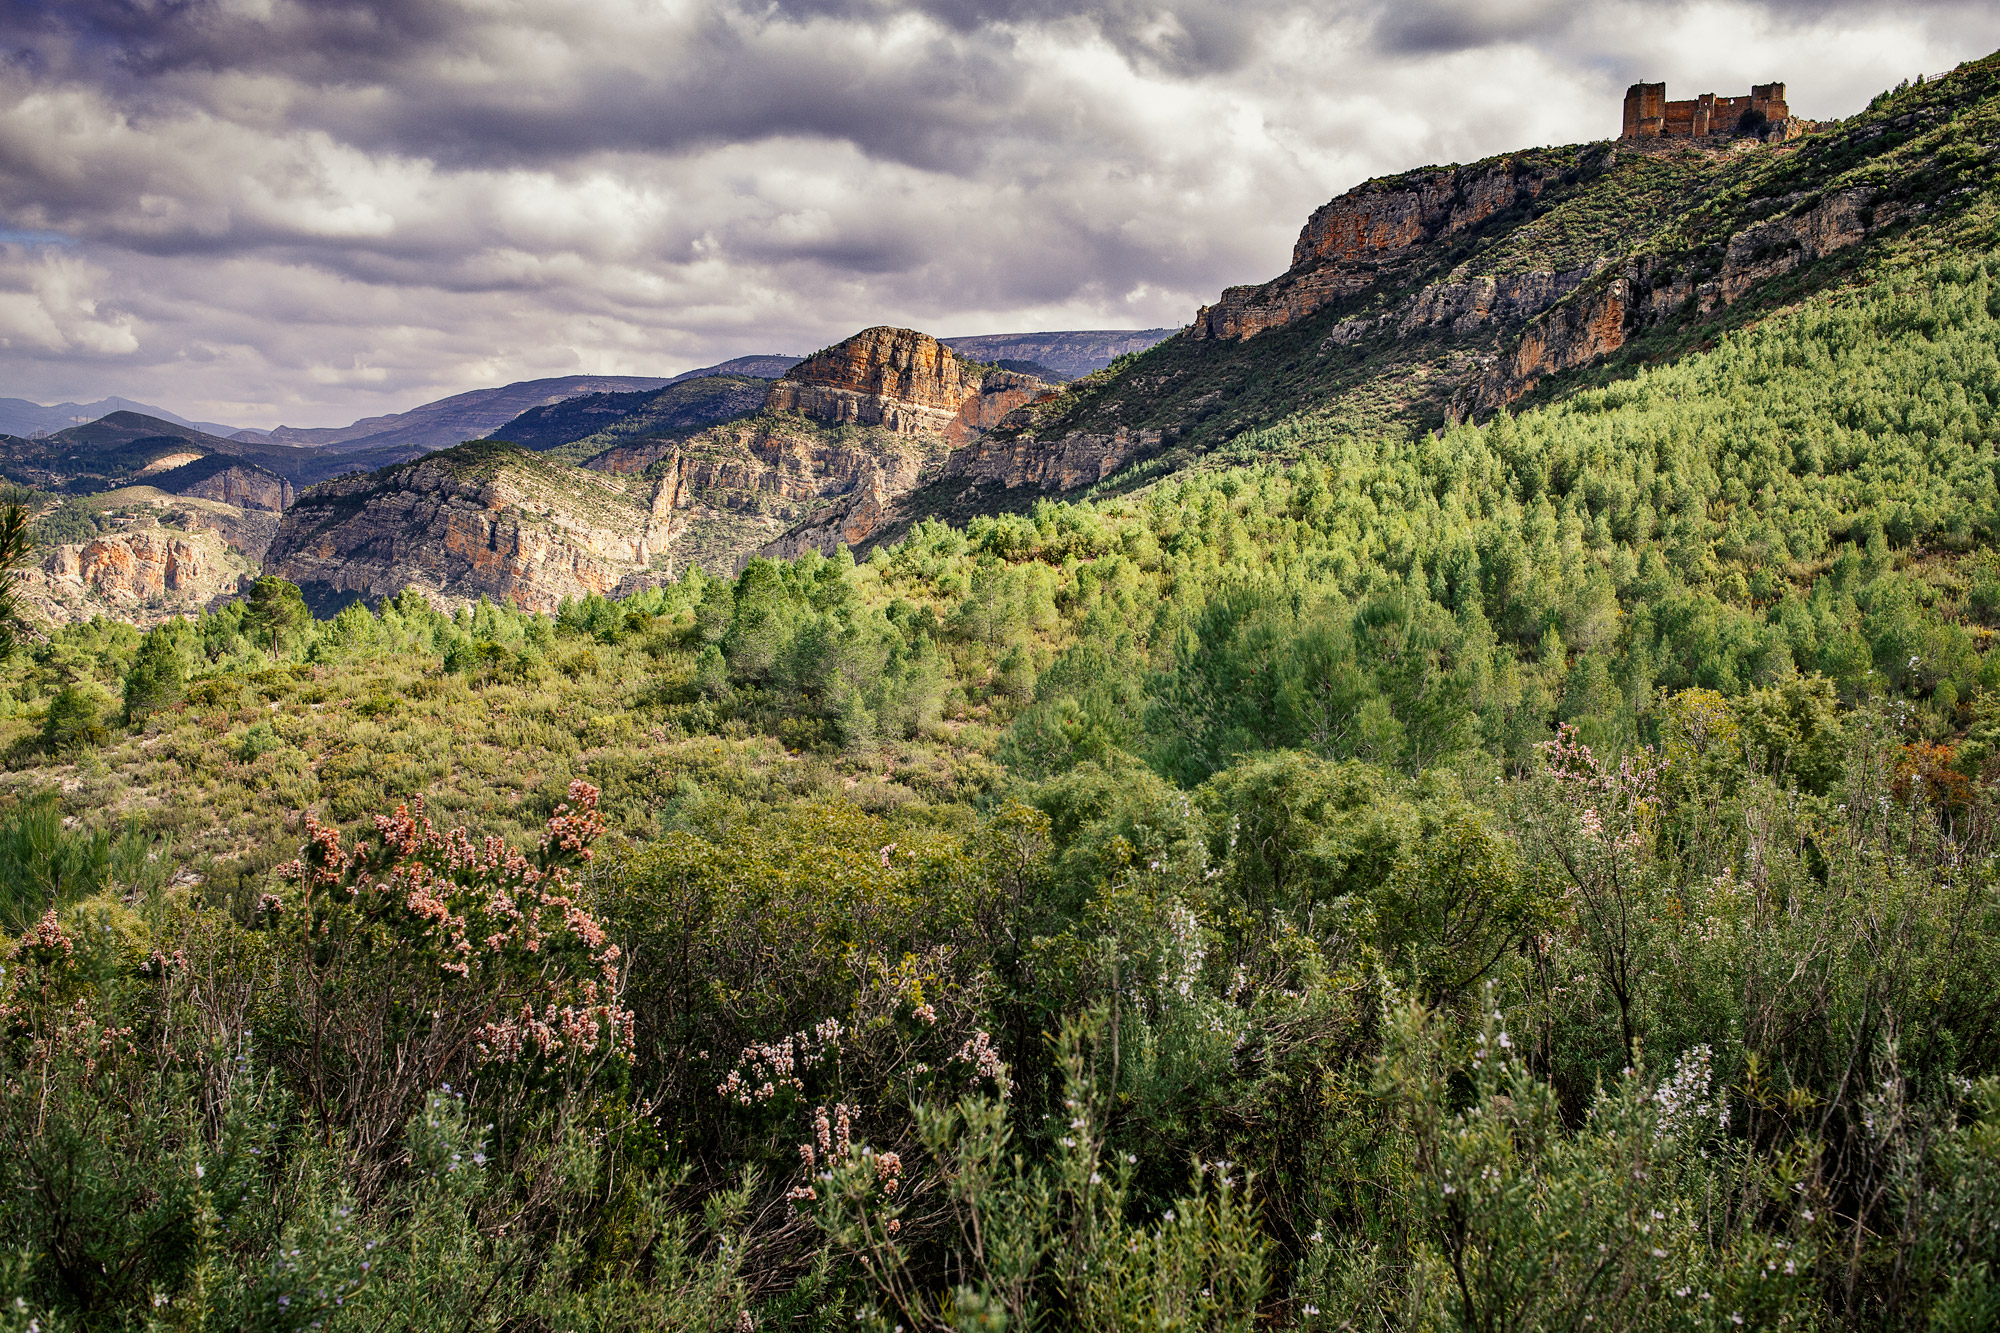
Let’s be honest, perfect blue skies are kind of boring. Some of the most memorable landscape shots come from the messy, moody, unpredictable moments.
- Overcast skies
Think of a giant softbox in the sky. Cloudy conditions are great for forest scenes, waterfalls, or misty hills. The diffuse light reduces harsh shadows and lets subtle textures and colours shine through. Greens, browns, and blues all pop beautifully under clouds. - Stormy clouds
Dramatic skies are always interesting to photograph. You can capture tension and movement even in a still frame. Use a CPL (circular polariser) to make cloud detail pop, but watch your histogram because stormy skies can trick your meter into underexposing the land. - Rain & fog
Rain amps up saturation so wet rocks and leaves look richer. Fog can simplify a busy scene and create stunning minimalism or depth. Just bring a lens hood, pack a microfiber cloth or two (you’ll need them often), and be ready to shoot quickly between drops. A hotel plastic shower cap makes a decent emergency rain cover, too.
Pro mindset: Don’t pack up just because it’s grey or drizzling. Shift your expectations and ask, “What can I shoot right now that I couldn’t in sunny weather?”
2. Blown-Out Skies or Murky Shadows
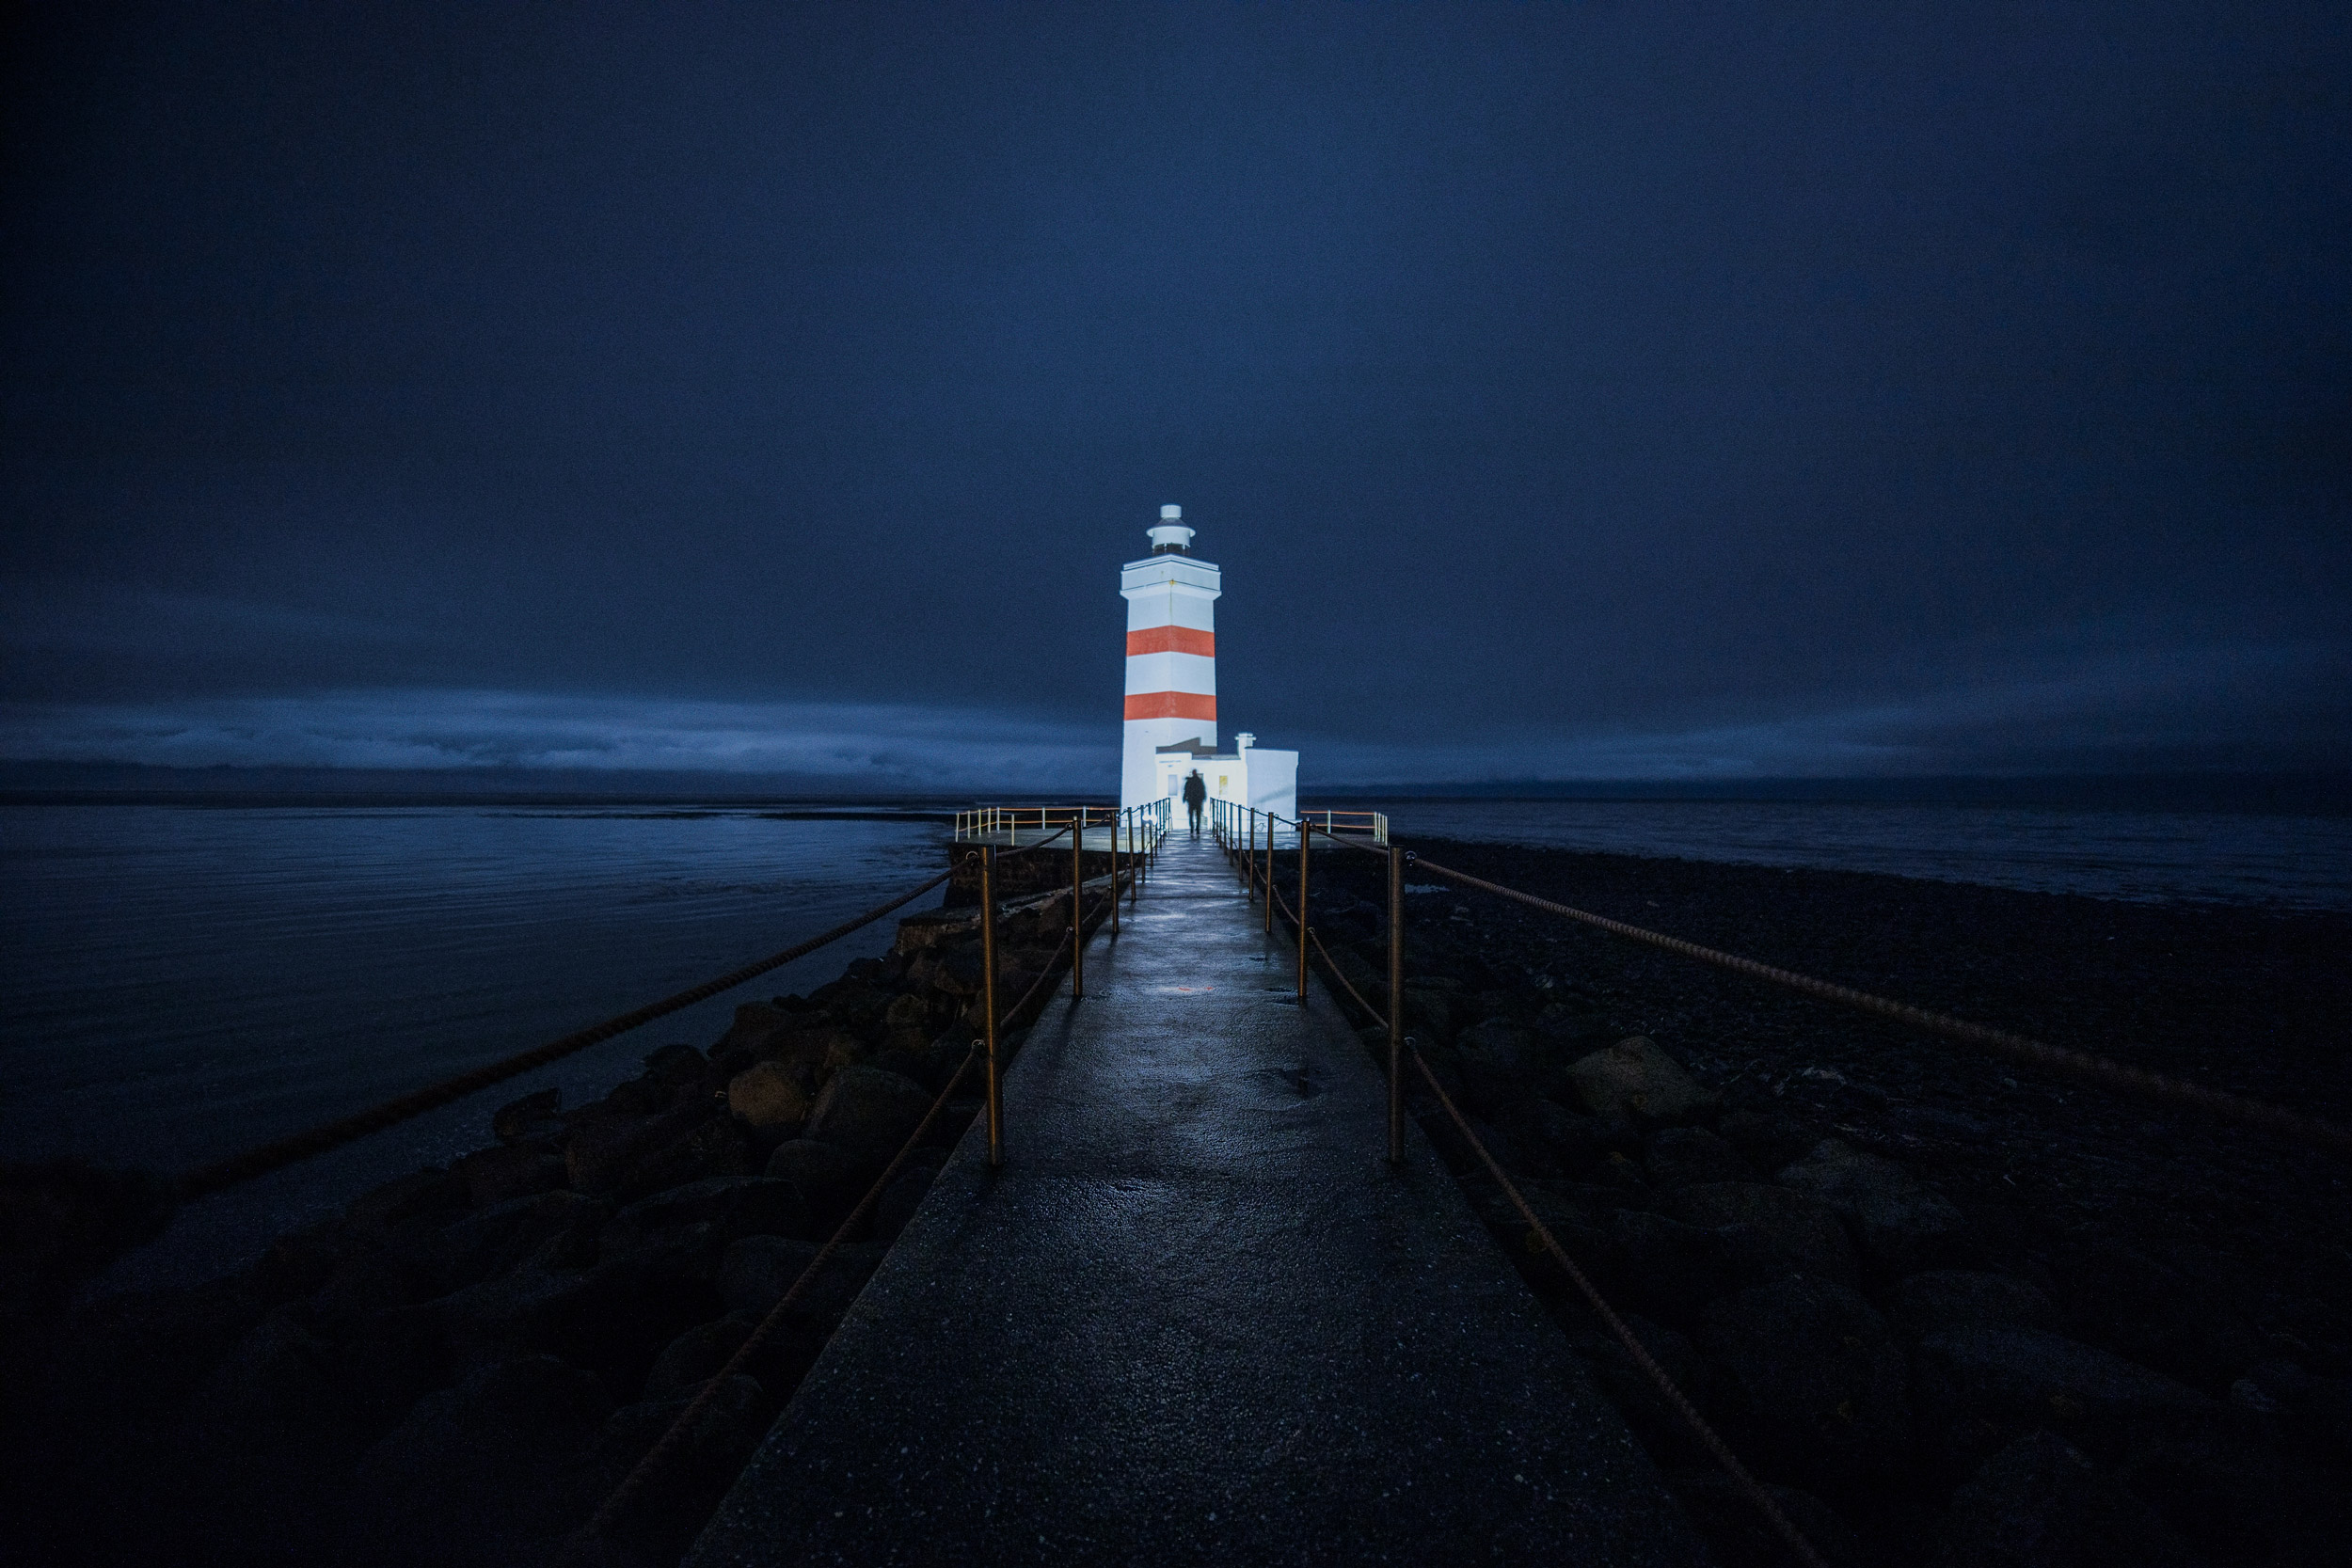
This is the classic problem in landscape photography: the sky is too bright, or the land is too dark. Cameras can’t always capture what your eyes can see, so you’ve got to outsmart the sensor.
- Use a graduated ND filter
These filters are darker at the top and clear at the bottom, perfect for balancing bright skies with darker foregrounds. Great for sunsets, coastlines, and mountainscapes. - Bracket exposures
Shoot one image for the sky, one for the land, and one balanced in between (usually at -2, 0, +2 EV). Blend them together later in Lightroom or Photoshop to keep detail across the entire scene. - Expose for the highlights
If you’re not bracketing, expose for the brightest part of the scene (usually the sky) and lift the shadows later. This only works well with RAW files. - Shoot at golden hour
The light is softer, shadows are longer, and contrast is lower, making it much easier to get an evenly exposed shot without filters or HDR techniques. - Use your mobile phone
No I’m not joking! If you have an up to date smart phone they are very good at balancing out the bright and dark areas of an image, far better than a DSLR. Yes, it’s a bit depressing, but if you’re struggling to get the scene balanced in camera, try it with your phone to see how it could look. Modern phones use a mix of HDR and AI to balance exposure, they are more like computers than cameras.
Quick tip: Use your camera’s histogram or zebra warnings. If the highlights are clipping, dial it back until they’re not. You can almost always recover shadows, but not blown-out whites.
3. Travel & Timing Logistics
That postcard-perfect scene didn’t just happen by accident; it was scouted, studied, and timed to the minute. Photographers will often revisit a location multiple times if they can to get the shot they’ve envisioned. Landscape photography is 50% planning, 50% patience.
- Use smart tools
Apps like PhotoPills and The Photographer’s Ephemeris show you exactly where the sun or moon will be, what time golden hour starts, and how light will fall across terrain. - Scout early
If you’re close enough to the location, do a dry run. Check the trail, find your composition, and note how light interacts with the landscape. Google Earth and Instagram can help, too, but nothing beats boots-on-the-ground recon. - Leave a buffer
Aim to arrive at least 30–60 minutes early, especially for sunrise. You’ll need time to park, hike, set up, and compose. You really don’t want to have to rush along a dark trail. - Adapt on the fly
The perfect sky might not show. That banger composition might be blocked by tourists or scaffolding. Don’t panic, look around for a secondary shot. Flexibility leads to creativity.
Reminder: Some parks and natural areas require permits for photography, especially drones or commercial shoots. Always check ahead; nobody wants a fine.
4. Keeping Gear Safe in Tough Conditions
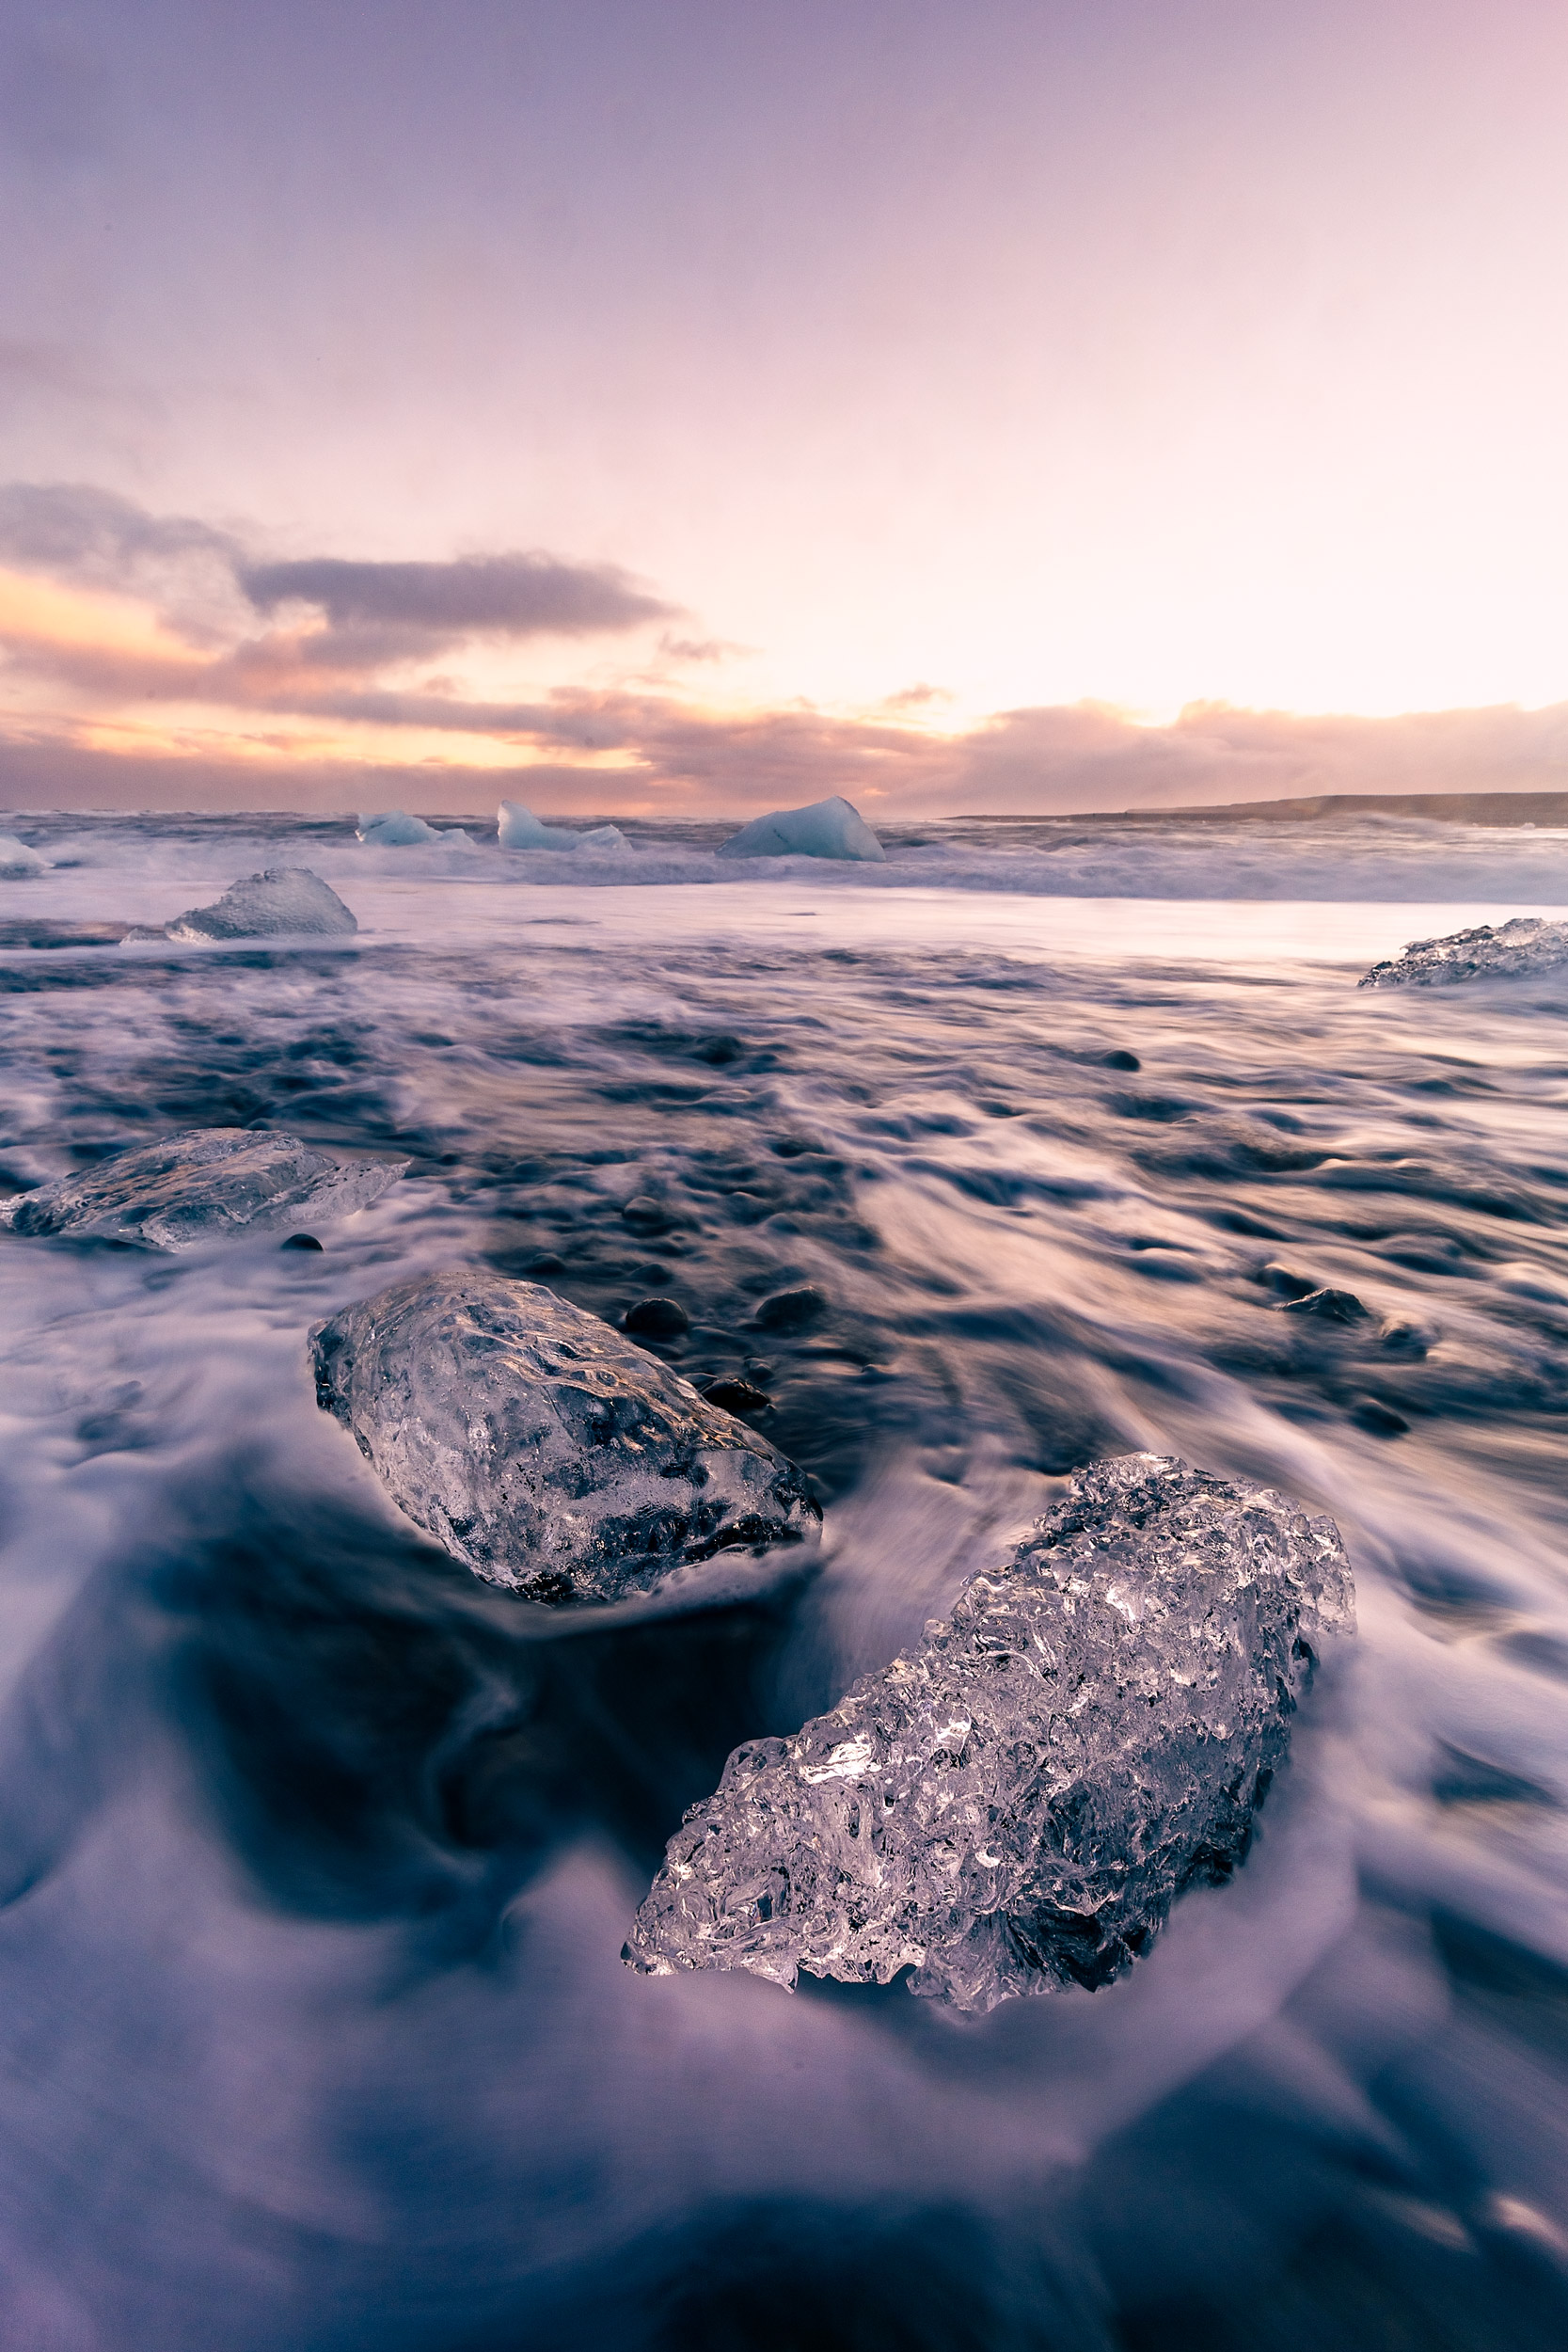
Nature is beautiful, but it’s not always the best thing for your camera. Sand, water, cold, and mud all want to mess with your gear.
- Waterproof backpacks or dry bags
If you’re shooting near the ocean, waterfalls, or in unpredictable weather, you’ll want serious protection. Look for roll-top bags or those with integrated rain covers. - Lens cloths & rain covers
Always carry a few microfiber cloths. Water droplets and condensation are constant battles. A simple rain sleeve or a shower cap can keep your camera dry in a pinch. - Silica gel packs
Toss a few in your camera bag to absorb moisture, along with a large zip lock bag, especially after cold or damp shoots. They help prevent mould and corrosion, particularly on lenses. - Sturdy tripod
Lightweight is nice for hiking, but not when it’s shaking in the wind or sinking into soft sand. Consider spiked feet or hang your bag on it for stability in rough conditions. - Spare batteries (and memory cards)
Cold weather drains batteries fast. Keep extras warm in your jacket pocket. Label your memory cards so you’re not fumbling to find the empty one when light’s going off.
Bonus tip: Be careful if you’re coming indoors from the cold, leave your camera in the bag for a while to acclimatise, otherwise it could develop condensation.
Landscape Photography Ideas and Projects
If you’re stuck in a rut or can’t manage to travel to exotic locations, there are still plenty of ways you can flex your creativity again. Sometimes, you just need a few more restrictions and parameters to work within. The 2020 pandemic actually helped me discover some beautiful scenery just an hour’s drive from the city because we were restricted to staying inside the autonomous region of Valencia.
1. Try a Seasonal Project
Documenting a landscape as it changes through the seasons is a great long-term challenge that teaches patience, consistency, and attention to subtle details.
- Pick one location and revisit it throughout the year: same composition, different seasons.
- Focus on how light, colour, and texture shift over time. Think snowy trees in winter, golden leaves in fall, lush greens in spring.
- Great for building a calendar or even a time-lapse sequence.
Bonus idea: Try a “12 Months, 12 Landscapes” project: one new place per month, with its own mood and story.
2. Create a Photo Series or Essay
Instead of chasing one-off hero shots, try building a small series that tells a story or explores a theme. This approach encourages intentional shooting and helps you develop your visual voice.
- Ideas to start with:
- A series of mountain lakes at sunrise
- Coastal cliffs in different weather
- Abandoned landscapes reclaimed by nature
- Urban green spaces or city parks through the seasons
- Keep your series tight, maybe 5 to 10 images max. Edit for cohesion in colour, mood, or subject.
Tip: This is perfect for portfolio work or small exhibitions. Pair your photos with short captions to add context or emotion.
3. Explore Black-and-White Landscapes
Colour is beautiful but sometimes, stripping it away lets shapes, textures, and contrast really stand out.
- Look for strong compositions with bold lines, moody skies, or texture-rich elements like rocks, trees, or mist.
- Shoot in RAW and convert in post, don’t rely on your camera’s monochrome mode.
- Use dodging and burning in editing to sculpt light and shadow for dramatic impact.
Pro idea: Try a foggy forest, stormy beach, or desert scene in B&W. It adds a timeless, fine-art vibe that stands out in a feed full of oversaturated sunsets (not that we aren’t totally obsessed with sunsets of course!)
4. Join a Social Media Challenge (Or Make Your Own)
Sometimes, a little friendly pressure can spark creativity. Online photo challenges give you prompts, deadlines, and a chance to connect with other landscape lovers.
- Try monthly challenges like #52Frames or #PhotowalkGlobal
- Participate in themed contests from gear brands, magazines, or photography forums
- Create your own mini-challenge: “7 days, 7 sunrises” or “1 lens, 1 location, 1 week”
- Focus on a new technique each week to try to improve. For example, long exposure photos, interesting foreground details, or night sky photography.
- Use just one focal length for a week, eg, challenge yourself to stick to just a 35mm prime lens.
Bonus: Entering contests (even small local ones) can build confidence and visibility.
Final Tips for Aspiring Landscape Photographers
Landscape photography is a journey, part skill, part obsession, and for many, a lifelong passion. It’s a fantastic way to enjoy being outdoors, which is in itself it’s own reward. Here are a few extra things to keep in mind as you go:
1. Be Patient, and Then Be More Patient
The perfect shot rarely happens on the first visit. You’ll wait for the right light, for clouds to move, for wind to die down, and sometimes it just won’t work out. That’s okay.
- Great light changes everything, so stick around. That flat-looking scene might explode into colour if you give it 15 more minutes.
- Sometimes, the best moment happens after you pack up, so maybe don’t pack up just yet.
Mindset tip: Bring a snack, wear layers, and treat the waiting as part of the experience.
2. Learn From the Pros (And Yourself)
Scroll Instagram with purpose. Watch behind-the-scenes videos. Reverse-engineer images you admire. Ask yourself:
- What kind of light is this?
- Where’s the main subject?
- How are the colours edited?
- What makes it feel balanced or emotional?
Also: don’t forget to study your own work. What are you proud of? What keeps showing up in your shots? Certain colours, compositions, moods? That’s your style forming.
Bonus: Read photo books. They slow you down and make you look longer, it’s much better than endlessly scrolling a feed.
3. Scout Without a Camera
If you want better shots, start scouting like a hiker, not a photographer. One well-known landscape photographer takes snapshots on his point-and-shoot first to quickly find a strong composition. Think of location scouting as an investment for future shoots.
- Take walks with your phone and a notebook. Find compositions. Mark them in PhotoPills or Google Maps.
- Notice how the light hits that hill in the morning. Check how the tide affects that shoreline.
- Come back later when the conditions are just right.
4. Keep Experimenting and Exploring
The more you shoot, the more you learn what excites you. Although practice makes perfect, as they say, don’t get stuck chasing the same kind of shot over and over. The more you explore (both creatively and geographically), the more unique your work will become.
- Try long exposures, harsh light, fog, night skies, and handheld panoramas.
- Swap lenses, visit unfamiliar places, or impose weird little limitations on yourself.
- Go somewhere you’ve never seen on Instagram.
Final Thoughts and Further Reading
Landscape photography isn’t just about taking pictures; it’s about paying attention to the world. Chase the shots, but enjoy the process even more. In the end, it’s not just about what you capture, it’s about what you experience in the moment.
If you’re ready to dive in deeper, then explore our collection of DIY photography tutorials for more tips, tricks, and creative ideas to help you become the landscape photographer you want to be:
https://www.diyphotography.net/better-bracketing-could-help-you-become-a-better-photographer/
https://www.diyphotography.net/raise-your-landscape-photography-game-with-these-advanced-tips/
https://www.diyphotography.net/how-to-shoot-your-best-bad-weather-landscapes-with-these-tips/
https://www.diyphotography.net/this-is-why-you-need-a-telephoto-lens-for-landscape-photography/
See more from DIYPhotography.net on Google
Add DIYPhotography.net as a trusted source. This makes
our stories more likely to appear in your Google Search results.
 Add as a preferred source on Google

Alex Baker
Alex Baker is a portrait and lifestyle driven photographer based in Valencia, Spain. She works on a range of projects from commercial to fine art and has had work featured in publications such as The Daily Mail, Conde Nast Traveller and El Mundo, and has exhibited work across Europe
Related Posts
 The ultimate focus stacking guide for landscape photographers
 The “Ultimate Lens Hood” is… the ultimate lens hood?
 Depth of Field: the ultimate beginner’s guide to controlling depth of field using lens aperture in nature photography
 The Ultimate Guide to Concert Photography: Gear, Settings, Techniques & More
Join the Discussion
DIYP Comment Policy
Be nice, be on-topic, no personal information or flames.