
















Travel Photography Settings: How to Adjust to Changing Light While Traveling
Nov 22, 2025
Dunja Đuđić Kalinin
Dunja Djudjic is a multi-talented artist based in Novi Sad, Serbia. With 15 years of experience as a photographer, she specializes in capturing the beauty of nature, travel, concerts, and fine art. In addition to her photography, Dunja also expresses her creativity through writing, embroidery, and jewelry making.
Share:
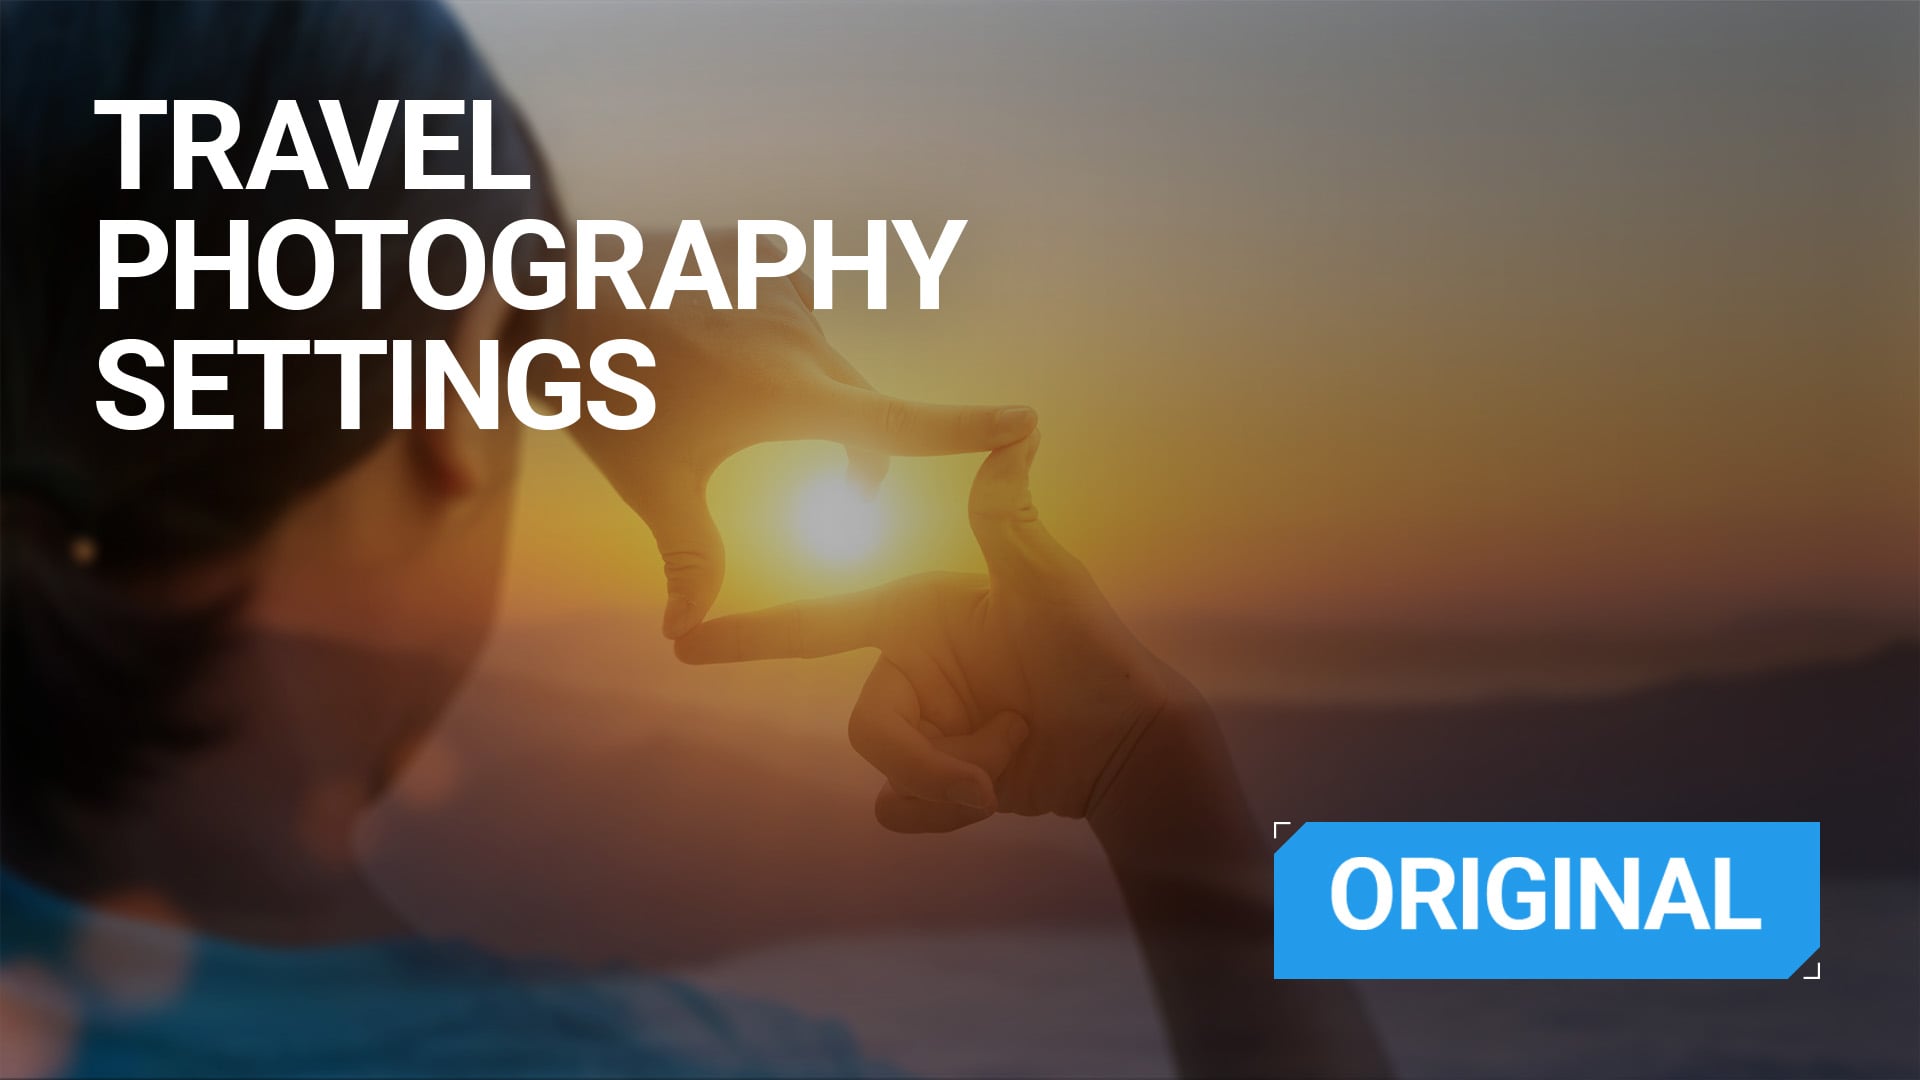
Like in every other photography genre, light is the essential component of travel photography. What makes it extra challenging is that the light constantly changes when taking travel photos. It could be due to the weather conditions, time of day, or because you spend time both indoors and outdoors throughout the day.
But this changing lighting is a gift as much as it is a challenge. In this guide, you’ll learn how to shoot in unpredictable lighting, which settings to tweak first, and how to build confidence behind the lens.
[Related Reading: Travel Photography: The Ultimate Guide to Shooting Stunning Images on the Road]
Back to Basics: Understanding the Exposure Triangle
At the core of adjusting to any lighting condition is your understanding of the exposure triangle. In short, it’s the relationship between shutter speed, aperture, and ISO.
- Shutter Speed controls how long your sensor is exposed to light. A fast shutter freezes motion; a slow shutter creates motion blur or allows more light in.
- Aperture controls the depth of field and how much light enters the lens. A wide aperture like f/1.8 gives you a shallow depth of field and lets in more light; a narrow one like f/11 keeps more of the scene in focus.
- ISO is your sensor’s sensitivity to light. A higher ISO helps in low light, but on the flip side, introduces more digital noise.
Balancing these three will allow you to properly expose your image no matter the conditions. I like to set the ISO and adjust the shutter speed and aperture accordingly. But as the light gets scarce (indoors, or as the dusk approaches), I will usually crank up the ISO as much as my camera allows while still keeping the photos usable.
If all of this sounds unfamiliar, worry not. Here you can learn more about the exposure triangle. And we’ve also covered shutter speed, aperture and ISO in more depth, so you can read about those first.
Camera Modes – What to Use and When
Shooting in Auto mode is tempting, and honestly, it’s fine in a pinch or if you’re an absolute beginner. However, it can often lead to more frustration than success. Especially if your built-in flash pops up in a dark church because your camera thought it should, and you get stares of disapproval from everyone around. So, I suggest rely on (semi)-manual modes at first for a greater balance between control and speed.
- Program: This mode allows you to set white balance and ISO, while it deals with the aperture and shutter speed. While not my favorite today, I swore by it when I was just starting out.
- Aperture Priority (A or Av): It’s best for situations where depth of field matters, be it blurred background for portraits or deep larger depth of field for architecture. With this mode, the camera adjusts shutter speed automatically.
- Shutter Priority (S or Tv): This mode is great when you need to freeze or blur motion: freeze it for action shots or blur it for waterfalls, to name a few examples. In this case, the camera selects the aperture for you.
- Manual (M): This is my personal favorite and ideal when you want full control. However, if you’re still learning, note that using Manual mode will require some time to fiddle with the settings. Heck, that can be the case even if you’re more experienced! So, I suggest using it for situations that aren’t super-fast-paced, like landscapes.
Different Types of Lighting in Travel Photography
Adapting to Harsh Midday Sun
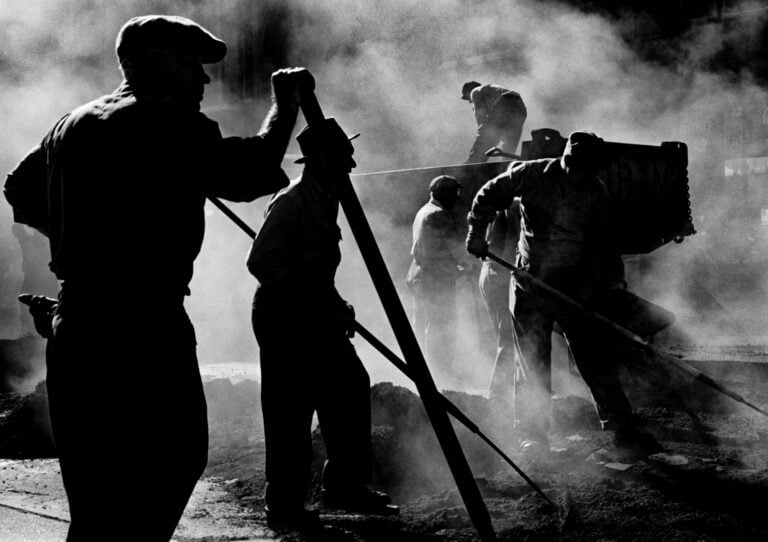
Many travelers are on the move during this time, hence forced to use harsh and brutal midday sun. It creates high, unflattering contrast on faces and it can be challenging to work with.
As for the settings, try stopping down your aperture (use higher f-number), lowering your ISO to the base level, and increasing your shutter speed to avoid overexposure. If you want to take portraits, look for open shade to soften the light. If you’re photographing people, position them with their back to the sun to avoid squinting and harsh shadows on their face. Then expose for their face and let the background blow out a bit if needed.
Photographing architecture and street can also be challenging in midday sun. This is the time when I usually look for smaller details and shadows.
[Related Reading: Five tips for stunning portraits in harsh midday sun]
Shooting in Golden Hour
Golden hour is the hour after sunrise or before sunset. It gives you soft, warm light that flatters almost everything. This is the ideal time to shoot pretty much anything. However, it changes fast, and you’ll need to work quickly.
The settings here should rely on wider aperture (lower f-number) to let in more light. You can also crank up your ISO instead, if you want to keep your aperture smaller for a larger depth of field. From there, set your shutter speed accordingly (or let the camera do it for you). Shutter speeds may dip as the light fades, so brace your camera or use a mini tripod if needed.
Handling Low Light and Night Scenes
Low light scenarios like blue hour, nighttime markets, candlelit events or dark churches and caves challenge even experienced photographers. But they can produce some of the most atmospheric travel images.
Start with a wider aperture and raise your ISO to 800 or higher (depending on your camera’s low-light performance). Lower your shutter speed as far as you can while still keeping the shot sharp. If you’re shooting handheld, the rule of thumb is to use a shutter speed at least double your focal length – for example, 1/100 sec for a 50mm lens.
In really low light, consider stabilizing your camera – rest it on a ledge, or use a compact tripod. Street lamps, shop windows, or neon signs can provide just enough illumination to highlight your subject and create a great effect. See what you have around you and use it to your advantage.

Overcast and Rainy Days – Don’t Pack Your Camera Away
Cloudy weather is often seen as bad news, but overcast skies actually offer some of the most forgiving light. The diffused, soft light is perfect for portraits, street photos, and close-up shots where you want to avoid harsh contrast. Even fog, rain, and mist can add atmosphere to your shots and make them stand out from other photos of the same location. So, embrace the weather and make it work for you, not against you. You may need a raincoat and a rain cover for your camera (just a regular plastic bag will do the trick). After all, you want to make the most of your trip, don’t you?

Get Comfortable with On-the-Go Adjustments
When it comes to travel photography settings, there is no “one size fits all.” At one moment, you can be in a bright street in the middle of the day. The next, you’ve entered a church with dim light. So, it’s essential to get comfortable adjust your settings fast. This will come with time and as you get to know your gear.
In addition, many cameras offer customizable presets or “U1/U2” settings. You can set these up in advance for different lighting situations. For example, one for daytime/outdoors, and one for evening/indoors. This saves you some time and lets you focus on composition and storytelling rather than constantly fiddling with your camera settings.
Final Tip – Know Your Camera’s Limits
Every camera has its limits, especially when it comes to high ISO performance or dynamic range. This is why I encourage you to explore your gear and learn what it can handle. Shoot test photos at different ISO values, and practice recovering shadows or highlights in post-processing. This will give you a better idea of how far you can push your settings in difficult light. Practice around your neighborhood before you hit the road. Analyze your photos and settings and see what works.
Learning photography is a process, and no matter how frustrating it can sometimes be, I believe you can enjoy it and appreciate it as your knowledge and experience slowly grow.
See more from DIYPhotography.net on Google
Add DIYPhotography.net as a trusted source. This makes
our stories more likely to appear in your Google Search results.
 Add as a preferred source on Google

Dunja Đuđić Kalinin
Dunja Djudjic is a multi-talented artist based in Novi Sad, Serbia. With 15 years of experience as a photographer, she specializes in capturing the beauty of nature, travel, concerts, and fine art. In addition to her photography, Dunja also expresses her creativity through writing, embroidery, and jewelry making.

Join the Discussion
DIYP Comment Policy
Be nice, be on-topic, no personal information or flames.