


Tips on lighting with single coloured gels when shooting with a Lensbaby
Dec 28, 2017
Jake Hicks

We love it when our readers get in touch with us to share their stories. This article was contributed to DIYP by a member of our community. If you would like to contribute an article, please contact us here.
Share:

Often a scene can be visually confusing, especially if there are multiple colours and objects in focus that are fighting for our viewer’s attention. This simple technique that I’m sharing here uses a single dominant coloured gel to simplify the scene visually, then we can draw the attention of our viewer with our Lensbaby Sweet 50 lens.
One of the key characteristics of this shot is the blurred focus effect. First impressions might tell you that this effect is created in post-production but in actuality, this look is created in-camera with a Lensbaby lens. Lensbaby is a lens manufacturing company that specialises in making lenses that take photos with very distinctive effects baked into every frame. These lenses create these effects without the need for editing programs and filters and the effects that these lenses can create range from user-defined radial blurs, slices of focus and even swirly backgrounds, all of which are achieved with each and every shutter press.
In this setup, we’ll be using the Lensbaby Sweet 50 in conjunction with coloured gels to grab the attention of our viewers by leading our viewer’s gaze exactly where we want it and by creating a uniform and less distracting colour palette with a single coloured gel.
Taking Control

What you’ll need
- 1x Lensbaby Sweet 50
- 1x Camera
- 1x Light stand
- 1x Floor stand (simply resting the light on the floor will also work)
- 2x Flash heads or Speedlights
- 1x Key light modifier. Beauty Dish/Softbox/Umbrella
- 1x Fill light modifier. I recommend a small softbox.
- 1x Backdrop
- (Optional Fan)
- Some coloured gels. I used a blue gel here.
- Photoshop
Setting up your camera
We will be shooting with flash so I firstly recommend you set your camera to Manual mode. Next, we’ll set our shutter speed to 1/125th of a second to sync it to the flash and we’ll set the ISO to 100 or as low as your camera will go. If you can adjust the White Balance on your camera then set it to the flash setting (lightning bolt). We will be using a manual focus lens with the Lensbaby so we can’t set the aperture just yet and we’ll do that next.

Setting up your Lens
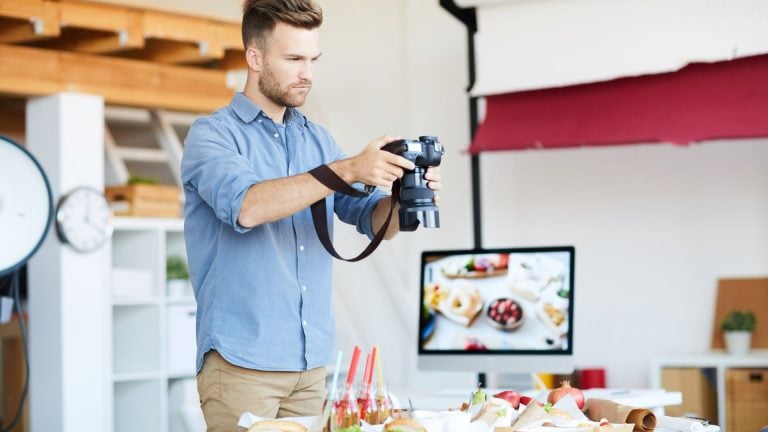
If you’ve never used a manual focus lens before then this might seem odd, but we have to adjust the aperture of the shot on the lens itself. A lot of these specialist lenses don’t ‘talk’ directly to the camera so we have to adjust aperture and focus manually. For this shot, I went with f4 to offer me the best balance of depth of field versus lens blur. I’m also using the Sweet 50 Lensbaby lens so I’m going to position it at the angle you see in the image below. This will allow me to position the ‘in-focus’ area of the Lensbaby on the models face when I’m using the camera in portrait orientation.

Selecting and setting up your key light modifier
It’s worth thinking about which modifier you’ll be using for your key light. I used a 22″ white beauty dish with a diffusion sock here but a small 60cm softbox or umbrella would work just as well. For this setup, I positioned the beauty dish off to camera right, about arms reach away from the model and just above her head, angled down at about 45 degrees.

Setting up your Fill Light
I used a small 60cm x 60cm softbox on a floor stand but you could get away with resting this on the floor if you don’t have one. I placed it on the opposite side of the model as the key light so off to camera left. This will allow the fill light to colour the shadows created by the key light. I’ve also angled it up towards the models face.

Gelling your Fill Light
This is thankfully far easier than you might think. You don’t actually need huge sheets of gels to cover your entire softbox. As long as the flash tube is covered then your light will be gelled. I simply tear open the soft-boxes front diffusion panel to expose the flash tube and tape a gel on the inside. If you’re using a flash that has tungsten modelling bulbs then this will get very hot, I strongly recommend turning off or removing the modelling bulbs to avoid melting any gels.

Setting up the background
I’ve chosen a textured and mottled backdrop that isn’t too dark in colour. You can use what you prefer but I’ve chosen this as I want some visible texture in the background when I start to implement the Lensbaby blur. I also want my background to be light enough to take some of the blue gelled light so that the whole image visually ties together.

Backdrop
You can use any backdrop you want but I opted for a background that would take some of the colour from the coloured gel and that also had some texture to blur with the Lensbaby.
Model
Position your model about three feet away from the backdrop. Not so close that the key light will cast a shadow on it and not so far away that no light from the coloured fill light will hit it.
Keylight
Beauty Dish. You can substitute this for a softbox or umbrella but you should position it above the models head, about 2-3 feet away and off to one side.
Fill Light
I recommend a small softbox here. Mine was placed on the opposite side to the model as the key light.

Final Image

Once you start shooting you’re looking to obviously keep the model’s eyes in focus but you should now see that the bottom half of the image is blurred. Don’t confuse this with being out of focus as this is actually the lens that is blurring it and as long as the eyes are in focus the image should look great.
Also, bear in mind that the amount of blurring can be adjusted via the aperture of the lens as well as the amount at which you angle the lens via its ball joint. Wider apertures like f2.8 will create far more blur than smaller ones like f8. Plus more dramatic angles and tilts on the lens will produce far more blurring whereas less tilt will produce a more subtle effect.
If you’re interested in trying out different Lensbaby lenses then here’s a quick look at what some of them look like in the image below.
For a more in-depth rundown of the individual effects then check this previous article of mine on the subject ‘Comparing the Lensbaby Lens Effects‘.

So there you have it, a super quick and easy lighting setup to try with gels and your Lensbaby. I really like this setup as it adds a lot of colour via the gel and that extra colour is a great way to add interest and detail for the Lensbaby lenses to show off their effects.
Definitely, give it a go and as always if you have any questions let me know :)
About the Author
Jake Hicks is an editorial and fashion photographer who specializes in keeping the skill in the camera, not just on the screen. For more of his work and tutorials, check out his website. Don’t forget to like his Facebook page, follow him on Flickr, Instagram and Twitter, and subscribe to his YouTube channel. This article was also published here and shared with permission.
Filed Under:
Tagged With:
We love it when our readers get in touch with us to share their stories. This article was contributed to DIYP by a member of our community. If you would like to contribute an article, please contact us here.


Join the Discussion
DIYP Comment Policy
Be nice, be on-topic, no personal information or flames.
2 responses to “Tips on lighting with single coloured gels when shooting with a Lensbaby”
Hi Jack Hicks!
It’s a very cool photography hack. Since, you have presented the complete processes and steps one by one, it is very easy to learn and produce great photographs. But, are there anything more you have forgotten to mention?
Thanks for the post. I hope you will share more.