


Face projections – The Lighting Series 07
Dec 30, 2018
Stefan Kohler
Stefan Kohler is a full-time retoucher. He’s from Germany and likes bacon. In the last years, he built up a broad community around his retouching classes at the Infinite tool’s website.
Share:

Sometimes an experimental idea turns out to be a stunning success. This was something like that.
The lighting series is a comprehensive lighting guide. We talk about flash photography, lighting, posing, color, and walk you through a series of lighting setups. Some will be simple, some complex, but in the end, they are all tools to add to your photography toolbox. Here is a complete list of the lighting tutorials.
Lighting gear
- 1x Light Blaster by Spiffy on LED continuous light emitters
- 1x translucent umbella on 100Ws monoblock
- 1x black, light-absorbing background
The lighting setup

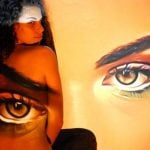
The idea for this picture was to draw a kind of height map on the model’s face with shadow stripes. It presented a few challenges.
In principle, four things can be used the create the projection:
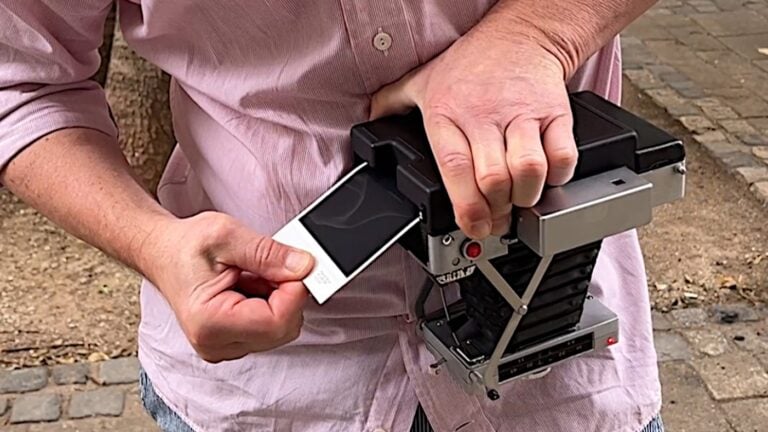
- slide projector
- video projector
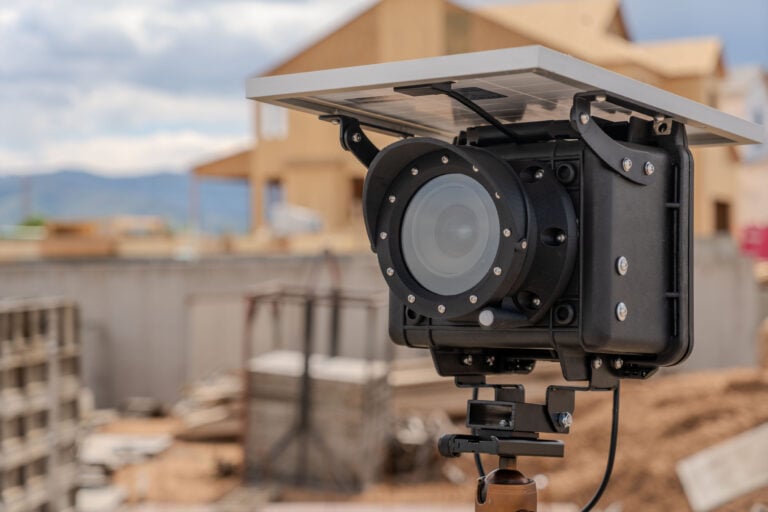
- Light Blaster
- Gobo projector
We opted for the Light Blaster because it fitted our LED lights with their studio adapter.
Since this is a pure black and white gobo—that is, a template that either blocks light or not—you can really use just about anything.
The important thing to remember here is that your light sources will not be emitting lots of light. You will need to work with high ISO numbers and fast lenses
The individual light sources

Key Light
The projection is the only visible light in the scene. The slide for it was created using Photoshop and then printed by slide-printing company. The light direction is important here: if the projector (aka Light Blaster) is too far behind the model, the nose casts a shadow, if it is too far forward, the lines on the cheek are no longer beautiful. Posing and positioning your model requires a great deal of attention.
Hair light
With the translucent umbrella behind the model, we get a suggestion of light for the hair. It’s not as pronounced as a hair light or rim light, but is just enough. You have to make sure that no light falls on the model’s face or it will ruin the effect of the projection.Downloads
For the pictures in the article, we used the light simulation Set.A.Light 3D. You can download the lighting setup and try everything for yourself. You can also download this series as a free ebook.
If you’ve never worked with Set.a.Light before, you should give it a try! There is also a free demo version on the website, which you can use to open these setups.

Stefan Kohler
Stefan Kohler is a full-time retoucher. He’s from Germany and likes bacon. In the last years, he built up a broad community around his retouching classes at the Infinite tool’s website.


Join the Discussion
DIYP Comment Policy
Be nice, be on-topic, no personal information or flames.
2 responses to “Face projections – The Lighting Series 07”
I like to work with the light blaster – it’s a great tool
the blaster is a very cool tool… but i prefer the gobos made inhouse … cumbersome but a great exercise in creativity and resourcefulness.