


Build a Poor (Financially-Challenged) Photographer’s Leica Q3 43 Equivalent (Sorta)
Jan 17, 2026
David Prochnow
Our resident “how-to” project editor, David Prochnow, lives on the Gulf Coast of the United States in Ocean Springs, Mississippi. He brings his expertise at making our photography projects accessible to everyone, from a lengthy stint acting as the Contributing How-To Editor with Popular Science magazine. While you don’t have to actually build each of his projects, reading about these adventures will contribute to your continued overall appreciation of do-it-yourself photography. A collection of David’s best Popular Science projects can be found in the book, “The Big Book of Hacks,” Edited by Doug Cantor.
Share:
You know the scenario; you’ve just returned from the supermarket and you checked the change in your trouser’s pocket and you’re just a little short of being able to purchase the Leica Q3 43 that you’ve been coveting for ages. What’s a poor (AKA, financially challenged) photographer to do? Naturally, make you own equivalent camera, instead.
For goodness sake, before you have a cerebral meltdown over this outlandish project, the proposed camera creation is offered as an affordable equivalent to the Leica Q3 43 camera and NOT as a direct replacement. Simply study the high-resolution 81MP photographs at the end of this article and make your own judgement about the merits of this Poor (Financially-Challenged) Photographer’s Leica Q3 43 Equivalent camera.
[Related Reading: Leica Q3 in-depth review – Five critical improvements to the Q-system]
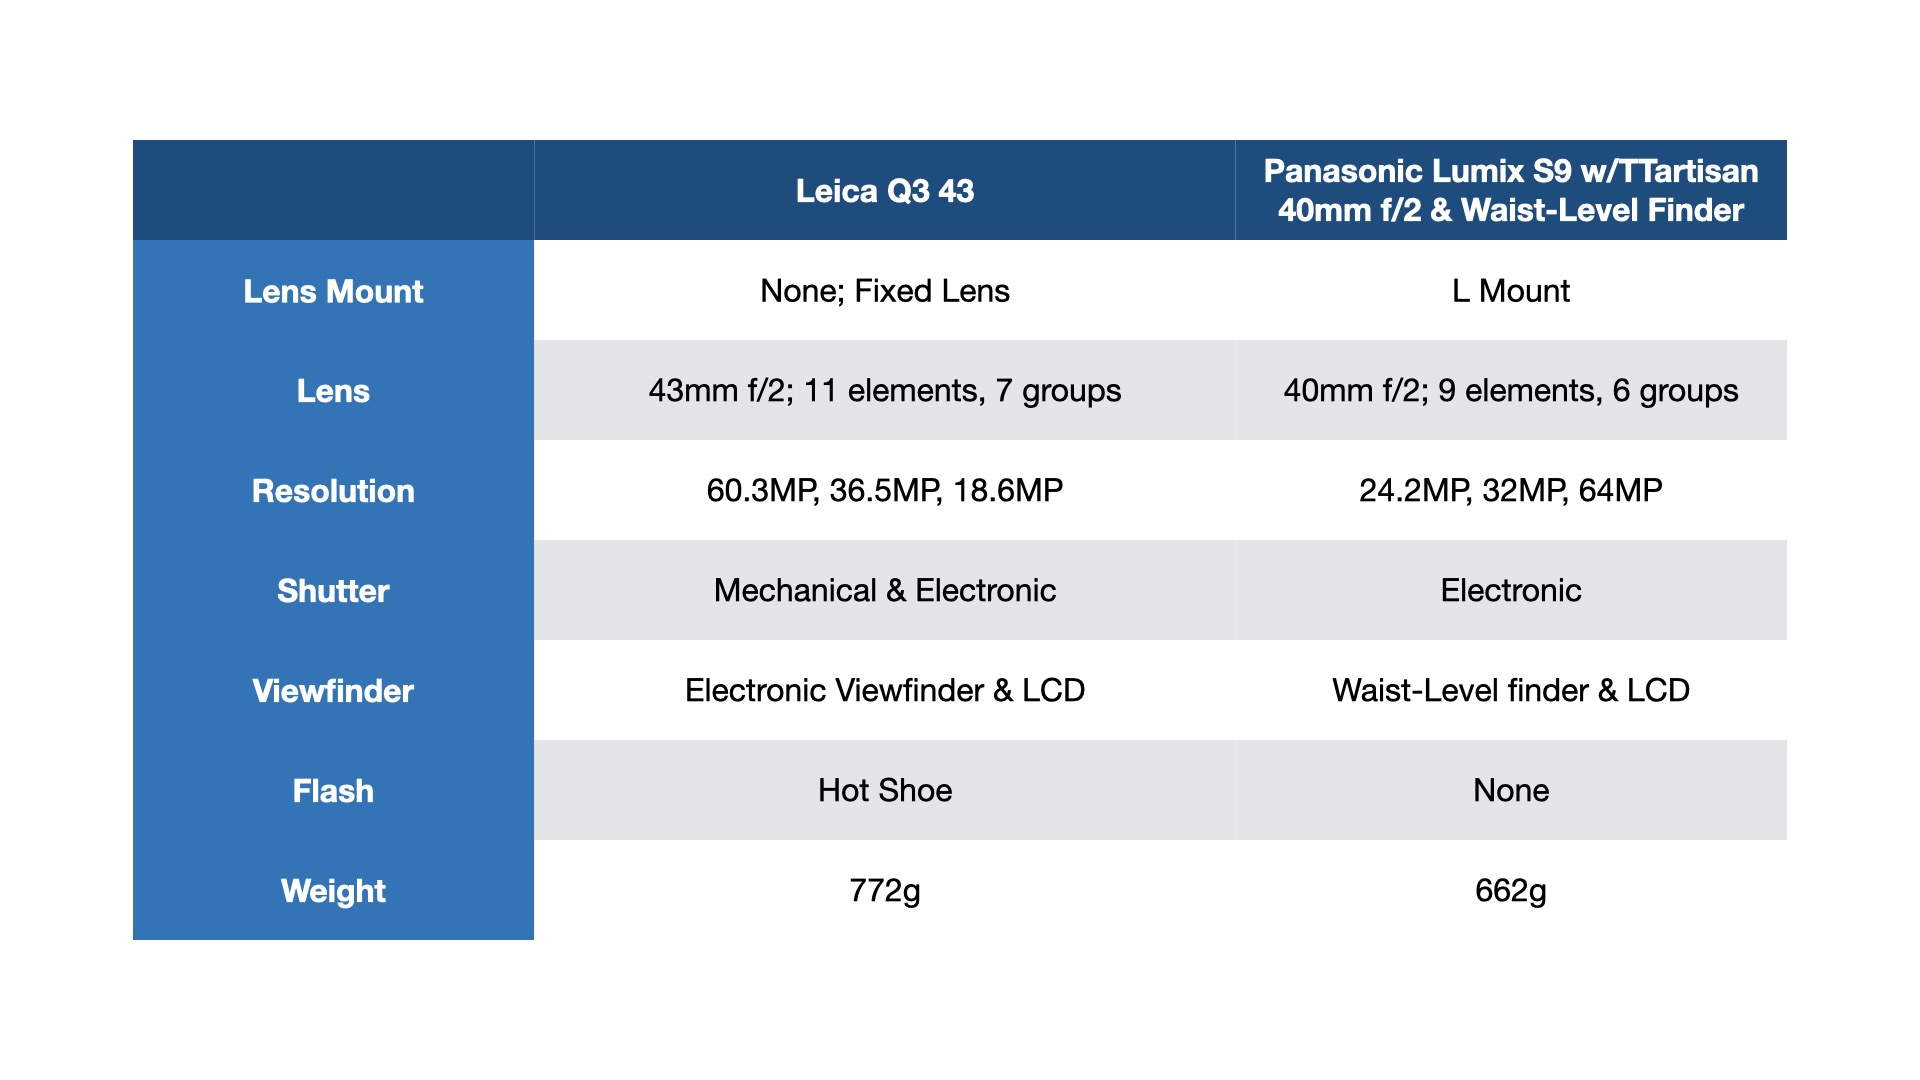
First things first, how does this proposed rogue equivalent camera stack up against the real deal Leica model? Sure, in a cherry-picked comparison, the perky upstart holds its own against the world renowned red-logo adorned legendary brand contestant. But there’s more to the story, much more; and this story begins with the components that have been selected for attempting to match up with the Leica.
The Sum of the Parts
No matter how you look at this project, the cost savings are significant. But can the performance of this proposed equivalent camera rise to the challenge?
In order to build this Leica wannabe, you will need:
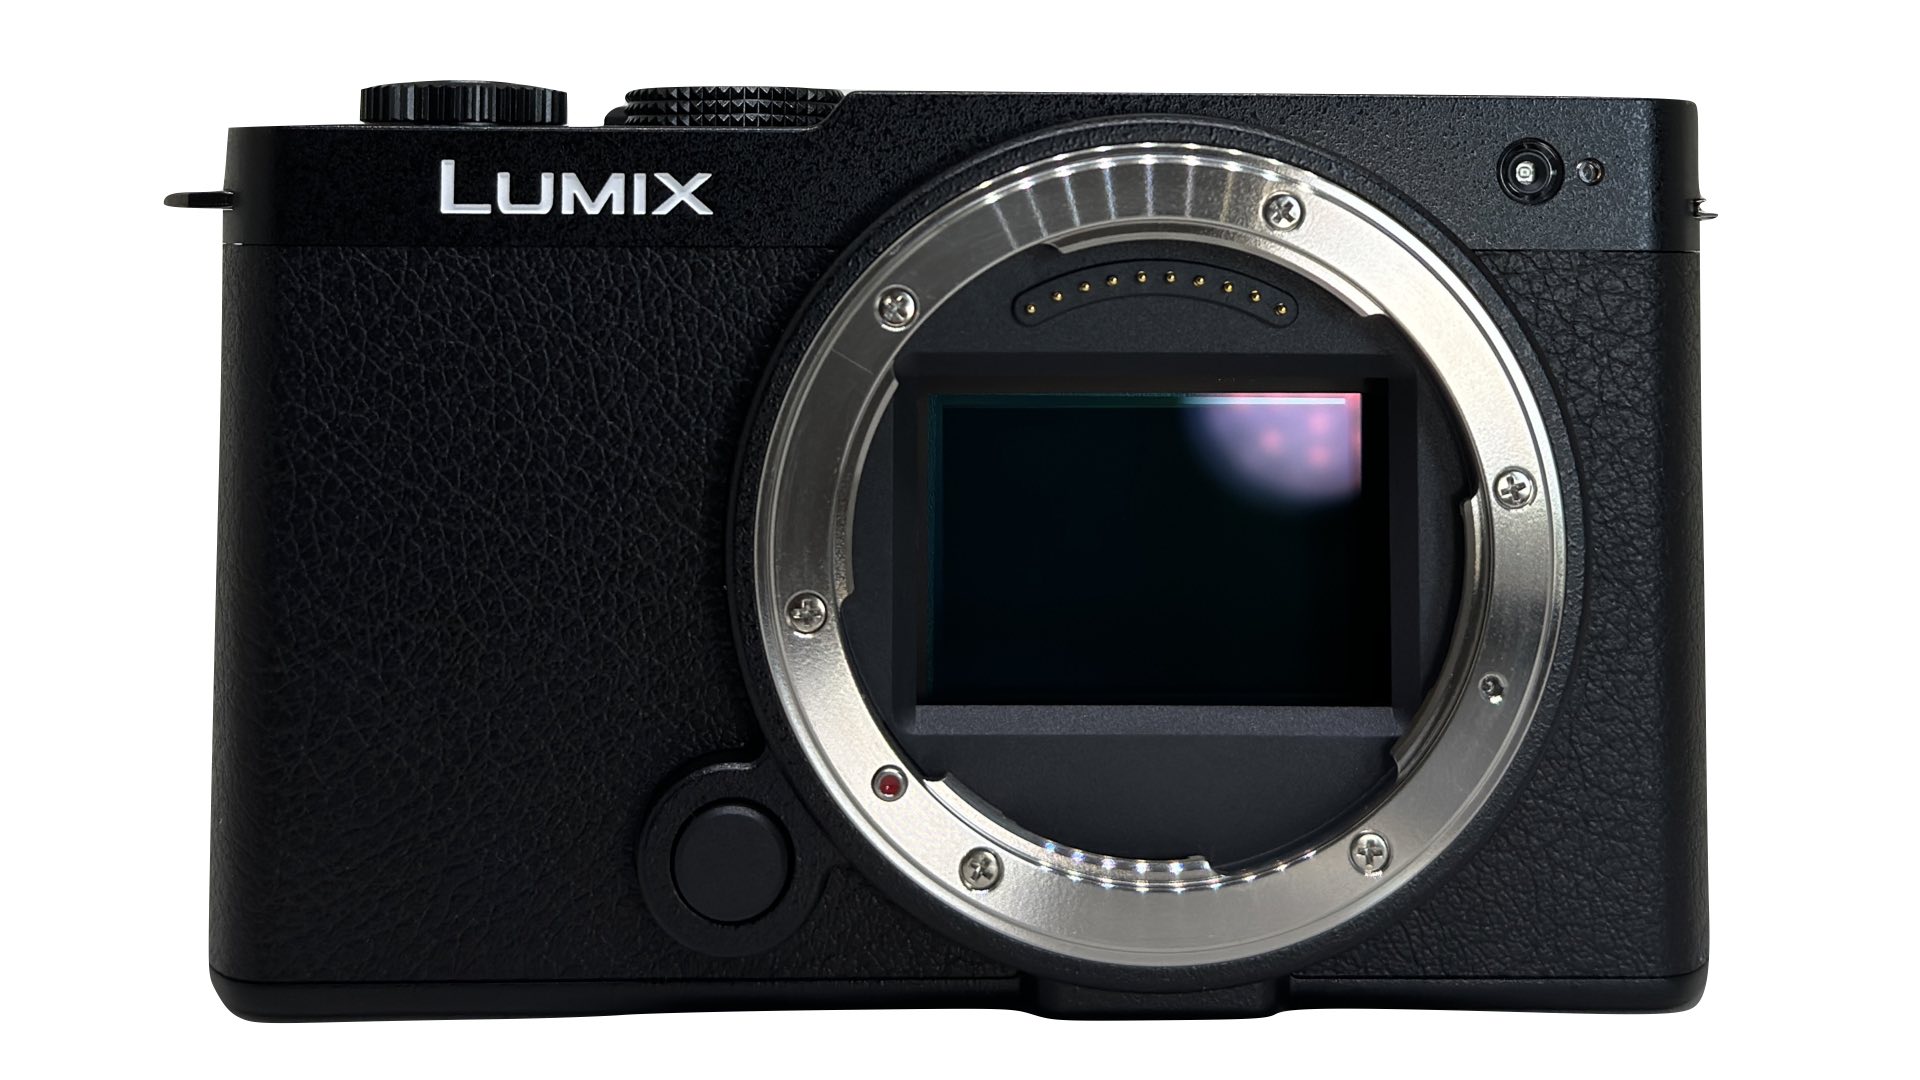
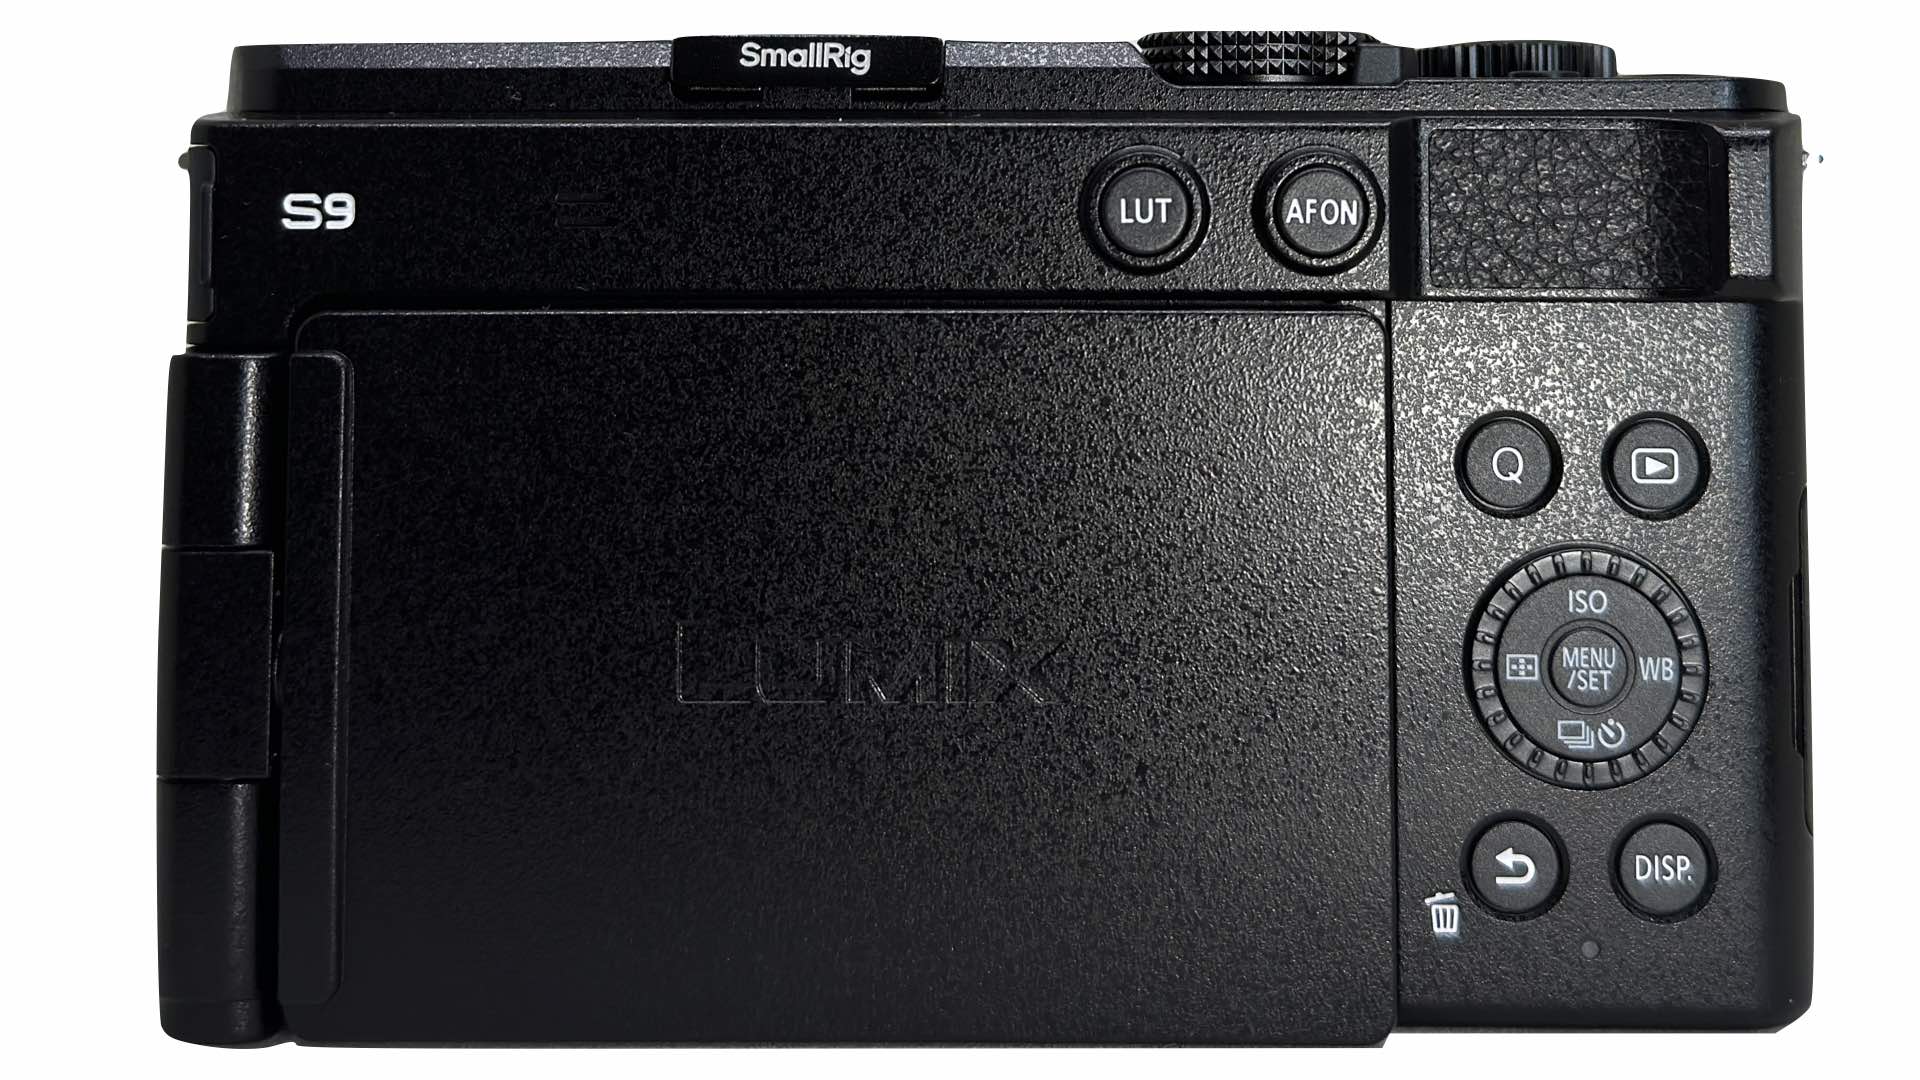
- Panasonic Lumix S9 Body for $1,497.99
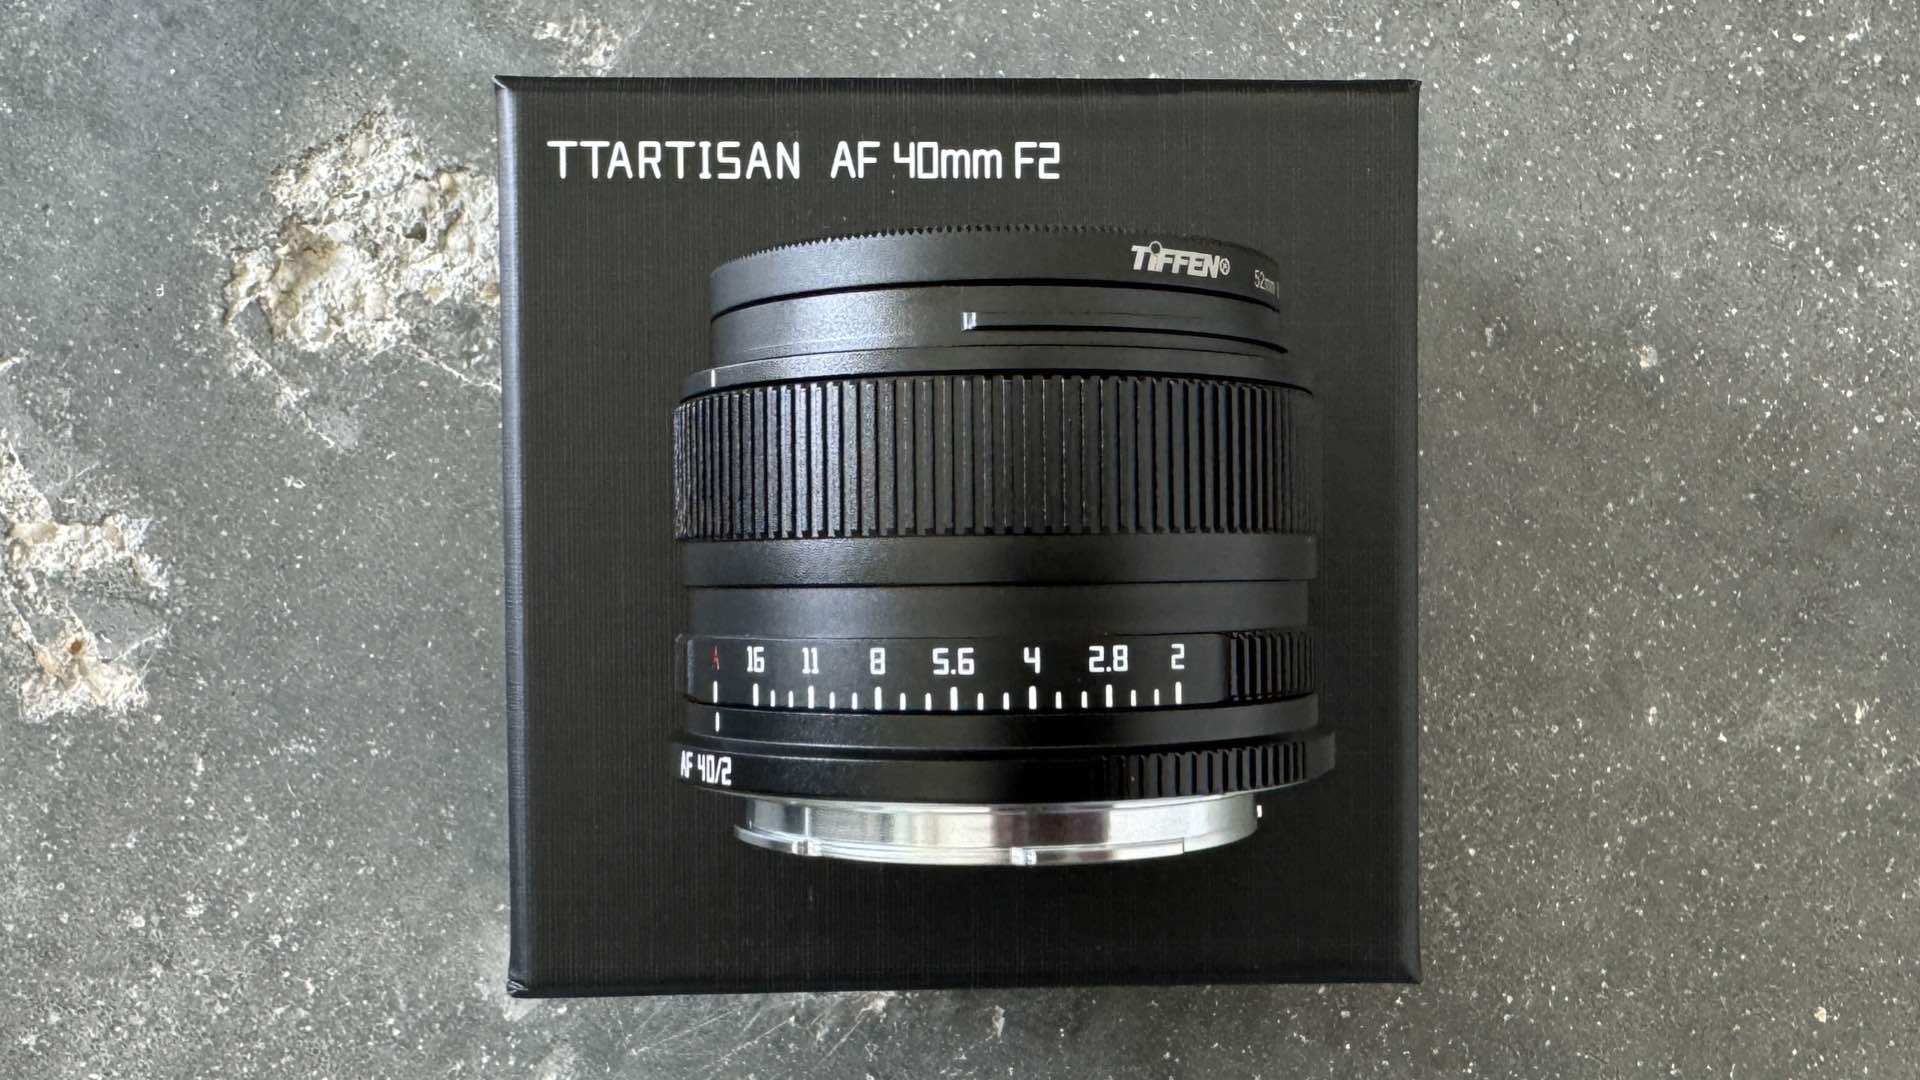
- TTartisan 40mm f/2 AF Lens for $168
- Waist Level Viewfinder for $47.97
- Total cost $1,713.96
- Versus, Leica Q3 43 cost $7,380
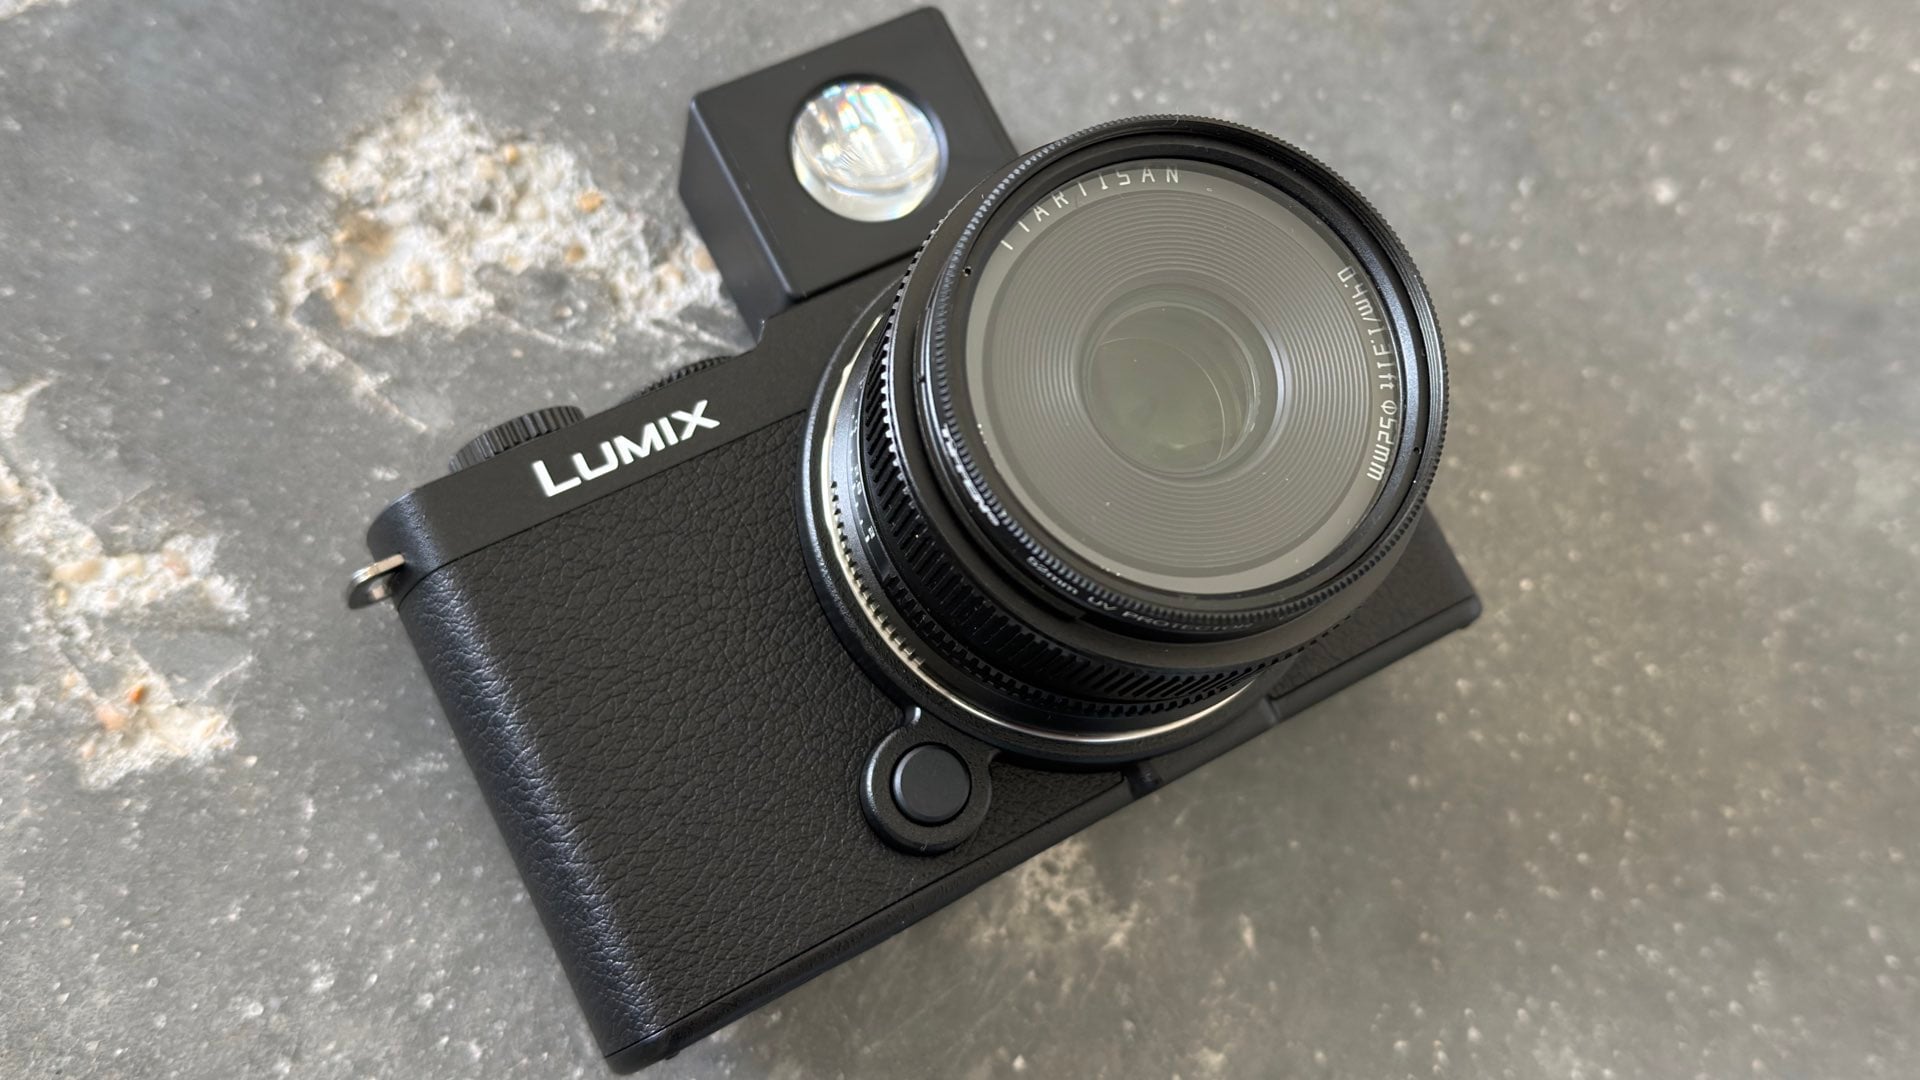
Yes, this camera setup requires a little explanation/justification for its selected components. First, the Panasonic Lumix S9 is a great, low-cost foundation for this project. Why? It’s full-frame sensor and 81MP high resolution exposure mode are housed inside a small, lightweight body with an excellent LCD, built-in thumb grip, and useful cold shoe accessory attachment point.
Next up, the TTartisan lens is a capable optical package that features a lighting fast autofocus, removable lens hood, and a surprisingly lightweight metal body. True, the focal length and optical formula of this lens are not equal to the Leica Q3 43 APO-Summicron lens, but it’s photographic results may surprise you.
Finally, completing the parts list for a poor (financially-challenged) photographer’s Leica Q3 43 equivalent camera, a waist level finder is attached to the Lumix S9 cold shoe adapter. Why not use a eye level viewfinder? There are two reasons for this choice: a readily available, low cost 40mm viewfinder is unavailable.
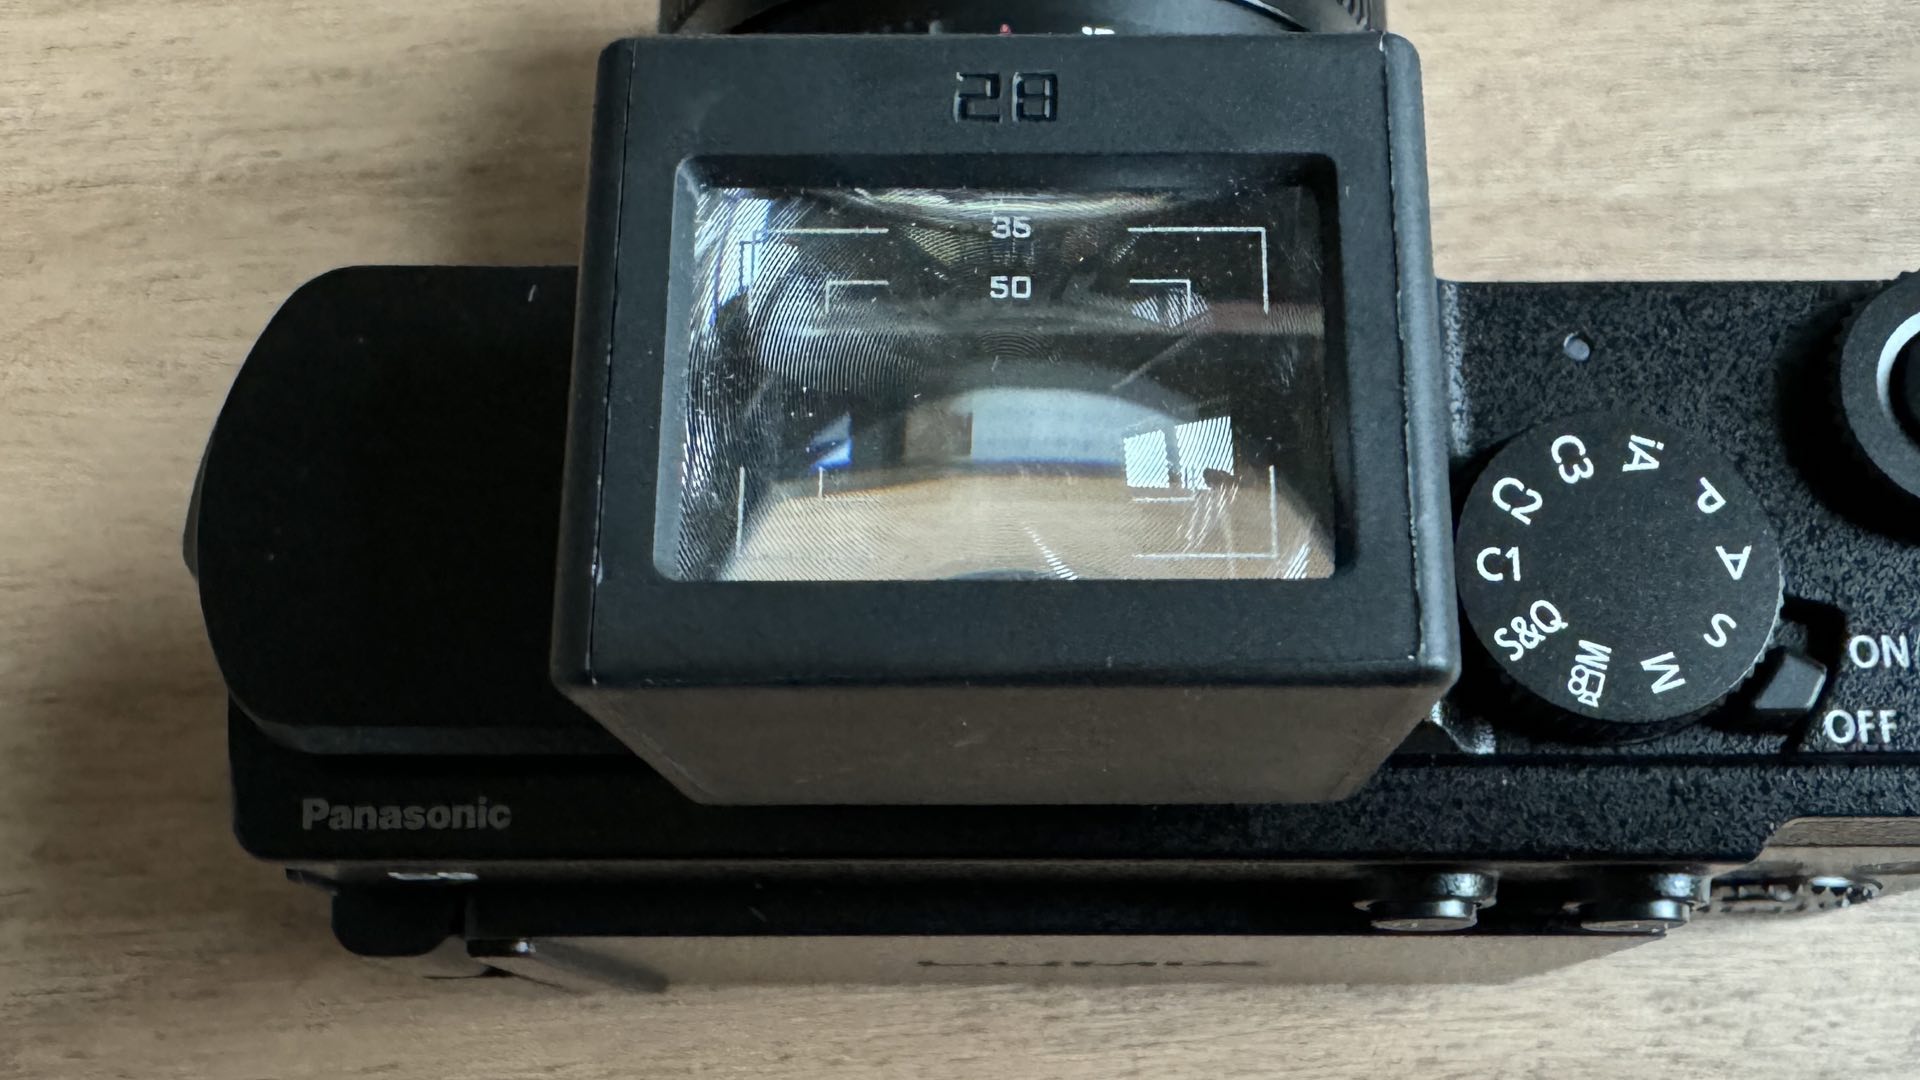
Second, the suggested technique for photographing with this setup mandates holding the camera steadily against your body, preferably, at belt height. That’s right, the S9 LCD will not be used for photography. Only the viewfinder will be used for framing your subject. Don’t worry, the LCD will automatically turn off when its screen is facing the camera body.
This odd suggestion helps to ensure a rock-steady platform for obtaining the best high resolution photographs. Furthermore, continuing this waist level viewing technique, your thumb triggers the shutter release. Likewise, you can listen for the autofocus to latch onto your subject with a halfway press of the shutter release button prior to exposure.
Hey, try it before you condemn it. It works and it works really well for most subjects. All you have to do is setup your autofocus and meter reading area for both being aligned with the center spot of the viewfinder’s field of view. Once you’ve configured the autofocus and metering, your exposure ritual will be like this: hold the camera at belt height, place the center spot of your field of view on your subject, halfway press the shutter button and listen for the autofocus latch, and then make your exposure.
Set Some Settings
Your final step in building a poor (financially-challenged) photographer’s Leica Q3 43 equivalent camera is to adjust a couple of menu settings. Specifically, you’ll be programming high resolution mode and photo style on the Panasonic Lumix S9.
Feel free to make additional changes to the camera customization settings, but we’ll be focusing on configuring P (Program mode) on the camera’s mode dial. In this context, you’ll set the dial mode to P and select high resolution mode via the drive mode function key on the rear command dial. Now, set Handheld High-Res ON and make any other optional selections that you like.
[Please note: WARNING! Enabling high resolution mode can require long exposure burst times of 12 images lasting approximately 2-3 sec. If you’re unable to remain reasonably still during the exposure find a nearby flat surface to anchor the camera.]
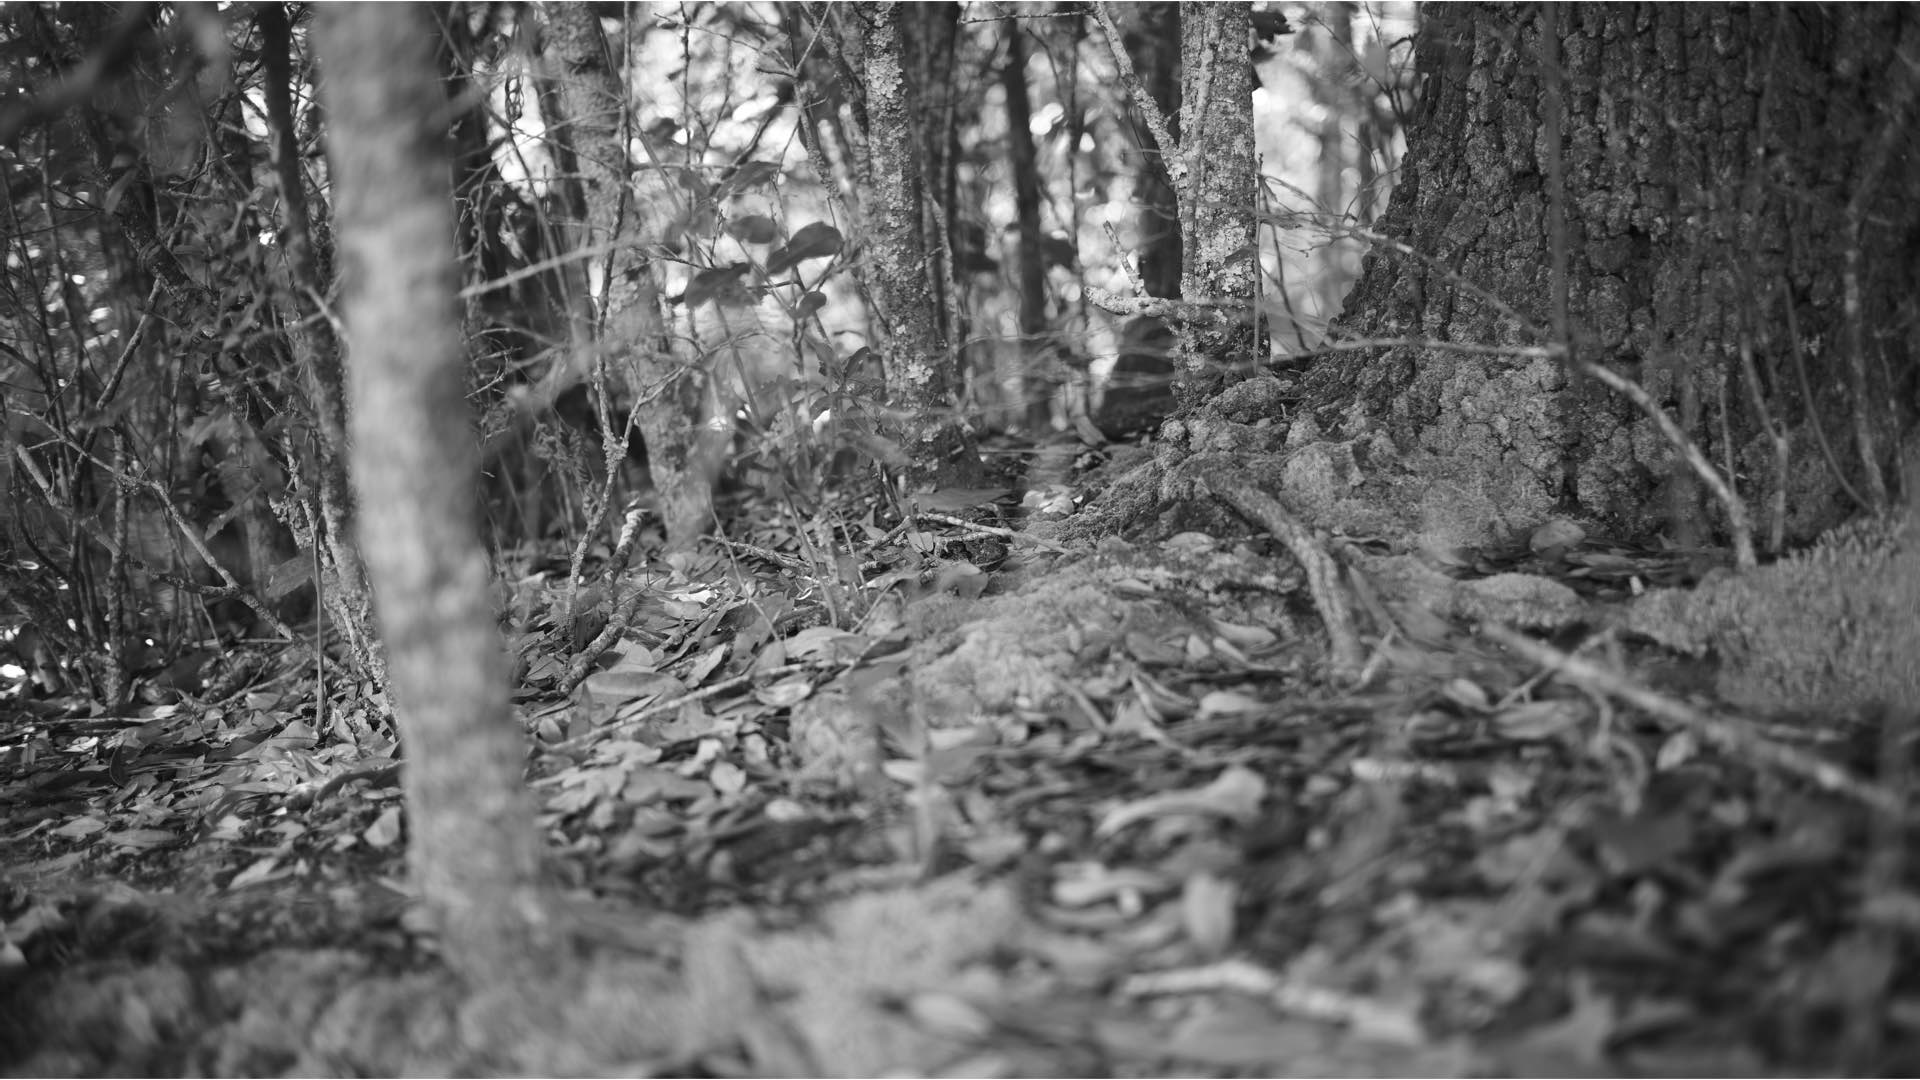
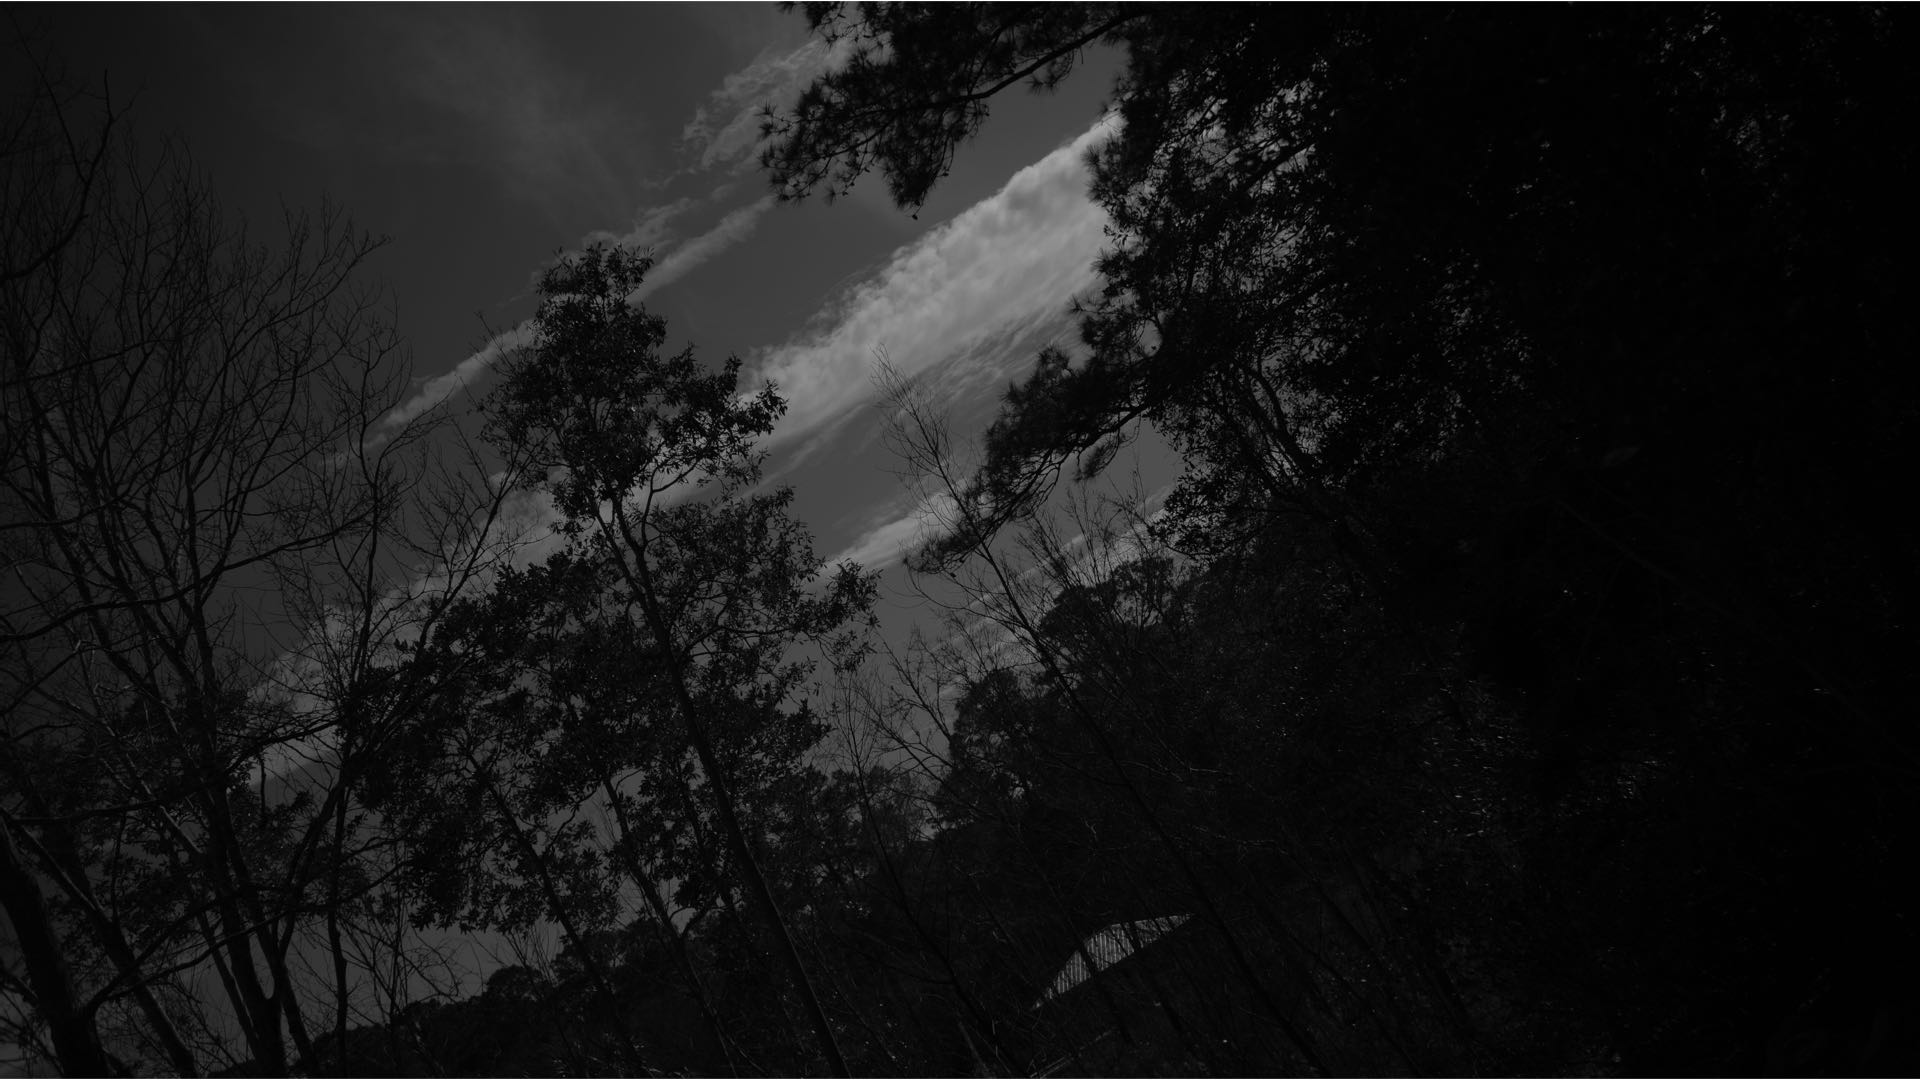
Additionally, you will enable your preferred photo style for the P dial mode. For example, try “vivid” with saturation +4 and sharpness +3 or “Leica Monochrome.” Alternatively, you can assign a preferred look-up table (LUT) to P mode.
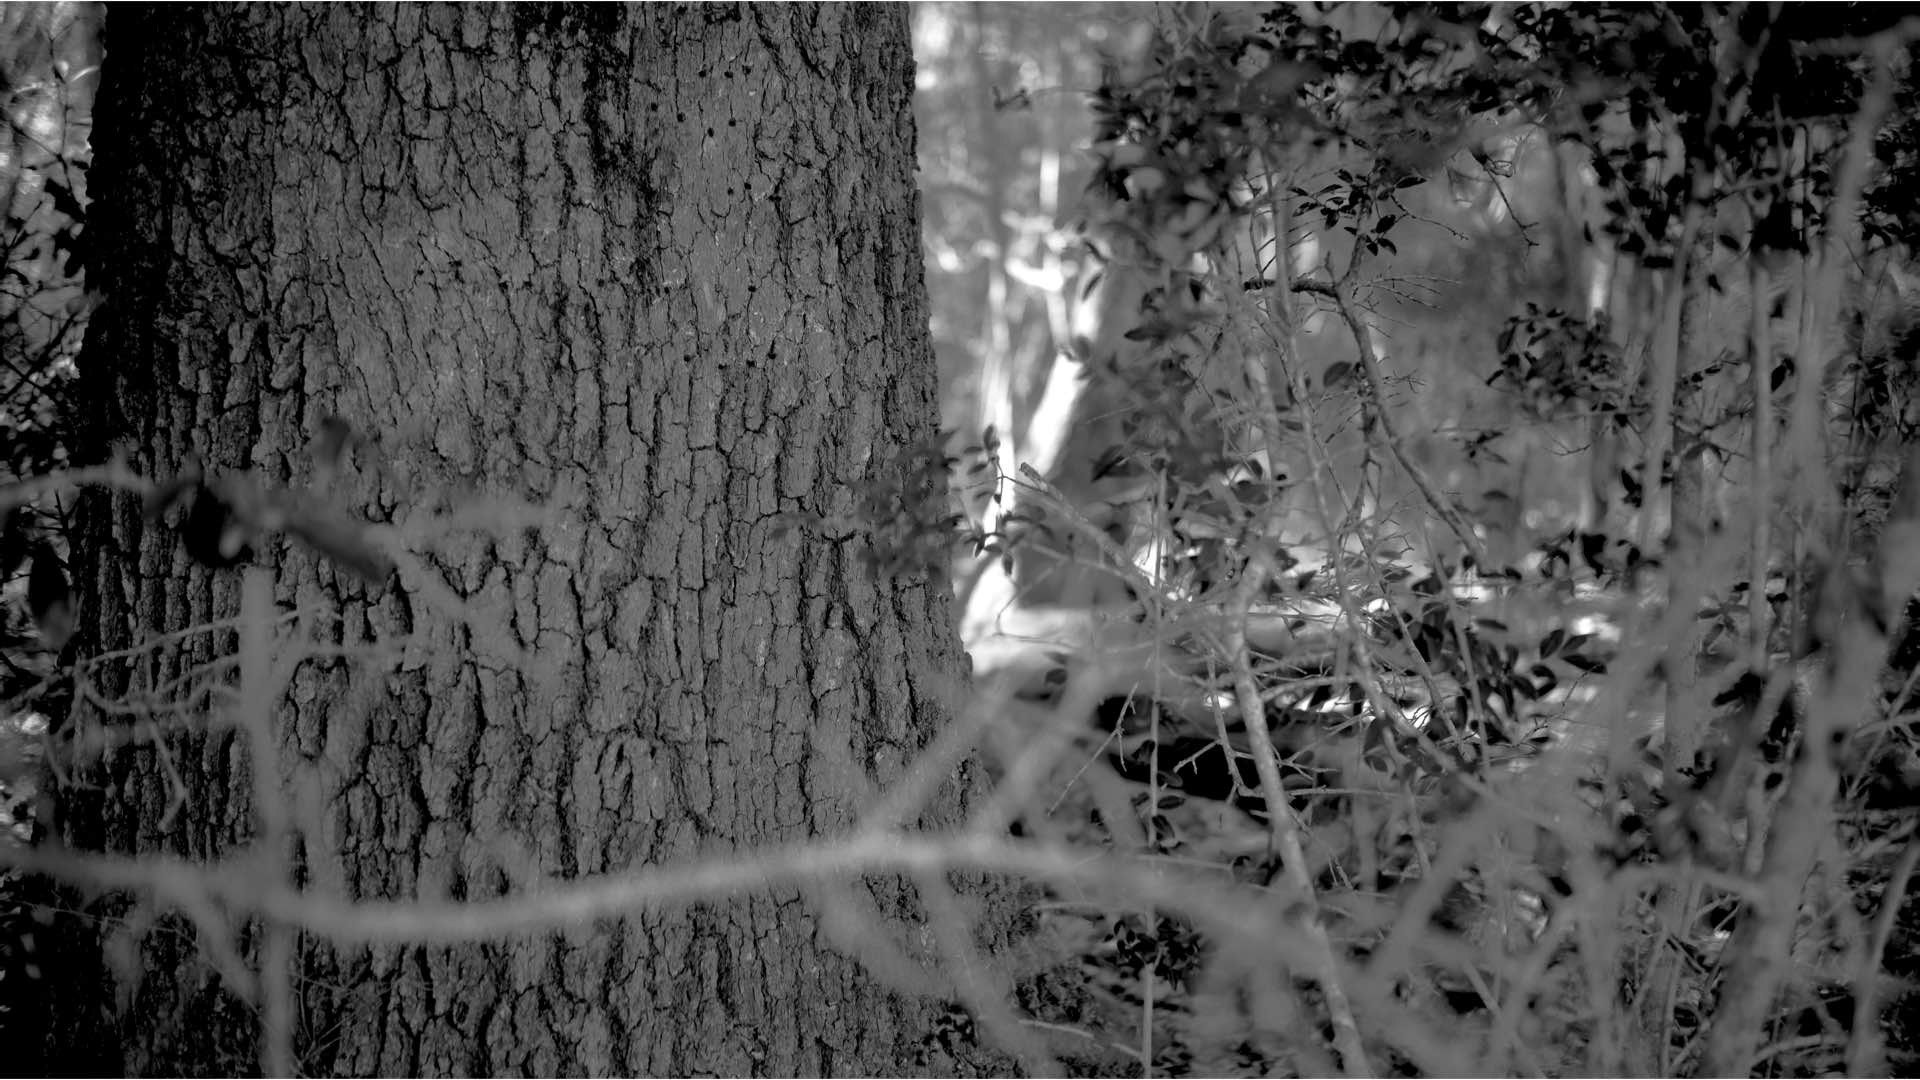
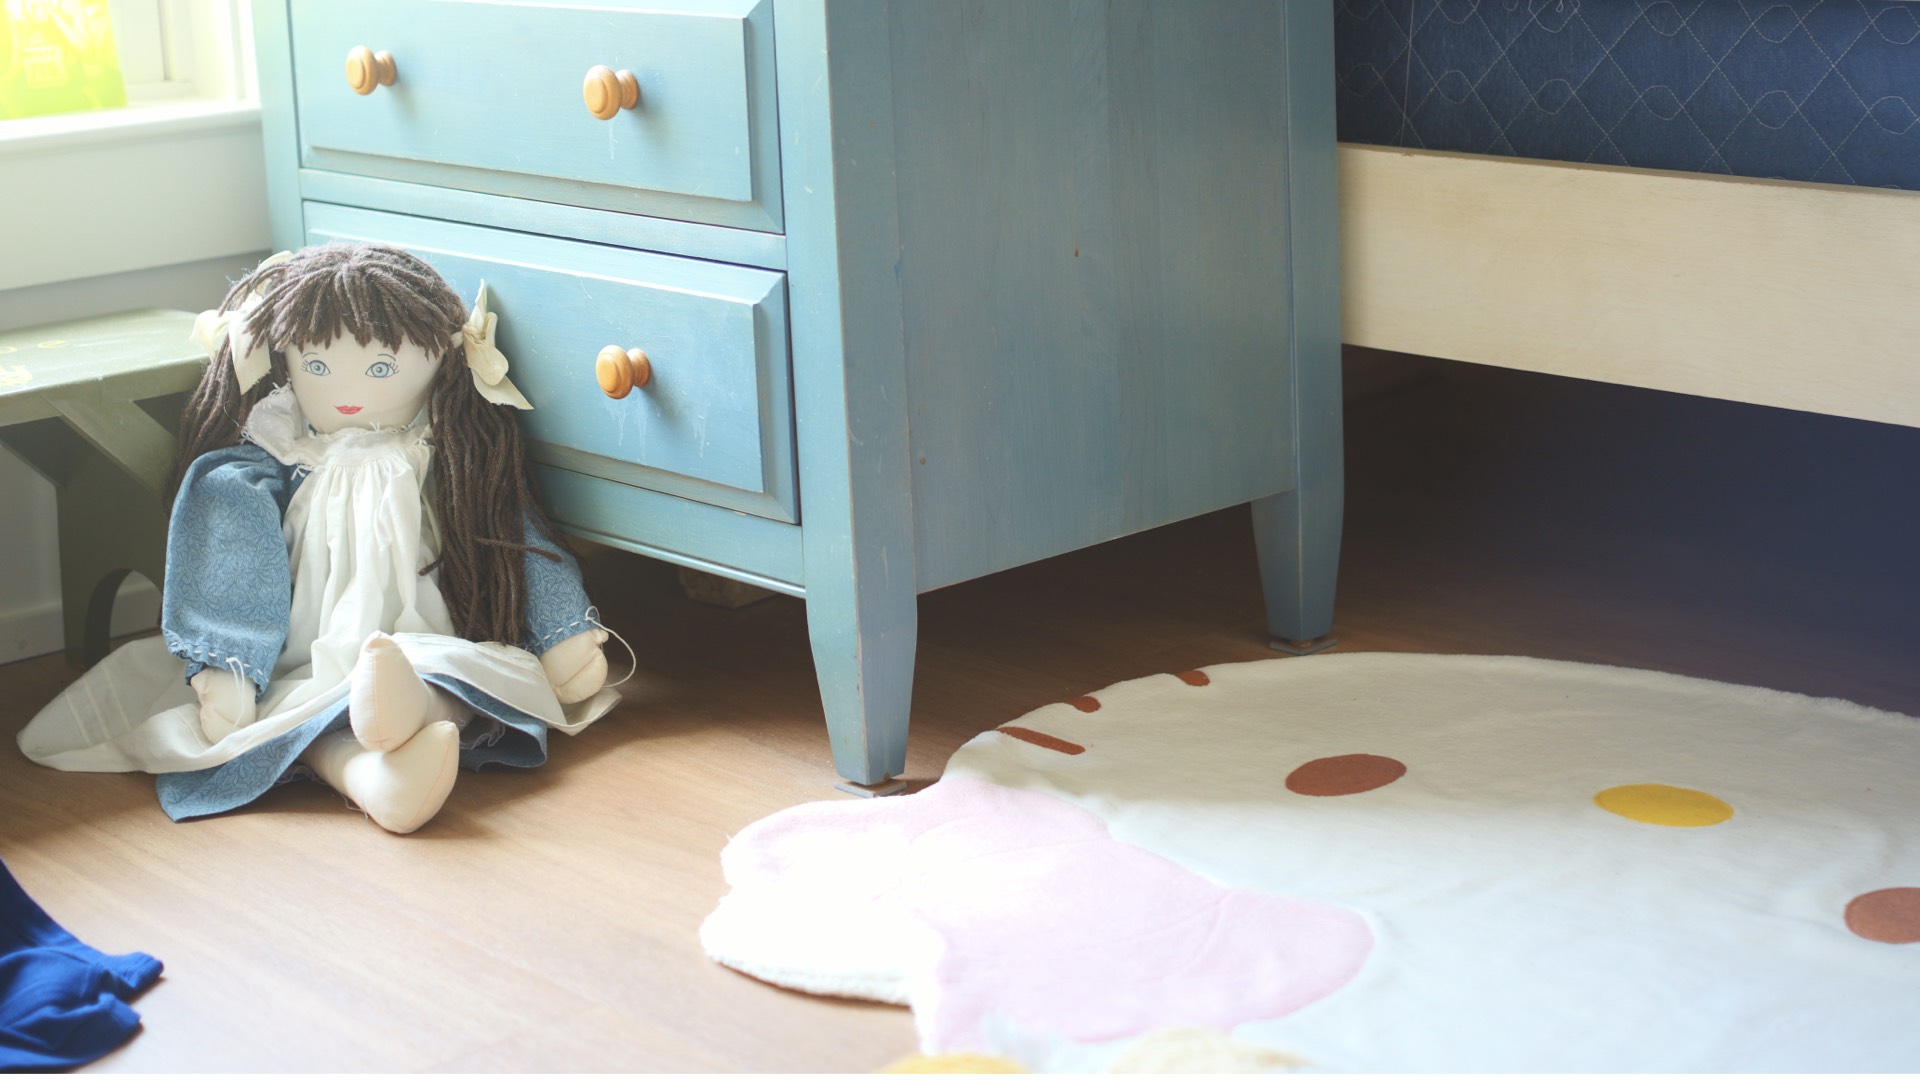
Once you have the P mode all ready to go, you’re ready to begin making photographs. In order to evaluate the capability of this poor (financially-challenged) photographer’s Leica Q3 43 equivalent camera, study these sample photographs:
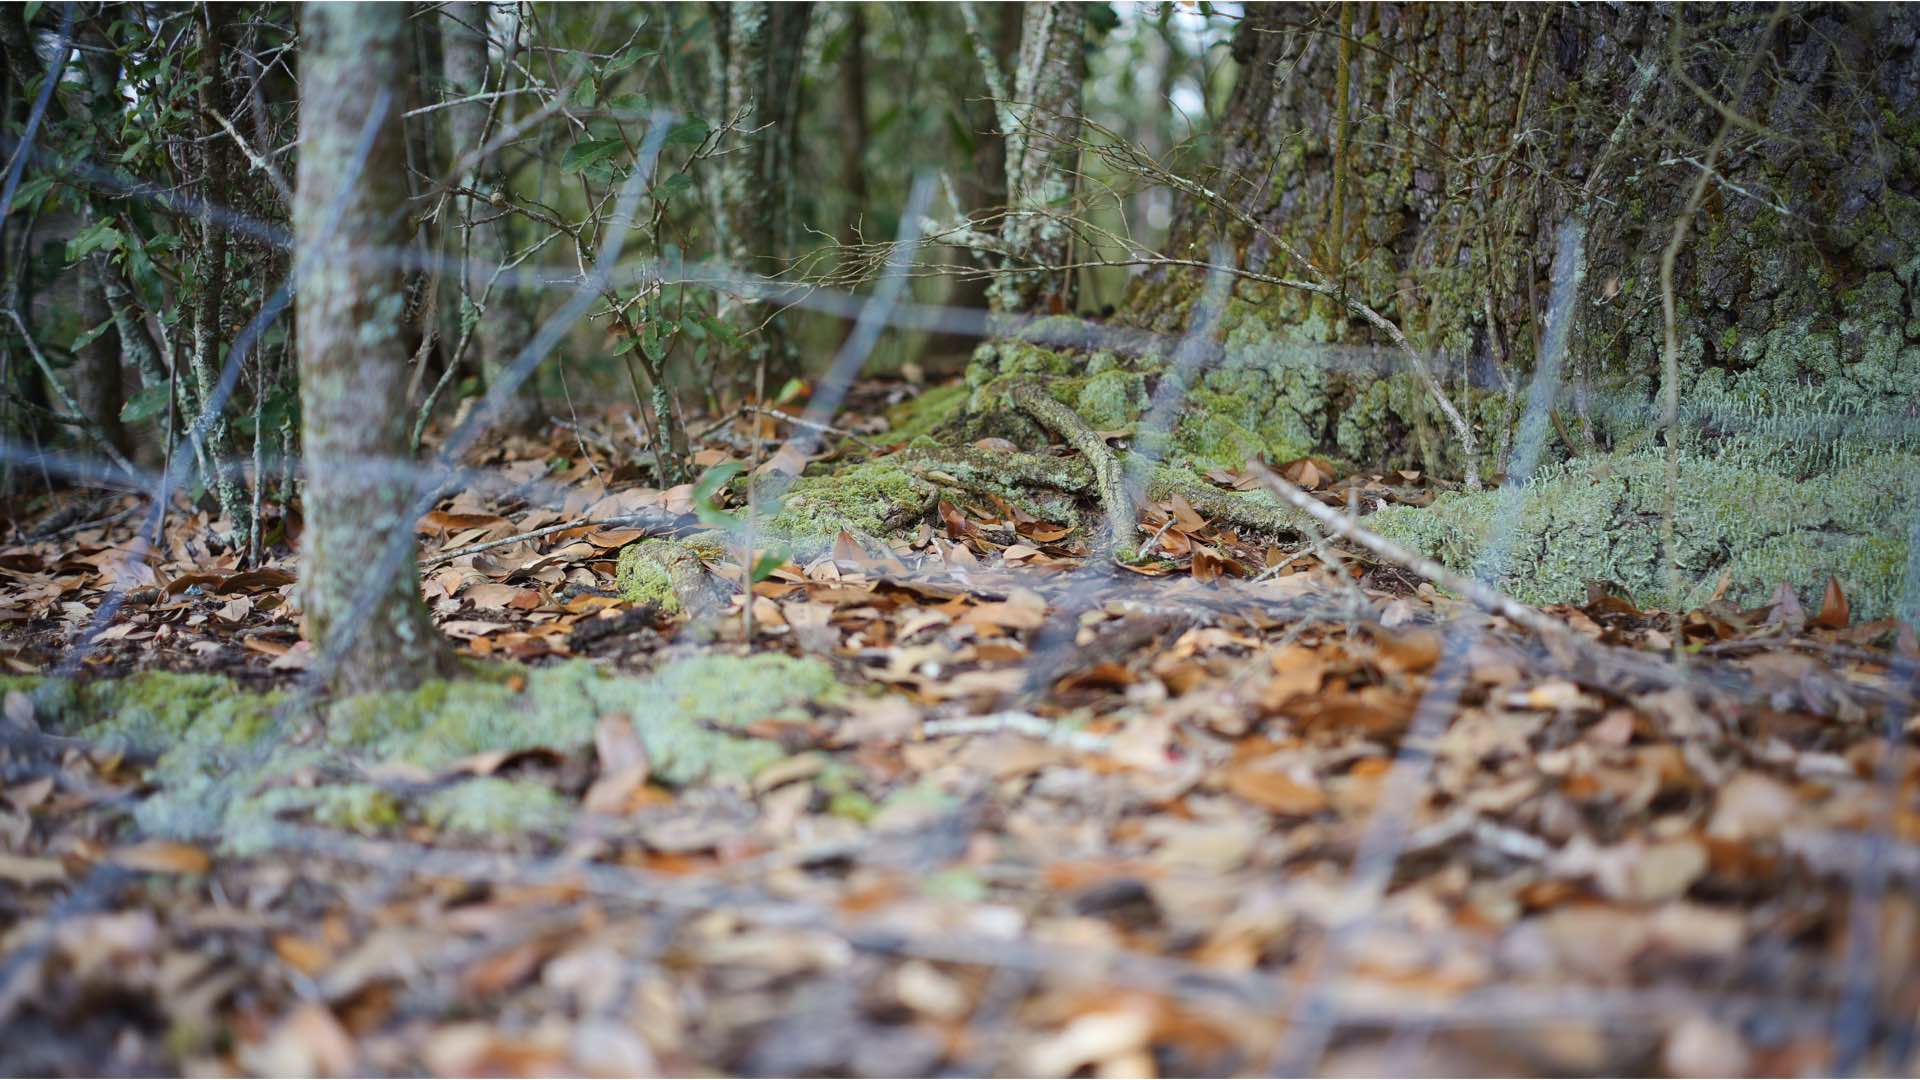
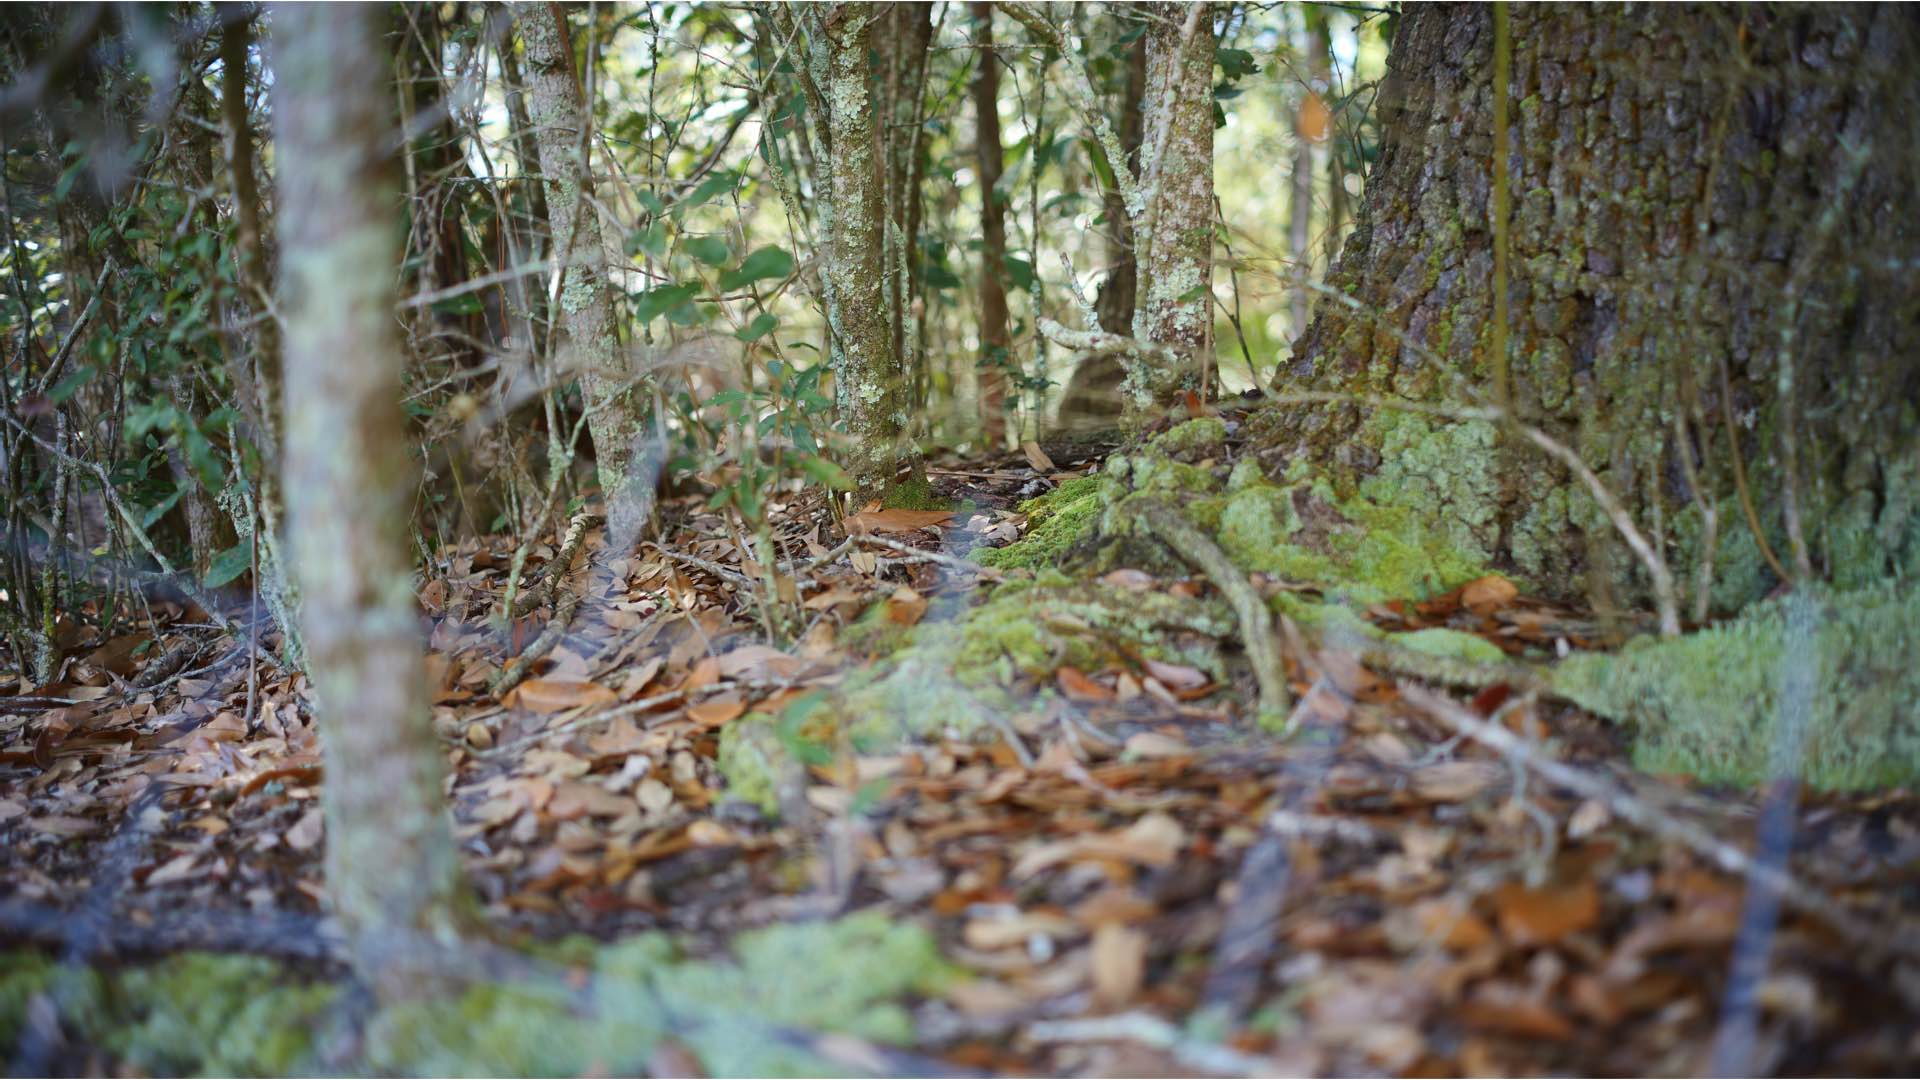
Is this poor (financially-challenged) photographer’s Leica Q3 43 equivalent camera an exact duplicate of the revered Leica camera? No, of course not. By using just a little bit of creative ingenuity, however, you can achieve photographic results that are very similar to the images that can be captured with the Leica Q3 43. Just don’t let your friends in on the secret to your photographic success.
Enjoy.

David Prochnow
Our resident “how-to” project editor, David Prochnow, lives on the Gulf Coast of the United States in Ocean Springs, Mississippi. He brings his expertise at making our photography projects accessible to everyone, from a lengthy stint acting as the Contributing How-To Editor with Popular Science magazine. While you don’t have to actually build each of his projects, reading about these adventures will contribute to your continued overall appreciation of do-it-yourself photography. A collection of David’s best Popular Science projects can be found in the book, “The Big Book of Hacks,” Edited by Doug Cantor.
Related Posts
 15 Statements Poor Photographers Say that Rich Photographers Do Not
 Build Your Own Lighting Setup With This Awesome DIY 1000w Equivalent LED Flashlight
 Leica D-Lux 8 is a compact powerhouse with 24-70mm equivalent lens
 Instagram embeds for content are challenged by Photographer vs. broadcasting group case
Join the Discussion
DIYP Comment Policy
Be nice, be on-topic, no personal information or flames.
3 responses to “Build a Poor (Financially-Challenged) Photographer’s Leica Q3 43 Equivalent (Sorta)”
This is a poor (pathetic) attempt at a DIY project. Were you born stupid, or did you take classes in school?
I hope that article was written with tongue firmly in cheek. Because how do you get 80 Megapixels with a moving subject? Or even if there’s a breeze moving the foliage in a landscape?
Why not just buy a used 60Mpx Sony a7r4 for around the same money and stick that cheap 40mm lens on it? No need then for a daft, neck-ache inducing little waist-level finder – such as was fitted to old Box Brownies.
In any case; I doubt anyone could tell the difference between a genuine Q3 shot and the exact same scene shot with an equivalent focal length lens on almost any other camera. Certainly not if posted on the Web!
BTW does anyone know who makes the Q3 sensor? I doubt very much that Leitz has their own semiconductor foundry, staffed by elves that sprinkle magic dust on every photosite.
sitting in an airport lounge reading this with my 200mp phone camera I was interesting in the poor man’s offering with a GF3 in my fannypack with a basic lens and a nice zoom in my hand luggage still the combo to suit me need. the phone was under £300 and the camera and lenses were eBay salvage buys ..for around £100 .. and the enjoyment of low cost photography is fun