


How to create a stylized art shoot on a shoestring budget
Nov 9, 2020
Tom Saimon
Tom Saimon is a boutique wedding and fashion photographer based in Haifa, Israel. Tom founded one of most sought-after wedding photography boutiques in Israel and shoots over 100 weddings a year, making him not only an established photogrpher, but also an authority in the industry. Tom is regularly featured in fashion and wedding magazines as a style benchmark
Share:

What do you do when you have to produce a stylized shoot on a shoestring budget? Use colors and paper, of course. I was hired by designer Ofek Bergman to shoot her new clothing collection. Well, hired is not really the term here, as it was more of a pro bono for a starving art student. As usual with this kind of production, almost everyone chipped in and donated their time in exchange for portfolio images, a learning experience, and a great day with great creatives.
With a very limited budget for art, we decided on a pop theme with strong colors and shapes. This would bring the costs down while creating coherency that ties Ofek’s collection together.
I used Set.a.Light.3d to create the sets before the shoot and get the team on the same page. It is a great piece of software for storyboarding a frame. You know that I love the lighting aspect of it, but it also allows controlling the model right down to the clothing and finger position.
Set A Light Hacks
Set.a.light is great, but sometimes you have to hack the software to get what you want. And I had to use two hacks here to create my set. The first hack is the shapes hack. Set.a.Light.3d has an arsenal of 3d bodies that you can drop on your set, but I needed two-dimensional art pieces. Luckily, Set.a.Light lets you control each dimension of the body. The solution for me was to set the shape’s depth to a very low number to make it two dimensional. (I will link the Set.a.light files at the end of the post to check them out dor yourself). You do this by (1) selecting the relevant body and (2) setting the length (or depth) or it to a low number. Then you can apply colors, positioning, and so on. Check the illustration below.

The other hack had to do with the available modifiers. Set.aLight does not have a diffused reverse umbrella with diffusion, which is what I used fort he set. I had to do with a 150cm octabox, which is close enough.

Other than those two little hacks, Set.a.Light.3d created a pretty close setup for the team to align to.
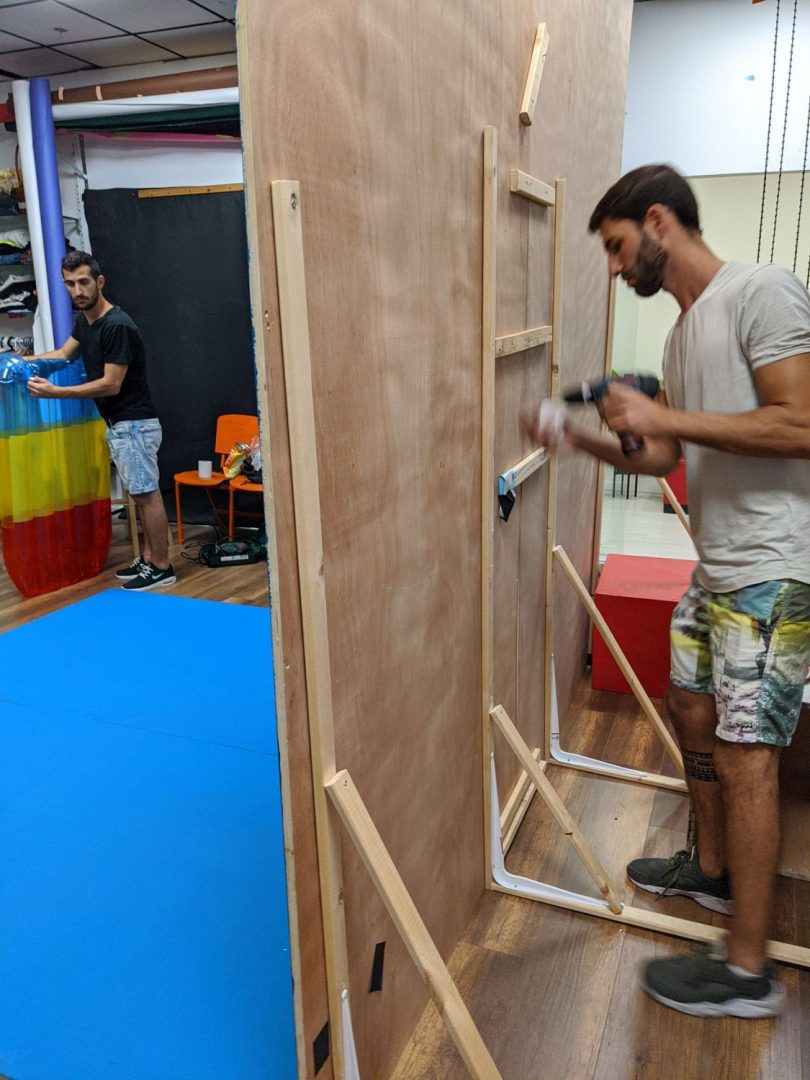
Building the set
Operating on a low budget means that we had to build things from scratch rather than buy props. We wanted basic shapes on strong colors, so we had to get both shapes and colors.
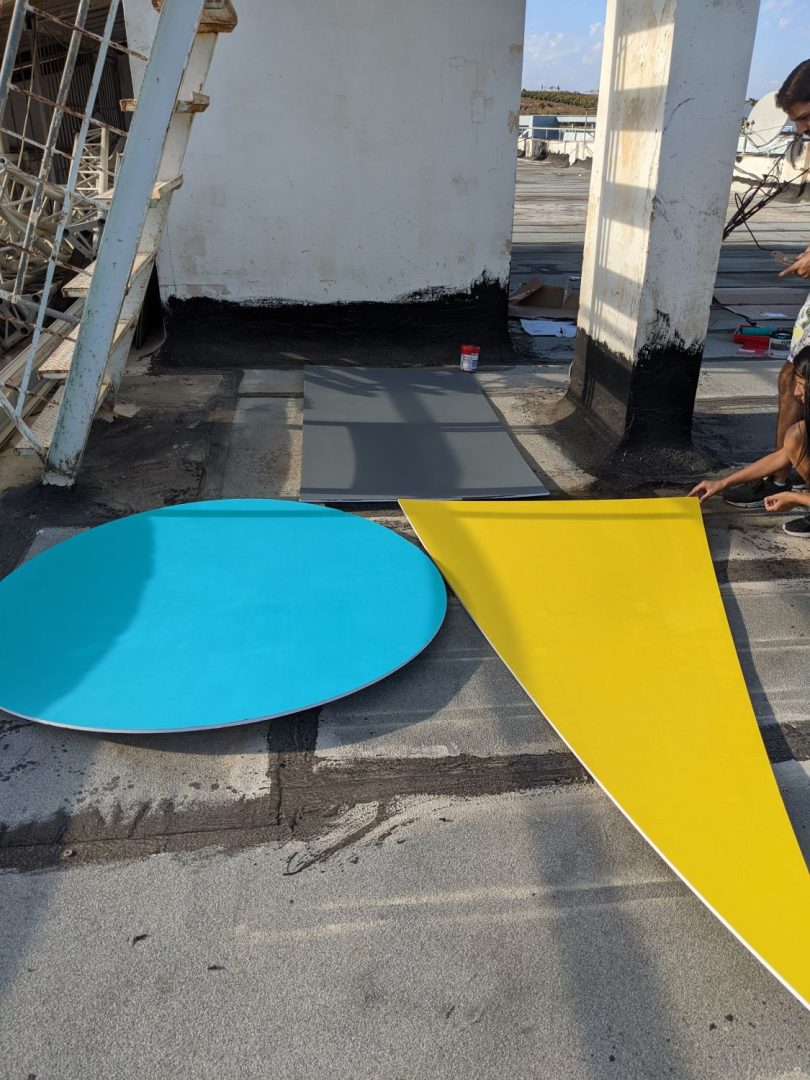
A nearby print house made some laser cut shapes from foam boards. And we ended up with a thick white foamboard pile of a triangle, a circle, and a rectangle. The next step was to paint them with the colors of our choice. Between the cans of paint and the three foamboard shapes, our budget did not exceed $100.
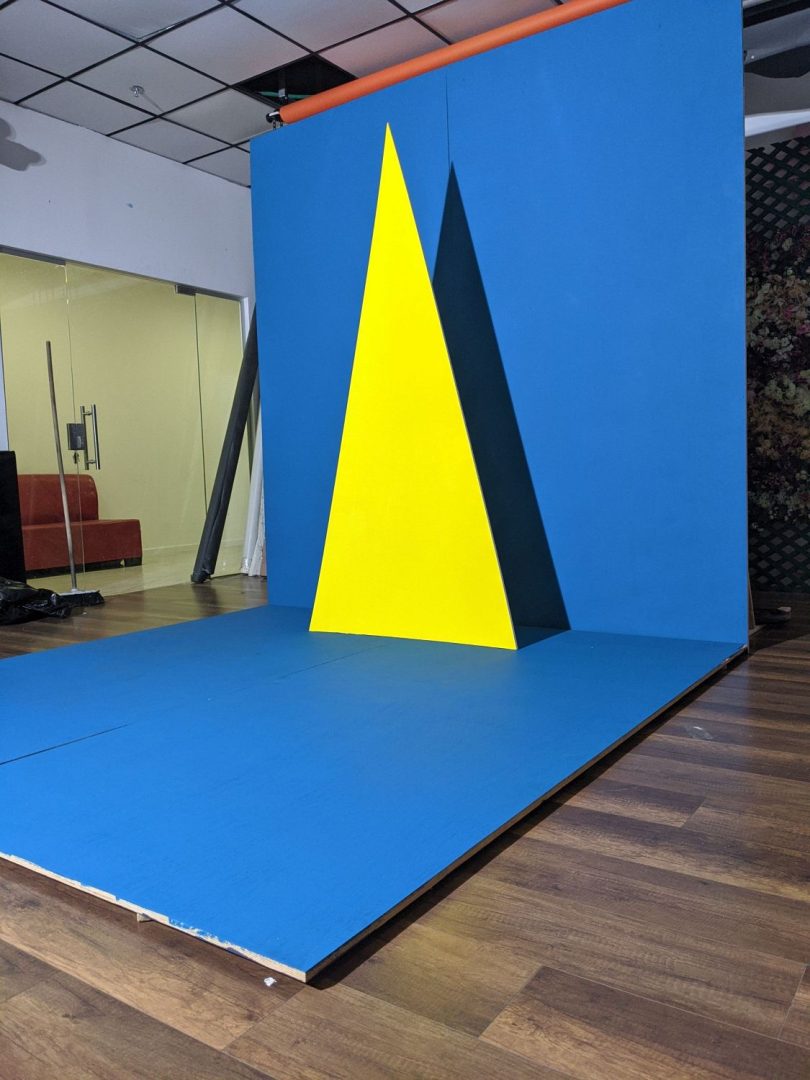
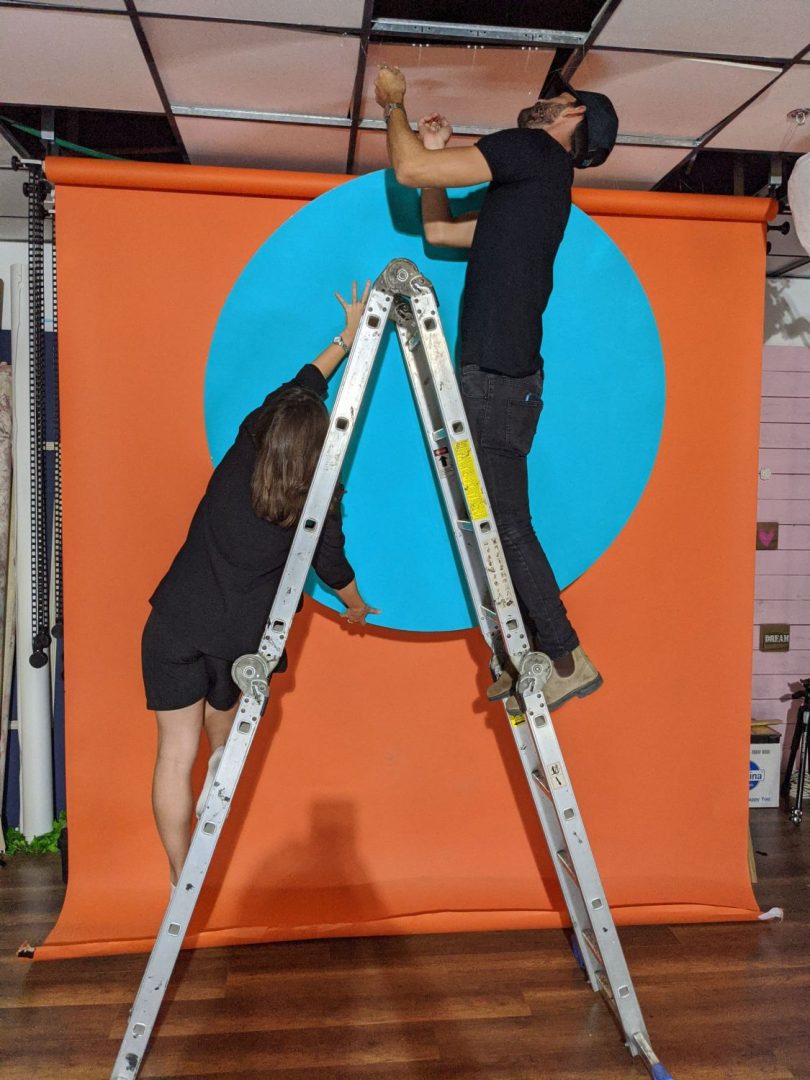
Another can of paint was used to paint the blue backdrop on a piece of plywood. The orange and white sets were just seamless papers from Savage.
Lighting

My main light was a Godox AD600 with a big beauty dish for a poppy light. I had to balance the shadows with two white reflectors on either side.
Then another pop with a small, diffused, 40 cm octa, and a Godox 360 coming from the top. I wanted to put another 600 here but did not have enough ceiling space.
Lastly, there was a big reversed umbrella with another Godox AD600 for general fill. I flagged the bottom of the Octa to remove light spillage on the floor.
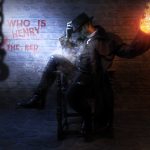
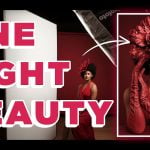
Final results
Here are the three main images from that day:


Set.a.Light.3D files
As promised, here are the three Set.a.Light files: Orange, Yellow, and Gray. You can download the files to play with. (If you don’t have Set.a.Light3D, get the demo). And here is a side by side with one of the sets. I am putting it here to show how useful this process has been for communication with the team, as you can see by the end result.


Tom Saimon
Tom Saimon is a boutique wedding and fashion photographer based in Haifa, Israel. Tom founded one of most sought-after wedding photography boutiques in Israel and shoots over 100 weddings a year, making him not only an established photogrpher, but also an authority in the industry. Tom is regularly featured in fashion and wedding magazines as a style benchmark

Join the Discussion
DIYP Comment Policy
Be nice, be on-topic, no personal information or flames.
One response to “How to create a stylized art shoot on a shoestring budget”
Nice work :)
Can one now import custom shapes into set a light or is that a diffuser you used as the round shape in the background?