


Get Ready for Worldwide Pinhole Photography Day: Convert a Panoramic Camera into a Pinhole Camera
Apr 22, 2026
David Prochnow
Our resident “how-to” project editor, David Prochnow, lives on the Gulf Coast of the United States in Ocean Springs, Mississippi. He brings his expertise at making our photography projects accessible to everyone, from a lengthy stint acting as the Contributing How-To Editor with Popular Science magazine. While you don’t have to actually build each of his projects, reading about these adventures will contribute to your continued overall appreciation of do-it-yourself photography. A collection of David’s best Popular Science projects can be found in the book, “The Big Book of Hacks,” Edited by Doug Cantor.
Share:
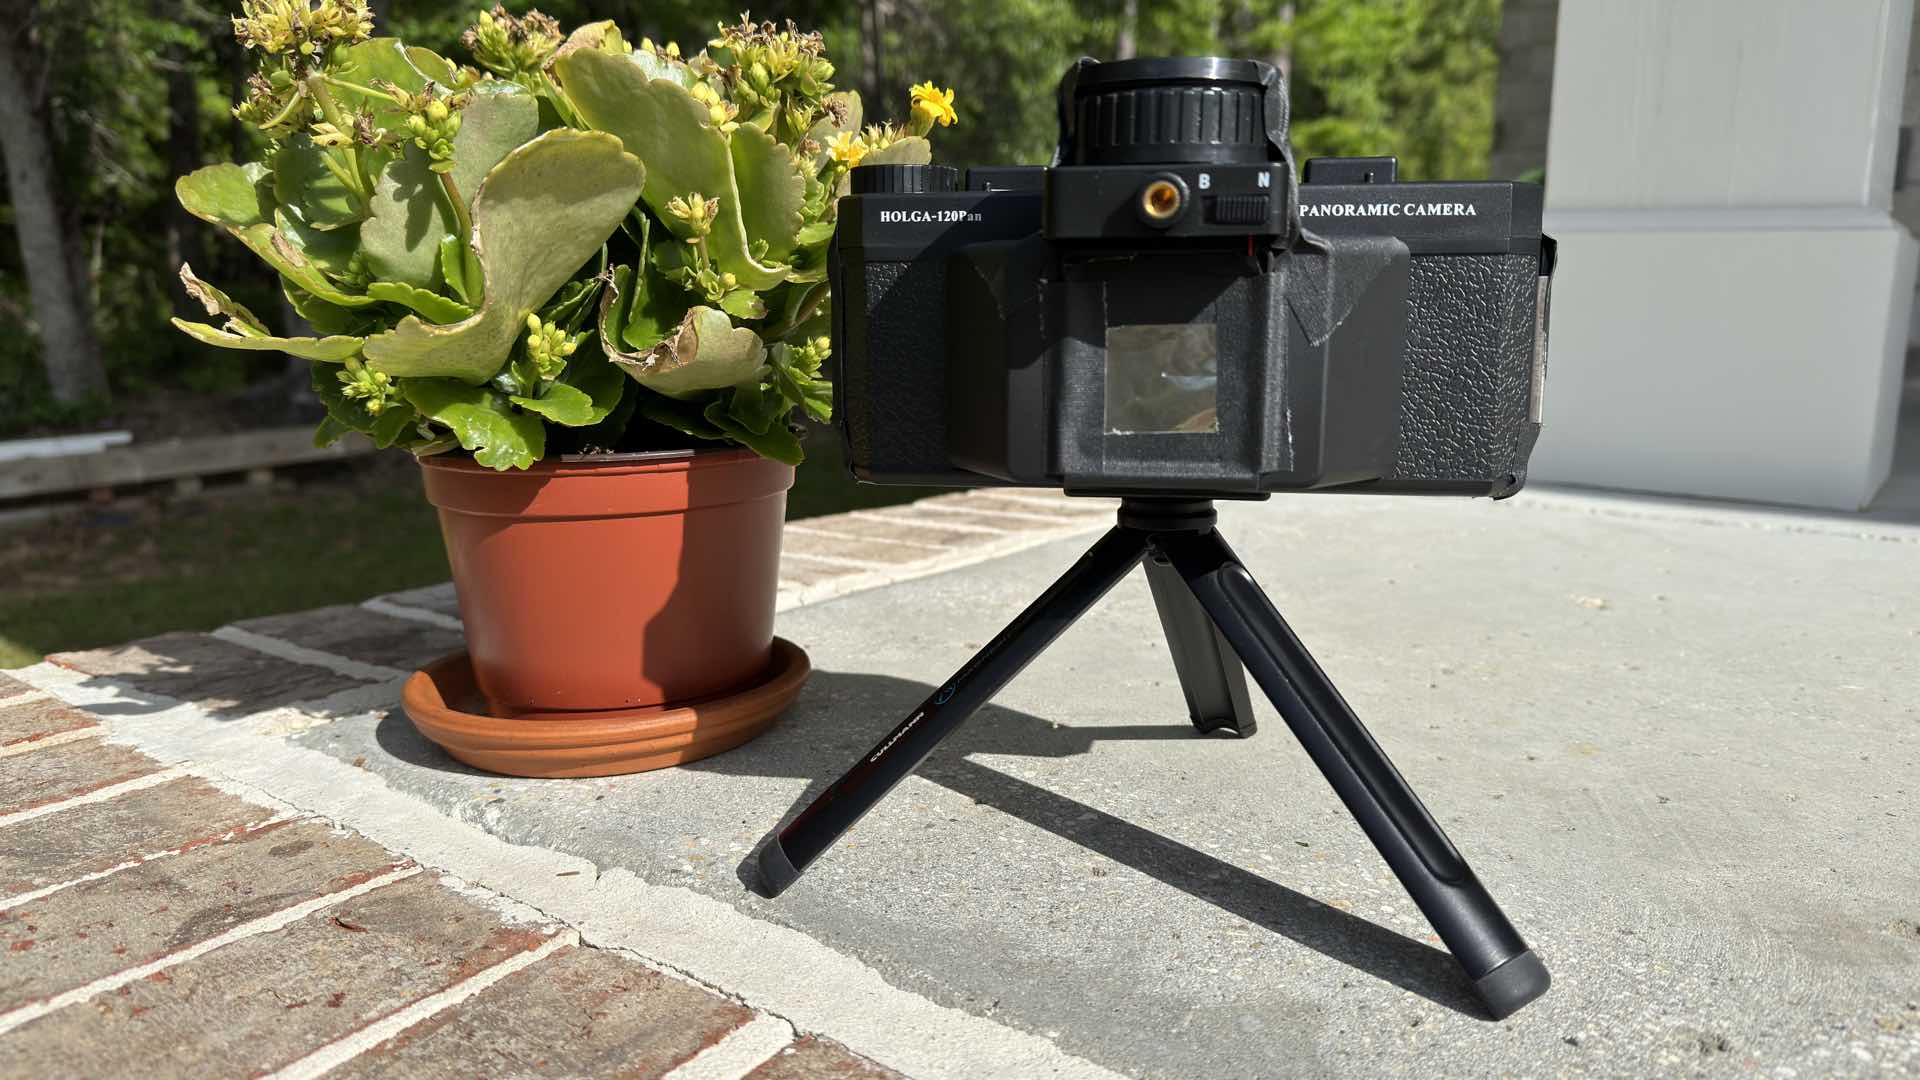
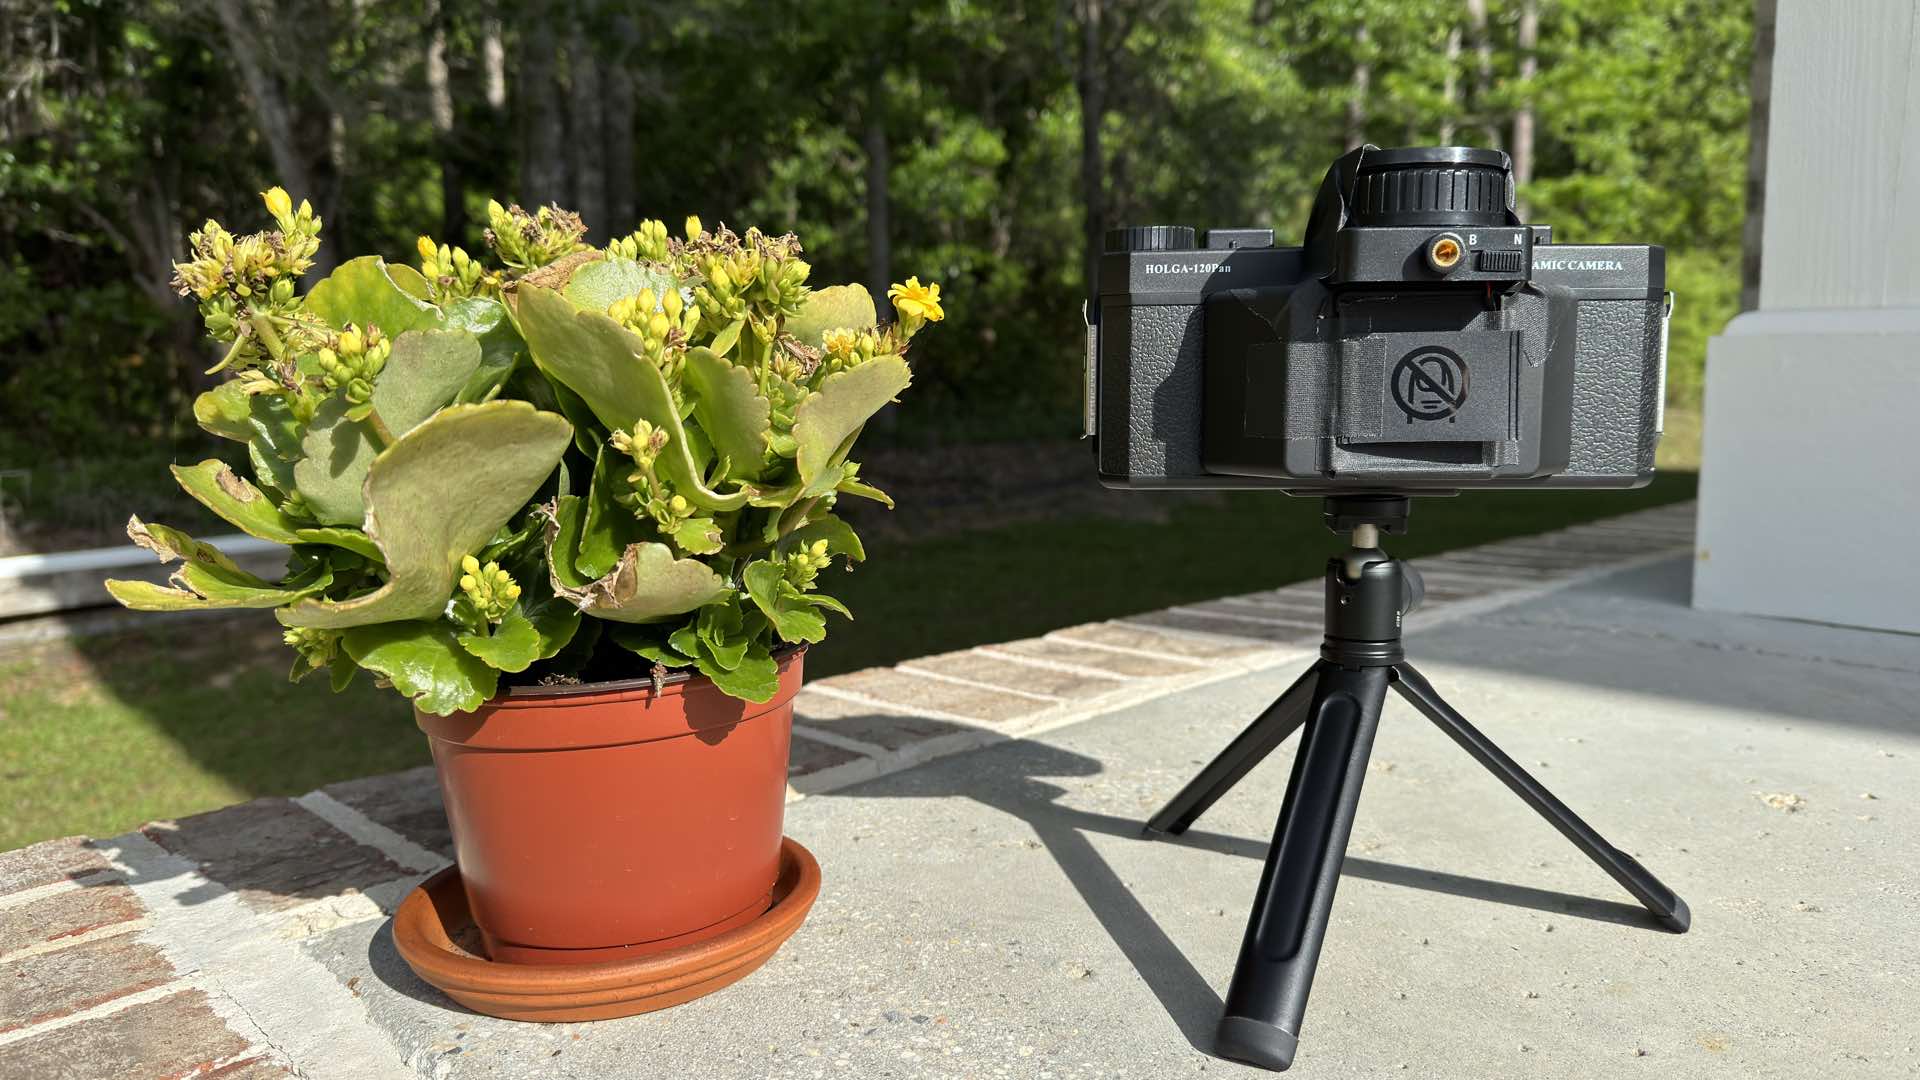
Are you ready? Worldwide Pinhole Photography Day 2026 (WPPD) is rapidly approaching (26 April 2026). Here’s how to easily convert a panoramic camera into a world class pinhole camera.
The total cost of this “upgrade” to a pinhole system is only about a couple of cents…naturally, this pricing, excludes the cost of the panoramic camera for $99.99.
Let’s begin.
[Related Reading: The comprehensive tech guide to pinhole photography]
A Pinhole in a Poke
It all begins with three common household items.
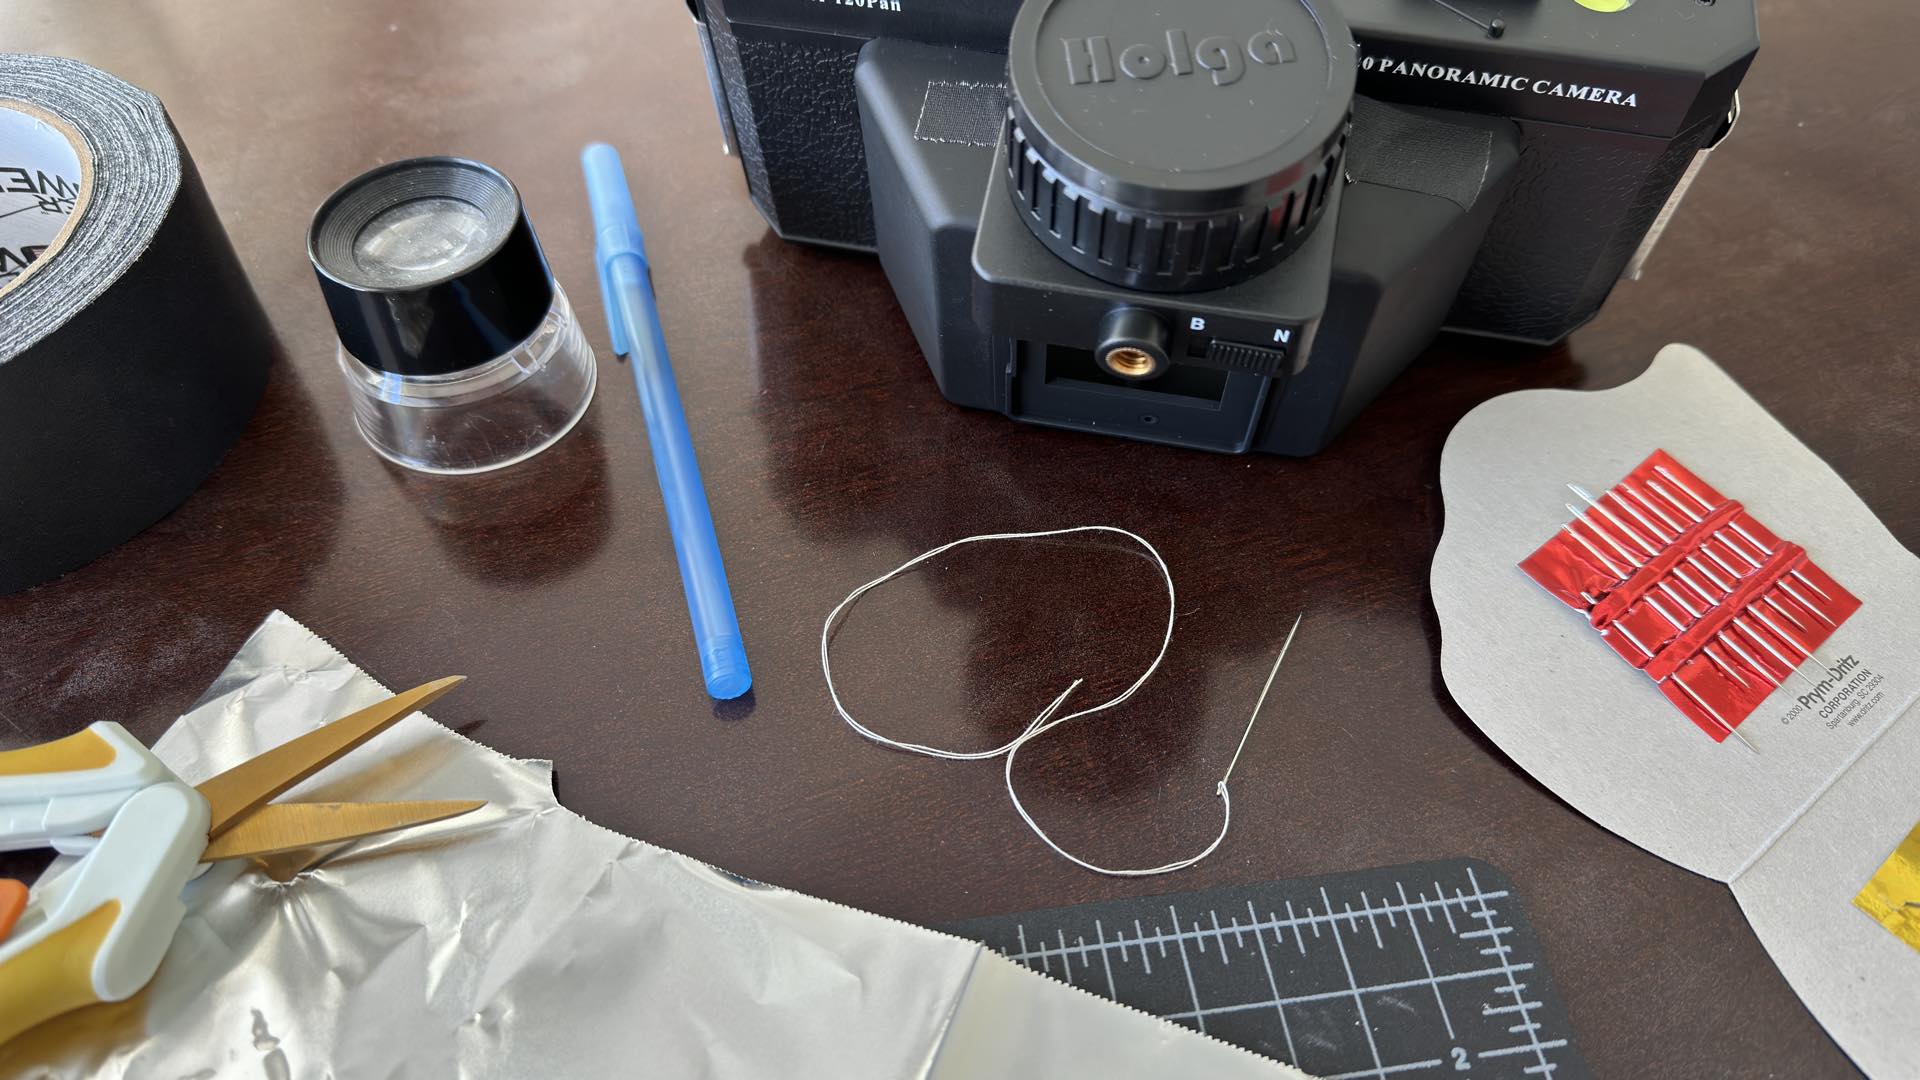
Contrary to all of the other pinhole construction reference sources, you don’t need fancy brass or aluminum sheeting for making a perfect pinhole. All you need is a small 2-inch square piece of common heavy-duty aluminum foil that is available at most supermarkets.
Make absolutely sure, however, that you only select “heavy-duty” foil. Using care in handling the foil will ensure that your pinhole will make great photographs.
Next, you’ll need a sewing needle for creating the pinhole in your heavy-duty aluminum foil. Any sewing needle will work…except a needle that’s attached to a sewing machine…ha-ha.
Creating the pinhole requires a very steady hand and a slow, methodical, careful, and gentle poke of the needle into the center of the 2-inch square piece of foil. Place one of your fingers against the back of the foil square for support. STOP as soon as the needle point pricks your finger. Remove your back support finger and give the needle a delicate twist as you remove it from the pinhole.
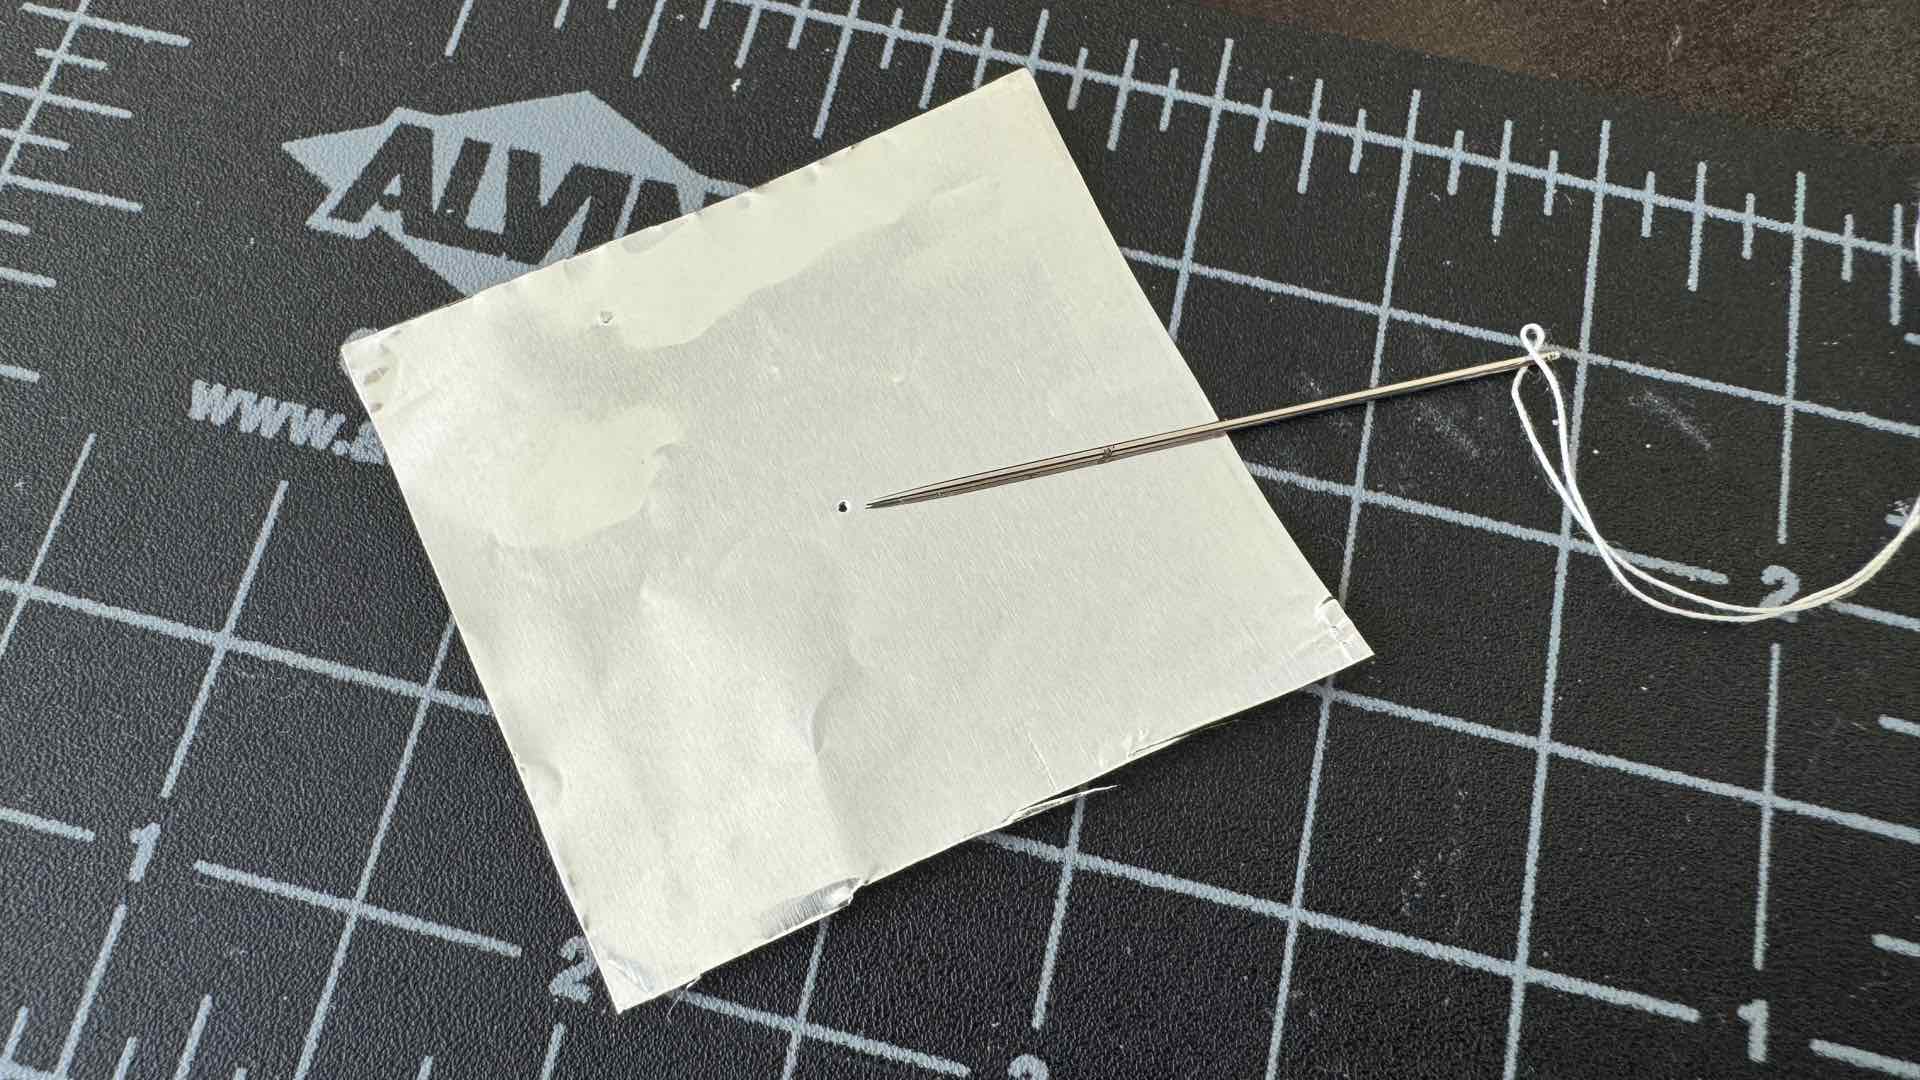
Pat yourself on the back, you just successfully built your lensless lens for your camera.
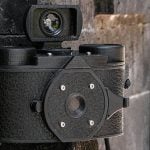
Carefully lay the foil pinhole aside and grab your camera. There are two screws on the inside of the panoramic camera that must be removed for safely pulling the lens/shutter assembly off the camera. STOP, don’t pull too hard. There are two electronic flash trigger wires (i.e., black and red) that are soldered to the backside of the shutter assembly.
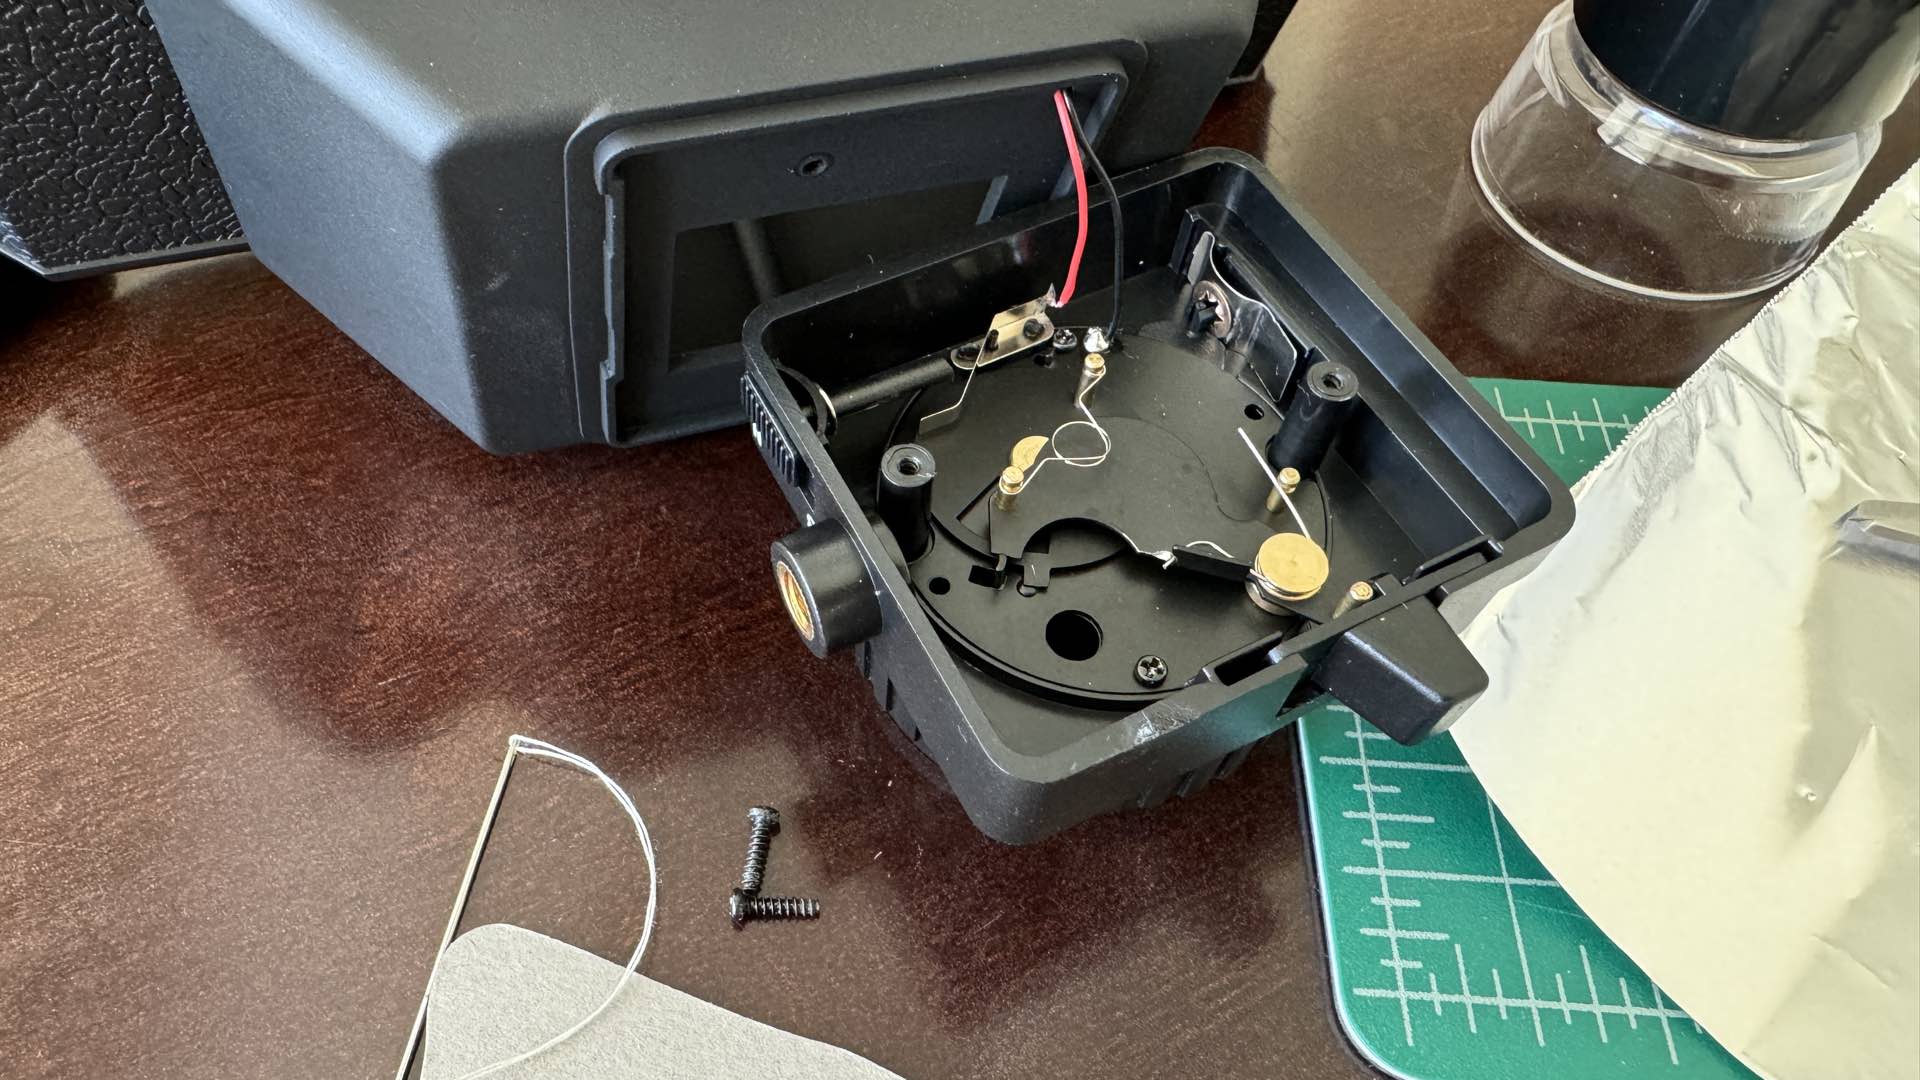
Leave the wires attached (so that you can return lens to the camera with complete flash synchronization), fold the lens/shutter assembly backwards, and position it on top of the camera’s extended light chamber housing.
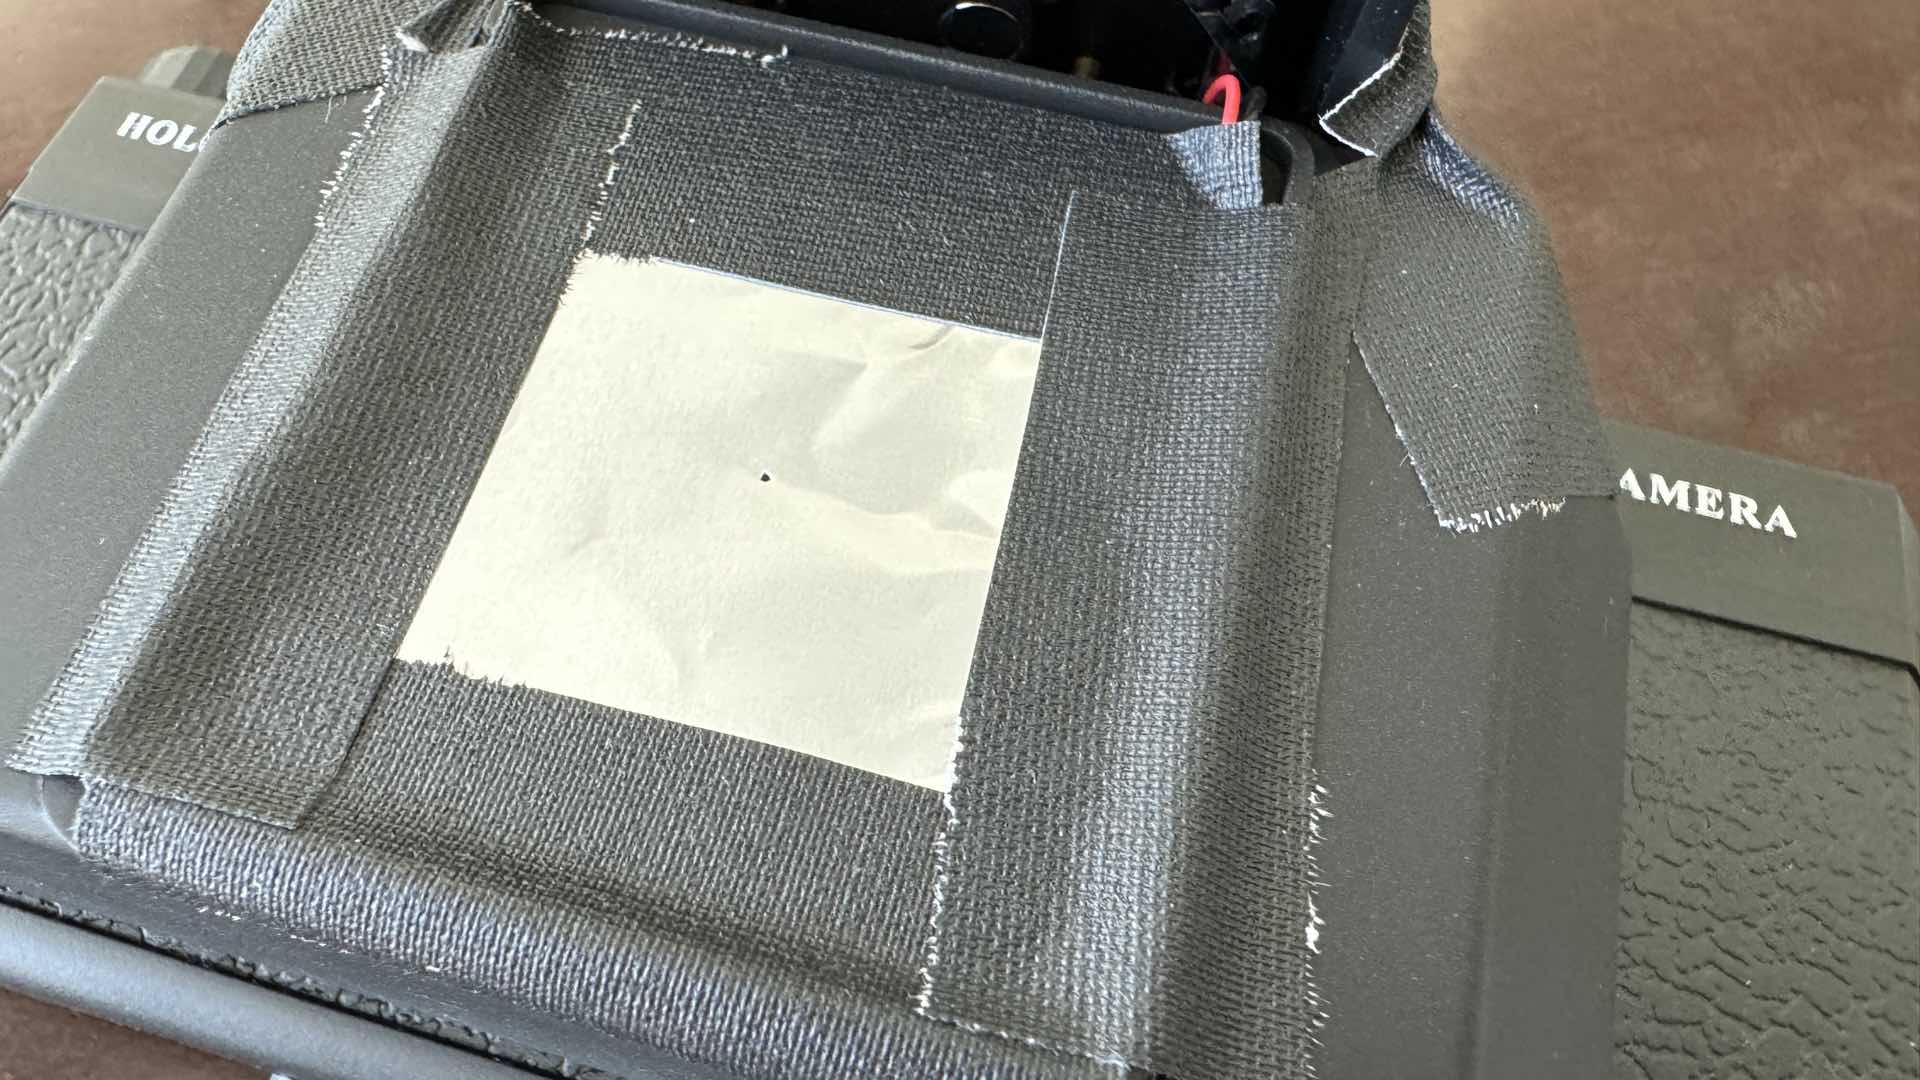
You’ll now use the third, and final, household item for completing your pinhole camera build. Securely tape the lens/shutter assembly in place atop the camera. Finally, continue using the tape and center the foil pinhole over the opening in the camera’s light chamber and secure it into place.
Complete your pinhole camera by adding a “shutter” over the pinhole with a piece of plastic or paper that is held in place with a tape hinge. This shutter flap will keep light out of the film chamber during camera loading and provide a convenient utility when making photographic exposures.
Using an ISO 400 film, you should expect exposures of approximately 1/2 second in bright sunlight. Just “flick” your shutter flap open-close for making each photograph. Experimentation and accurate note-keeping are important when using your new pinhole camera.
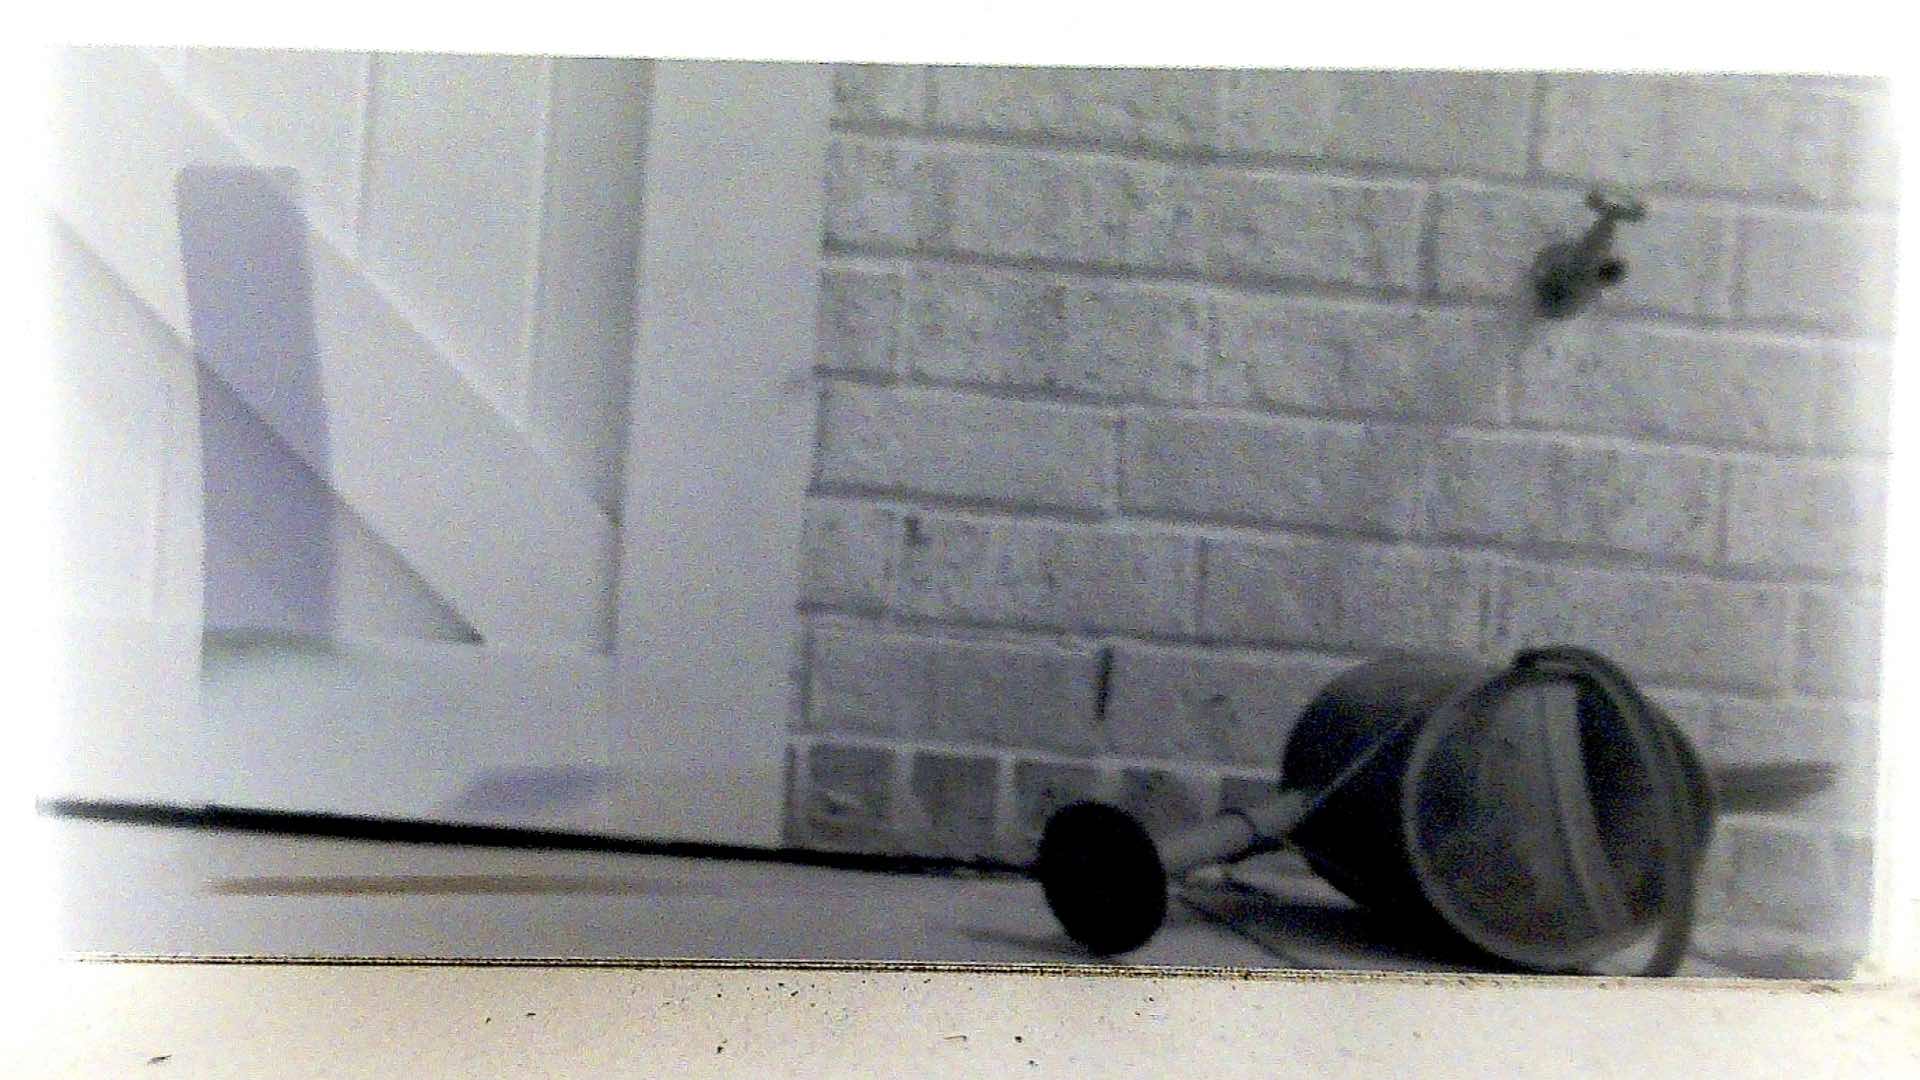
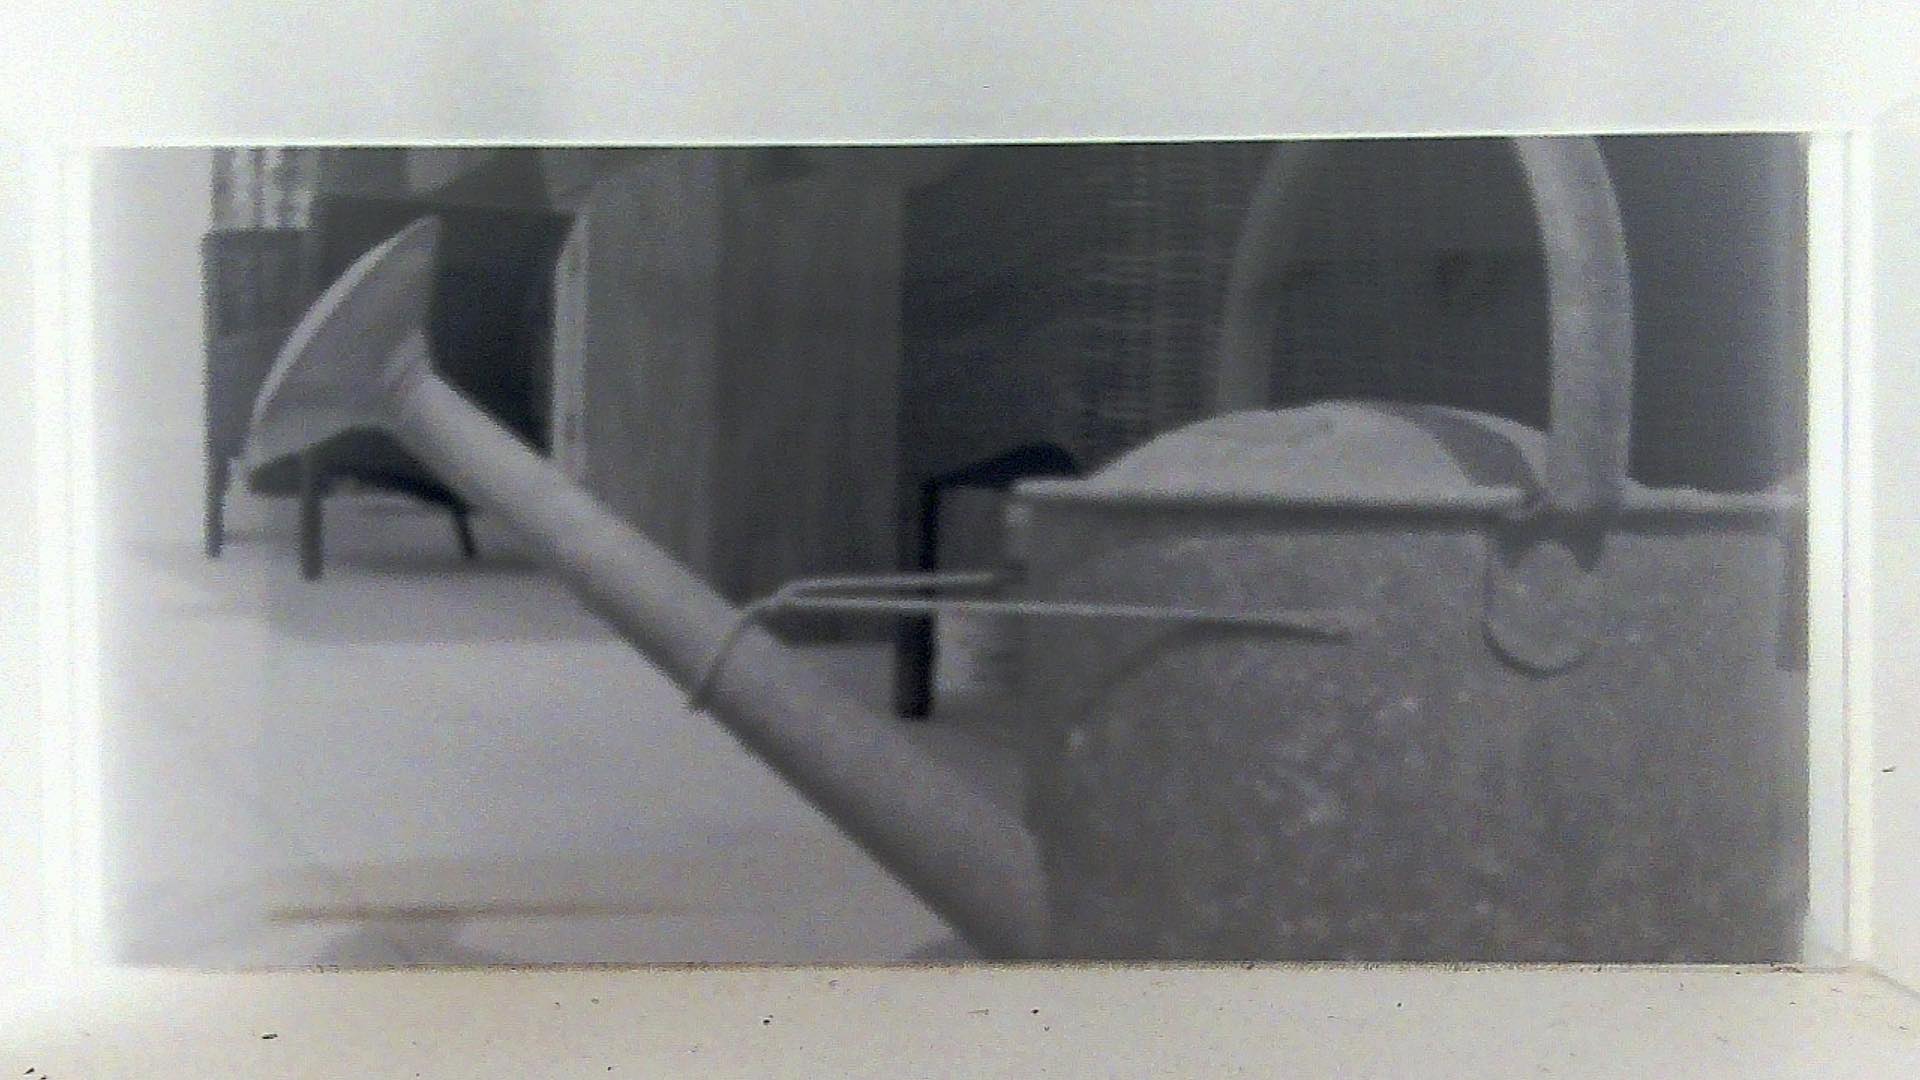
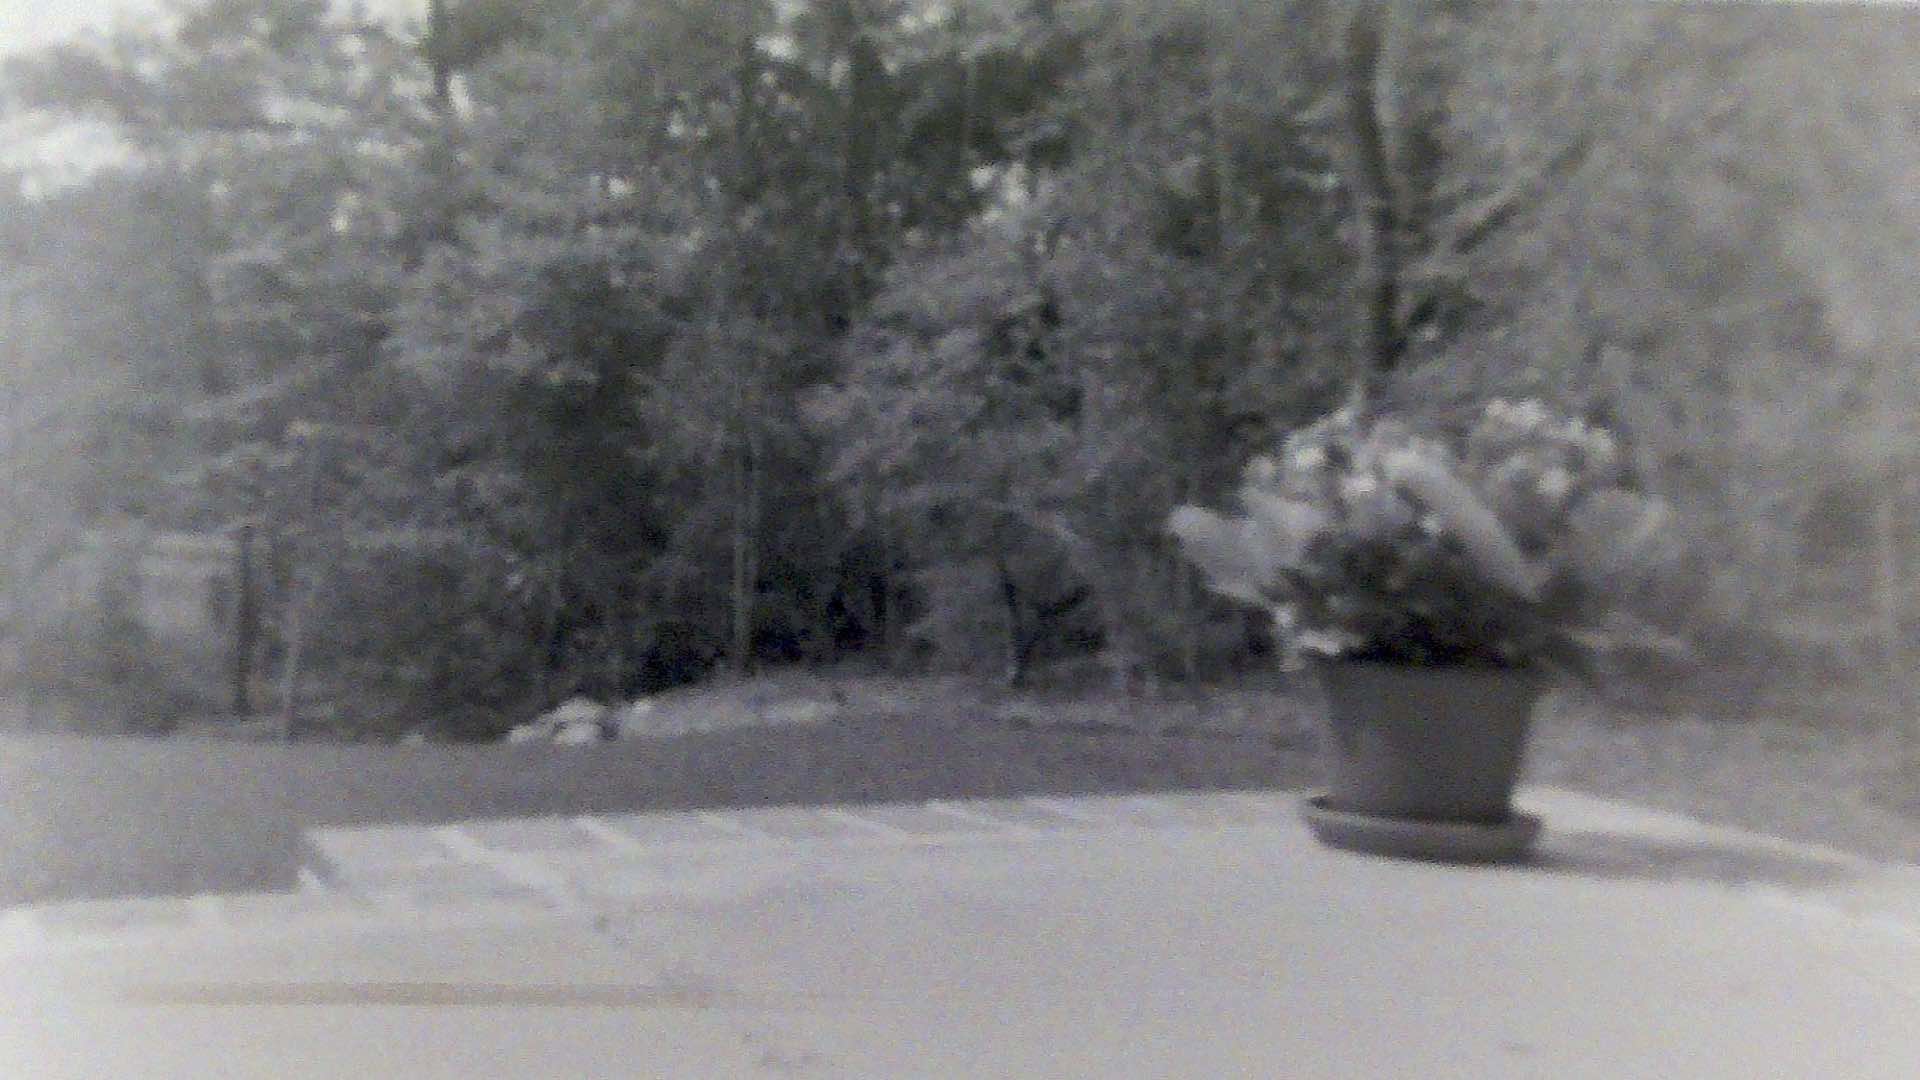
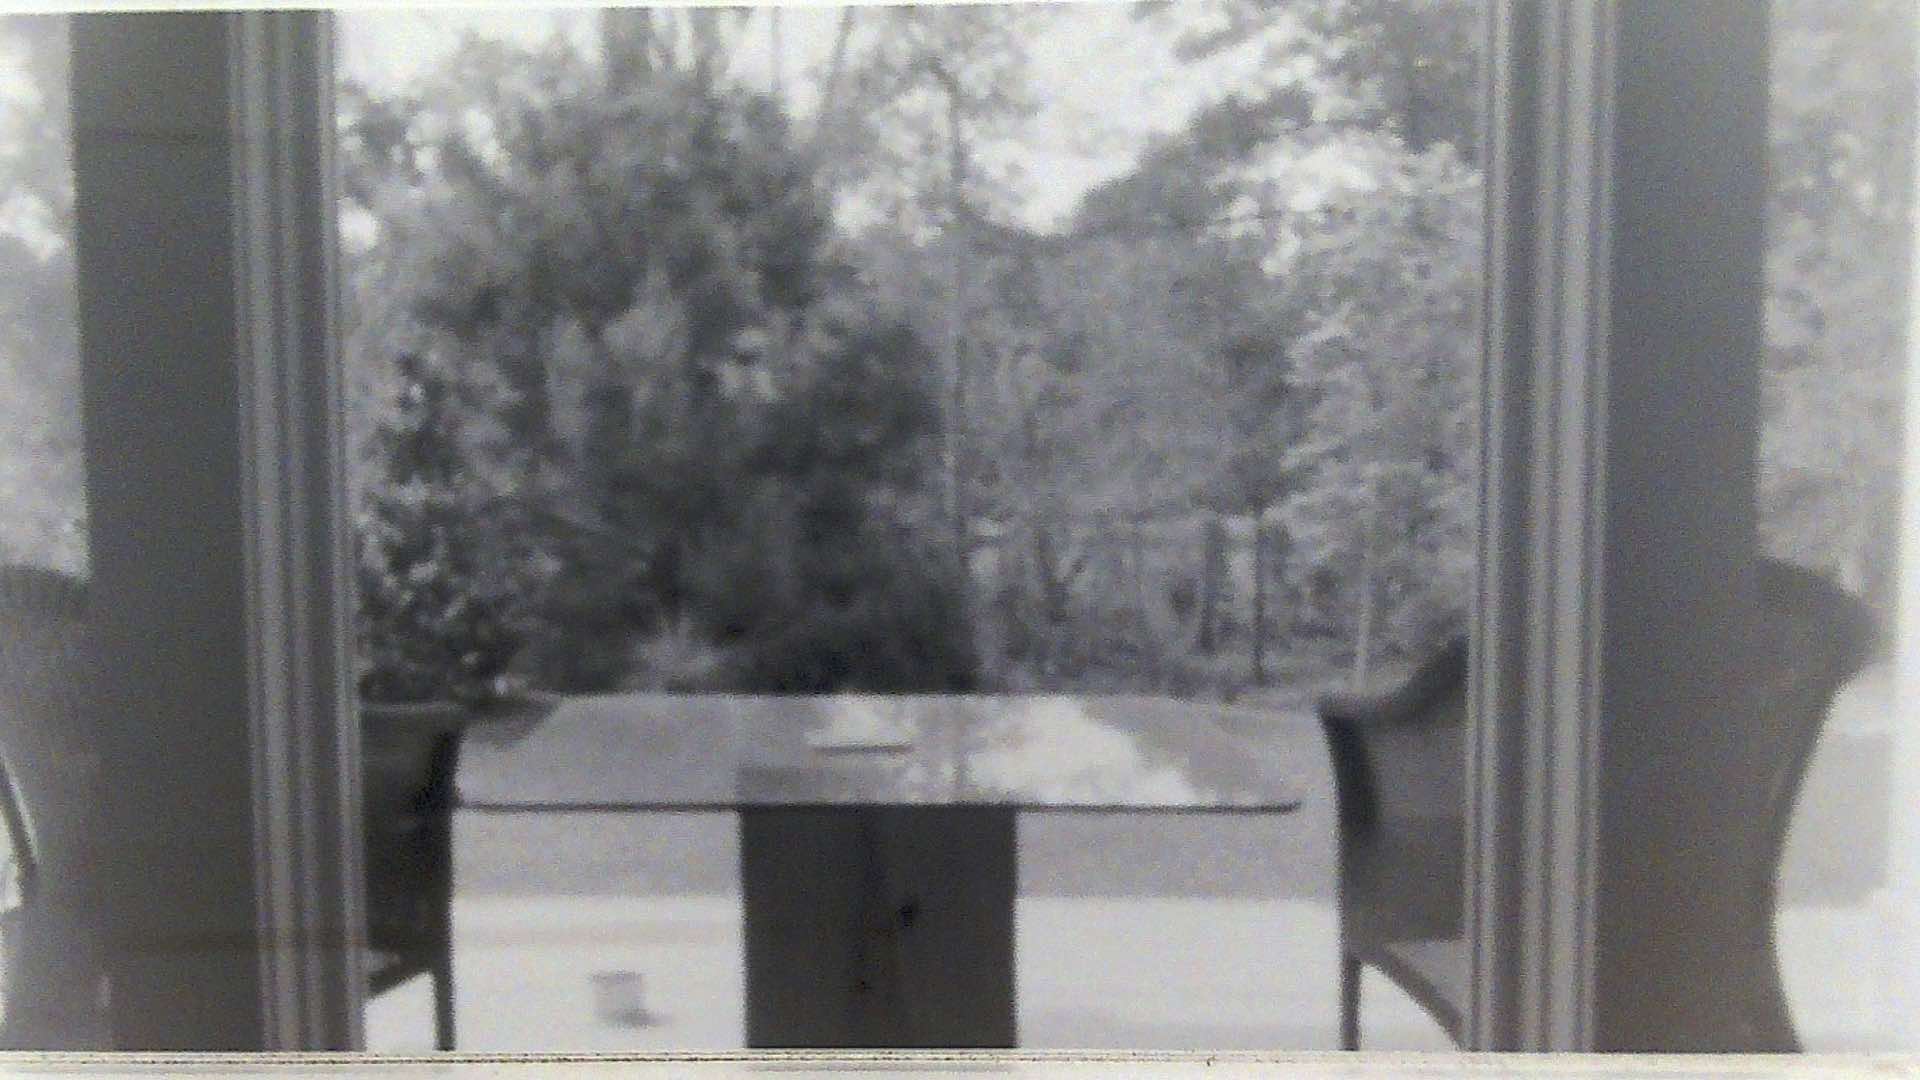
You’ll be shocked by the photographic results from your homemade “lens” that was made from a simple pinprick in a piece of foil:
HA; congrats you’re now a successful pinhole camera manufacturer!
Oh, and make sure that you load up on 120 film like HOLGA 400 for $6.99. You’re gonna need it. Why? Because taking pinhole photographs with your homebuilt camera is so much fun.
Enjoy.
Filed Under:
Tagged With:

David Prochnow
Our resident “how-to” project editor, David Prochnow, lives on the Gulf Coast of the United States in Ocean Springs, Mississippi. He brings his expertise at making our photography projects accessible to everyone, from a lengthy stint acting as the Contributing How-To Editor with Popular Science magazine. While you don’t have to actually build each of his projects, reading about these adventures will contribute to your continued overall appreciation of do-it-yourself photography. A collection of David’s best Popular Science projects can be found in the book, “The Big Book of Hacks,” Edited by Doug Cantor.

Join the Discussion
DIYP Comment Policy
Be nice, be on-topic, no personal information or flames.