


What Is Lens Flare and How to Use It Creatively
Dec 26, 2025
Darlene Lleno
Darlene Lleno brings a unique perspective to DIY Photography as someone who grew up surrounded by camera gear but chose words over lenses. With five years of writing experience, she specializes in photography content that’s both technically informed and genuinely passionate. Growing up with a photographer twin brother meant camera talk was everyday conversation in her household. While he mastered capturing moments, Darlene discovered she preferred being the subject and the storyteller behind the scenes. As a travel enthusiast and mother of two, she understands the importance of preserving life’s precious moments. When not exploring new destinations or writing for DIY Photography, you’ll find her reading or tending to her garden. Her approach to photography writing is refreshingly authentic, she may not be behind the camera, but she knows exactly what it takes to help others capture the shots that matter most.
Share:

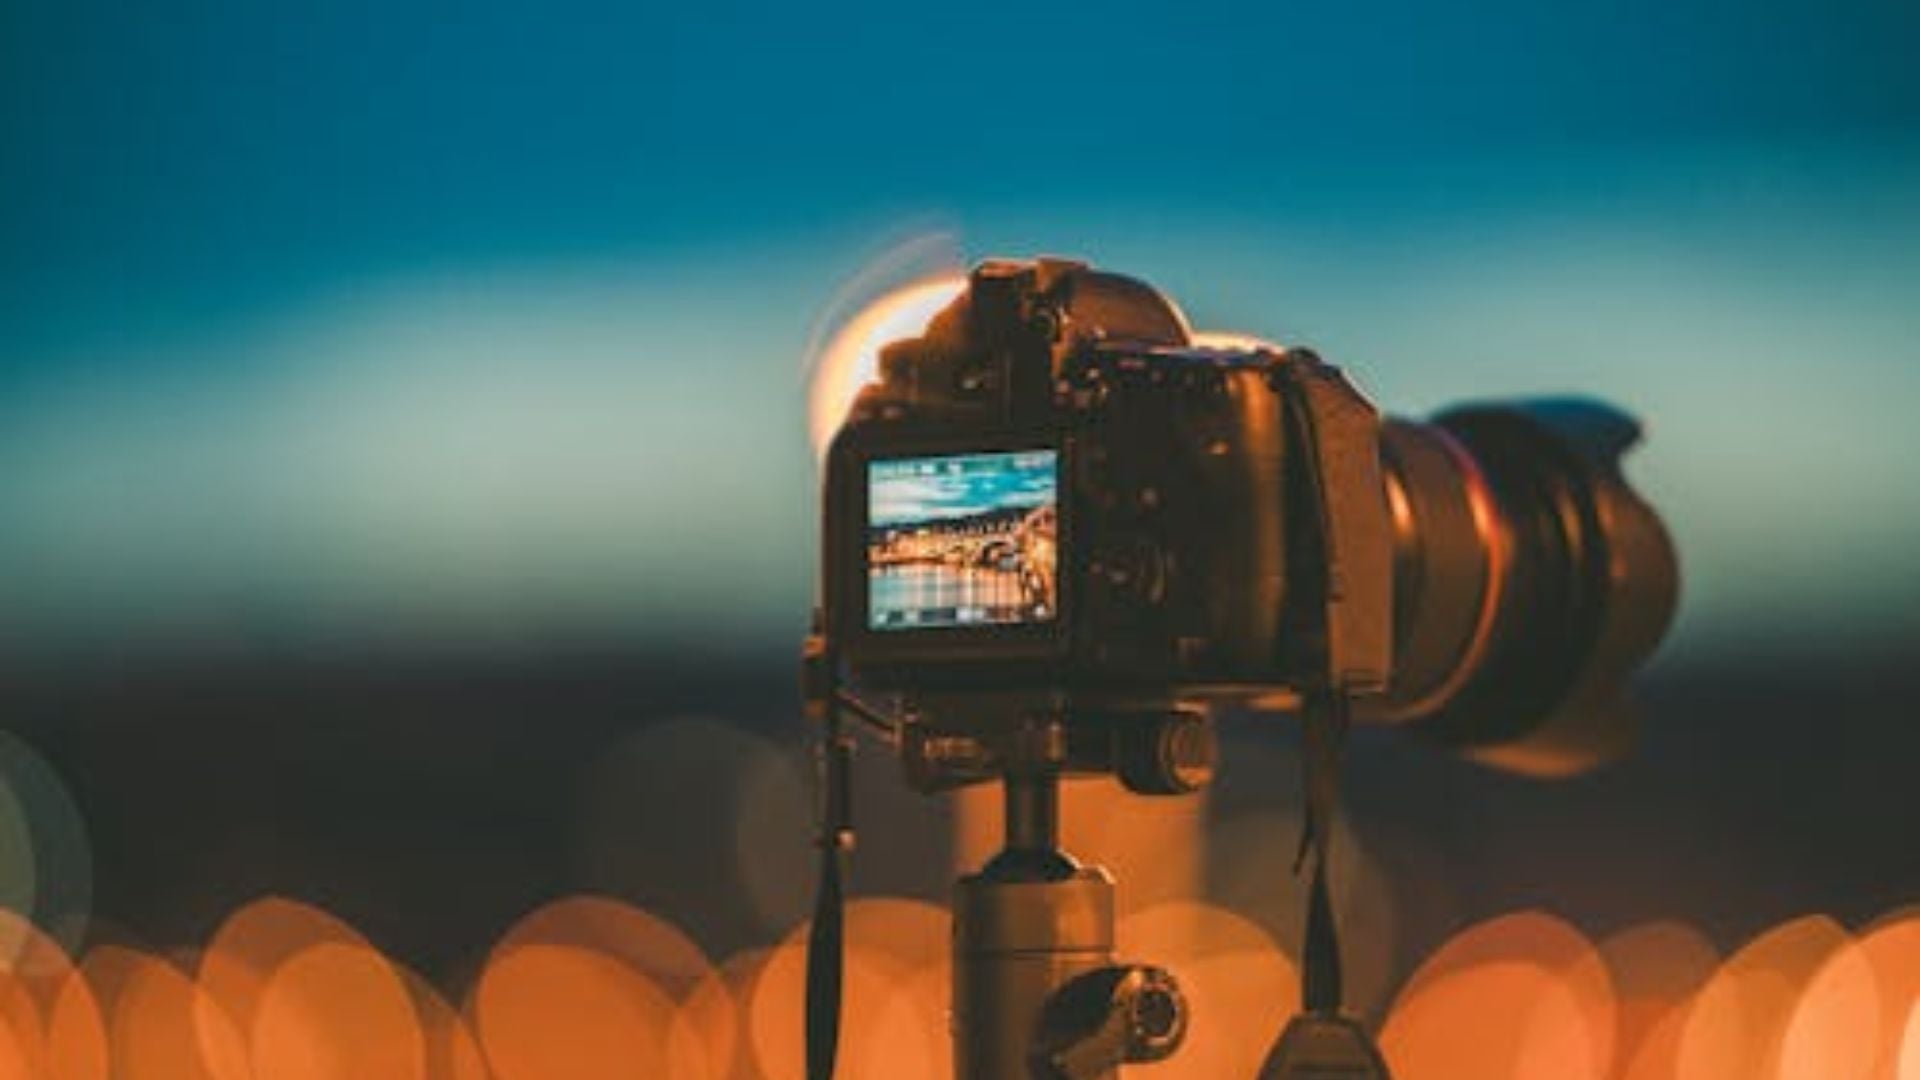
Creative lens flare transforms technical flaws into stunning artistic effects in your photos. Bright light scatters inside your lens and creates streaks, halos, or starbursts. These effects add mood and drama when you control them intentionally.
Most photographers learn to avoid lens flare at first. They attach lens hoods and shield their glass from direct sunlight. But creative lens flare use opens up entirely new possibilities for your images.
How Lens Flare Works
Lens flare happens when strong light hits your lens at certain angles. The light bounces between glass elements inside and creates visible artifacts. Different lenses produce different flare patterns based on their design.
Light entering your lens should travel straight to the sensor. But bright sources like the sun cause problems instead. Rays bounce off internal lens elements and coatings unpredictably. This scattered light shows up as visible patterns in photos.
Modern lenses fight flare with special coatings on glass elements. These coatings reduce reflections significantly compared to older designs. Vintage uncoated lenses create much more dramatic flare effects naturally.
Your aperture shape determines how starbursts form around bright points. More aperture blades create rounder, smoother flares in your images. Fewer blades produce more angular star patterns.
Creative Lens Flare Use in Portrait Photography
Portrait photography benefits hugely from intentional flare when done right. The right flare adds warmth and a dreamy quality to people’s photos. It creates a mood that editing software can never quite replicate properly.
Golden Hour Shooting
Shoot during golden hour for the most flattering natural flare possible. Position your subject between you and the low sun. The warm light wraps around them beautifully and naturally.
Place the sun just outside your frame edge for subtle effects. This creates a gentle veiling flare without overwhelming bright spots everywhere. Your subject glows with a soft backlight that looks professional.
Try positioning the sun directly behind your subject’s head sometimes. This hides the bright disc while allowing rays to peek around the edges. You get dramatic rim lighting plus artistic flare at the same time.
Choosing Your Aperture
Wide apertures like f/1.4 to f/2.8 create large soft blooming flares. These work perfectly for romantic or cinematic portrait styles you see everywhere. The flare blurs smoothly across your frame, looking completely organic.
Shallow depth of field from wide apertures adds extra visual magic. Your subject stays sharp while backgrounds melt into beautiful bokeh. Flare enhances this separation between subject and background even more.
Narrower apertures from f/8 to f/16 produce defined starburst effects instead. These work well for lifestyle portraits that show environmental context. The stars add visual interest without taking over the entire composition.
Controlling Flare Direction
Use your hand to partially block the light source while shooting. This changes how flare enters your lens and where it appears. Move your hand around while checking your viewfinder or LCD screen.
Natural elements work great as flare modifiers in outdoor situations. Position tree branches or leaves between the camera and the sun carefully. The filtered light creates interesting patterns and reduces overall intensity nicely.
Your subject can block light sources for you during the shoot. Have them move slightly until flare appears exactly how you want it. This keeps them engaged in the process while you perfect the effect.
Camera Settings for Creative Lens Flare Use
Understanding how settings affect flare gives you complete creative control. Each adjustment changes how light behaves inside your specific lens. Mastering these technical aspects produces consistent, beautiful results.
Aperture Impact
Aperture choice dramatically impacts your flare character and overall intensity. Wide open settings produce soft, dreamy flares that bloom across entire frames. Stopping down apertures creates crisp, defined starbursts with clear rays instead.
According to Photography Life, aperture blade count determines total starburst points. Six blades create simple six-pointed stars in your images. Nine blades produce complex eighteen-point patterns that look more intricate.
Test your specific lens at different apertures to learn its personality. Some lenses flare beautifully wide open at f/1.8 or f/2. Others need stopping down to f/11 or f/16 for good, clean results.
Focus Techniques
Lock your focus before composing for flare effects in your shots. Bright light sources confuse autofocus systems very easily in challenging conditions. Focus on your subject first, then recompose for the desired flare placement.
Manual focus gives you complete control when working in tricky lighting. Switch to manual mode when shooting directly toward any bright sources. This prevents annoying focus hunting and eliminates completely missed shots.
Live view helps you see exactly how flare affects your final composition. The optical viewfinder sometimes doesn’t accurately show flare at all. Use your back screen for precise flare positioning every single time.
Exposure Settings
Flare often tricks your camera’s meter into underexposing your images badly. The bright light fools the sensor about the overall scene brightness levels. Add positive exposure compensation to correct this common problem.
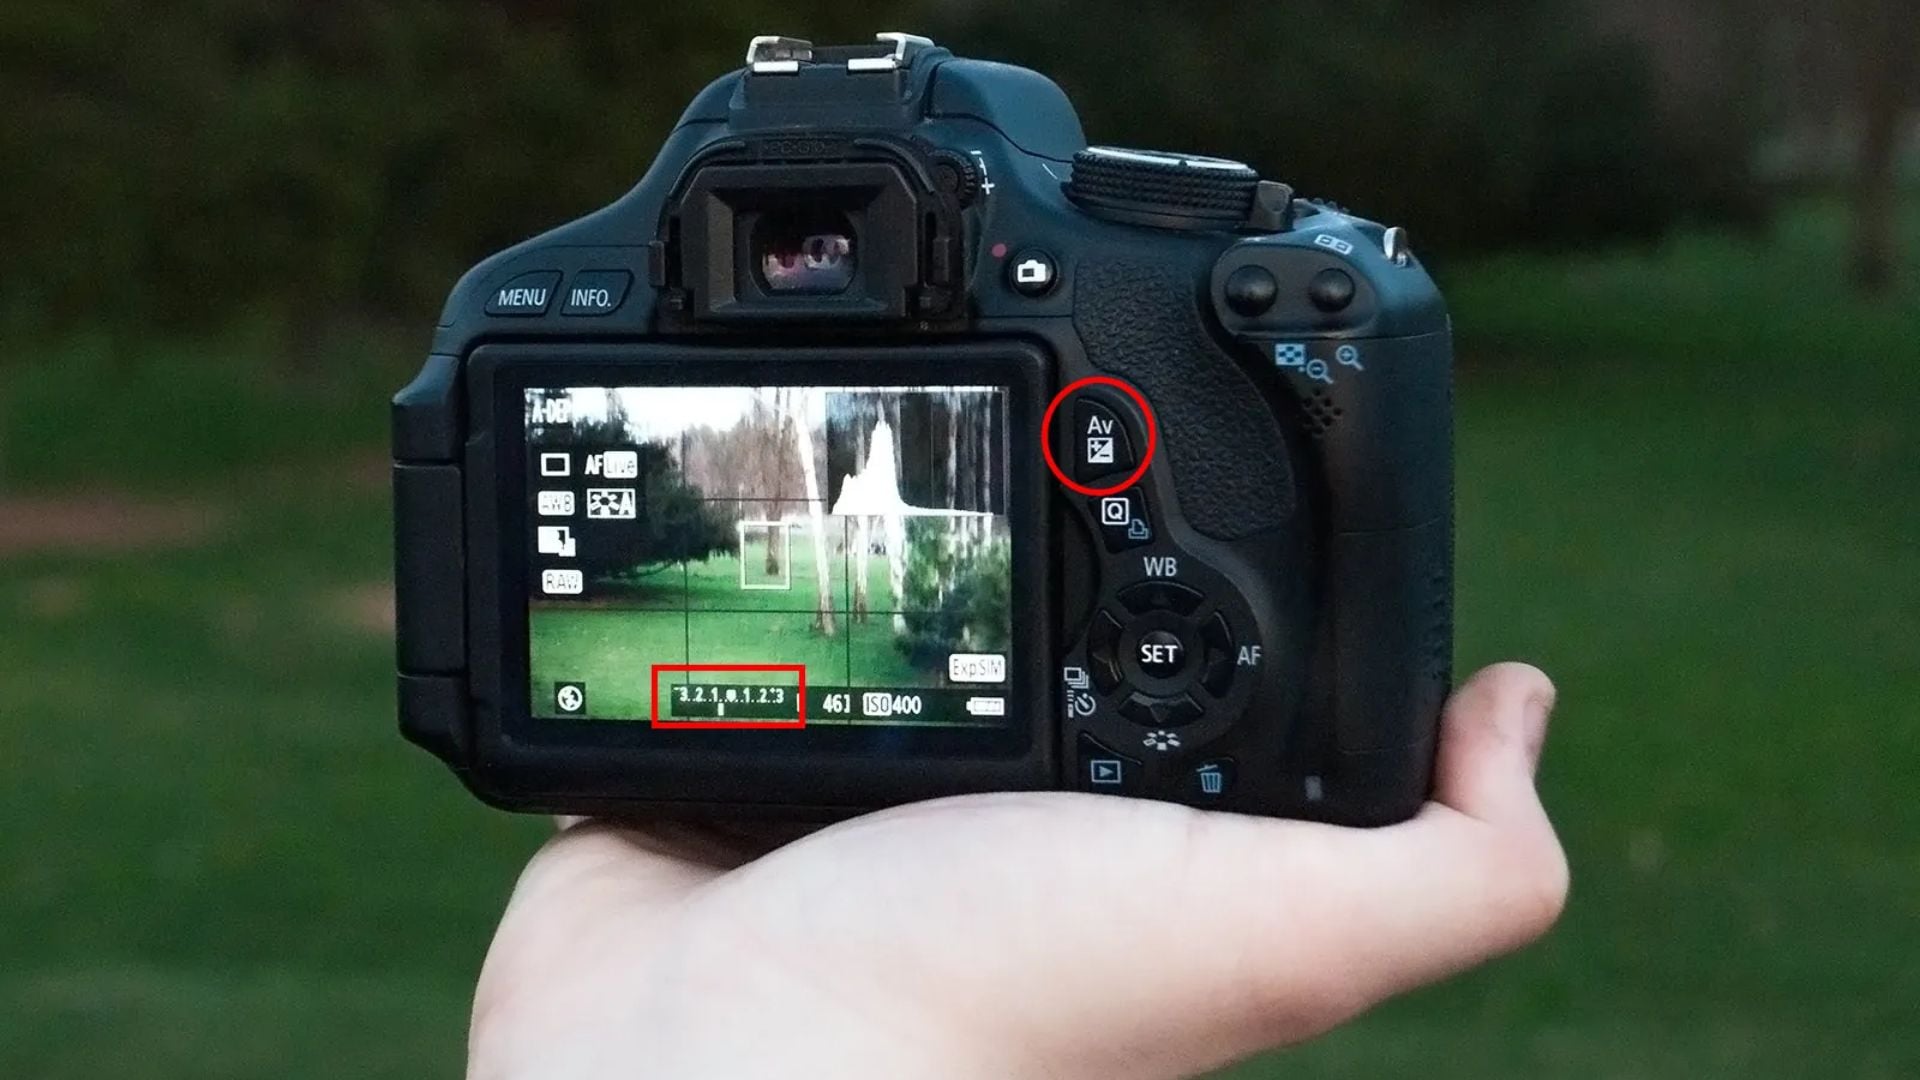
Start with +1 stop compensation when shooting into any bright light. Check your histogram carefully and adjust settings from there as needed. You want proper exposure on your main subject, not the flare.
Bracket your exposures when working with strong flare effects for safety. Take multiple shots at different exposure values every time. You can choose the best one later or blend them together.
Advanced Flare Techniques
Professional photographers use special techniques for unique flare effects beyond the basics. These methods create distinctive looks that really set images apart from others. Here are practical approaches you can try yourself.
Ring of Fire Effect
Create dramatic circular flares using simple tools you have at home. Hold a metal tube between your lens and any light source. The tube restricts incoming light to create perfect ring shapes consistently.
PVC pipe works great for this technique on a tight budget. Cut different diameter pipes for varied ring sizes in your shots. Paint the insides matte black to reduce any unwanted internal reflections.
Position the tube carefully using live view for precise placement control. Small adjustments create surprisingly big differences in the final flare effect. Experiment with the tube distance from your lens front for interesting variations.
Studio Flare Methods
Studio photographers create flare effects with controlled artificial light instead of the sun. Point the off-camera flash or continuous lights directly toward your lens carefully. This gives you flare without relying on sun position or weather.
RGB LED lights add colored flare to studio portraits very creatively. Position colored lights at frame edges, pointing slightly toward your camera. The colored streaks create an instant cinematic mood in otherwise flat lighting.
Adjust light intensity carefully to control how strong flare actually appears. Start with low power settings and increase output gradually while testing. Too much power creates harsh blown highlights rather than nice artistic flare.
Filter and Diffusion Options
Shoot through semi-transparent materials for soft, glowing flare effects naturally. Sheer curtains, tulle fabric, or plastic wrap all work wonderfully for this. Hold them in front of your lens while shooting your subject.
Star filters create consistent starburst patterns from any bright point light. These screw onto your lens threads like regular protective filters do. They work especially great for night photography featuring streetlights or signs.
Anamorphic-Style Flares
Specialty anamorphic lenses create distinctive horizontal streak flares you recognize from films. These appear in many Hollywood movies you’ve probably watched recently. True anamorphic glass costs many thousands of dollars.
Affordable anamorphic adapters attach to regular lenses for similar-looking effects. They modify light entering your lens to create those horizontal flares. The look mimics expensive cinema lenses pretty convincingly for most situations.
Equipment for Best Flare Results
Your gear significantly affects what kind of flare you can actually create. Different lenses produce wildly different flare characteristics based on their construction. Understanding these differences helps you choose the right tools always.
Lens Selection Tips
Remove your lens hood completely before attempting any creative flare shots. Hoods specifically prevent light from hitting your front glass element directly. They block the very effect you’re actively trying to create here.
Zoom lenses typically produce more intense flare than simple prime lenses. More internal glass elements naturally mean more possible internal reflections occurring. This creates great opportunities for dramatic ghosting effects in your images.

Older vintage lenses without modern coatings flare beautifully and quite unpredictably. Try adapted vintage glass from film cameras for a unique character. Each old lens has its own distinct flare personality you’ll discover.
Working With Coatings
Multi-coated modern lenses resist flare more than you might actually want. These coatings do their job, preventing flare too well for creative work. Deliberately choose less heavily coated glass specifically for flare photography projects.
Single-coated or uncoated vintage lenses create spectacular flare very naturally. The older glass technology actually works in your favor for once. Search used camera shops and online markets for affordable vintage options.
Practical Shooting Scenarios
Different photography situations call for different approaches to flare entirely. Understanding context helps you apply creative lens flare most effectively. Here’s how to handle the most common real-world scenarios.
Portrait Sessions:
- Use backlight during golden hour for romantic glowing effects
- Position the sun behind the subject’s head for rim lighting with flare
- Shoot at f/2.8 for soft blooming flare in a couple of portraits
- Use f/8 for lifestyle shots with controlled starburst accents
Landscape Work:
- Incorporate sun flare near the horizon during sunrise or sunset times
- Use mountains or trees to partially obstruct direct bright sun
- Set the aperture to f/16 for defined sunstar rays in compositions
- Avoid excessive flare that obscures important landscape details completely
Wedding Photography:
- Capture ceremony moments with romantic backlit flare sparingly during key events
- Create dreamy couple portraits with warm sunset light behind them
- Avoid heavy flare during critical moments like ring exchanges or vows
- Save dramatic flare effects specifically for creative portrait sessions afterward
Street Photography:
- Incorporate urban light sources for creative street photography flare at night
- Use streetlights, neon signs, and car headlights for interesting effects
- Look for reflections in windows and puddles, adding flare layers
- Combine direct and reflected light sources for complex patterns
Common Flare Mistakes
Even experienced photographers make flare-related errors when starting this technique out. Recognizing these common problems helps you achieve better results much faster. Learn from these typical pitfalls others make repeatedly.
Overusing the Effect
Too much flare overwhelms images and loses any real impact very quickly. Use it selectively and sparingly for maximum dramatic effect instead. Not every single photo actually benefits from having visible flare present.
Save dramatic flare specifically for images where it genuinely enhances the mood. Subtle flare often works much better than extreme over-the-top effects everywhere. Less is almost always more with this particular creative technique.
Ignoring Composition
Flare shouldn’t compensate for fundamentally weak composition or boring subject matter. It enhances already good photos, but absolutely can’t save bad ones. Focus on solid composition fundamentals first before adding flare effects.
Position flare elements to support your main subject; never compete with it. The viewer’s eye should naturally go to your subject first. Flare should add supporting visual interest, not become the main attraction.
Poor Exposure Balance
Letting flare blow out too much of your frame ruins otherwise perfectly good shots. Preserve important details in key areas despite having bright light sources. Use exposure compensation and bracketing techniques strategically for protection.
Check your histogram constantly when working with any strong flare present. Ensure you’re not clipping highlights excessively throughout the entire frame. Some highlight clipping is acceptable, but always protect your subject’s exposure.
Post-Processing Lens Flare
While creating flare in-camera produces the most authentic-looking results, post-processing offers useful refinement options. Know when adding or reducing flare digitally actually makes sense.
Enhancing Natural Flare
Boost existing flare subtly using curves or levels adjustment layers carefully. Increase highlights specifically in flare areas while protecting all other tones. This makes naturally occurring flare more visible and visually impactful overall.
Add warmth to flare using color balance or selective color tools. Golden and orange tones enhance that natural sun flare feeling beautifully. Cool tones work better for moonlight or artificial light flare instead.
Reducing Unwanted Flare
Sometimes flare appears where you absolutely don’t want it in frames. Clone stamp and healing brush tools remove small flare artifacts effectively. Work carefully to maintain completely natural transitions between areas.
Dehaze sliders in Lightroom and similar software reduce veiling flare nicely. This restores lost contrast and brings back color saturation levels. Use it judiciously to avoid creating unnatural-looking results.

How to Apply Creative Lens Flare
Creative lens flare requires patience and lots of experimentation to master fully. Each lens behaves quite differently with various bright light sources present. Your personal style develops through consistent practice and regular testing sessions.
Start by shooting during golden hour with the sun visible in your frame. Experiment freely with different positions, apertures, and partial obstructions of light. Take many shots with only slight variations between each one, carefully.
Review your results carefully afterward and note what actually works best. Pay close attention to which specific apertures create effects you like most. Learn your specific lens’s unique flare characteristics thoroughly through repeated practice.
According to Cambridge in Colour, understanding your lens’s optical design helps predict its flare behavior patterns. Study carefully how your glass performs in various challenging lighting conditions.
Try combining flare with other creative techniques like harsh sunlight or backlit portraits, simultaneously. Multiple creative elements working together often create even more striking final images.
Build a personal collection of flare reference images from photographers you admire. Study carefully how they position light sources and control the overall effect. Apply their proven techniques to your own work with your personal variations.
Most importantly, develop your own unique creative vision with lens flare effects. Don’t just blindly copy trendy styles you see everywhere online constantly. Use the effect thoughtfully to express your authentic photographic voice and vision.

Darlene Lleno
Darlene Lleno brings a unique perspective to DIY Photography as someone who grew up surrounded by camera gear but chose words over lenses. With five years of writing experience, she specializes in photography content that’s both technically informed and genuinely passionate. Growing up with a photographer twin brother meant camera talk was everyday conversation in her household. While he mastered capturing moments, Darlene discovered she preferred being the subject and the storyteller behind the scenes. As a travel enthusiast and mother of two, she understands the importance of preserving life’s precious moments. When not exploring new destinations or writing for DIY Photography, you’ll find her reading or tending to her garden. Her approach to photography writing is refreshingly authentic, she may not be behind the camera, but she knows exactly what it takes to help others capture the shots that matter most.


Join the Discussion
DIYP Comment Policy
Be nice, be on-topic, no personal information or flames.