


Make a Handmade Color Inside Your Digital Camera without Look-Up Tables (LUTs)
Jun 9, 2025
David Prochnow
Our resident “how-to” project editor, David Prochnow, lives on the Gulf Coast of the United States in Ocean Springs, Mississippi. He brings his expertise at making our photography projects accessible to everyone, from a lengthy stint acting as the Contributing How-To Editor with Popular Science magazine. While you don’t have to actually build each of his projects, reading about these adventures will contribute to your continued overall appreciation of do-it-yourself photography. A collection of David’s best Popular Science projects can be found in the book, “The Big Book of Hacks,” Edited by Doug Cantor.
Share:
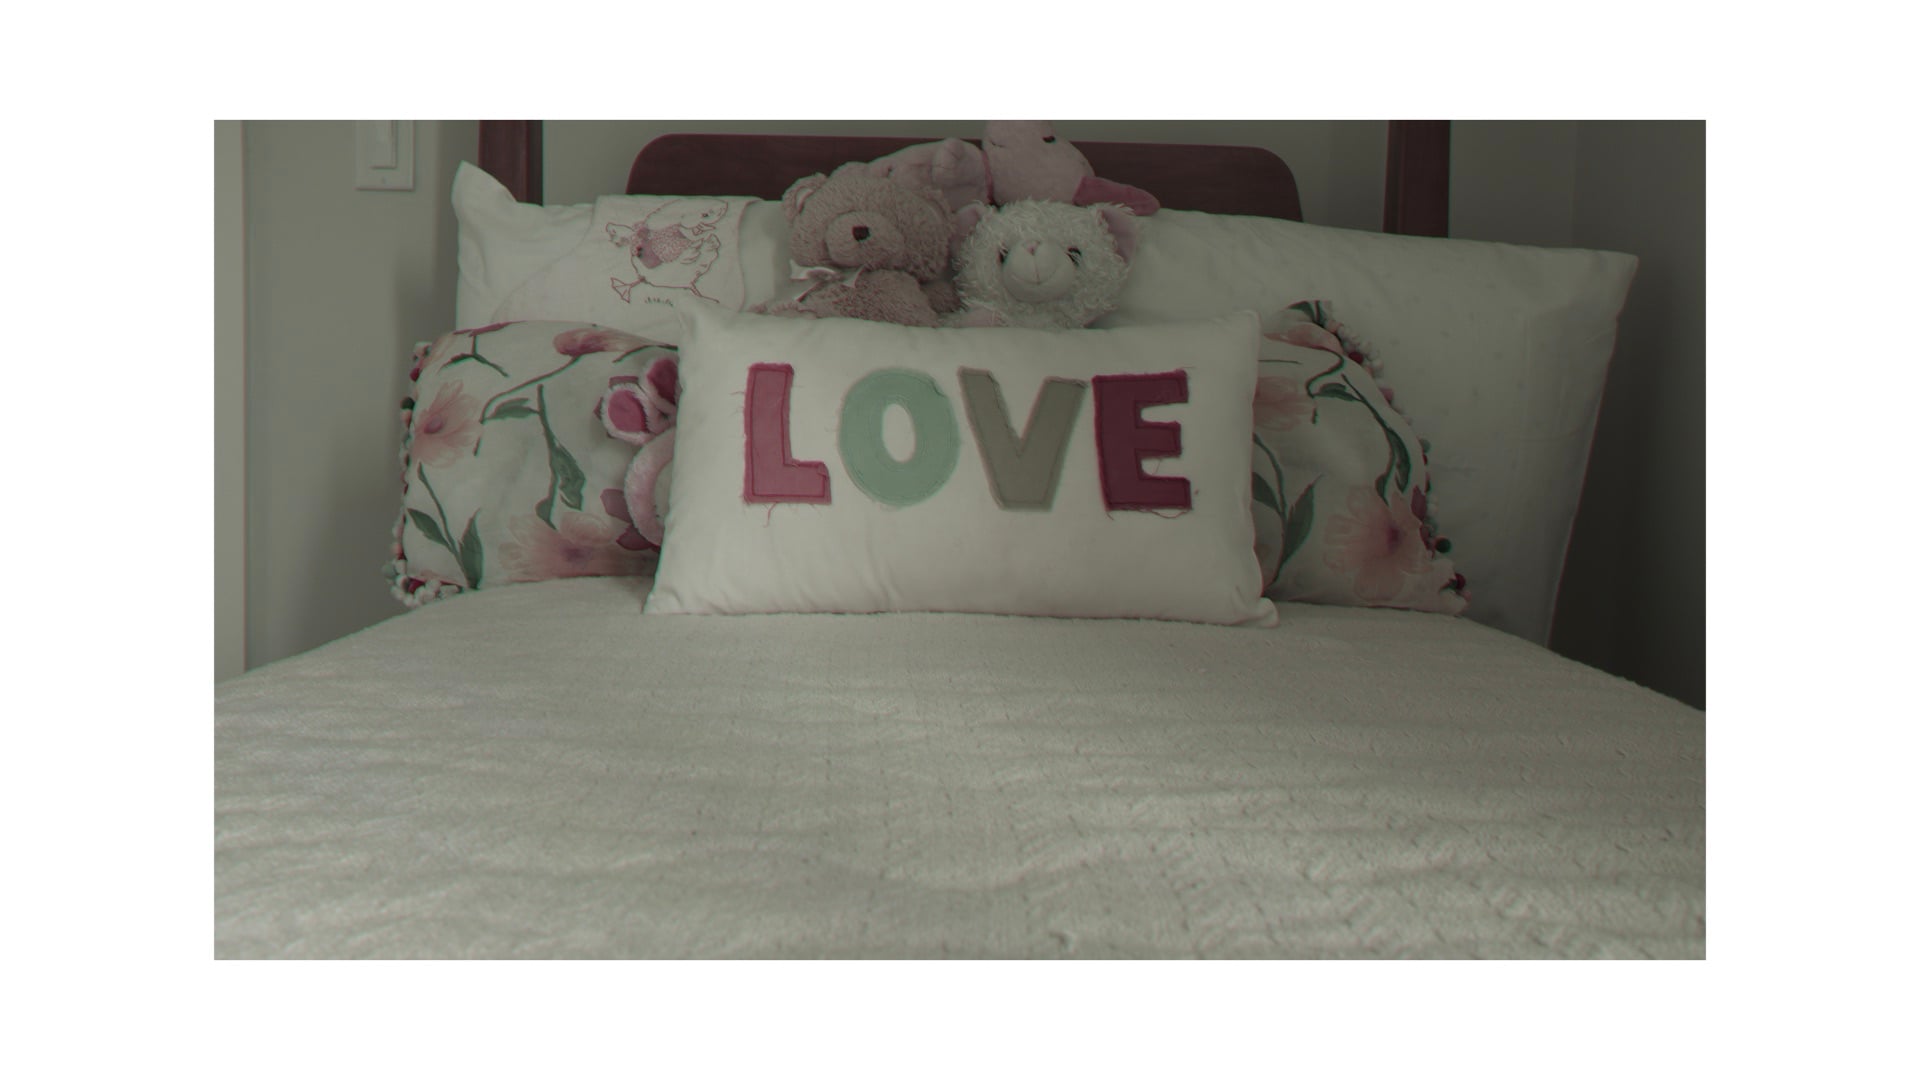
Are you looking for an edge in color photography that hasn’t been seen before? Maybe using this new color to add a marketing advantage to your portfolio? This technique builds upon a previous DIYP article where three color filters (e.g., red, green, and blue) were used for taking three separate monochrome photographs. Subsequently, these photographs were then added to the three color channels (e.g., red, green, and blue) within image editing software. The result was a color photograph from the combination of the three monochrome photographs. Magical stuff, but kudos to Sir James Clerk Maxwell for discovering this remarkable light spectrum technique.

In this demonstration, I’ll use a Fujifilm X100 Compact Digital Camera; although any digital camera should work, as long as it has the following four features:
1. This is the most ubiquitous feature…a tripod mount. Yes, you’ll need to ensure that the camera doesn’t move during the required three exposures.
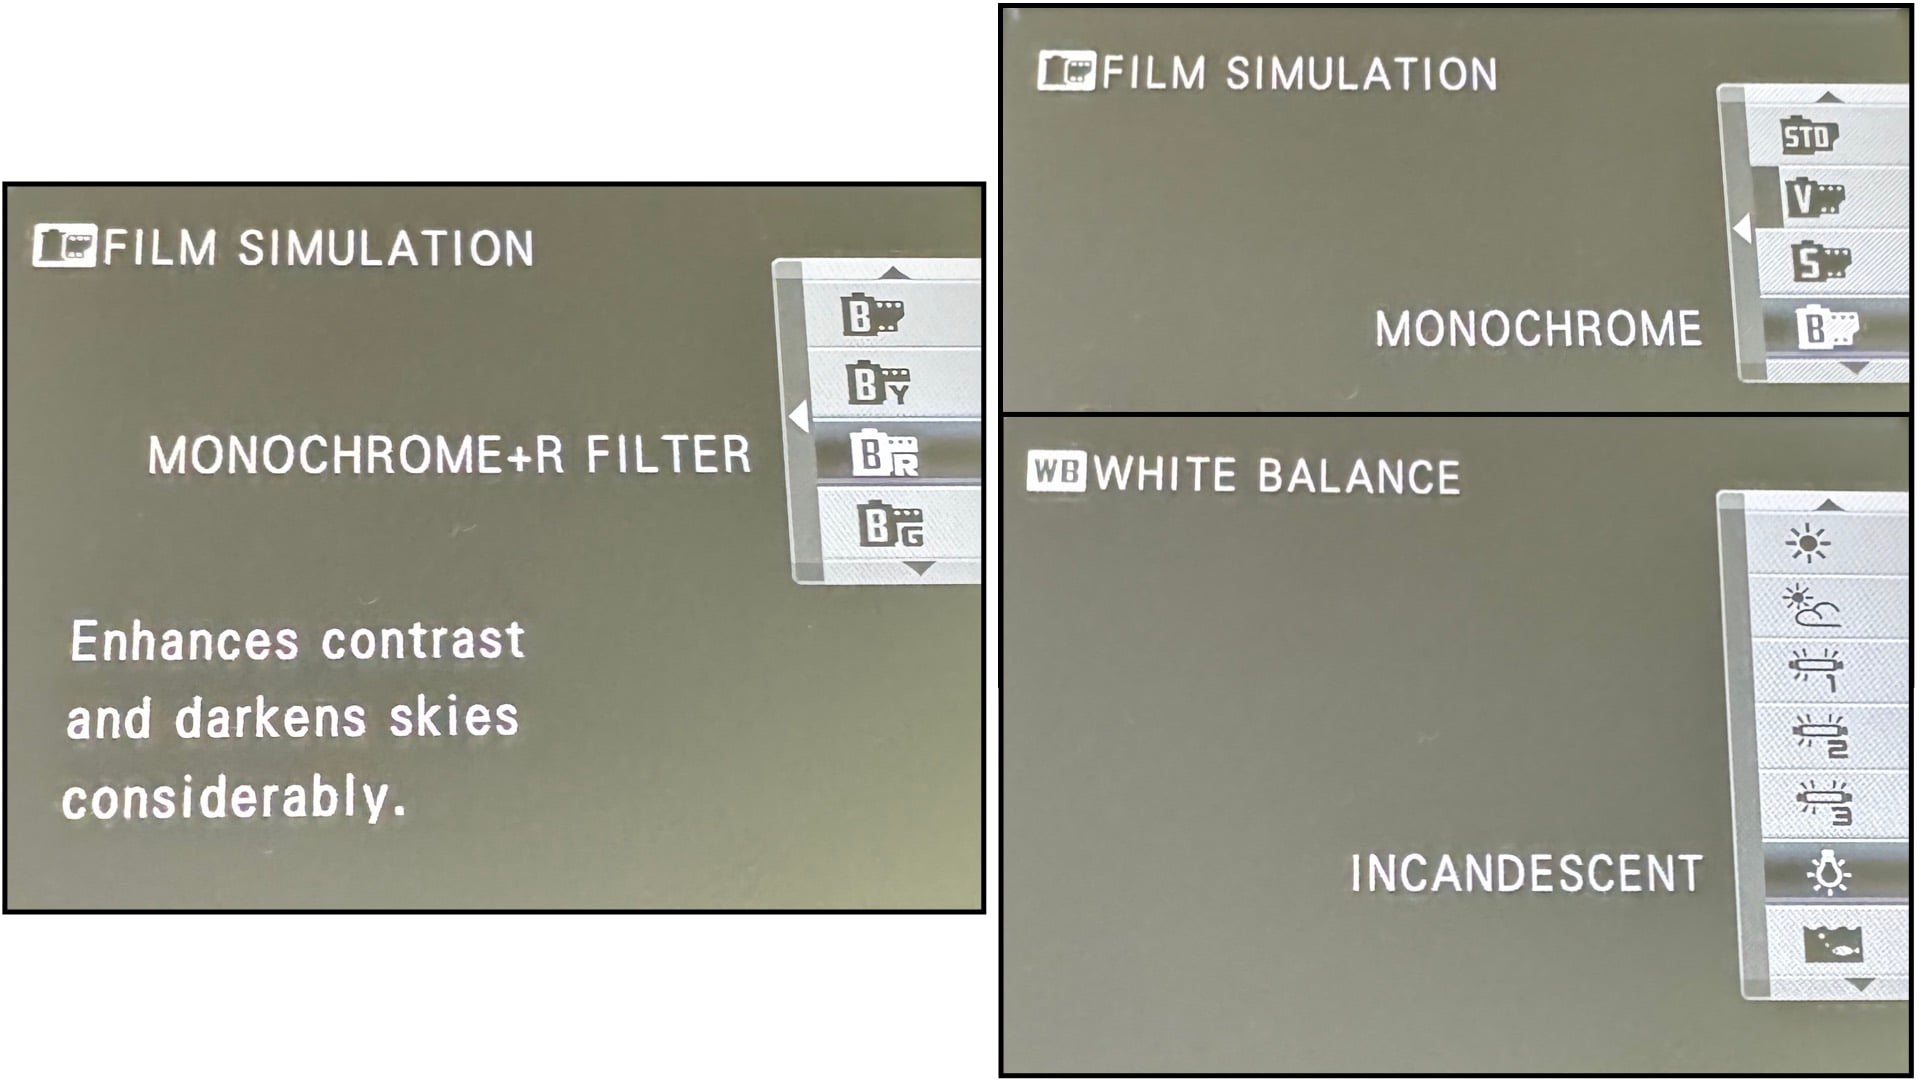
2. The first exposure will be with a monochrome film simulation that incorporates a built-in red filter. This is “Monochrome + R Filter” on the Fujifilm X100.
3. Your second exposure will use another monochrome film simulation, this time using a built-in green filter. In the X100 Film Simulation menu this is called “Monochrome + G Filter.”
4. The final exposure is a combination of two dissimilar menu options. First, the standard “Monochrome” film simulation is selected. Yes, there are no filters selected when using this option. Instead, a “blue” color filter is simulated by adding an incandescent lighting White Balance option coupled with this Monochrome film simulation.
Color Me Excited
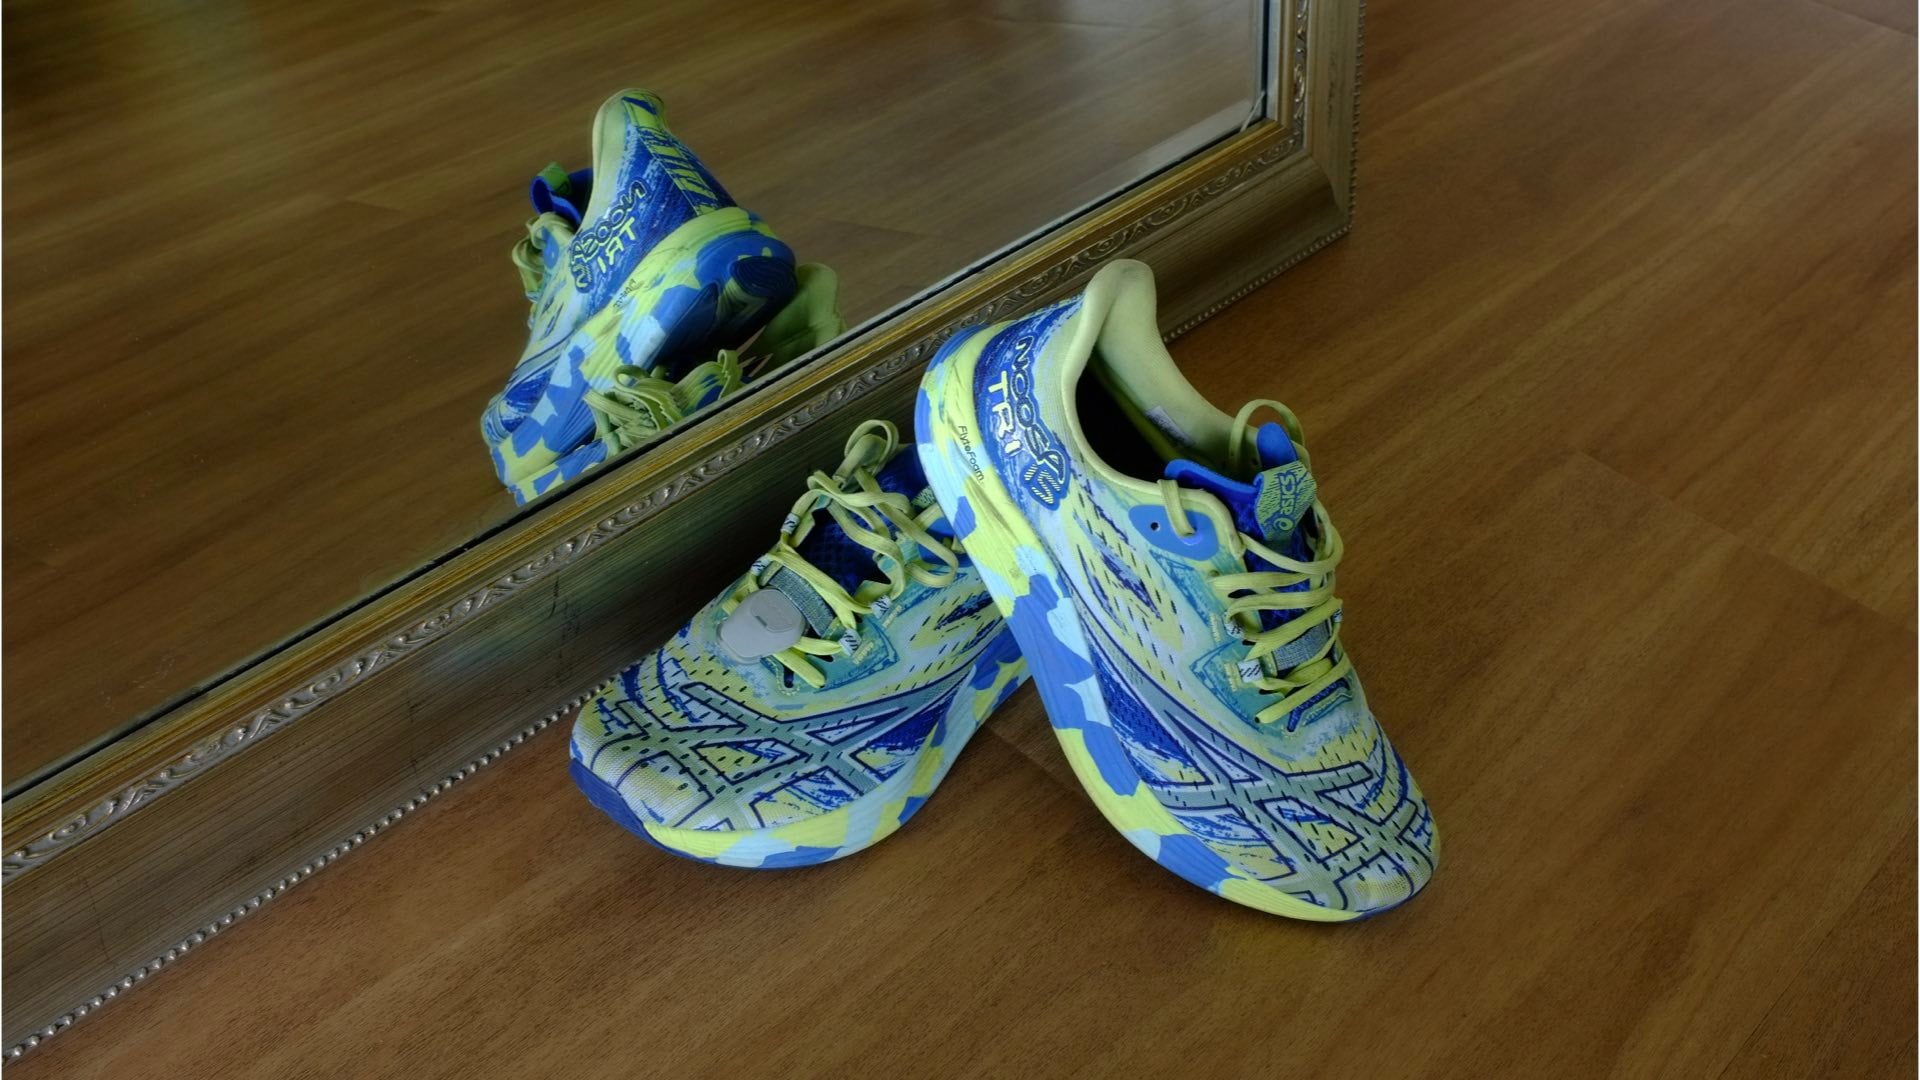
In execution, you can easily visualize the process for capturing this unique handmade color effect. After locating your subject, mount your camera on a tripod and take three consecutive photographs. Your first photograph will use the monochrome and red filter film simulation. This initial image is then followed by two more exposures, one using the monochrome and green filter film simulation, while the last photograph will use the standard monochrome film simulation enhanced by the incandescent lighting White Balance option.
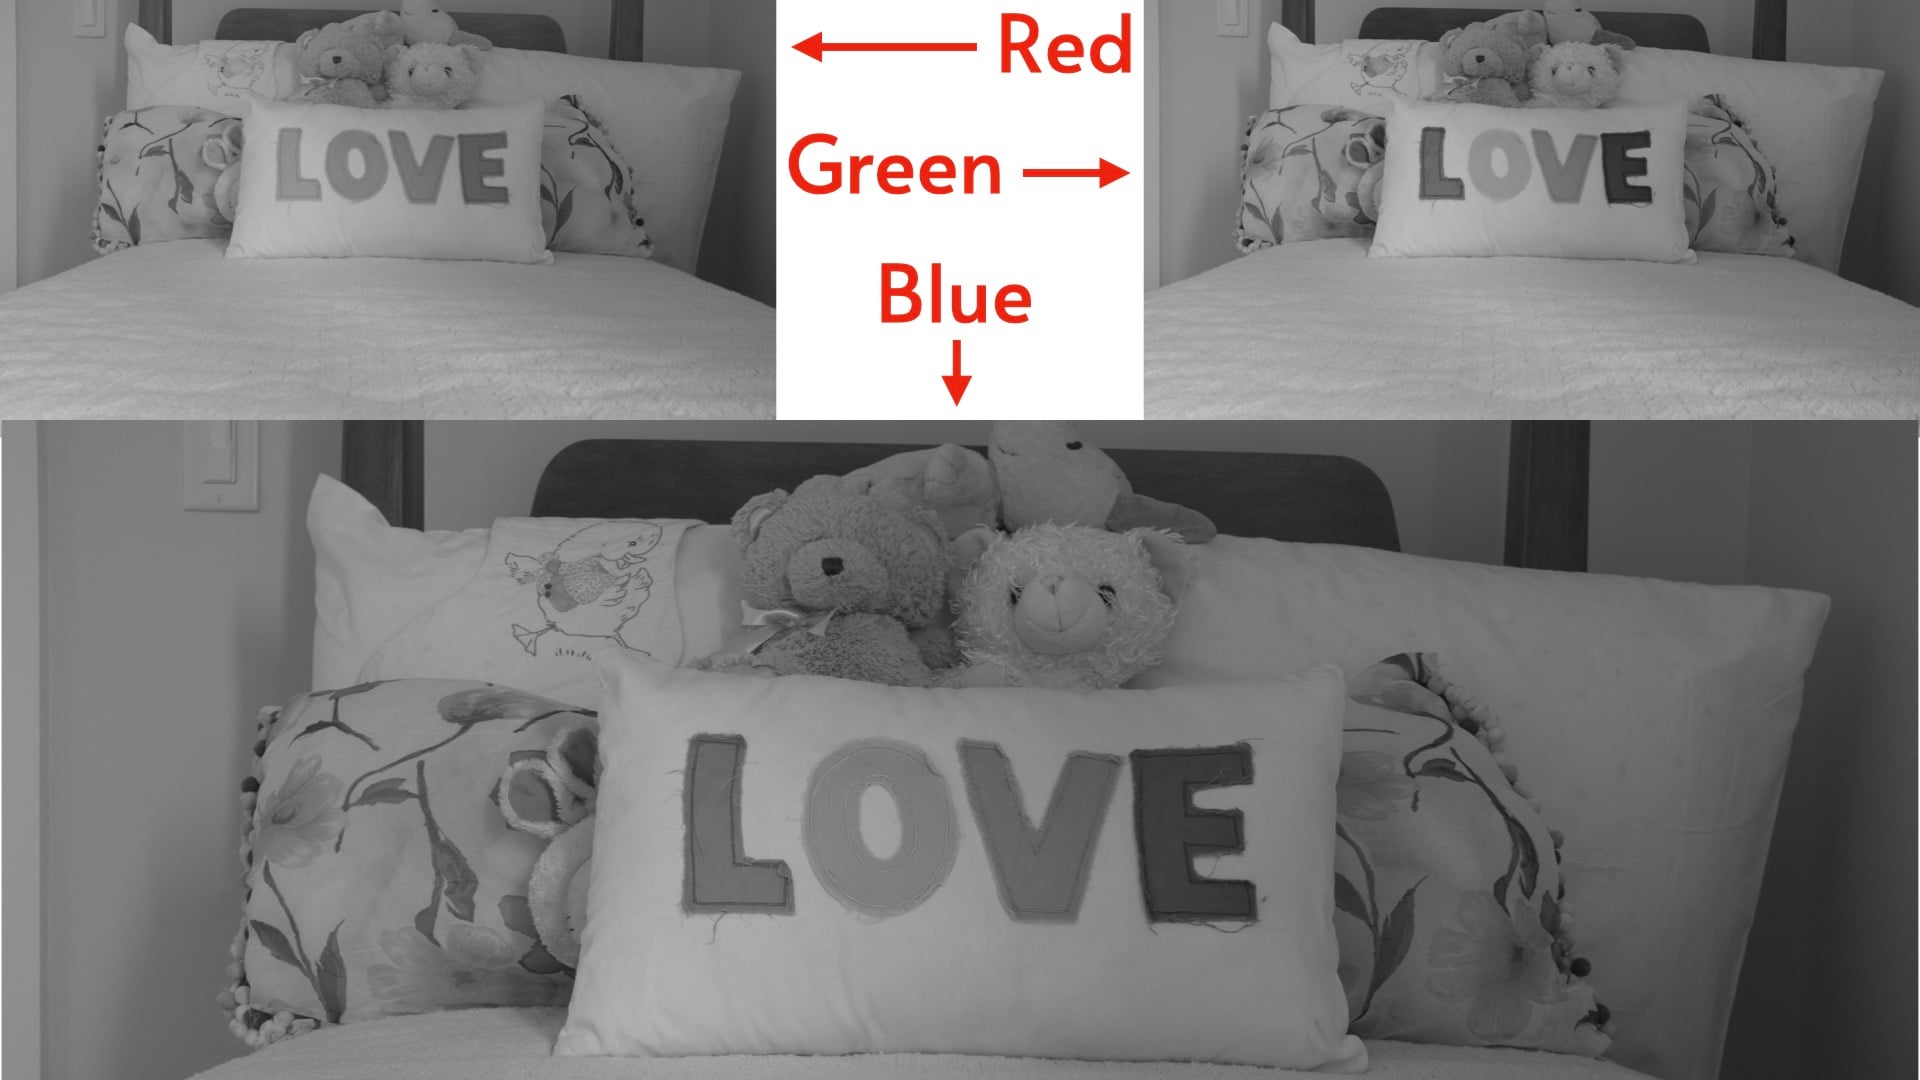
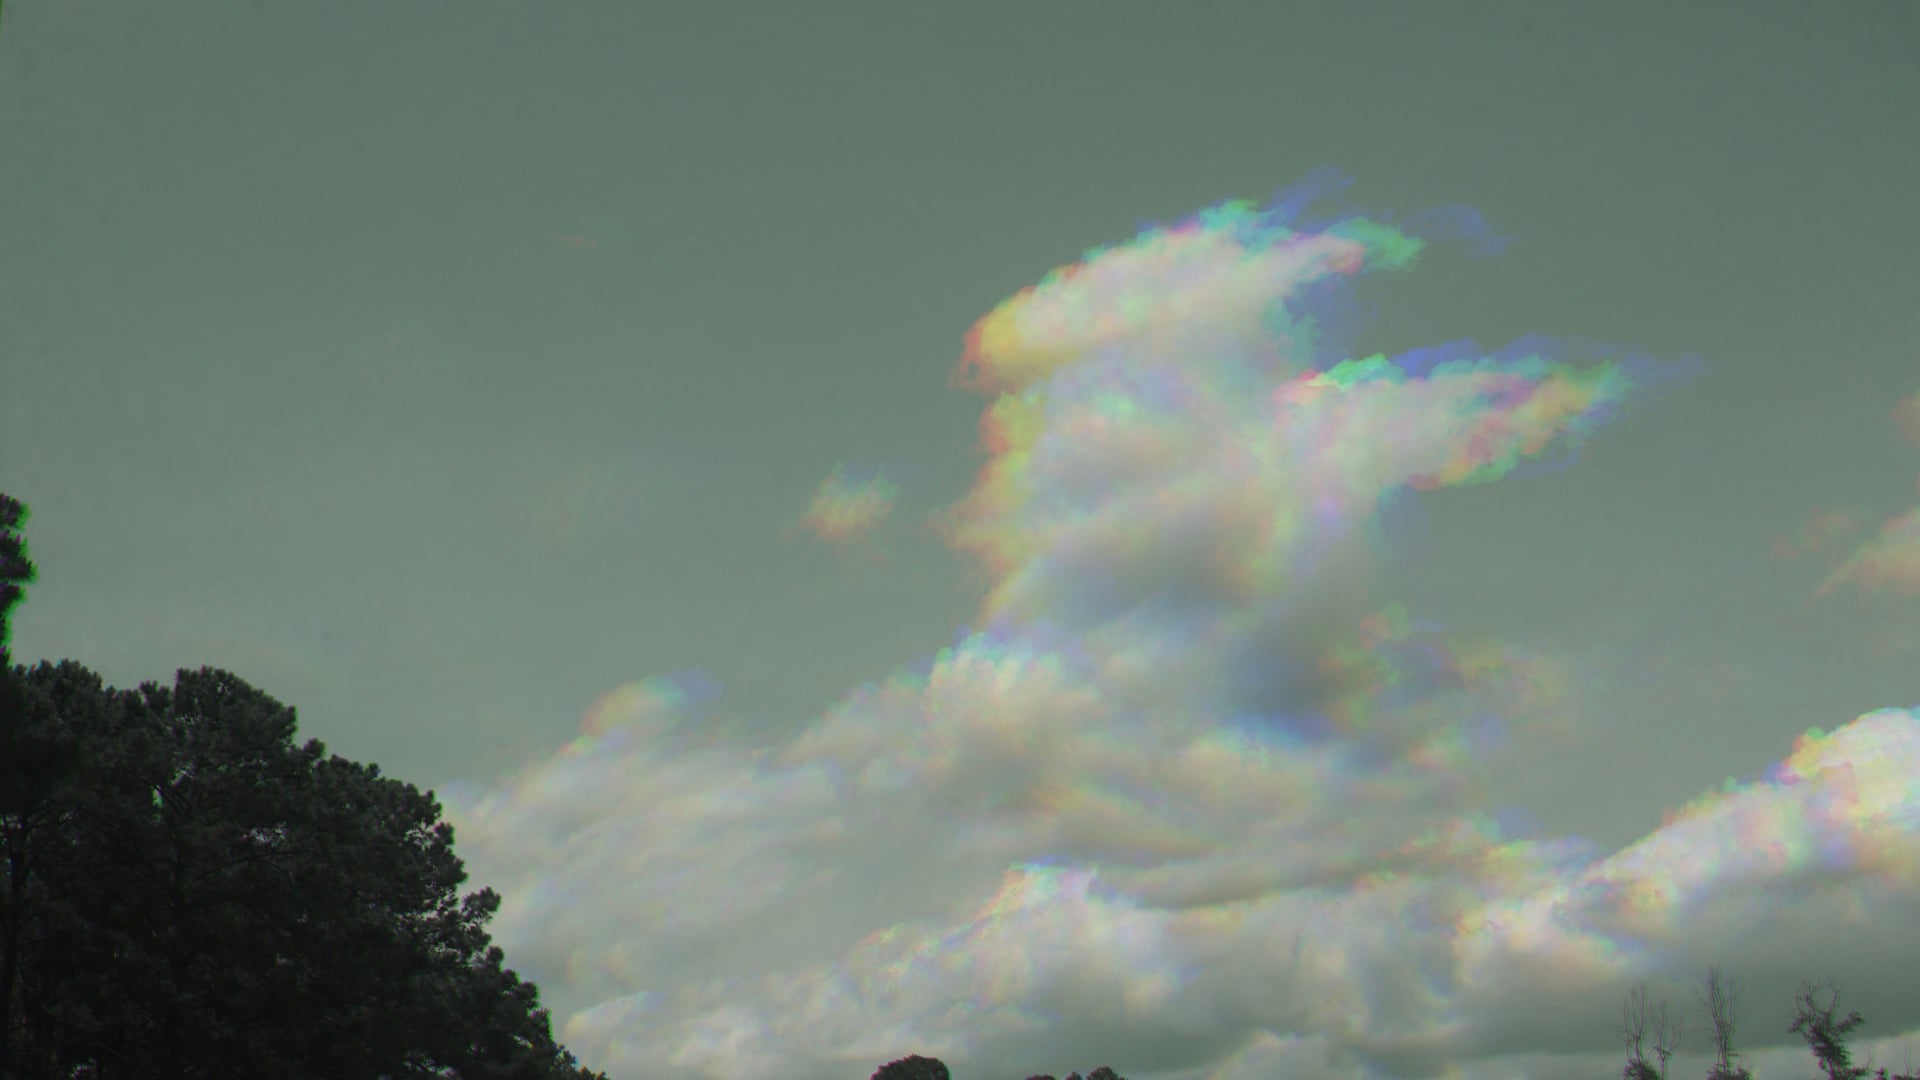
The total result is three photographs: one red monochrome, one green monochrome, and one blue monochrome. Using the tripod will ensure that all three photographs are perfectly aligned. Camera shake, however, could eliminate this tripod advantage. Therefore, use the camera’s self-timer mode for preventing unwanted blur.
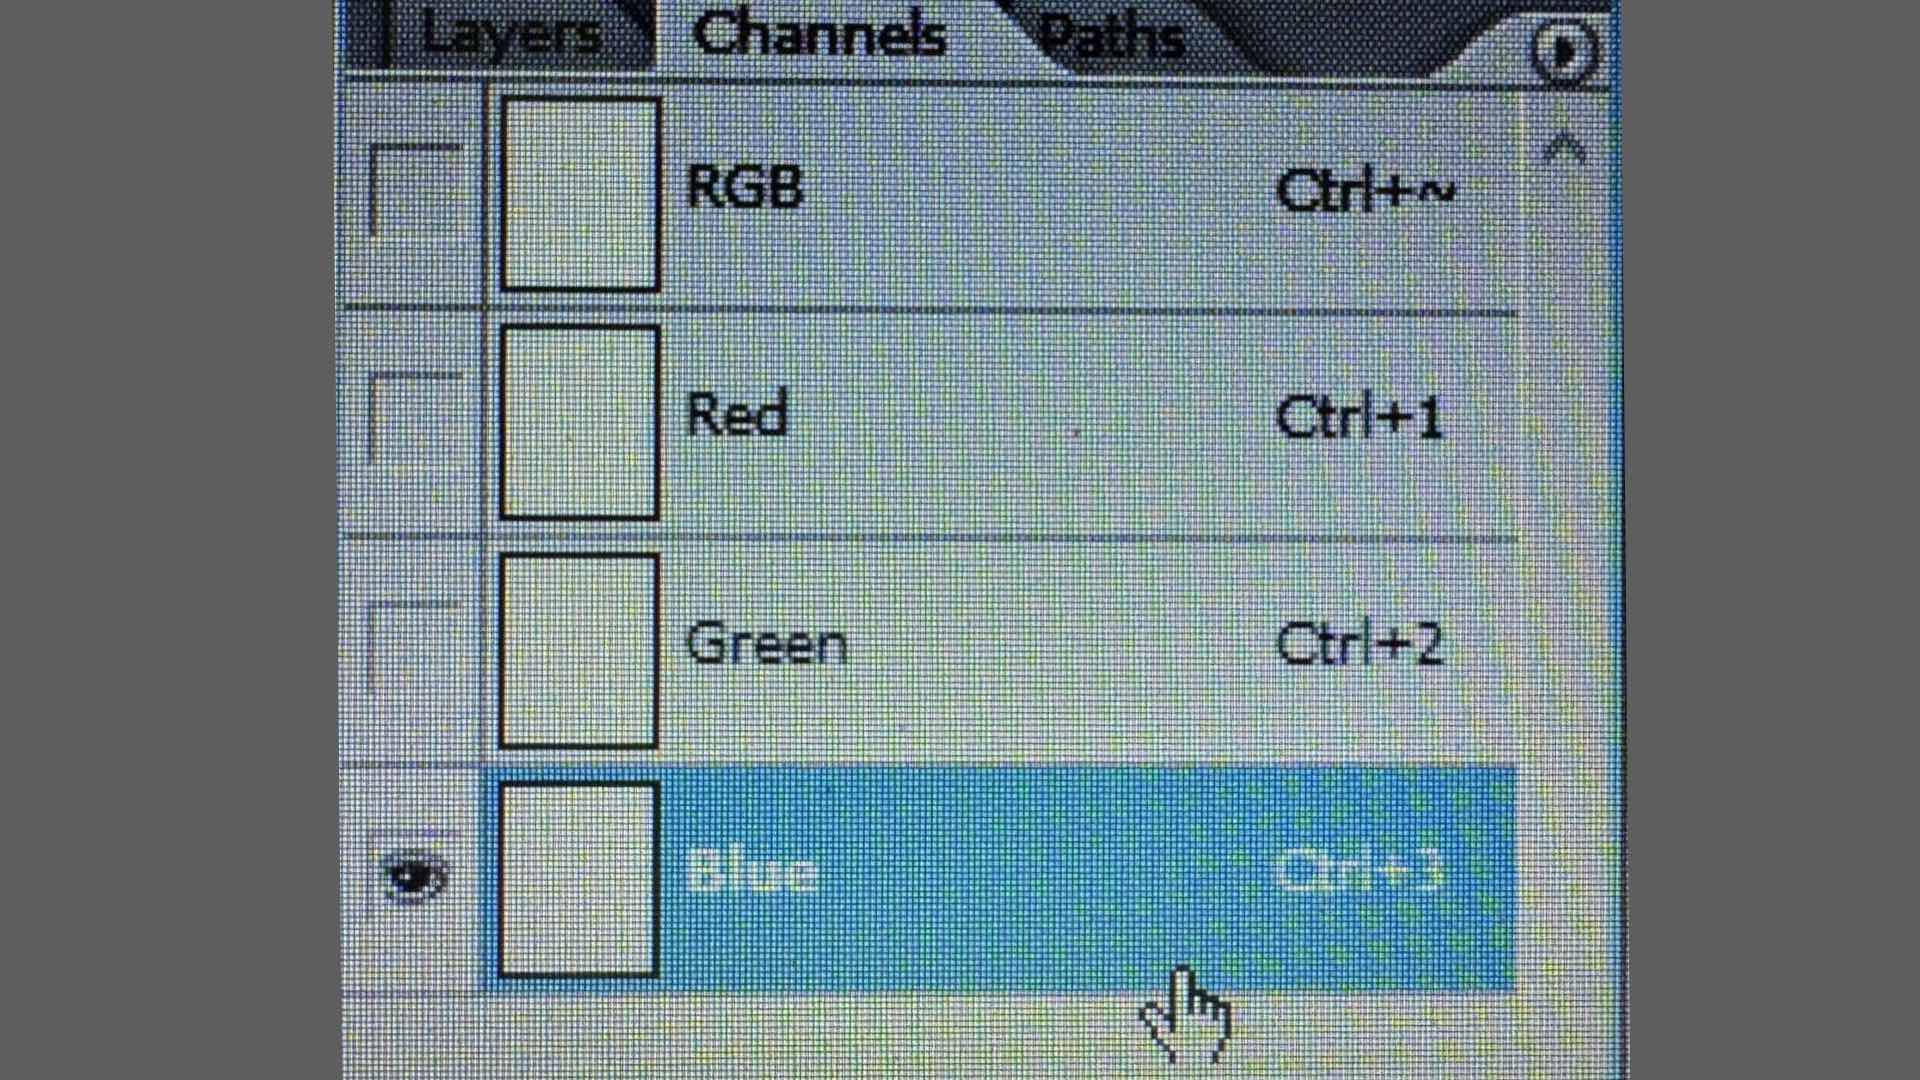
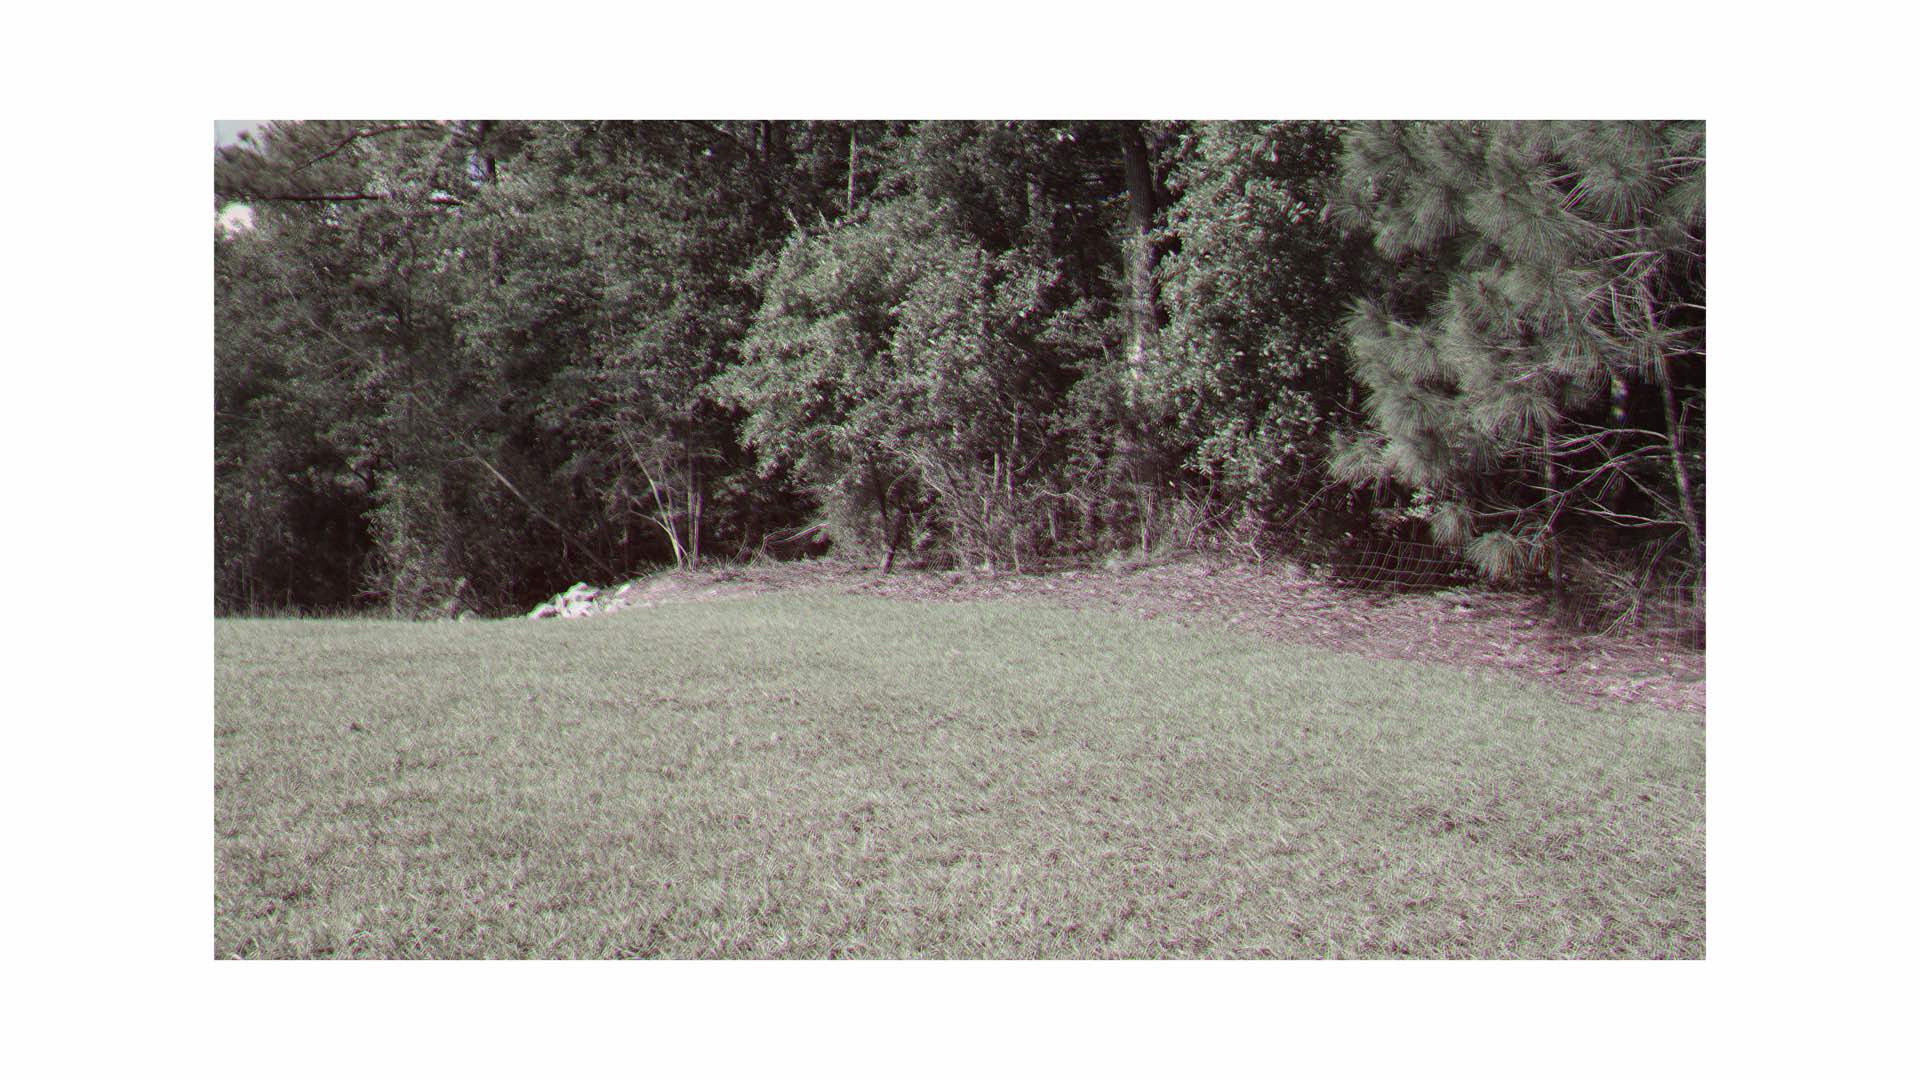
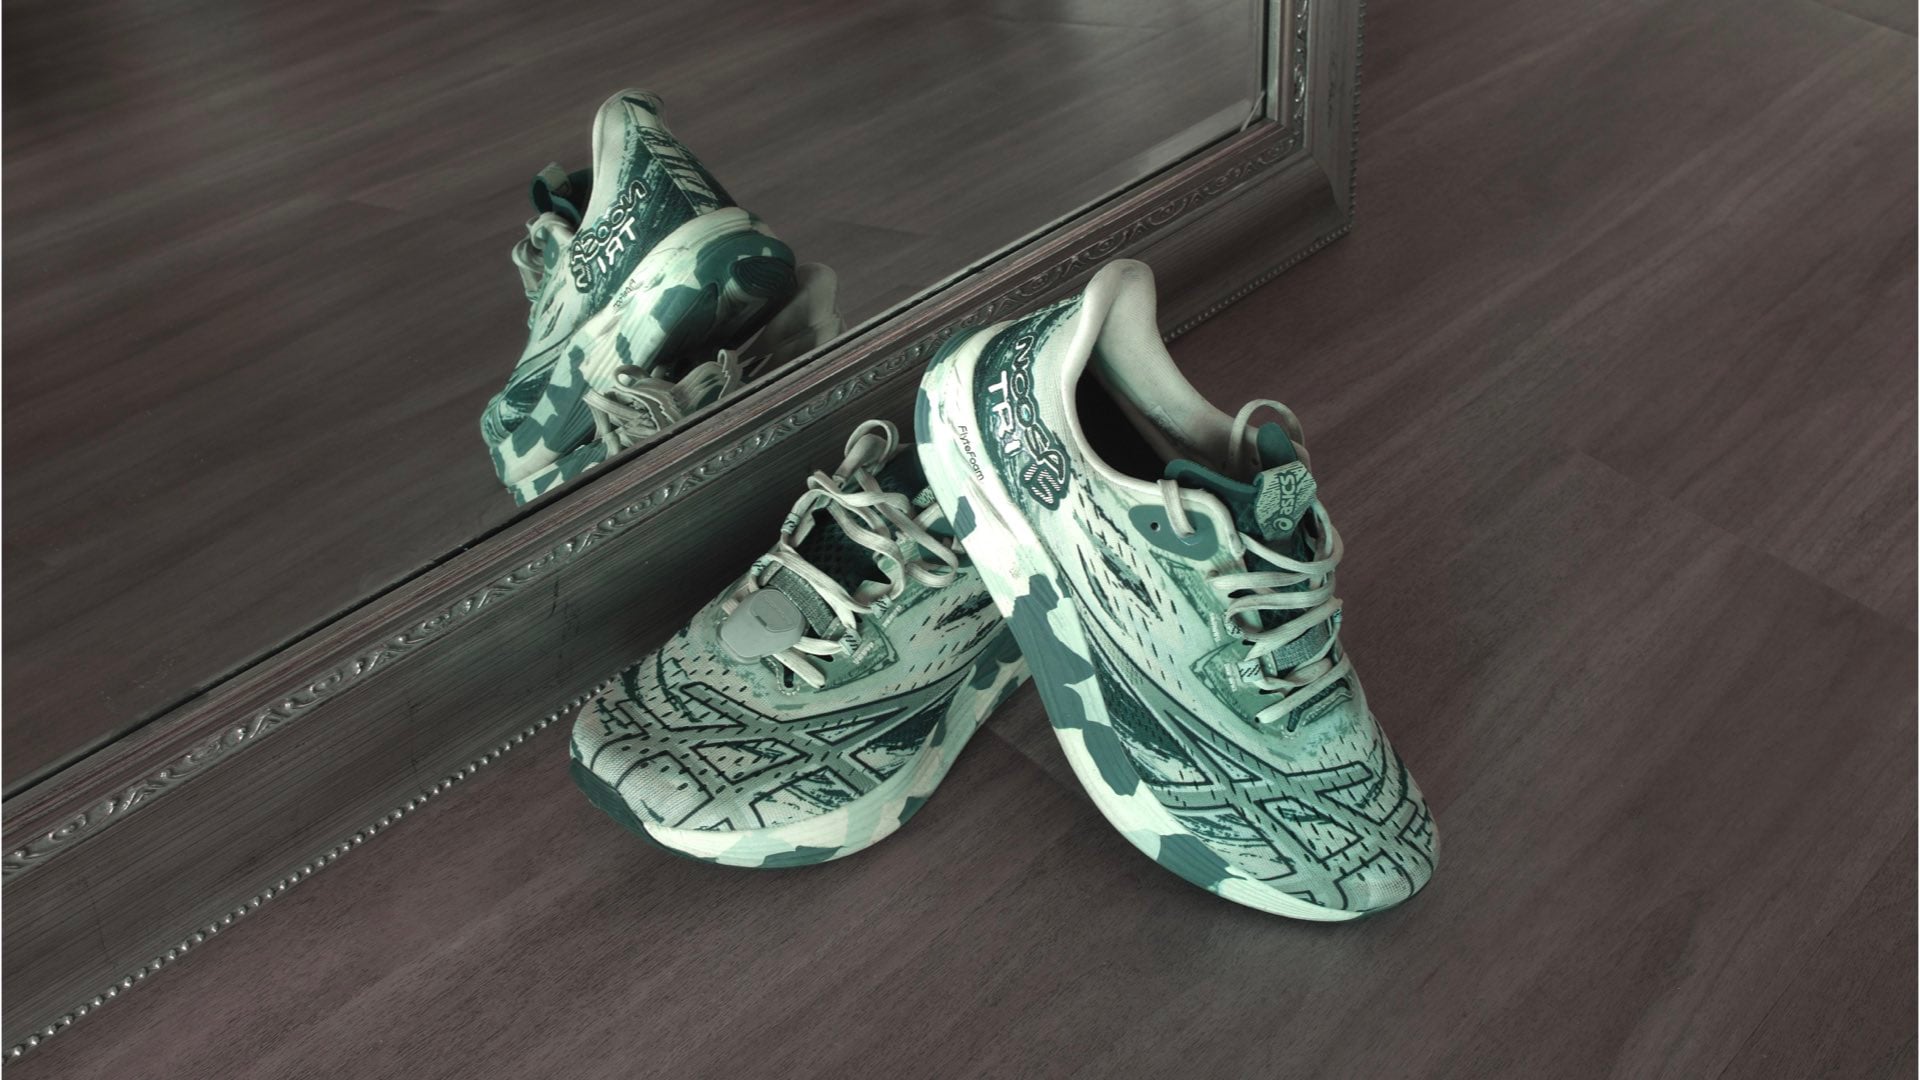
After you’ve accumulated your three monochrome exposures, import each one into its respective color channel of your preferred image editing software. Tweaks can be made to exposure, highlights, shadows, contrast, etc. for giving the final RGB composite photograph your own unique handmade color signature look.


Enjoy.

David Prochnow
Our resident “how-to” project editor, David Prochnow, lives on the Gulf Coast of the United States in Ocean Springs, Mississippi. He brings his expertise at making our photography projects accessible to everyone, from a lengthy stint acting as the Contributing How-To Editor with Popular Science magazine. While you don’t have to actually build each of his projects, reading about these adventures will contribute to your continued overall appreciation of do-it-yourself photography. A collection of David’s best Popular Science projects can be found in the book, “The Big Book of Hacks,” Edited by Doug Cantor.


Join the Discussion
DIYP Comment Policy
Be nice, be on-topic, no personal information or flames.