


Not Sure Where to Start with Photography? Start Here!
Jun 27, 2026
Lydia Marlowe

We love it when our readers get in touch with us to share their stories. This article was contributed to DIYP by a member of our community. If you would like to contribute an article, please contact us here.
Share:
You’ve been getting compliments for your photos, and you’re thinking about getting more serious about photography. But this gets you wondering: Where do I start with photography? It all seems overwhelming when you’re new to a craft, and in this article, we want to encourage you and inform you on where to start and take your very first step. Don’t worry, it’s easier than it sounds.
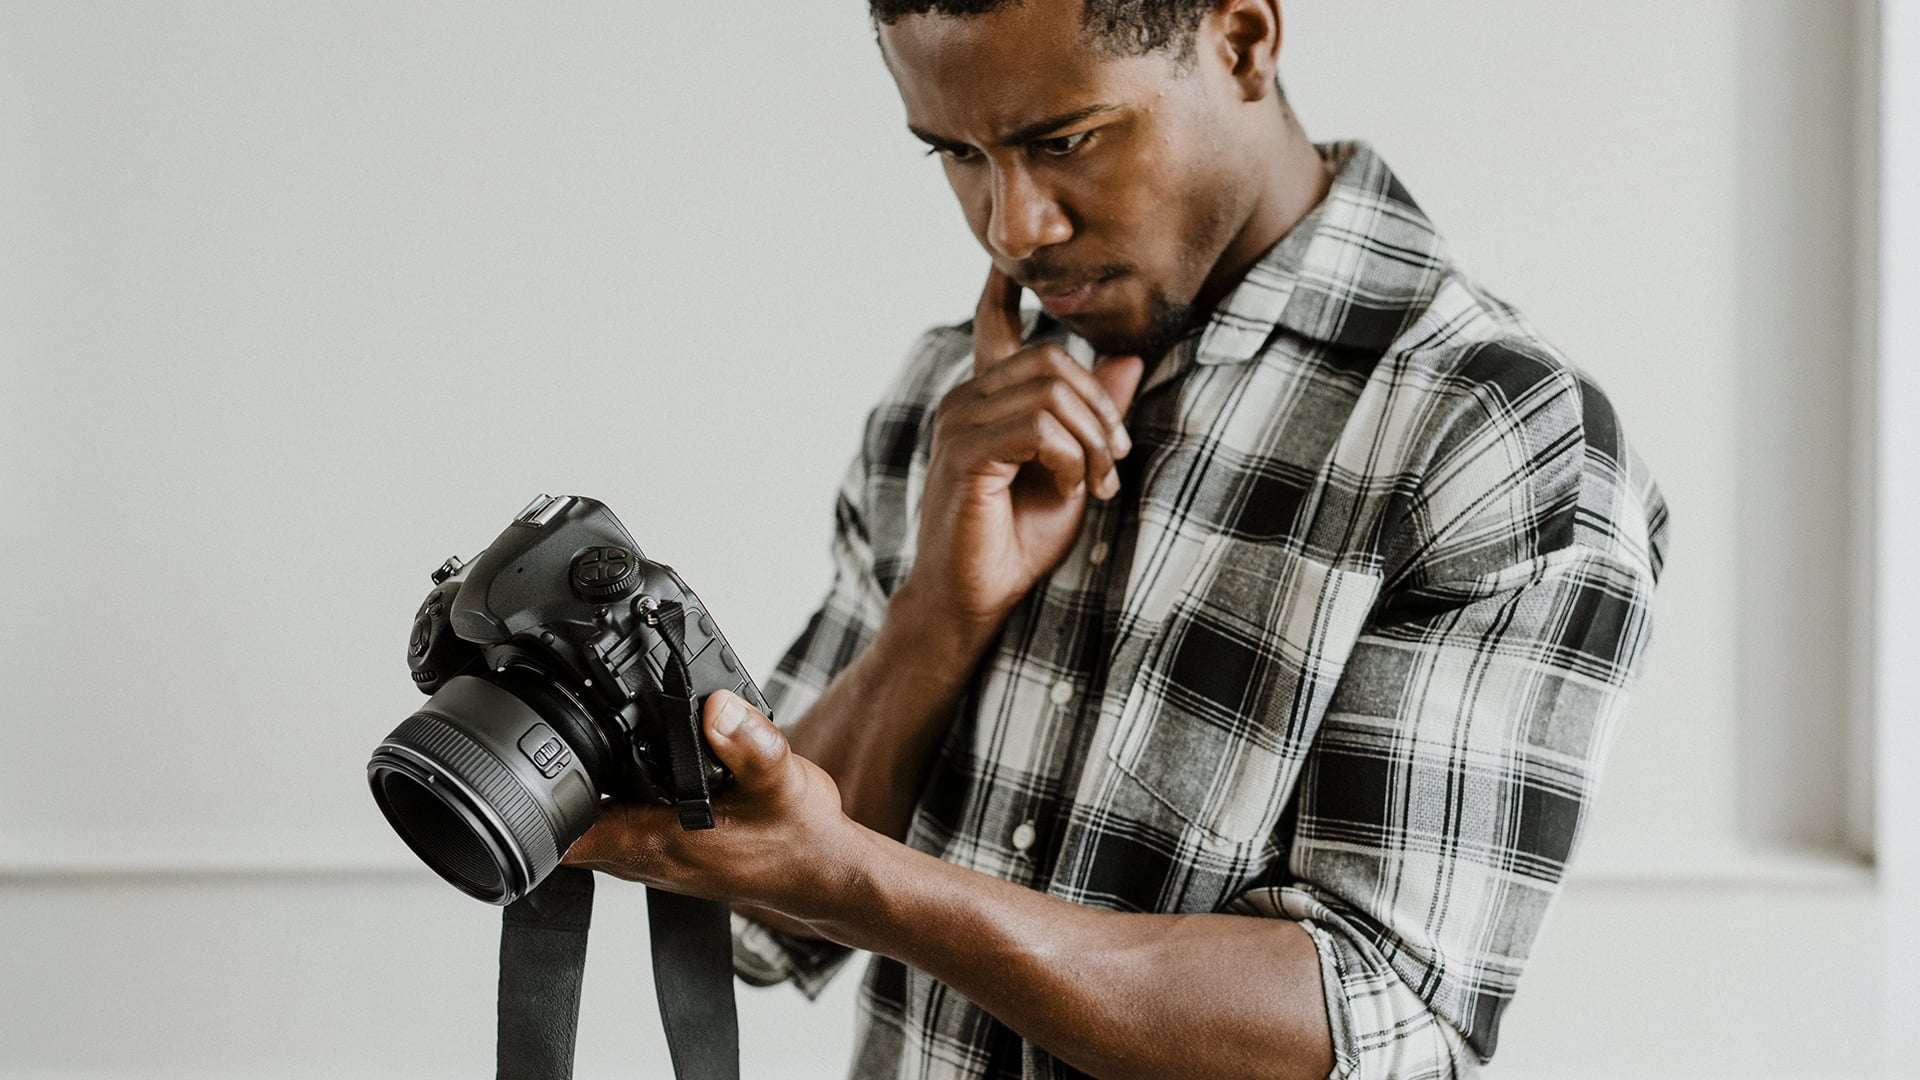
Step 1: Start With the Camera You Already Own
First and foremost: don’t buy anything yet. The camera you have (this means even your phone) is enough to learn the fundamentals. What’s more, learning them on simple gear takes the pressure off and makes the process a lot less overwhelming. The instinct to buy your way to good photos is the most common beginner trap, and it delays the only thing that actually helps: shooting. Once you know what you’re doing and feel the limits of your current camera, then a purchase makes sense. (When you get there, our guide to the best cameras for beginners and the mirrorless explainer will help.)
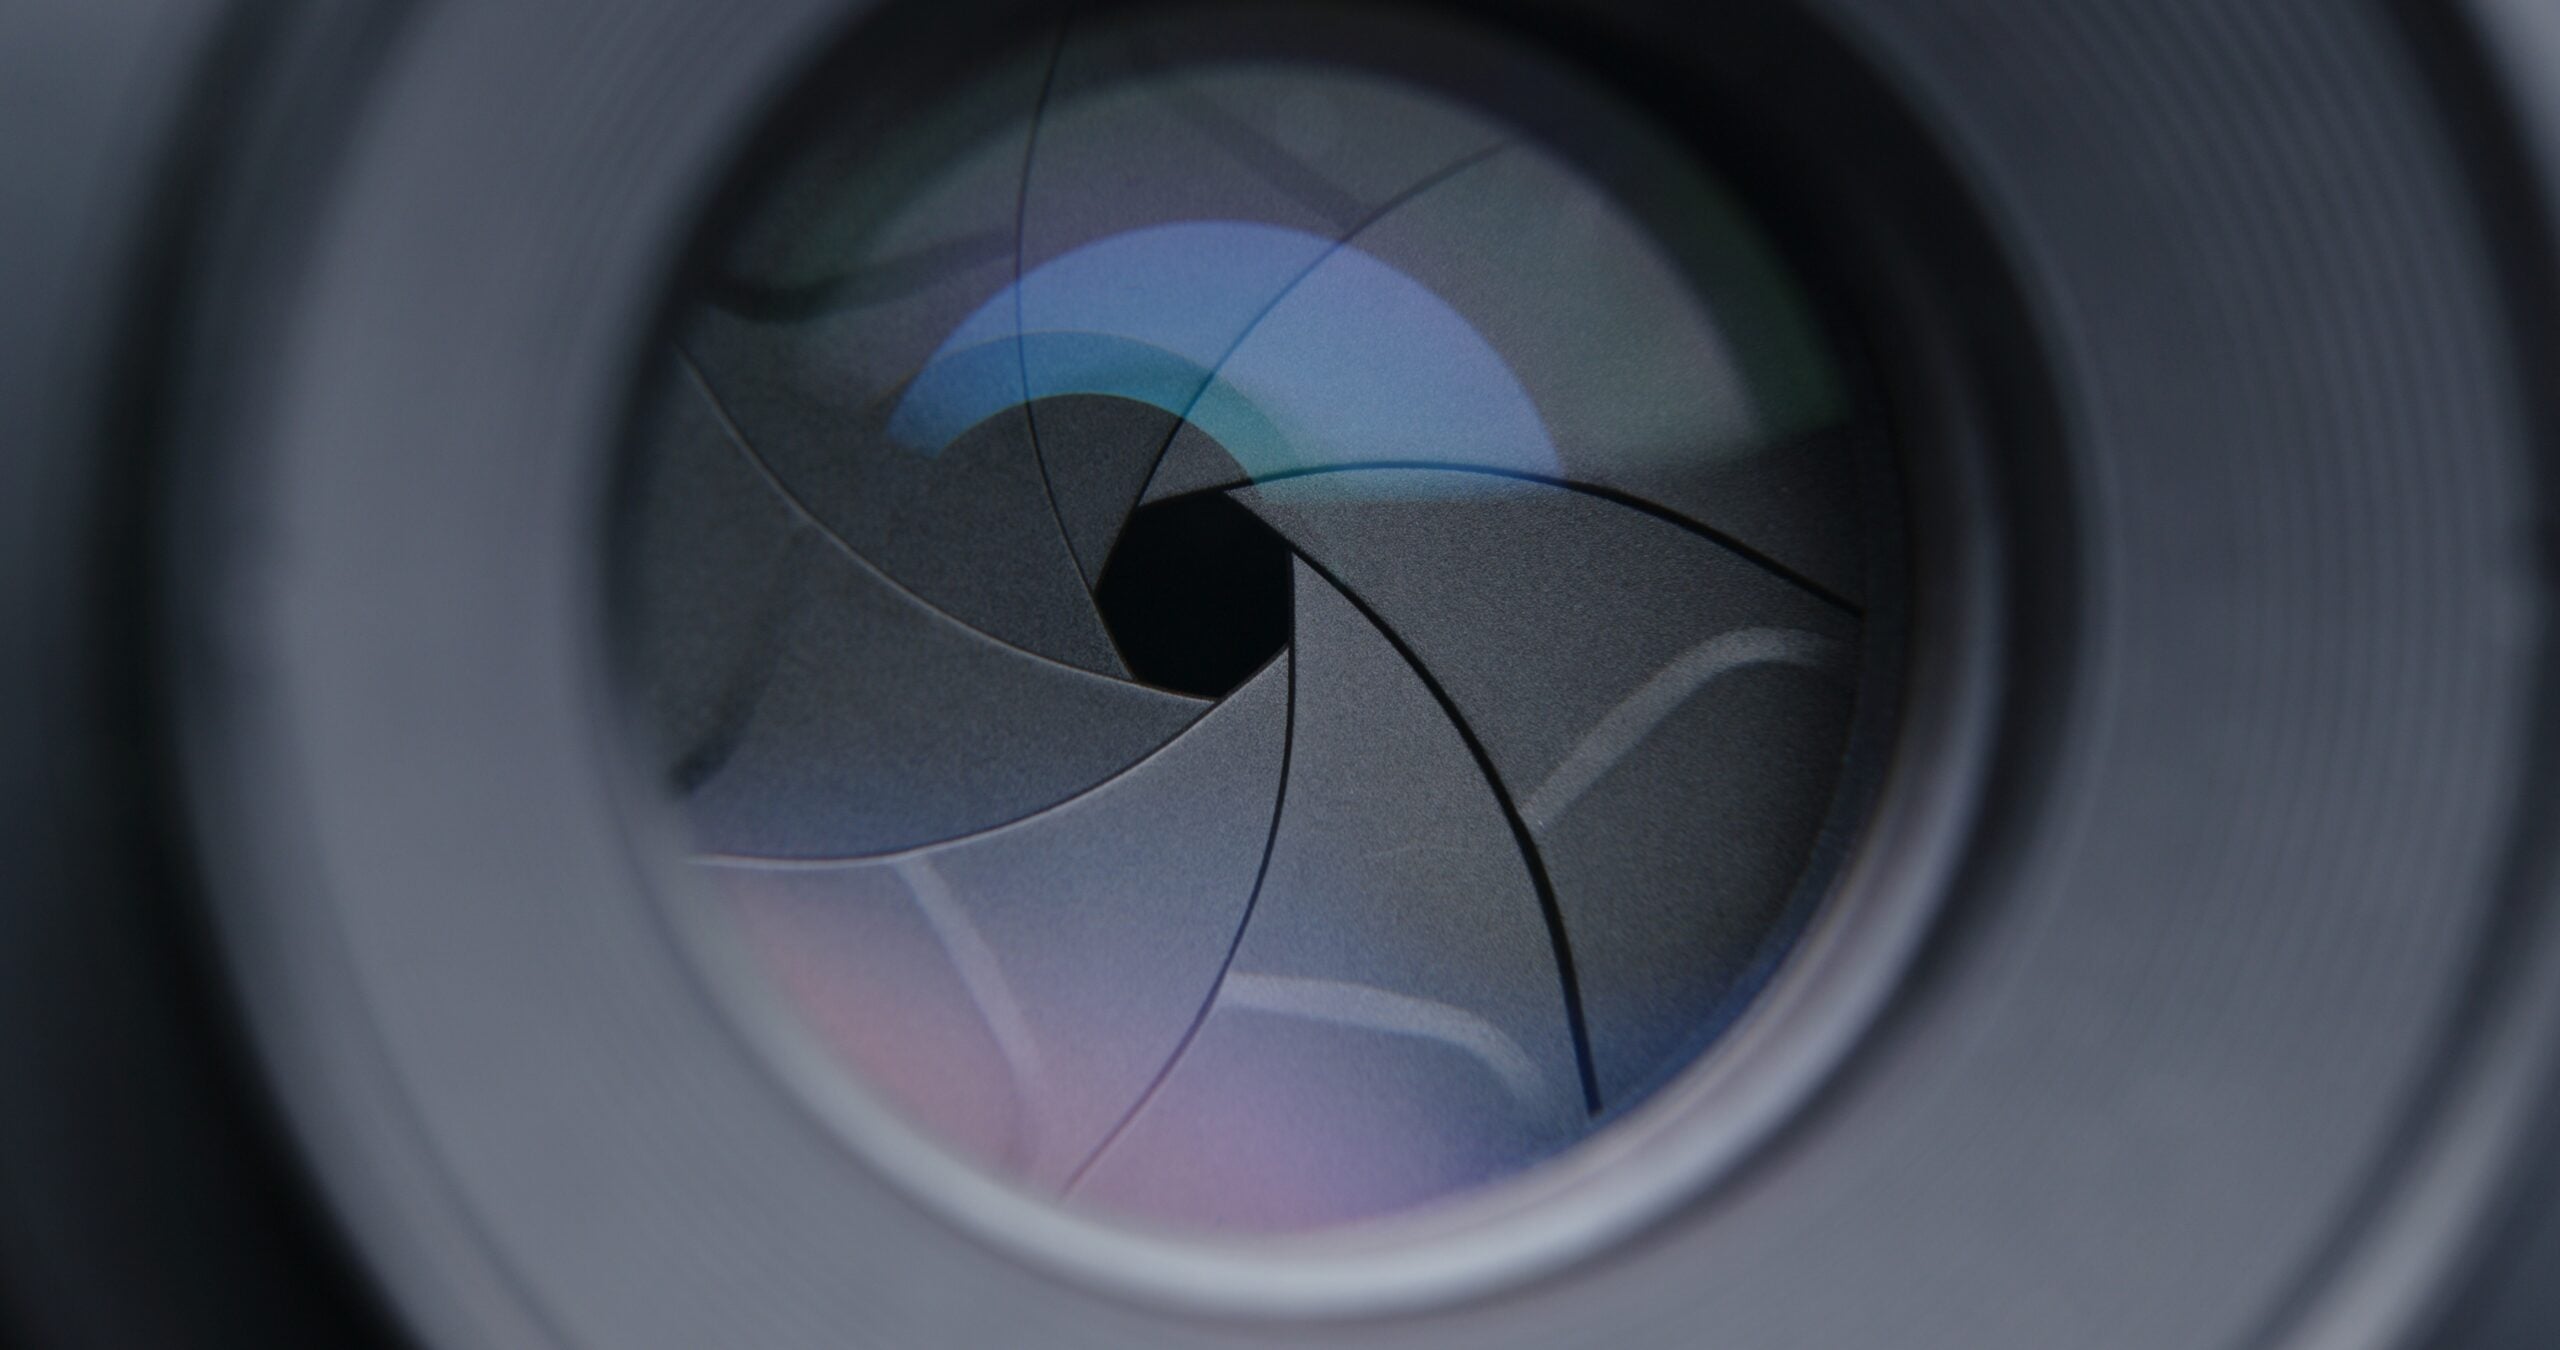
Step 2: Learn the Exposure Triangle
When it comes to the settings part, this is the foundation. Three settings – aperture, shutter speed, and ISO – control how bright your photo is and how it looks. Once they click, everything else gets easier.
Don’t try to master full manual mode on day one. Instead, start in a semi-automatic mode like Program (P), set one thing, and let the camera handle the rest while you learn how each control changes the image.
Step 3: Learn About Depth of Field
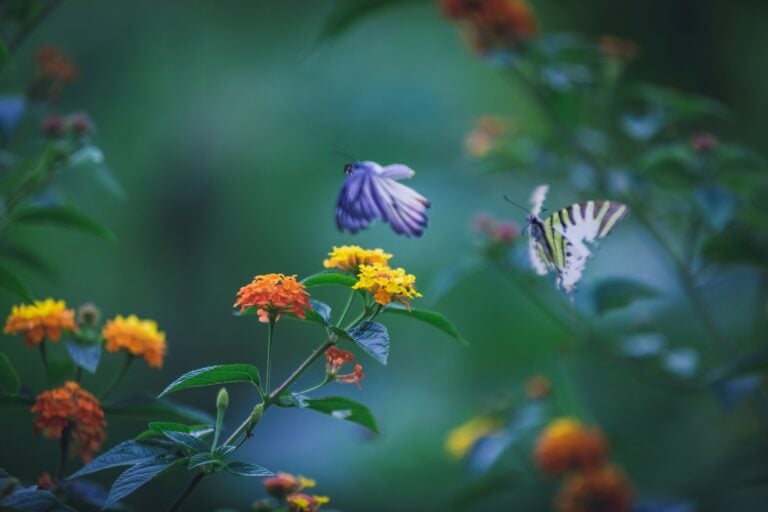
Once the exposure triangle makes sense, depth of field is the next piece that unlocks a lot. It’s what determines how much of your photo is in sharp focus: from a portrait with blurry background to a landscape that’s crisp from the foreground rocks all the way to the horizon.
Aperture is the main control here: a wide aperture (a low f-number like f/1.8) gives you that shallow, blurry-background look, while a narrow one (f/11, f/16) keeps more of the scene sharp. Understanding depth of field is the difference between hoping the background blurs and actually deciding it will. For the full breakdown, see our guide to depth of field.
Step 4: Pick One Type of Photography to Start
“Photography” is too big to learn all at once and will certainly overwhelm you. Portraits, landscapes, street, still life, food – each has its own approach, and trying to do everything means getting good at nothing. Pick the one that genuinely excites you and start there. Not sure what’s out there? Our guide to the different types of photography lays out the options so you can find your lane.
Step 5: Learn Composition
Composition is how you arrange what’s in the frame – and it’s what separates a photo that just records something from one that actually holds your eye. The good news is there are a few simple guidelines that instantly improve your shots: the rule of thirds (placing key elements off-center rather than dead-middle), leading lines that draw the viewer in, and giving your subject room to breathe. Learn the rules first, get comfortable with them, and then break them on purpose once you know why they work. For the essentials, see our guide to composition in photography.
Step 6: Learn to See Light
The single biggest difference between a snapshot and a photograph is light, not gear. Start noticing it – where it’s coming from, whether it’s hard or soft, how it changes through the day. The soft light right after sunrise or before sunset will flatter almost anything, so shoot then while you’re learning. Low light is trickier; when you hit it, here’s how to handle it.
Step 6: Shoot Constantly – and Deliberately
None of the above sticks without reps. Take a camera everywhere and use it, but shoot with intention rather than spraying and praying. Consider the light, the composition, the point of the photo. For structured ways to keep the habit going, from challenges to studying other photographers, see our guide on ways to practice photography.
Can You Teach Yourself All This?
Yes, of course. The vast majority of photographers are largely self-taught, and the resources to learn for free have never been better. We dug into exactly how (and where it gets hard) in can you teach yourself photography, but the short version is: you absolutely can, as long as you actually shoot rather than just watch tutorials about shooting. And take it one step at a time.
If you take one thing from this: stop researching before you get started with photography. Sure, learning is important, but don’t forget to go out there abd take photos with the camera you already have. Learn the exposure triangle, pick one subject, chase good light, and shoot a lot.
What’s pulling you toward photography in the first place – a subject, a trip, just the itch to create? Tell us in the comments, and we’ll point you toward the right next step.
About Lydia Marlowe
Lydia Marlowe is an architect and a hobbyist photographer who has never quite managed to keep the two apart. She travels at every excuse, usually returning with more photos of buildings and details than of the people she went with. She pays more attention to light and structure than to gear, and she firmly believes the best camera is the one you didn’t leave at home.
We love it when our readers get in touch with us to share their stories. This article was contributed to DIYP by a member of our community. If you would like to contribute an article, please contact us here.
Related Posts
 Want to start shooting the Milky Way? Start here
 Wanna start astrophotography? Start small and learn the basics with this helpful video
 Kai’s photography tips for newbies: where to start and how to improve your photography
 The Where To Start Chart Is An Ultimate One Stop Educational Tool For Learning Photography
Join the Discussion
DIYP Comment Policy
Be nice, be on-topic, no personal information or flames.