












How to Make a DIY Solar Filter for Your Camera, Before the August 12 Solar Eclipse
Aug 8, 2026
Alex Baker
Alex Baker is a portrait and lifestyle driven photographer based in Valencia, Spain. She works on a range of projects from commercial to fine art and has had work featured in publications such as The Daily Mail, Conde Nast Traveller and El Mundo, and has exhibited work across Europe
Share:
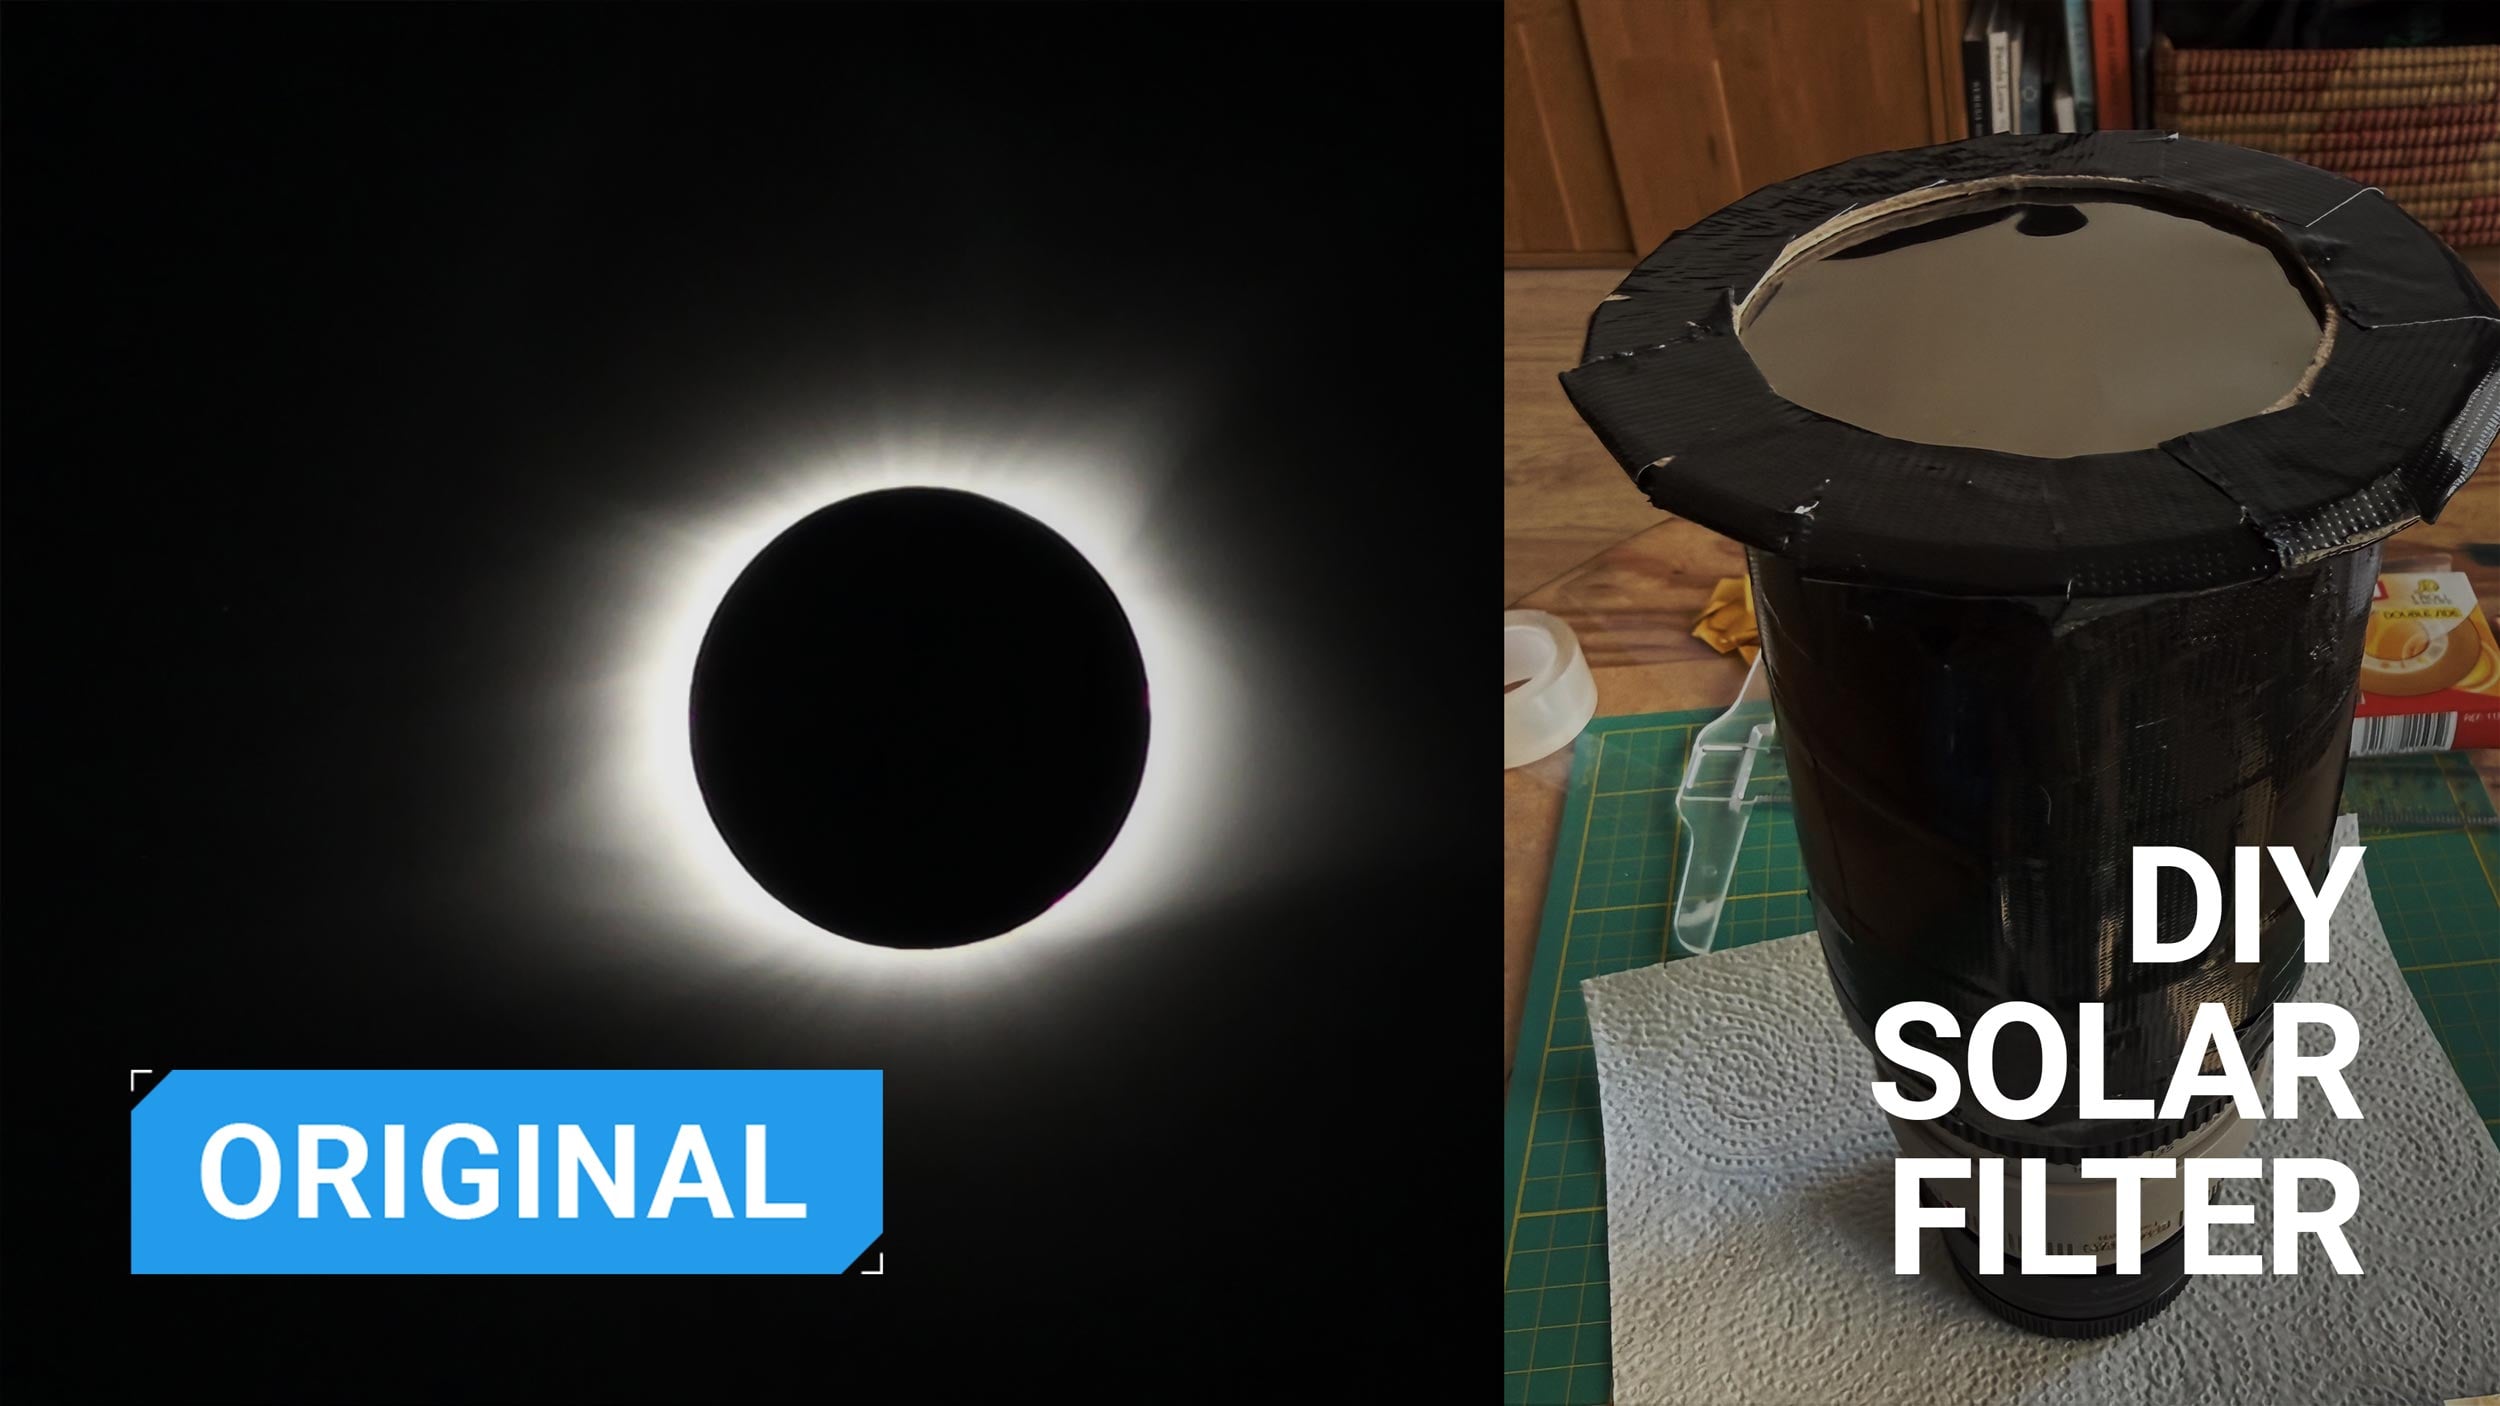
If you’re anything like me, the thought of a total solar eclipse passing right over the city you live in is enough to get you ridiculously excited. When I realised that Valencia, Spain, would be right in the path of totality on August 12 (like, next week!), I knew I wanted to try to photograph it, even though astro-photography isn’t exactly my speciality.
Unfortunately, my enthusiasm wasn’t matched by my organisational skills. By the time I started looking for a solar filter, the decent ones were either sold out, wouldn’t arrive in time, or cost close to €80. Considering I’d probably only use it once or twice, I wasn’t particularly keen on spending that much. So, naturally, I did what any photographer with a roll of tape and a bit too much confidence would do, I decided to make my own.
Before we start, this isn’t about cutting corners on safety. The DIY part is the cardboard holder, not the filter itself. You’ll still need certified solar film designed specifically for observing or photographing the Sun. Never point your camera (or eyes) at the Sun without proper solar filtration.
Why You Need a Solar Filter
Before we get into the build, let’s get one thing out of the way: pointing your camera directly at the Sun without a proper solar filter is a very bad idea.
Not only can it permanently damage your eyesight if you look through an optical viewfinder, but it can also damage your camera’s sensor and even the internal components of your lens. Camera lenses are designed to gather and focus light, and when you point one at the Sun, you’re effectively concentrating an enormous amount of energy onto a tiny area.
This is especially true with telephoto lenses. Just like using a magnifying glass to focus sunlight until it can burn a leaf or start a fire, a long lens concentrates far more of the Sun’s energy than a wide-angle lens. That’s why photographing the Sun with a 400mm lens is a very different proposition from having the Sun somewhere in the frame with a 16mm landscape shot.
In fact, you’ve probably photographed sunsets or even included the midday Sun in wide-angle images before without any issues. That’s because the Sun occupies only a tiny part of the frame and the light isn’t being concentrated to nearly the same extent. Once you start filling the frame with the Sun using a telephoto lens, however, the amount of light and heat being focused through the optics increases dramatically, and that’s when proper solar filtration becomes essential.
You also can’t just improvise with whatever you’ve got lying around. Sunglasses aren’t dark enough to safely block the Sun, no matter how expensive they are. Stacking several pairs together doesn’t make them safe either. Even a 10-stop ND filter isn’t dark enough.
Similarly, while certified eclipse glasses are safe for your eyes, they’re not designed to cover a camera lens. They’re too small for most lenses, are easily damaged, and holding them over the front element by hand is hardly a practical solution when you’re trying to photograph an eclipse.
The Filter Must Go In Front
Most importantly, the solar filter must be fitted over the very front of your lens, before sunlight enters the optics. You can’t use a drop-in filter behind the lens, mount the filter in front of the camera sensor, or place any other filter further down the optical path. By that point, the Sun’s light has already been concentrated by the lens, and the damage may already be done. The light needs to be reduced before it enters the lens, not afterwards.
The good news is that you don’t need an expensive commercial filter. The important part is using certified solar filter film that’s specifically designed for direct solar observation. The DIY part of this project is simply building a holder to keep that film securely over the front of your lens. Everything else is just cardboard, tape, and a bit of patience.
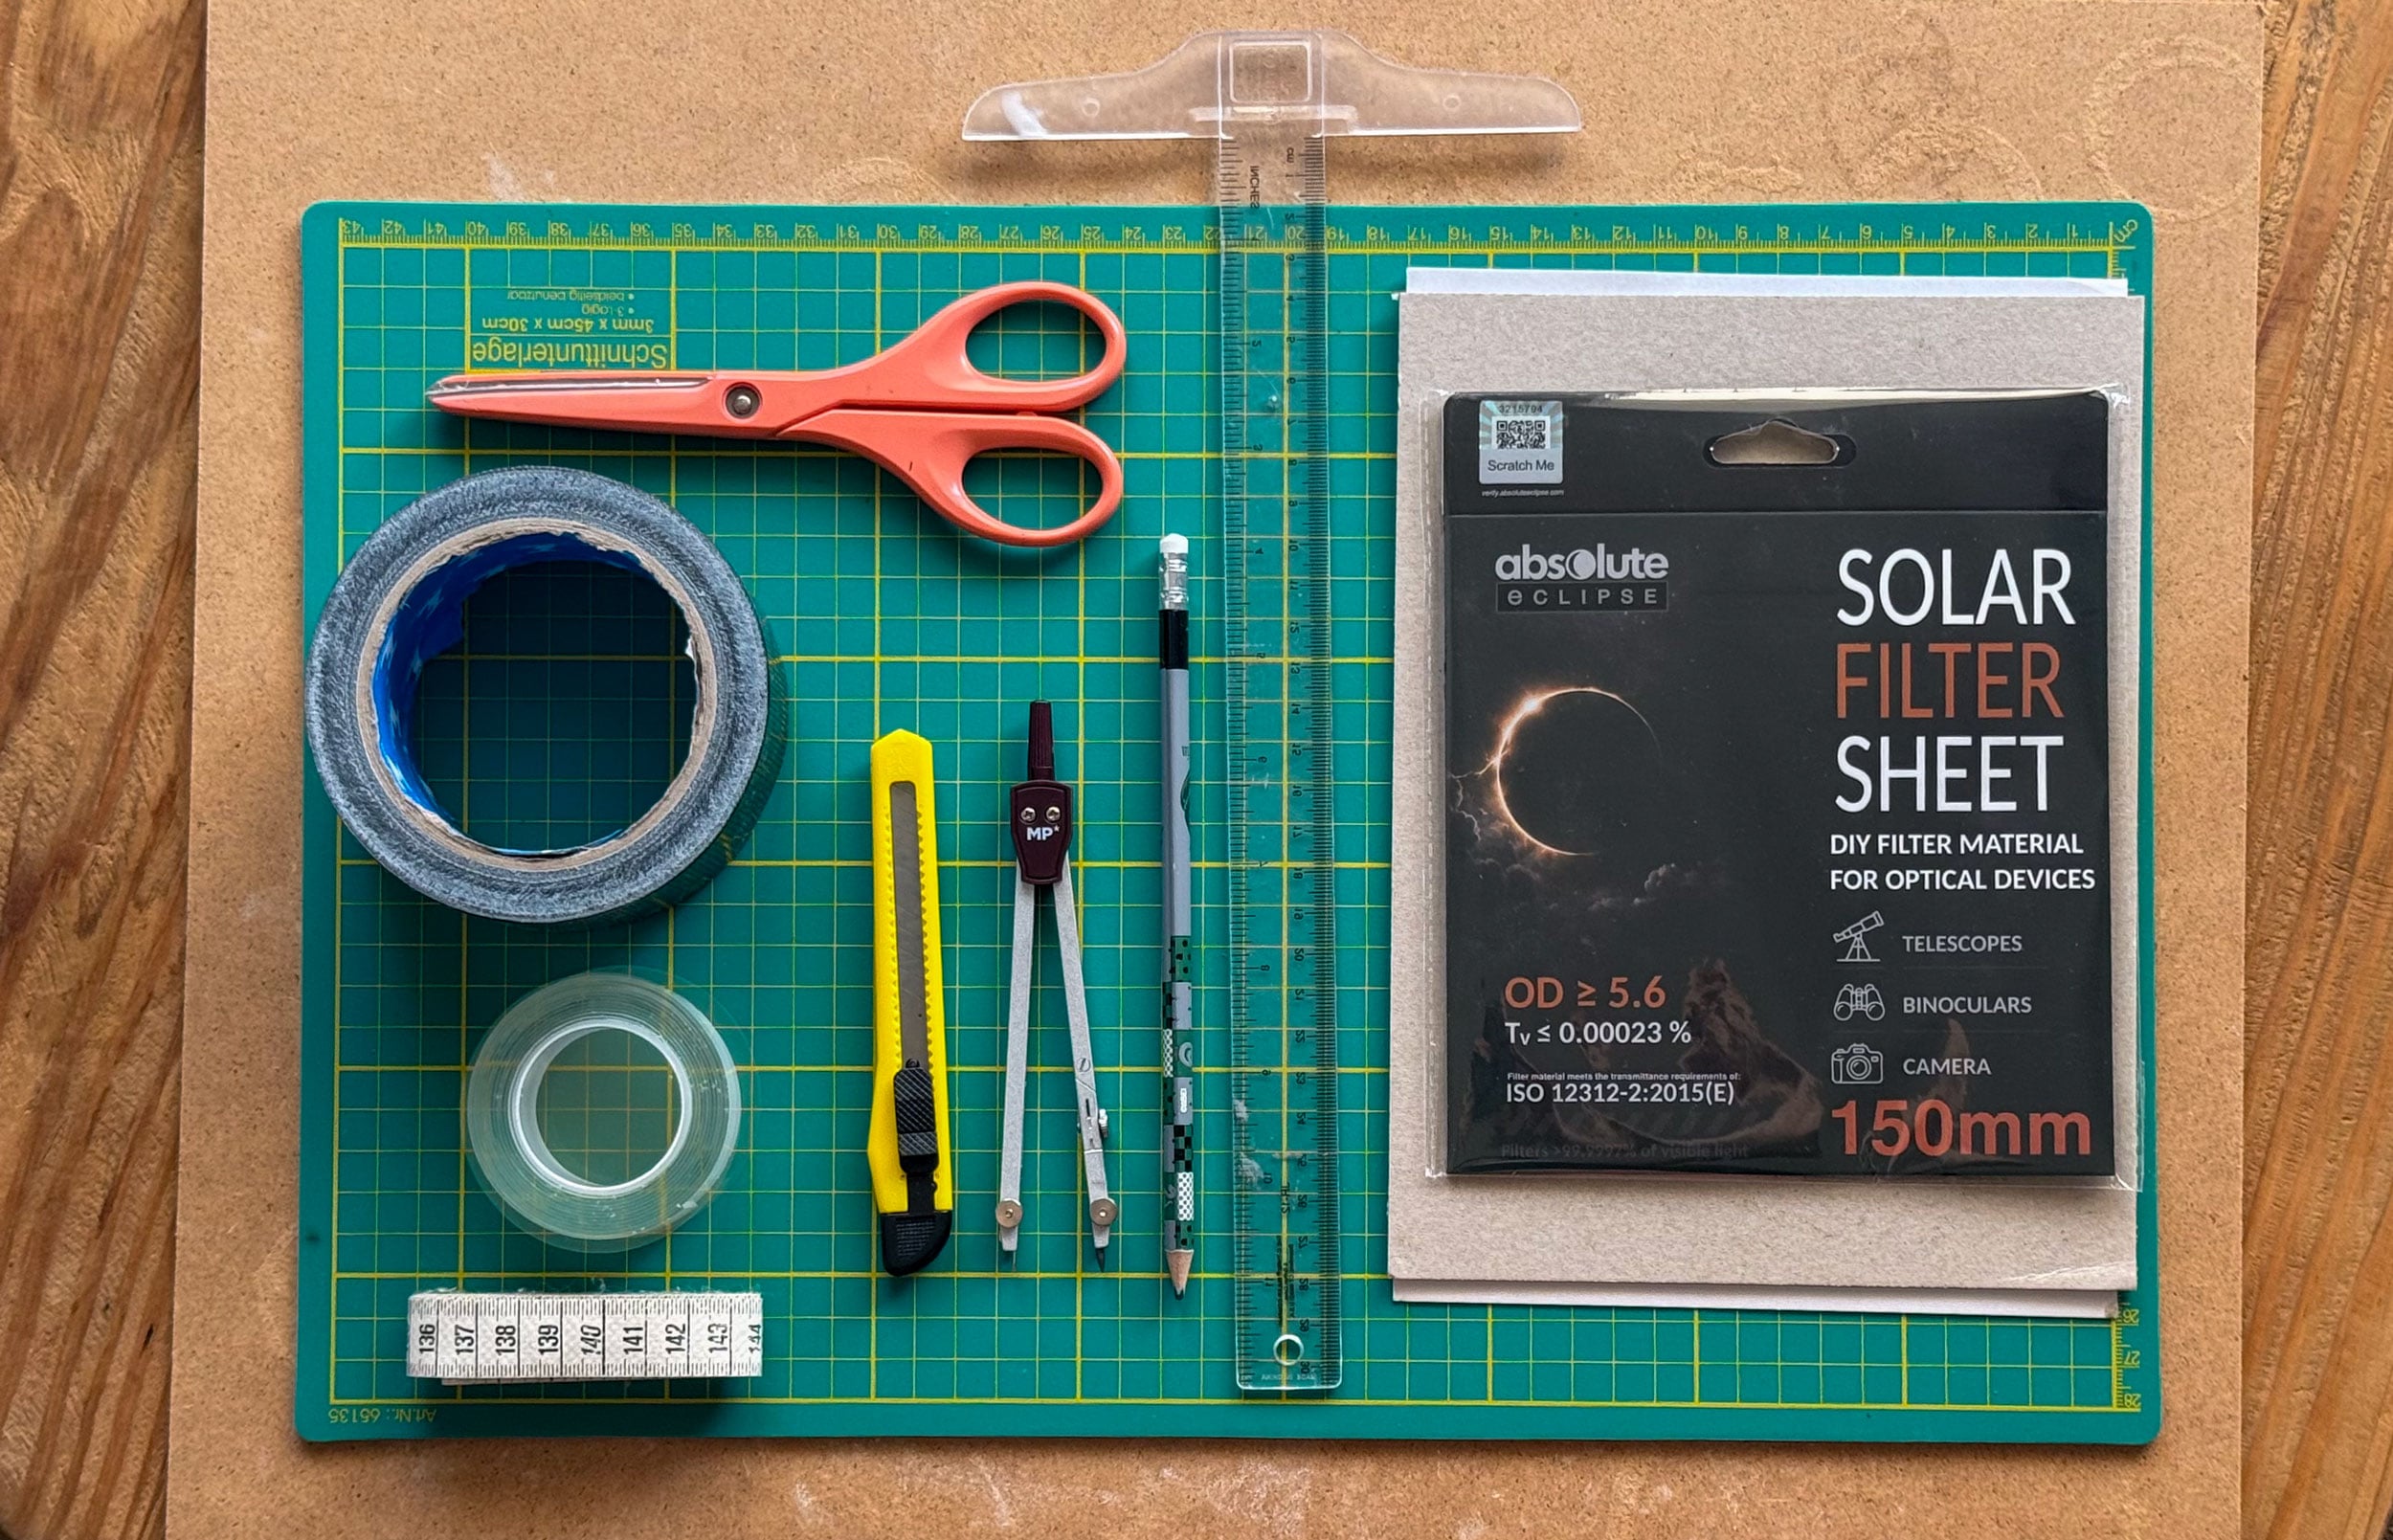
What You’ll Need
- A sheet of certified solar filter film (the only part you shouldn’t compromise on)
- Thick cardboard or foam board
- A pencil
- A ruler or tape measure
- A compass or something round to draw circles with
- A sharp craft knife or scissors
- Double-sided tape or glue dots
- Black gaffer tape or masking tape
- Self-adhesive Velcro strips (optional, if you want a removable design)
- A cutting mat (optional, but it’ll save your table)
The solar filter film is the only specialist item on this list. Everything else can probably be found in a kitchen drawer or craft cupboard.
Measure Your Lens Carefully
One of the most important parts of this project is making sure the finished filter fits your lens securely. Start by measuring the outside diameter of the front of your lens, not the filter thread size printed on the front (e.g. 77mm or 82mm). The filter holder needs to slide over the outside of the lens hood mount or barrel, so you’ll need the external measurement rather than the internal filter thread.
If you’re using a lens hood during the eclipse, measure over that instead. The aim is for the finished holder to be snug enough that it won’t move if you tilt the camera up towards the sky, but not so tight that you’re forcing it on.
Build the Filter Holder
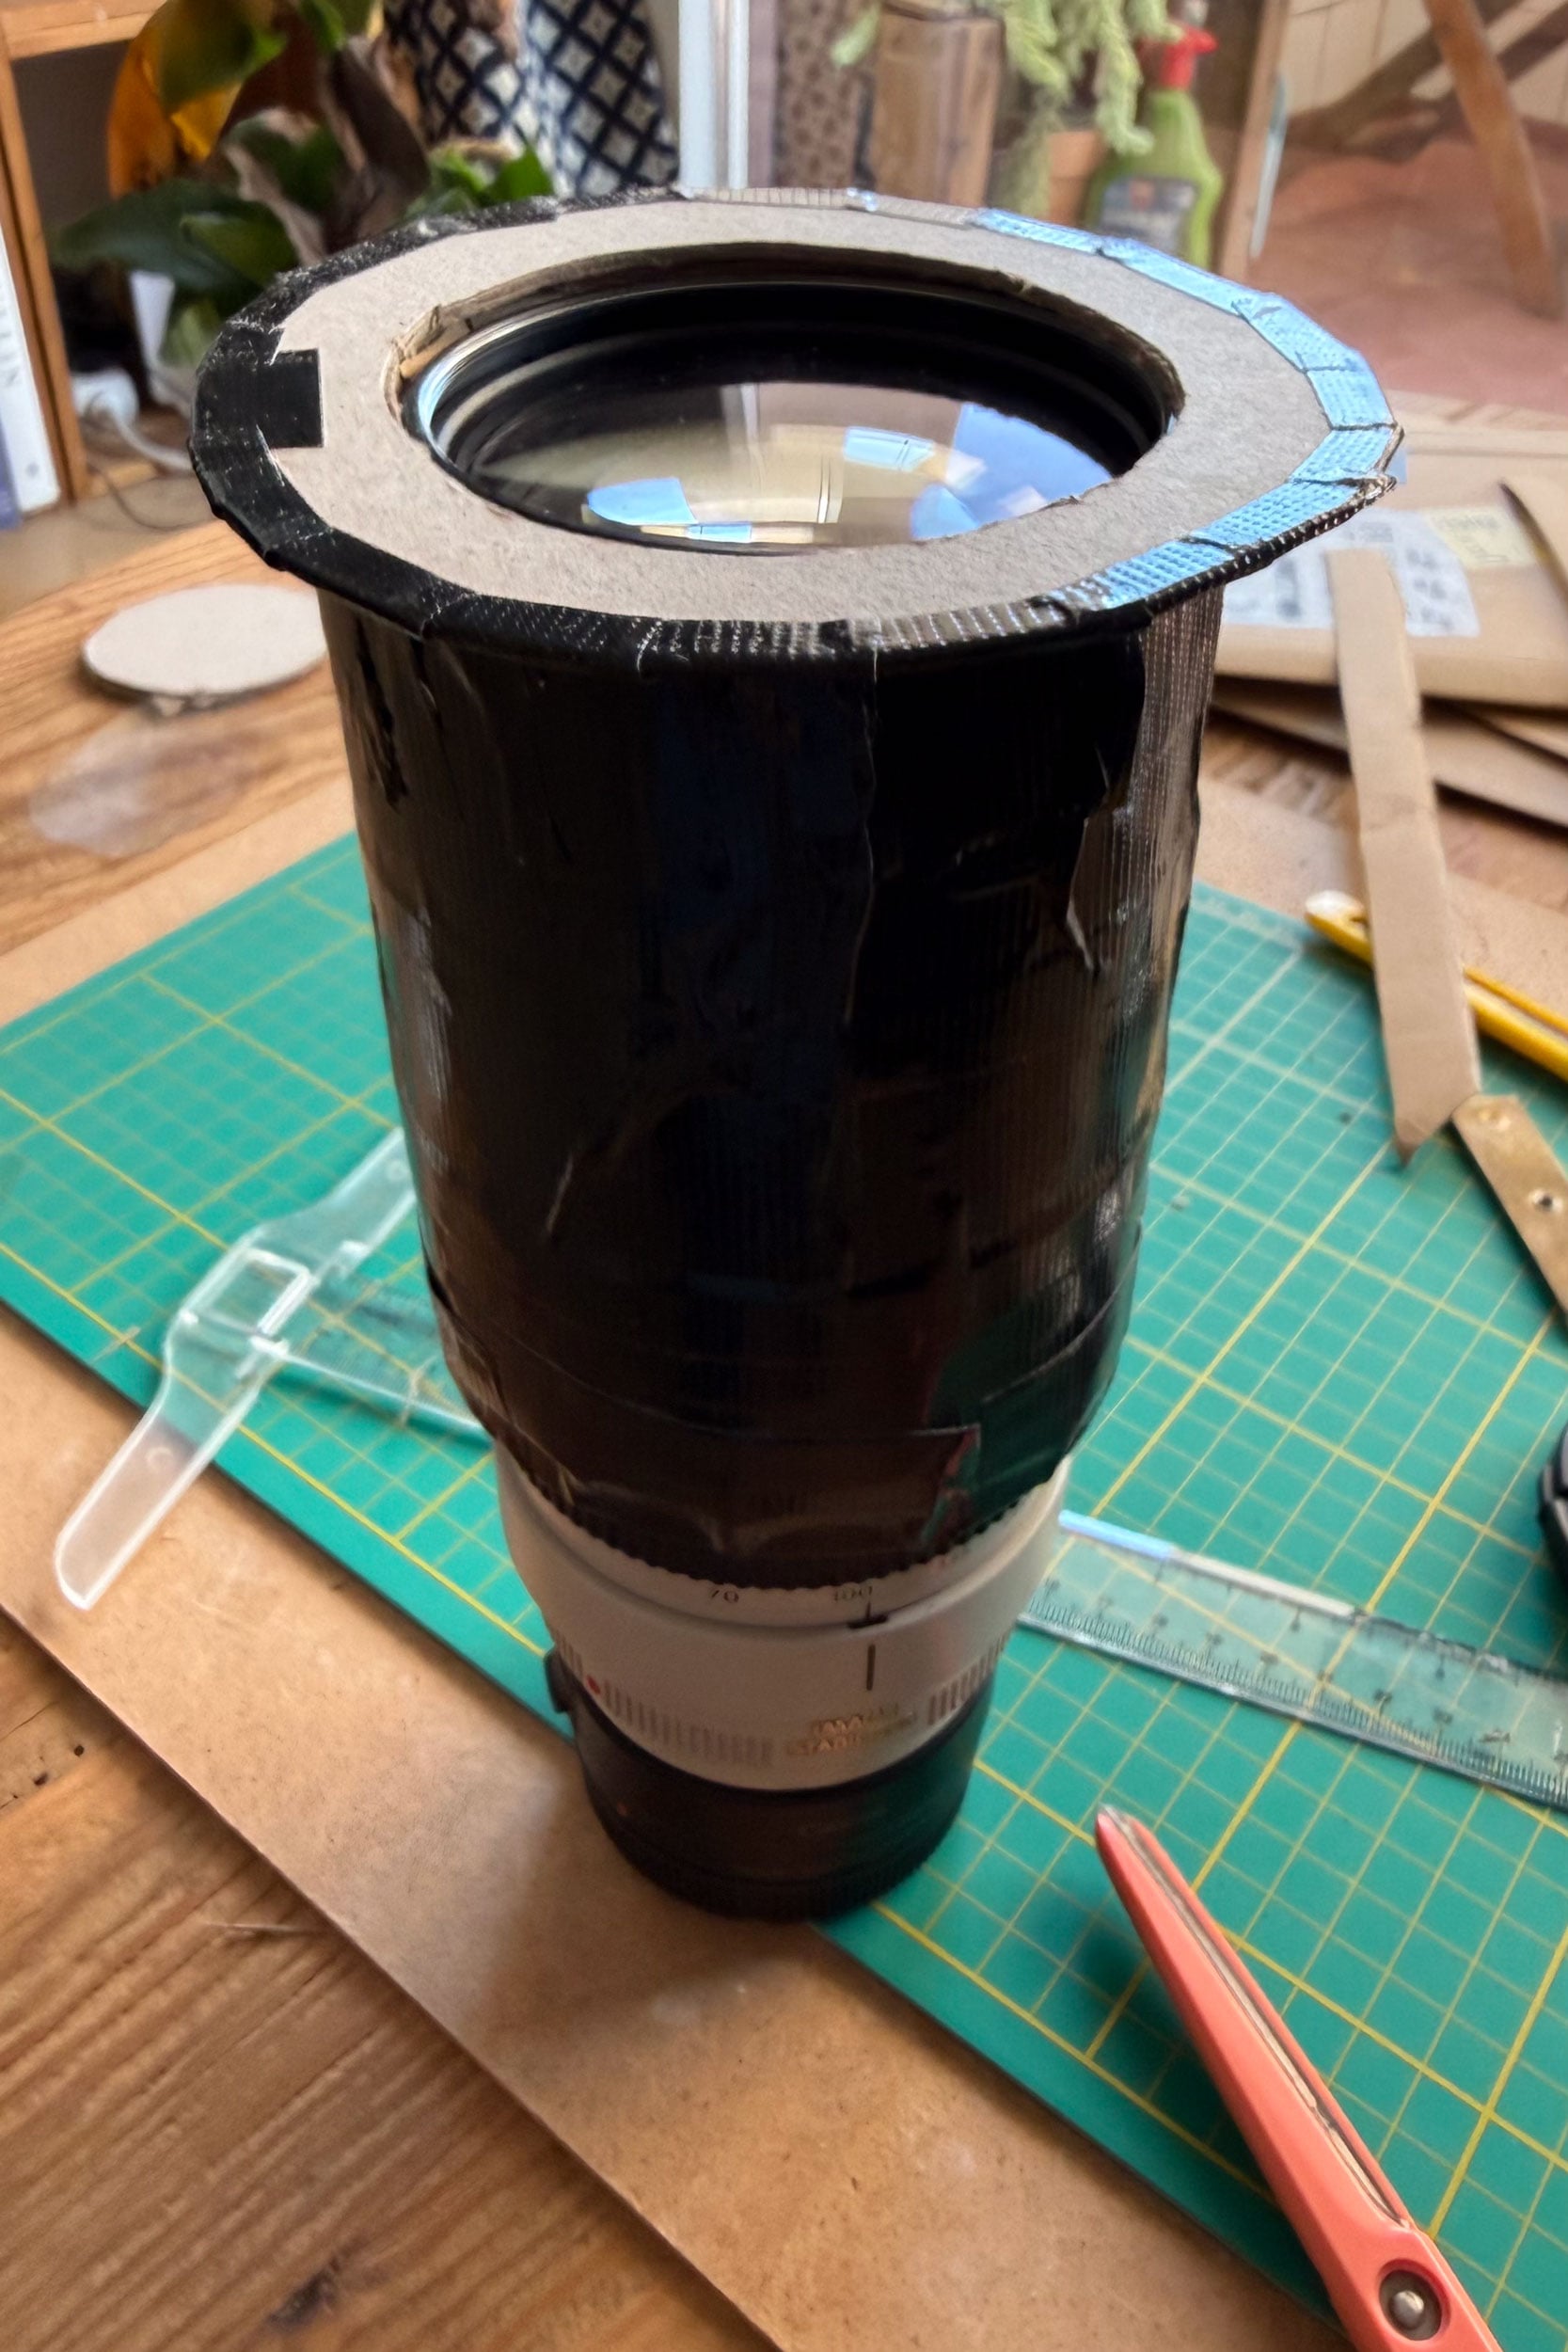
With the measurements sorted, it’s time to build the holder itself. Mine is essentially two cardboard rings with the solar film sandwiched between them, plus a short outer sleeve that slides snugly over the front of the lens.
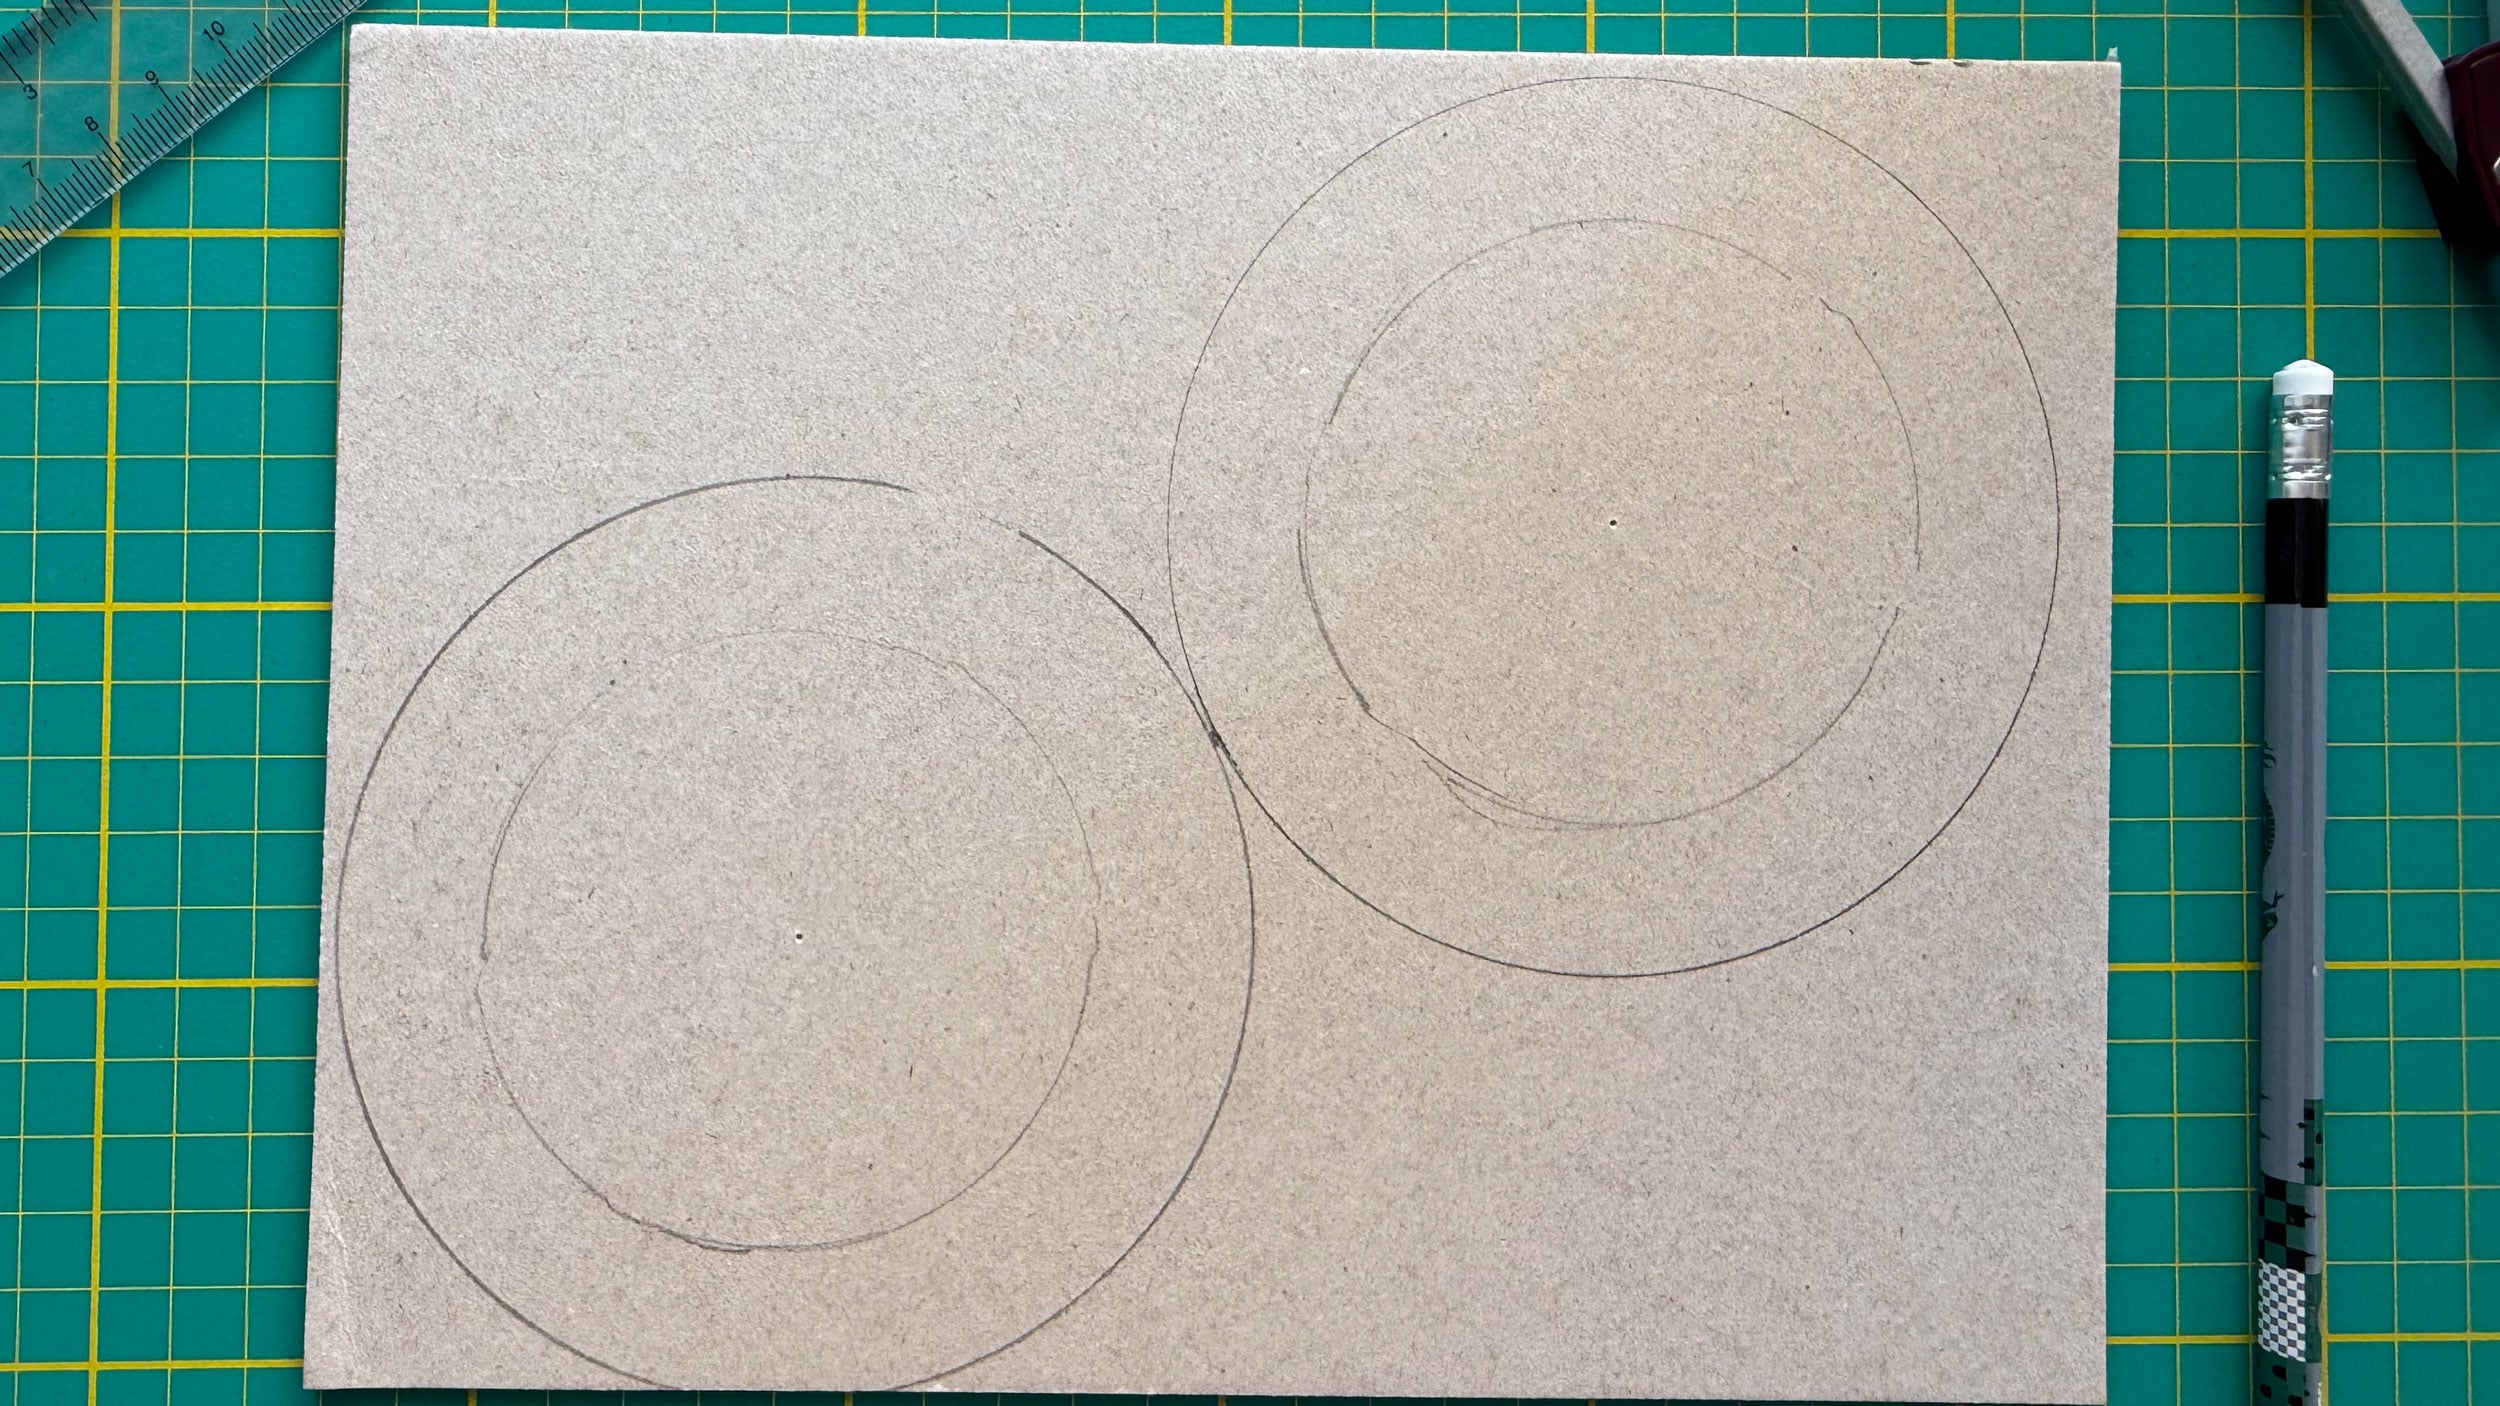
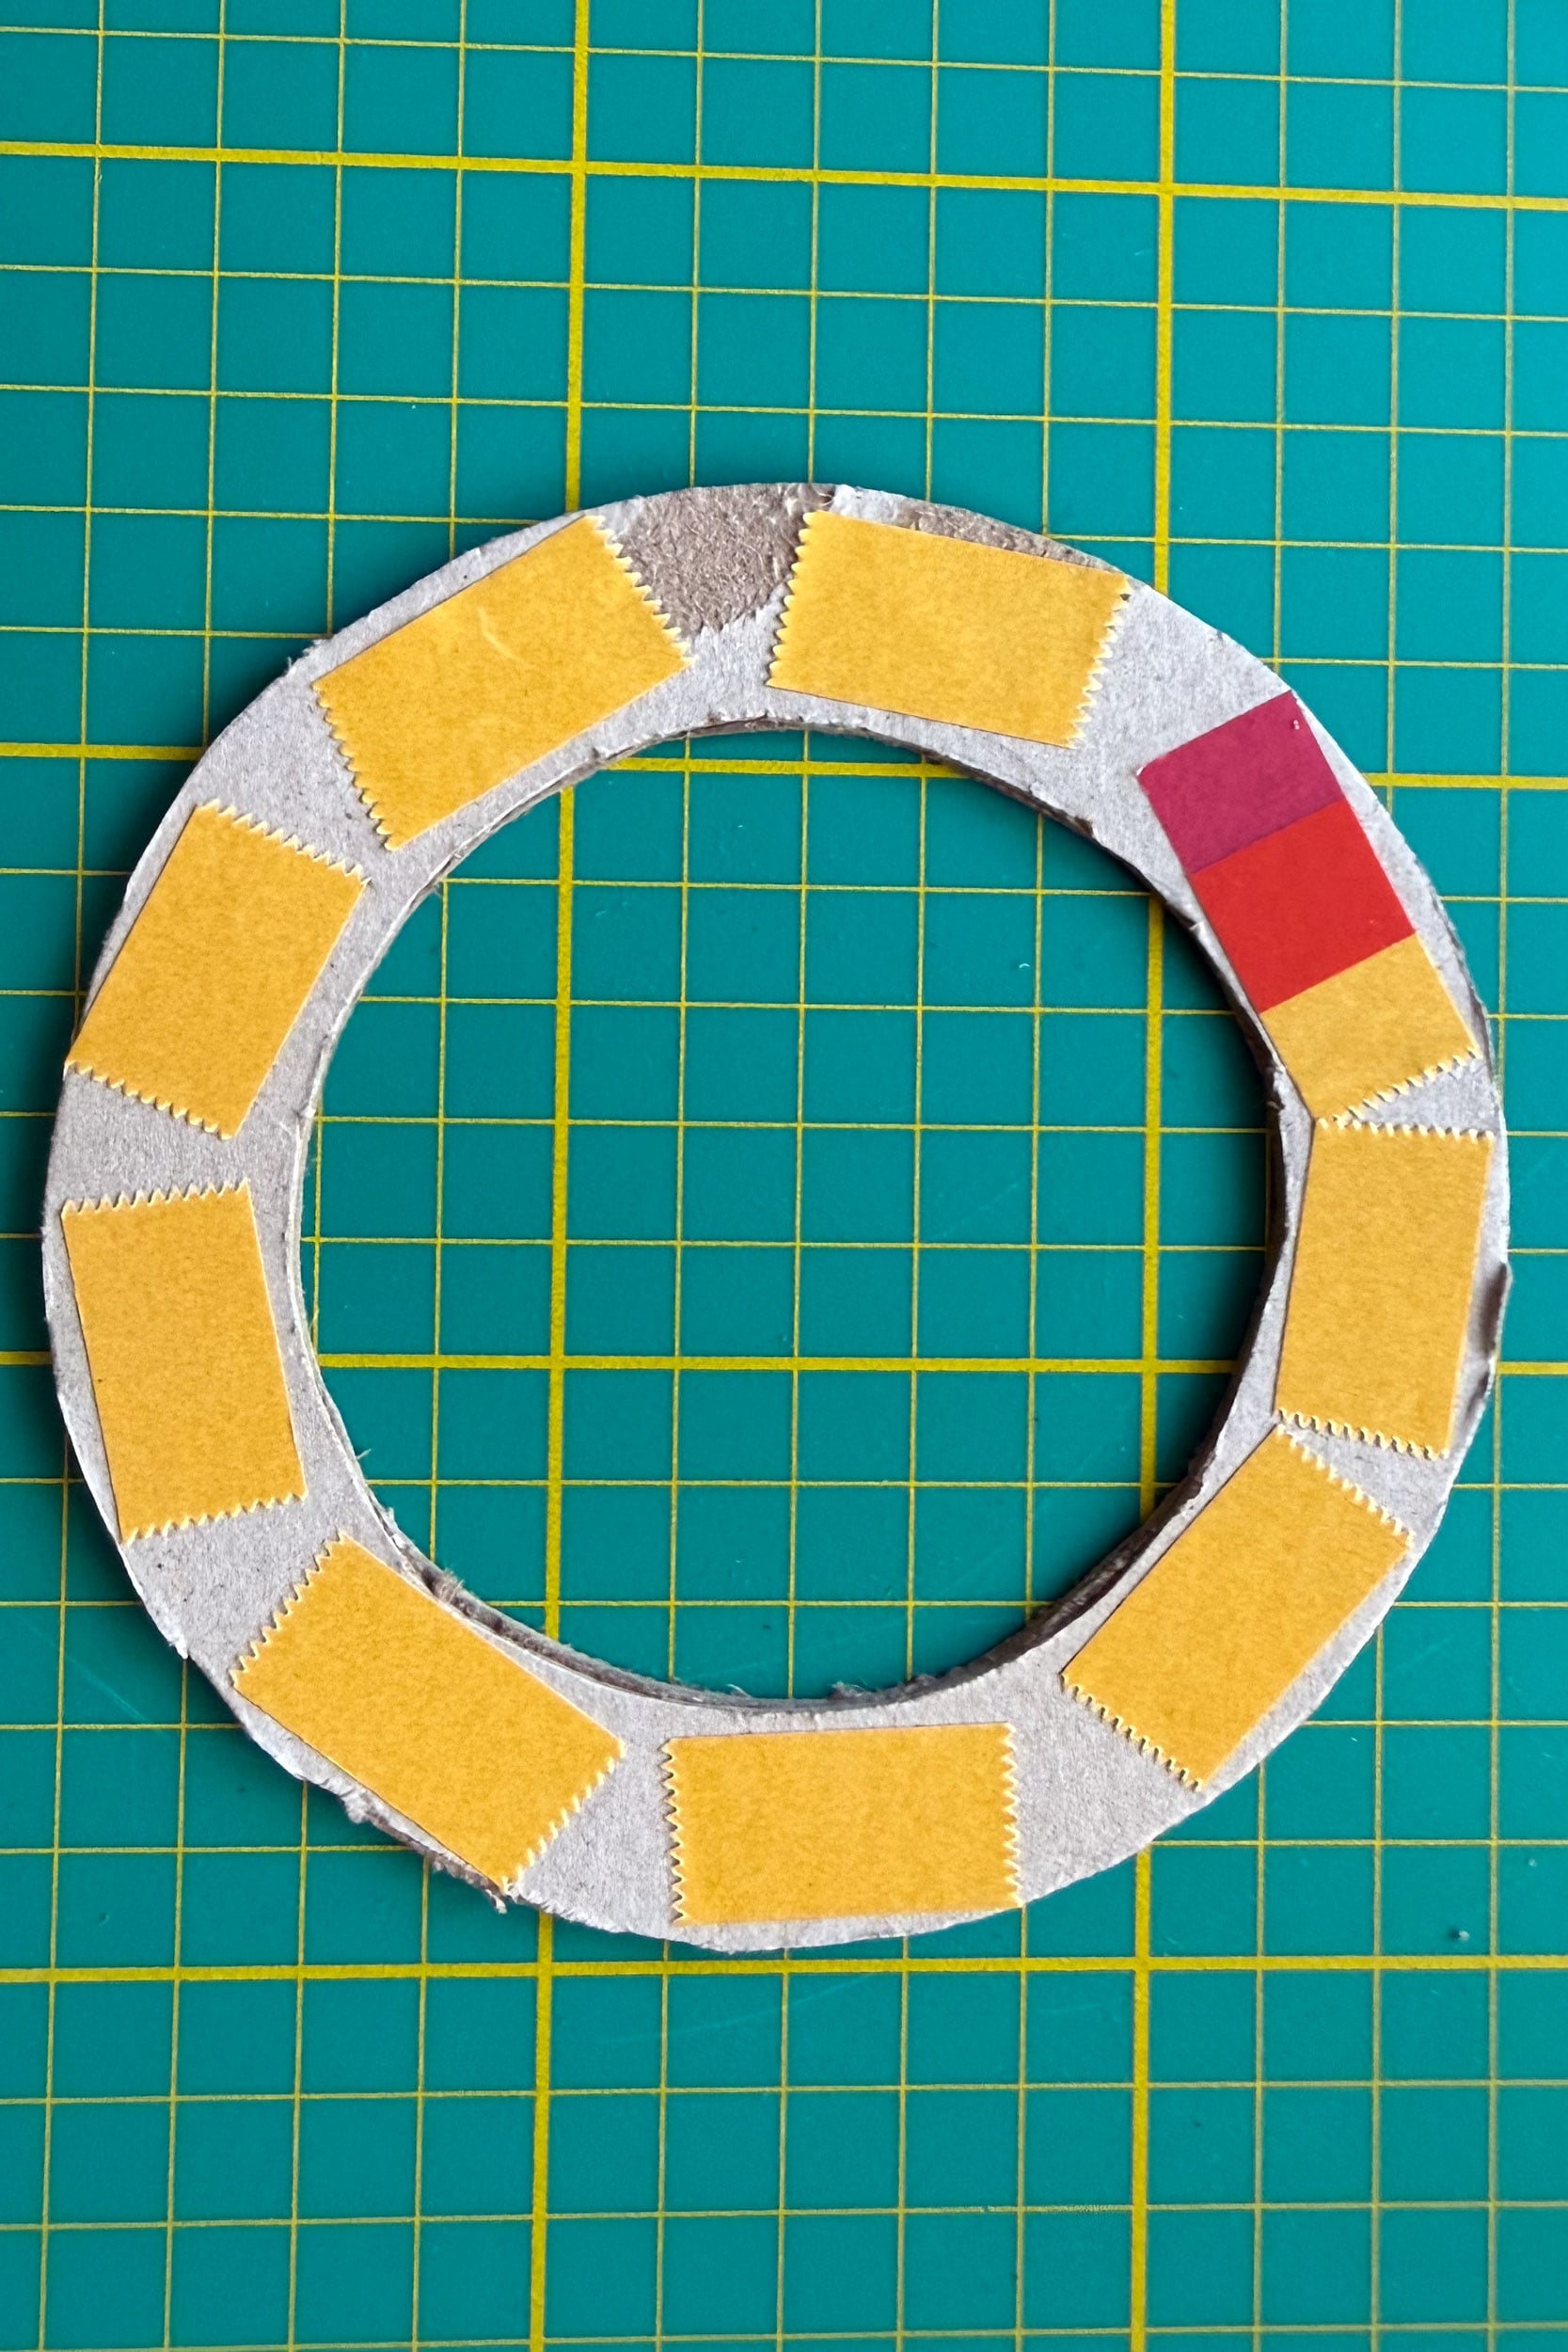
Start by drawing two identical rings onto your cardboard. The outer diameter should be large enough to cover the front of your lens, while the inner circle should be slightly larger than the front element so it doesn’t vignette your image or block any of the lens.
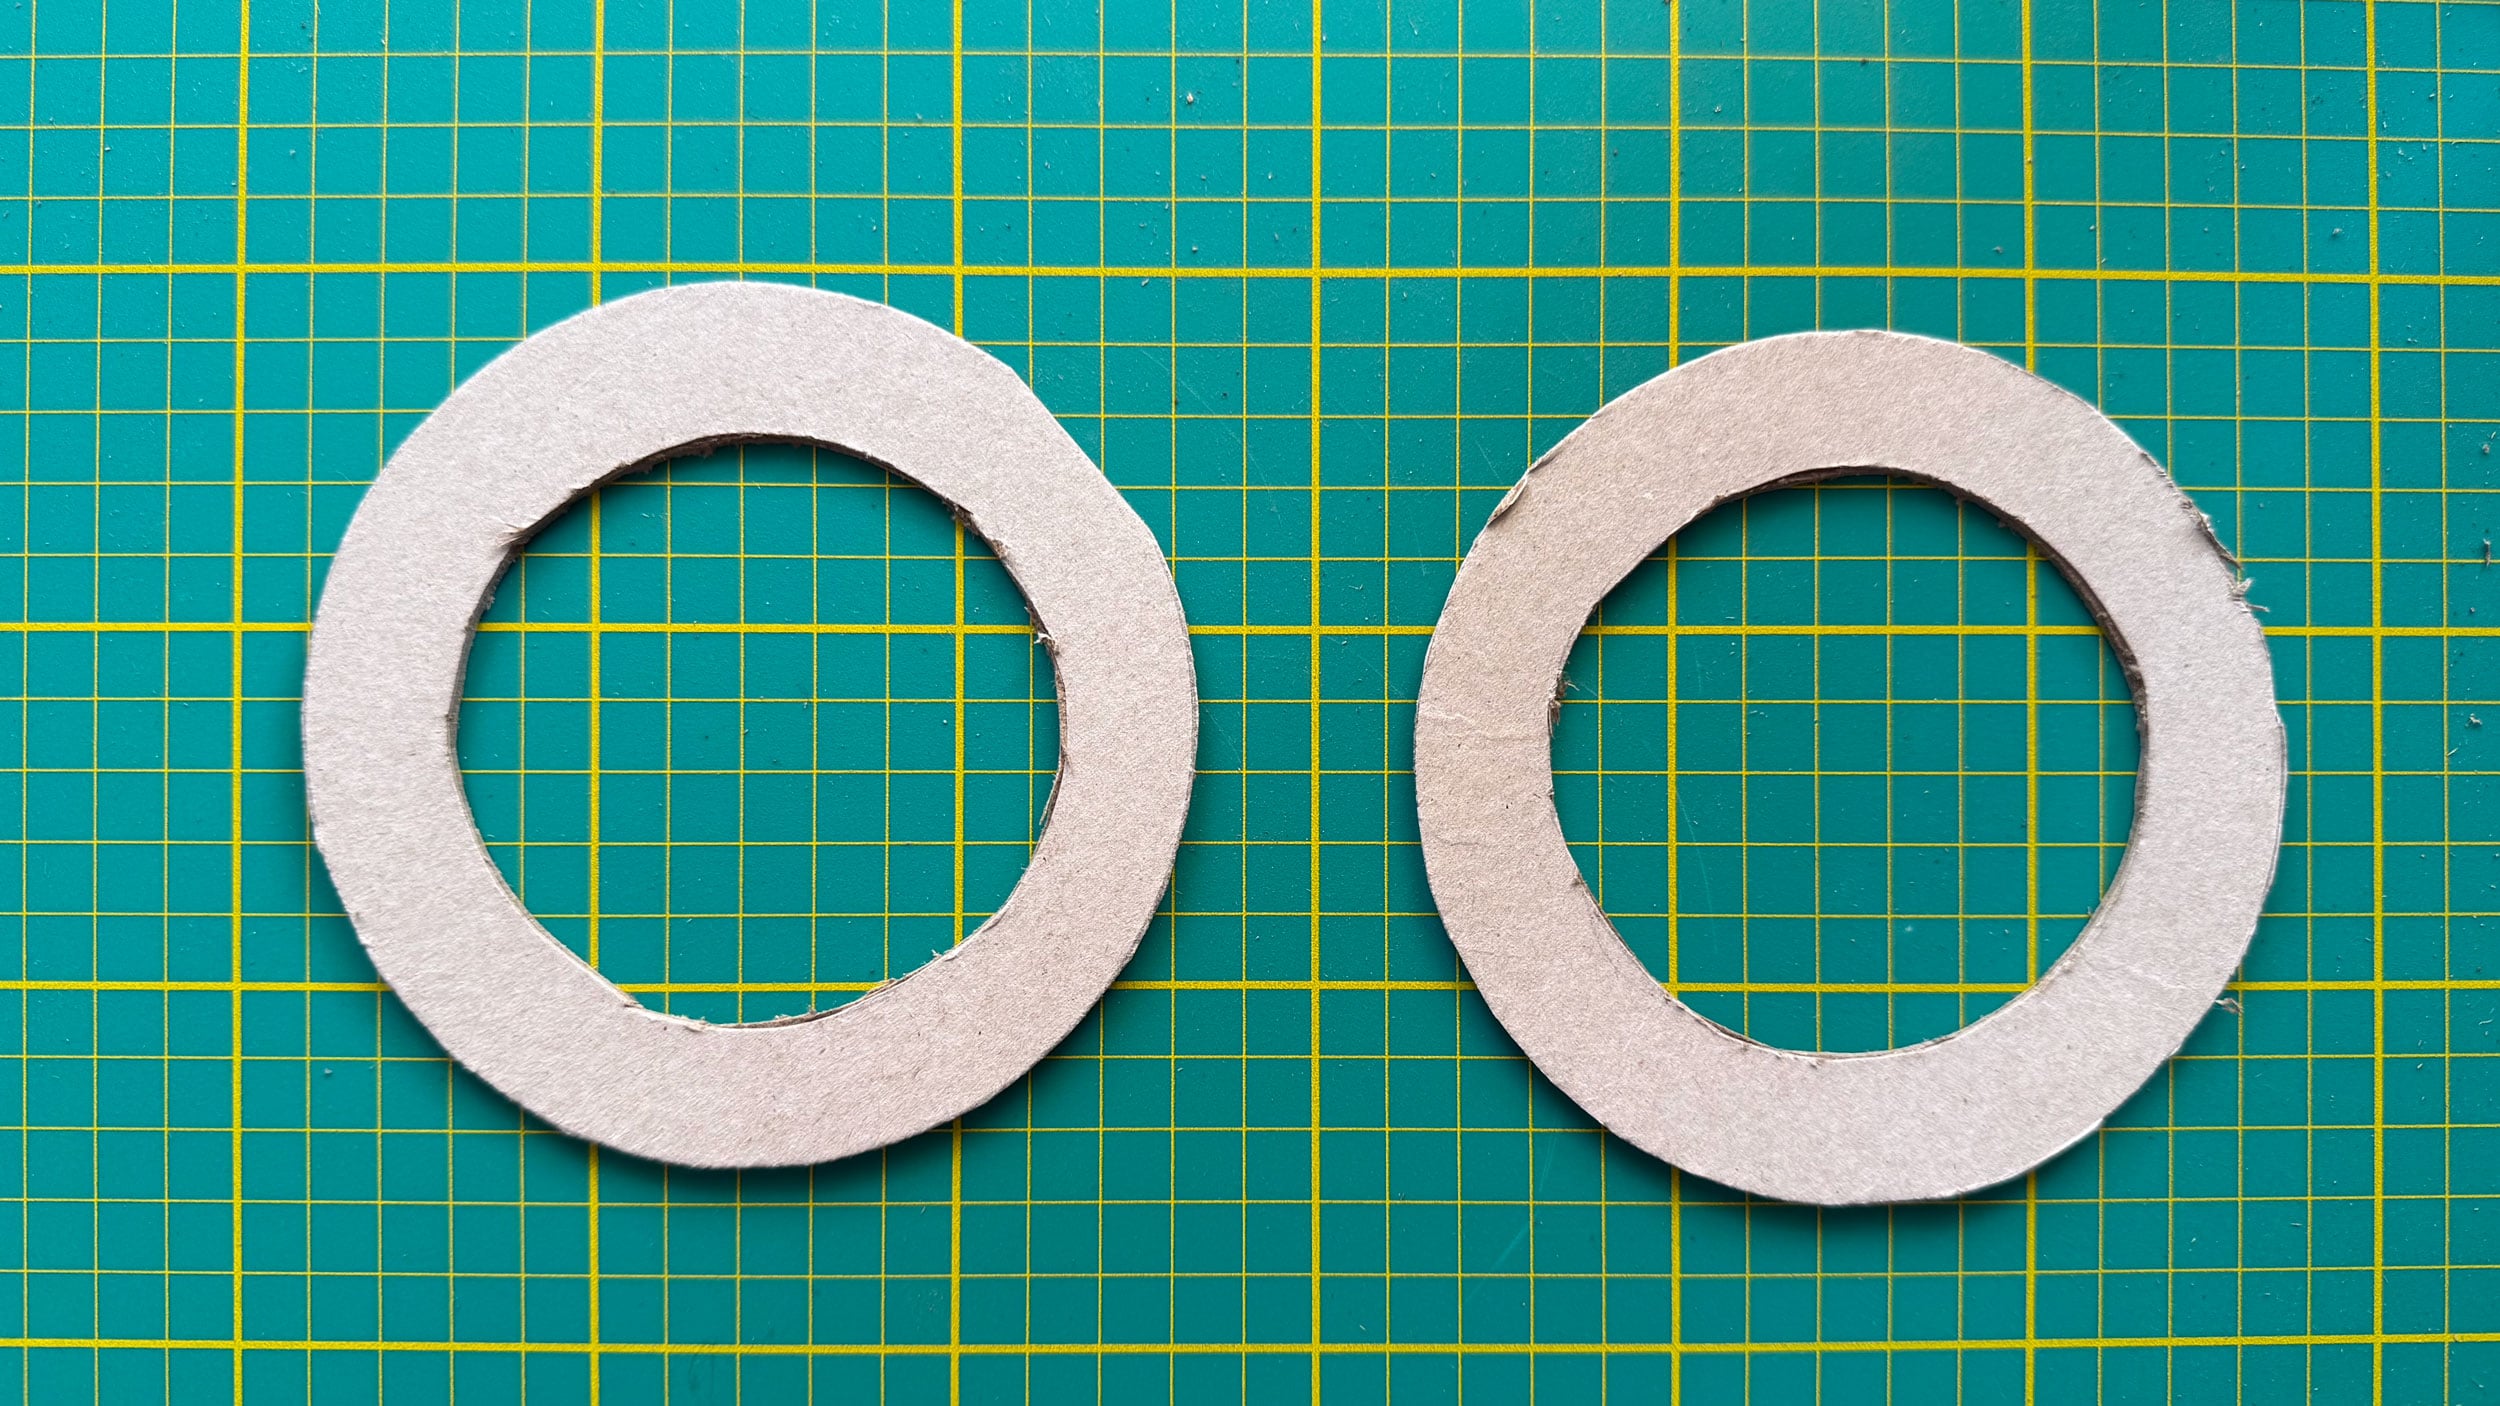
Cut the rings out carefully with a sharp craft knife or scissors. Don’t worry if they aren’t absolutely perfect, this isn’t precision engineering, but the neater they are, the better the finished filter will look and fit.
Make the sleeve
Next, cut a strip of cardboard long enough to wrap around the front of your lens. This will become the sleeve that holds everything in place. Tape it into a cylinder, checking the fit regularly until it slides onto the lens with a firm, snug fit. You don’t want it wobbling around, but you also shouldn’t have to force it on.
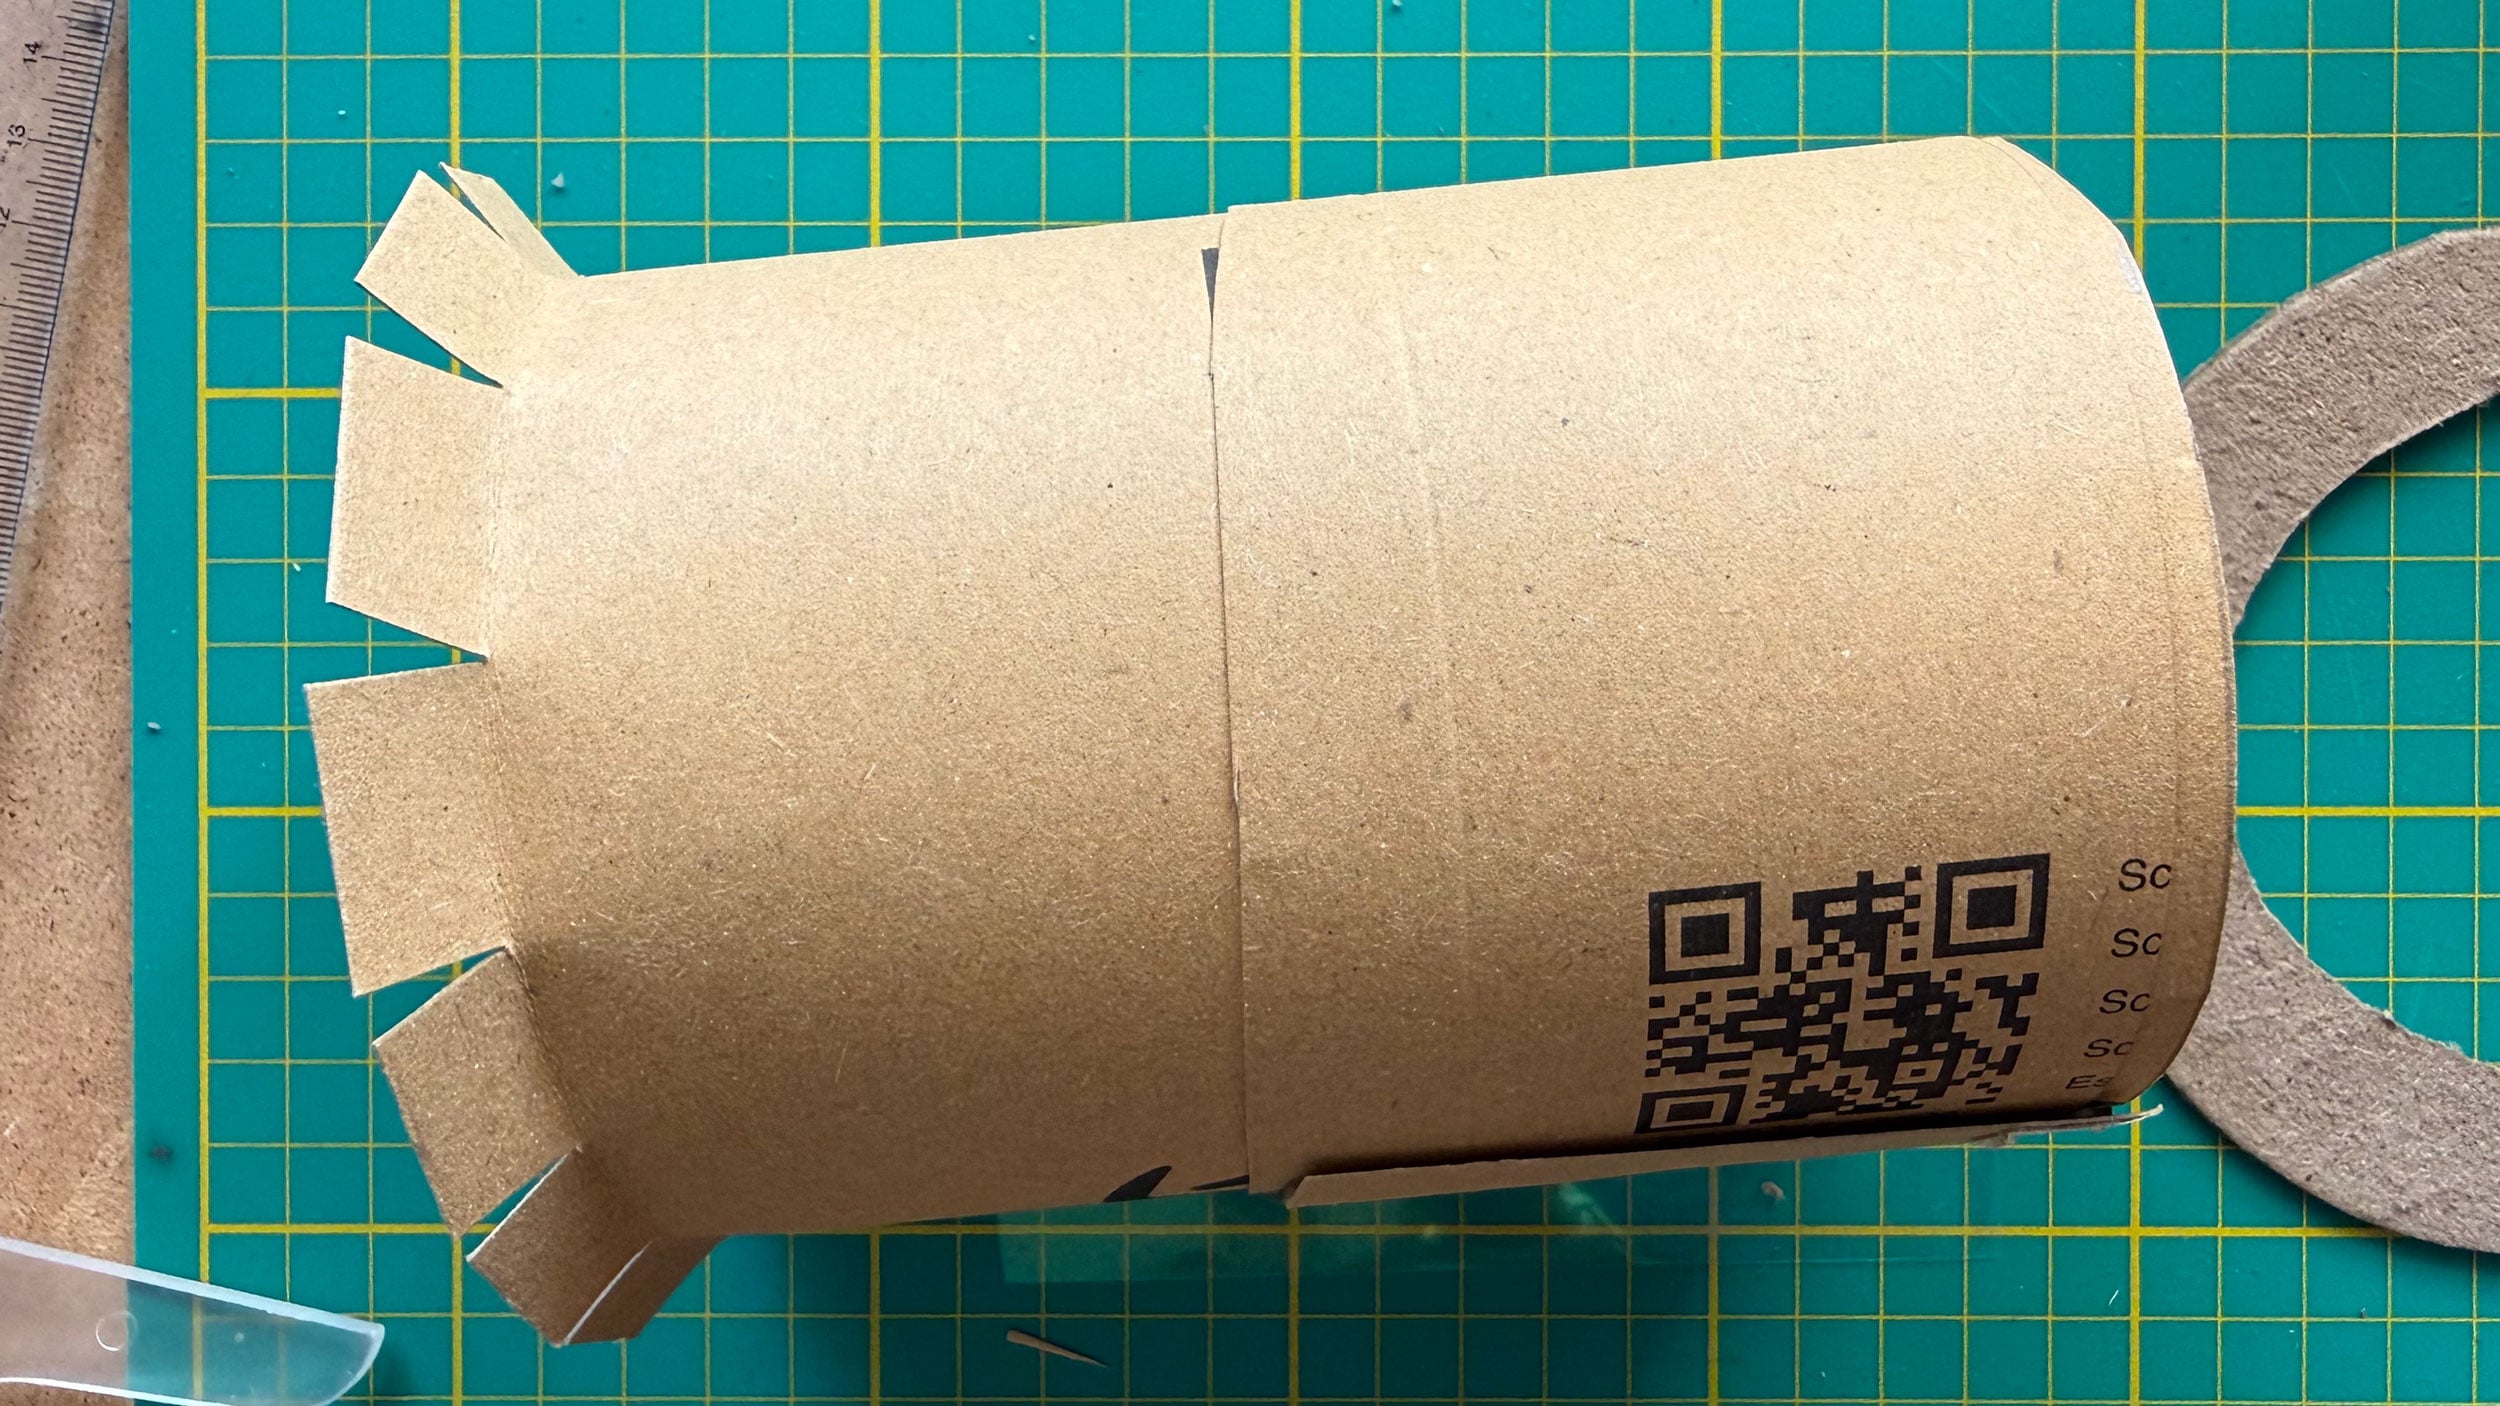
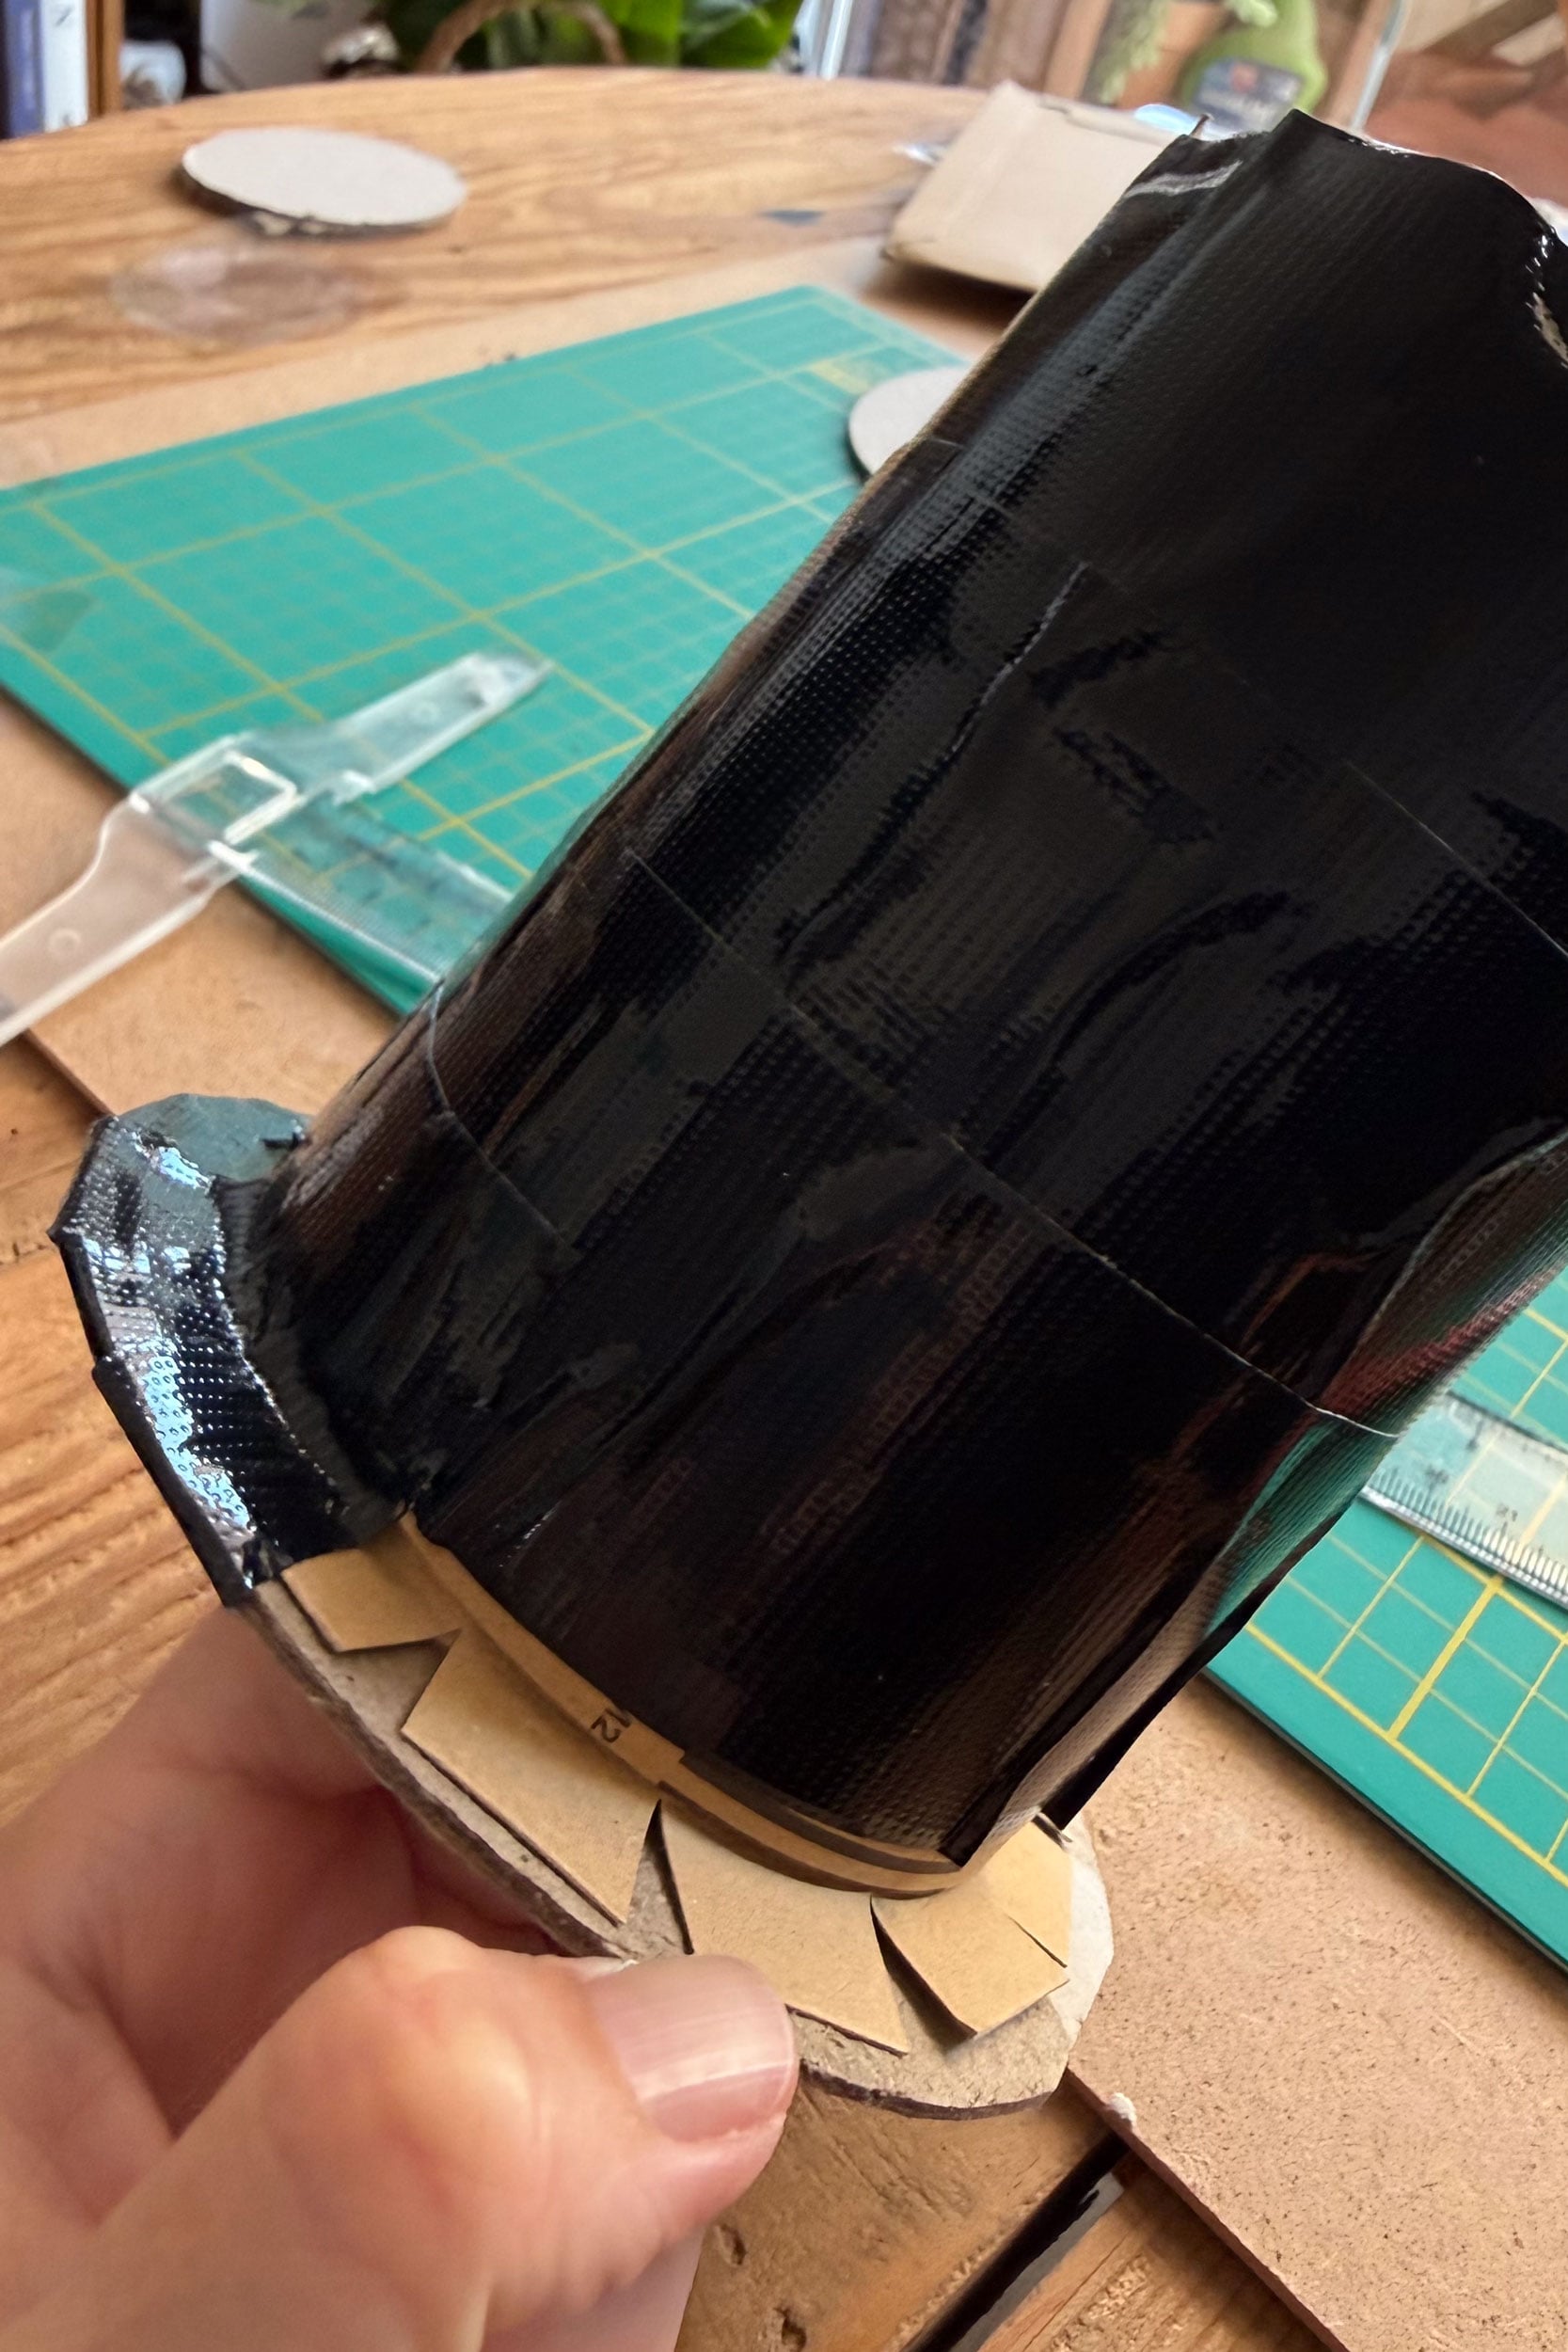
Once you’re happy with the fit, attach one of the rings onto the front of the sleeve. Leave the second ring off for now, you’ll use that to sandwich the solar film in the next step. To strengthen the tape I decided to cover my DIY filter in a snazzy black duck tape finish. Noone will know it’s entirely homemade, it looks completely professional!
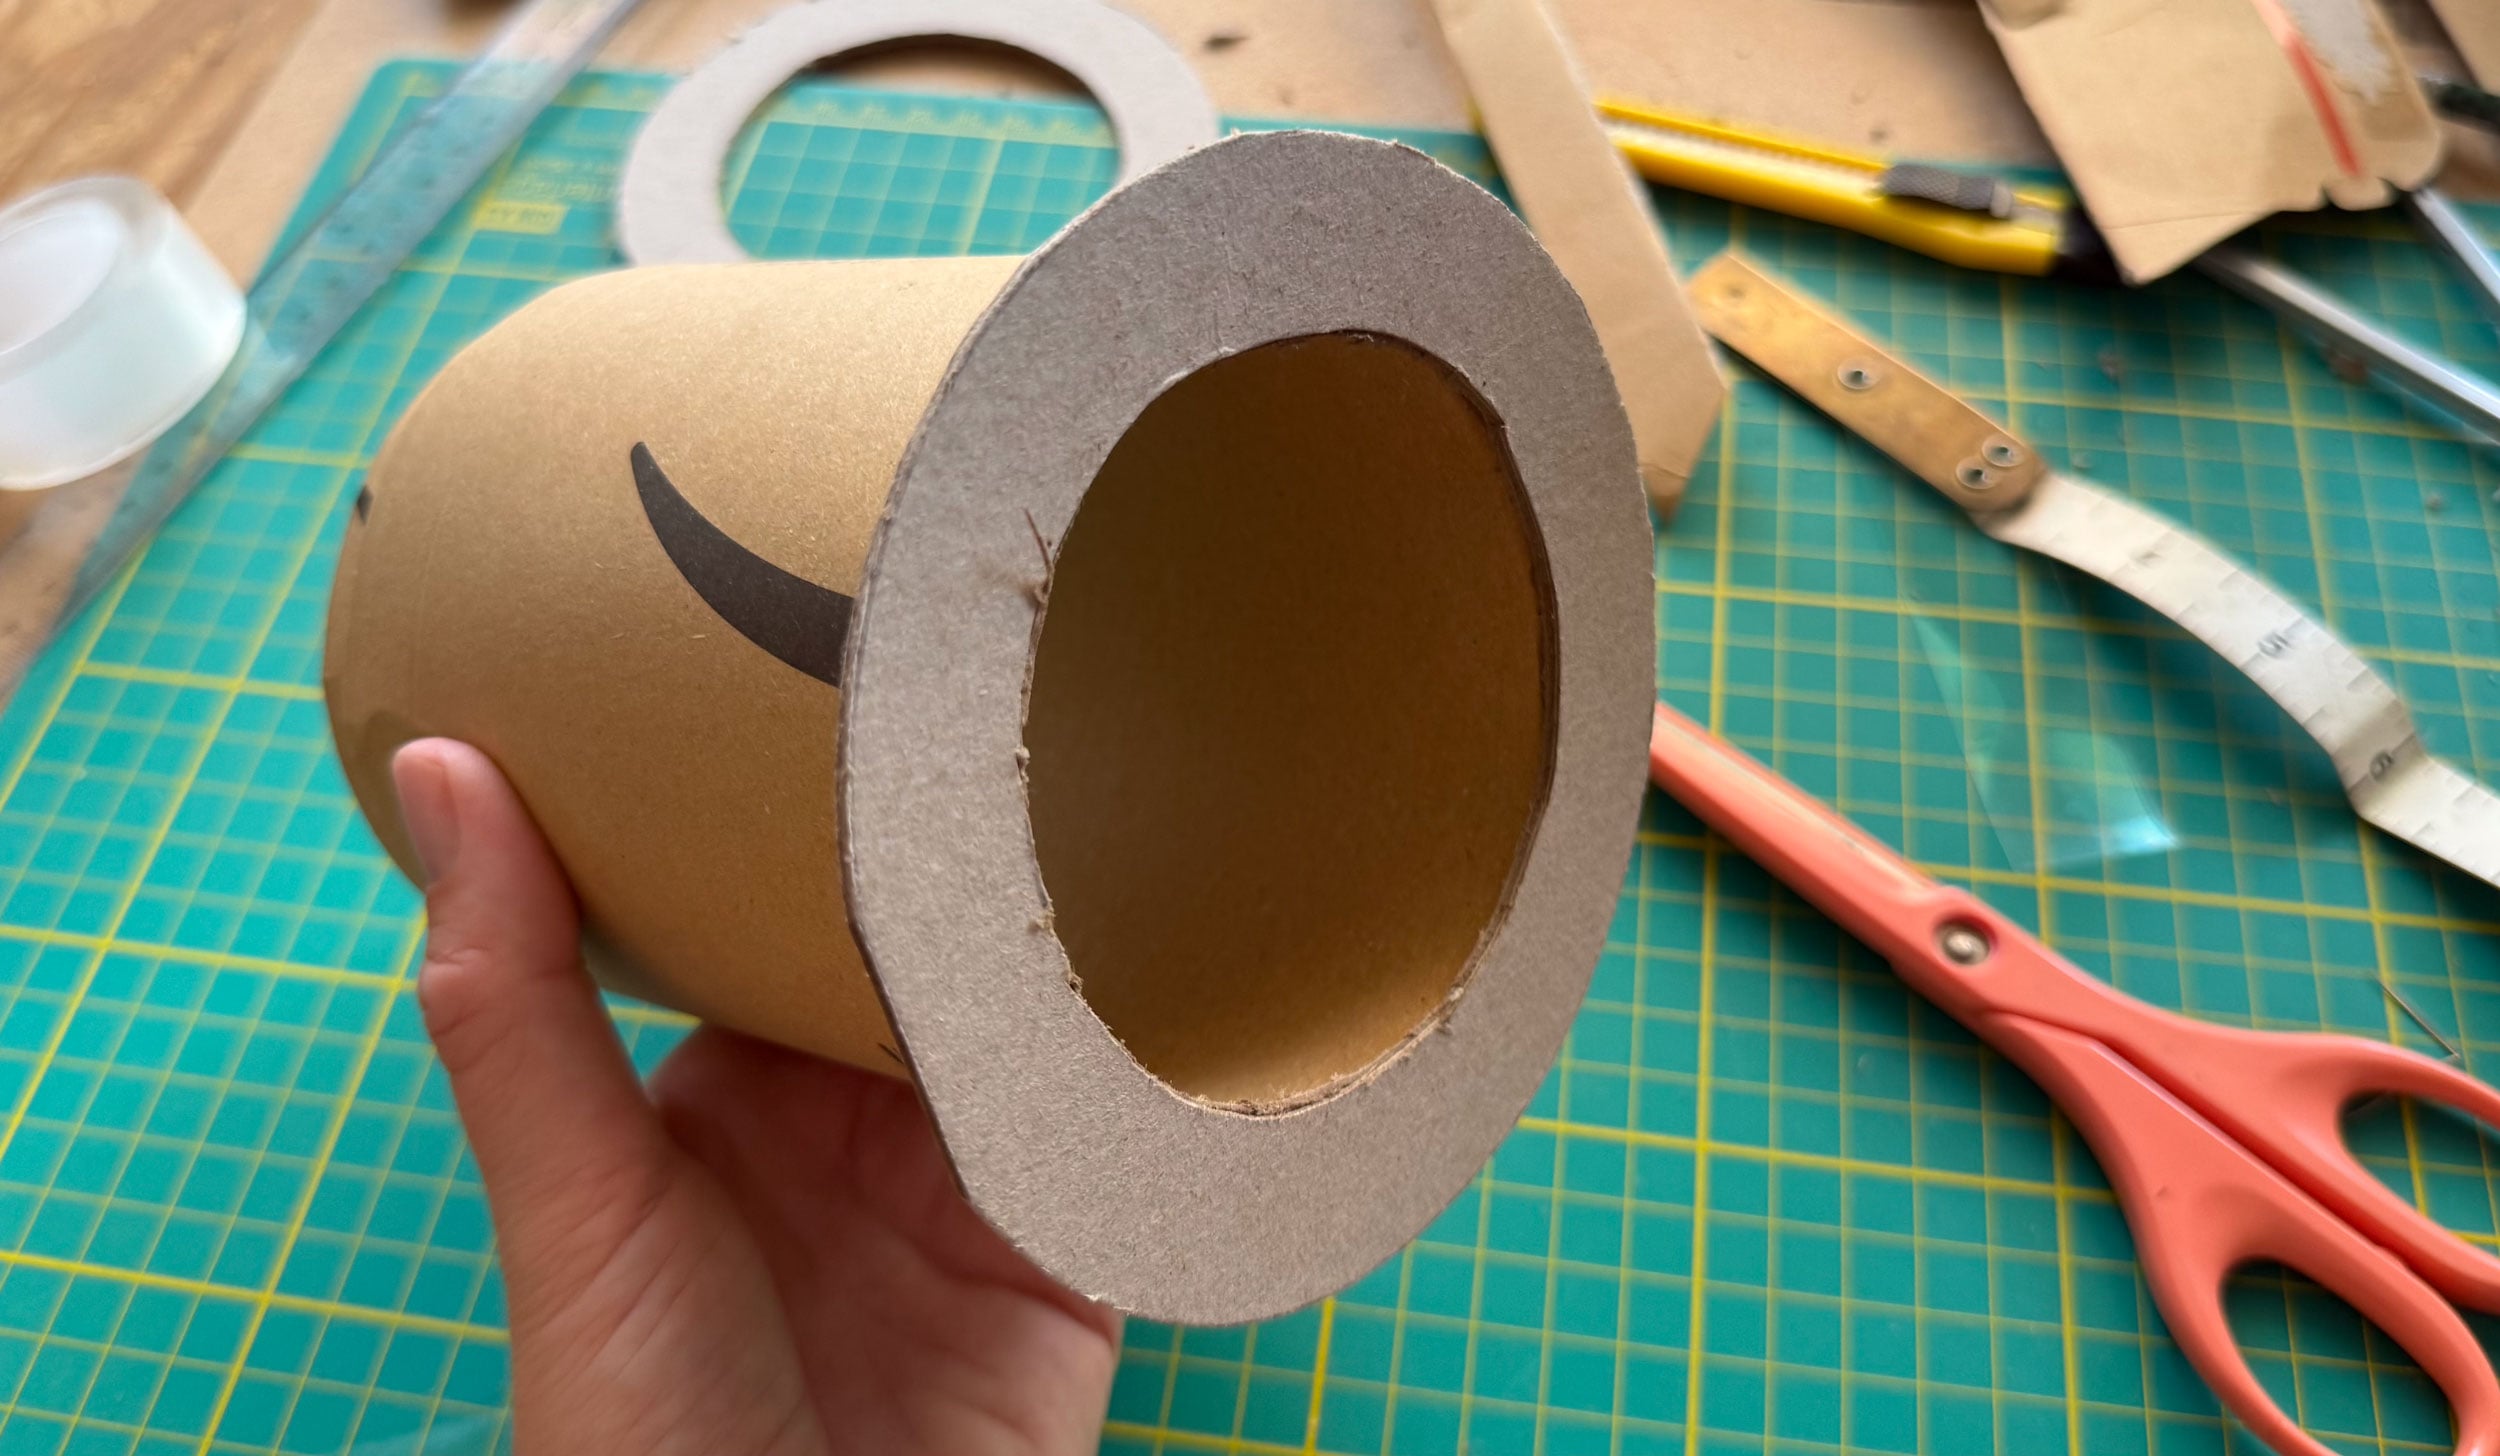
Tip: Resist the temptation to stick the solar film in place straight away. It’s much easier to make adjustments to the holder before the film is attached, and it reduces the chance of accidentally creasing or damaging what is easily the most expensive part of the project.
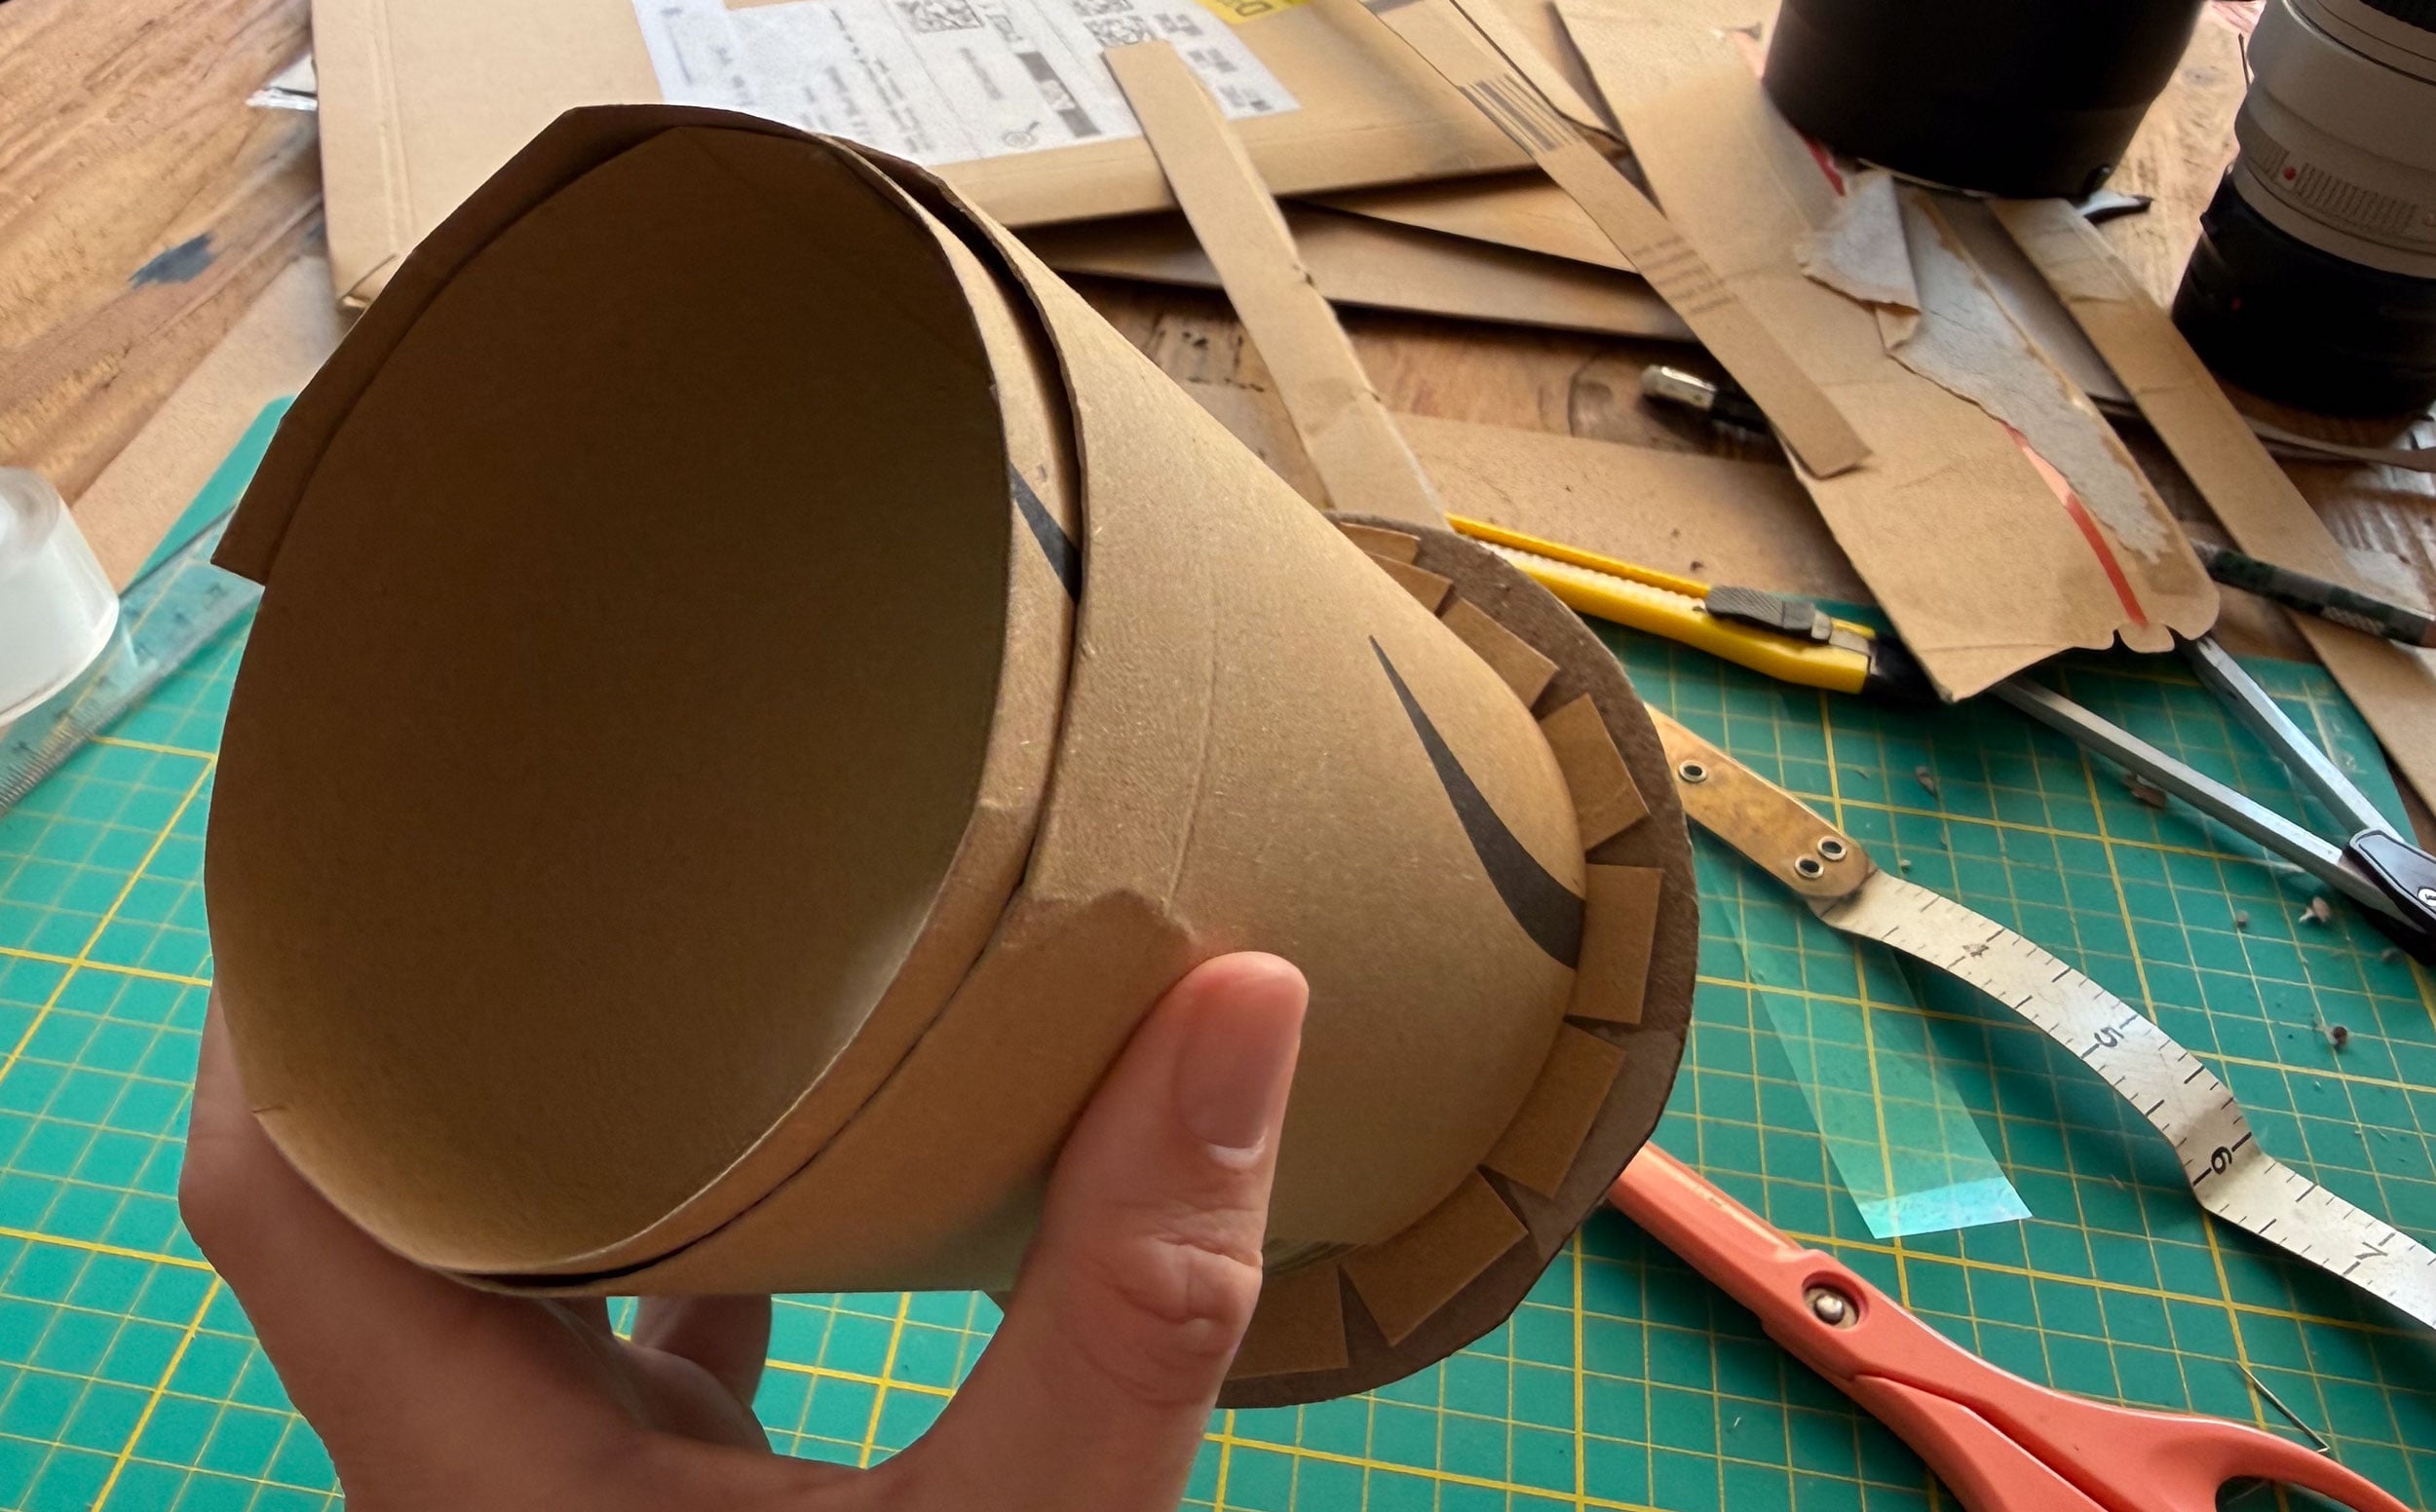
Attach the Solar Film
Before opening the solar filter film, clear a clean workspace and lay down a sheet of kitchen towel or another soft, lint-free surface. This helps protect the film from scratches while you’re working.
Leave the protective paper on the solar film until you’re ready to attach it. The less time it’s exposed, the less chance there is of accidentally creasing, scratching or puncturing it.
Once everything is ready, remove the protective paper and place the film flat on the kitchen towel. Apply double-sided tape or a thin bead of glue around the cardboard ring, then gently lower the ring onto the film. Don’t pull the film tight, stretch it, or try to smooth out any wrinkles.
This might feel wrong, but the film should be left in its natural state. A few ripples or slight waves are completely normal and won’t affect image quality. In fact, stretching the film can introduce uneven tension that may distort the optical properties of the filter.
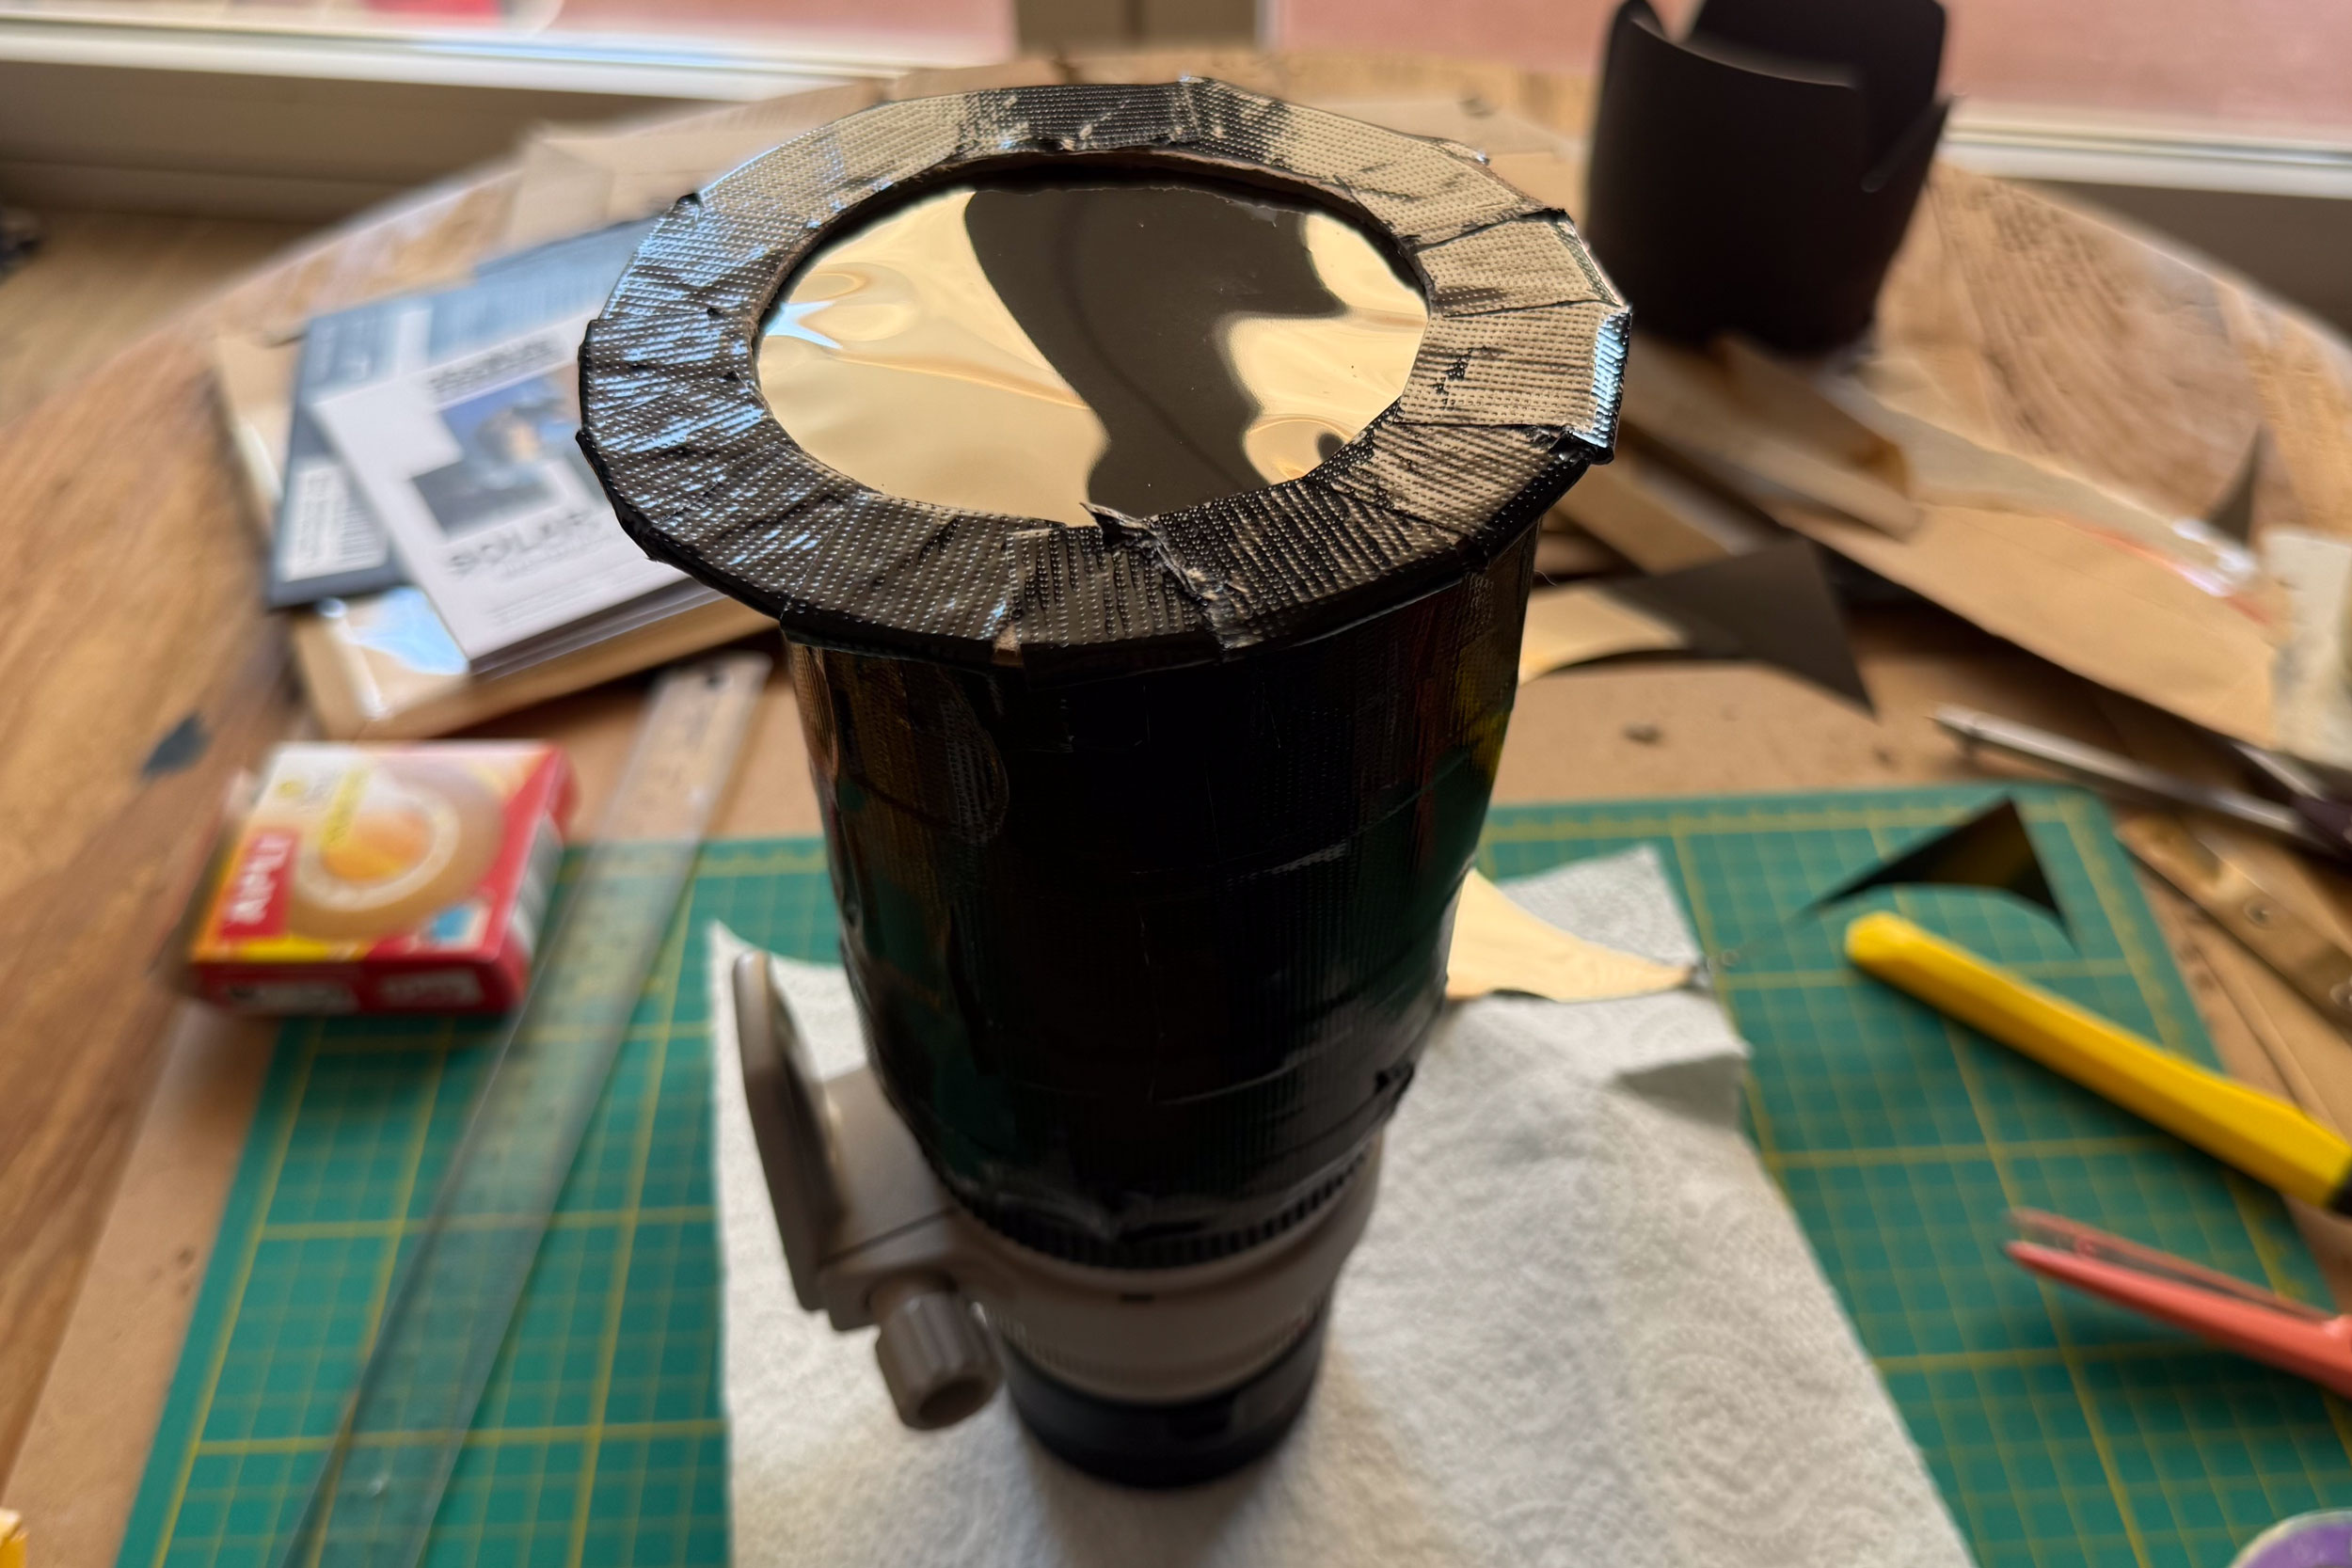
Once the first ring is in place, trim away most of the excess film, leaving a small border around the edge. Then glue or tape the second cardboard ring on top, sandwiching the solar film securely between the two.
Finally, give the whole assembly a careful inspection against a bright light. Look for any tears, punctures or gaps around the edge where unfiltered sunlight could get through. If you spot any damage to the film itself, don’t try to patch it, replace the film and start again. Your eyes and your camera are worth far more than a second sheet of solar film.
Make Sure the Filter Fits Securely
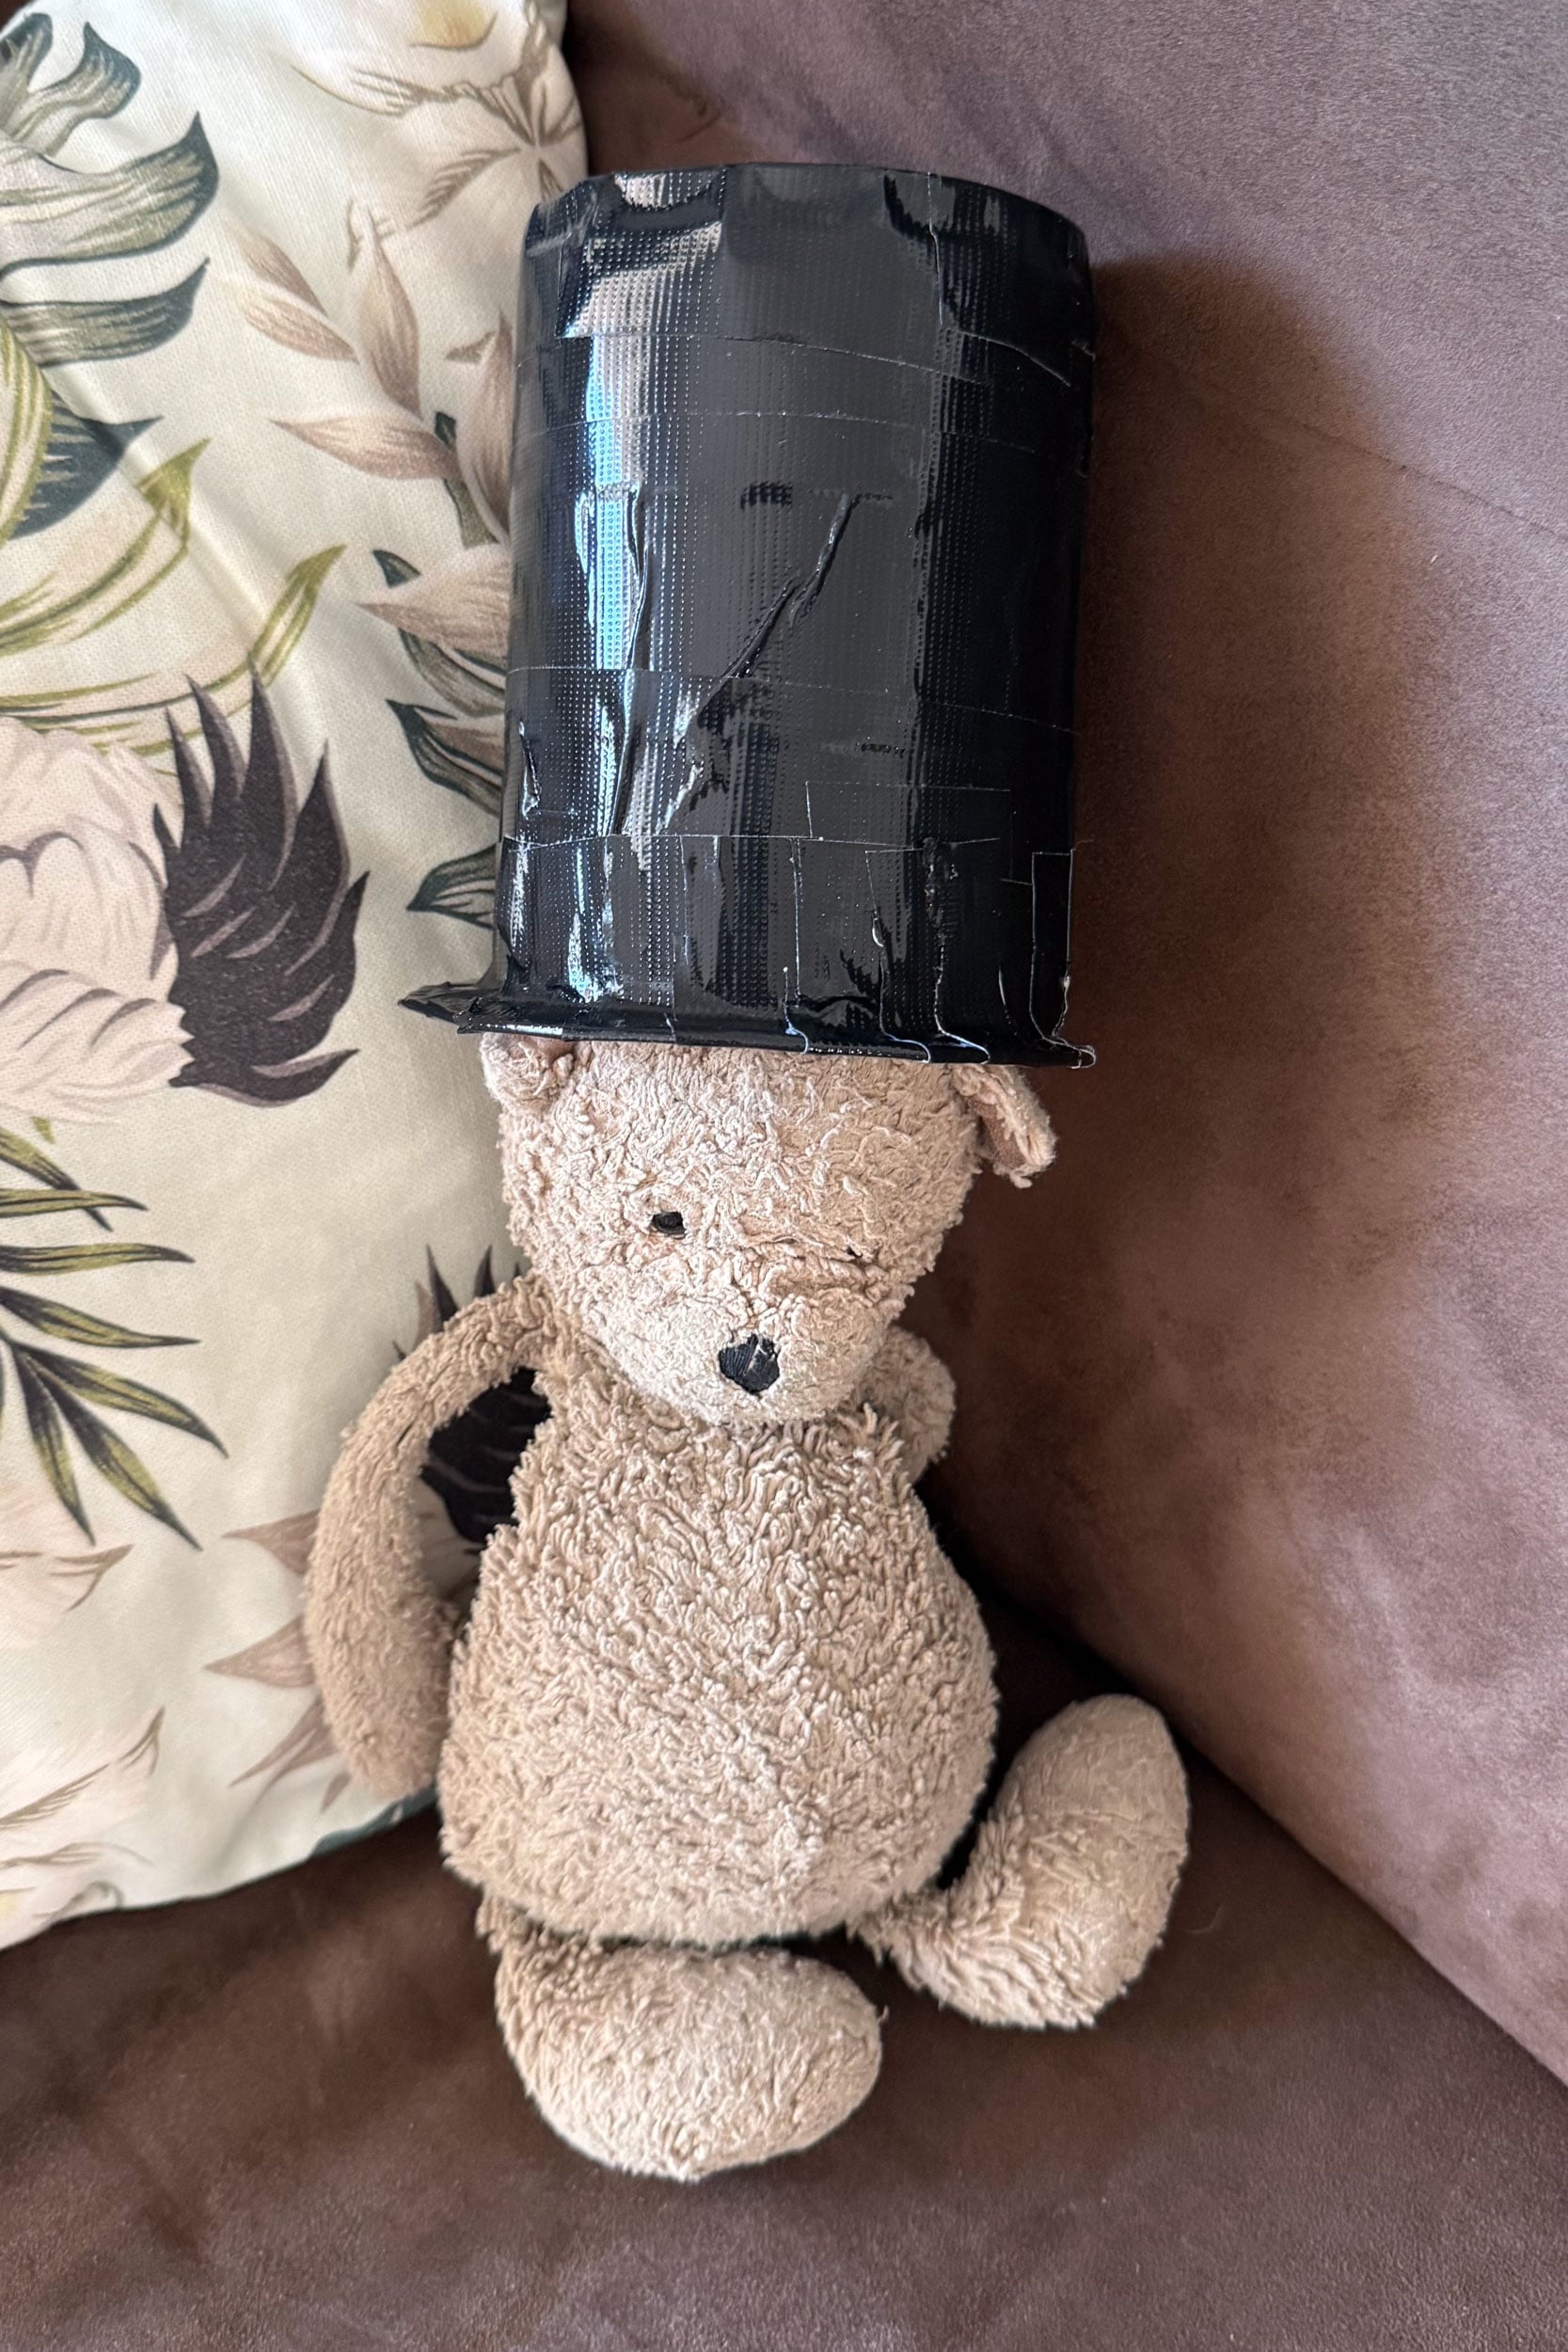
Before you even think about pointing your camera at the Sun, make absolutely sure the filter can’t accidentally fall off. Slide the finished filter onto your lens and gently tip the camera forwards, backwards and upside down. The filter should stay firmly in place under its own grip. If it slides, wobbles or feels loose in any way, go back and adjust the fit before using it.
If you’ve built the holder slightly oversized, adding thin strips of self-adhesive foam or felt inside the sleeve is an easy way to create a snug fit without scratching your lens. I actually prefer this approach because it gives a little bit of flexibility if you want to use the filter on another lens with a similar diameter.
While you’re checking the fit, look around the edge of the filter to make sure there aren’t any obvious gaps where direct sunlight could sneak past the film. The solar film should completely cover the front opening of the lens.
Finally, get into the habit of checking the filter every time you put the camera down or move to a new location. It only takes a second to make sure it’s still seated properly, and it’s a lot quicker than explaining to your camera repair centre why there’s a perfectly Sun-shaped burn mark on your sensor.
Test It Before Eclipse Day
The last thing you want is to discover a problem while the eclipse is already underway; the Sun and moon aren’t going to wait while you reach for the glue.
Before the eclipse, head outside on a sunny day and give your filter a proper test. Fit it to your lens, mount your camera on a tripod if you’re planning to use one, and try photographing the Sun just as you will on eclipse day.
This is your chance to make sure everything works as expected. Check that the filter stays securely attached, your camera can achieve focus, and your exposure settings produce a well-defined solar disc. It’s also a good opportunity to familiarise yourself with your camera’s controls so you’re not fumbling through menus while the eclipse is in progress.
If you notice anything that isn’t quite right such as a loose filter, light leaks, or a fit that’s tighter or looser than you’d like, you’ve still got time to fix it.
I tested mine and it’s working just fine. It seems a little darker even than the 16.6 solar filters so I had to adjust my settings as needed. Admittedly it does make the focus ring inaccesible which would be my main gripe. However, setting the lens to infinity and then making fine adjustments manually seems to work, albeit somewhat clumsy.
Set Up Custom Settings
It’s also a good opportunity to familiarise yourself with your camera’s controls so you’re not fumbling through menus while the eclipse is in progress.
If your camera has custom shooting modes, now is the perfect time to set them up. You’ll effectively need two sets of camera settings: one for the partial phases, when the solar filter stays on the lens, and another for totality, when it’s safe to remove the filter and photograph the Sun’s corona. Saving these to separate custom modes means you can switch between them with the turn of a dial instead of trying to remember exposure settings while one of nature’s most spectacular events unfolds in front of you.
If you’re unsure what settings to use, check out our guide on how to photograph a solar eclipse, where we cover recommended camera settings, exposure tips, focusing techniques and what to expect during each stage of the eclipse.
Ready For Eclipse Day
That’s it! With a little cardboard, some certified solar film and an afternoon of tinkering, you’ve got a solar filter that’s ready for eclipse day.
Remember, the cardboard isn’t the important part, the certified solar film is. Treat it carefully, inspect it before every use and never point your camera at the Sun without it securely attached to the front of your lens.
Now all that’s left is to hope for clear skies. If you’re wondering how my homemade filter actually performed during the August 12 eclipse, keep an eye out for my follow-up where I’ll be putting it to the test in the field. At the moment the forecast is for clouds (boo!) which is somewhat ironic in a city that boasts over 300 days of sunshine a year!
Final Reminder
One last thing. It’s easy to get so wrapped up in camera settings, checking focus, and making sure everything’s working that you forget to actually look up and enjoy what’s happening.
A total solar eclipse is one of the rarest natural spectacles most of us will ever experience. There will be plenty of amazing photos online afterwards, many of them taken with equipment that costs more than your car, so don’t put too much pressure on yourself to come home with the perfect image.
Get your camera set up beforehand, take your shots when the moment comes, but don’t spend the entire eclipse staring at the back of your camera. Remember to actually experience and enjoy it.
If you come home with a few photos you’re proud of, that’s a bonus. The memory of standing beneath a darkened daytime sky is the bit you’ll remember for the rest of your life.
Can I use sunglasses instead of a solar filter?
No. Even very dark sunglasses don’t block enough of the Sun’s visible, infrared and ultraviolet light to safely photograph an eclipse. They won’t protect your camera or your eyesight.
Can I use eclipse glasses instead of solar filter film?
Not really. While certified eclipse glasses use similar filtration material, they’re designed to protect your eyes, not cover a camera lens. They’re too small for most lenses, can be easily damaged, and aren’t practical to hold in place while photographing the eclipse. It’s much better to use a sheet of certified solar filter film that’s designed for making telescope and camera filters. They might work over a mobile phone lens if used carefully.
Can I use an ND filter instead?
No. Even very strong ND filters, including 10-stop and 15-stop filters, aren’t designed for direct solar photography and don’t provide enough protection. Always use a certified solar filter designed specifically for observing or photographing the Sun.
Can I stack ND filters to make them darker?
No. Stacking multiple ND filters doesn’t make them safe for photographing the Sun. They aren’t designed to block harmful levels of solar radiation.
Can I put the solar filter behind my lens or over the camera sensor?
No. The solar filter must always go over the front of the lens so it reduces the Sun’s energy before it enters the optics. A filter placed behind the lens or in front of the sensor won’t protect your equipment because the sunlight has already been concentrated by the lens.
I’ve photographed the Sun before without a filter. Why is an eclipse different?
You’ve probably photographed a sunrise or sunset, or even included the midday Sun in a wide-angle landscape without any problems. That’s because the Sun occupies only a tiny part of the frame, and the lens isn’t concentrating nearly as much energy onto your camera.
Eclipse photography is usually done with a telephoto lens to capture detail on the Sun’s disc. Long lenses gather and focus much more of the Sun’s light onto a very small area, much like a magnifying glass can focus sunlight to burn paper. That concentrated heat and light can damage your camera’s sensor, shutter or even internal lens components if you don’t use a proper solar filter.
Will wrinkles in the solar film affect image quality?
No. In fact, you shouldn’t stretch the film tight. Solar filter film is designed to be used in its natural state, and a few ripples or gentle wrinkles are completely normal. Stretching it can actually introduce distortions.
Can I remove the solar filter during the eclipse?
Only during totality. If you’re inside the path of totality, it’s safe to remove the filter once the Sun is completely covered by the Moon, allowing you to photograph the corona. As soon as the first bright sliver of sunlight reappears (often called the “diamond ring” effect), the filter must go straight back on before you continue photographing.
If you’re not in the path of totality, never remove the solar filter. Even a 99% partial eclipse still leaves enough of the Sun exposed to damage your eyes and camera.
See more from DIYPhotography.net on Google
Add DIYPhotography.net as a trusted source. This makes
our stories more likely to appear in your Google Search results.
 Add as a preferred source on Google

Alex Baker
Alex Baker is a portrait and lifestyle driven photographer based in Valencia, Spain. She works on a range of projects from commercial to fine art and has had work featured in publications such as The Daily Mail, Conde Nast Traveller and El Mundo, and has exhibited work across Europe
Related Posts
 How to Better Capture a Solar Eclipse Before the August 2026 Eclipse
 Lensbaby’s new OMNI filter system isn’t like any kind of filter system you’ve seen before
 How to Photograph a Solar Eclipse: Tips, Settings and Gear for the 2026 Eclipse in Spain
 Eclipse on Demand: ESA creates Artificial Solar Eclipse in Space
Join the Discussion
DIYP Comment Policy
Be nice, be on-topic, no personal information or flames.
One response to “How to Make a DIY Solar Filter for Your Camera, Before the August 12 Solar Eclipse”
Yo me he fabricado uno tambien utilizando la misma lamina de filtro y en vez de hacer el tubo de carton he utilizado en mi caso que los tenia unos anillos adaptadores de porta filtros magneticos y he pegado el filtro laminar en el, que es lo que he podido encontrar a tiempo, yo queria ya un filtro bueno de K&F CONCEPT 67mm Profesional Filtro ND100000 de Cámara Eclipse Solar | Nano-Xcel Filtro con Reducción de Luz 16.6 Pasos, Filtro Solar para Fotografía Vidrio Óptico con Revestimiento Nano – FN706 pero todos agotadisimos, a ver como sera el acontecimiento