


Tips for Film Photography: How to Stop Wasting Rolls
Jun 16, 2026
Lydia Marlowe

Dunja Djudjic is a multi-talented artist based in Novi Sad, Serbia. With 15 years of experience as a photographer, she specializes in capturing the beauty of nature, travel, concerts, and fine art. In addition to her photography, Dunja also expresses her creativity through writing, embroidery, and jewelry making.
Share:
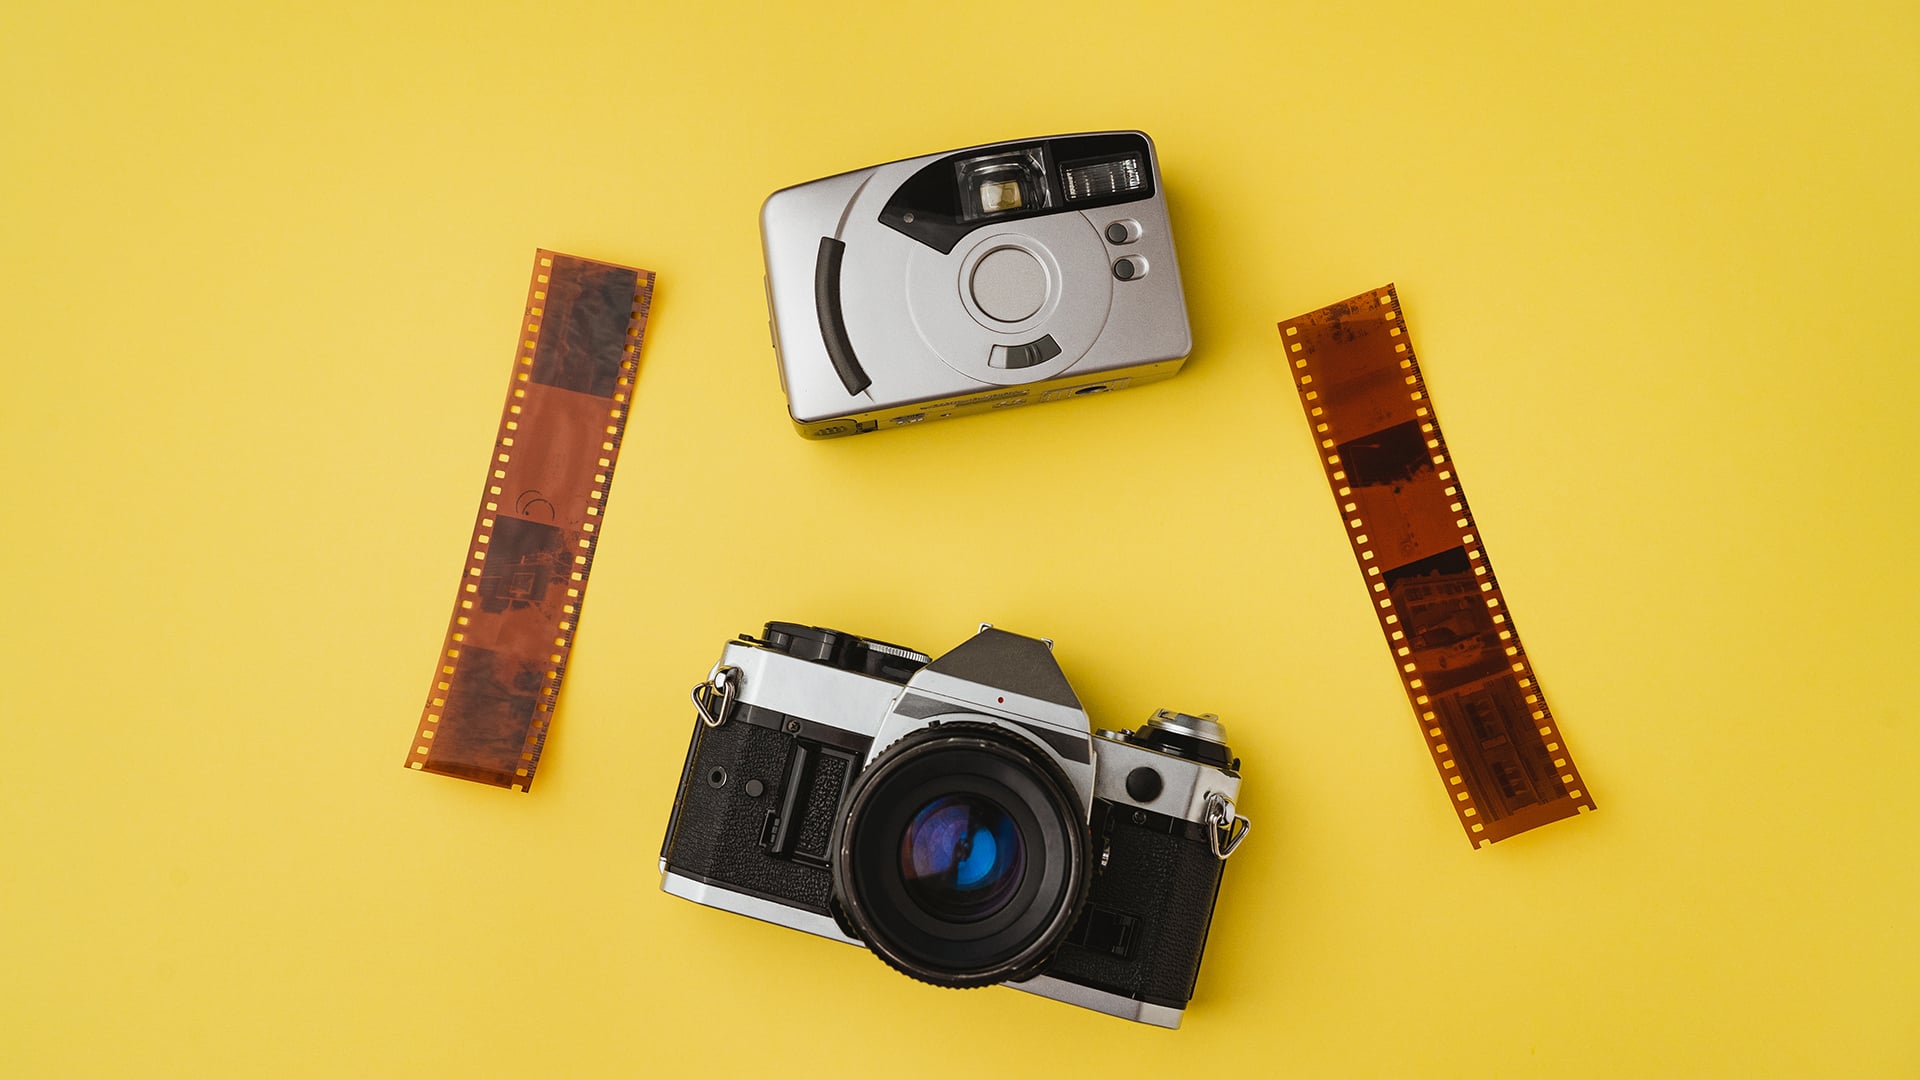
Shooting film is a different beast from digital, and most of the frustration beginners run into comes from applying digital habits to a medium that doesn’t play by the same rules. One of the essential tips for film photography that you’ll hear is to overexpose, and it sounds counterintuitive to digital photographers. Add the Sunny 16 rule as a backup meter, stick with one film stock until you know it, and slow down – these are some of the essentials.
Whether you’ve inherited an old SLR or just bought your first point-and-shoot, here are the tips that’ll save you the most heartache and the most money on dud rolls.
Overexpose Negative Film – Don’t Underexpose It
This is the most important rule in film photography, and it’s the opposite of the instinct you’ve built shooting digital. With digital, you protect your highlights and avoid overexposing. With negative film, it’s the reverse: it’s almost always better to overexpose than to underexpose.
Negative film holds detail beautifully in the highlights but loses it fast in the shadows, so giving it a bit more light keeps your shadows alive. A common trick is to “rate” your film slower than its box speed – shooting ISO 400 film at 200, for example – which deliberately overexposes by a stop and gives you richer, fuller negatives. (Slide film is the exception – it wants the opposite, so expose that for the highlights.)
Learn the Sunny 16 Rule
Your camera’s meter might be dead, inaccurate, or nonexistent – plenty of classic film bodies have no meter at all. The Sunny 16 Rule is the analog backup that’s worked for nearly a century. On a bright sunny day, set your aperture to f/16 and your shutter speed to 1 over your film’s ISO – so ISO 400 film means roughly 1/400.
From there, you adjust for conditions: open up a stop for hazy sun, two for overcast, three for heavy shade. It sounds fiddly, but after a few rolls it becomes second nature, and you’ll never be stranded by a flat battery again.
Pick One Film Stock and Learn It
The temptation is to try every emulsion you can get your hands on. Resist it at first. Each film stock has its own personality – its color, contrast, grain, and how it handles light – and the only way to learn that is repetition.
Shoot the same stock, roll after roll, until you can predict what it’ll do. Portra renders skin tones one way, HP5 grains up another, Gold goes warm and golden. Bouncing between them constantly means you never build that intuition. Master one, then branch out. Your wallet will thank you too.
Slow Down – That’s the Whole Point
A roll gives you 24 or 36 frames; there’s no screen to check, and each press of the shutter has a real cost. This is not a limitation to fight – it’s the entire reason to shoot film.
The constraint forces you to slow down and actually consider each frame: the light, the composition, whether the shot’s worth the click. You can’t spray and pray and sort it out later. Photographers who come to film from digital often find it makes them better across the board, because it rebuilds the deliberate, considered habits that unlimited frames quietly erode.
Keep Notes – There’s No EXIF Data
When your scans come back weeks later, you’ll have no idea what settings produced what – film doesn’t record any of it. So write it down. Keep a cheap notebook, or use a phone app, and jot the aperture, shutter speed, and any exposure tweaks for shots you care about.
It feels tedious, but it’s how you actually learn. Pairing your notes with the developed results tells you why a frame worked or didn’t, which is the feedback loop film otherwise hides from you.
Protect Your Film From Heat and Airport X-Rays
Film is physical, perishable stuff, and two things quietly ruin it. The first is heat – never leave rolls baking in a hot car or a sunny windowsill, which shifts colors and adds fog. Store unused film somewhere cool, and the fridge or freezer genuinely helps for long-term keeping.
The second is airport security. Always ask for a hand inspection of your film rather than sending them through the scanner – the newer CT scanners many airports now use can damage film in a single pass, even at lower speeds. Carry your rolls in a clear bag, keep them in your carry-on (never checked luggage, where the scanners are stronger), and politely insist on the hand check.
Find a Good Lab (or Learn to Develop)
Half of your final image is made after you shoot – in development and scanning. A great frame run through a careless lab comes back muddy; an okay frame in good hands can sing. Find a lab people rave about, and notice the difference a quality scan makes.
Once you’re hooked, learning to develop black-and-white film at home is cheaper than you’d think and gives you total control. It also closes the loop between shooting and result in a way that makes you a sharper photographer.
Embrace the Imperfection
Film has grain, the odd light leak, colors that aren’t “accurate,” and a softness that many are trying to fake with filters and effects. Don’t pixel-peep your scans hunting for flaws. Those “imperfections” are the look and the reason people fall for film in the first place. Shoot it for what it is, not for how closely it imitates digital. The happy accidents are part of the deal.
A Few Last Tips for Film Photography
These tips for film photography all come back to the same thing: film rewards intention over volume. Meter carefully, give your negatives enough light, slow down, take notes, and protect your rolls – then let the medium’s quirks be quirks instead of fighting them.
Shooting film already, or thinking about loading your first roll? Tell us what camera you’re using in the comments – and any film tip you’ve learned the expensive way.
About Lydia Marlowe
Lydia Marlowe is an architect and a hobbyist photographer who has never quite managed to keep the two apart. She travels at every excuse, usually returning with more photos of buildings and details than of the people she went with. She pays more attention to light and structure than to gear, and she firmly believes the best camera is the one you didn’t leave at home.
We love it when our readers get in touch with us to share their stories. This article was contributed to DIYP by a member of our community. If you would like to contribute an article, please contact us here.


Join the Discussion
DIYP Comment Policy
Be nice, be on-topic, no personal information or flames.