


A crash course in developing colour negative film at home
Jul 18, 2016
John Aldred
John Aldred is a photographer with over 25 years of experience in the portrait and commercial worlds. He is based in Scotland and has been an early adopter – and occasional beta tester – of almost every digital imaging technology in that time. As well as his creative visual work, John uses 3D printing, electronics and programming to create his own photography and filmmaking tools and consults for a number of brands across the industry.
Share:

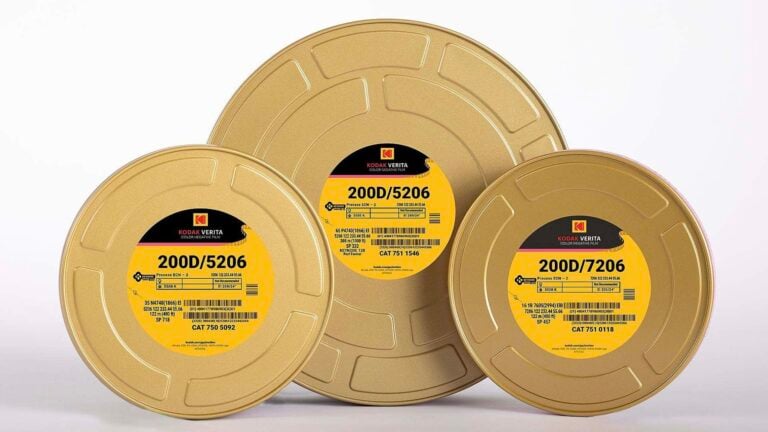
Lots of us still shoot and develop our own film, but many limit themselves to black and white, at least when it comes to DIY developing. C41 colour film is perceived as a complex process that requires an expensive Jobo or other specialised equipment.
Well, Michael Raso and John Fedele from the Film Photography Project are here to show you that this simply isn’t true in their new video using their C41 Home Developing Kit. Well, Michael’s going to show you, John’s there to heckle Michael.
As you can see, the process isn’t really all that different from developing black and white film. The only real difference is the temperature required for the chemicals.
Yes, you can get fancy with a Jobo, but you really don’t need to. If you really wanted something a bit more consistent than simply putting the bottles in warm water from the tap, but without having a massive cost outlay, you could always have a go at building your own.
But, here’s the basic process.
- Start getting your chemicals up to temperature. In this case, about 103°F (or 40°C)
- Load film into your developing tank while the chemicals warm up
- Give the film a quick rinse with luke warm water to ensure it’s all wet and the developer can spread more evenly
- Pour in the developer, and let it develop for three and a half minutes, agitating every minute
- Carefully pour your developer from your developing tank back into its storage bottle, being careful not to contaminate it with other chemicals
- Seal your developer bottle and move it out of the way
- Pour in your Blix (Bleach & Fixer mix) and let it work its magic for about six and a half minutes, agitating every minute or so
- This is a good time to wash the funnel for your developer
- Pour the Blix back into its bottle
- Give the film a quick rinse in luke warm water
- Pour in the Stabilizer and leave it for about a minute
In the video, there’s a couple of extra steps between #10 and #11 due to the type of film being used which has a carbon base on the back of the film that needs to be washed off, but for most regular rolls of C41 colour negative film, this is not necessary.
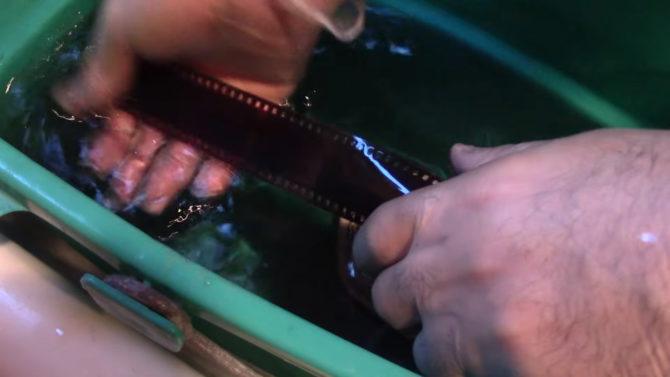
If you do need to remove the film from the developing tank spools to give them a wash, and decide you want to put them back onto the spools to go back into the developing tank (which is a lot easier than trying to put loose film in the tank), make sure to reload them underwater. If you try to do it out in the open air, the film will stick and can easily tear (trust me, heh).
As well as the FPP C41 Home Developing Kit (which costs under $20 and develops up to 35 rolls), you’ll need a developing tank. Personally, I’d suggest the Paterson Multi-Reel 3 tank, which takes 35mm and 120 format film and can also be used with the Mod54 Kit to develop 4×5 sheet film. You’ll need a good thermometer, too.
If you don’t have a room you can make completely black, then you’ll also need a changing bag to load film into your developing tanks in total darkness. If you’ve never tried this before, you’ll probably want to get a couple of cheap rolls to burn so that you can learn to load the film onto the spools without being able to see what you’re doing.

Film clips are also handy to hang up your film. They usually come in a pack of two and one of them is heavier than the other. The weighted one goes at the bottom to help your film stay straight as it dries. Other cheap clips will work, but make sure the one at the bottom is heavy enough to stop the film curling.
One of the best places I’ve found to leave your film to hang to dry is the bathroom. The humidity usually found in bathrooms helps to minimise the amount of dust in the air. Dust gets trapped in the air’s moisture and sent down to the ground. It may take a little longer to dry out in the bathroom, but the results will be much cleaner.
Once the film’s dry, you just need a pair of scissors, some 35mm or medium format film sleeves and you’re all set. From here you can either print on an enlarger in the darkroom, or scan and print digitally.
Do you develop your own film? Have you restricted yourself to black & white or do you develop colour film, too? What other tips do you have for developing film at home? Let us know in the comments.
[via ISO1200]

John Aldred
John Aldred is a photographer with over 25 years of experience in the portrait and commercial worlds. He is based in Scotland and has been an early adopter – and occasional beta tester – of almost every digital imaging technology in that time. As well as his creative visual work, John uses 3D printing, electronics and programming to create his own photography and filmmaking tools and consults for a number of brands across the industry.


Join the Discussion
DIYP Comment Policy
Be nice, be on-topic, no personal information or flames.
4 responses to “A crash course in developing colour negative film at home”
I still have my JOBO CPE/w Lift, but honestly it’s not worth the time or chemicals… lol
It can also be used to develop B&W Chromogenic film: Kodak BW400CN (discontinued) and Ilford XP2 Super. Don’t use this with traditional silver-based, B&W film, like Kodak Tri-X and others.
after the film is processed what do you with the used chemicals
they are complex organics that are environmental poison