The Complete Black and White Conversion Lightroom Tutorial
Aug 7, 2014
Share:
In a world of over-saturated color, candyfloss HDR and fake vintage film apps, its easy to forget about the simple allure of black and white photography.
Its also easy to forget that Lightroom has a fantastic set of black and white conversion tools built right in.
In this Lightroom tutorial, I will take you through my Lightroom black and white conversion workflow step by step.

What Makes A Good Black And White Photo
Before we jump into Lightroom, I think it is important to review what usually makes an interesting black and white photo.
Images with texture, areas of high contrast and some sort of moody atmosphere usually make great black and white photos.
But, just like bad HDR, there is also bad black and white – not every photo automatically looks better in black and white!
Lightroom Black And White Conversion – Step By Step
Here is the sample photo that I am going to use for this black and white conversion Lightroom tutorial – this is right out of camera.

As you can see, this is a natural light photo taken on a semi-dark overcast day. The clouds and the sky are slightly overexposed, while the subject is slightly underexposed.
In hindsight, this image could have used a kiss of fill flash and a better exposure on the sky, but this was an impromptu stop on the side of the road on the way home from the cottage purely because the clouds looked really cool. The kids were not very pleased about it, so I didn’t bother grabbing a strobe.
I should also point out that although I am going to share the specific Lightroom settings that I used for this photo – there are no right or wrong settings – every image is different and every photographer has their own particular tastes – it is the workflow that is important!
Step 1: Basic Lightroom Adjustments
From the histogram, I can see that neither the blacks or the highlights are clipped, so the exposure is technically good. If I needed to slightly adjust the exposure, I would do this first with the exposure slider in the Basic panel.

Next, I always apply a lens correction. Go to Lens Corrections, select Profile and Enable Profile Corrections. The make and model of your lens should be automatically selected (in this case a Canon EF 20mm f/2.8). If not, try to find a lens that is as close as possible.

Now, I usually try to get the white balance as close as possible. I like using the Temperature Picker tool, and it works well for a photo like this because there is a lot of gray. I just selected a gray area in one of the clouds and the Temperature Picker tool slightly warmed up the white balance.

Next, I work down the Basic panel from top to bottom. Exposure 0.0, Contrast +28 (enough to add some interest, but not too much to be overbearing), Highlights -15 (just takes the edge off some of the bright spots – hold down the alt key while you click on the Highlights Slider to see the highlights clipping mask), Shadows +44 (opens up some of the dark spots, particularly in her dress), Blacks -49 (sets a nice deep black point – hold down the alt key while you click the Blacks Slider to see the blacks clipping mask), Clarity +38 (adds some detail to the texture), Vibrance +46 (trying to add some pop to an otherwise drab photo), Saturation +6 (a little more pop to the muted colors).

By now, I usually have a pretty good idea of what I want the composition of the final image to be, so I usually crop and straighten the image here too.
At this point my image looks like this:

Step 2: Add Cow Bell
Now it is time to add some detail into the sky and foreground. I love using gradients, radial gradients and the adjustment brush to dodge and burn my images as required. Dodging and burning is one of those techniques that originated in the film days and was especially important for black and white images – as we will see in a moment.
First I am going to start with a hard Graduated Filter with the Exposure set to -0.95 and Highlights set to -21, applied at the horizon. A hard graduated filter works for an image like this because it has a defined horizon. It wouldn’t work so well with an image with a detailed background – like a forest or cityscape.

Then, I am going to use a semi-hard Graduated Filter with the Exposure set to -0.60 and Highlights set to -22, applied just to the bottom quarter of the sky at the horizon. I just want a little more detail in the clouds at mid-sky.

I can see a bright spot in the clouds at the top of the photo, so I am going to apply a soft Graduated Filter at the top with the Exposure set to -0.60.

Now the foreground is too bright, so I am going to apply a Graduated Filter from the bottom with the Exposure set to -0.72.

Finally, the jelly roll on the left looks just a touch too bright, so one more Graduated Filter with the Exposure set to -0.25 will take care of that.

Now, my image looks just a touch too dark, so I am going to use the Exposure Slider in the Basic Panel to just brighten it up a little to +0.28.
I can also see that my subject is too dark – as a result of the two gradients that have been applied over top of her. To erase those gradients, I am going to dodge the exposure just of her using the adjustment brush. Zoom right in to at least 1:1 and use the adjustment brush with a very high exposure and a medium flow, (say 40 to 60 for the flow), to brighten her up. Be careful to stay in the lines, or you will get a halo effect – but don’t worry if you mess up – you can always click Erase to clean up the edges.
After you have brushed over the areas you want to lighten, adjust the exposure and shadows of the brush to suit – I used Exposure +1.12 and Shadows +31.

Because I am being a little aggressive with the amount of dodging that I am applying, I can see that her black dress is looking a little noisy, so I am going to use Lightroom’s Noise Reduction tools in the Detail Panel to clean that up.
Here is what it looks like before noise reduction:

And, here it is with the Luminance Slider raised up to +37 and the Color Slider increased to +53. All you want to do here is start with the Luminance Slider and raise it until it gets rid of most of the most visible noise. Then, if you have to go any further, try the Color slider.

Step 3: Black and White Conversion
So by this point, you’re probably thinking – HEY! This was supposed to be a black and white conversion Lightroom tutorial!
Yes, but up until I got to this point I was intending to keep this image in color. But then I decided that although I liked the sky, I really didn’t like the ugly yellow color of the field, so I thought the photo would probably look better with a full black and white conversion.

To convert an image to black and white in Lightroom, click the B&W tab on the HSL/Color/B&W panel. (Don’t just desaturate the image or you won’t have access to the black and white tools). Lightroom will apply a black and white mix auto setting – but this is where the real fun begins.

If you click on the color sample tool at the top left hand corner of the B&W tool panel, you can select an area of your image and then drag your mouse up or down to adjust the mix of the component colors that are represented in the black and white image. This is somewhat analogous to how photographers use a red filter to darken blue skies in black and white photos, or an orange filter to smooth out black and white skin tones.
The effect that each slider has on the image depends a lot on the colors that are present in the original image. In the sample image, clicking on the grass and decreasing the mix of yellow and orange in the photo really darkens the grass and brings out the texture. I usually play with each slider to see what effect it has on the image and then adjust them to suit.

We are now almost done. All that is left is to tweak the exposure and contrast and any final dodging and burning that might be required.
I personally like very contrasty black and whites, so I am going to use the Contrast Slider in the Basic panel to increase the contrast to +54. I would also like to see just a little more drama in the sky, so I am going to add one final gradient from the top with the Exposure set to -0.78.
And there you have it – our finished Lightroom black and white conversion.

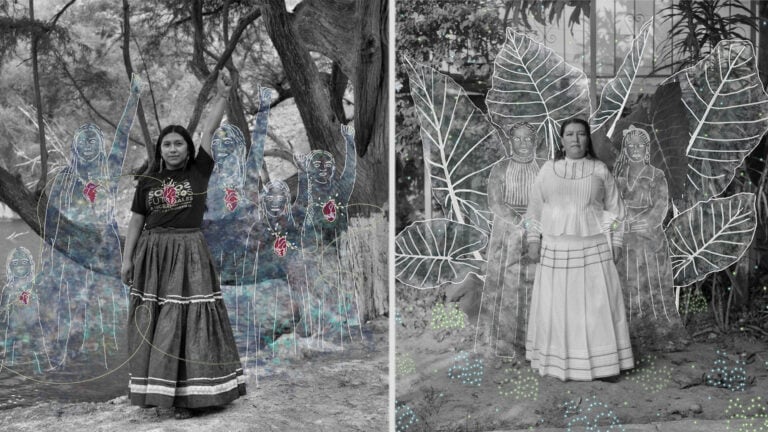
And here are a few more images converted to black and white in Lightroom using the same black and white conversion workflow.


JP Danko
JP Danko is a commercial photographer based in Toronto, Canada. JP can change a lens mid-rappel, swap a memory card while treading water, or use a camel as a light stand.






Join the Discussion
DIYP Comment Policy
Be nice, be on-topic, no personal information or flames.
3 responses to “The Complete Black and White Conversion Lightroom Tutorial”
“: The Complete Black and White Conversion Lightroom Tutorial – http://t.co/J7Fz6p9z4q” @ZDP189
Very interesting tutorial. I will try this as well. Thanks for sharing your workflow
You should do more tutorials like this! We all love video tutorials but sometimes we need to go at our own speed and this is what I´ve been looking for a long time.