


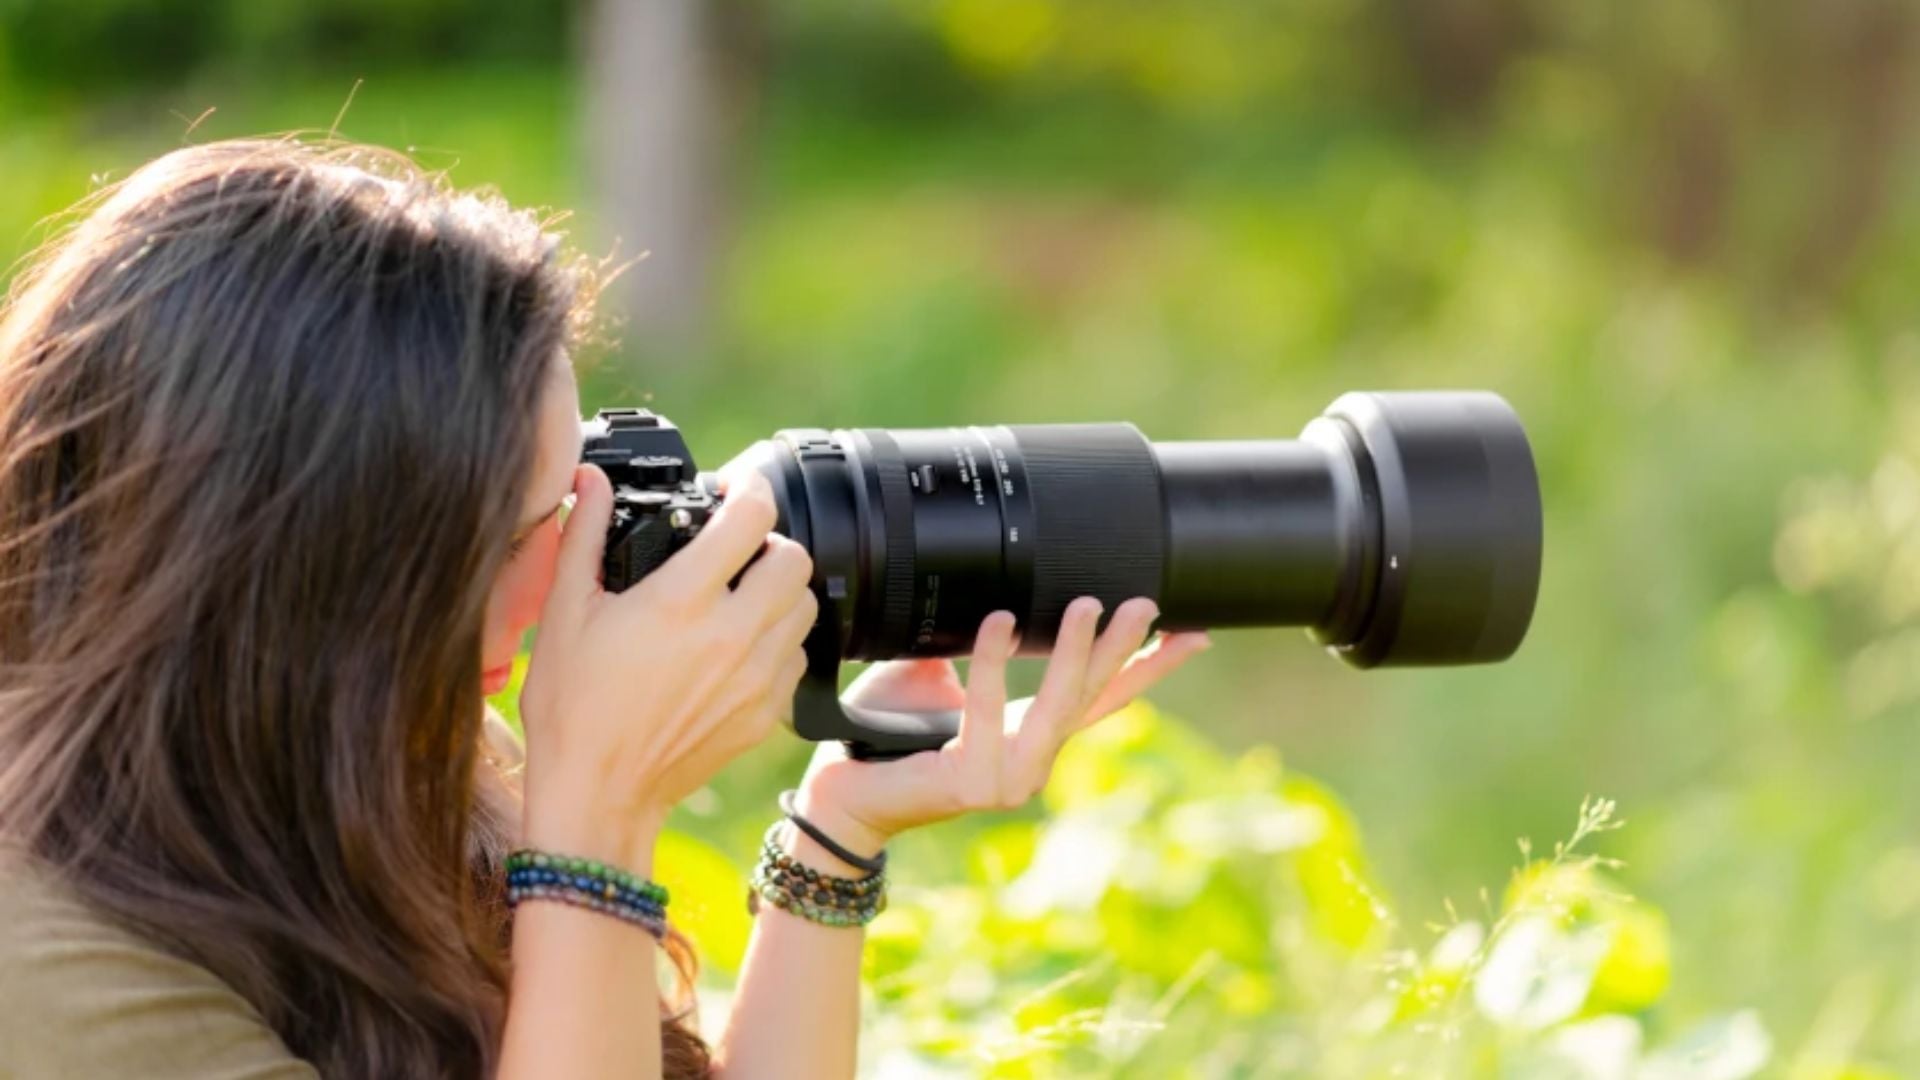
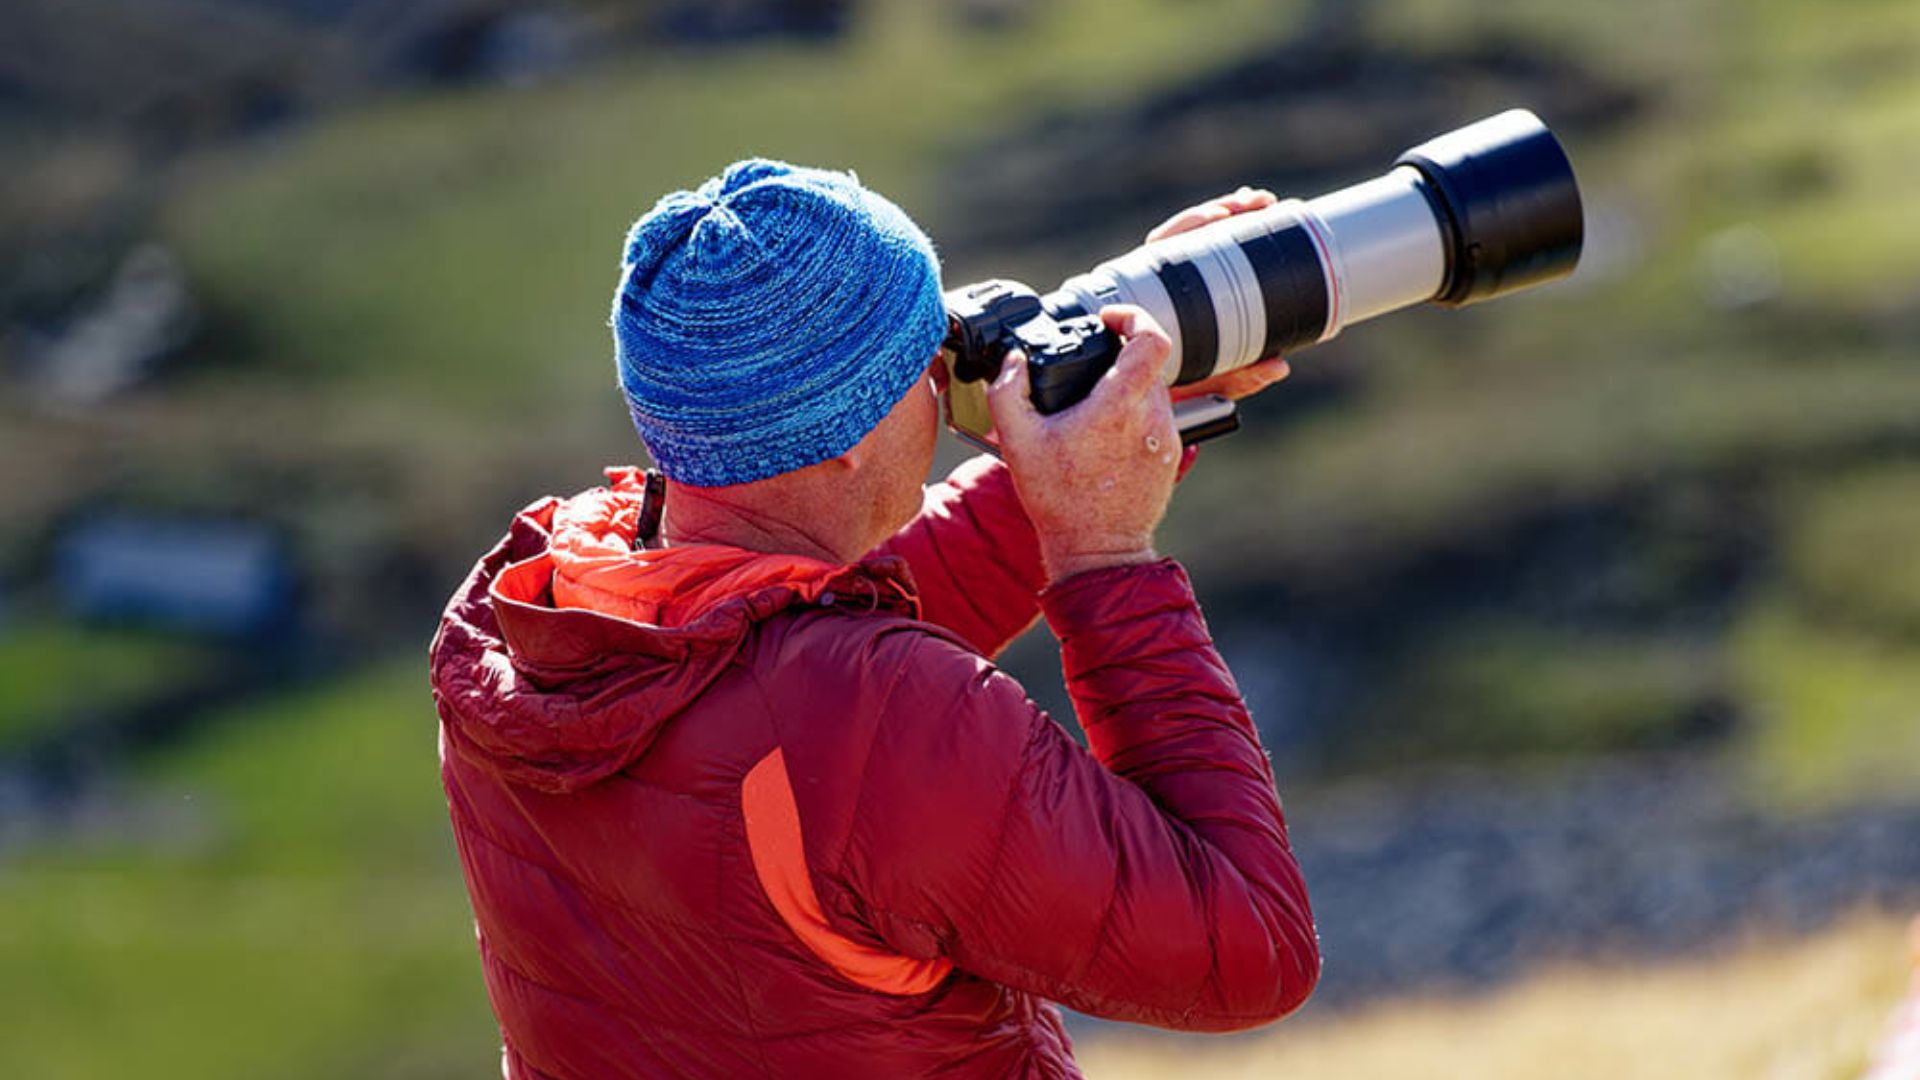
Telephoto Lens for Landscape Photography: Compression Techniques
Dec 15, 2025
Darlene Lleno
Darlene Lleno brings a unique perspective to DIY Photography as someone who grew up surrounded by camera gear but chose words over lenses. With five years of writing experience, she specializes in photography content that’s both technically informed and genuinely passionate. Growing up with a photographer twin brother meant camera talk was everyday conversation in her household. While he mastered capturing moments, Darlene discovered she preferred being the subject and the storyteller behind the scenes. As a travel enthusiast and mother of two, she understands the importance of preserving life’s precious moments. When not exploring new destinations or writing for DIY Photography, you’ll find her reading or tending to her garden. Her approach to photography writing is refreshingly authentic, she may not be behind the camera, but she knows exactly what it takes to help others capture the shots that matter most.
Share:
A telephoto lens for landscape photography completely changes how you capture nature. Most people grab wide-angle lenses for big views, but telephoto glass creates something different. By compressing perspective, it makes distant mountains stack together and pulls out tiny details from miles away. Busy scenes transform into clean, powerful images.
The secret sits in perspective compression. Things far apart in real life look close together in your photo, causing mountain ranges to stack into layers and rivers to become elegant curves. Single elements pop against clean backgrounds, creating photos that feel intimate instead of overwhelming.
How Compression Works with a Telephoto Lens for Landscape
Understanding compression helps you use it better. The effect changes based on your focal length and distance from subjects.
The Stacking Effect on Distant Objects
Compression makes far-away things appear closer together in your frame. That mountain five miles back looks like it sits right behind the front hill. Trees scattered across a valley suddenly stack into tight patterns.
This creates a flatter look in your landscape photography. Depth collapses in a good way. Layers compress into strong graphic shapes. The three-dimensional world becomes a two-dimensional image.
Your eyes see depth when you stand in a scene. But a telephoto lens for landscape work strips that away. What stays are lines, shapes, and patterns. The result often looks more like art than reality.
How Focal Length Changes Everything
Longer focal lengths create stronger compression. A 70mm lens shows mild stacking. A 200mm lens makes it obvious. Super telephoto lenses past 400mm flatten everything dramatically.
Your distance from the scene matters too. Stand farther back and compression gets stronger. This happens because distances between elements become more similar from your spot.
Pro landscape photographers use this on purpose. They position themselves to max out compression. Sometimes you need to hike past the obvious viewpoint. Find a more distant location that works better.
Simplifying Scenes Through Selective Framing
Wide lenses force you to include everything. Telephoto lenses let you pick exactly what matters. This selective approach creates cleaner, stronger images.
Pulling Out the Best Parts
A telephoto zooms into specific pieces of a bigger scene. That golden light patch on a hillside becomes your whole subject. The river curve winding through valleys fills your entire frame.
This removes visual junk automatically. No boring mud in front. No distracting stuff in the middle ground. You grab the strongest parts and dump the rest.
The process feels great once you get it. Stop trying to show everything. Hunt for the good pieces instead. A telephoto lens for landscape photography rewards this focused thinking.

Building Strong Simple Compositions
Simpler compositions hit harder. Viewers get your point right away. No confusion about where to look. Nothing fighting for attention.
Lines pop through telephoto compression. A row of distant trees becomes a striking pattern. Ridgelines stack into powerful bands. Rivers create smooth curves across your frame.
Shapes get bigger too. One isolated subject against a clean background creates maximum punch. The narrow view naturally cuts out distractions.
Playing with Scale and Detail
Telephoto lenses for landscape let you mess with how big things look. This creative power adds drama to normal scenes.
Making Distant Things Look Huge
Super telephoto lenses make far objects appear massive. For instance, the sun or moon fills big chunks of your frame, and that distant peak looks enormous next to closer stuff.
As a result, this size trick creates wild-looking images. Picture a huge moon rising behind a mountain or a massive sun setting between peaks. These shots need planning but look incredible.
The technique works because compression shrinks apparent distance between objects. In reality, the moon looks close to the mountain even though miles separate them. Ultimately, viewers see drama that wide angles cannot create.
Grabbing Sharp Details from Miles Away
Telephoto reach brings distant details into sharp focus. Rock formations miles away become clear and crisp. Textures on far cliff faces show up beautifully.
This saves boring shots. Maybe the front looks dull. The sky shows nothing good. But distant mountains have incredible detail. A telephoto lens for landscape work lets you dump the weak parts.
The detail advantage works for capturing patterns too. Sand dunes make rhythmic lines. Rock layers tell geological stories. Forest patterns show natural geometry.
Picking the Right Focal Length Range
Different lengths serve different jobs. Knowing these helps you choose the right glass. Here are the main categories that work best:
70-200mm Range:
- Handles most telephoto landscape needs perfectly
- The 70mm end still shows decent context around subjects
- The 200mm end delivers strong compression and isolation
- Zoom flexibility lets you experiment quickly on location
- Works equally well on full-frame and crop sensor cameras
100-400mm Range:
- Creates more dramatic compression than shorter lenses
- Excels at abstract landscape work and tight compositions
- Makes the sun or moon a dominant element easily
- Requires serious tripod support due to weight
- Best for photographers who want maximum creative control
400mm and Beyond:
- Produces extreme compression for highly abstract results
- Works great for wildlife photography crossovers
- Demands precise composition due to narrow field of view
- Most photographers rent these for specific projects only
- Cost and weight jump dramatically in this range
Nailing Your Camera Settings
A telephoto lens for landscape demands different techniques than wide shooting. In fact, several things become way more important at longer lengths.

Keeping Everything Rock Solid
Camera shake multiplies as focal length increases. A tiny hand shake at 200mm creates obvious blur, and at 400mm even breathing affects sharpness badly.
Because of this, a solid tripod becomes absolutely necessary here. Unfortunately, cheap travel tripods fail at long focal lengths. Instead, get support that handles your lens weight properly. Carbon fiber cuts carrying weight while staying stable.
Beyond the tripod itself, use a remote shutter release or your camera timer. Pushing the button creates shake, and even on a tripod this movement blurs photos. Fortunately, the two-second timer fixes this problem completely.
Wind creates another stability problem to consider. Breezy days shake even heavy tripods, so wait for wind breaks when you can. If conditions don’t cooperate, shield your setup with your body if needed.
Picking the Sharpest Aperture
Most lenses perform sharpest at mid-range apertures. This sweet spot usually falls between f/8 and f/11. Shooting wide open reduces sharpness. Stopping down too far causes softness from diffraction.
You rarely need f/16 or f/22 for landscape work. The depth of field stays thin even at smaller openings. Distant subjects sit on roughly the same plane anyway.
Focus carefully on your main subject. Telephoto lenses show focusing mistakes more than wide angles, so use your camera’s focus zoom feature to check sharpness at 100 percent on your screen.
Some shots need focus stacking though. This technique combines multiple photos focused at different spots, creating blended results with complete sharpness you can’t achieve any other way.
Beating Haze and Atmosphere
Long distance shooting means looking through more air. Haze kills contrast and color badly, though morning and evening usually show less haze than midday.
A circular polarizer filter helps cut through atmospheric junk. Rotate the filter while looking through your viewfinder, and the effect gets stronger and weaker as you turn. Find the spot that maximizes contrast and color.
Polarizers work best at 90 degrees to the sun. They barely work shooting toward or away from sun, so plan your angles for maximum benefit.
High spots reduce haze naturally. Mountain photography benefits from thinner air, while coastal areas often show more haze from moisture. Desert regions give incredibly clear air for telephoto work.
Creative Techniques That Work
A telephoto lens for landscape opens unique possibilities. These approaches help you nail compression effects every time.
Stacked Mountain Layers
Mountain ridges stacked together create powerful graphics. Each ridge forms its own band of color. Early morning and late evening light makes these pop.
Position yourself to line up multiple ridges behind each other. The telephoto compression makes them look tightly stacked. Three or four layers create strong visual rhythm.
Air naturally adds to the effect. Closer ridges look darker and richer. Distant ridges fade lighter and bluer. This creates depth despite the flattening.
Abstract Pattern Work
Telephoto lenses rock at finding patterns in nature. Sand dunes make rhythmic curves and shadows. Rock formations show repeating textures. Forest tops reveal organic shapes.
Fill your frame totally with the pattern. Cut out context and horizon lines. The abstract result focuses only on shape and texture. These images feel almost sculptural.
Light matters hugely for pattern photography. Side lighting shows texture and depth. Overhead light flattens everything. Time your shots when shadows create definition.
Sun and Moon Drama
Super telephoto lenses make celestial objects look huge. This size trick creates dramatic mixes with landscape features.
Plan these shots carefully using tracking apps. Position yourself where the object lines up with your landscape. Timing matters down to the minute sometimes.
Expose for the landscape and let the object blow out slightly. Or expose for the sun or moon and silhouette the landscape. Both work but create different moods.
Intimate Detail Shots
Not every landscape photo needs huge vistas. A telephoto lens for landscape work finds smaller stories within bigger scenes.
A single tree on a distant hillside. Erosion marks in canyon walls. Light playing across terrain. These intimate moments often beat wide views completely.
This needs slowing down and really looking hard. Scan distant areas through your telephoto. Hunt for light, color, or form that grabs you. Patience shows hidden shots everywhere.
Solving Common Problems
Telephoto landscape work presents specific headaches. Understanding these helps you beat them effectively.
Heat Shimmer Issues
Hot air rising from heated ground creates visible distortion. The effect looks like wavy lines in images and ruins sharpness completely.
To avoid this, shoot early morning or late evening when ground stays cooler. Skip midday shooting during summer months, though the problem disappears in cooler seasons naturally.
Higher spots help too. When possible, shoot down on subjects to cut the amount of heated air between you and your subject.
Handheld Limits
Telephoto lengths demand faster shutter speeds for sharp handheld work. The old rule matches speed to focal length. At 200mm use 1/200 second minimum. At 400mm use 1/400 second.
Image stabilization helps but has limits. Modern systems allow two or three stops slower, yet they cannot beat serious shake. For this reason, use a tripod whenever possible for best results.
When a tripod isn’t an option, bump ISO to keep speeds fast. Modern cameras handle higher ISOs well, and some grain beats blur every time.
Low Light Challenges
Telephoto lenses usually have slower maximum openings than wide glass. An f/4 or f/5.6 maximum limits light gathering, which hurts shooting in dim conditions badly.
Use a tripod and longer exposures when light drops. The stability lets you use slower speeds safely, though you’ll need to watch for moving stuff like trees.
Faster prime telephoto lenses offer better performance if you need more light. A 200mm f/2.8 gathers way more light than a 70-200mm f/4. The trade-off comes in flexibility and cost.
Planning Your Shots
Success with a telephoto lens for landscape often needs advance prep. Random shooting produces fewer keepers than wide-angle work.
Using Maps and Planning Apps
Study your spot before visiting. Topo maps show terrain and elevation. This info helps you predict how compression affects the scene.
Photo planning apps show sun and moon spots for any date. They also show how landscape parts line up. This planning separates okay shots from killer ones.
Google Earth lets you preview spots virtually. Check sight lines to distant features. Verify your subject will show from your shooting spot.
Timing Light Right
Telephoto landscapes depend heavily on good light. Hazy days ruin distant shots. Overcast skies flatten everything into boring.
Clear mornings and evenings give the best conditions. Low sun creates dimension and color. The air stays calmer for better clarity too.
Weather fronts passing through create dramatic lighting. Storm clouds against sunlit peaks look incredible. These need patience and luck to catch.

Making a Shot List
Create specific goals before heading out. Make a list of shots you want to capture, along with backup options if main subjects fail.
This prep focuses your shooting and saves time. You know exactly what to look for, and the structured approach beats wandering randomly every time.
Stay flexible though. Sometimes unexpected shots appear that beat your plans, so keep an open mind for happy accidents while pursuing your primary goals.
Why Every Landscape Photographer Needs a Telephoto Lens
Wide lenses show grand scenes. A telephoto lens for landscape reveals hidden stories inside those scenes. Both work but create totally different images.
The compression technique changes how viewers see your photos. Layered depth becomes graphic simplicity. Distant details jump forward dramatically. Normal scenes gain power through selective framing.
This different view separates your work from typical landscape photography. Everyone shoots wide. Fewer people explore telephoto possibilities. Your unique vision stands out in a crowded space.
Start playing with whatever telephoto glass you own. Even a basic 55-200mm kit lens shows compression effects. The creative options will surprise you. Your landscape photography grows in exciting new ways once you try this approach.According to Digital Photography School, compression effects become most obvious at focal lengths above 135mm. The Cambridge in Colour tutorial breaks down how focal length affects perspective and compression in clear terms.

Darlene Lleno
Darlene Lleno brings a unique perspective to DIY Photography as someone who grew up surrounded by camera gear but chose words over lenses. With five years of writing experience, she specializes in photography content that’s both technically informed and genuinely passionate. Growing up with a photographer twin brother meant camera talk was everyday conversation in her household. While he mastered capturing moments, Darlene discovered she preferred being the subject and the storyteller behind the scenes. As a travel enthusiast and mother of two, she understands the importance of preserving life’s precious moments. When not exploring new destinations or writing for DIY Photography, you’ll find her reading or tending to her garden. Her approach to photography writing is refreshingly authentic, she may not be behind the camera, but she knows exactly what it takes to help others capture the shots that matter most.


Join the Discussion
DIYP Comment Policy
Be nice, be on-topic, no personal information or flames.
4 responses to “Telephoto Lens for Landscape Photography: Compression Techniques”
Shocking lack of basic optics knowledge.
“Compression” has nothing to do with the lens being a telephoto (or not).
A simple experiment with same subject via two differing FL cropped to same area will show this.
Exactly. How these people have the nerve to promote themselves as experts is quite staggering. Compression is only altered by changing the distance between the photographer and the foreground subject.
good discussion, great tips, but no example photos??
It would be nice to have some samples of what you are talking about instead of people holding the camera