


Symmetry vs Asymmetry: When Each Creates Better Images
Dec 24, 2025
Darlene Lleno
Darlene Lleno brings a unique perspective to DIY Photography as someone who grew up surrounded by camera gear but chose words over lenses. With five years of writing experience, she specializes in photography content that’s both technically informed and genuinely passionate. Growing up with a photographer twin brother meant camera talk was everyday conversation in her household. While he mastered capturing moments, Darlene discovered she preferred being the subject and the storyteller behind the scenes. As a travel enthusiast and mother of two, she understands the importance of preserving life’s precious moments. When not exploring new destinations or writing for DIY Photography, you’ll find her reading or tending to her garden. Her approach to photography writing is refreshingly authentic, she may not be behind the camera, but she knows exactly what it takes to help others capture the shots that matter most.
Share:

Symmetry vs asymmetry photography creates two totally different ways to balance images. Each approach changes how people feel about your shots instantly. One gives stability and order while the other pumps in energy.
Both methods achieve visual balance but in opposite ways. Symmetry mirrors stuff across an axis perfectly. Asymmetry balances unequal things through smart weight placement. Knowing when to use each transforms your photos completely.
Most shooters stick to one style without even thinking. Learning both opens up way more creative doors. Composition rules like these separate okay shots from killer ones.
Understanding Symmetrical Balance
Symmetry happens when elements mirror each other across a line. Left side matches right side exactly. Top mirrors bottom perfectly. This mirroring creates instant visual stability you can feel.
Your subject usually sits dead center in symmetrical shots. This placement shows off the mirrored nature of everything. The balance feels formal and organized right away.
Symmetry screams calm, order, and harmony without trying. Buildings look way more impressive with perfect symmetry. Portraits centered symmetrically feel more serious and professional.
Three Types of Symmetry
Vertical symmetry splits left from right down the middle. Architecture shots and face-on portraits use this constantly. The mirror runs straight down through your frame.
Horizontal symmetry divides top from bottom across the center. Water reflections create this naturally and effortlessly. Still lakes mirror skies perfectly without any work.
Radial symmetry spreads outward from one central point. Spiral staircases and flowers show this beautifully. Everything radiates from the middle in all directions equally.
Best Situations for Symmetry
Reflections give you automatic symmetry that’s hard to mess up. Water, glass, and mirrors create perfect balance naturally. Shoot during calm weather for the clearest reflections possible.
Buildings often feature symmetrical designs already built in. Architectural photography benefits from showing off this intentional balance. Center your frame right on the building’s middle line.
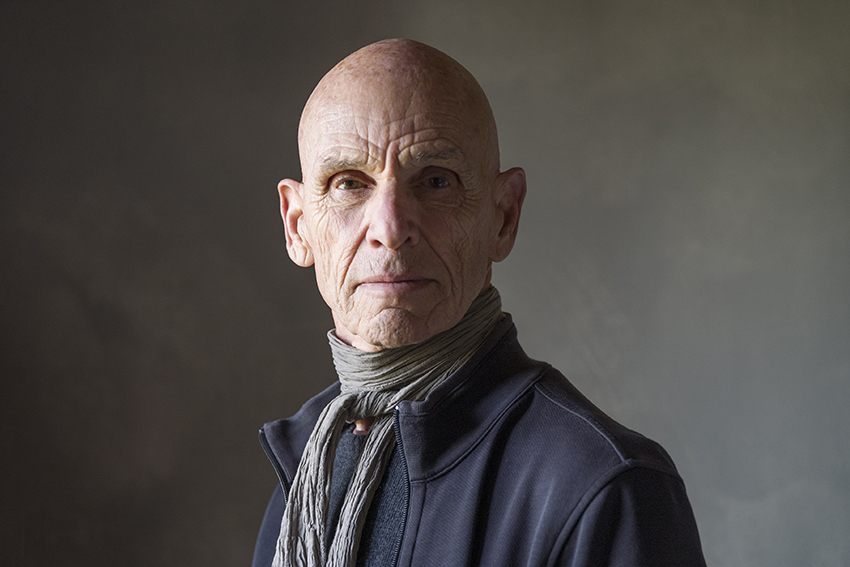
Formal portraits gain seriousness from symmetrical framing. Center your subject and keep everything balanced evenly. This works great for professional headshots and corporate photos.
How Asymmetry Creates Energy
Asymmetrical balance uses unequal stuff that still feels stable. Objects don’t mirror each other at all here. But smart weight placement creates harmony anyway through contrast.
One big object balances several tiny ones perfectly. A bright spot balances a huge dull area effectively. Visual weight comes from size, color, brightness, and detail together.
Your subject typically sits off-center in asymmetrical shots. The Rule of Thirds is classic asymmetry in action. Empty space balances the placed subject naturally.
What Visual Weight Really Means
Visual weight shows how much attention different elements grab. Bigger stuff carries more weight obviously. But brightness, color punch, and detail matter just as much.
A tiny red boat can balance a massive gray mountain. The bright red grabs eyes despite being way smaller. This contrast creates balanced asymmetry that feels totally natural.
Detailed objects balance larger simple ones really well. Three small complex subjects balance one large plain subject. The detail creates weight without needing actual size.
When Asymmetry Works Better
Rule of Thirds placement creates natural asymmetry automatically. Put subjects at intersection points on purpose. Negative space on the other side balances them perfectly.
Contrasting elements work awesome with asymmetrical balance. Big dull areas balance small bright spots naturally. Dark shadows balance bright highlights across unequal spaces nicely.
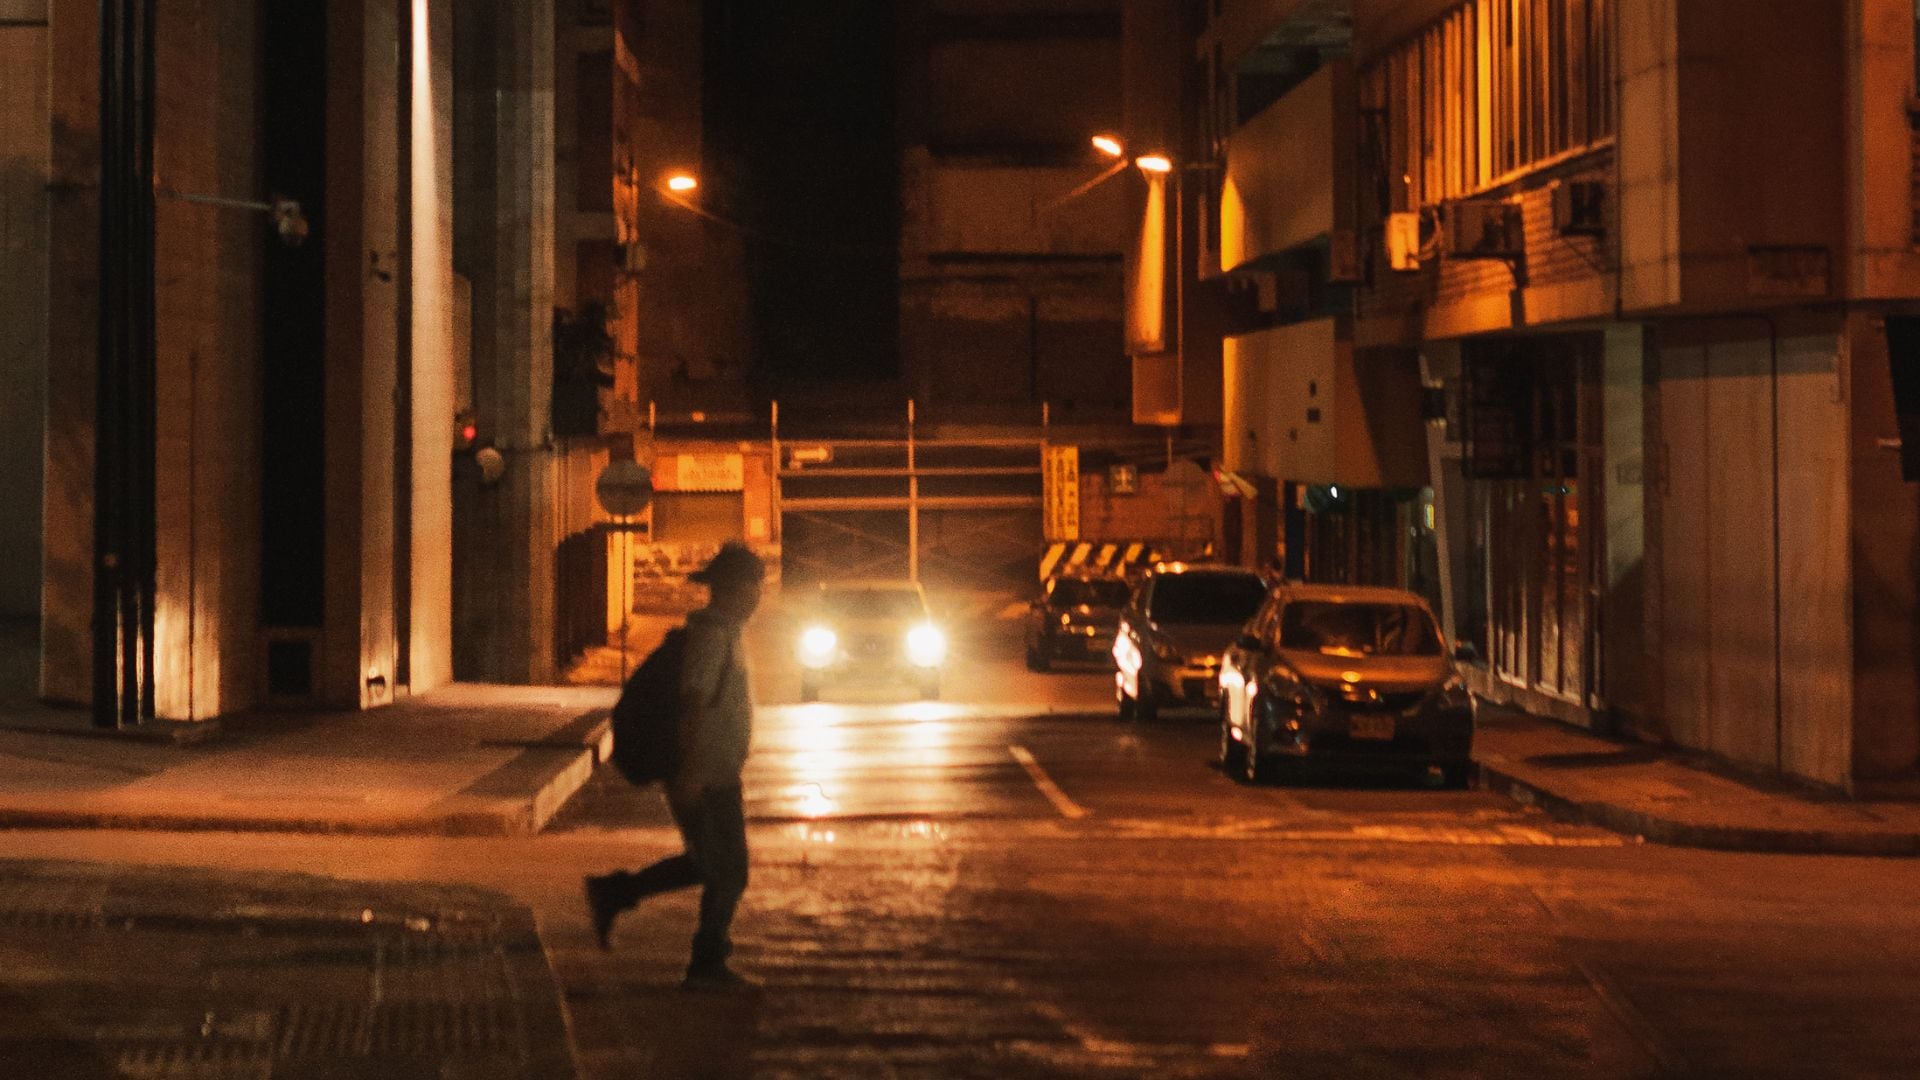
Dynamic scenes need asymmetry for energy and movement. Street photography thrives on asymmetrical compositions always. The imbalance creates tension that pulls eyes through frames.
Key Differences Between Both Approaches
These techniques create completely opposite vibes in photos. Here’s how they stack up against each other:
How Elements Arrange:
- Symmetry mirrors everything with equal placement across your frame
- Asymmetry uses unequal elements balanced through visual weight tricks
Where Weight Falls:
- Symmetry puts equal weight on both sides of the axis
- Asymmetry balances weight through size, color, and brightness differences
Main Tools You’ll Use:
- Symmetry relies on centering, reflections, and repeating patterns
- Asymmetry uses Rule of Thirds, negative space, and contrast
Feelings They Create:
- Symmetry feels stable, formal, orderly, calm, and peaceful
- Asymmetry feels dynamic, casual, energized, tense, and natural
Picking the Right Balance Approach
Different situations call for different methods clearly. Here’s when each style actually works best in practice.
What Your Subject Tells You
Landscape photography works with both depending on what you’re shooting. Calm water reflections demand symmetrical framing obviously. Mountains with cool foregrounds need asymmetrical balance instead.
Buildings often tell you which way to go automatically. Symmetrically designed buildings beg for centered framing. Modern funky architecture needs unbalanced shots to show off design.
Portrait work changes based on the mood you’re after. Formal professional shots work better with symmetry every time. Candid environmental portraits need asymmetry for natural vibes.
Matching Mood to Method
According to Cambridge in Colour, weight placement directly affects how people feel. Symmetry creates peaceful stability that calms folks down. Asymmetry generates tension that keeps eyes moving actively.
Tell stories needing stability through symmetry first. Weddings, corporate stuff, and official events benefit from this. The ordered feeling matches serious subjects perfectly.
Show energy, action, and spontaneity through asymmetry instead. Candid photography needs this dynamic feeling naturally built in. Sports and action shots require asymmetrical energy too.
Technical Stuff That Matters
Your lens choice affects how each approach actually works. Wide angles exaggerate asymmetry by warping perspective dramatically. Telephoto lenses compress symmetry making it even more obvious.
Depth of field choices matter tons for both techniques. Shallow depth breaks symmetry by blurring background stuff. Deep depth keeps symmetrical patterns clear throughout your whole frame.
Lighting creates or kills both balance types super fast. Even lighting supports symmetry by keeping tones consistent. Directional light creates shadows that help asymmetrical compositions.
Mistakes People Make With Both
Photographers mess up these styles in predictable ways often. Here’s what to watch out for when shooting.
Symmetry Problems
Perfect symmetry can feel boring and static sometimes honestly. The predictability gets old if your subject sucks. Viewers glance once and bounce without engaging at all.
Off-center symmetry ruins everything instantly and completely. If you’re going symmetrical, commit fully to it. Half-symmetrical shots look accidental rather than intentional always.
Missing the exact center weakens symmetrical shots badly. Use your camera’s grid to nail centering perfectly. Even slight misalignment breaks the formal balance you’re building.
Asymmetry Failures
Random unbalanced placement just looks sloppy and unintentional. Asymmetry needs careful weight calculation throughout the frame. Throwing subjects off-center randomly doesn’t create balance automatically.
Too much weight on one side tips things uncomfortably. The frame feels lopsided rather than dynamically balanced nicely. This happens when you ignore visual weight rules completely.
Skipping the Rule of Thirds weakens asymmetrical shots badly. The thirds grid gives natural balance points already. Use these guidelines as your starting point minimum.

Mixing Symmetry and Asymmetry Together
Sometimes combining both styles creates the strongest results possible. This advanced move requires skill but pays off huge.
Breaking Perfect Symmetry
Drop one asymmetrical element into otherwise symmetrical shots. This creates interest while keeping overall stability intact. The break becomes a natural focal point automatically.
Someone walking through symmetrical architecture shows this perfectly. The building gives symmetrical structure while the person adds asymmetry. This combo feels both stable and dynamic at once.
Digital Photography School notes that slight asymmetry often strengthens pure symmetrical shots. The imperfection makes images feel more human and real.
Using Symmetry Within Asymmetry
Throw symmetrical patterns into asymmetrical compositions effectively. Repeating elements create rhythm even when placed off-center. This adds structure to dynamic unbalanced frames naturally.
Architectural details provide symmetrical patterns you can use. Place these patterned elements using Rule of Thirds placement. You get dynamic positioning with built-in stability combined.
This rocks in street photography especially well. Buildings give symmetrical backgrounds while subjects add asymmetrical punch. The contrast between stable and dynamic strengthens everything.
Getting Better at Both Techniques
Building real skill with symmetry vs asymmetry photography takes practice. Here are exercises that actually help you improve fast.
Start by shooting purely symmetrical subjects only first. Find buildings, bridges, or reflections to photograph everywhere. Practice nailing perfect center alignment every single time.
Switch to asymmetrical shots using Rule of Thirds placement. Put subjects at intersection points consistently every shot. Balance them with negative space or contrasting elements carefully.
Shoot the same scene both ways to compare differences. Frame one shot perfectly centered and symmetrical first. Then shoot another with off-center asymmetrical placement next. Compare the different feelings each version creates directly.
Real Practice That Works
Visit spots offering both options in one location. Lakes with mountains give reflection symmetry and compositional asymmetry. Modern cities mix symmetrical buildings with asymmetrical action constantly.
Challenge yourself to spot unusual symmetry in normal places. Sidewalk patterns, doorways, and windows all create chances. Training your eye to see symmetry improves recognition fast.
Practice balancing asymmetrical elements through lots of experimenting. Move subjects around until visual weight feels perfectly balanced. This hands-on work develops your compositional gut naturally.
Symmetry vs Asymmetry – Final Thoughts
Symmetry vs asymmetry photography gives you two powerful tools. Each creates different emotional punches in your images. Understanding when to use each expands your creative options massively.
Symmetry brings stability, formality, and calm to photos naturally. Use it when you want people to feel peaceful. It works perfectly for architecture, reflections, and formal portraits.
Asymmetry adds energy, tension, and natural feelings instead. Pick it for dynamic scenes needing movement and life. Candid work, action shots, and street photography need this approach.
Practice both methods until they become totally automatic. Your best work comes from knowing exactly which approach serves your story best. Sometimes combining both creates even stronger results than using just one.

Darlene Lleno
Darlene Lleno brings a unique perspective to DIY Photography as someone who grew up surrounded by camera gear but chose words over lenses. With five years of writing experience, she specializes in photography content that’s both technically informed and genuinely passionate. Growing up with a photographer twin brother meant camera talk was everyday conversation in her household. While he mastered capturing moments, Darlene discovered she preferred being the subject and the storyteller behind the scenes. As a travel enthusiast and mother of two, she understands the importance of preserving life’s precious moments. When not exploring new destinations or writing for DIY Photography, you’ll find her reading or tending to her garden. Her approach to photography writing is refreshingly authentic, she may not be behind the camera, but she knows exactly what it takes to help others capture the shots that matter most.


Join the Discussion
DIYP Comment Policy
Be nice, be on-topic, no personal information or flames.