


How to Make a Homemade Lightbox for Product Photography and Flatlays
Oct 14, 2025
Darlene Lleno
Darlene Lleno brings a unique perspective to DIY Photography as someone who grew up surrounded by camera gear but chose words over lenses. With five years of writing experience, she specializes in photography content that’s both technically informed and genuinely passionate. Growing up with a photographer twin brother meant camera talk was everyday conversation in her household. While he mastered capturing moments, Darlene discovered she preferred being the subject and the storyteller behind the scenes. As a travel enthusiast and mother of two, she understands the importance of preserving life’s precious moments. When not exploring new destinations or writing for DIY Photography, you’ll find her reading or tending to her garden. Her approach to photography writing is refreshingly authentic, she may not be behind the camera, but she knows exactly what it takes to help others capture the shots that matter most.
Share:

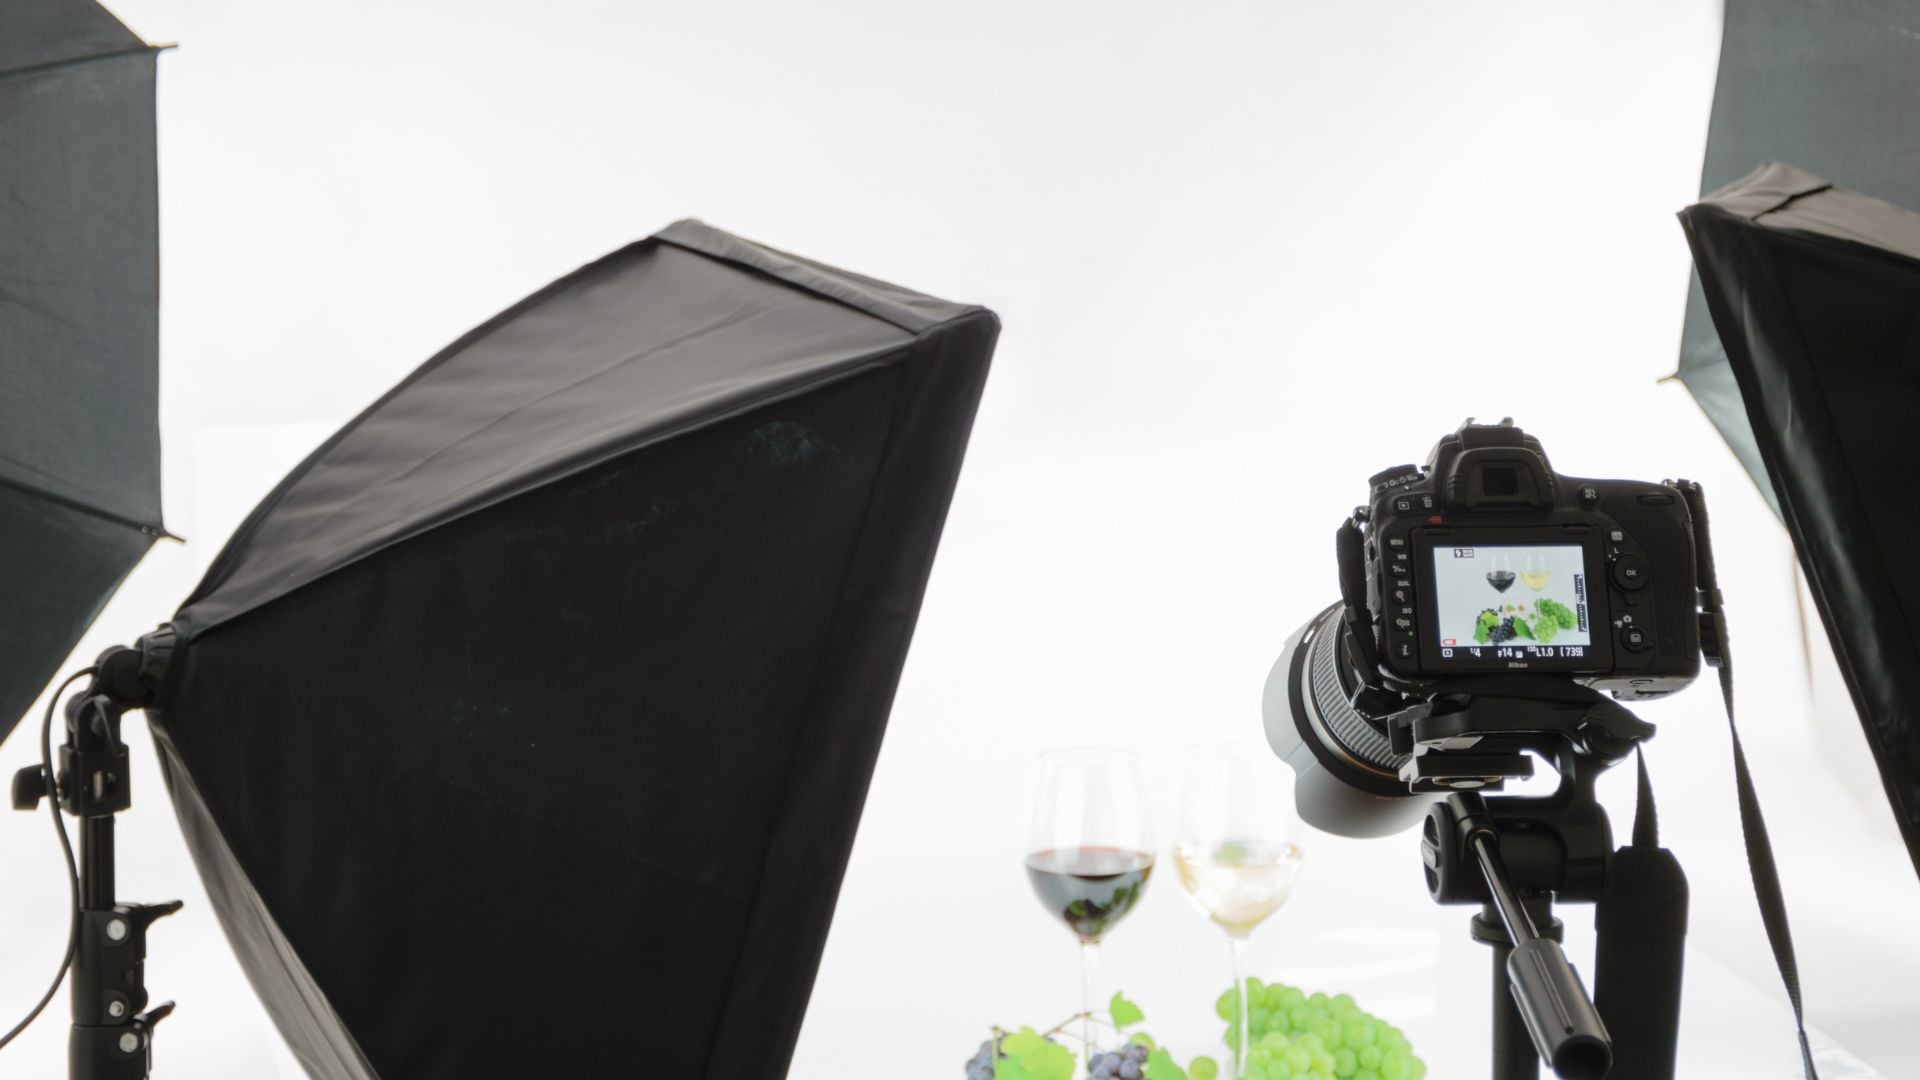
A homemade lightbox changes your product photos and flatlay shots completely. Professional lightboxes cost hundreds of dollars. You can build equally good lighting control with simple materials from your hardware store. This DIY method gives you total creative control while teaching lighting basics.
Small businesses, content creators, and photo lovers find handmade lighting often beats expensive commercial options. The trick is knowing how light works and using common materials to shape it perfectly.
Read more: How to Make a Homemade Lightbox for Product Photography and FlatlaysWhy Professional Lightboxes Cost Too Much
Big camera companies mark up simple products by 300-500% because photographers think expensive means better. A basic lightbox is just see-through fabric stretched over a frame with white backdrop material. These materials cost under $20 at stores. Similar commercial units sell for $80-200.
Making lightboxes costs almost nothing in materials. Companies spend most money on marketing and packaging. The actual building needs no special tech or perfect measurements. Most photographers who switch to DIY lightboxes get better results. They can adjust size and lighting angles for exactly what they need.
Pro photographers often change or rebuild their expensive lightboxes anyway. Starting with a homemade version saves money and teaches how controlled lighting really works.
What You Need for Your DIY Lightbox
Building a good lightbox needs specific materials that balance light spread with strong structure. Each part has a job in controlling and softening harsh light sources.
Frame Materials That Work

PVC pipe makes the best lightbox frames because it connects easily and supports different sizes. Half-inch pipes work great for small to medium lightboxes up to 24 inches square. Bigger setups need three-quarter inch pipes for stability.
Wood frames using 1×2 lumber give more permanent solutions but limit moving around. Corner brackets from hardware stores make wooden frame building simple without carpentry skills. Pine or cedar works well because both stay light while supporting fabric tension.
Cardboard works for temporary lightboxes or testing sizes before building permanent versions. Large appliance boxes from furniture stores give excellent starting material. Corrugated cardboard holds up better than regular cardboard when supporting fabric.
Materials That Spread Light Perfectly
White bedsheets create excellent light spread when stretched tight over frames. Cotton sheets work better than synthetic blends because they spread light more evenly. Single-layer sheets give moderate diffusion. Double layers create softer, more even lighting.
Shower curtain liners offer waterproof diffusion that cleans easily and lasts longer than fabric. Clear liners work better than textured ones because they spread light more uniformly. Medical supply stores carry similar vinyl sheeting that costs less than photo-specific materials.
Tracing paper from art stores gives professional-level diffusion at a fraction of commercial panel costs. Architect’s vellum gives even better results but costs slightly more. Both materials tape easily to frames and replace quickly when damaged.
Background Options Beyond White
Seamless paper rolls from photo suppliers create the smoothest backgrounds but cost more than alternatives. Large poster boards work great for smaller products and cost much less. Art supply stores carry 30×40 inch poster boards in multiple colors.
White poster board reflects light back onto subjects. This creates natural fill lighting that reduces harsh shadows. Colored backgrounds need more careful exposure control because they absorb different amounts of light.
Fabric backgrounds add texture and visual interest but need careful lighting to avoid unwanted shadows. Muslin fabric stays wrinkle-free and comes in many colors. Iron the fabric before each shoot to keep professional appearance.
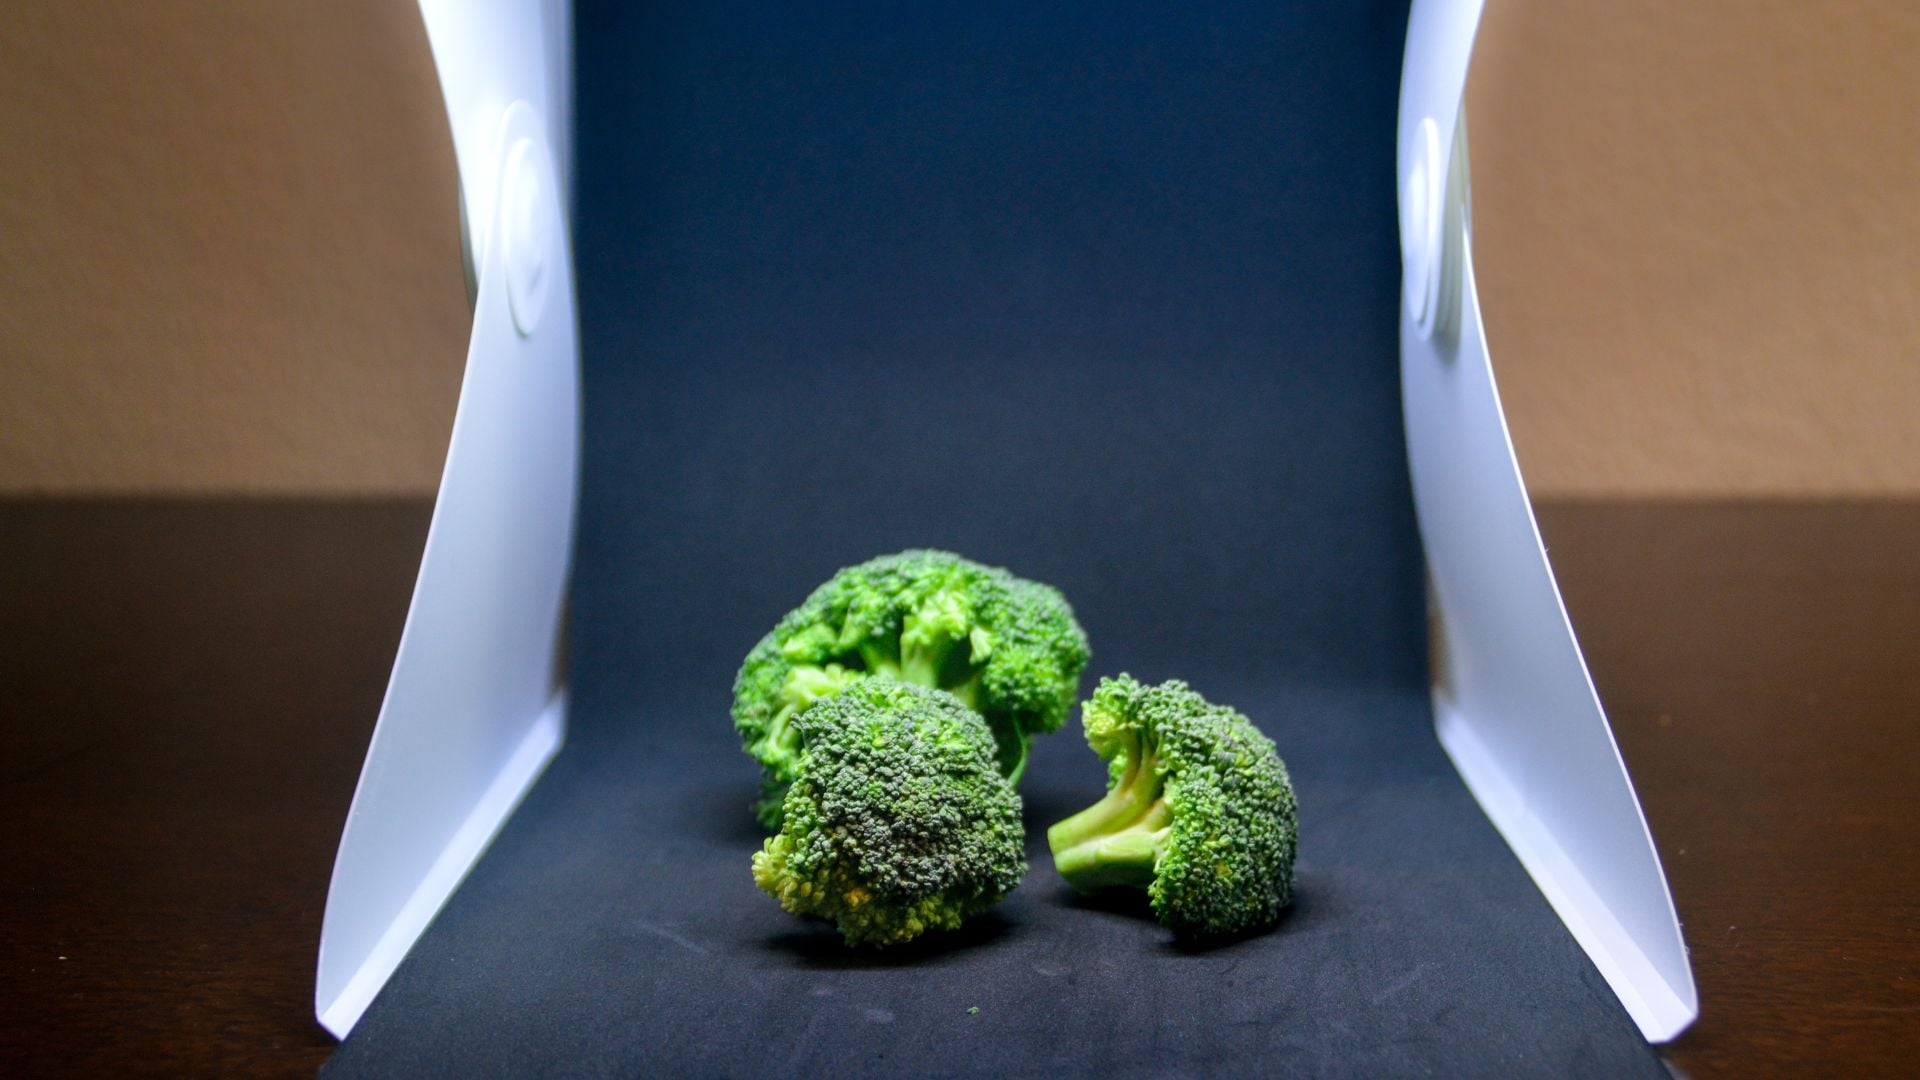
Building Your Homemade Lightbox Step by Step
Construction starts with measuring your typical subjects to find the best lightbox size. Most product photography works well with 18x18x18 inch interior space. Flatlay photography needs larger horizontal space and less height.
Creating the Perfect Frame Structure
Cut PVC pipes to make six equal-length pieces for a cube frame. Adjust dimensions for rectangular shapes. Standard 10-foot PVC pipes from hardware stores make two 24-inch lightboxes. You can also make three 18-inch units with minimal waste.
Connect corner joints using PVC elbow connectors. This creates a frame that comes apart for storage. Skip the PVC cement during the first assembly so you can adjust dimensions if needed. Permanent connections come after testing confirms your preferred size.
Position the frame so the opening faces your shooting position. The back and sides get covered with diffusion material. The top stays open for overhead lighting. Mark which sides get covered before adding diffusion materials.
Installing Diffusion Panels Like a Pro
Stretch diffusion material tightly across marked sides and secure with strong tape or clips. Loose material creates uneven light patterns that need fixing later. Pro studios often use spring-loaded clamps for quick material changes.
Start with the back panel. Pull material tight from all directions before securing edges. Side panels come next. Overlap slightly with the back panel to stop light leaks. Check for gaps by shining a flashlight inside the completed box.
Double-layer diffusion materials for softer light. Remember this reduces overall light brightness. Most artificial lights provide enough power to work through double-layer diffusion. Natural window light might need single layers only.
Setting Up Your Background System
Install background material so it curves smoothly from vertical back wall to horizontal bottom surface. This curve removes the horizon line that appears when flat backgrounds meet flat surfaces. Pro photographers call this a “sweep” or “cyc” background.
Tape the background material high on the back wall. Let it drape naturally forward onto the lightbox floor. Gentle curves work better than sharp bends. Sharp bends create visible lines in final images. Adjust the curve by moving the tape attachment point higher or lower.
Replace background materials often because they show wear quickly with regular use. Keep multiple background sheets ready for different projects. Also keep extras to replace damaged sections during long shooting sessions.
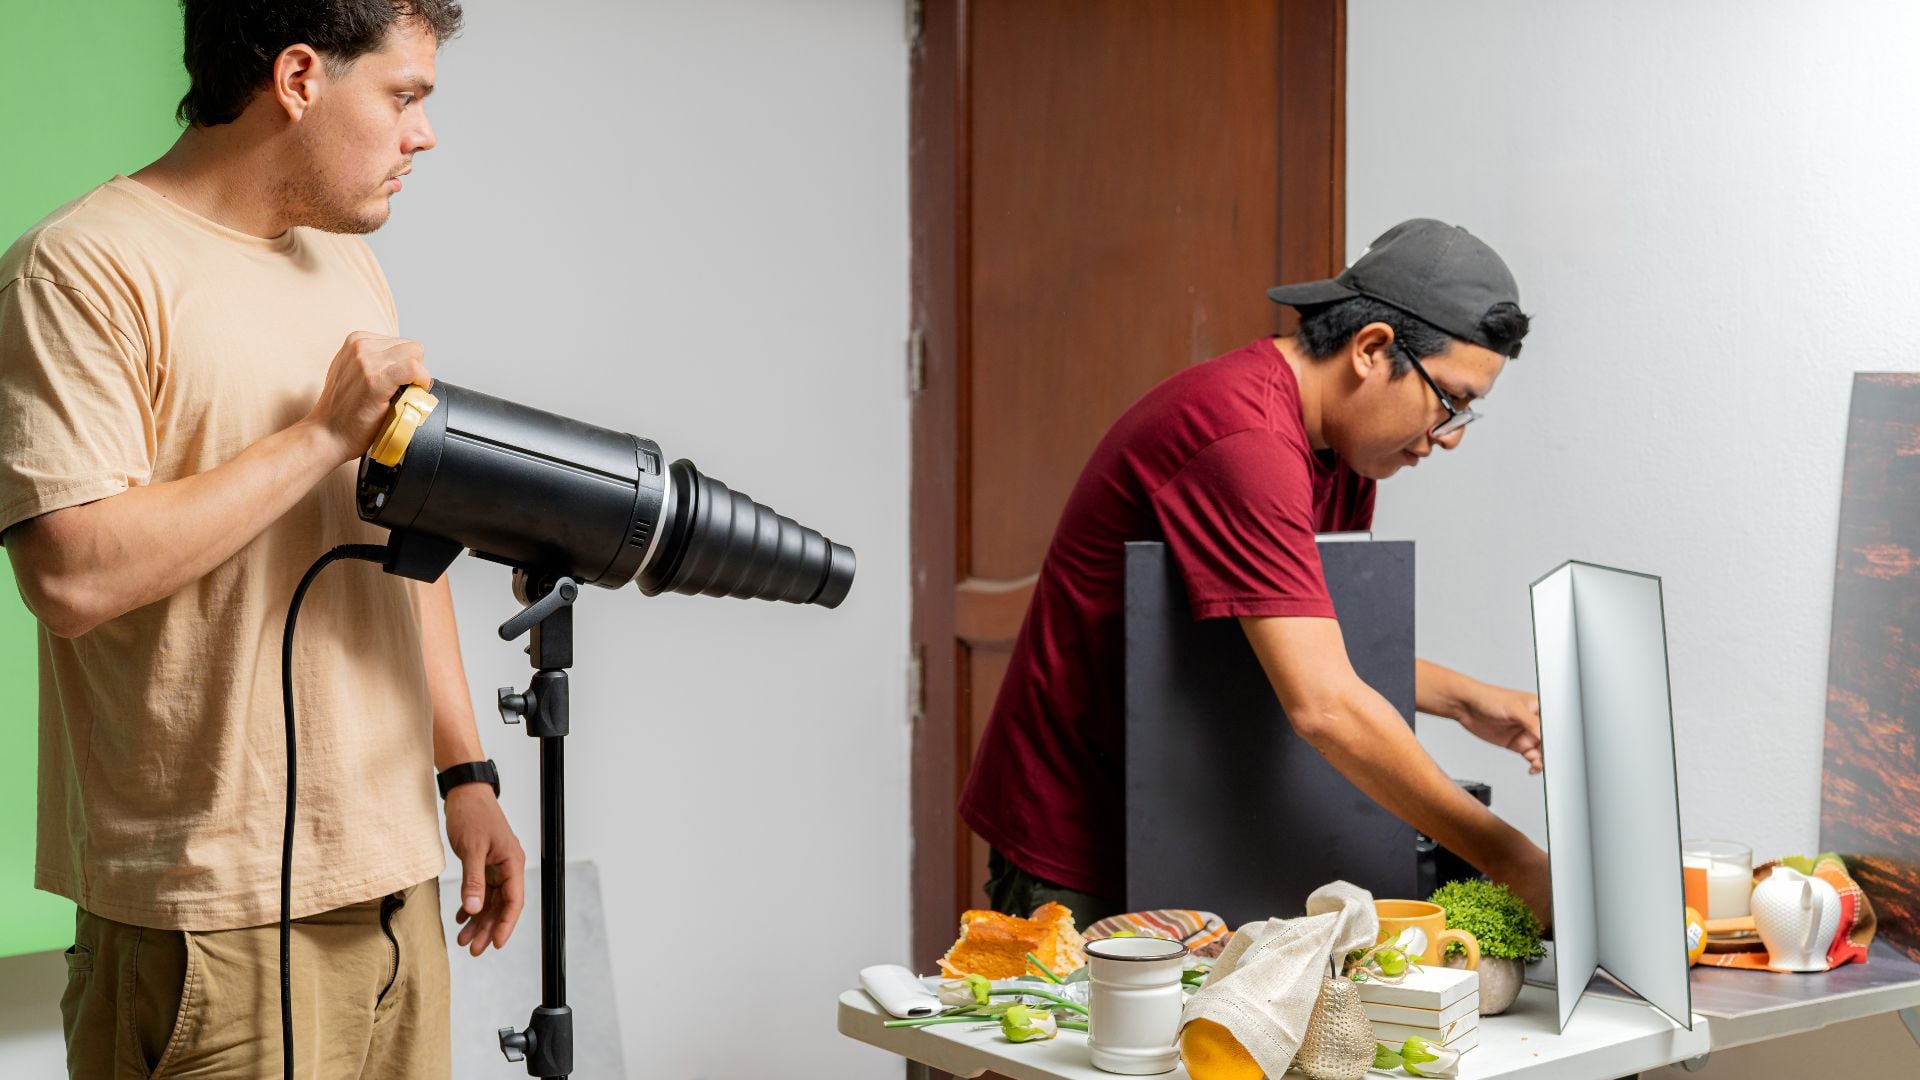
Advanced Lightbox Techniques for Pro Results
Moving beyond basic construction allows creative control that commercial lightboxes cannot provide. Professional product photographers modify their lightboxes constantly to get specific lighting effects for different subjects.
Using Multiple Light Sources
Position lights at different angles around your homemade lightbox to remove unwanted shadows. This also creates dimensional lighting. Most commercial lightboxes assume single overhead lighting. This creates flat, lifeless images.
Side lighting through see-through panels adds depth and texture to products. It keeps the soft, even lighting that lightboxes provide. Position one main light slightly above and to the side. Then add fill lighting from the opposite side at lower intensity.
LED panels work great with lightboxes because they run cool and provide consistent color. Tungsten lights create too much heat inside enclosed lightboxes. They can damage diffusion materials over time.
Controlling Reflections and Hot Spots
Metallic and glossy surfaces reflect lightbox panels directly. This creates unwanted rectangles of light in your images. Pro photographers use flags and gobos to block specific light areas. They keep overall soft lighting.
Cut small pieces of black cardboard and position them between lights and problem surfaces. These mini-flags block direct reflections without hurting overall lighting quality. Move flags closer to lights for broader blocking. Move closer to subjects for precise control.
Polarizing filters on your camera lens reduce reflections from non-metallic surfaces like plastic or glass. Circular polarizers work better than linear types with modern autofocus cameras. Rotate the filter while viewing through your camera to find the best reflection reduction.
Flatlay-Specific Lightbox Changes
Flatlay photography needs overhead shooting positions and even lighting across large horizontal areas. Standard vertical lightboxes work poorly for flatlay shots. They focus light in small areas.
Build horizontal lightboxes with the opening facing upward for overhead camera positions. These need stronger frames because gravity pulls diffusion materials downward. Use extra center supports for spans wider than 24 inches.
Create graduated lighting effects by positioning lights at different distances from diffusion panels. Closer lights create brighter areas. Distant lights provide subtle fill lighting. This technique adds visual depth to otherwise flat lighting setups.
Fixing Common Lightbox Problems
Even well-built homemade lightboxes have issues that affect image quality. Understanding these problems and their solutions prevents frustration. It also improves final results significantly.
Removing Unwanted Color Casts
Mixed lighting sources create color balance problems that show as strange color tints in final images. Daylight from windows measures about 5600K color temperature. Tungsten bulbs produce 3200K light. These different color temperatures create visible color shifts.
Match all light sources to the same color temperature. Use your camera’s white balance controls to correct mixed lighting. LED panels with adjustable color temperature give the most flexibility for matching existing light sources.
Set custom white balance by photographing a white card inside your lightbox under your chosen lighting setup. This ensures accurate color reproduction regardless of your specific light sources or changes.
Fixing Uneven Light Issues
Bright spots and dark areas within your lightbox show poor light positioning or inadequate diffusion. Pro results need even lighting across the entire shooting area.
Move lights farther from diffusion panels to spread light more evenly across larger areas. The inverse square law means doubling distance reduces light intensity to one-quarter. It also spreads lighting more uniformly. Compensate with more powerful lights or higher ISO settings.
Add more lights rather than increasing single light intensity. Multiple lower-power lights create more even lighting than single high-power sources. Position lights at different heights and angles for best coverage.
Dealing With Shadow Problems
Complete shadow removal creates unnaturally flat lighting that makes products appear lifeless. Professional product photography keeps subtle shadows that define shape and create visual depth.
Add fill cards inside your lightbox to bounce light into shadow areas without removing shadows completely. White foam core boards work great as portable fill reflectors that adjust easily for different subjects.
Position your main light source slightly off-center to create gentle shadows that add dimension. Pure overhead lighting removes too many shadows. Side lighting creates shadows that may be too strong for product photography needs.
Care and Storage Solutions
Proper care extends your homemade lightbox lifespan while keeping pro image quality. Regular maintenance takes minimal time but prevents major problems that affect shooting schedules.
Cleaning and Care Steps
Dust buildup on diffusion materials reduces light transmission and creates visible spots in images. Clean diffusion panels weekly with microfiber cloths. You can also vacuum with soft brush attachments.
Replace diffusion materials when they become yellowed, torn, or permanently stained. Keep backup materials ready for quick replacement during important shooting sessions. Dating materials when installed helps track replacement schedules.
Background materials show wear faster than diffusion panels because products touch them directly. Check backgrounds before each shooting session. Replace when stains, wrinkles, or damage becomes visible in test shots.
Smart Storage Systems
Design your lightbox for easy taking apart if storage space is limited. PVC frames with removable connectors break down flat for storage in small spaces. Label connection points to speed putting back together.
Roll diffusion materials carefully to prevent creasing that affects light quality. Store materials in protective tubes or flat boxes to keep smooth surfaces. Fold lines in diffusion materials appear as shadows in final images.
Create dedicated storage for lightbox parts including extra bulbs, background materials, clamps, and tools. Organization prevents setup delays and ensures all necessary parts stay together.
Cost Comparison and Value Analysis
Building versus buying lightbox equipment shows big savings while providing better customization options. Professional photographers often find homemade solutions work better than commercial alternatives.
Material Costs
A complete DIY lightbox using quality materials costs $25-40 depending on size and material choices. Similar commercial units retail for $80-200. This represents 200-400% markup over actual material costs.
PVC frame materials cost $8-12 for standard 18-inch cubes. Diffusion fabric adds $6-10 depending on quality choices. Background materials add $3-8 per setup. These materials create multiple lightboxes or provide lots of backup supplies.
Think about material costs over time rather than just initial investment. Commercial lightboxes need expensive replacement parts and accessories. DIY versions use common materials available anywhere.
Long-term Investment Benefits
Homemade lightboxes provide learning experiences that improve all your photo work. Understanding light control principles helps with portrait lighting, outdoor photography, and studio work beyond product shots.
Customization options with DIY lightboxes beat commercial alternatives because you control every part of construction. Need larger dimensions? Different diffusion materials? Special mounting options? DIY construction handles any requirement.
Skills developed building lightboxes transfer to other photography DIY projects like reflectors, backdrop systems, and lighting modifiers. This knowledge saves money across all photography equipment purchases.
Start Building Your DIY Lightbox
Mastering lightbox techniques opens creative possibilities beyond basic product photography. Professional food photographers, jewelry specialists, and e-commerce experts all use controlled lighting principles you learn through DIY construction.
Understanding light control principles helps with all studio photography applications. The same diffusion and reflection concepts apply to portrait work, fashion photography, and commercial assignments. Many photographers find lightbox skills improve their outdoor work. It teaches them to see and modify natural light more effectively.
Advanced techniques like focus stacking, HDR photography, and color-accurate reproduction all benefit from the controlled lighting environment lightboxes provide. These skills become valuable for client work or personal projects needing professional-quality results.
Building your own lighting equipment teaches lighting principles through practical application rather than theory alone. Your homemade lightbox becomes a valuable tool for learning photography principles while saving money on equipment costs. Start with basic construction, then try changes that suit your specific photography needs and creative vision.

Darlene Lleno
Darlene Lleno brings a unique perspective to DIY Photography as someone who grew up surrounded by camera gear but chose words over lenses. With five years of writing experience, she specializes in photography content that’s both technically informed and genuinely passionate. Growing up with a photographer twin brother meant camera talk was everyday conversation in her household. While he mastered capturing moments, Darlene discovered she preferred being the subject and the storyteller behind the scenes. As a travel enthusiast and mother of two, she understands the importance of preserving life’s precious moments. When not exploring new destinations or writing for DIY Photography, you’ll find her reading or tending to her garden. Her approach to photography writing is refreshingly authentic, she may not be behind the camera, but she knows exactly what it takes to help others capture the shots that matter most.


Join the Discussion
DIYP Comment Policy
Be nice, be on-topic, no personal information or flames.